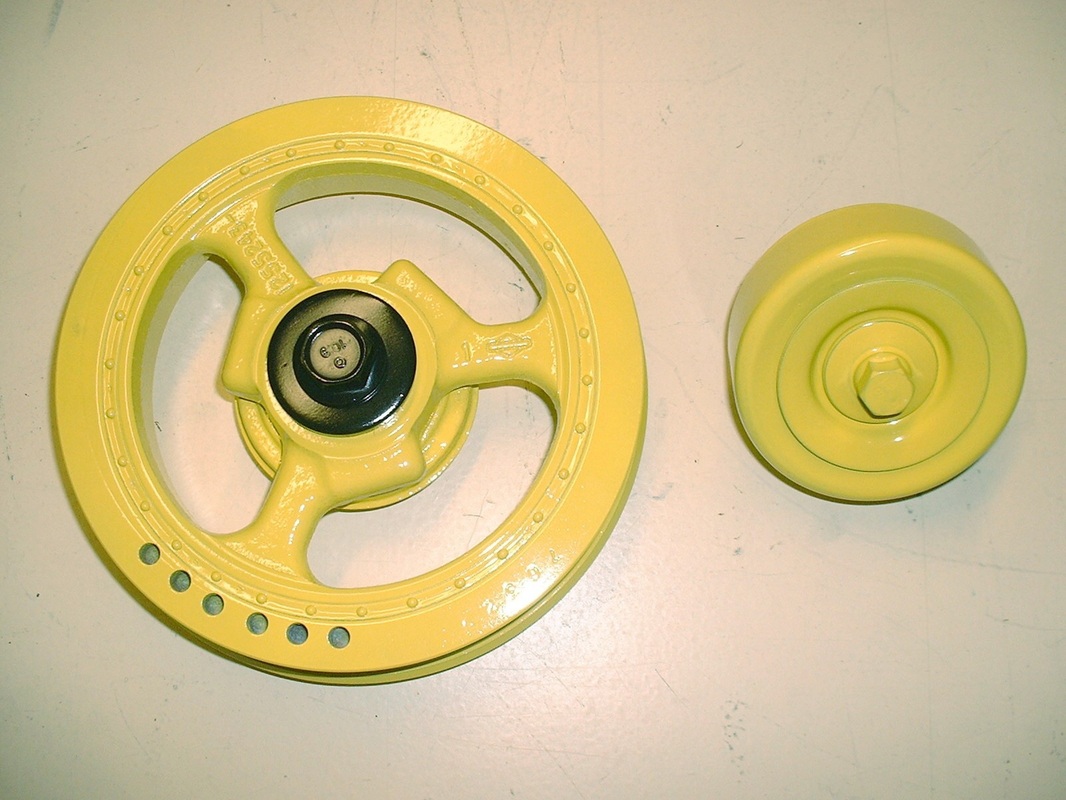
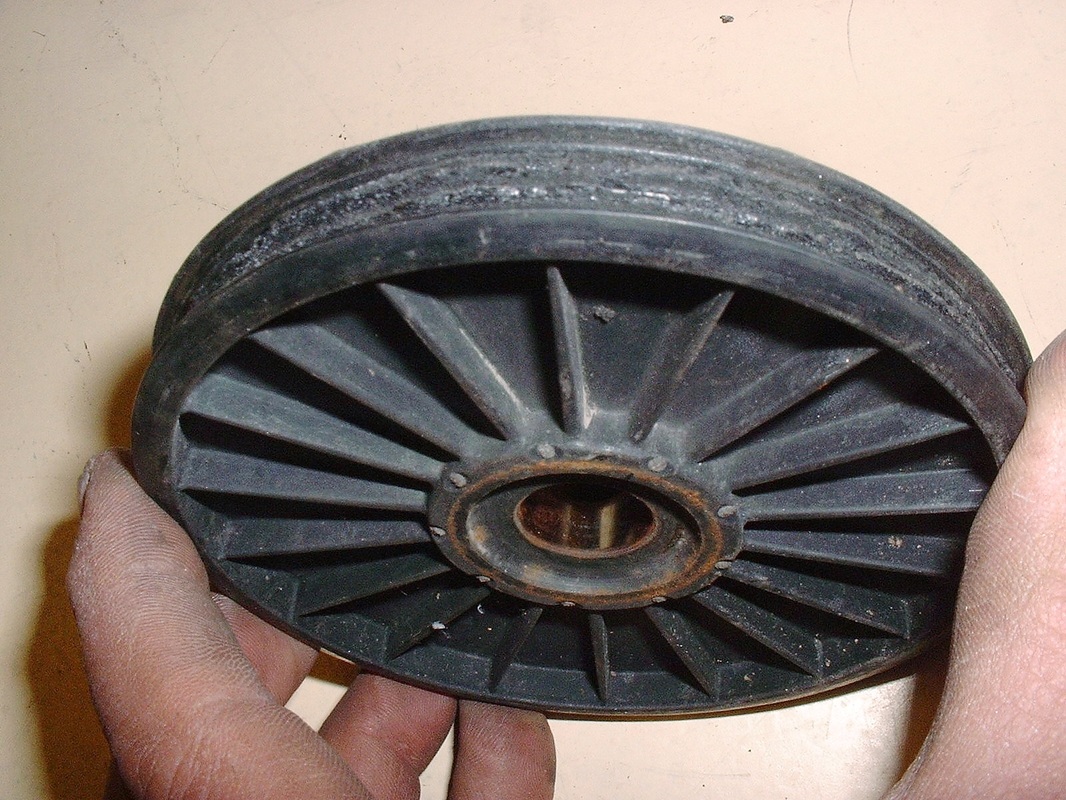
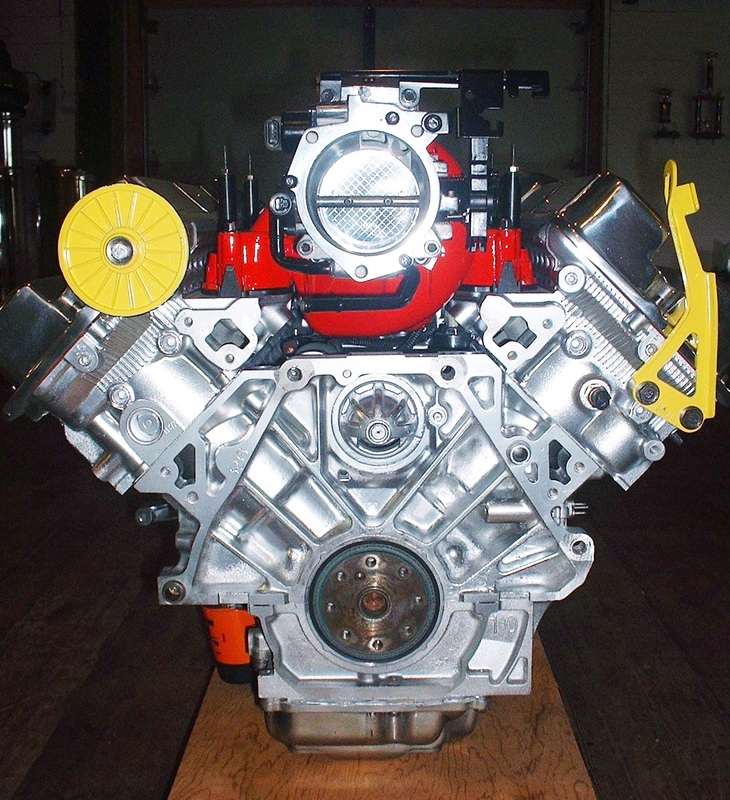
With the back end of engine complete, I turned my attention to the front end and the accessory drive. The stock Northstar engine has an alternator, air conditioning compressor, and a power steering pump along with an idler pulley and a belt tensioner mounted to the engine. I didn't need the power steering pump nor the AC so I ditched those components and started planning a new route for the serpentine belt. I started by sandblasting, and painting the harmonic damper and the idler pulley since I knew I'd need these:
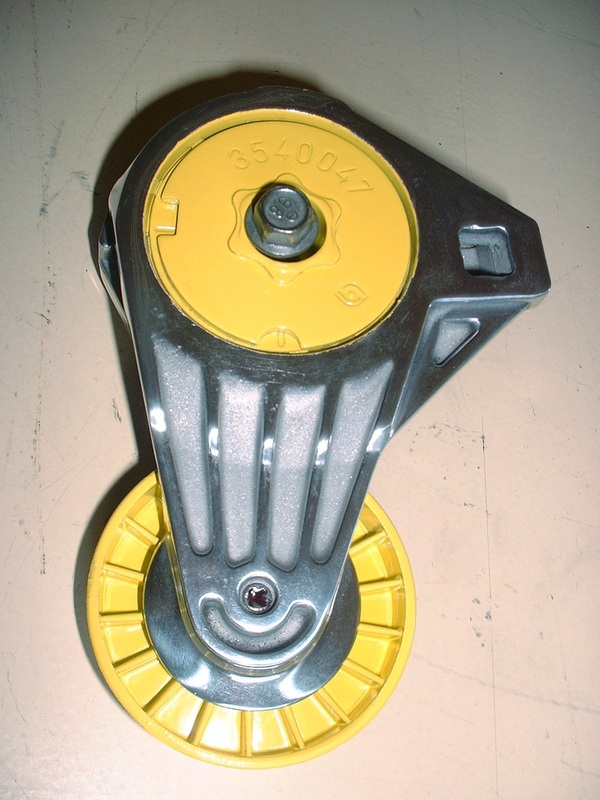
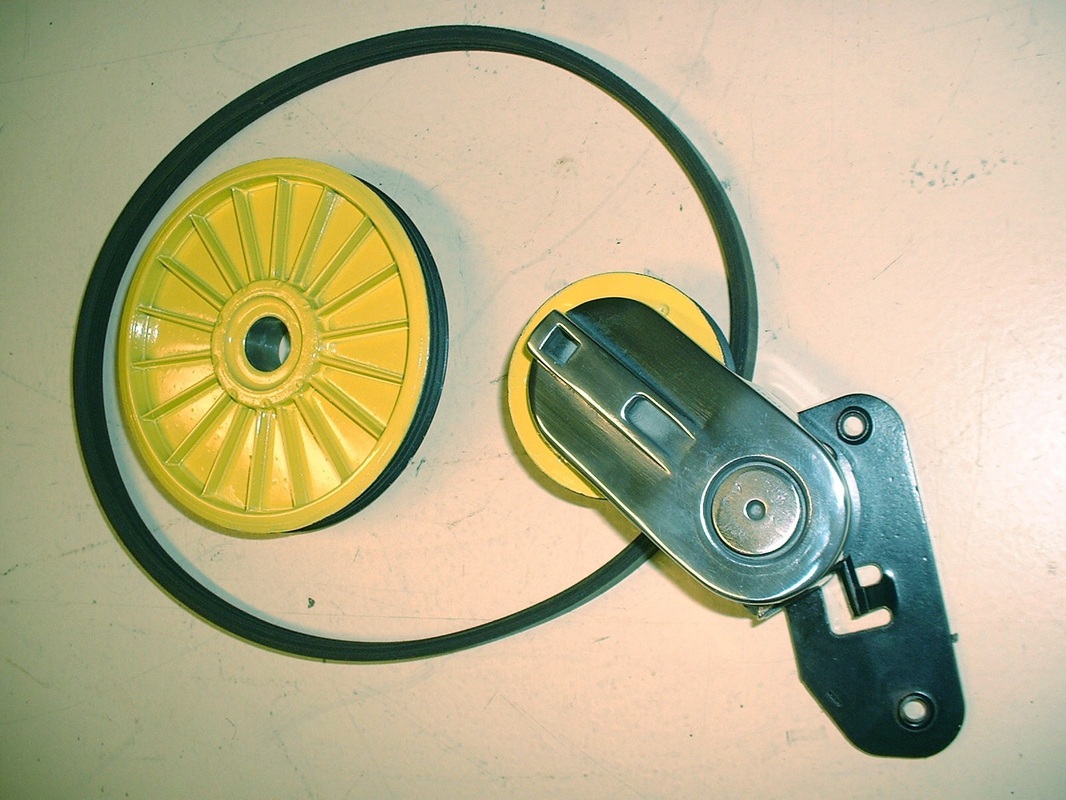
Next up was the serpentine belt tensioner so off came the pulley, where it got treated to a varsol bath, and the rest of the tensioner got thrown into the sandblaster. Once good and clean, the tensioner got the coarse-medium-fine flapper wheel treatment, some extra fine hand sanding, and finally a good buffing on the wheel. While that was going on, the pulley got undercoated white, then sprayed with some colour. Here’s the finished product… better than new!
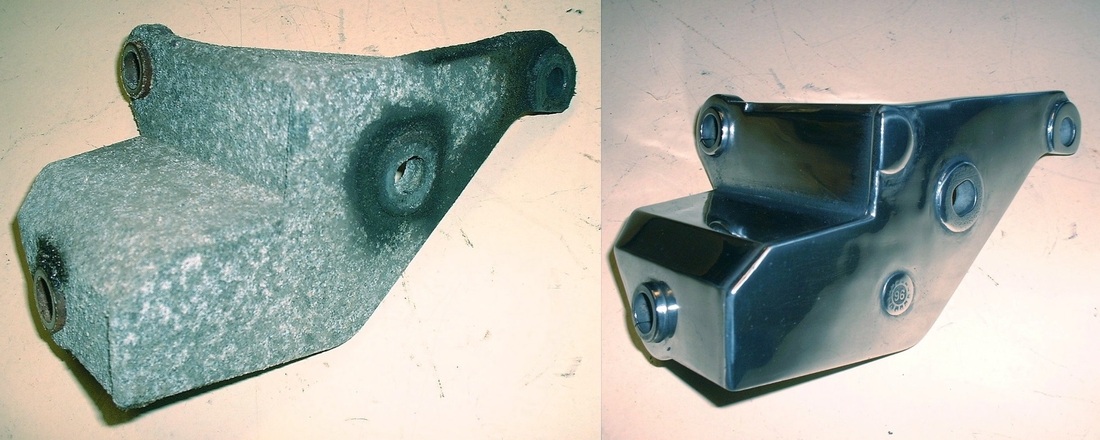
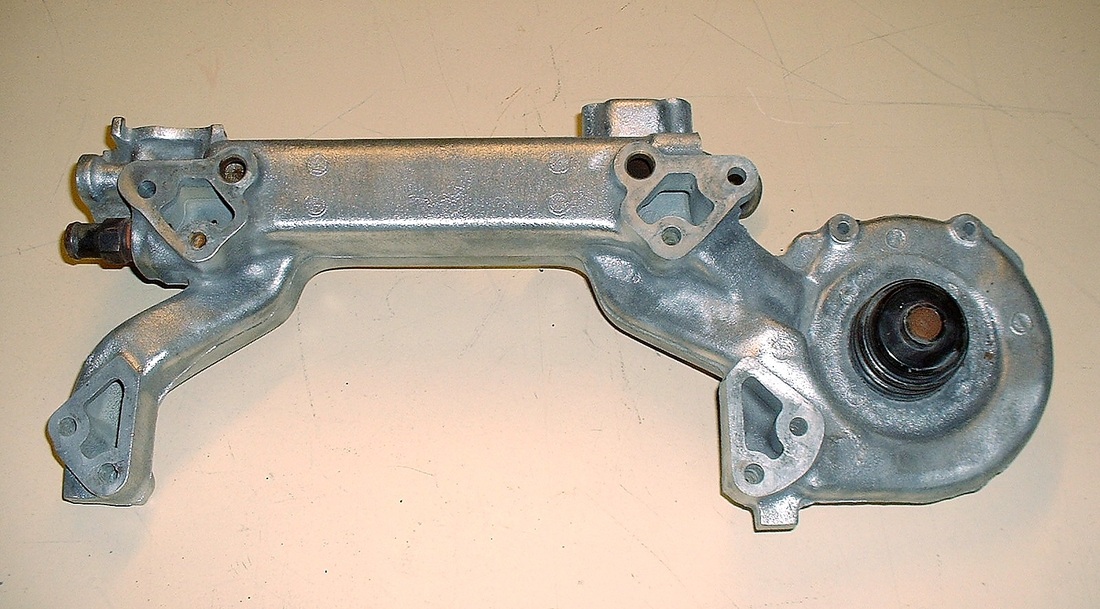
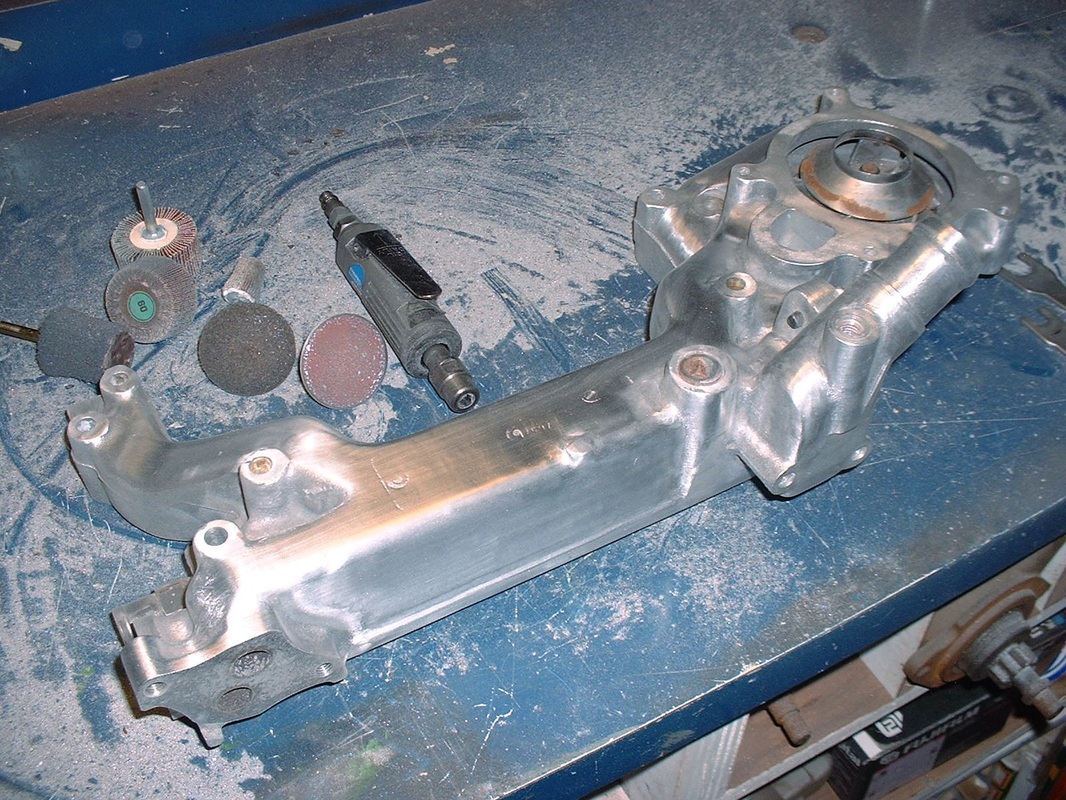
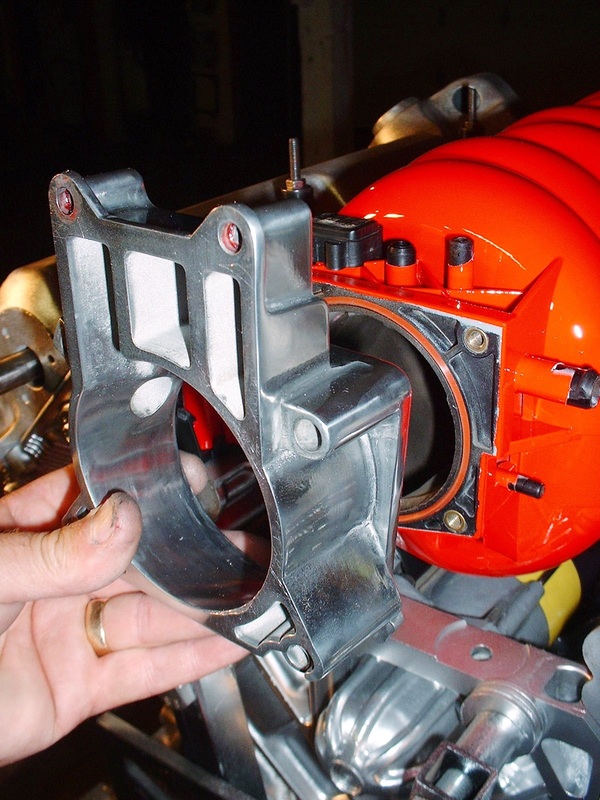
Then I needed to clean up several cast aluminium brackets and braces for things like the alternator and torque struts. Here's the before and after shot of the the torque strut bracket:
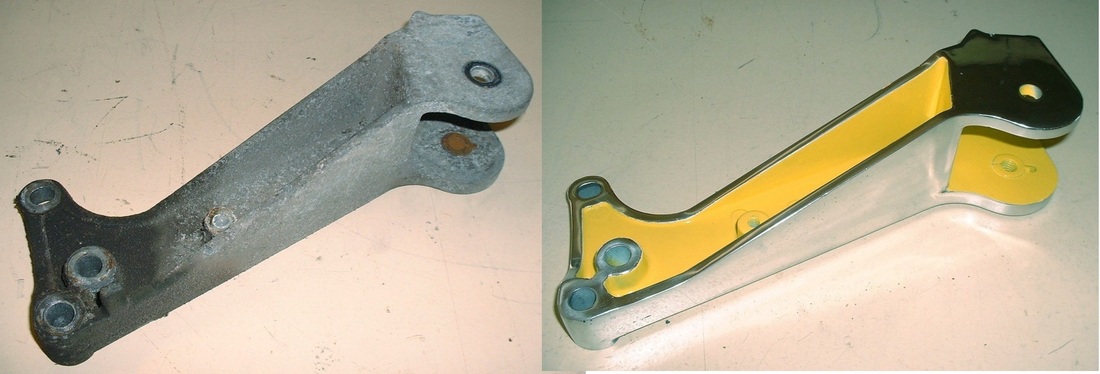
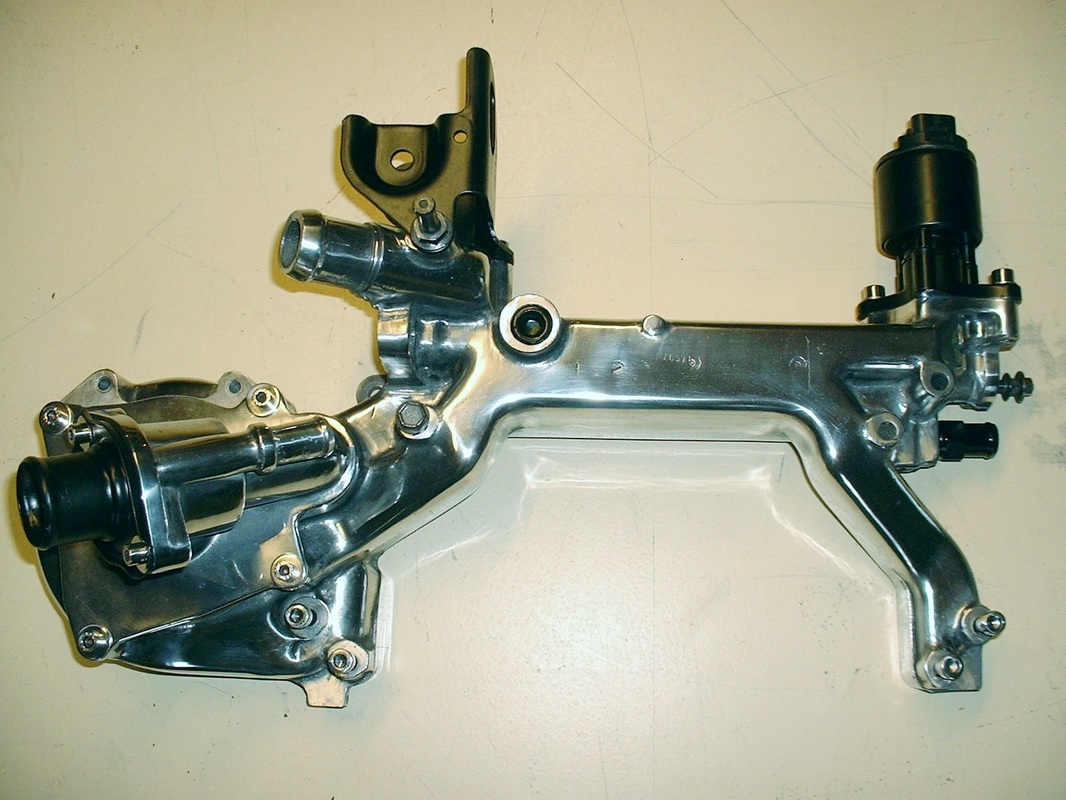
And here's one of the two alternator brackets I polished up too:
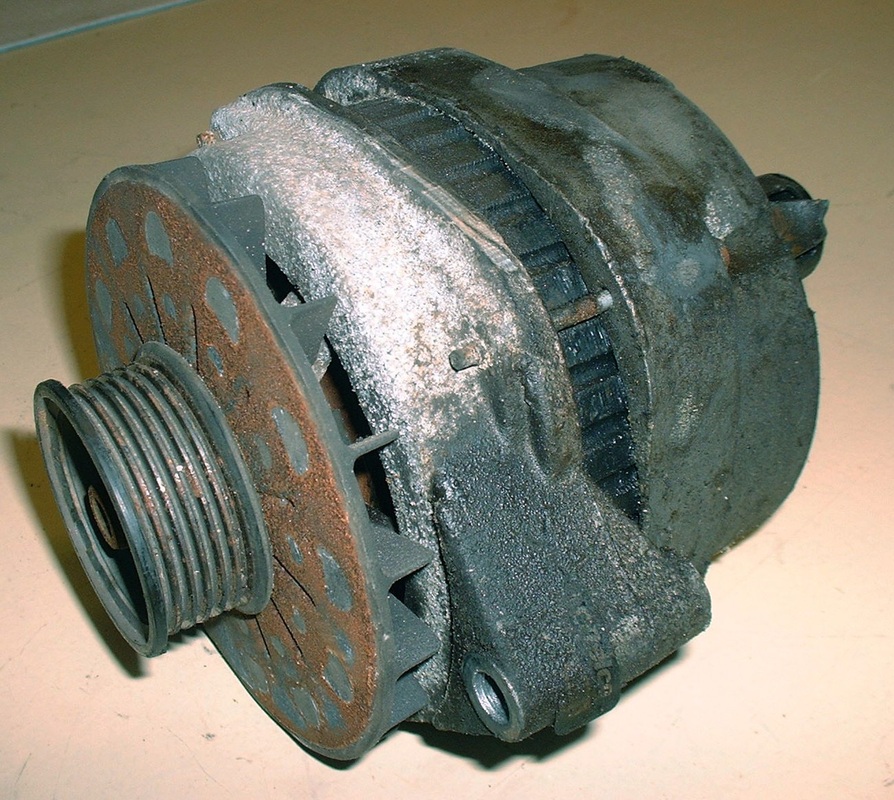
With those parts done, the alternator was the last piece of the puzzle to complete the front serpentine belt system. I was hoping I would just be able to take the alternator apart, polish the case, and stick it back together again. That was wishful thinking...
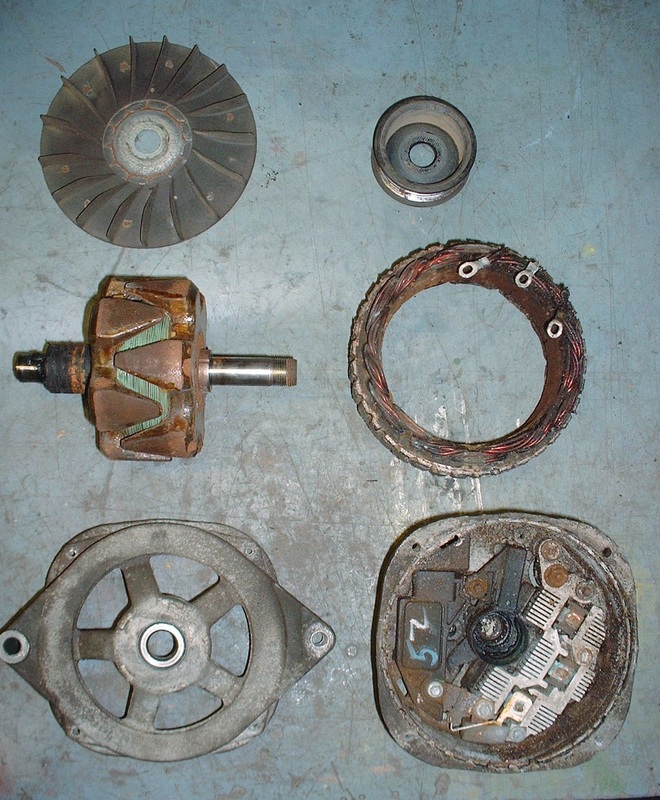
After taking it apart and inspecting it, it was filthy, rusty, and the brushes were completely worn out. Here are the major parts clockwise from the top left: fan, pulley, field windings, rear case half, front case half, and rotor/armature:
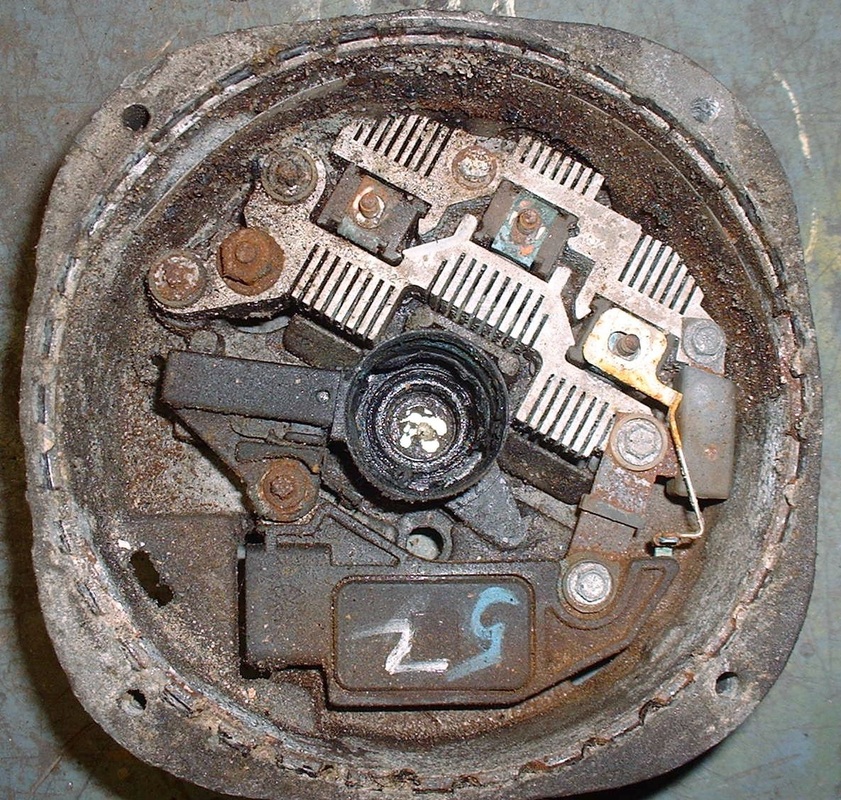
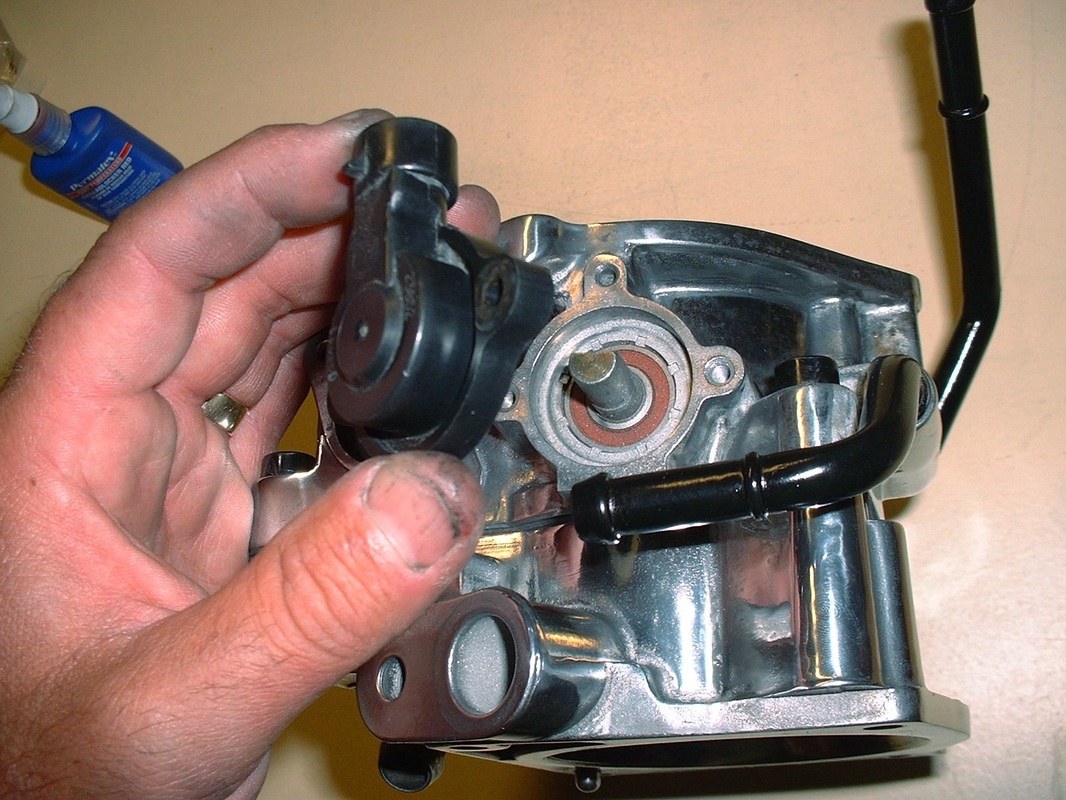
Here's a close up of the innards of the rear case... I needed to refer to it several times when the time came to rebuild it!
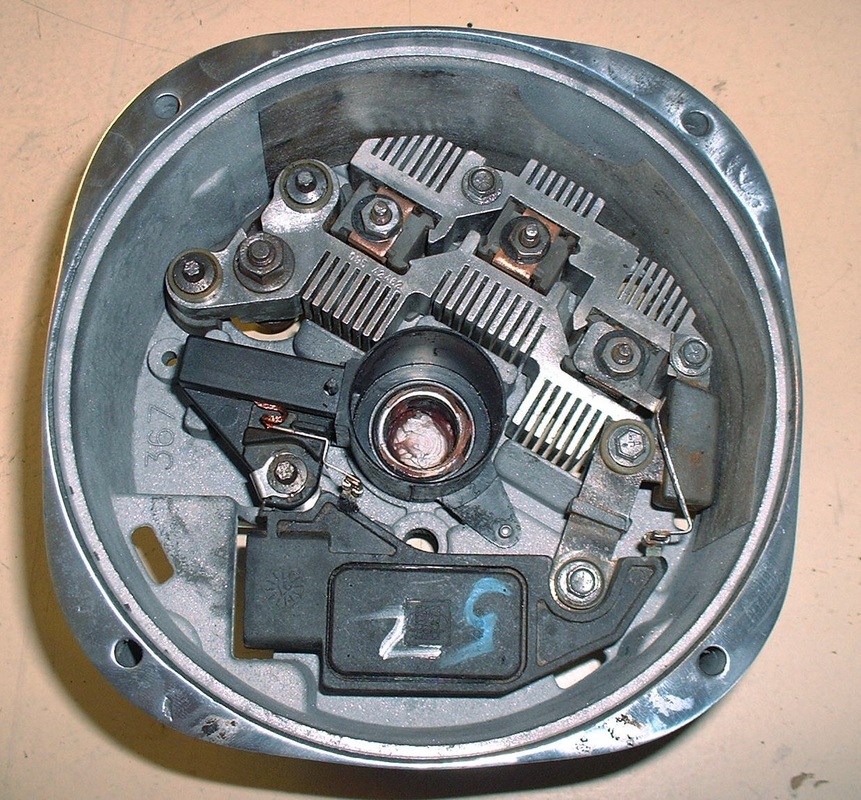
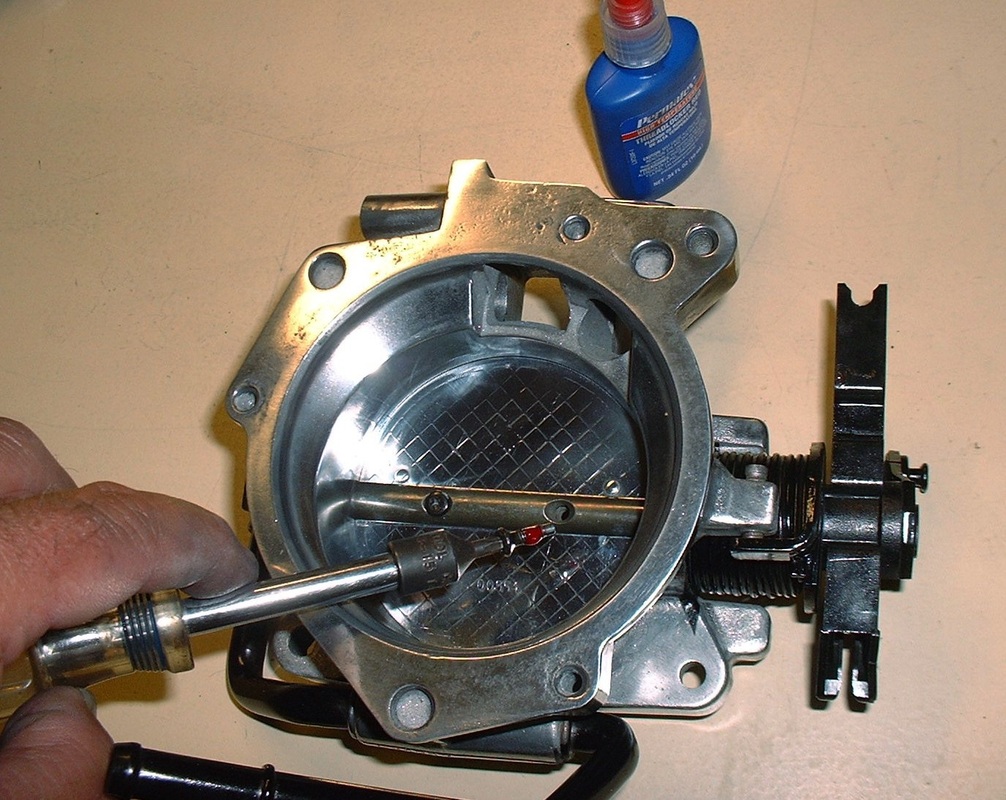
I removed all the components so I could clean, sandblast, sand and polish the case halves without worrying about ruining anything. Once the case was polished, I cleaned the individual parts of the voltage regulator, rectifier, and heat sinks, then replaced the brushes ($5.77 from NAPA) and reassembled the rear case electricals:
I wire-wheeled the field winding housing and repainted it for a dash of colour:
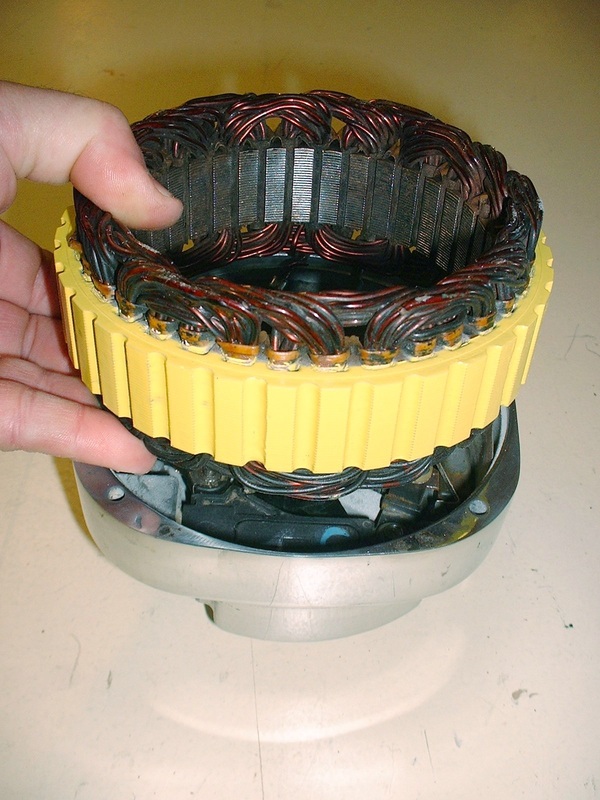
Once the field windings were in, the armature/commutator assembly needed a little attention. Here’s what it looked like going back in after the make-over:
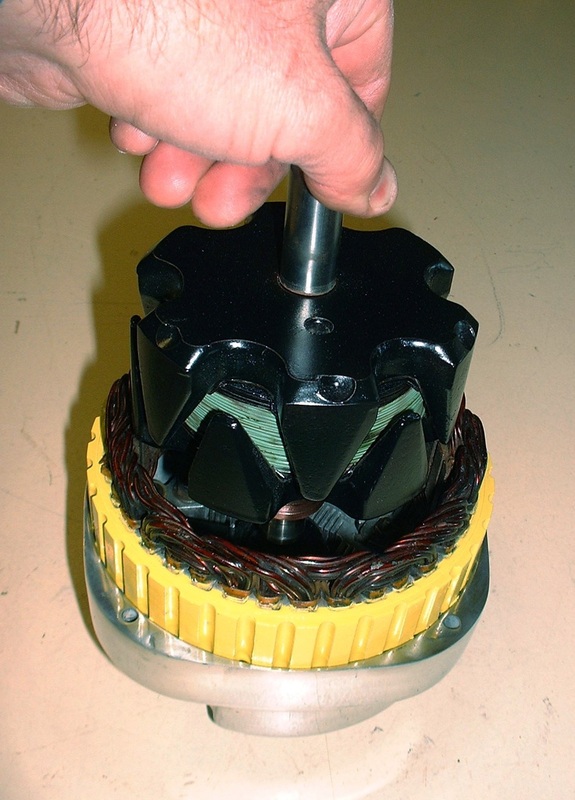
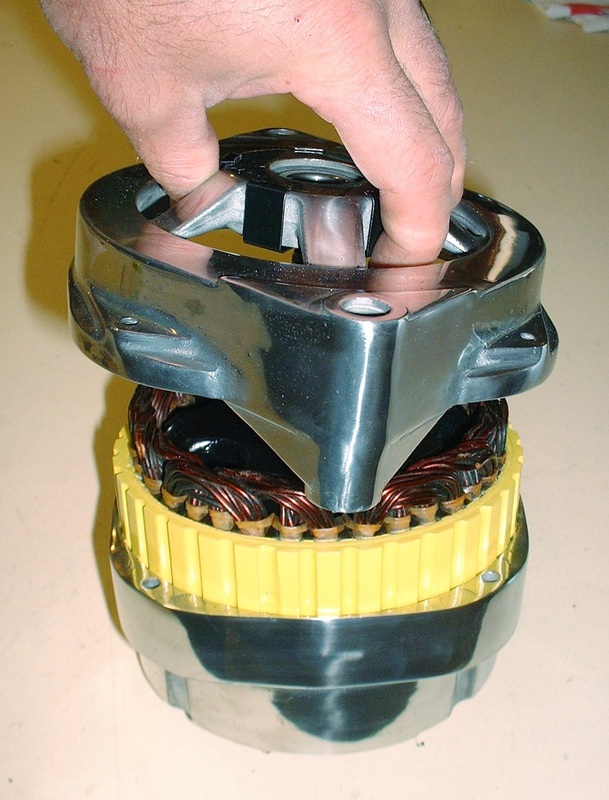
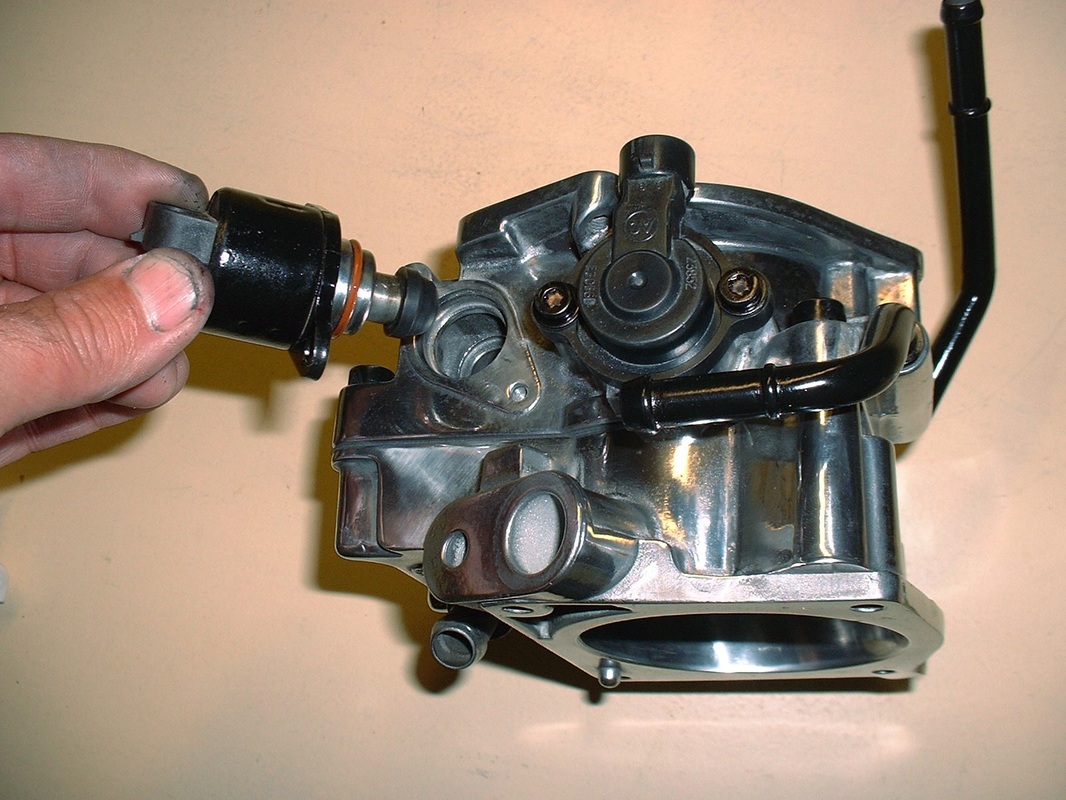
Next up was the front housing which needed to be clocked in the proper orientation with respect to the rear housing if you want the electrical connections to be accessible once it’s installed on the engine:
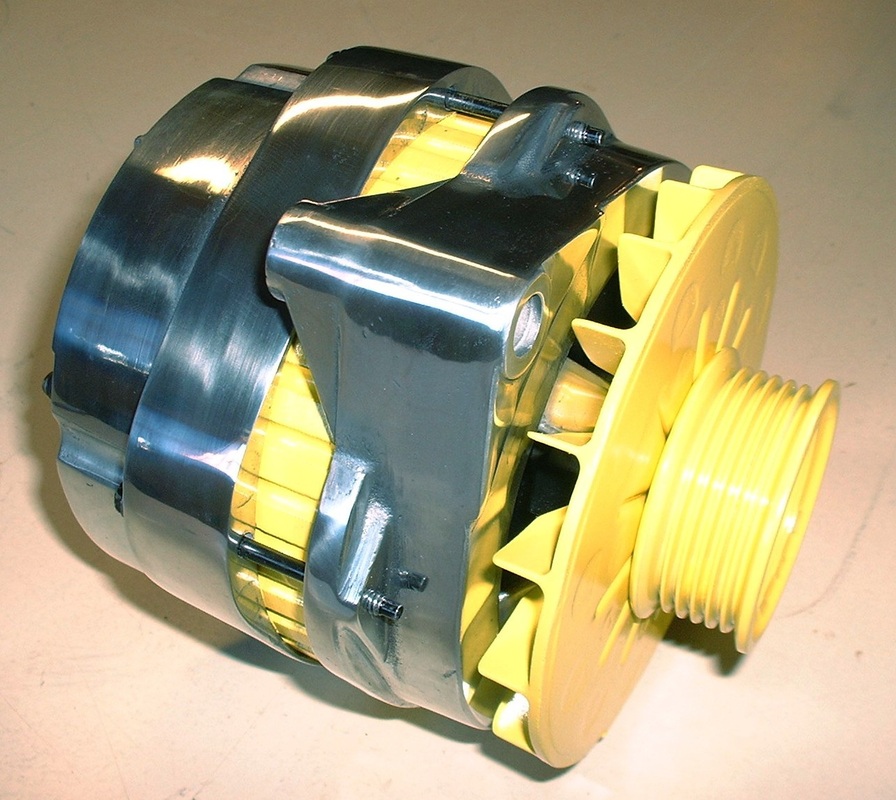
The last step was to reinstall the fan and pulley assembly. A far cry from what it looked like before:
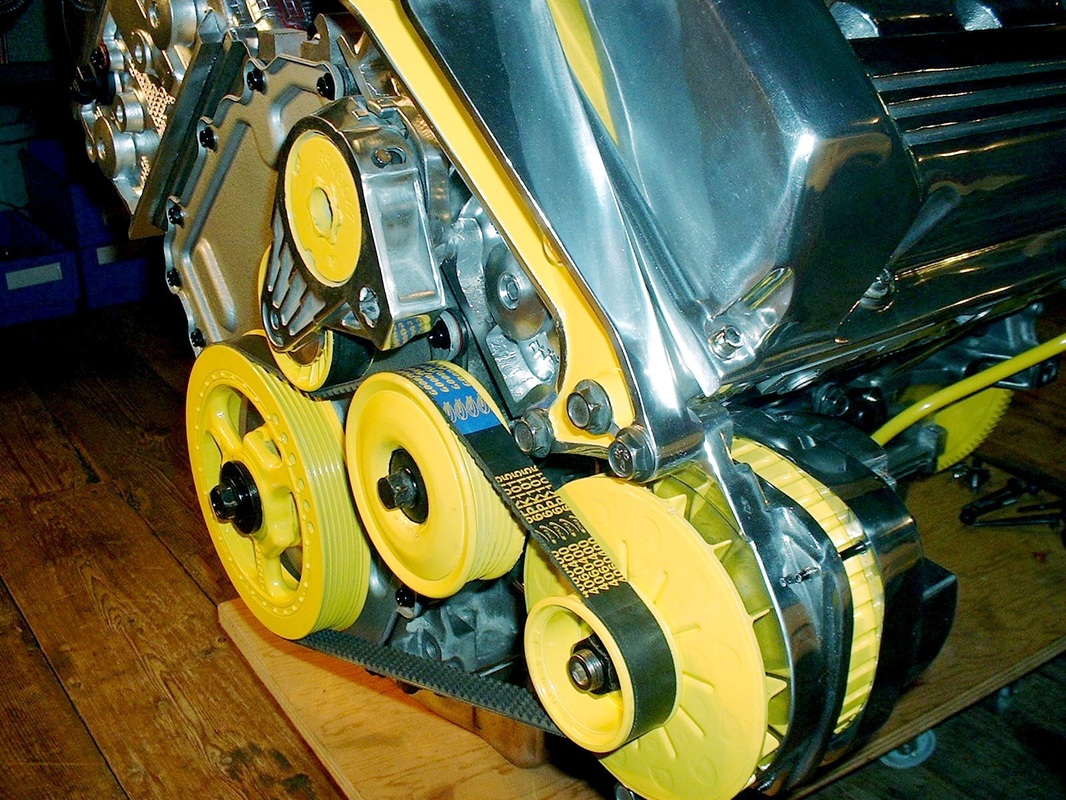
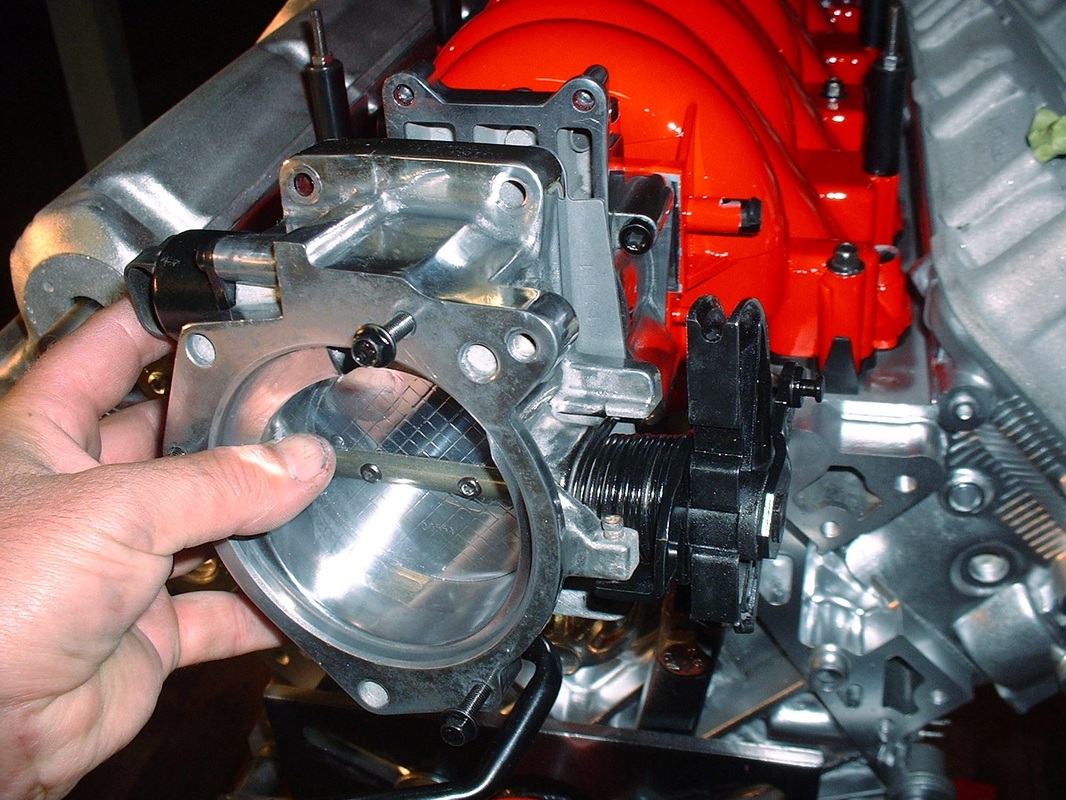
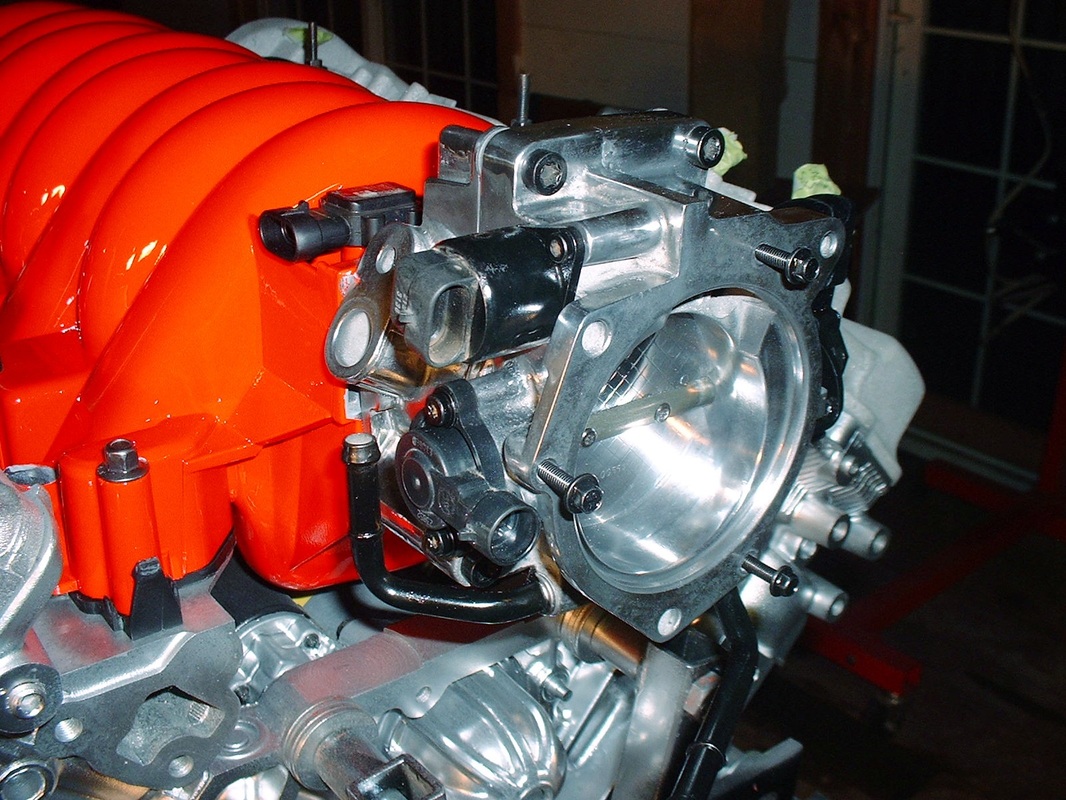
With all the front mounted accessories finally polished and/or painted, it was time to install them on the engine:
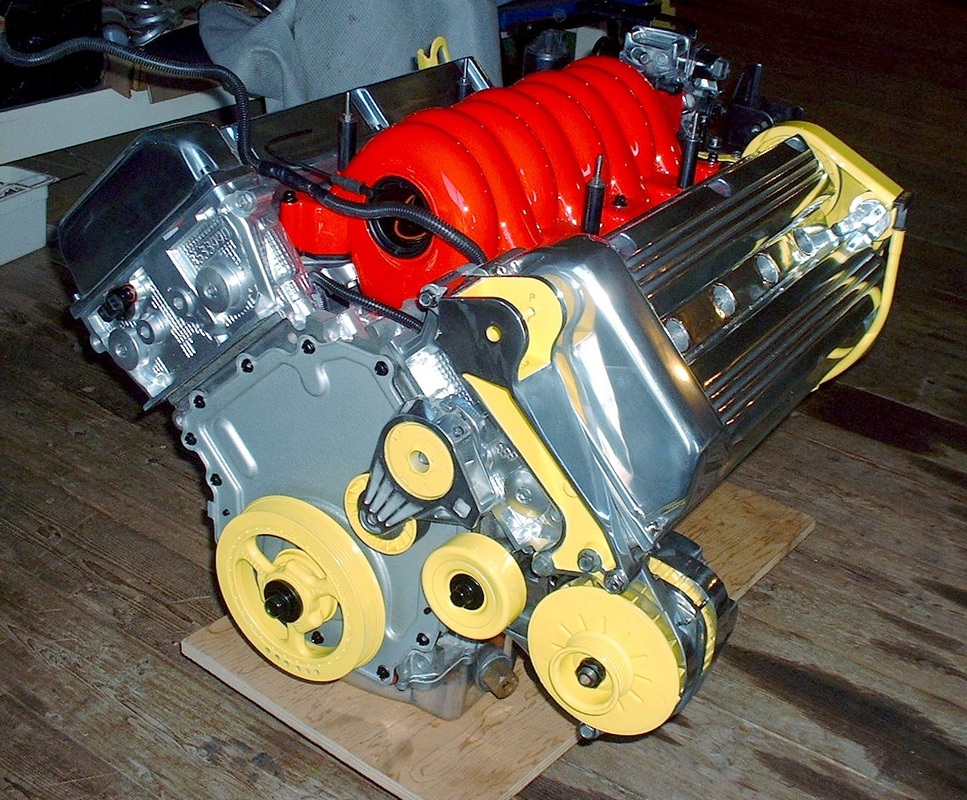
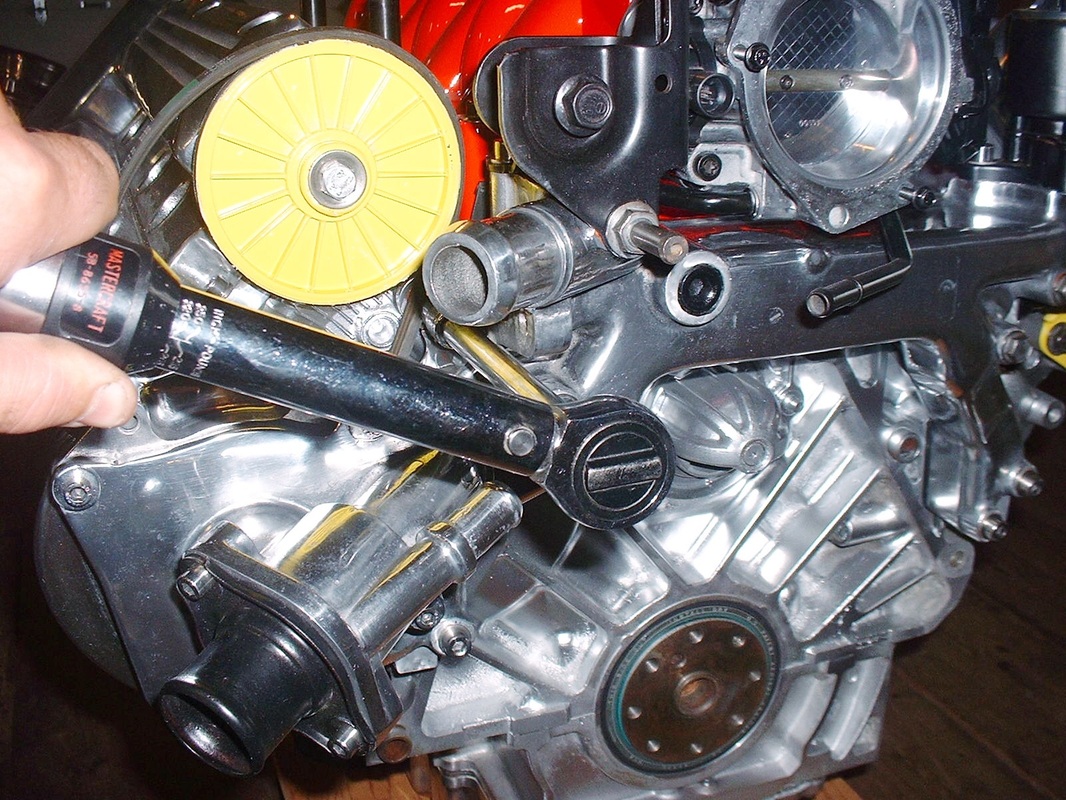
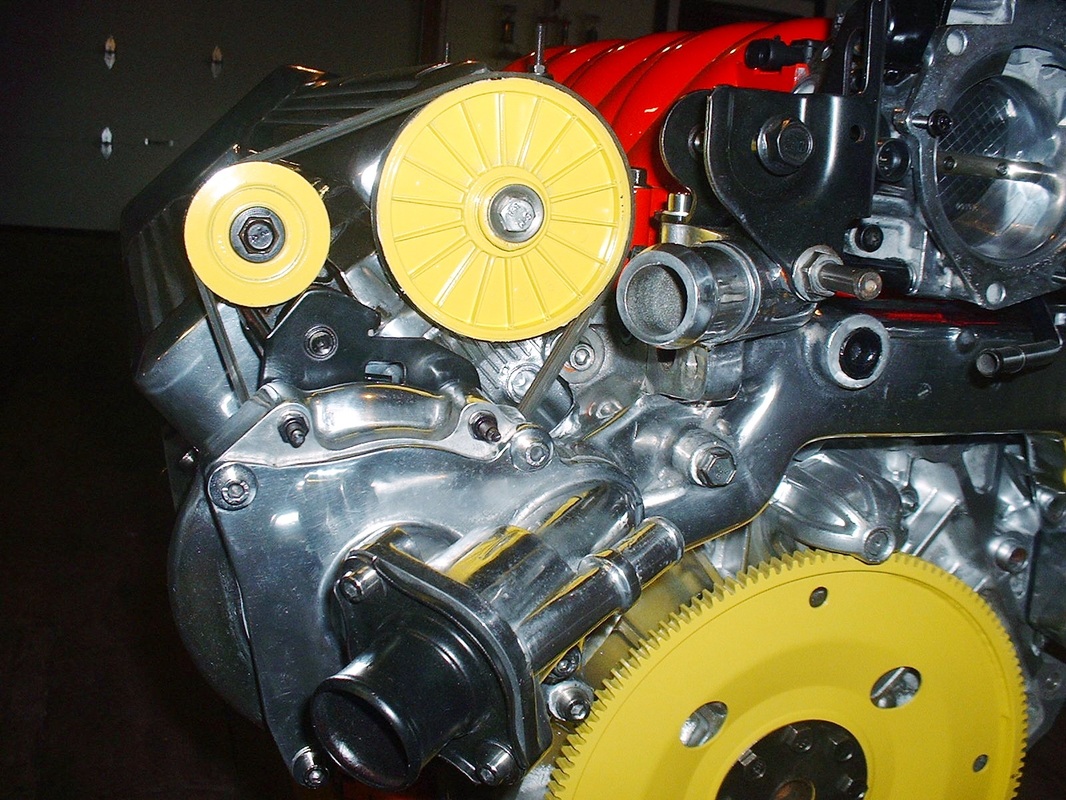
That allowed me to take a few measurements for my new serpentine belt. When I started to wrap the old belt around the pulleys to do this, I realized that the smooth stationary idler pulley would need to be changed out for one with grooves to accommodate my new belt routing. After modifying a pulley from a ’95 Ford Contour (16 valve Zetek engine) to fit, here's the final belt routing:


 RSS Feed
