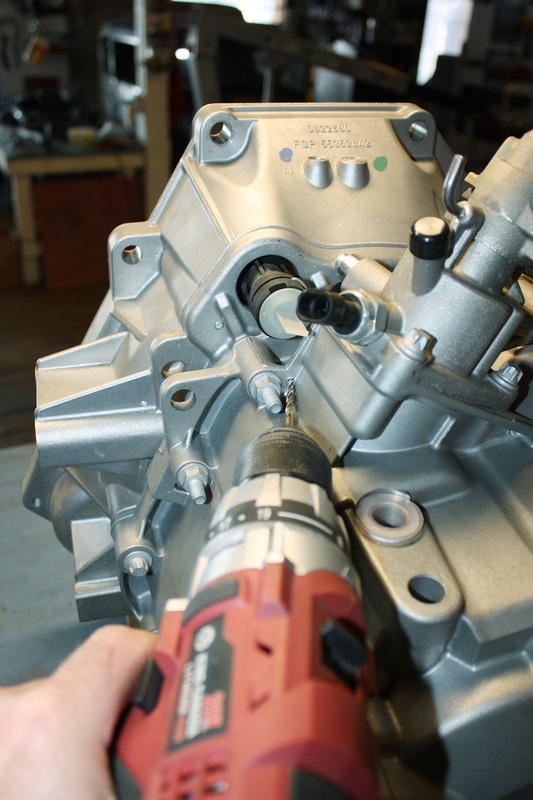
The time finally came to join the transmission to the engine once and for all, but not before a few last minute preparations. The first was to heed the advice of my friend Paul to drill drainage holes in a number of places on the transmission where water tends to pool and stagnate.
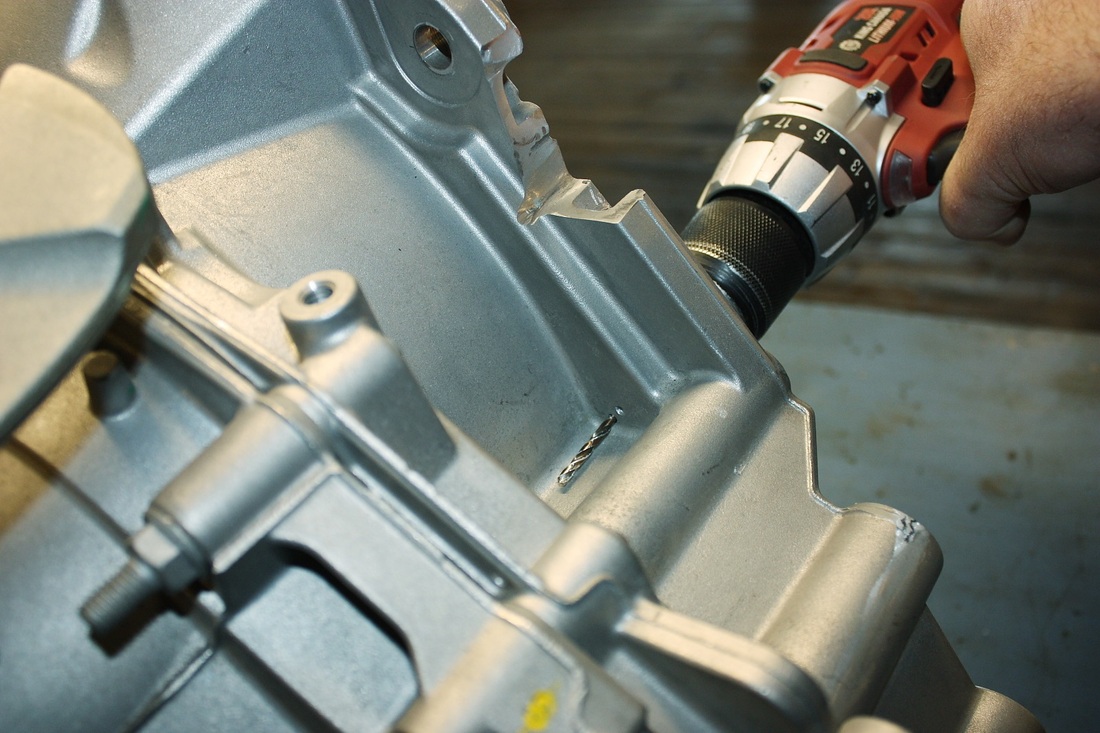
I used a 1/8" drill bit to drill through non-structural webs in a half dozen areas:
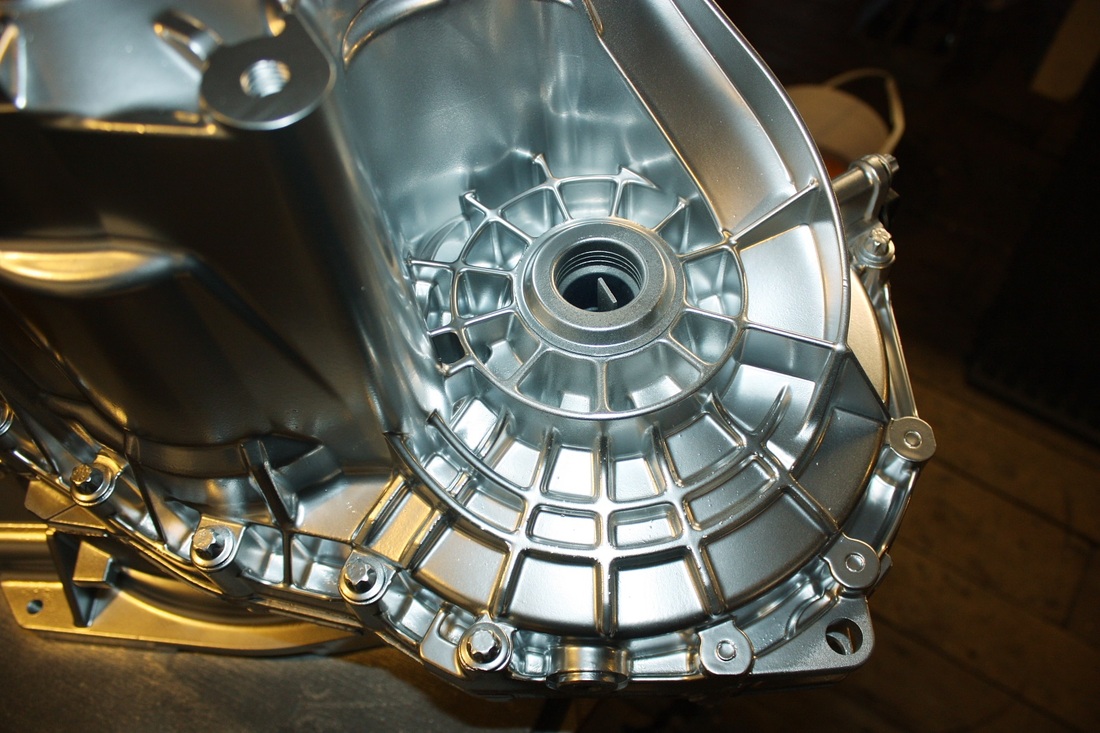
| With that done, it was time to protect the bare aluminium transmission housing from the elements. The rough finish on the exterior is prone to oxidizing leaving white residue and discolouration. So it was a "now or never" scenario when I decided to take the extra two days to prep and paint it. I started by scrubbing the entire transmission with PreKote, an aluminium preparation product that replaces the need for chromate conversion coatings, acid etches, solvent washes and other toxic processes. |  |
Once rinsed and dried off, it was ready for primer and then several coats of paint. Here it is all shiny and new!


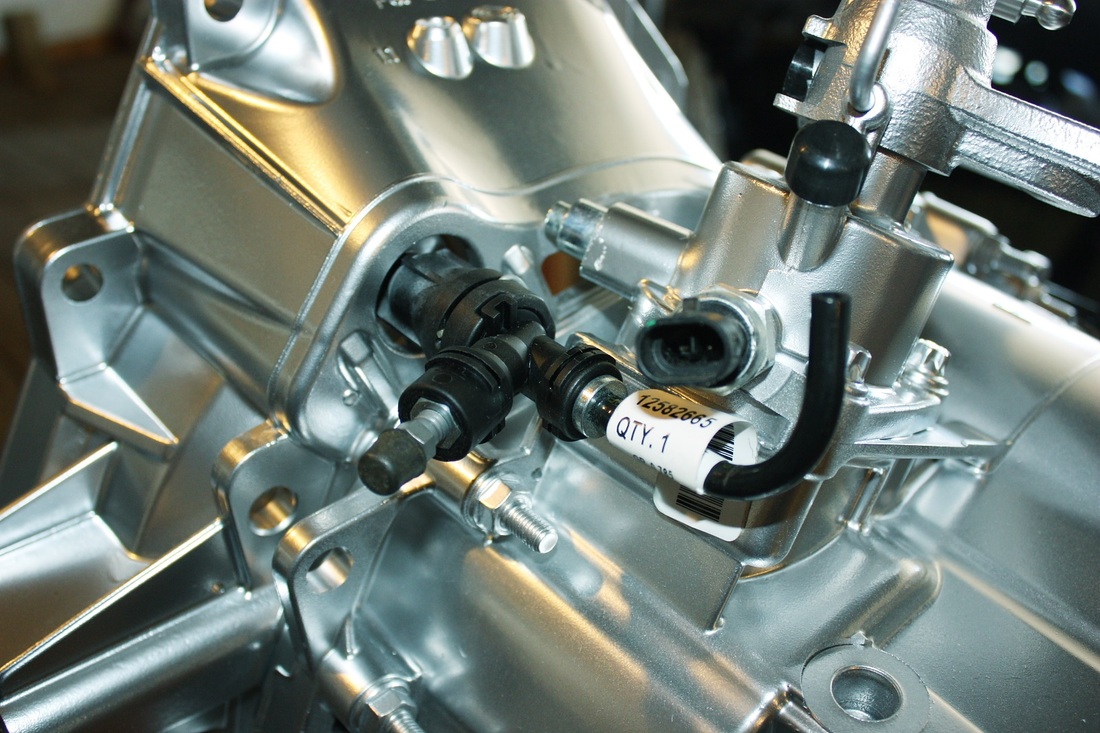
Before the transmission could be mated to the engine, the factory fluid in the hydraulic throw-out bearing had to be released to enable the bearing to recess fully in the bell housing. To do that, a special bleeder valve assembly had to be purchased from the dealership. It came with unnecessary extra hardware including a hose and the base portion for a fluid reservoir:
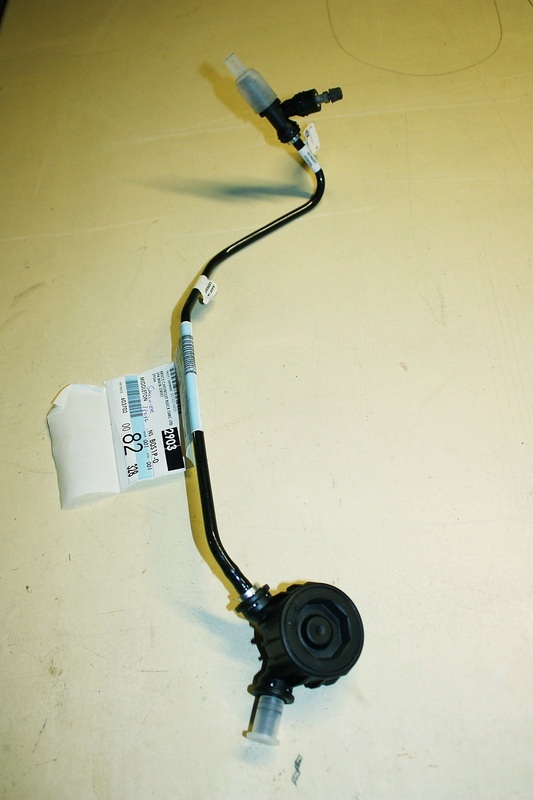
This was the only part needed, which was easily removed by popping off a spring clip:

And here is where the bleeder assembly plugs into the hydraulic throw-out bearing plumbing on the transmission:
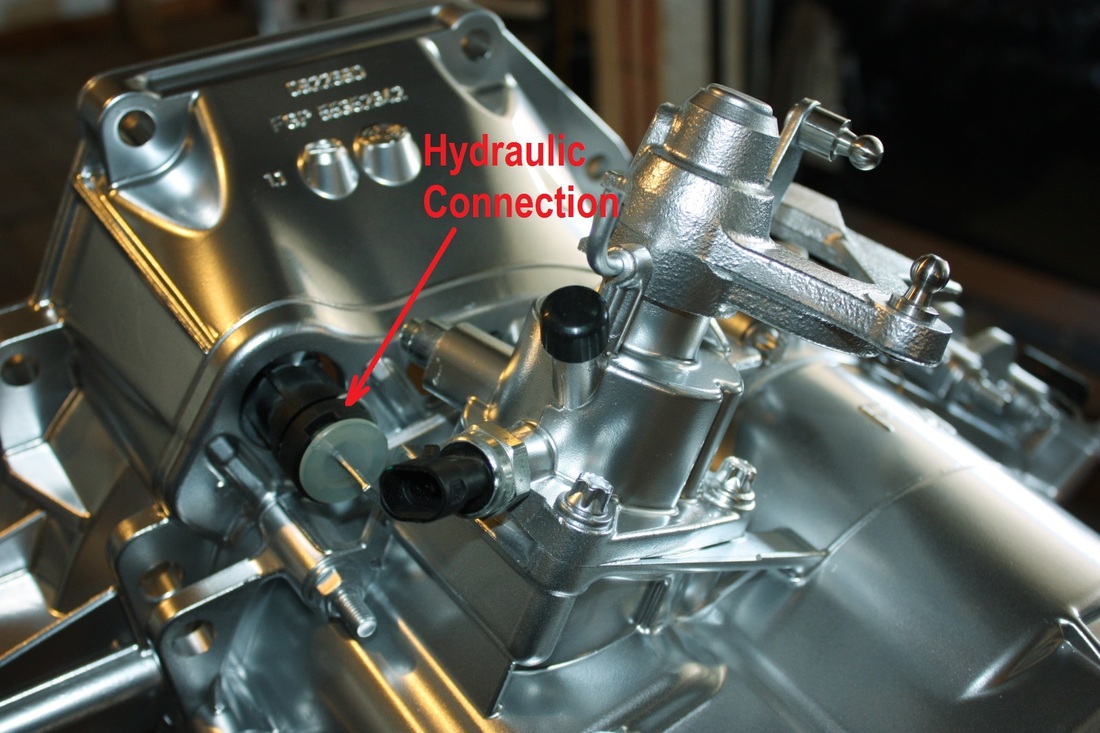
It just clicked into place allowing a small amount of fluid to drain out, but more importantly it ensured the throw-out bearing would easily compress as it came up against the spring fingers on the pressure plate for the first time.
I didn't get any photos of me installing the transmission onto the engine simply because it took all my strength to man-handle it into place... leaving no spare fingers for a camera shutter button. Here it is though, ready for a new home:

If you're reading these posts in sequence, the story continues under the "Rear End" tab on the HOME page. See you there soon!

 RSS Feed
