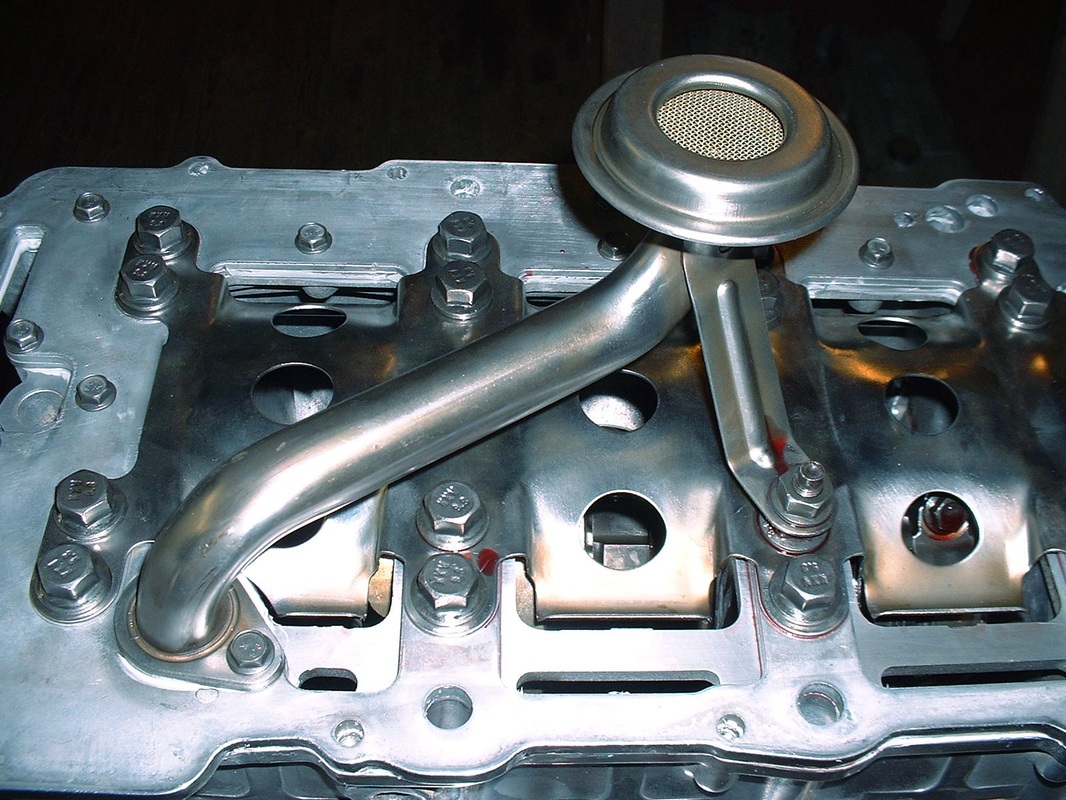
With the pistons installed, the next step was to install the oil pump pick up tube:
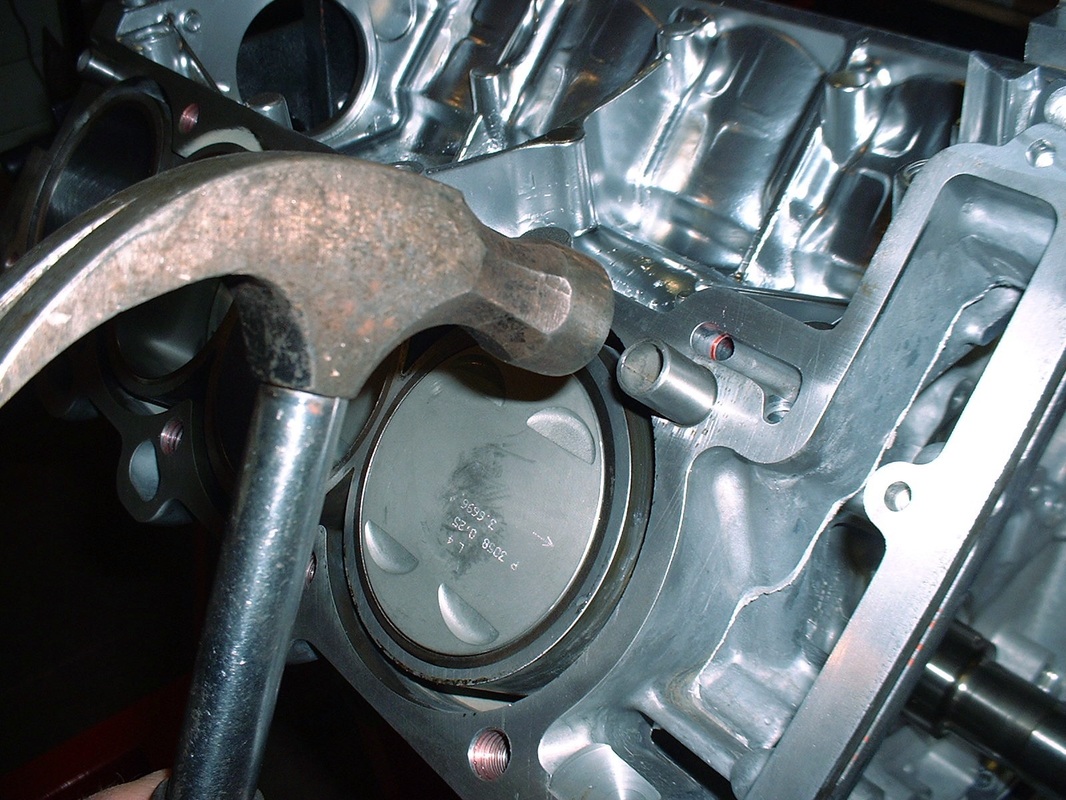
...then the oil pan, and some new cylinder head alignment pins, which went in with a few light hammer taps:
I was finally ready for the cylinder heads, which I had dropped off at the machine shop about a month earlier. Normally I would farm out the machining and reassemble the heads myself, but the machinist at the shop convinced me he would machine them as though they were his own, and only charge a nominal fee to reassemble them. So I entrusted him. Here they are at his shop:
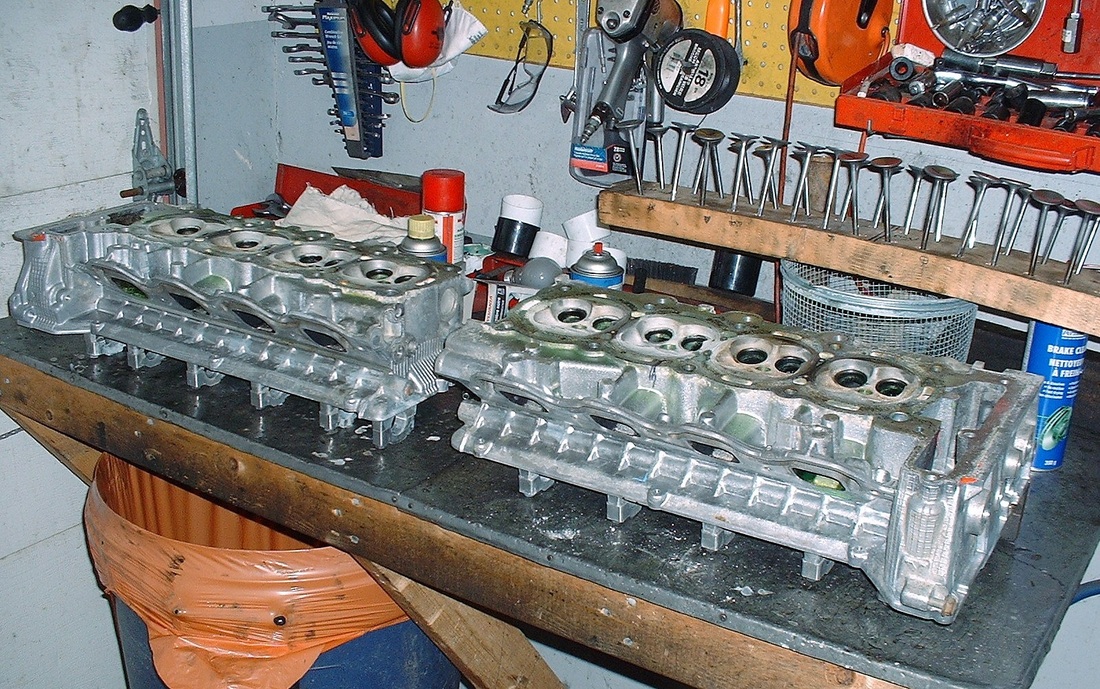
He started saving me money from the get-go. After he measured up the cam wear, he decided that the intake cams were perfectly good with almost no measurable wear. The exhaust cams were a different story though, but I already knew that. I can’t recall the exact pricing for new exhaust cams, but it was enough to make my eyes nearly pop out of my head. Something like $600 each. Luckily there’s a place in Moncton, New Brunswick that can weld up, regrind, and re-harden the cams using a process called Parkerizing. It’s a trade-name for a method of protecting a steel surface from corrosion and increasing its resistance to wear by immersing it in a solution of manganese or zinc acid with phosphate… and all this for the lowly sum of $210 for each cam. Needless to say I didn’t need much convincing:
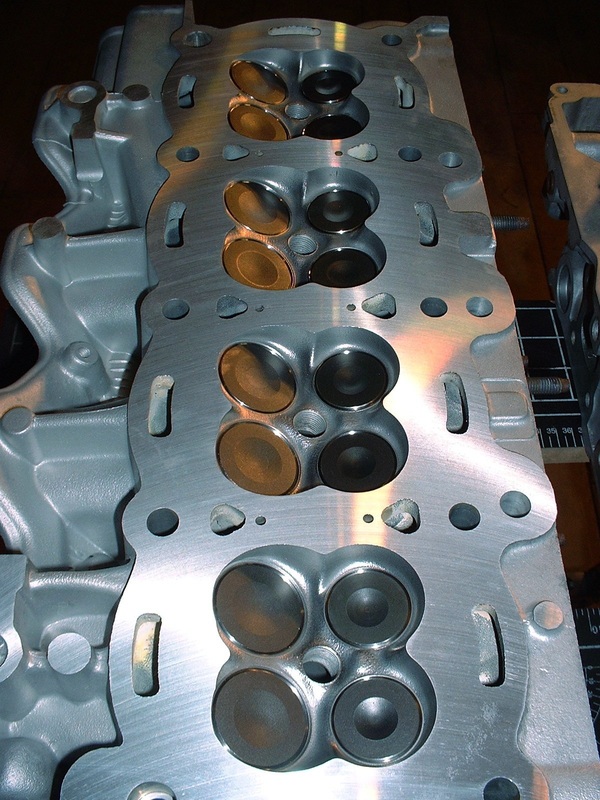
He cleaned the bare heads, bead-blasted them, planed them, re-cut the valve seats, and put in all new intake and exhaust valve guides, new valves, new cam followers, and reconditioned cams for about $1400. Not cheap by any stretch, but not bad for a Northstar. I think you’ll agree they look like new too. I love the look of those 32 valves!
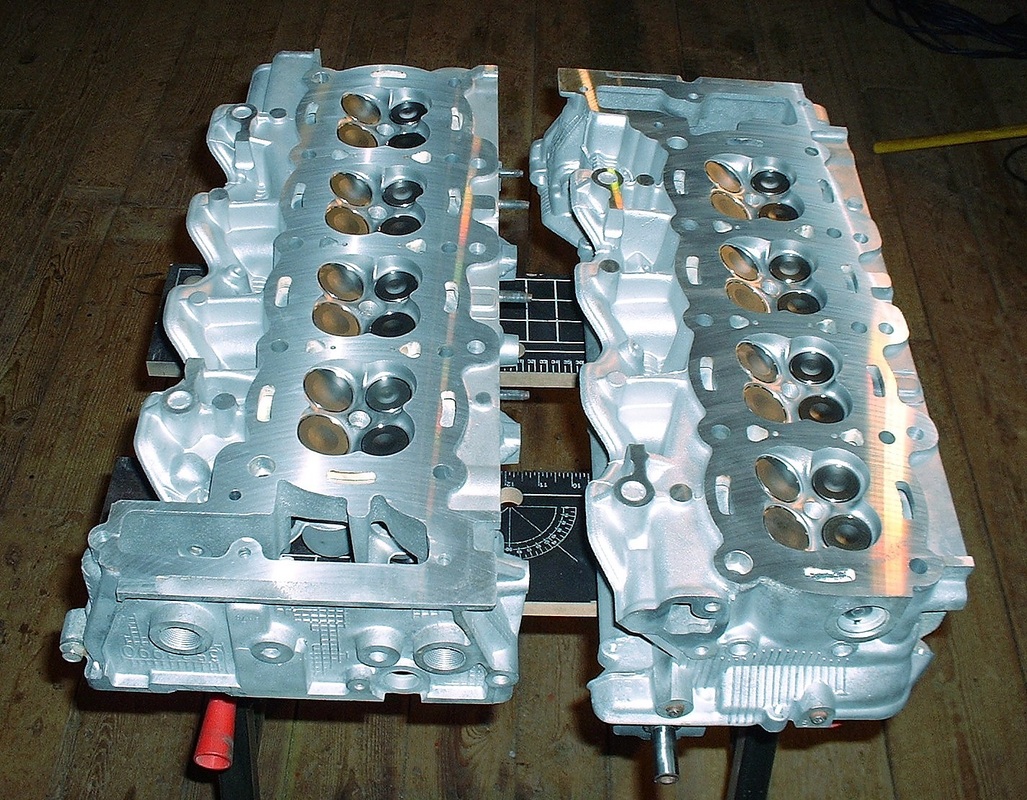
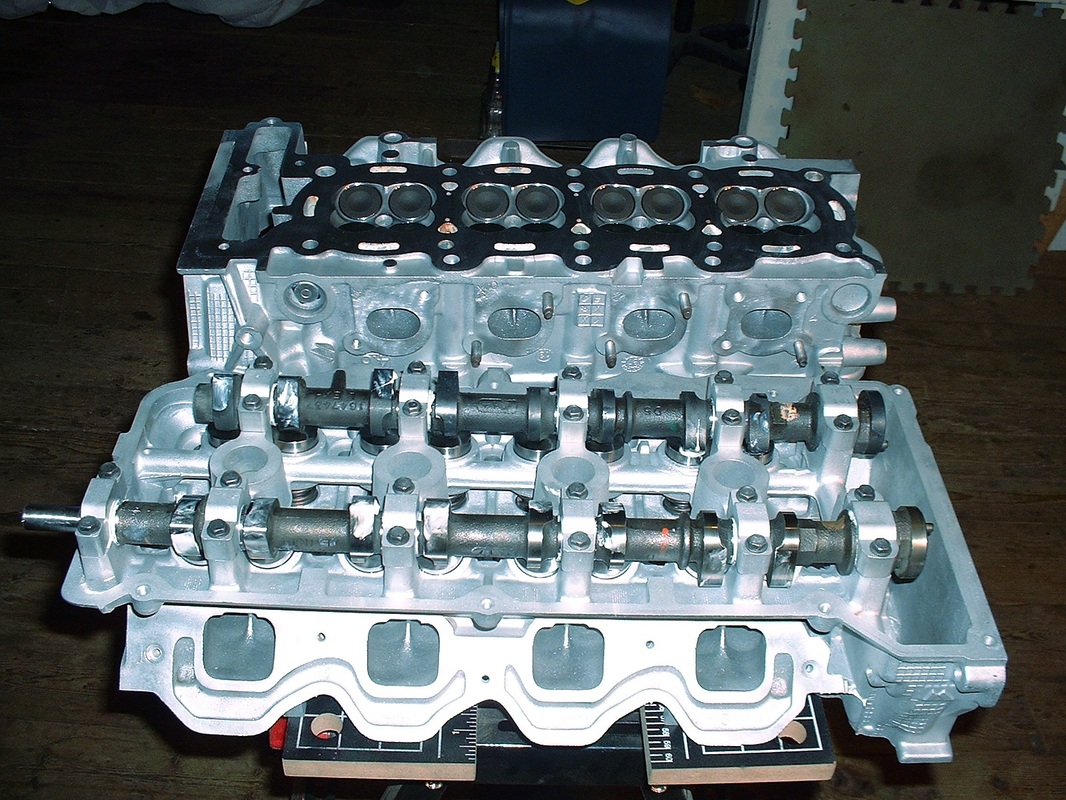
A thing of automotive beauty... I'm restraining myself from posting the twenty-odd photos I took of just the heads from different angles:
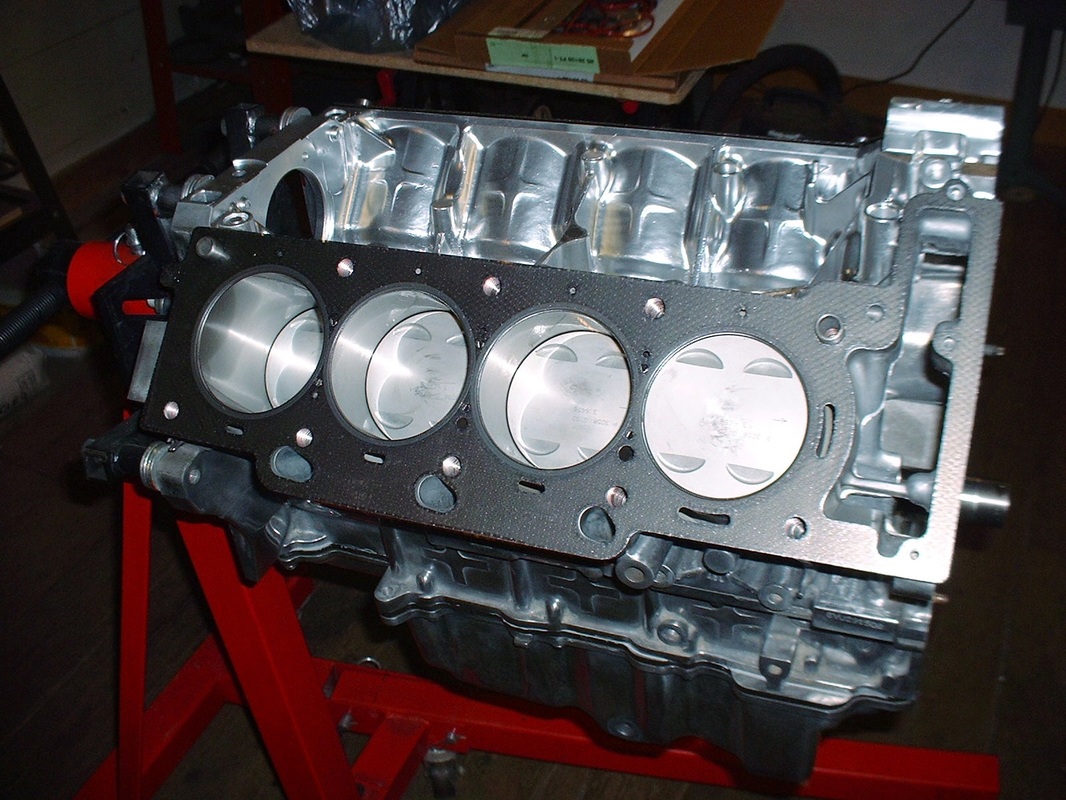
I almost didn’t want to put the heads on the engine and hide all those shiny mechanical parts, but my wife disagreed they’d make great coffee table conversation pieces. I kept them tightly wrapped up in clear plastic bags for months showing anyone and everyone who walked through my shop, but the time finally came to install them. I bought the Fel-Pro Permadry head gaskets (part number HS26150PT-1) at $250 for the set. Here they are installed on the deck surfaces just waiting to be sandwiched by the heads:
And this is the crowning moment when the first head was finally put in place. Not surprisingly, the heads are actually quite light and easily handled by one person despite their size:
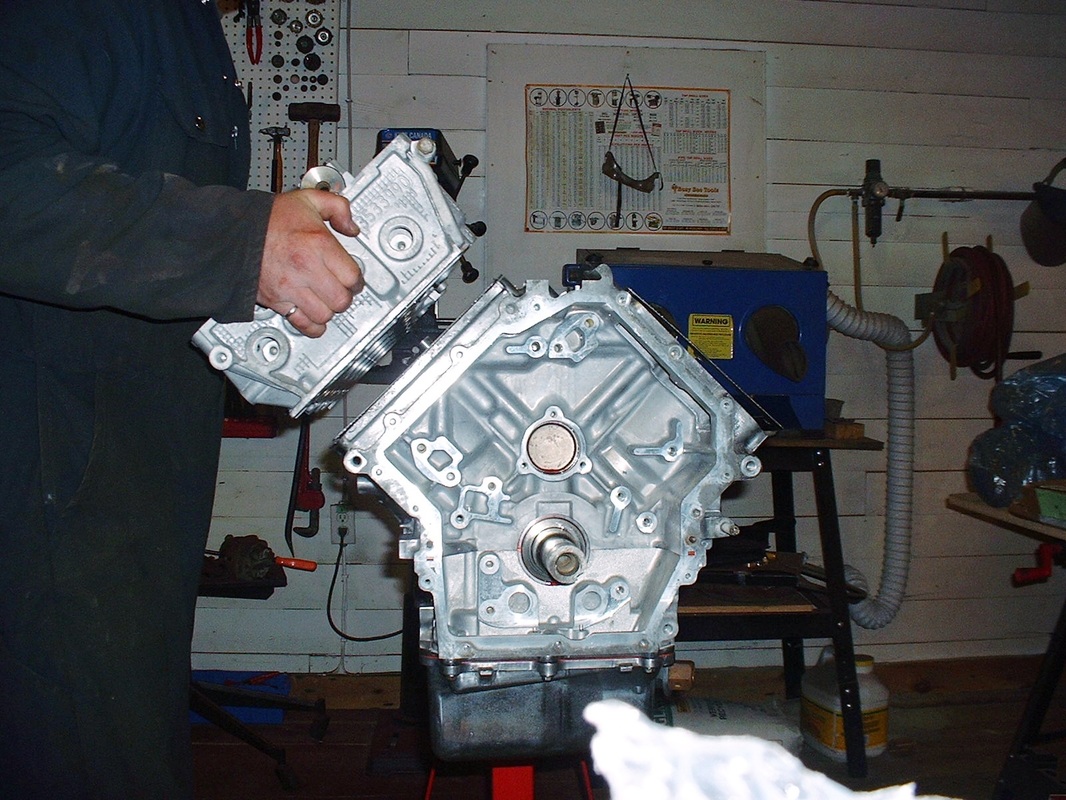
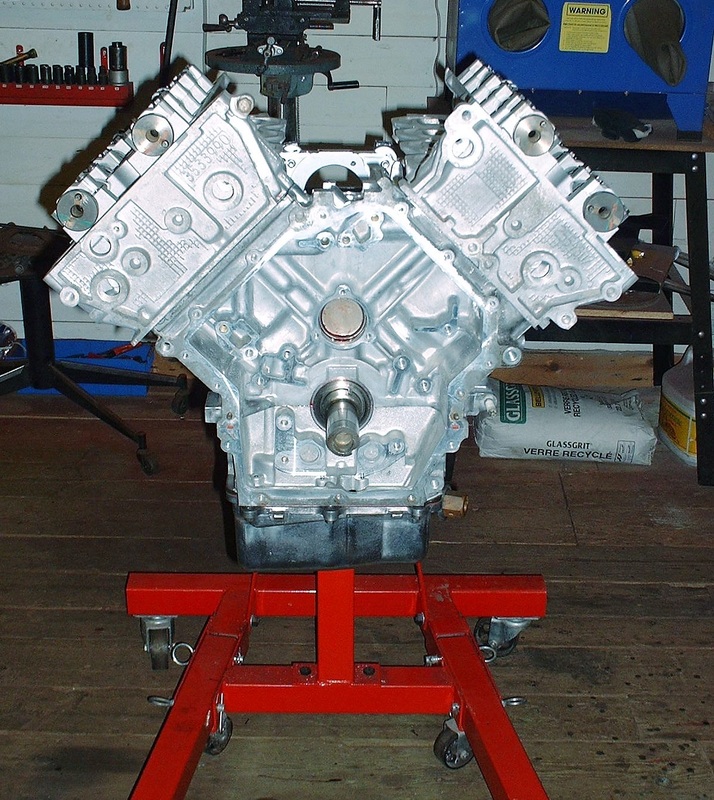
And here’s the double-crown look. From this point of view, without the intake, it’s clear how the double overhead cam heads make the engine so much wider than say, a Small Block Chevy engine. I know the Northstars fit in a stock Fiero engine bay, but it’s kind of nice knowing that I’ll have an extra three inches of depth due to the frame stretch on mine.
With the heads in place, the next step was getting them torqued on. There’s some good discussion on the internet about whether the head bolts are reusable or not since the GM service manual states that they must be replaced without really explaining why. The consensus is that they are theoretically reusable since they aren’t torqued beyond their yield point (ie TTY). But from a practical standpoint, they should be replaced because of the specialized coating on the threads. Apparently it is a one-time-use coating that cannot be reapplied to the threads outside of having the highly specialized machine processes at your disposal:
So armed with this information, I took my 20 perfectly good used head bolts and set them in my bin of used-big-bolts-in-case-I-ever-need-that-particular-odd-size-ever-again. It’s amazing how many bolts are collecting dust in there. And off to the internet I went to order two boxes of Fel Pro head bolts (p/n ES-72186) at $42.50 each box. Here’s what they look like:
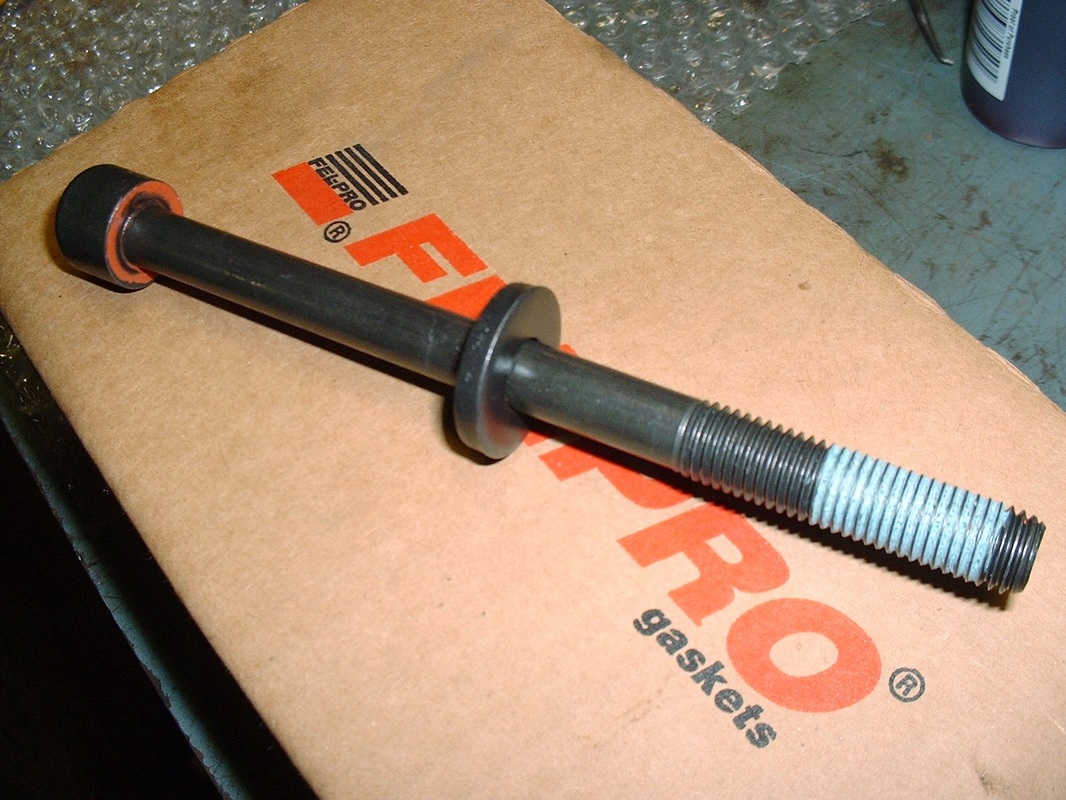
Notice there’s not only a coating on the threads, but also on the underside of the head too. It's possible that it's a sealant to keep engine oil from creeping down the bolt holes and affecting the coating on the threads, but I'm just speculating. One thing it does do is give you a hard time after you’ve finished torquing the bolts. The rubberized orange sealant squeezes out as the underside of the bolts come in contact with the cylinder head, and then gets pinched off by further tightening. So you end up with these little strands of orange sealant dropping off into the cylinder head. I wasn’t impressed since it took about half an hour using tweezers to pick out the pieces after I was done.
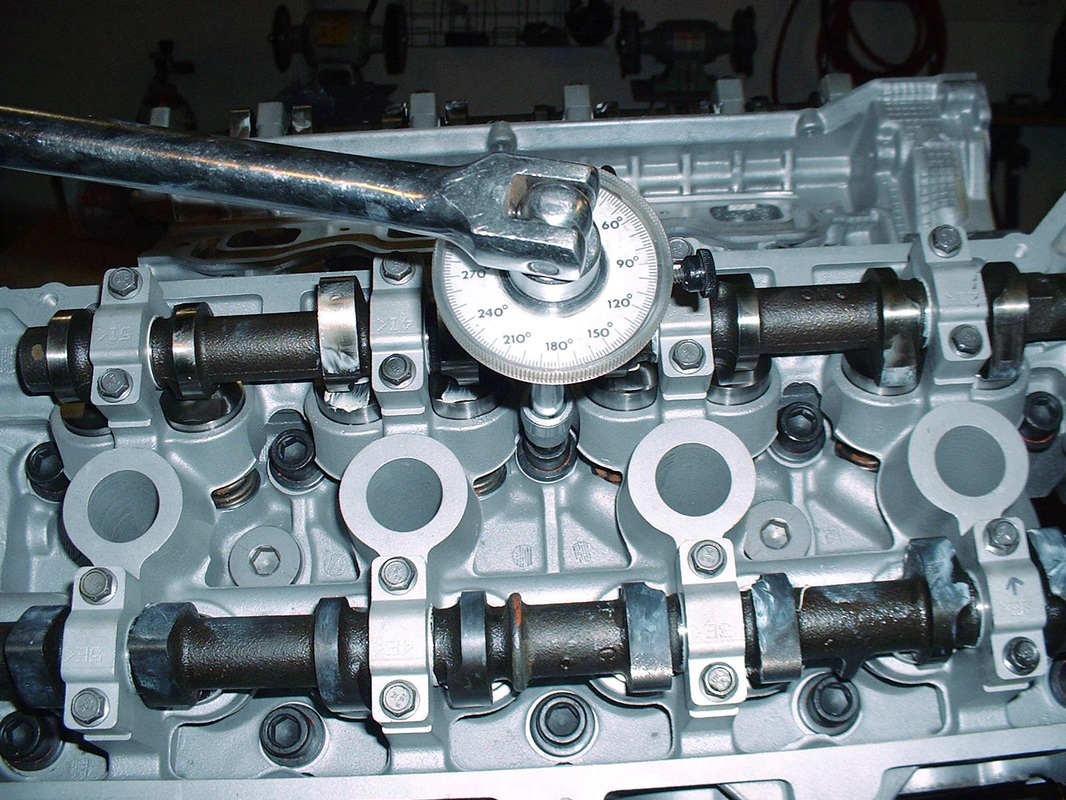
Here’s a quick pic of me using the angle meter again while torquing the head bolts on. For these, you start by applying 22 lbft of torque with a torque wrench to all twenty bolts in a particular sequence, and then recheck them a second time. Next, you rotate all twenty head bolts in sequence a further 60 degrees one after the other, then go around again for another 60 degrees, and then a final 60 degrees after that. It takes a bit of time to set up the meter each time and you really don’t want to be in a rush or be disturbed while doing this and lose track of where you are in the sequence. It’s best to lock yourself in the garage and let no one disturb you until it’s done:
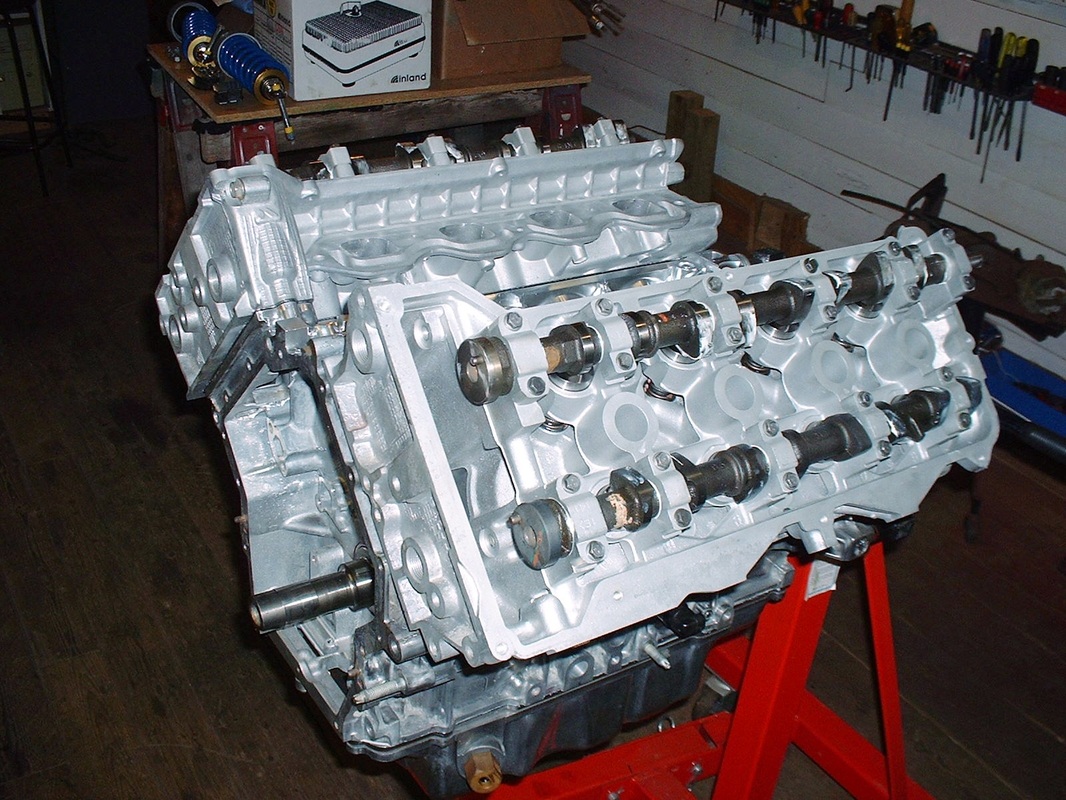
Here’s a topside view of the heads once they were installed. The orangey-yellow stain on the intake cam and the white stain on the exhaust cam are factory paint markings probably to enable the assembly line workers to differentiate between the two at a glance.

 RSS Feed
