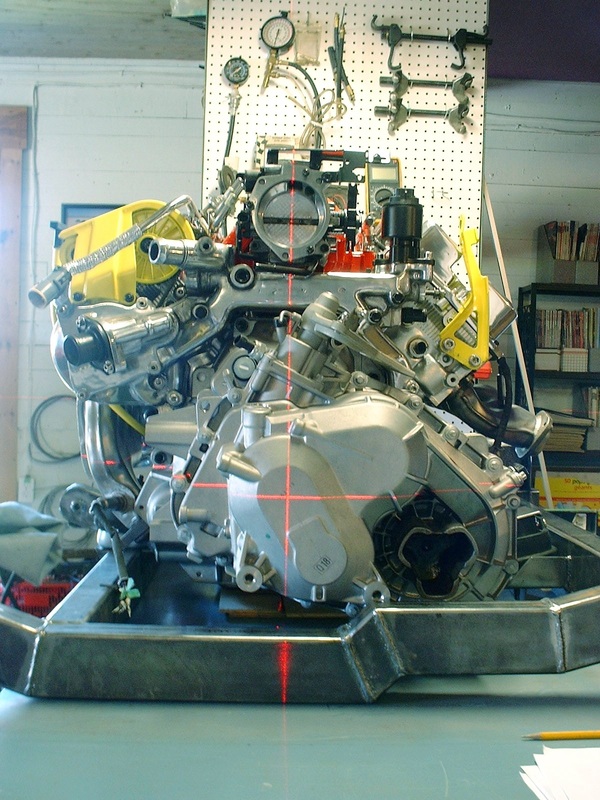
To get the correct lengths for the aft transmission and engine mounting brackets, I set the cradle and the powertrain up on a workbench. I then used a self levelling two axis laser level to set the engine square and level to the cradle, and to project the centerline of the crank and the axles onto the cradle for future reference. (For some reason the beams look to be a 1/4" wide in the photo... in reality they're 1/8" wide.)
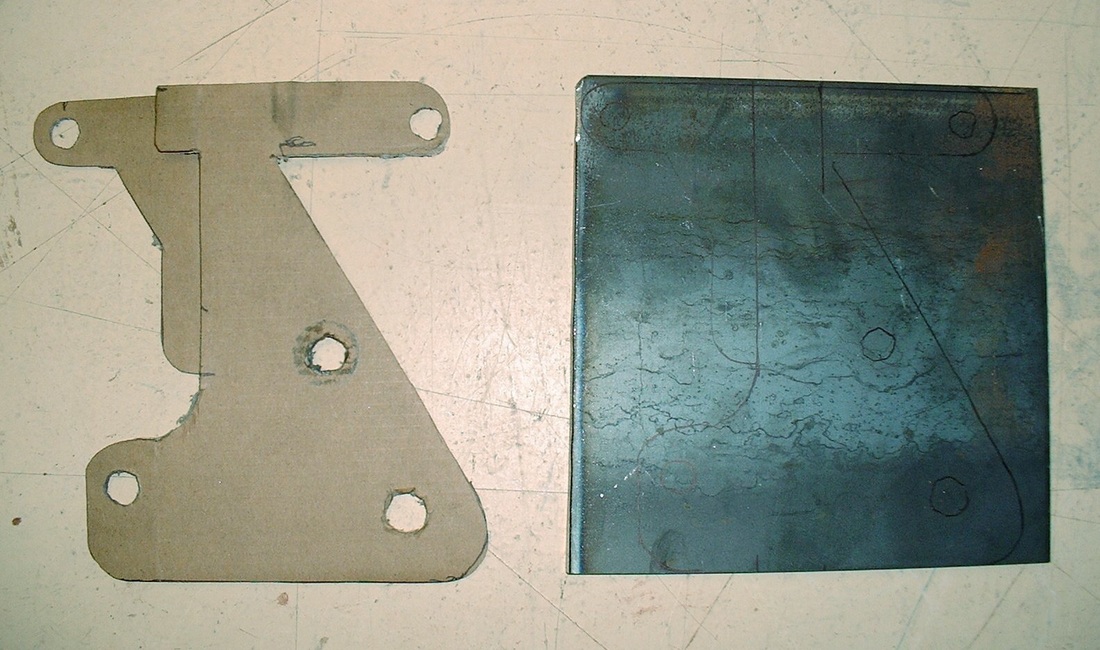
With the engine level to the cradle, I began taking the measurements to fabricate the aft engine and transmission mounts. I started with the easy one and created a template out of cardboard that fit just right:

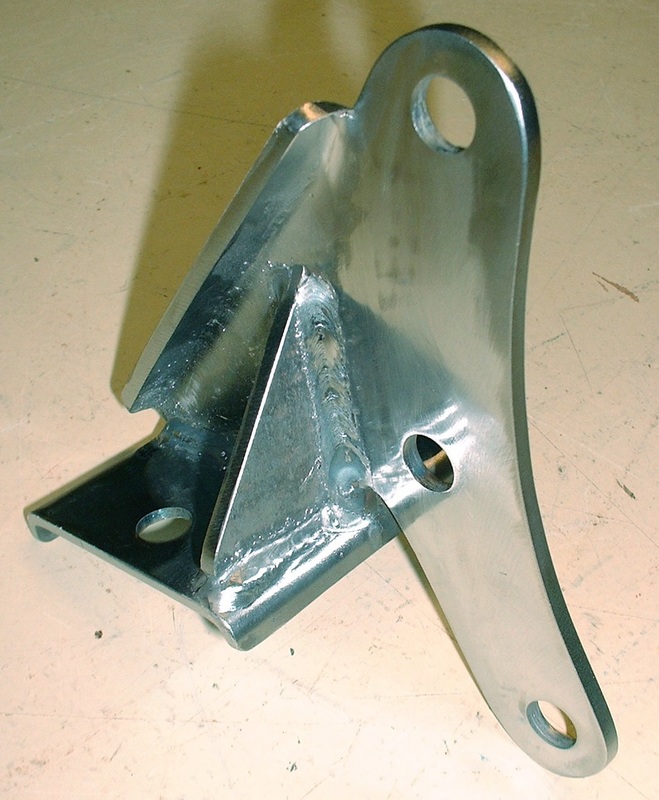
Then I transferred the pattern onto some 3/16" thick steel plate, leaving extra material in two areas. The first was where I wanted to create a return flange to give the bracket some stiffness.
The second area was where the upright portion of the bracket met the steel plate on top of the rubber mount. Before finalizing this area, I checked to see how much the rubber mounts compressed with the engine's weight, then compensated for that loss in height by adding 5 mm more to the bottom of the red template. Here's what bracket looked like after welding:
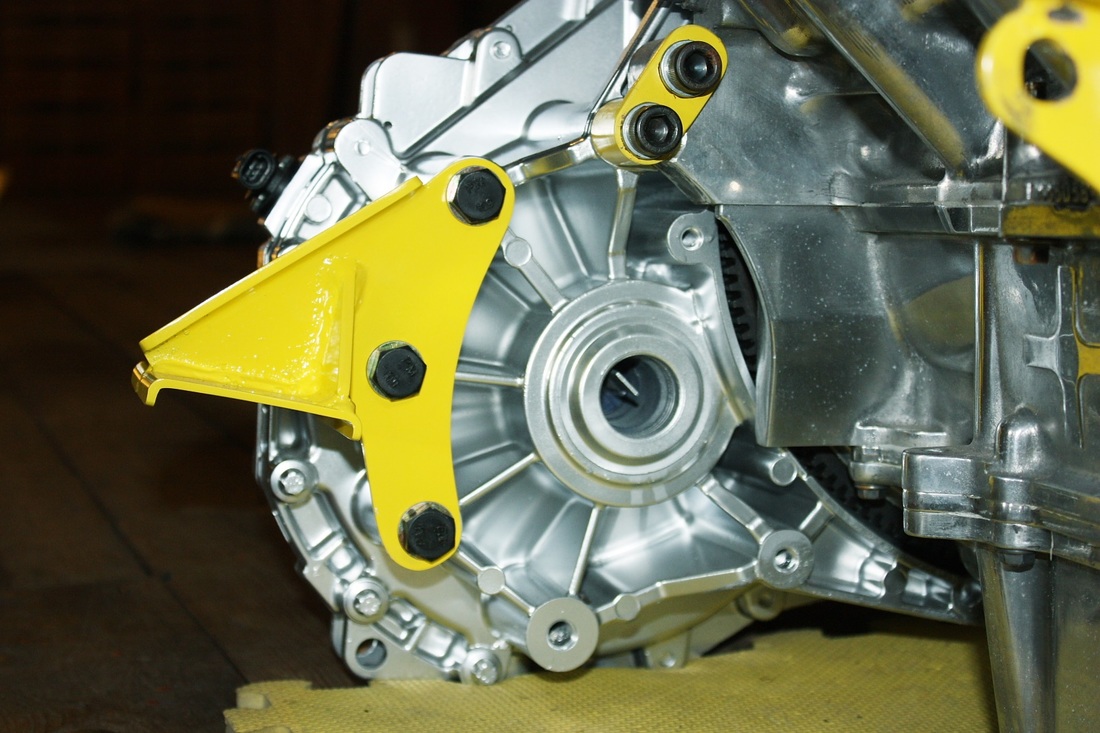
And here it is painted and mocked up on the transmission:
Next I focussed on the aft engine mount. The challenge was creating a bracket that would pick up the four threaded engine bosses that lay in three different planes. I played around with cardboard templates for several hours before finally being satisfied enough to transfer it to some 3/16" plate steel:
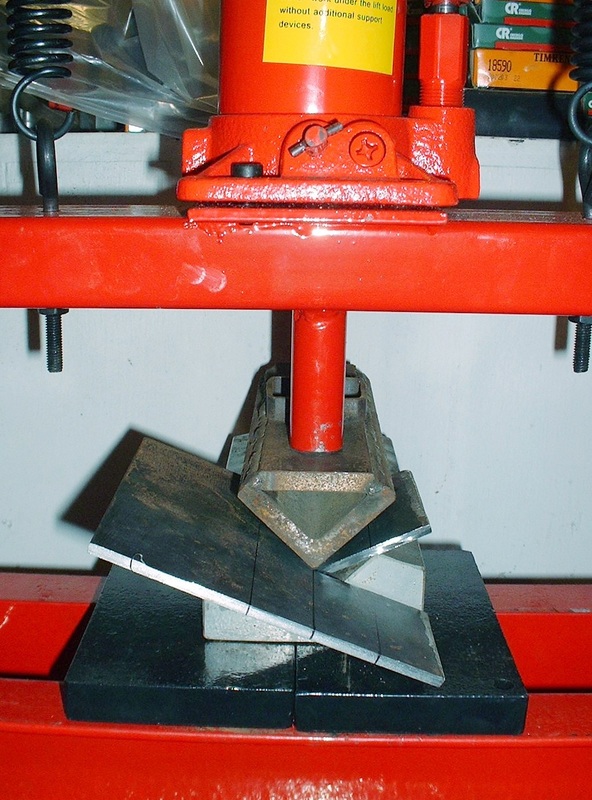
Using my 12 ton hydraulic press and a set of 90 degree dies, I then bent the bracket into shape:
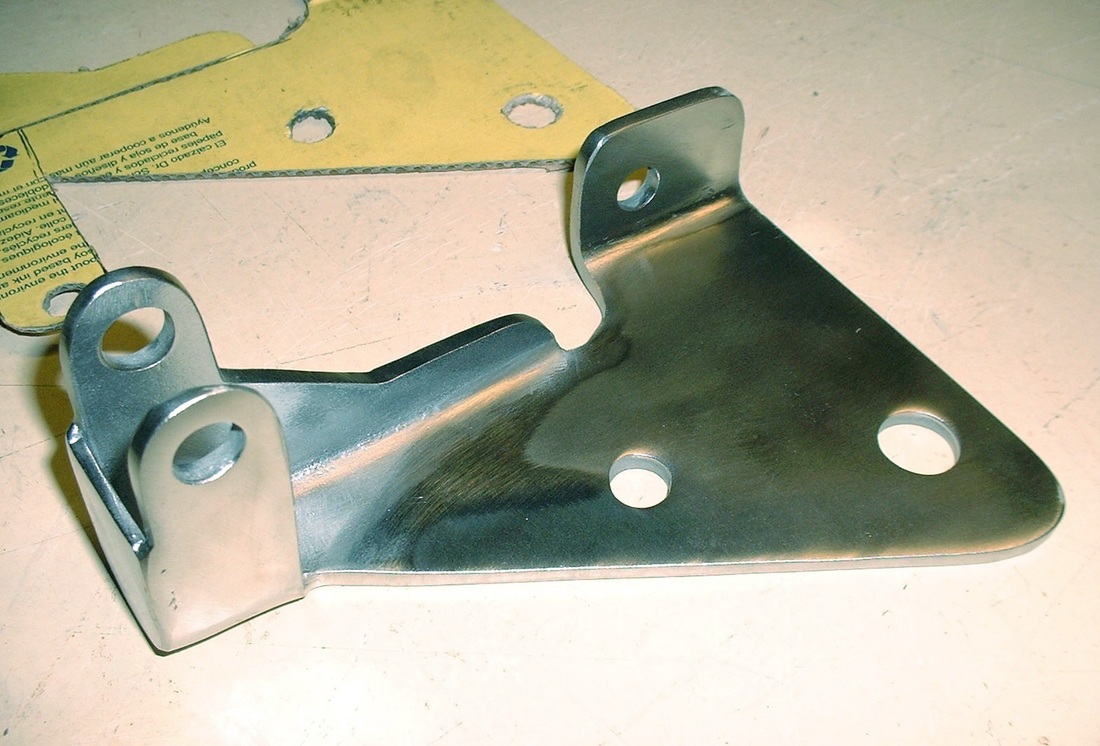
Then welded, trimmed, and drilled it:
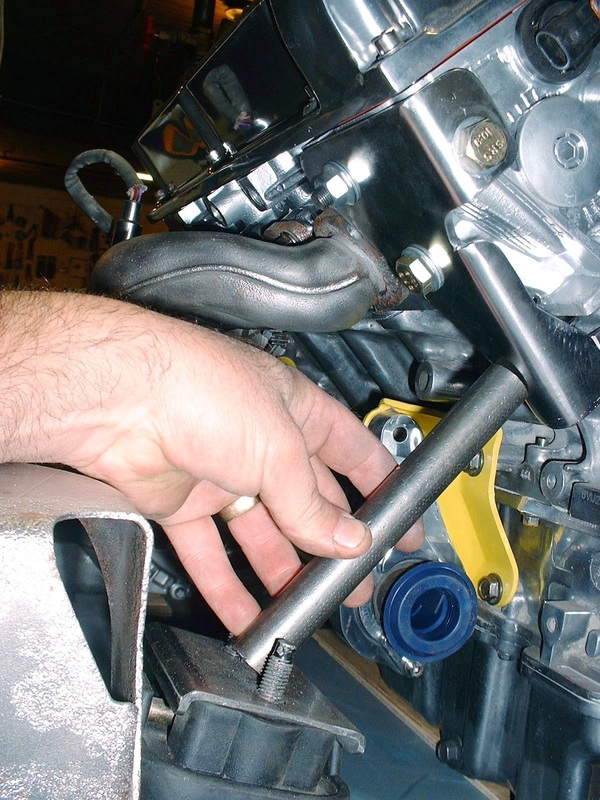
I installed it on the aft cylinder head and began taking precise measurements for the two tubular braces that would extend down to the hydraulic rubber mount:
I then cut and welded the tubular braces combining all four pieces together like this:
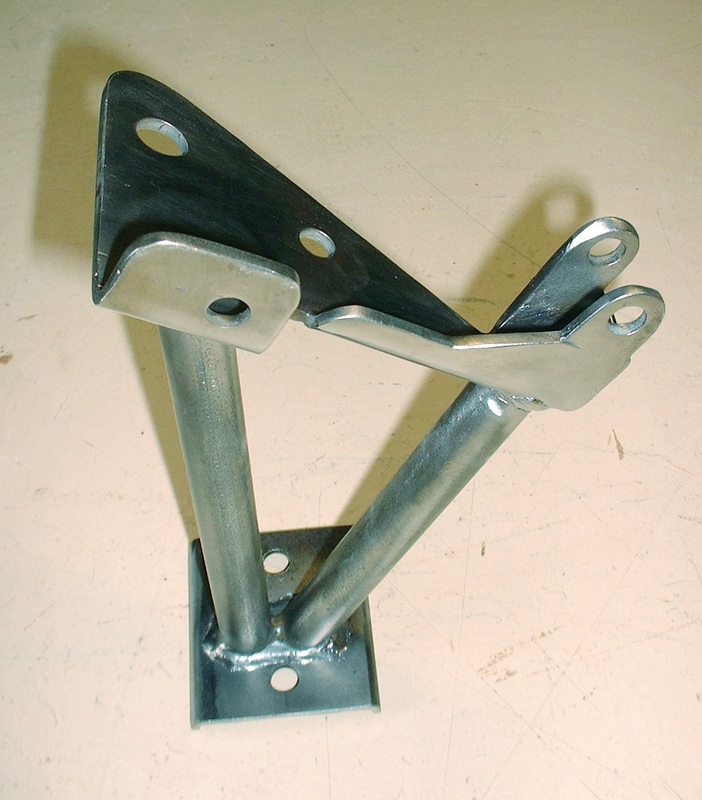
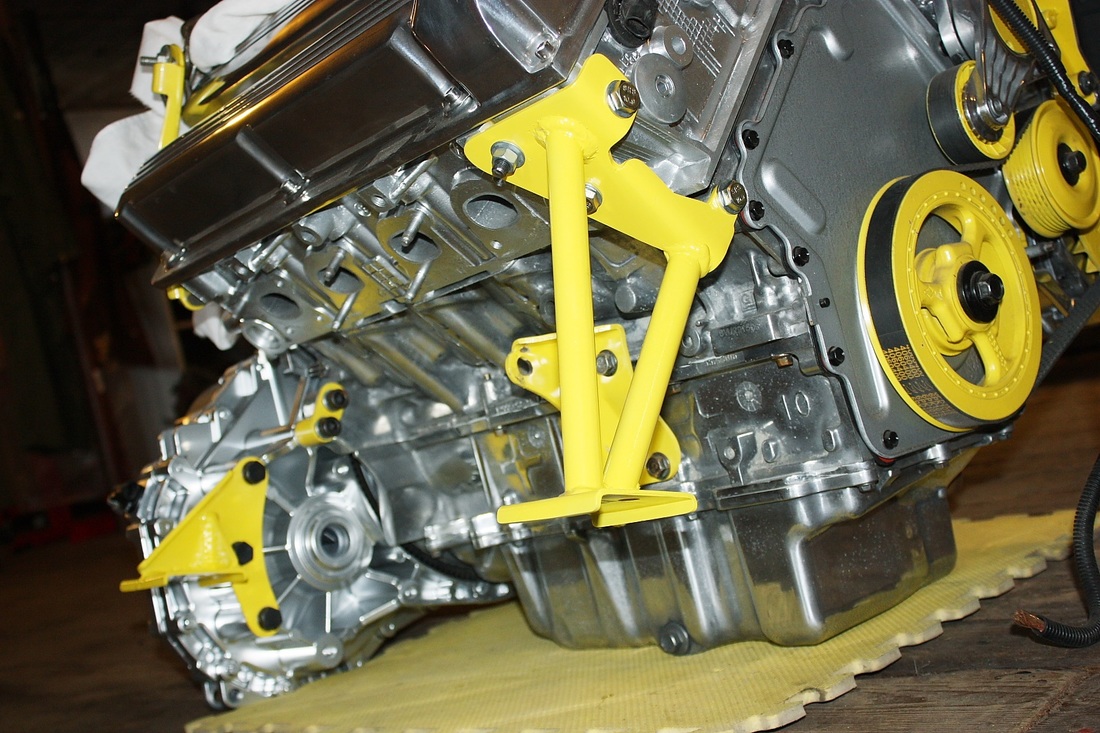
Once it was primed and painted I mocked it up on the engine again. Here's what both aft powertrain mounting brackets look like installed:
The engine was finally ready to be mounted on the cradle, however it would've gotten in the way of fabricating and welding the lower suspension mounts to the cradle side rails. That's what I'll cover next.

 RSS Feed
