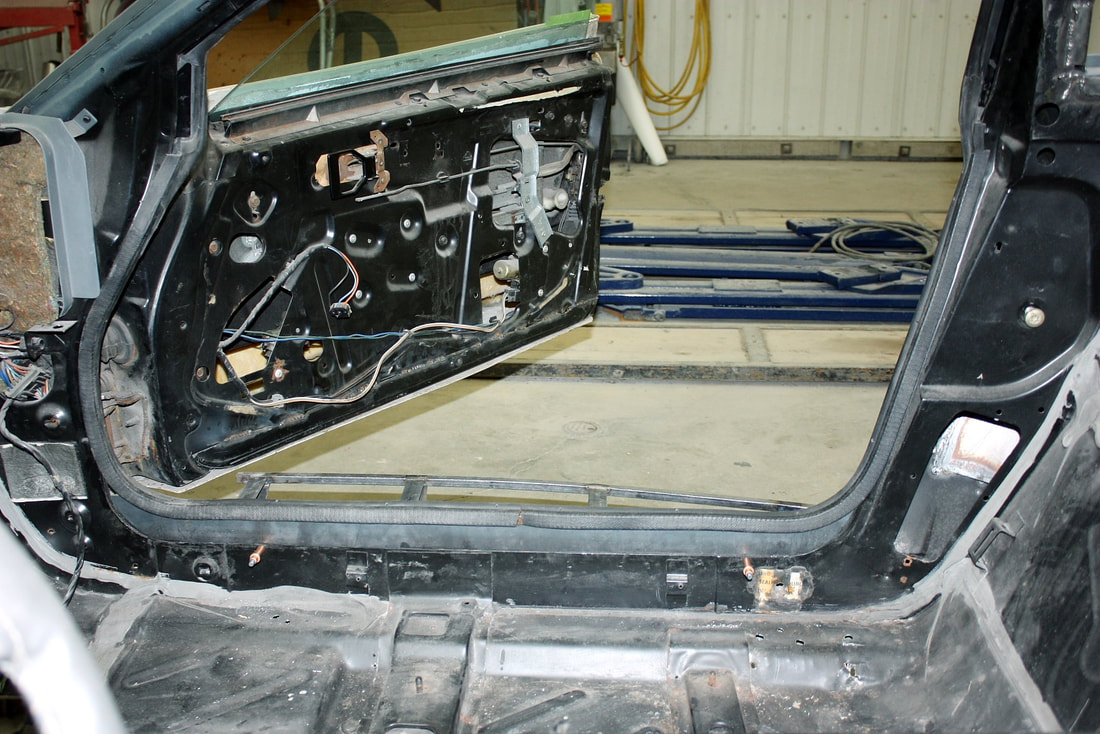
Back in Post #105, I cut off the bottom of the OEM steel doors in order that the shorter, rockerless, door skins would fit. Here’s a quick reminder showing where I cut the doors (yellow line) and where I drilled out spot welds (arrows) to save the two door stiffeners from the cut-off wheel:
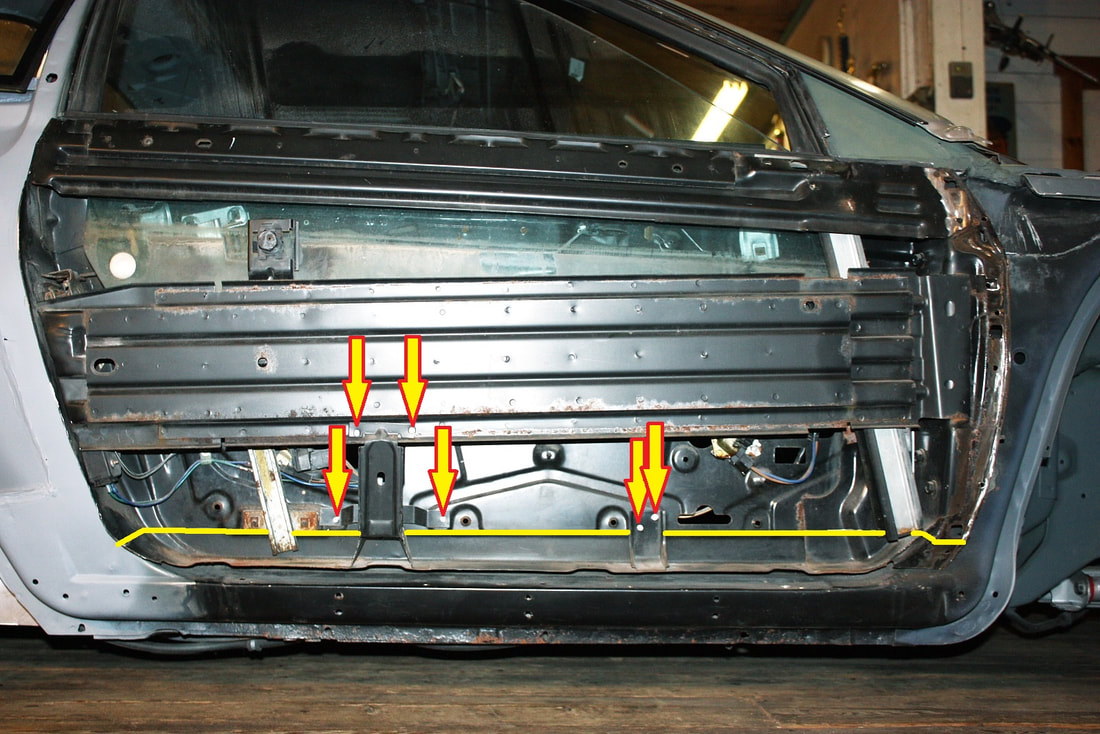
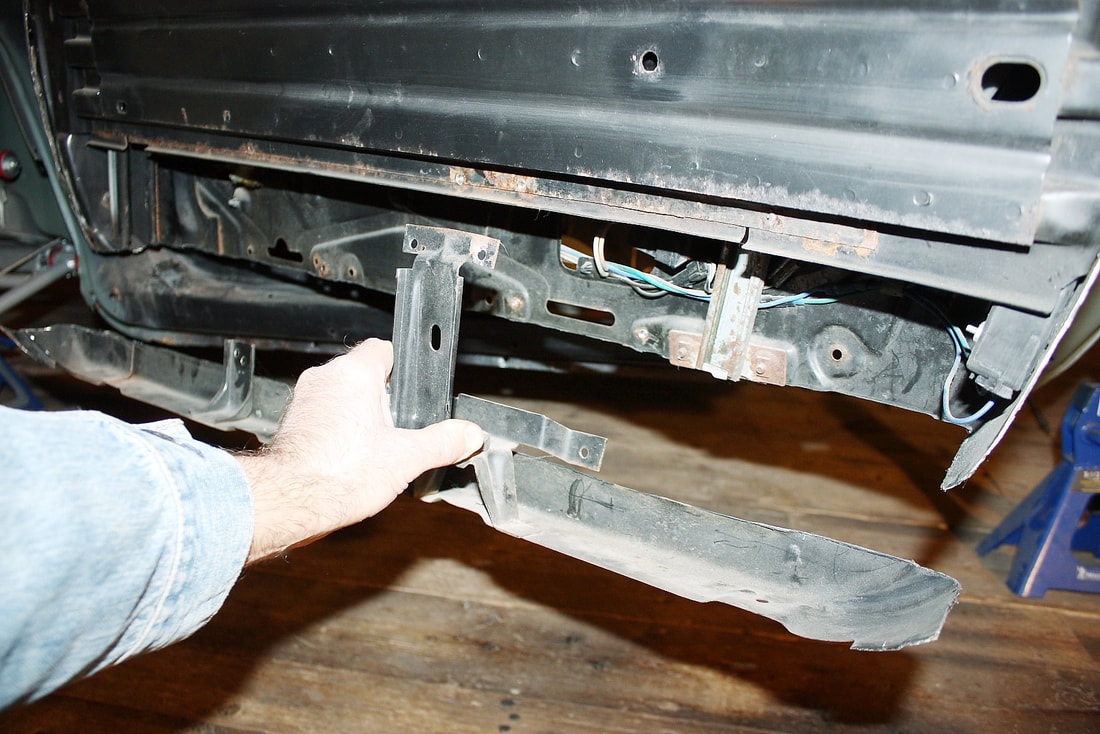
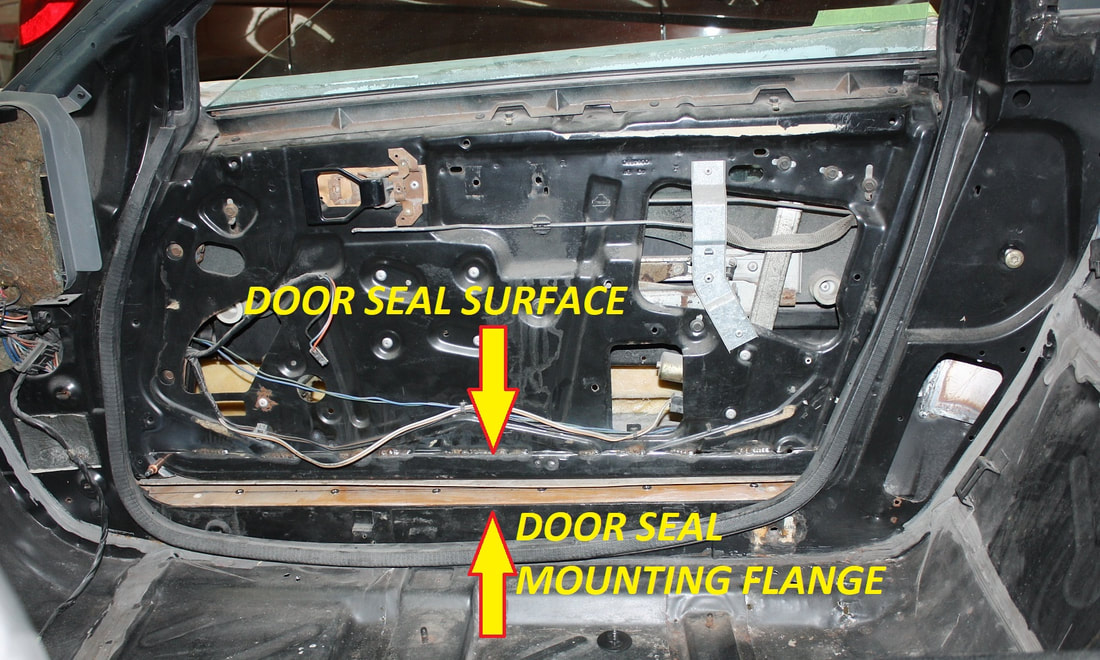
The parts I chopped off played several important roles: bottom door seal, window stop, stiffener, and lower mounting surface for the door skins, so I couldn’t very well leave the bottom of the doors cut off like that:
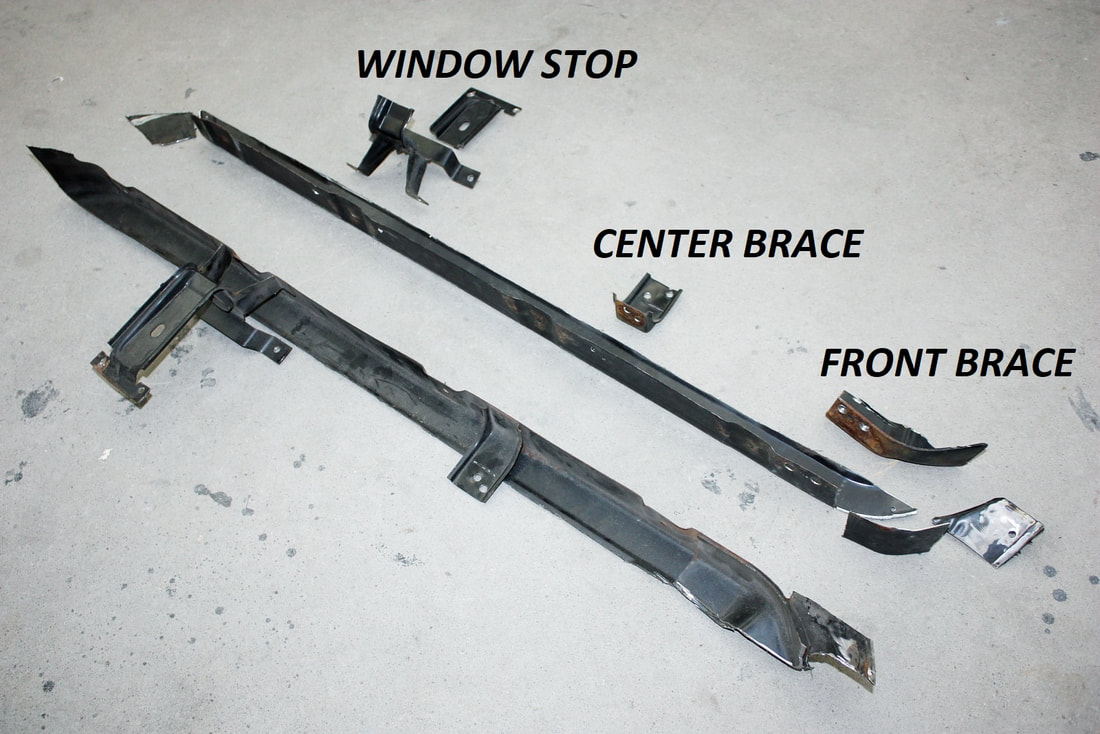
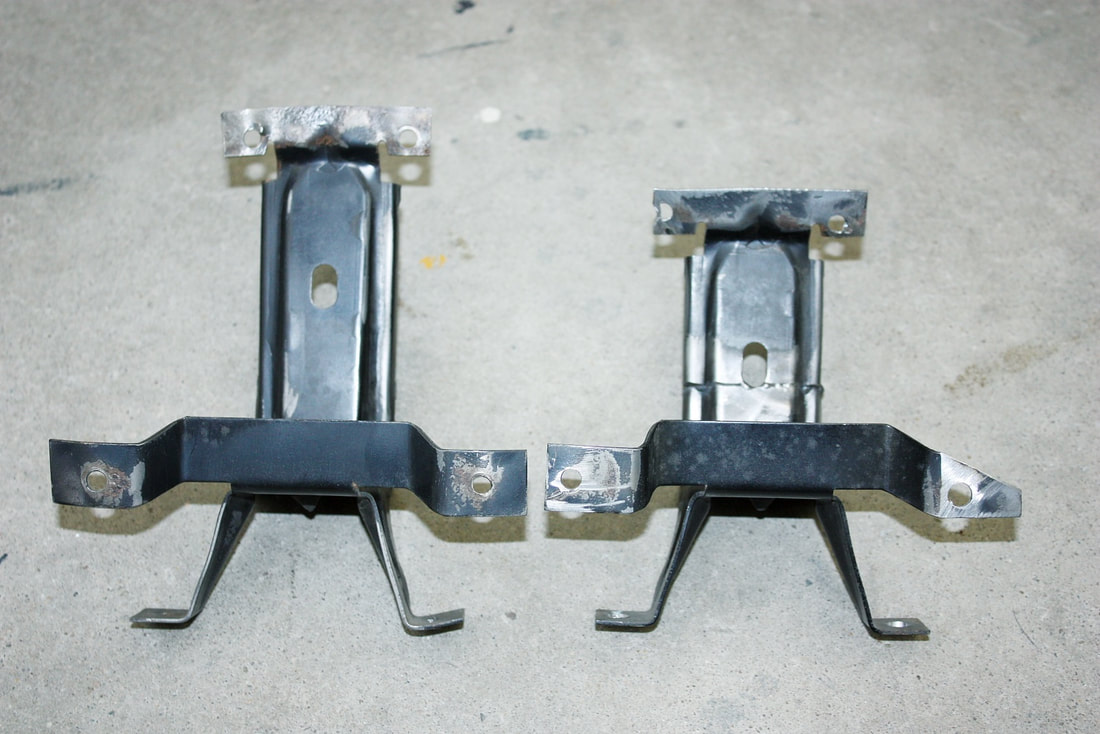
Rather than design new sheet metal for the door bottoms, the easiest thing to do was modify, raise, and reinstall the old parts. This next photo shows the before and after mods I made to the chopped off sections. I drilled out the spot welds holding the window bump-stop, center brace, and front brace to the long sealing edge:
After massaging the long lower sealing edge a bit more, I was able to refit it to the metal door in the raised position, then temporarily pinned it in place with a couple Cleco fasteners:
Once I was happy with the fit, I turned the heat setting on the welder down and stitched it to the door:
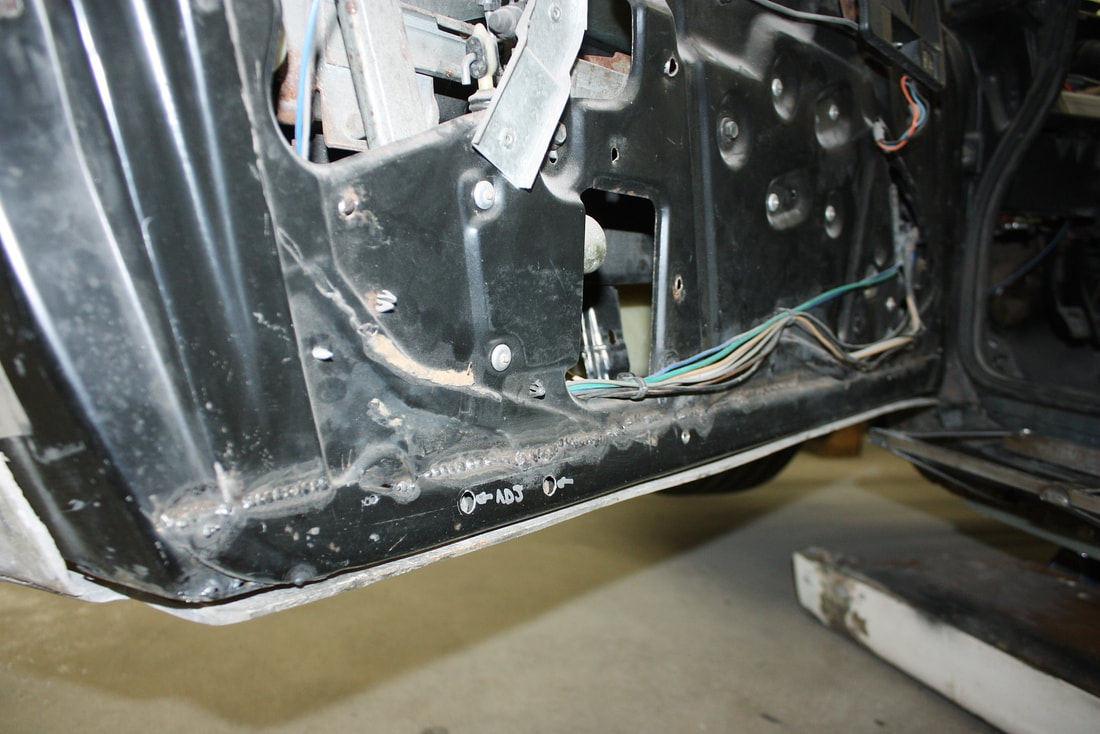
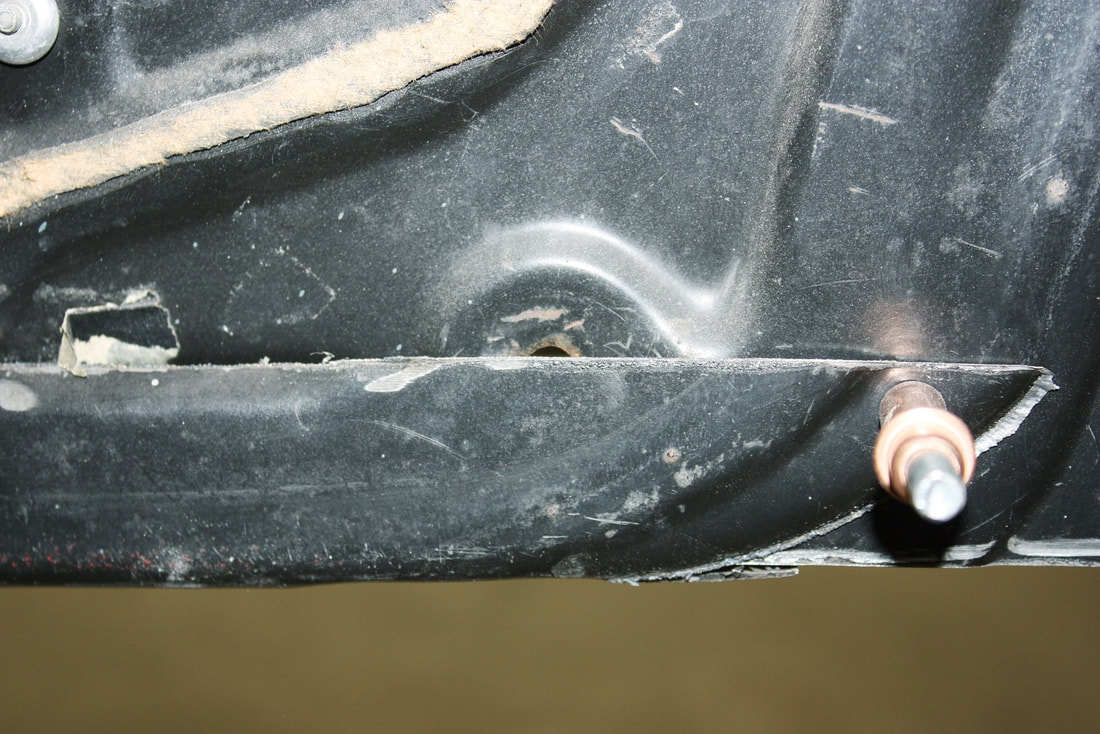
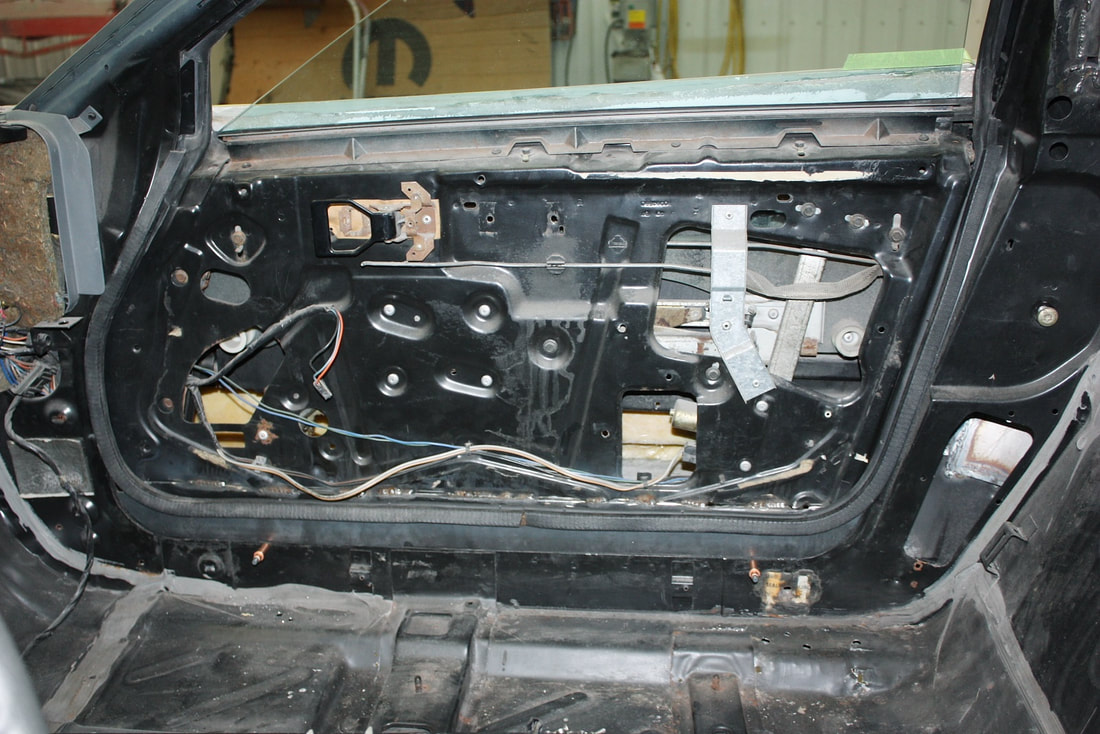
The holes marked “ADJ” are necessary to access the bolts that hold the window regulator and track in place.
The new, raised door bottom was in place, but it was still a bit flimsy. The first thing I did to rectify that was to shorten the window bump-stop bracket. A simple strategic cut and re-weld made quick work of that:
The shortened stop fit in place like it had always been there:
Then I re-welded the center brace back in place too, albeit in a new position since it didn’t fit quite right in the old spot. With a little metal forming and welding a couple extra bits at both extremities of the sealing strip, the door was easily returned to its former self, albeit a little less tall.
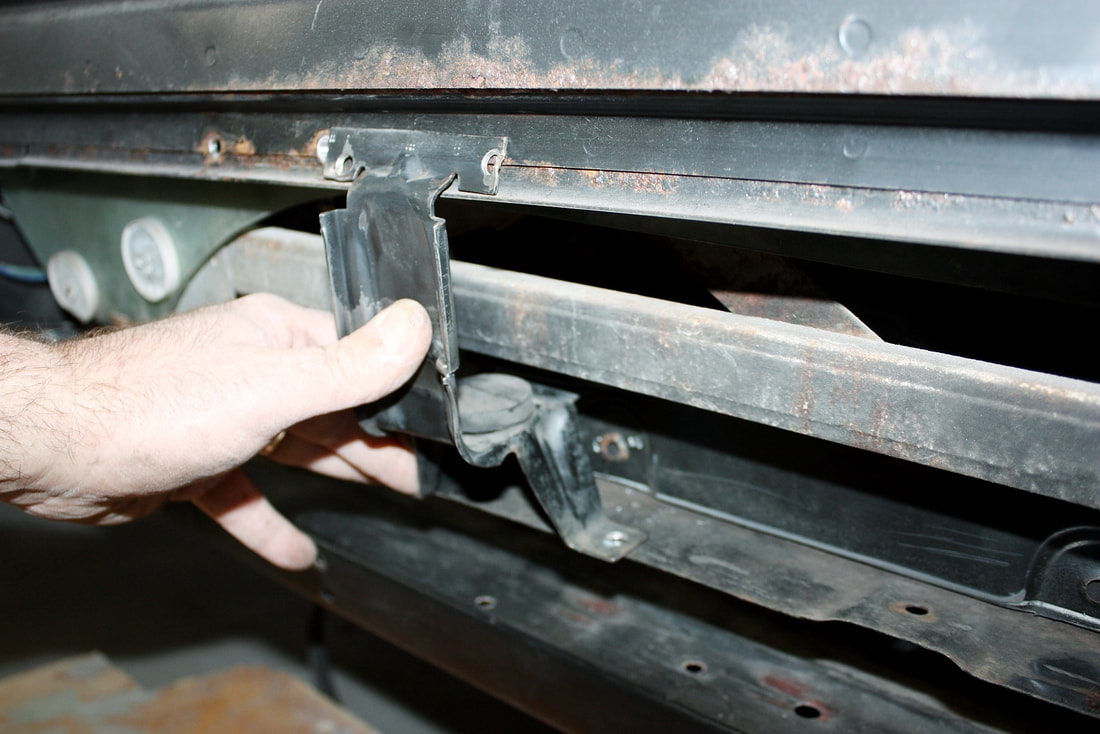
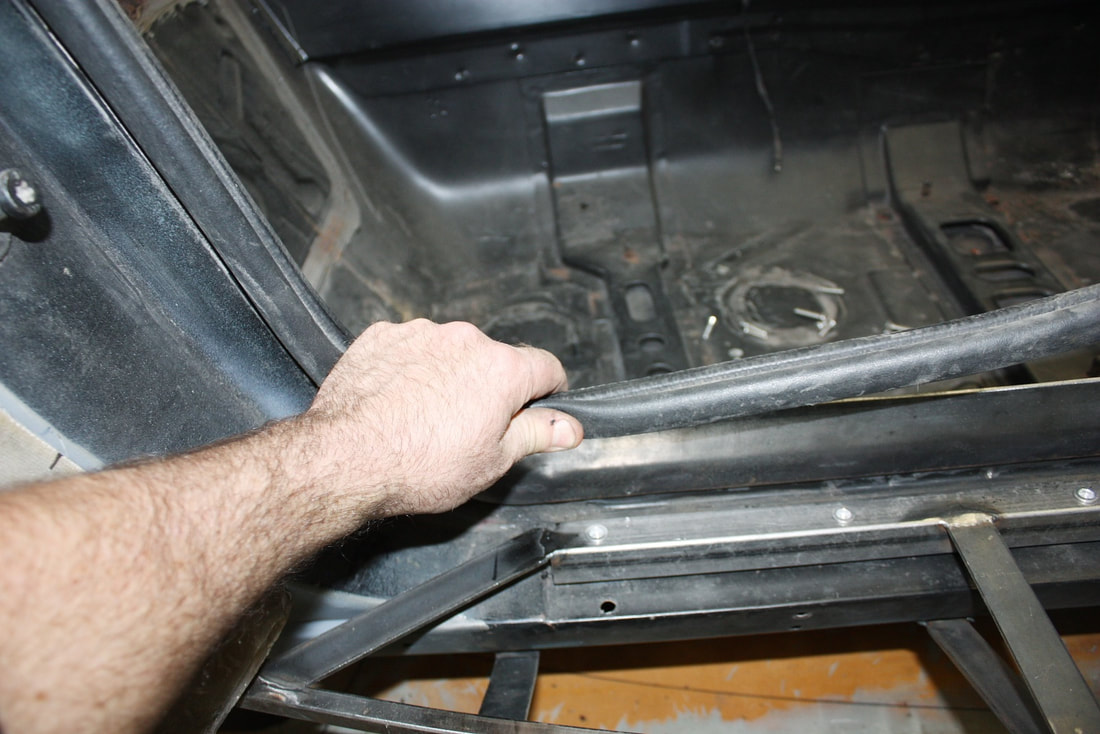
The next thing on the agenda was getting the door to seal along the raised bottom edge. The stock rubber seal is a seamless piece formed to the Fiero’s entire door frame circumference so reusing it is definitely the best way to go. Of course the seal, which gets mounted on the door frame, no longer made contact with the raised door bottom. Here, I’ve pulled the seal off the flange to better show the problem:
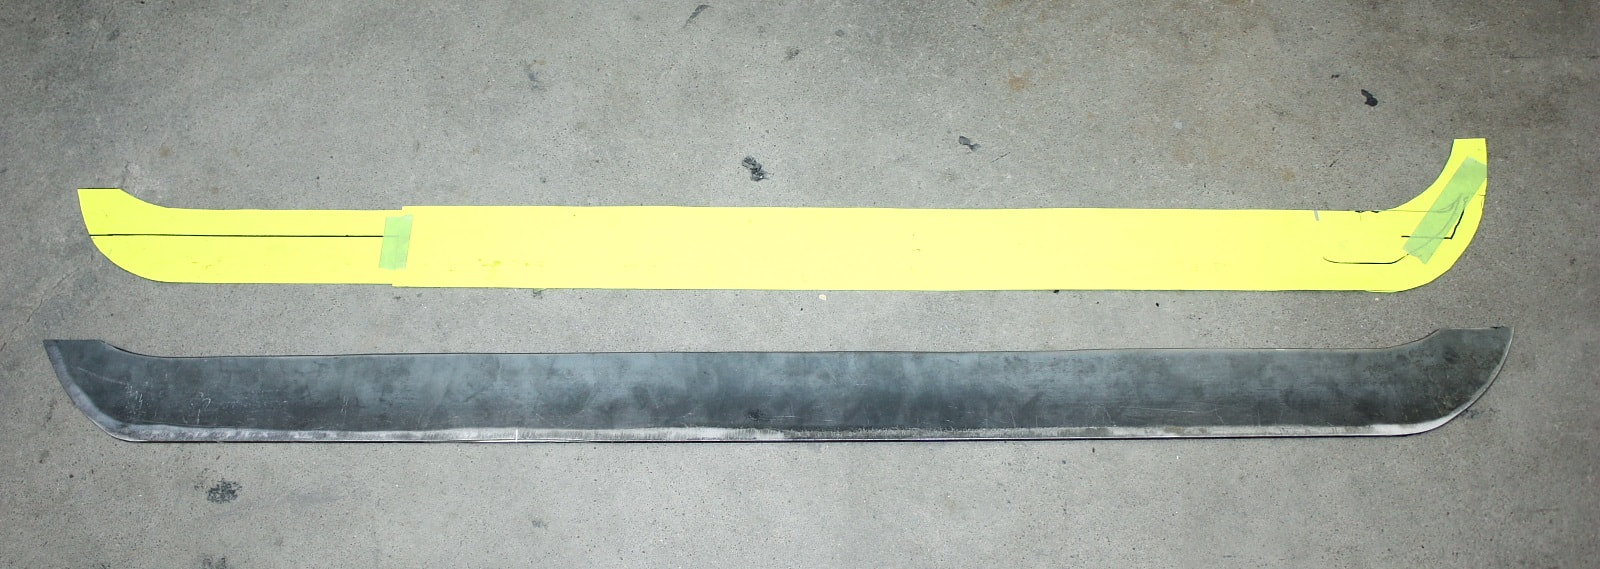
The solution was pretty simple: raise the lower door frame flange. To do this I traced the correct pattern on a template…
… then cut out new flange extensions from 1/8” steel plate:
From there it was only a matter of clamping the new flange in place and welding it to the old door frame flange:
Here’s a close up of how I finished the curvature in the flange to get the seal to follow the door shape:
Once the welds cooled, I test fitted the rubber seal on the new flange and marked where I’d need to shorten it:
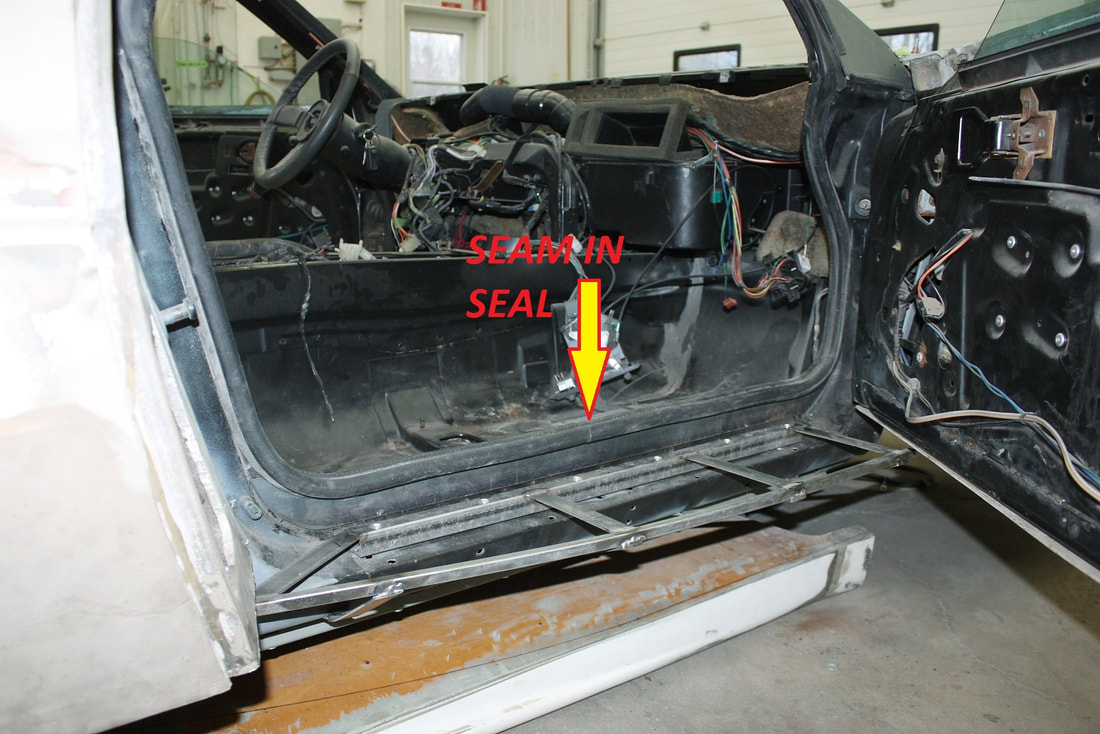
After having looked at a variety of newer cars, I found that most had a factory seam in the middle of the rocker. This made sense since it’s the least likely place for water to get in, and wind noise to be generated, so I cut about 2 inches from it there and refitted the two ends together:
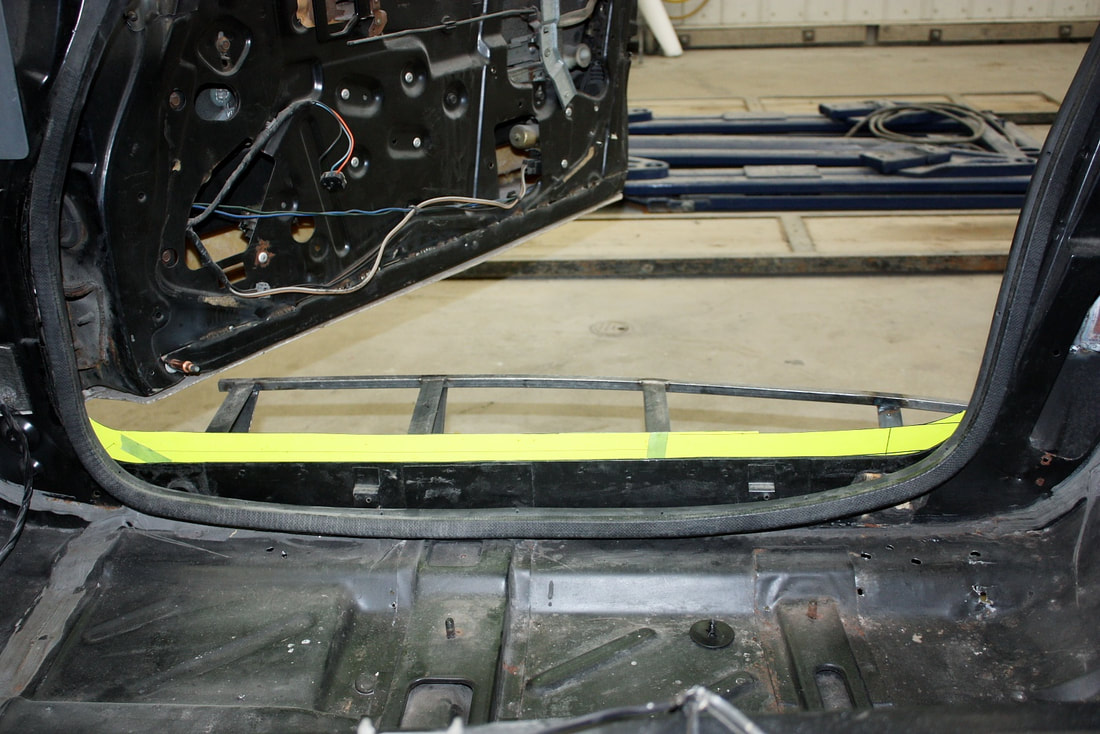
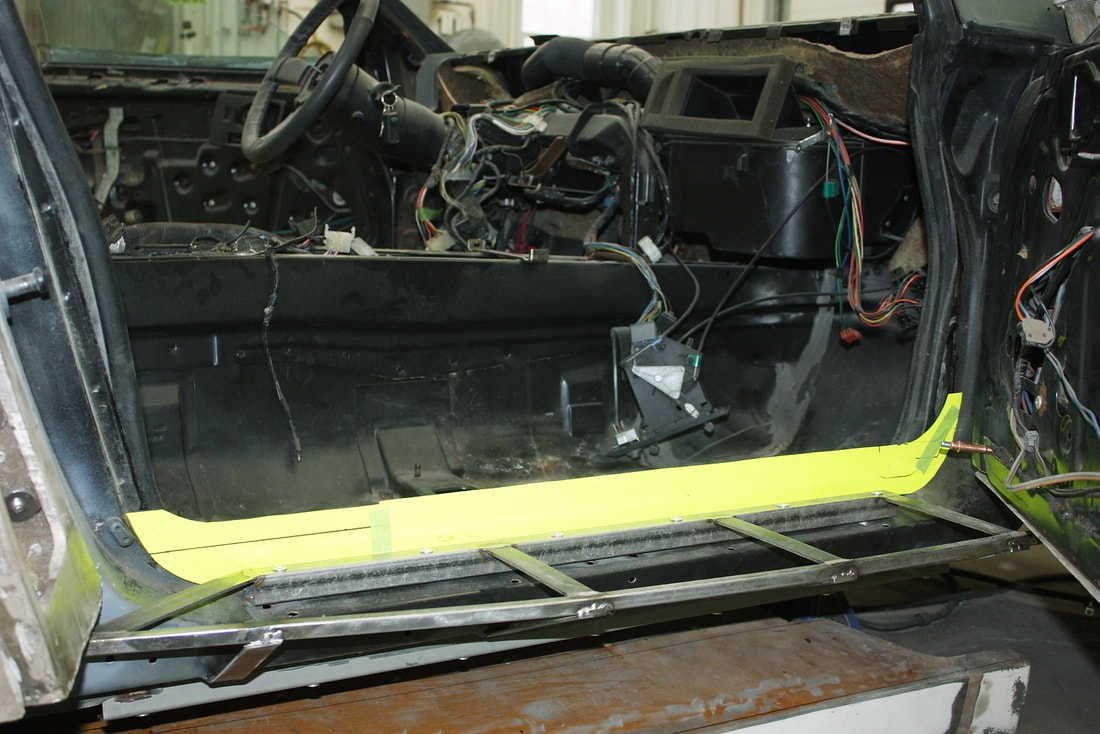
Here’s the new seal mocked up with the door open…
… and here it is with the door closed. Notice how it butts up against the long flat surface at the bottom of the door:
With the door bottoms and seals sorted out, I could finally focus on mounting the door skins.
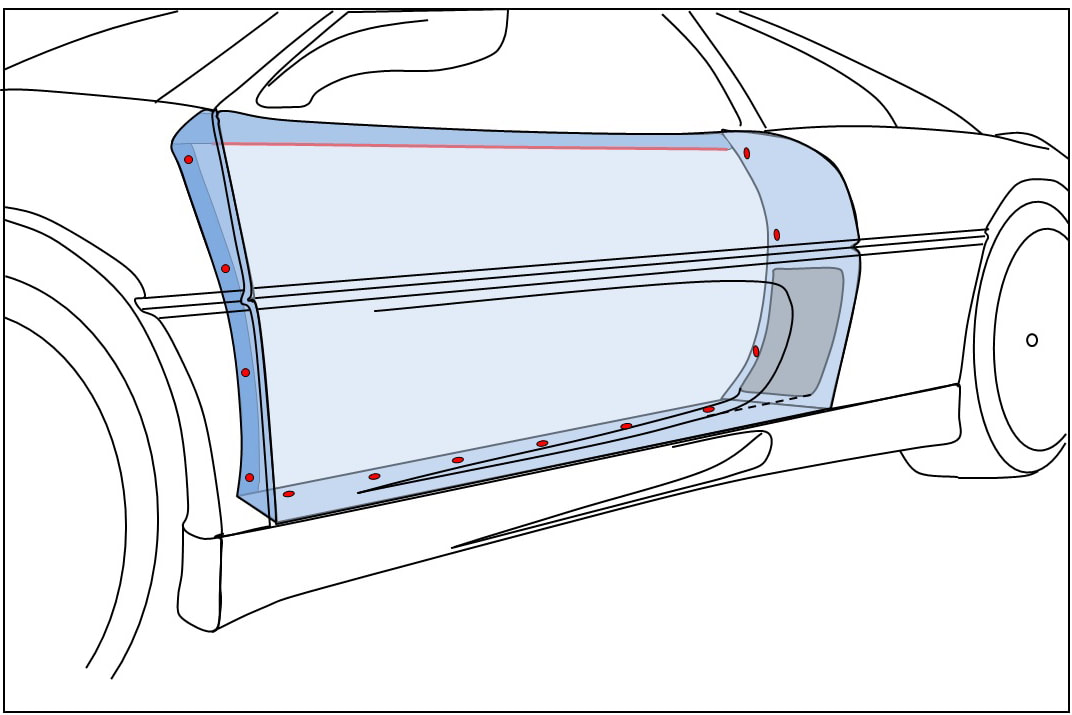
As much work as Don did to the door skins, they still weren’t perfect. I discovered this when I set both doors up against each other to compare them. I tried to take photos of the problems but the differences didn’t show up very well, so I made a little schematic:

For starters, the LH and RH doors have very different curvatures along the top edge. The RH door’s inflection point (where it changes from downward sloping to upward sloping) is about 8 inches from the leading edge of the door whereas on the LH door it’s easily 18 inches further back (see drawing below).
Furthermore, the LH door isn’t as tall at the leading edge, but it is longer than the RH door, and has a much more rounded leading edge. Some may say you can only see one side of the car at any given time, but there are important physical side effects to these differences that can’t be ignored. I’ll get into more details about the why and how I had to make more modifications to the door skins a little later, but for now all I needed to do was find a way to secure them to the underlying metal structure.
The red lines and dots on this next drawing illustrate the mounting plan:
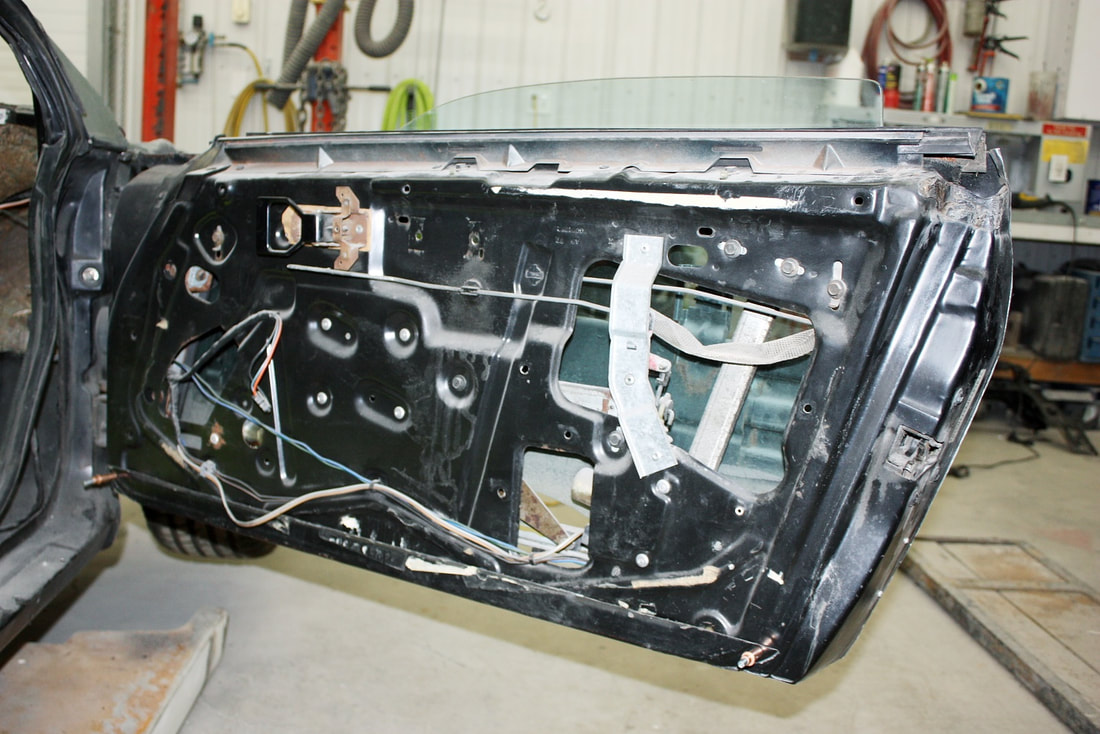
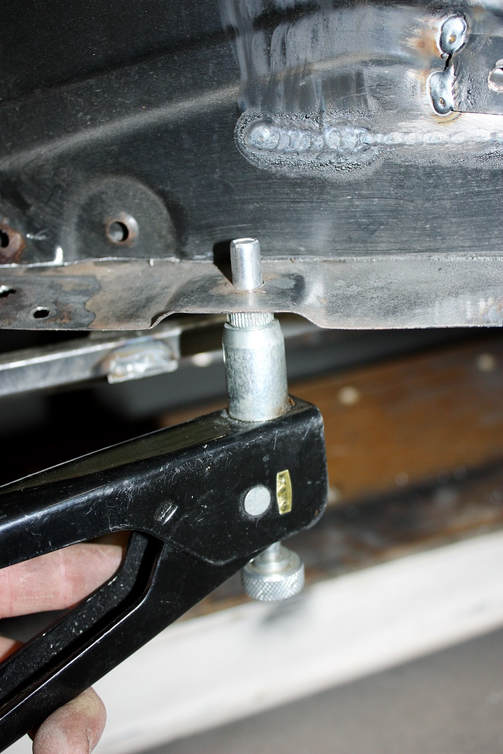
Using my handy-dandy nutsert tool, I added a bunch of threaded inserts to the bottom surface of the metal door:
Then I hung the fibreglass door along the stock top mounting flange:

Drilling holes in the bottom of the fibreglass door skin to match the threaded inserts was next. I used ¼” diameter countersunk machine screws:
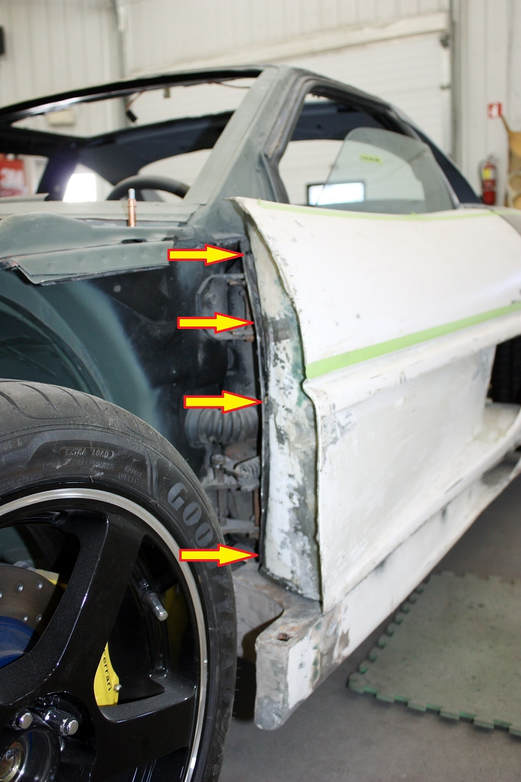
I wasn’t quite sure how I was going to finish the back edge of the door, so for now I only added one insert and bolt near the top to keep the skin from popping off the upper flange:

At the front, I used the stock mounting flange, four metric bolts, and OEM threaded clips:
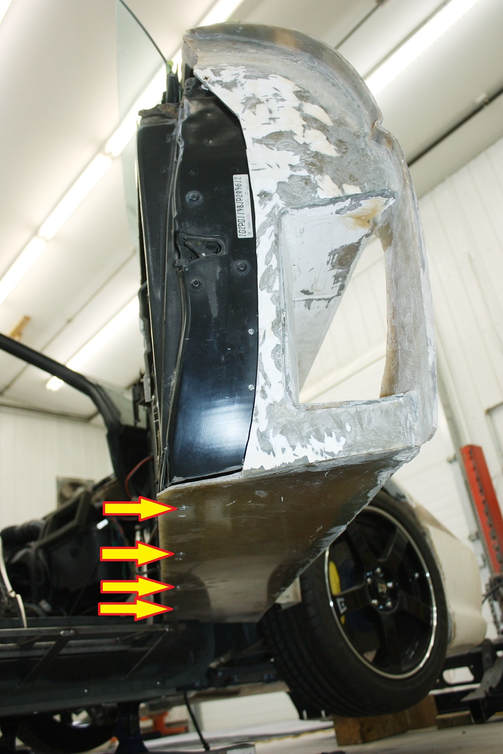
And with that, I was ready for the front clip!

 RSS Feed
