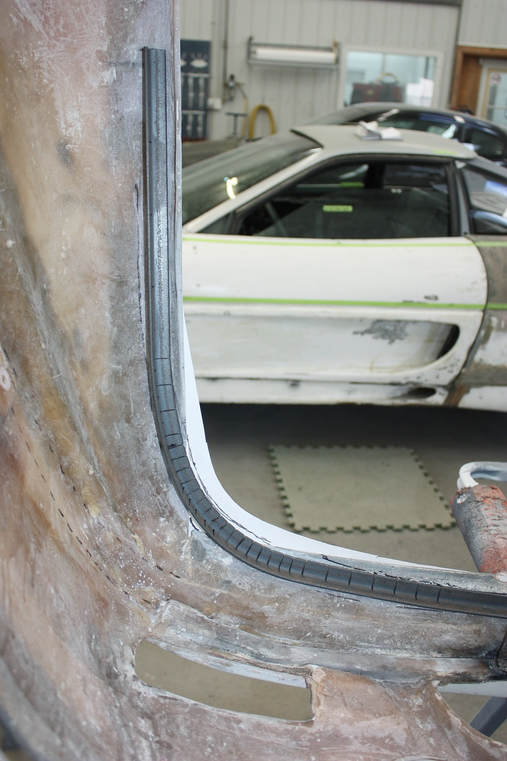
To continue designing the mounts for the front clip, I had to take into consideration a couple new variables at this stage: whether to separate the individual panels that make up the front clip or not; and what changes I’d need for my choice in headlights. It turned out these were interrelated. Here’s the top view of the front RH corner of the fender/fascia showing three of the four pieces:
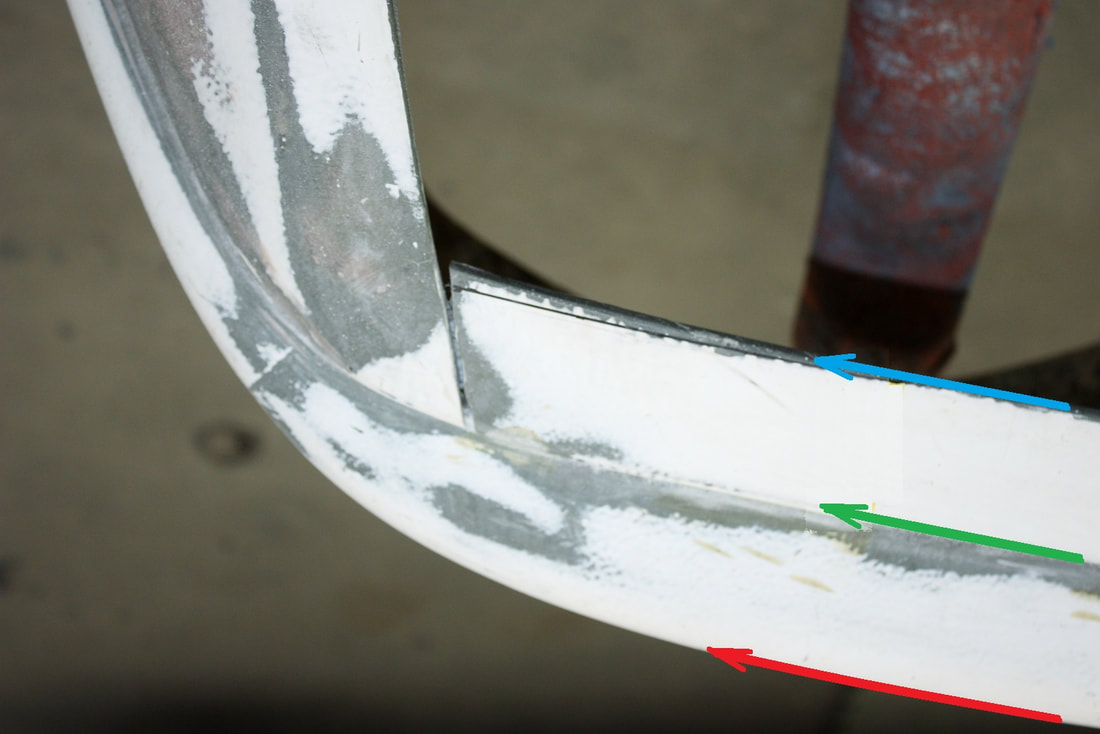
For me, the styling in this area on the F355 missed the mark. The red and green lines in the photo above make a complimentary pair of nice flowing arcs. Then there’s the incongruous, sharp, right angle corner of the headlight pod opening shown by the blue line. Why Ferrari didn’t make the headlight pod with rounded corners is a mystery to me.
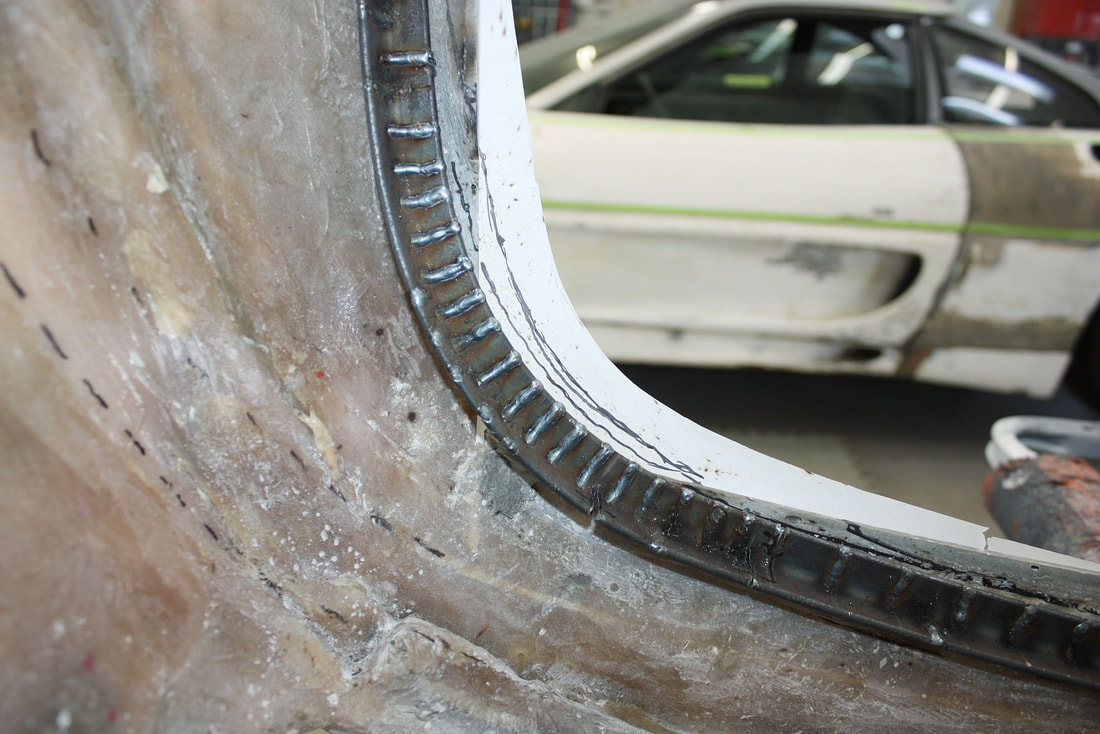
I decided to kill two birds with one stone in this area: make a flowing corner, and dispense with the problematic, old-school pop-up headlights. I took a chance and ordered some 1990-1996 Nissan 300ZX headlights to see if they’d fit the bill. Then I mocked them up along with a white paper template to see how the corner could be re-made:
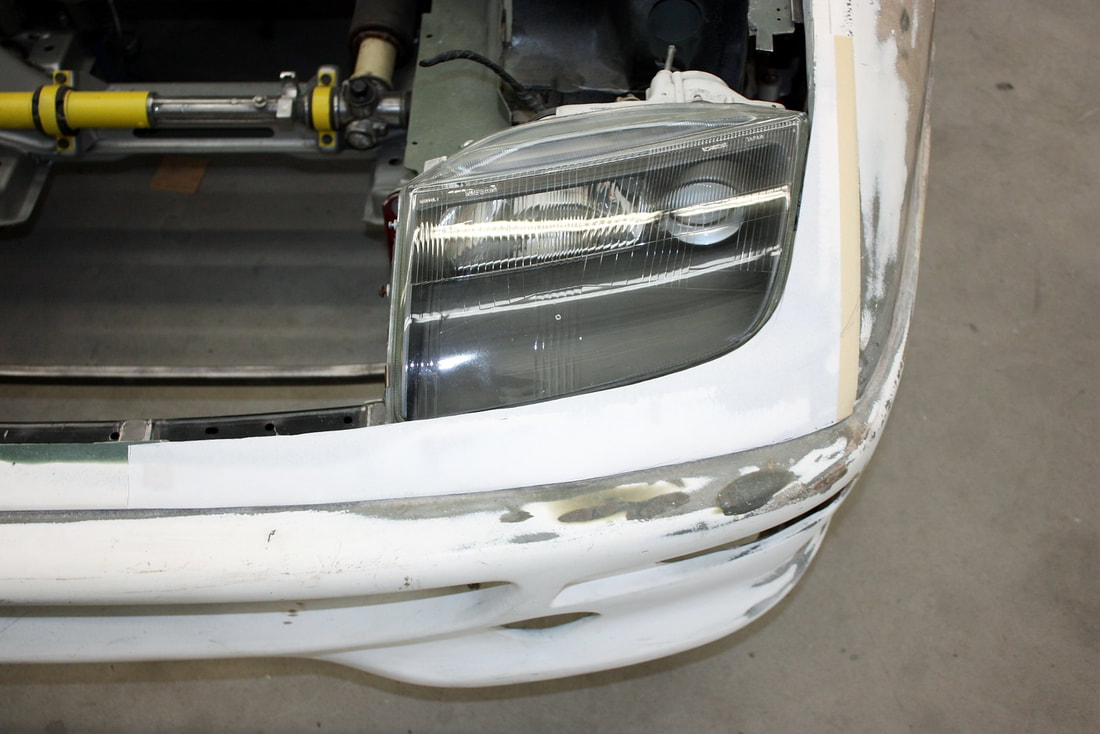
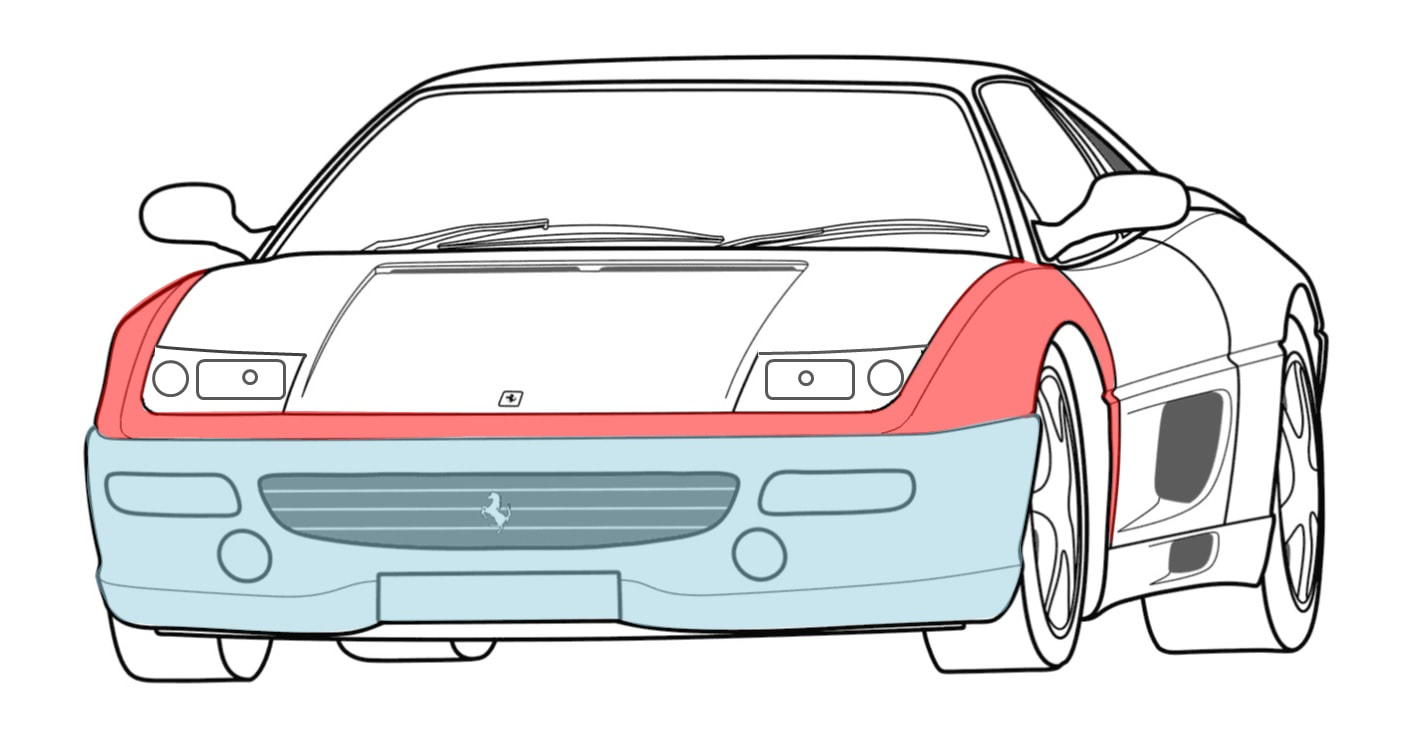
Much better! I’ll get more into the fitting of the actual headlights in a future post, but for now, I really liked how the headlights changed the front end lines. The decision not to separate the fenders from each other was made easy by this development. To have fluid lines wrap from one fender to the other meant I could only make two pieces of the front clip: the front fascia, and the combined wrap around fenders:
As with the rear end, I wanted to separate the front fascia from the rest of the body to minimize the propagation of stresses in a minor fender-bender. But separating the fascia would lead to a rather thin and delicate piece spanning the width of the fenders along the front. To ward off potential stress cracks especially in the corners, I decided to strengthen the thin bridge between the fenders with a curved angle iron running part way up into the meat of the fibreglass fenders:
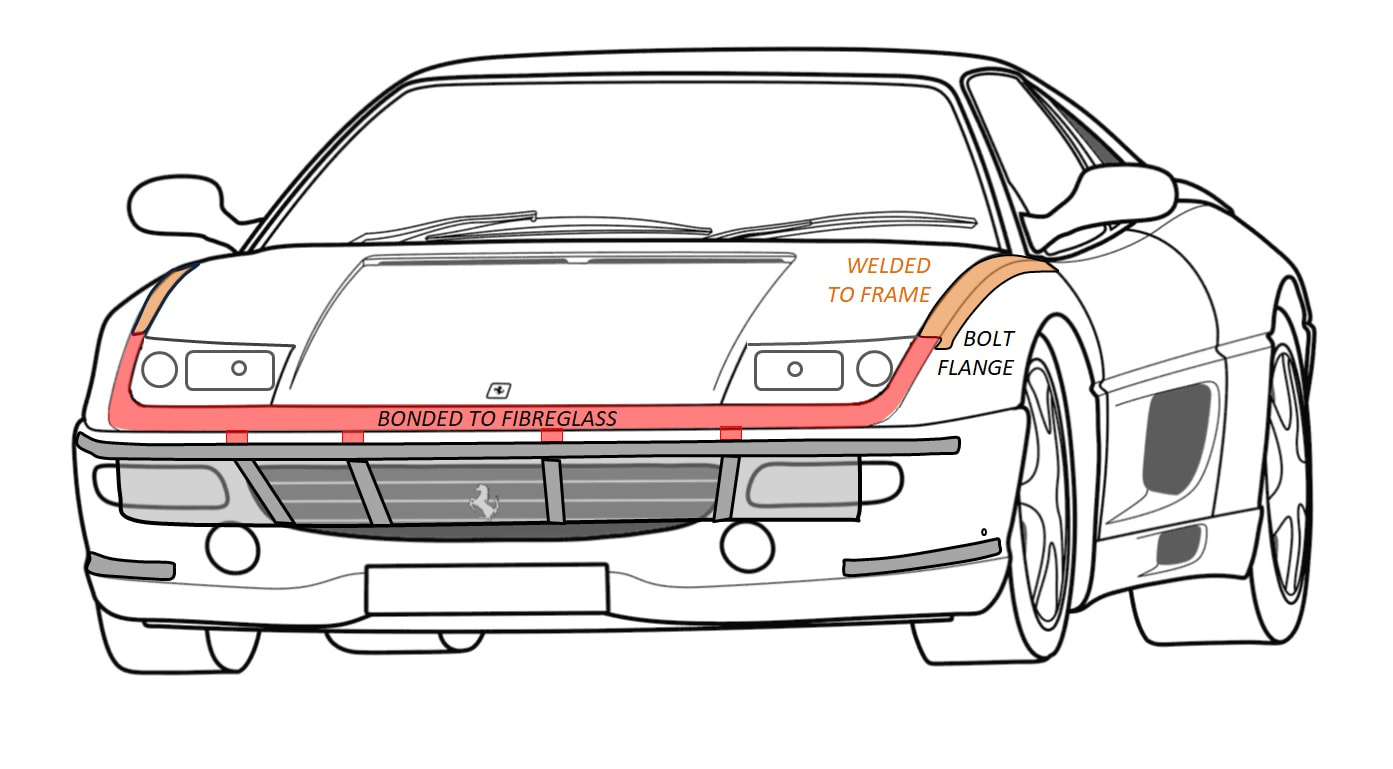
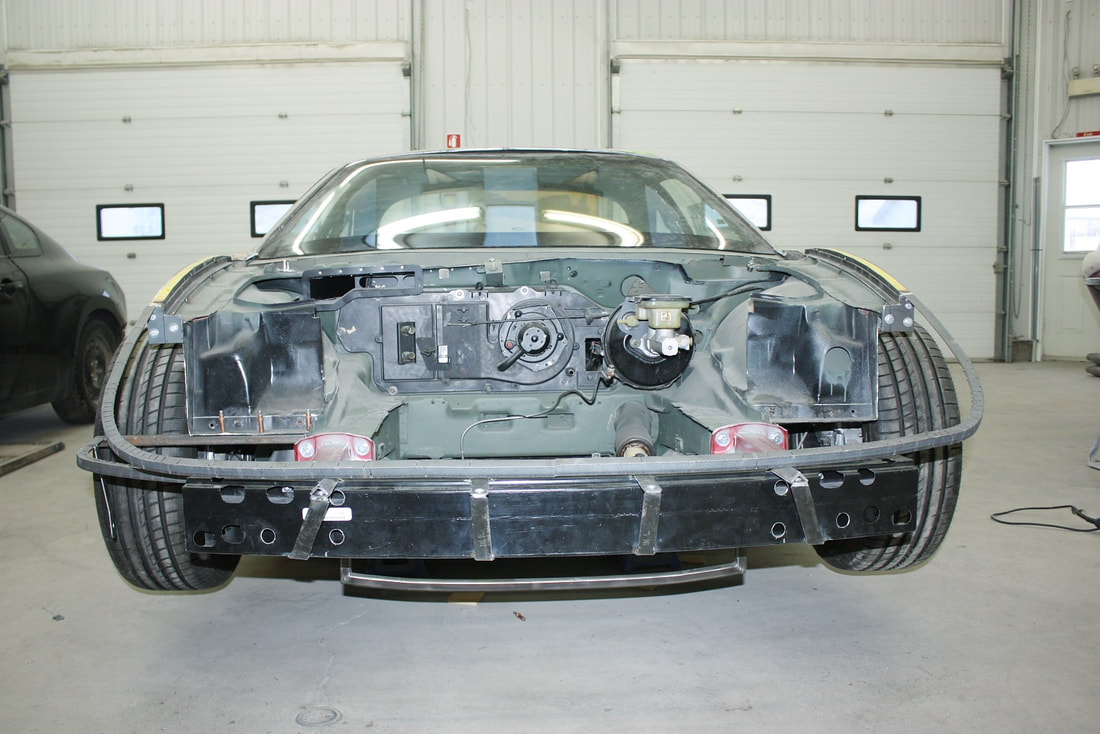
The new stiffener would bolt to the ends of the upper frame rail with flange plates. That meant I needed to address the ragged ends of the upper frame rails:
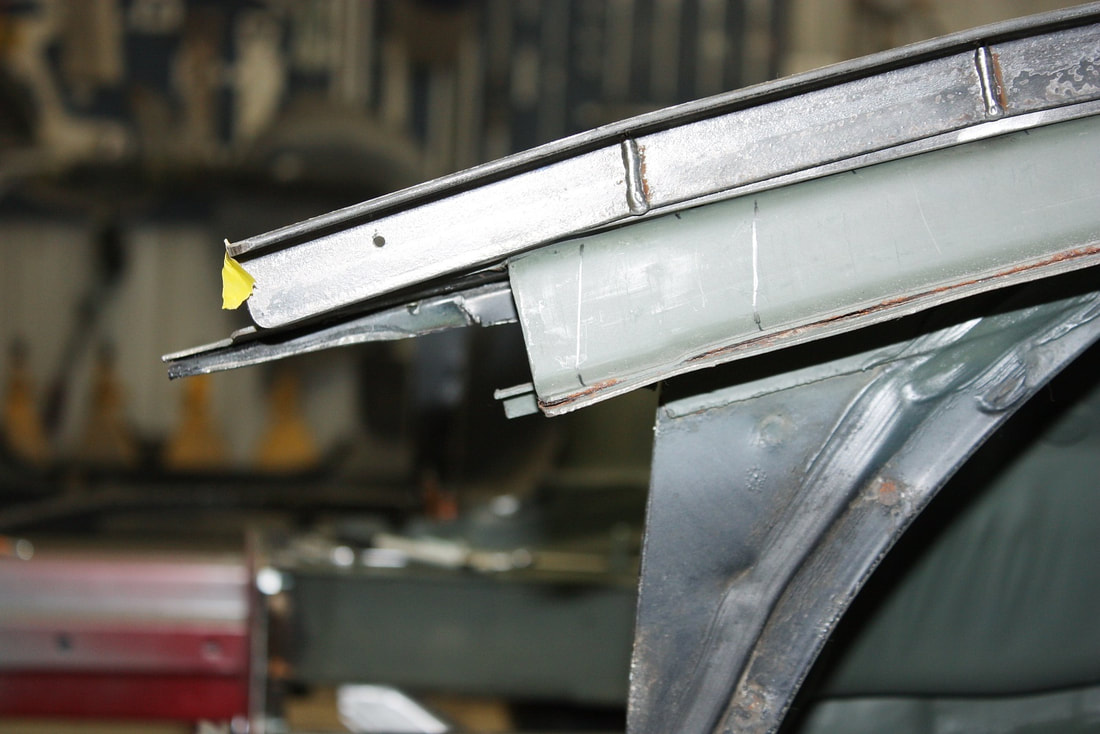
After shining the laser level across the frame at a perfect right angle to the chassis, I was able to trace cut marks around the convoluted shape of both upper rails that were precisely parallel to each other, and at exactly the same location along the longitudinal axis. I use the mill and drill pads to align the laser in the cross car plane. Then I used my angle grinder with a cut-off wheel to make the cuts:
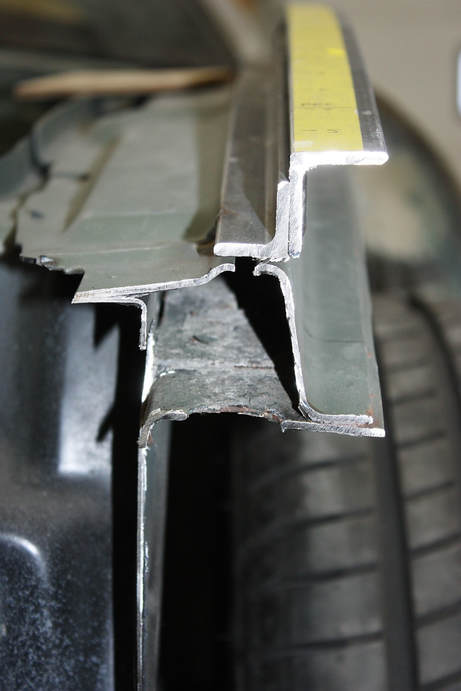
Here’s the complex cross section of the driver’s side upper rail:
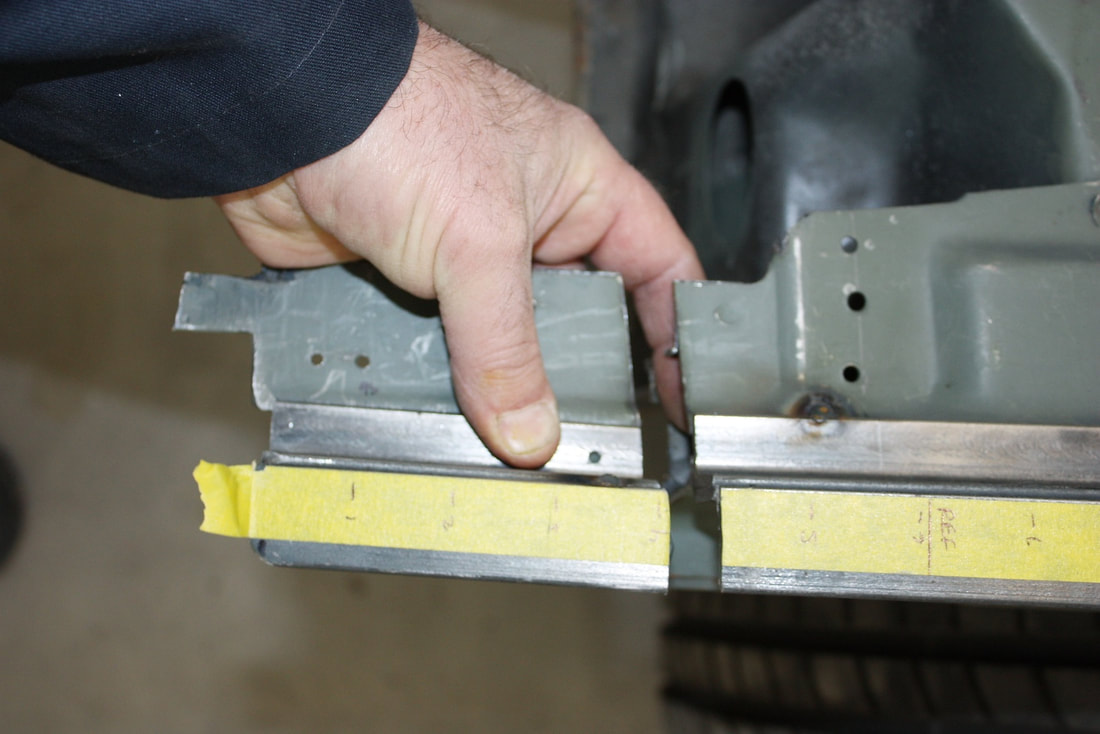
I cut four matching end plates: two which I welded to the frame rail ends and tapped for some 1/4” x 20 bolts, and the other two to weld to the new stiffener I was about to fabricate:
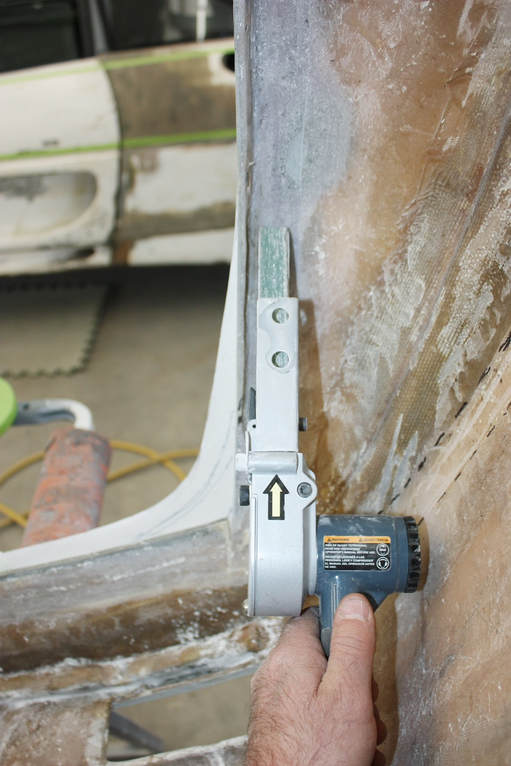
Next I had to smooth out the area under the fibreglass fenders where my new stiffener would rest. Again, I used my handheld belt sander to make quick work of that:
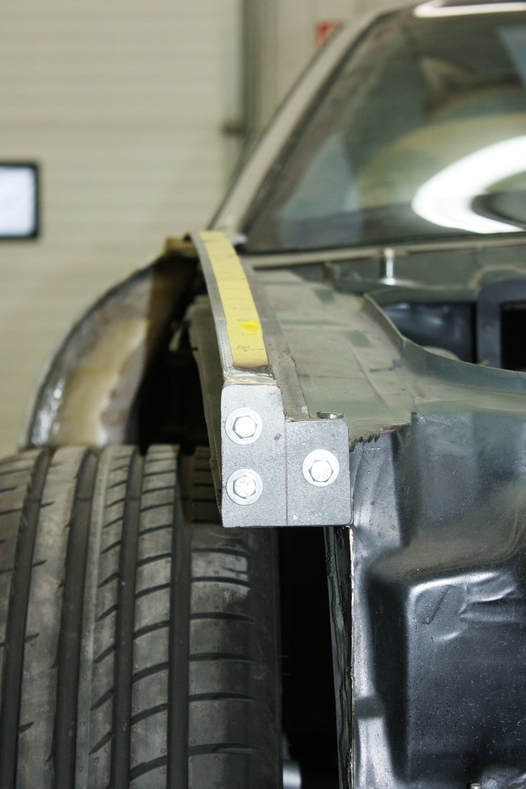
That allowed me to start working some ¾” angle iron to form the various curves of the upper frame rail extensions. After making dozens of strategically placed slits in both legs of the angle iron, I either expanded the slits to make outside curves, or compressed them to make inside curves. Here, I’m test fitting the driver’s side support after making the first round of bends:
Once the angle had been bent and twisted to fit the underside of the fender and across the front, I slid a thin spacer in each slit before tack welding the outer-most edge of each slit. That minimized the impact of shrinkage at each slit from welding, but I still had to make new slits several times to get rid of some distortion:
I repeated the exercise for the passenger side, and then welded the two pieces together in the center. Here’s a mock-up of the one-piece wrap around rail extension resting on the chassis:
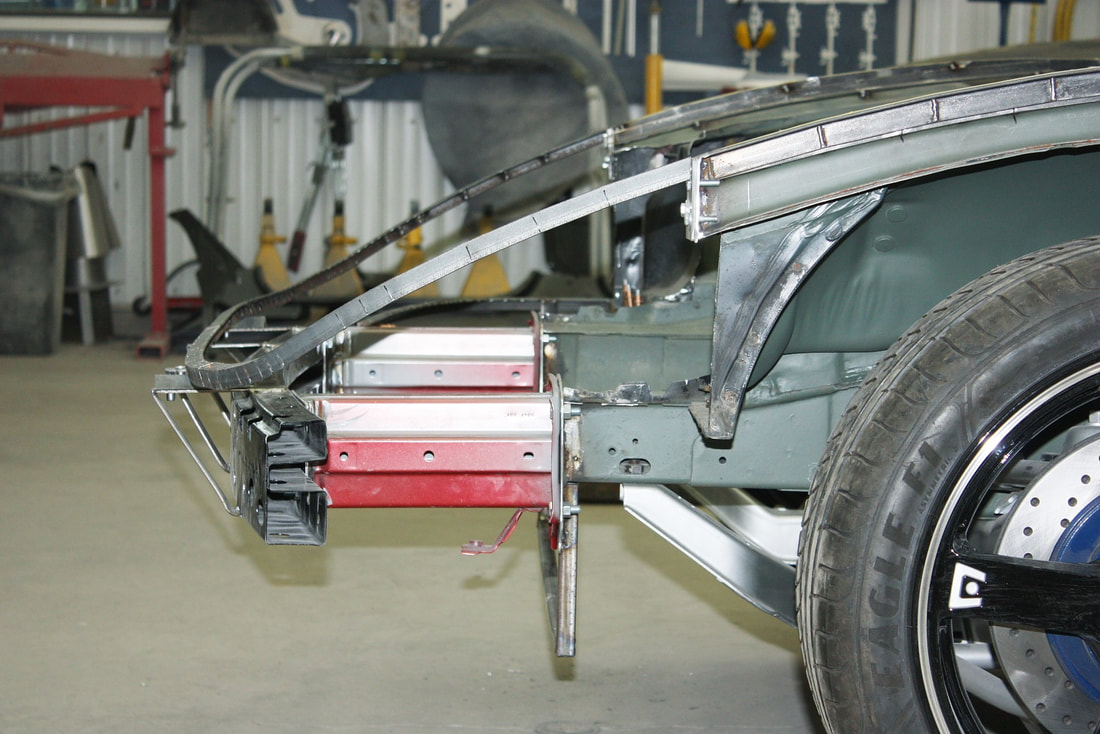
It’s the only time you’ll see it this way since it is destined to be bonded permanently to the underside of the fenders. I still need to fabricate a series of small brackets along the front to bolt it to the bumper bar though:
Next up: more work on front end mounts.

 RSS Feed
