In my last post, I pretty much wrote-off the idea of using a prefabricated inner liner for my hood. That meant I’d have to go back to the drawing board and figure out my own design. To gain inspiration, I checked out photos of authentic F355 underhood webbing on the internet. Here’s the best view I could find:
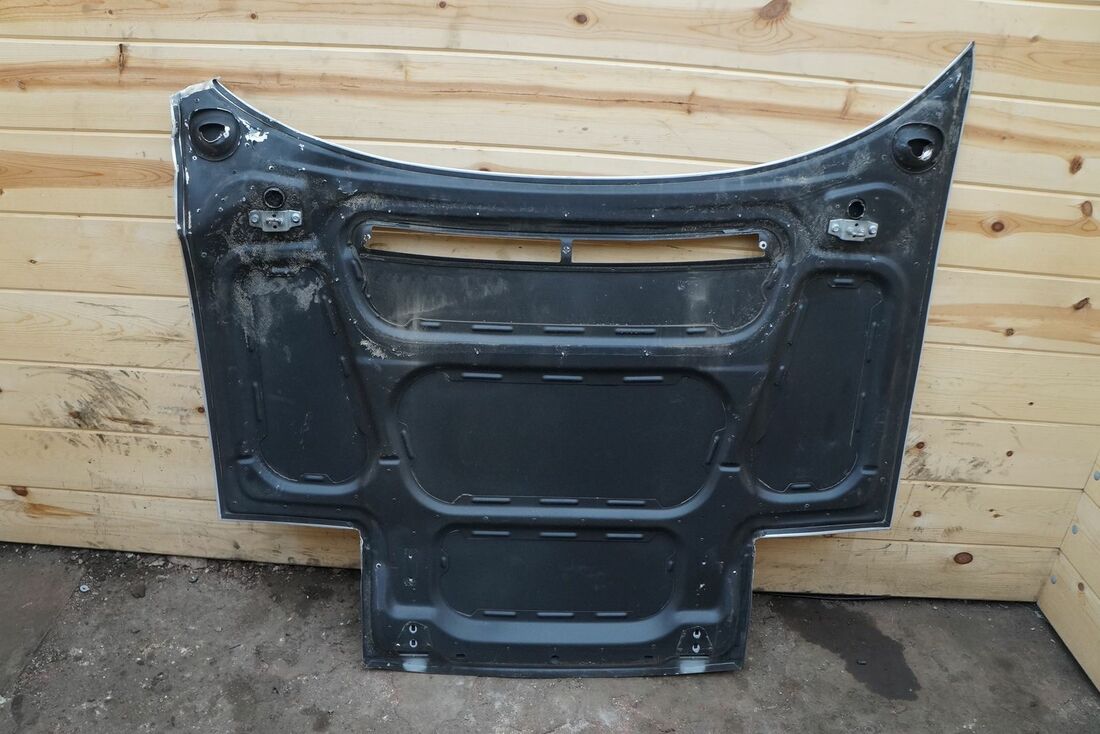
The webbing serves two functions: the obvious one is to provide stiffness and strength, but a secondary purpose is to provide a mating surface for the front compartment weather seal. Having different lights and a differently shaped front luggage compartment than the Ferrari meant that I wouldn’t be able to replicate the F355 design faithfully.
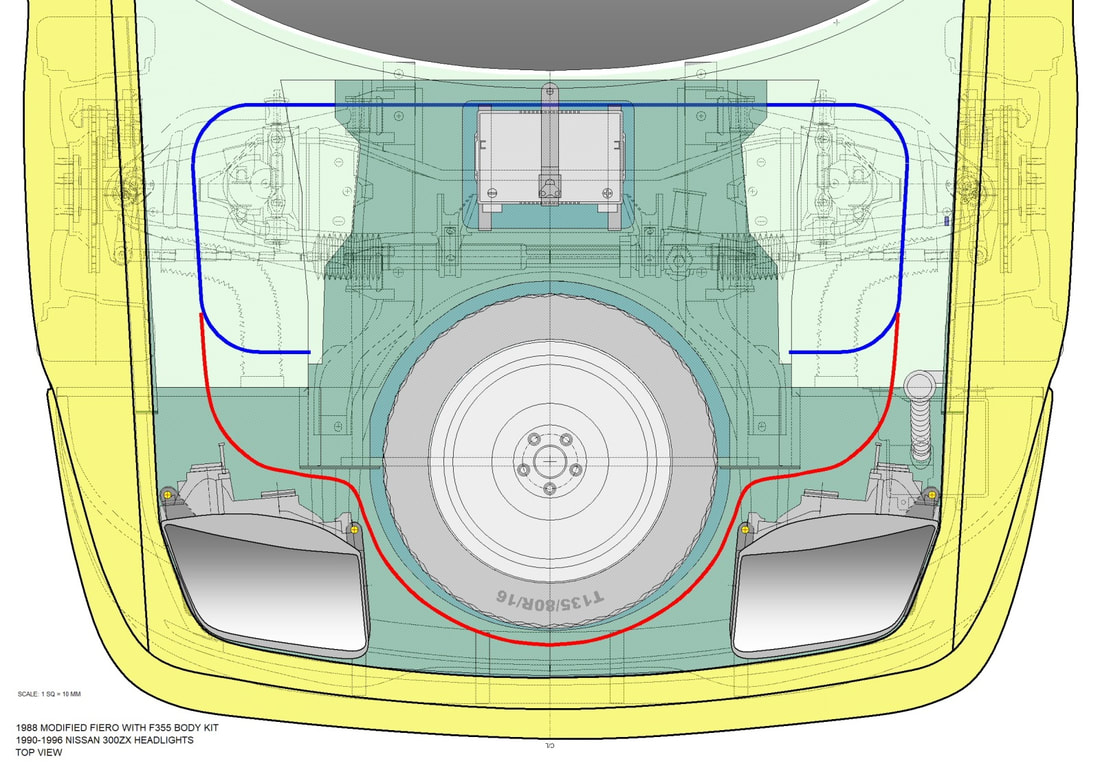
The basic shape of my new webbing would primarily be based on the shape of the luggage compartment's perimeter, so with that, I headed back to my computer. In this next image, the blue lines represent what’s left of the original Fiero front compartment sealing flange on my car. The red lines depict the new front wall I’d need to create to close off the compartment from the weather:
The webbing serves two functions: the obvious one is to provide stiffness and strength, but a secondary purpose is to provide a mating surface for the front compartment weather seal. Having different lights and a differently shaped front luggage compartment than the Ferrari meant that I wouldn’t be able to replicate the F355 design faithfully.
The basic shape of my new webbing would primarily be based on the shape of the luggage compartment's perimeter, so with that, I headed back to my computer. In this next image, the blue lines represent what’s left of the original Fiero front compartment sealing flange on my car. The red lines depict the new front wall I’d need to create to close off the compartment from the weather:
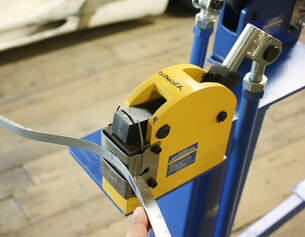
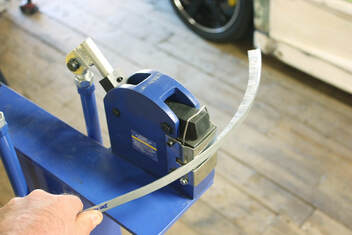
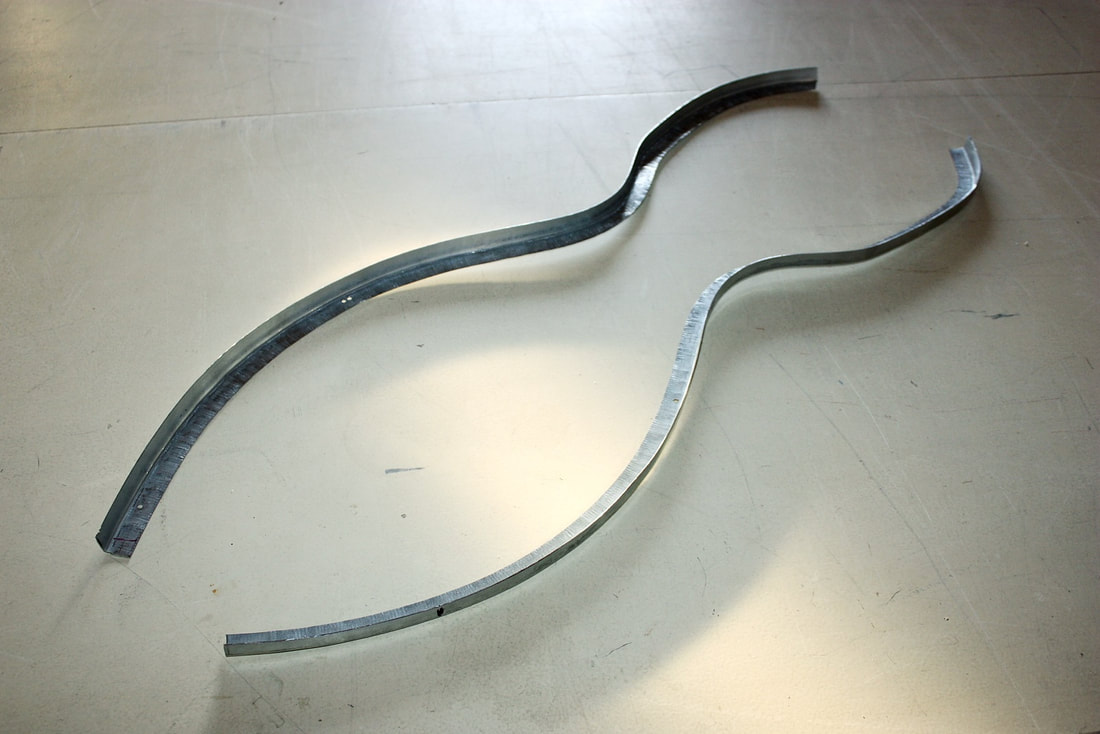
To build the new front wall for the luggage compartment, I created a simple snake-like pattern out of cardboard that followed the contour around the lights and spare tire well. Then I formed a metal flange for the bottom of the wall in the same shape using my shrinker for inside curves and the expander for outside curves:
To build the new front wall for the luggage compartment, I created a simple snake-like pattern out of cardboard that followed the contour around the lights and spare tire well. Then I formed a metal flange for the bottom of the wall in the same shape using my shrinker for inside curves and the expander for outside curves:
 |  |
I made the metal flange in two halves to make things easier for me. When done, they looked like this:
I made the metal flange in two halves to make things easier for me. When done, they looked like this:
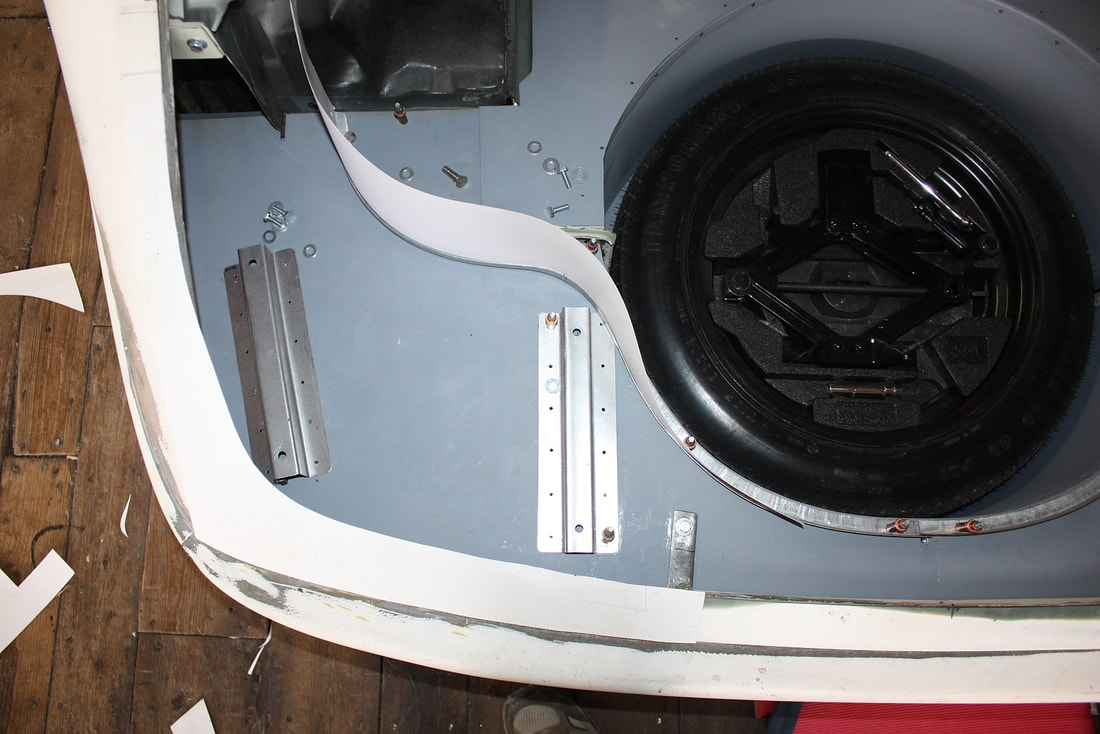
Once the lower flanges were Cleco’ed in place, I started working on the complex shape of the compartment’s front wall. It snakes and curves but it also varies in height dropping faster as it heads forward, and less quickly where it cuts across the compartment. Using magnets to hold some cardboard against the curvy flanges, I then taped a marker to a long stick and ran the stick along the profile of the fender while trying to keep it level, and the marker against the cardboard. It provided a preliminary trace that worked well enough to get the basic height contour of the wall:
Once the lower flanges were Cleco’ed in place, I started working on the complex shape of the compartment’s front wall. It snakes and curves but it also varies in height dropping faster as it heads forward, and less quickly where it cuts across the compartment. Using magnets to hold some cardboard against the curvy flanges, I then taped a marker to a long stick and ran the stick along the profile of the fender while trying to keep it level, and the marker against the cardboard. It provided a preliminary trace that worked well enough to get the basic height contour of the wall:
Rather than try to make the template the precise height on the first go (which would’ve been next to impossible) I simply made it purposefully shorter than it needed to be, to clear the underside of the hood:
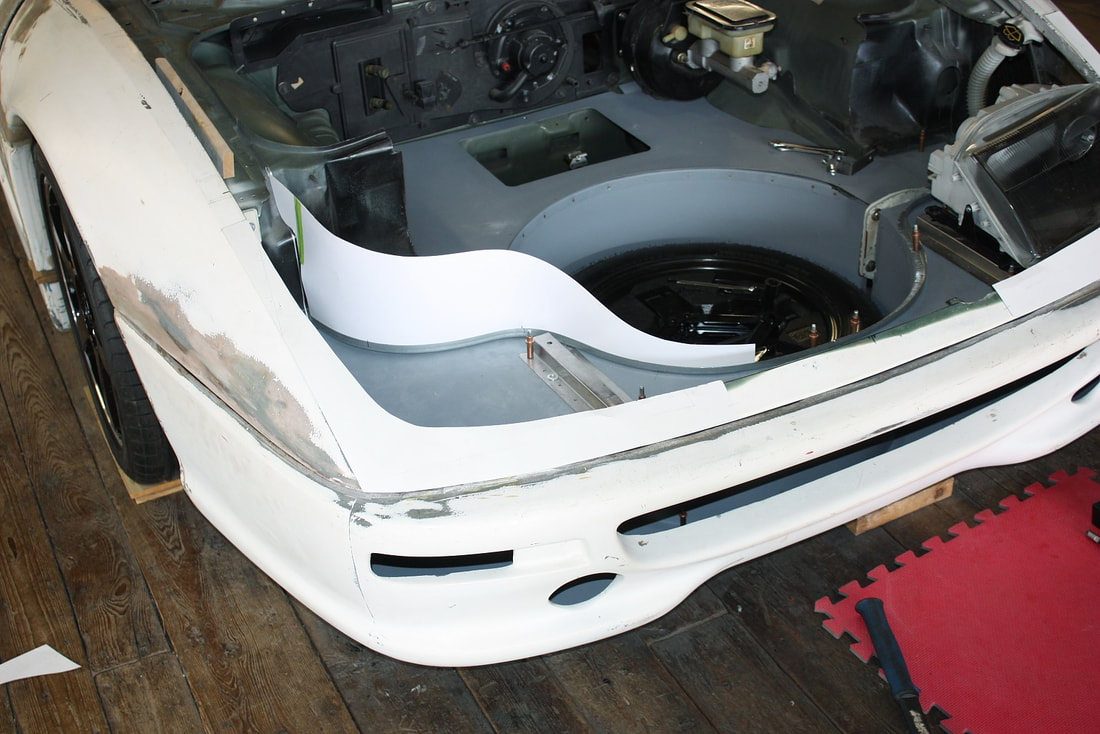
Then I mocked up the hood, and through the headlight holes I was able to tape cardboard extensions to my template to close the gap:

I realize that once the underhood webbing is in place, the compartment wall will be too high, so I’ll have to trim it back down, but by starting out with it touching the underside of the bare hood, I'll know exactly how much to trim off later.
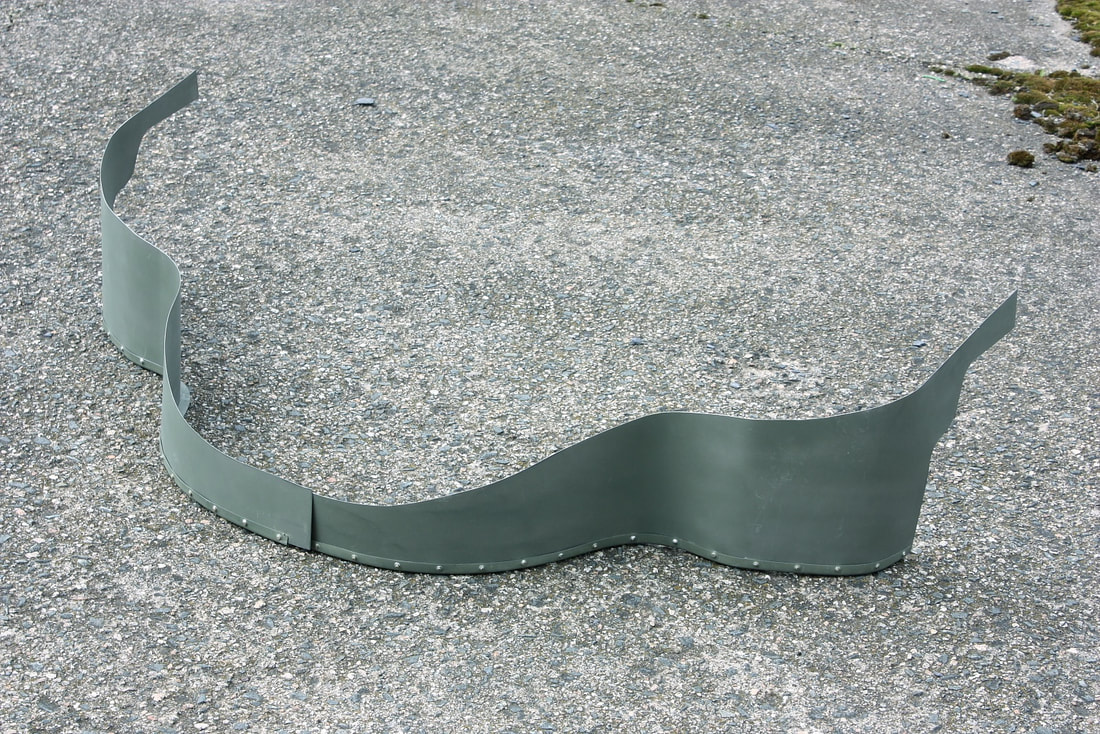
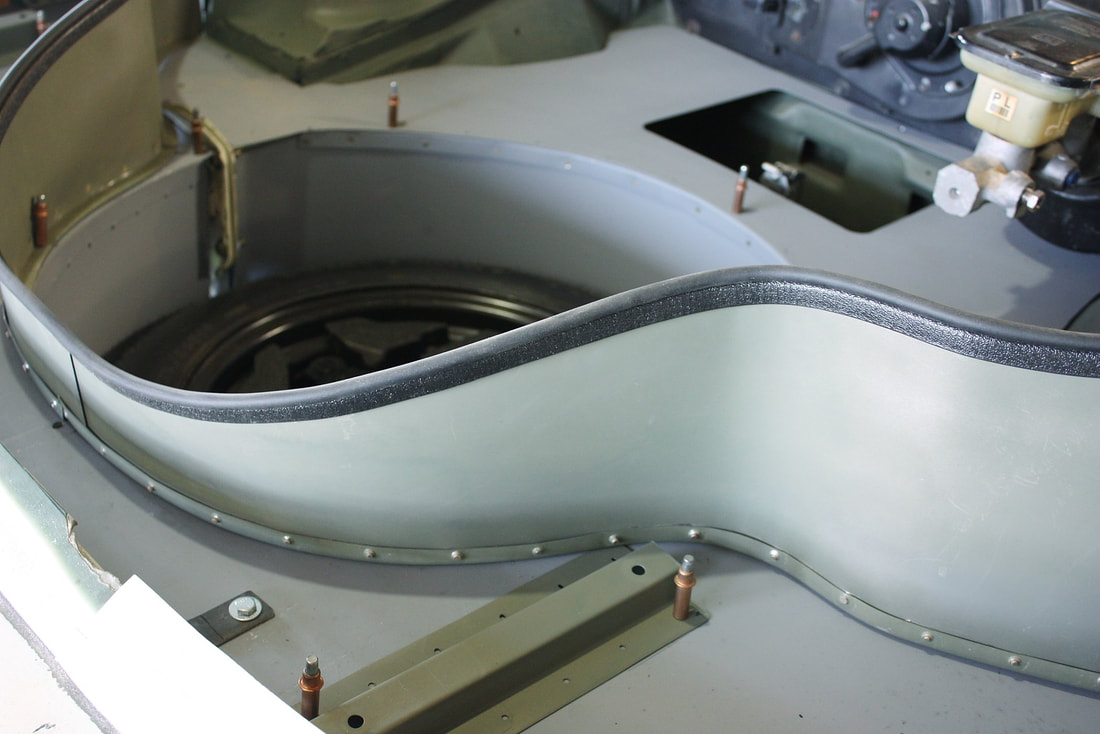
Once satisfied the shape was right, I cut the front compartment walls out of 22 ga steel, contoured the walls to the same shape as the lower flanges, and riveted them to the flanges:
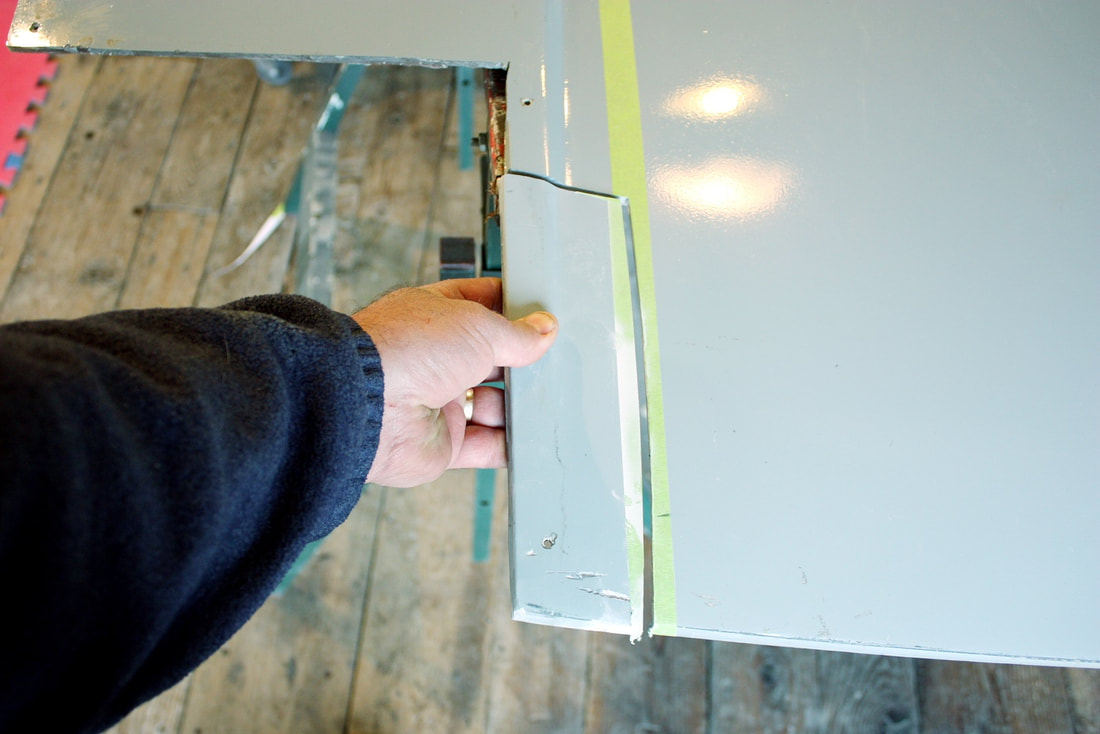
I was finally ready to trim back the rest of the Fiero front compartment wall since it was no longer needed, so out came the angle grinder with a thin cut-off wheel:
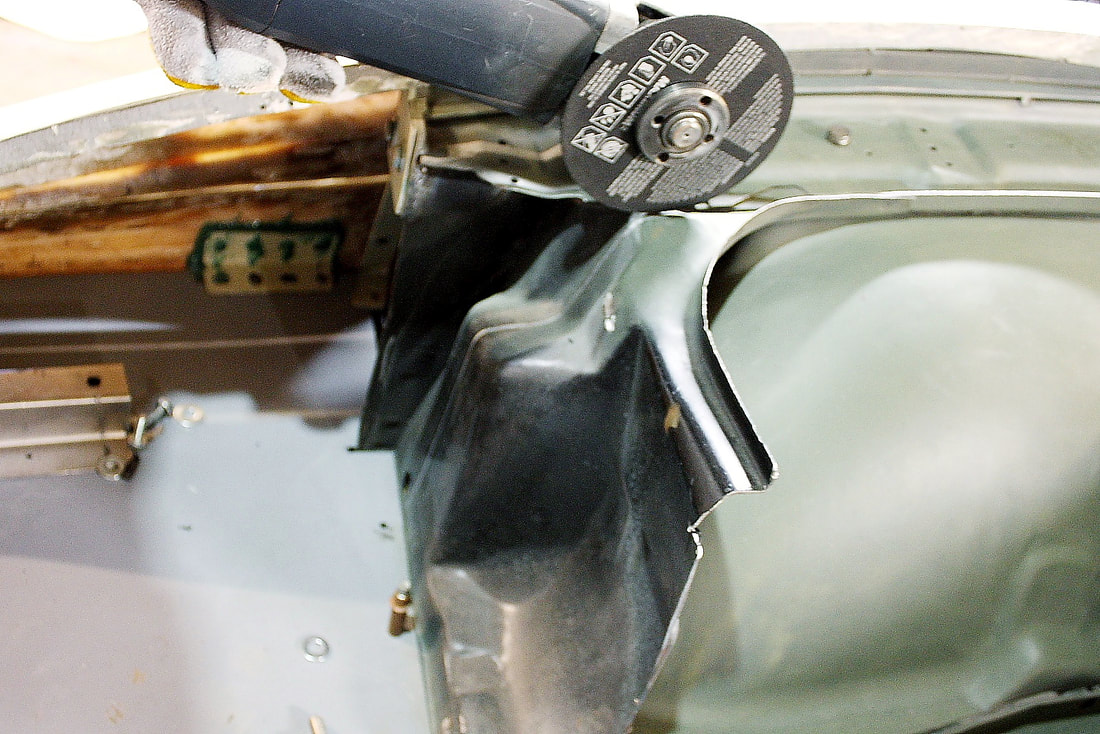
I had to be careful along the bottom edge not to cut into the metal wheel house since the two layers contact each other there. Here’s the passenger side wall biting the bullet:
I had to be careful along the bottom edge not to cut into the metal wheel house since the two layers contact each other there. Here’s the passenger side wall biting the bullet:
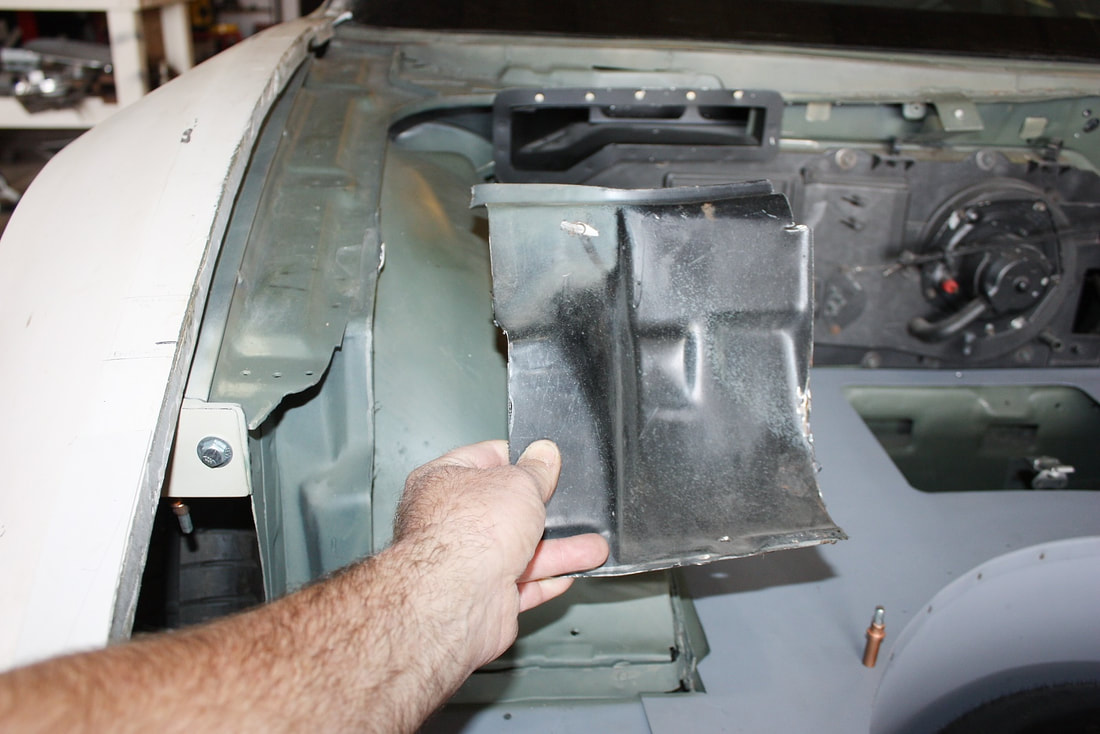
My luggage compartment already looked cleaner with the remnants of the old front compartment wall removed from both sides:
The next step was to mock up the new front wall and tweak it into position:
This is the sort of bulb seal I’ll eventually install on the top of the wall, but this photo is only for show & tell. The actual seal will have a larger bulb to accommodate any variances between the wall height and the underhood webbing:
This is the sort of bulb seal I’ll eventually install on the top of the wall, but this photo is only for show & tell. The actual seal will have a larger bulb to accommodate any variances between the wall height and the underhood webbing:
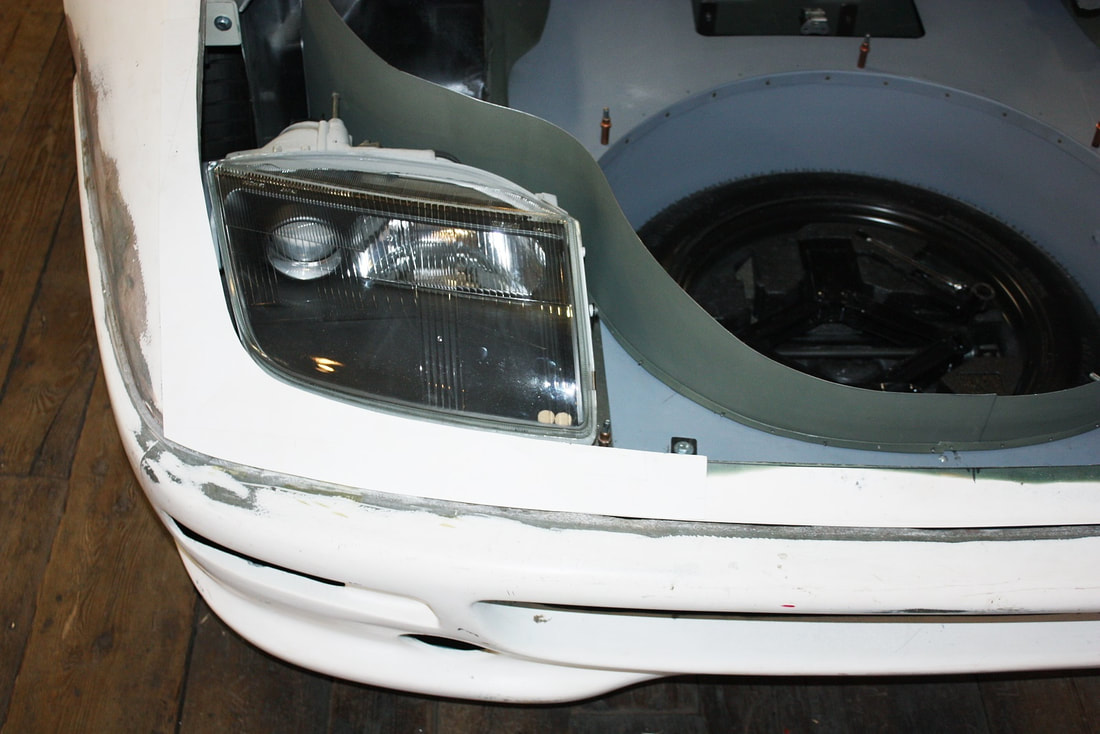
I then test fitted the 300ZX headlights to be sure they’d clear the wall, which of course, they did, otherwise I wouldn’t have shown the photo!
Next was to fit the hood, but before I could do that, I had to cut additional clearances in it to make room for the 300ZX headlights. In the drawing below, the red area shows how much more of the hood needed to be cut to fit the wider Nissan headlights. The area shaded in blue depicts where the current holes in the hood are too big for the new lights and will have to be fiberglassed-over:
Next was to fit the hood, but before I could do that, I had to cut additional clearances in it to make room for the 300ZX headlights. In the drawing below, the red area shows how much more of the hood needed to be cut to fit the wider Nissan headlights. The area shaded in blue depicts where the current holes in the hood are too big for the new lights and will have to be fiberglassed-over:
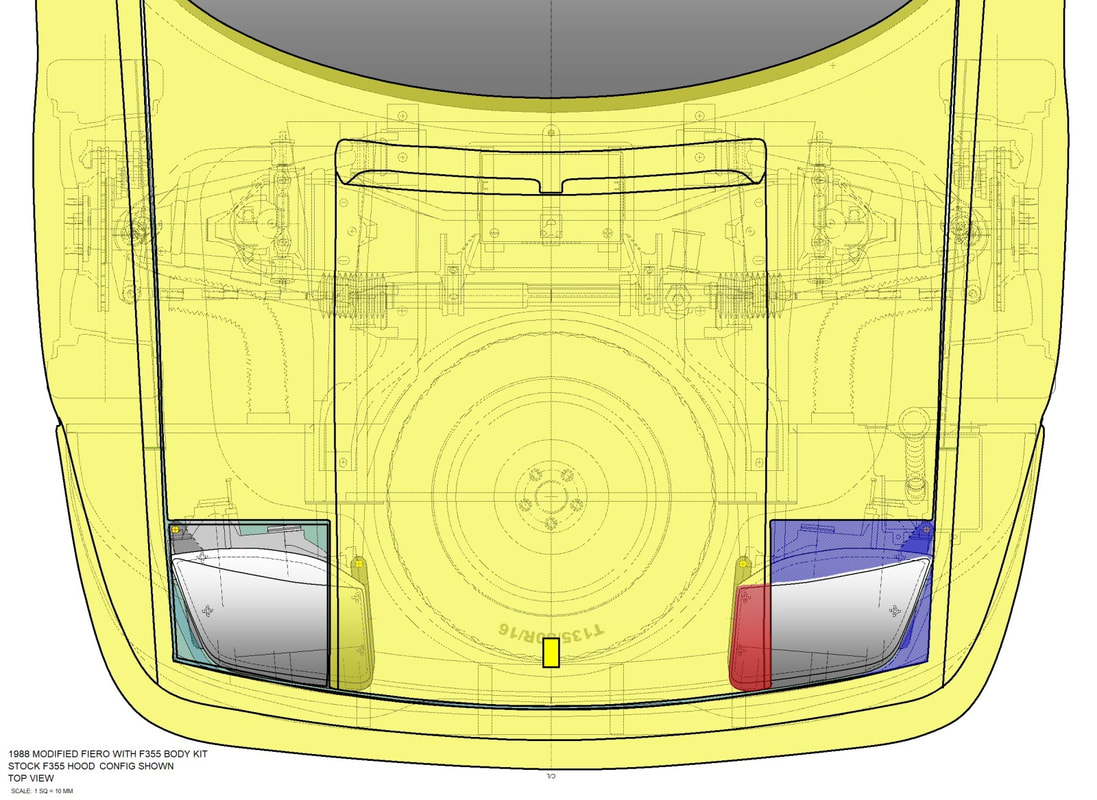
Though I’m not yet ready to start fiberglassing the holes in the hood, I did have to cut out the red shaded area so the hood would clear the headlights. A quick zip-zap with the cut-off wheel made short work of that:
Though I’m not yet ready to start fiberglassing the holes in the hood, I did have to cut out the red shaded area so the hood would clear the headlights. A quick zip-zap with the cut-off wheel made short work of that:
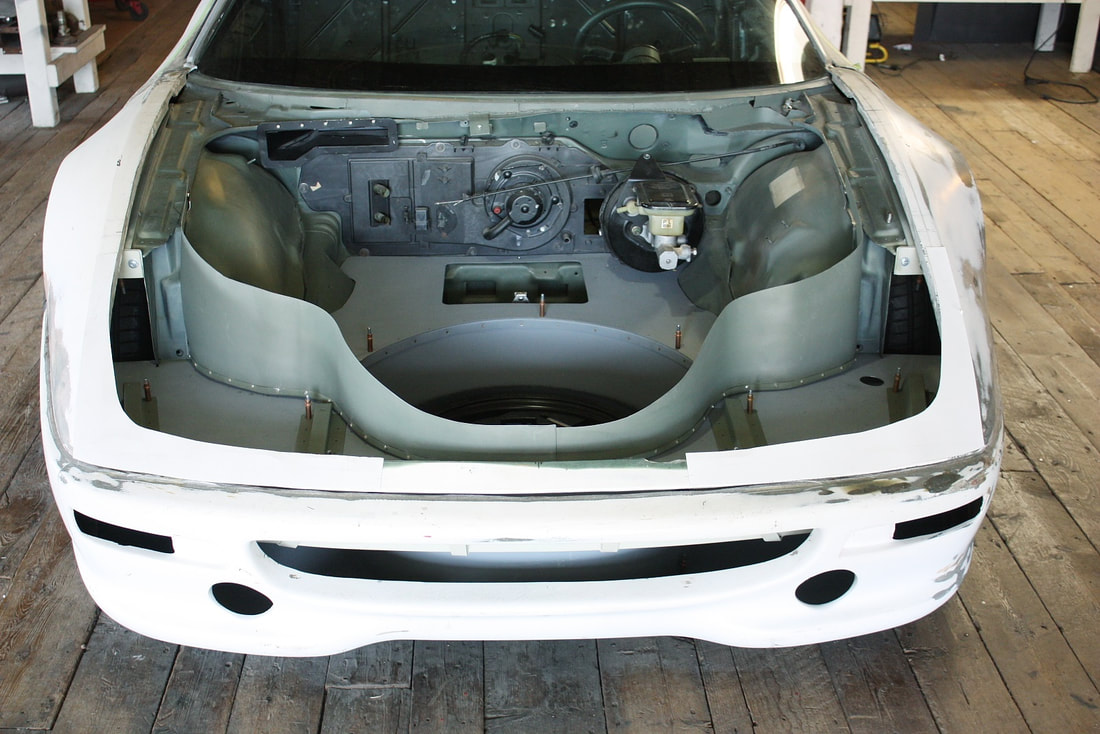
With that out of the way, I laid the hood in place to check again for clearances around the lights:
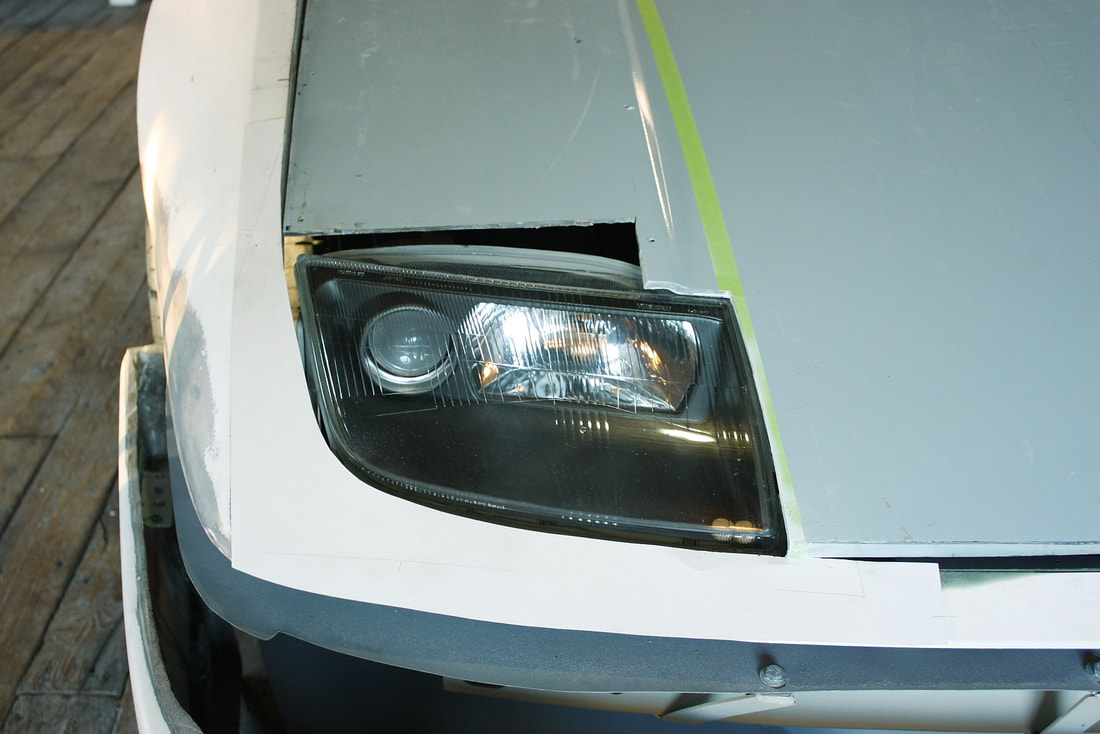
The wider lights play havoc with the stock hood creases as I’ve already mentioned earlier, so this bit of interference came as no surprise.

I’ll need to re-angle the hood creases so they align with the inner edge of the headlights, which shouldn’t be too much of a problem. The reason why I’m considering this now is that depending how I move the crease, I may end up cutting the hood. If I do that, then I’ll want to bridge the slice with strategically placed underhood webbing to strengthen the weakened area.
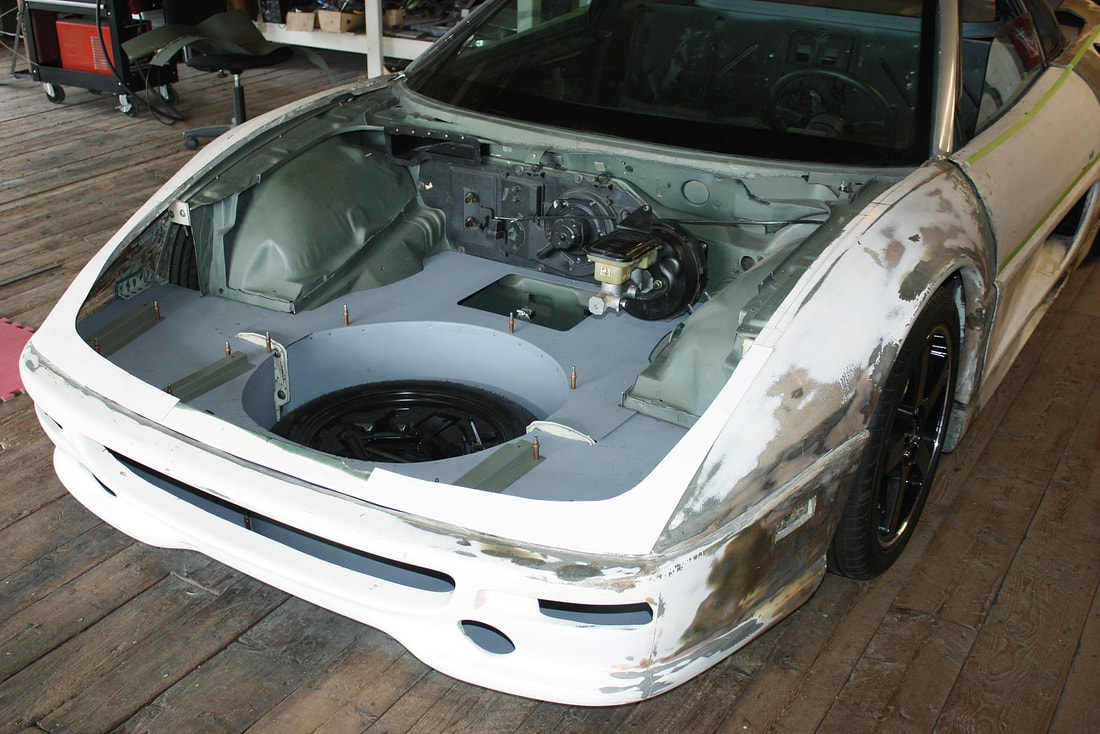
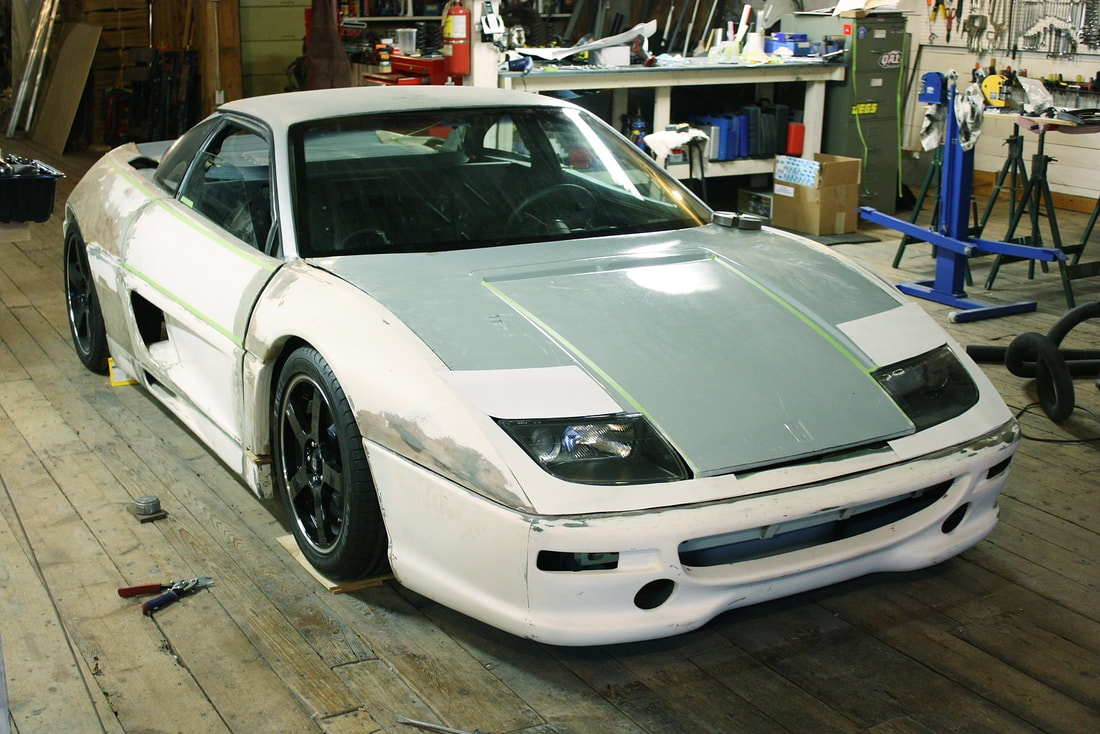
For now though, here's what the car looked like stepping back to take the whole thing in. (I added a couple cardboard filler panels to hide the extra large holes around the lights.)
I’ll need to re-angle the hood creases so they align with the inner edge of the headlights, which shouldn’t be too much of a problem. The reason why I’m considering this now is that depending how I move the crease, I may end up cutting the hood. If I do that, then I’ll want to bridge the slice with strategically placed underhood webbing to strengthen the weakened area.
For now though, here's what the car looked like stepping back to take the whole thing in. (I added a couple cardboard filler panels to hide the extra large holes around the lights.)
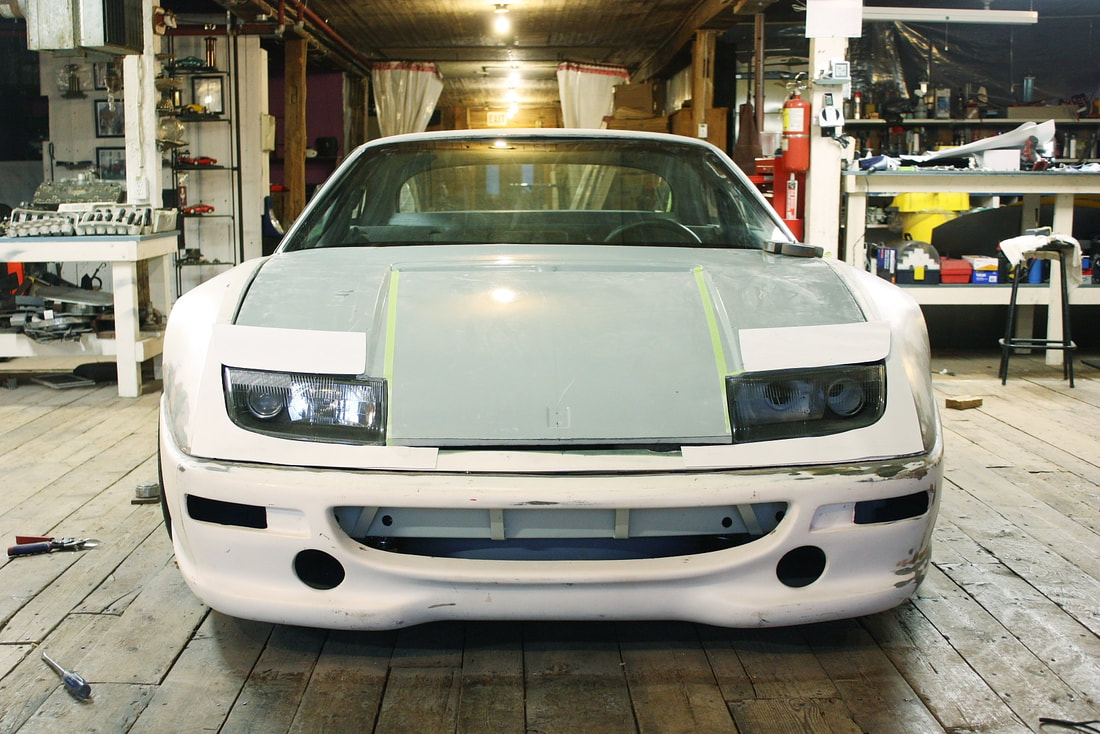
The next step is to realign the creases in the hood with the inner edges of the headlights.
The next step is to realign the creases in the hood with the inner edges of the headlights.

 RSS Feed
