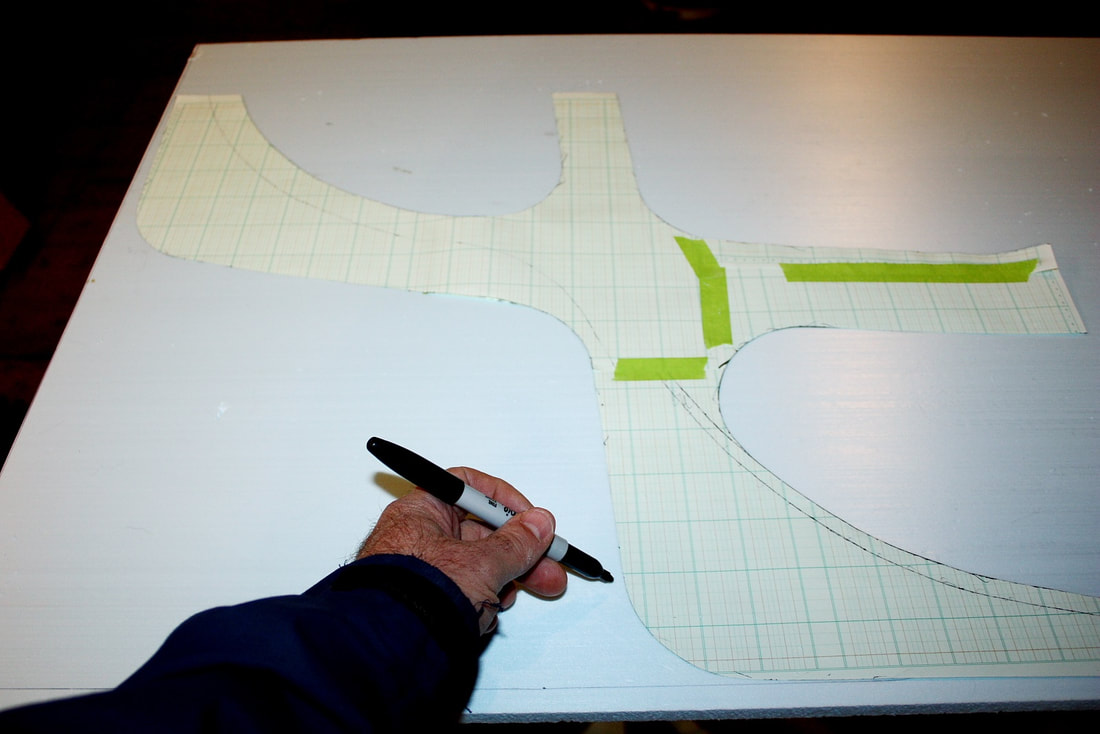
With my under hood skin design all figured out, I was ready to start transcribing my plan onto the underside of the hood. I drew it out free-hand on one half using a 5” diameter circle and a straightedge to keep things tidy, then traced the design onto a paper template to make sure both sides would be mirror images of each other:
At this stage I had already decided I was going to make fibreglass ribs, rather than an entire under hood skin. My plan was to cut some 1” thick, high density Styrofoam ribs, glue them to the underside of the hood, and fibreglass over them.
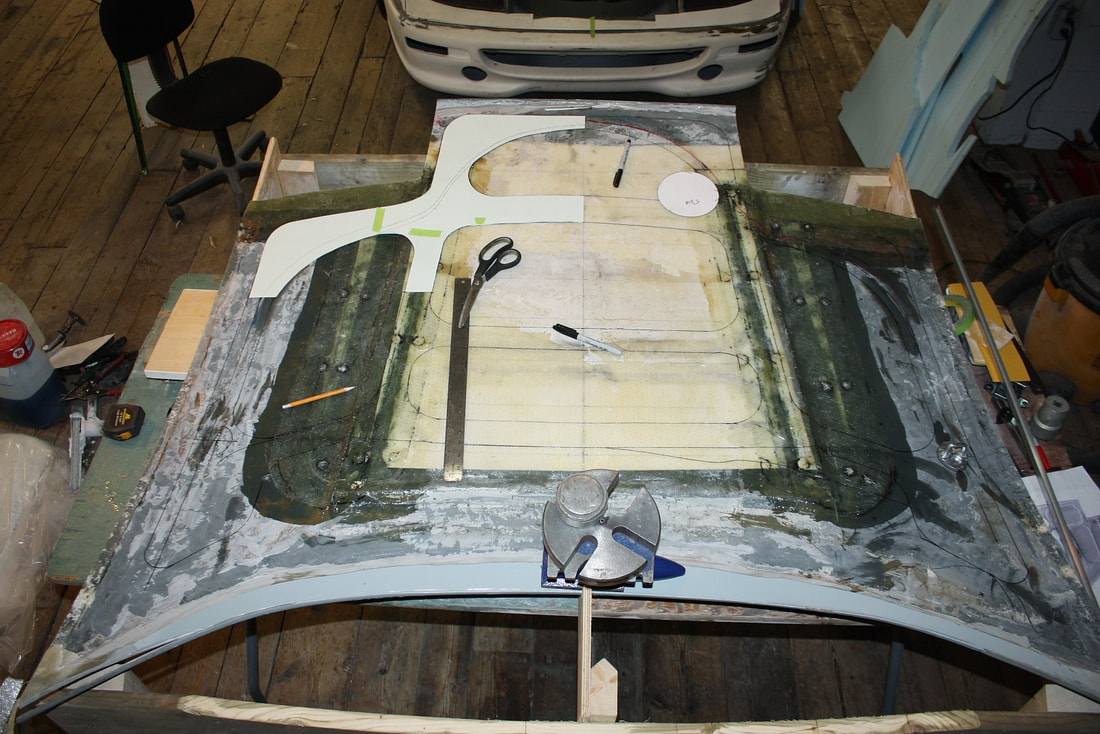
To get the ball rolling, I used my paper templates to trace the webbing design onto the Styrofoam. I decided to make the rib design in two pieces with the split line along the frangible flange:
At this stage I had already decided I was going to make fibreglass ribs, rather than an entire under hood skin. My plan was to cut some 1” thick, high density Styrofoam ribs, glue them to the underside of the hood, and fibreglass over them.
To get the ball rolling, I used my paper templates to trace the webbing design onto the Styrofoam. I decided to make the rib design in two pieces with the split line along the frangible flange:
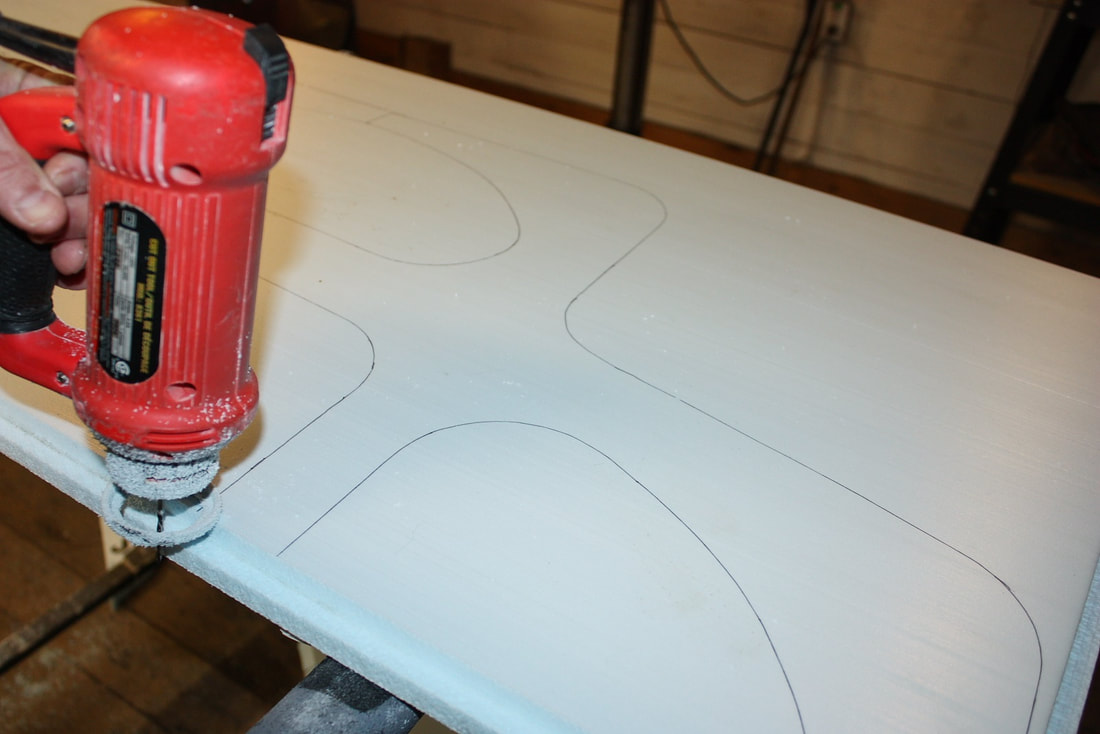
To cut out the rib patterns, I used both a band saw for the more accessible areas, and a zip tool for the tighter corners:
The zip tool was only good for making rough cuts, so once the ribs were cut out, I used a drum sander to get in close and smooth out all of the rounded cuts.
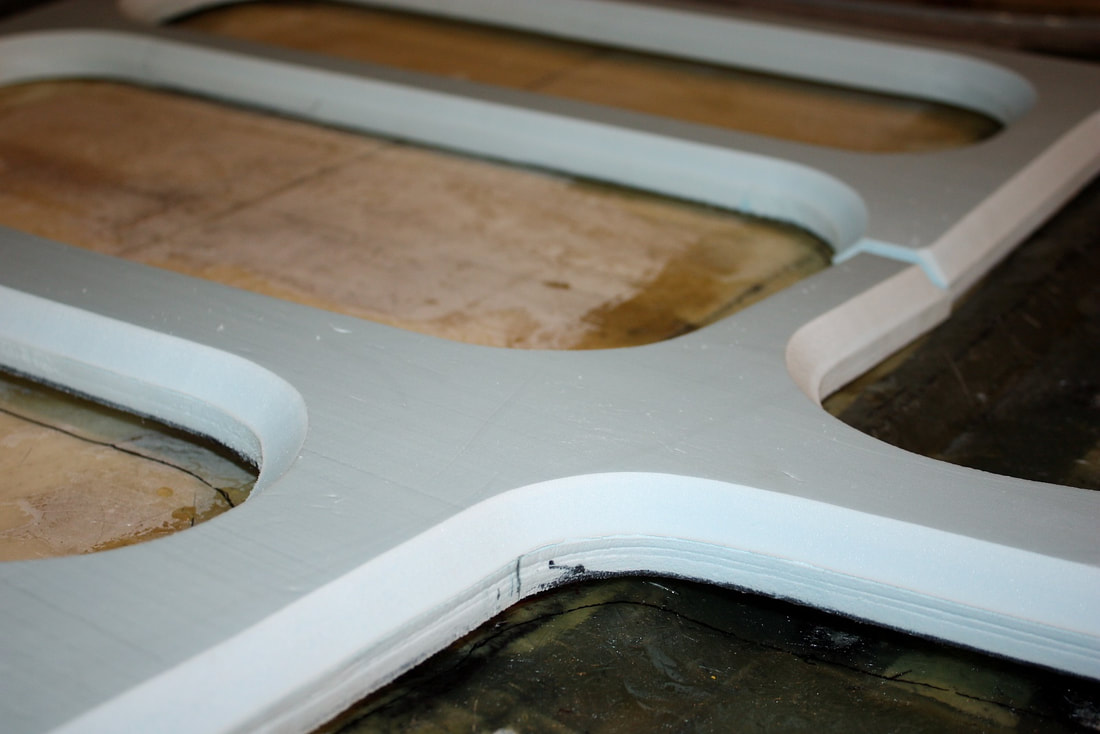
Once I was happy with the overall smooth flow of the lines, I used a plunge router with a 45 degree chamfer bit to put a bevel on each edge. Experience with fibreglass has taught me that fibreglass mat doesn’t like to wrap around a sharp 90 degree bend very well, and besides, the chamfering makes the webbing look much more “factory”:
The zip tool was only good for making rough cuts, so once the ribs were cut out, I used a drum sander to get in close and smooth out all of the rounded cuts.
Once I was happy with the overall smooth flow of the lines, I used a plunge router with a 45 degree chamfer bit to put a bevel on each edge. Experience with fibreglass has taught me that fibreglass mat doesn’t like to wrap around a sharp 90 degree bend very well, and besides, the chamfering makes the webbing look much more “factory”:
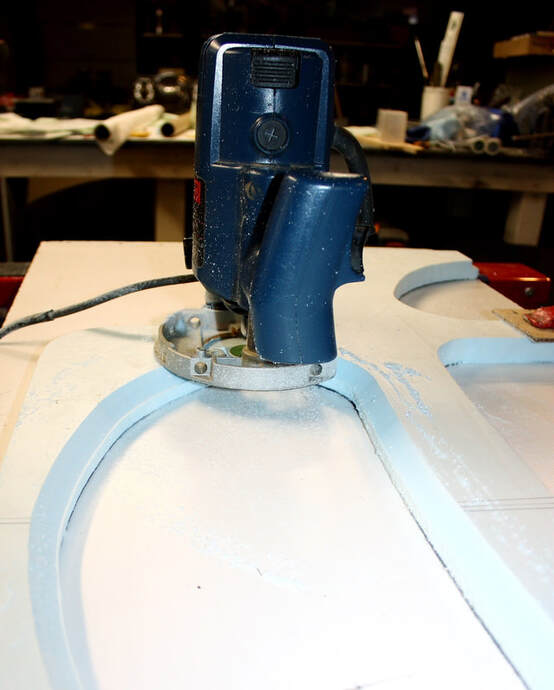
If you try this at home, make sure you’re wearing a dusk mask, wrap-around eye protection, and clothes that don’t generate a lot of static electricity (avoid polar fleece!). The router bit literally fills the air with electro-statically charged, powderized Styrofoam. It took me an hour to clean up afterwards, but the results were outstanding:
If you try this at home, make sure you’re wearing a dusk mask, wrap-around eye protection, and clothes that don’t generate a lot of static electricity (avoid polar fleece!). The router bit literally fills the air with electro-statically charged, powderized Styrofoam. It took me an hour to clean up afterwards, but the results were outstanding:
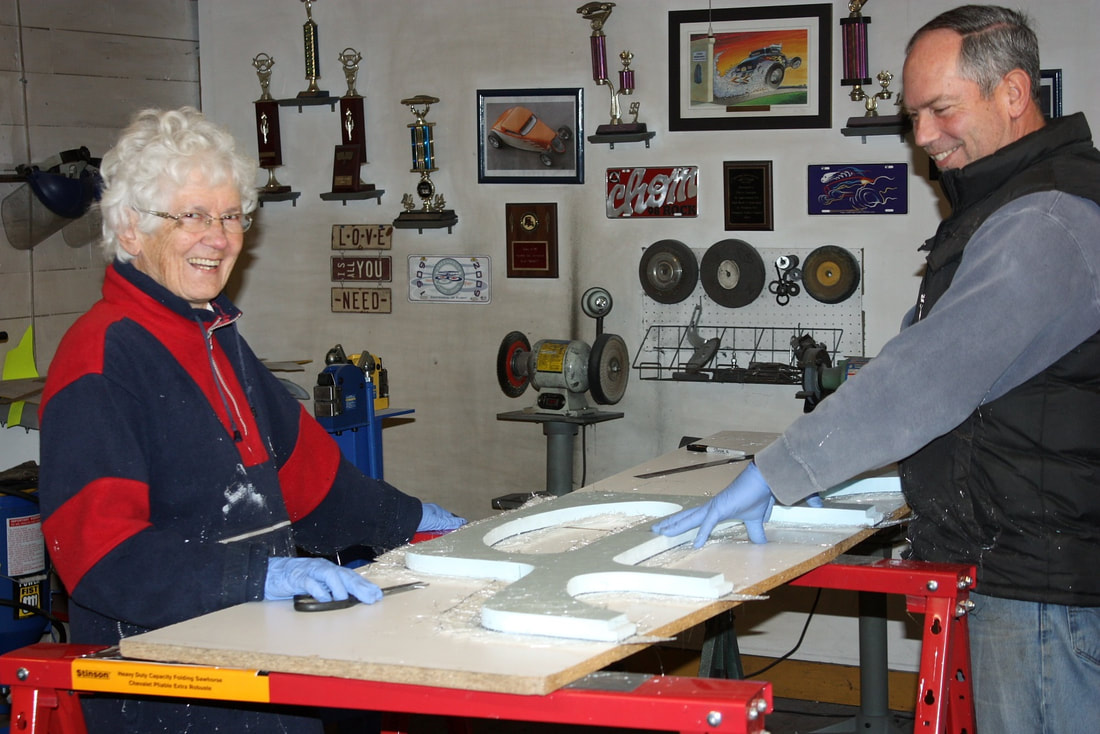
Next, I solicited the help of my visiting mom (who happens to have spent a lifetime as a hobbyist seamstress) to help trace out and cut the patterns from fibreglass mat that’ll be used to cover the Styrofoam. Notice she’s wearing polar fleece… not recommended for this either!
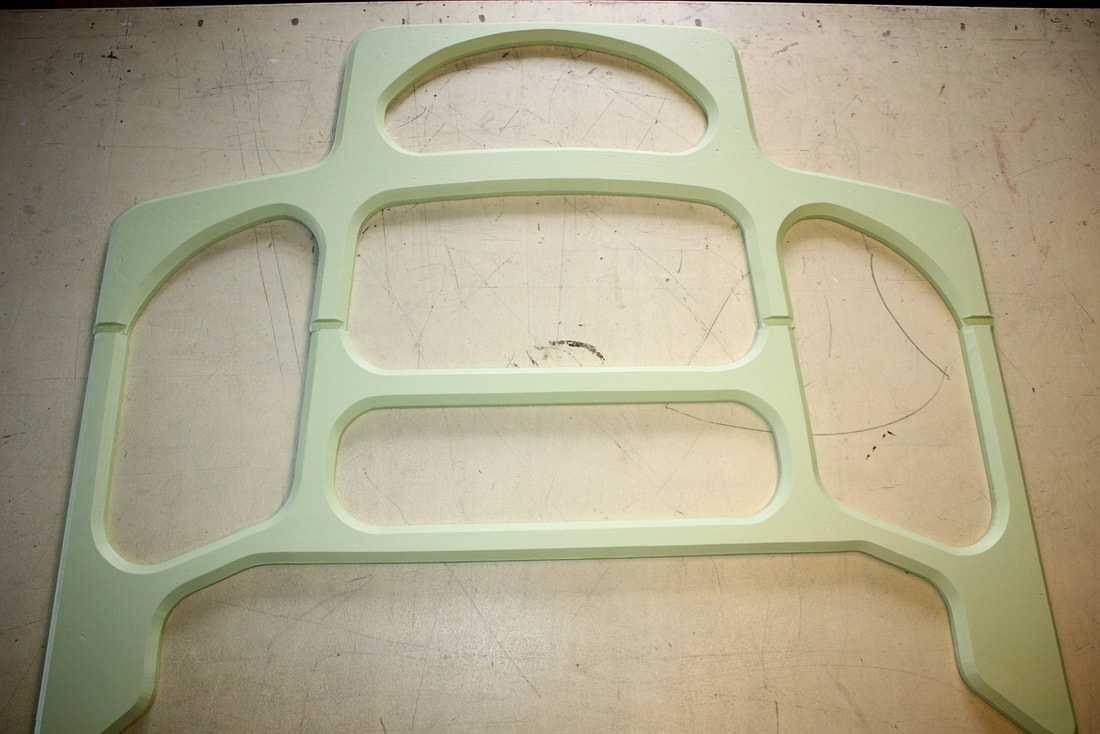
I set aside the fibreglass patterns, then focussed on making the foam ribs impervious to the polyester resin that’s going to cover them. Since Styrofoam will instantly melt in contact with the resin, some method of coating the foam is needed. I’ve used packing tape for most applications in the past, but I’ve read that latex paint works equally well as a barrier, and for compound shapes it’s a lot easier to apply. Here are the ribs all painted up:
I set aside the fibreglass patterns, then focussed on making the foam ribs impervious to the polyester resin that’s going to cover them. Since Styrofoam will instantly melt in contact with the resin, some method of coating the foam is needed. I’ve used packing tape for most applications in the past, but I’ve read that latex paint works equally well as a barrier, and for compound shapes it’s a lot easier to apply. Here are the ribs all painted up:
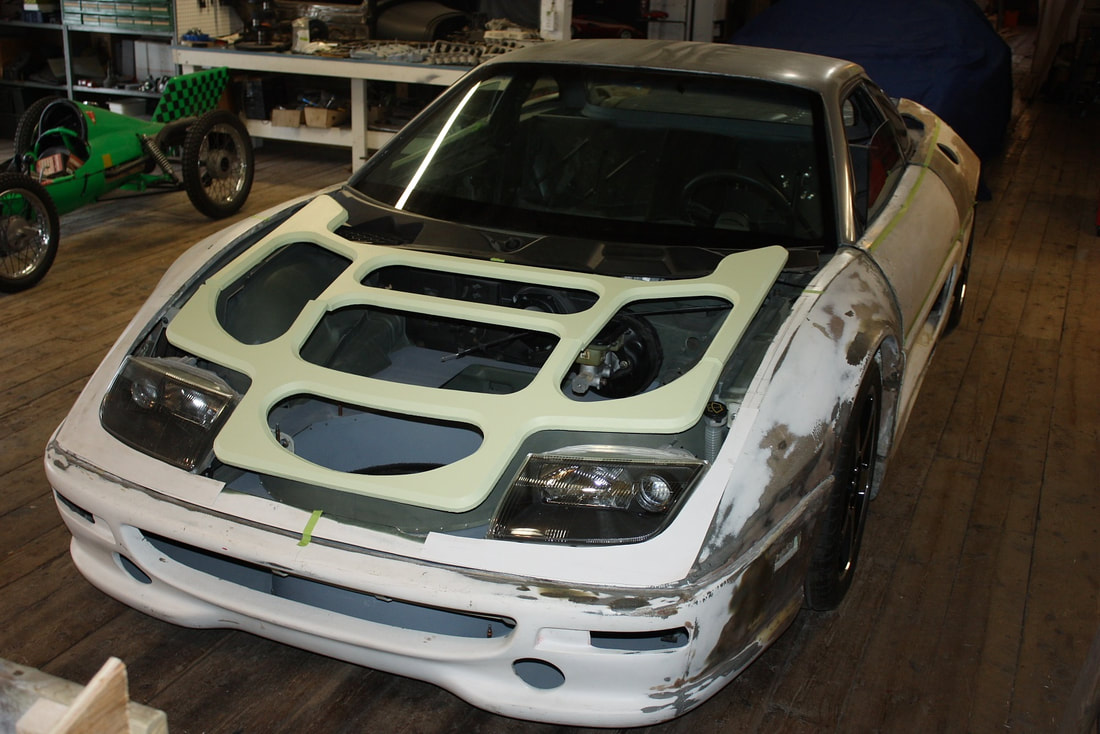
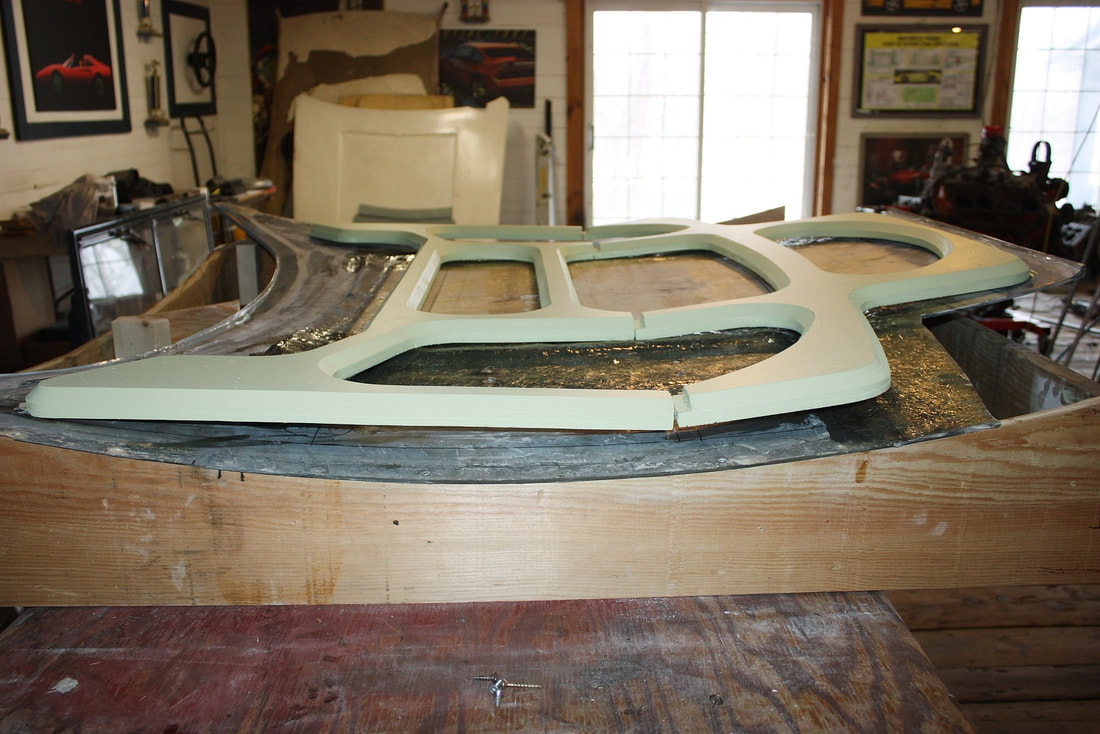
To get an idea how these ribs will line up with the front compartment once they’re bonded to the hood, I mocked up both pieces onto the chassis for a pretty cool photo:
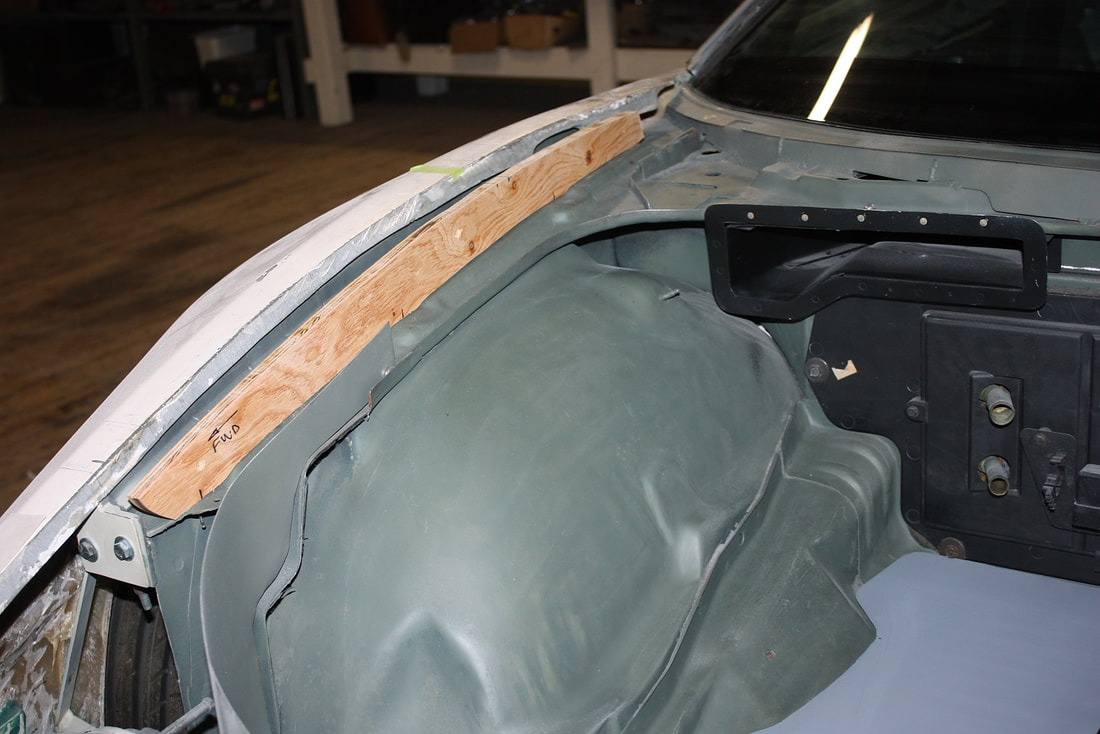
With the under hood webbing ready to bond in, I decided to make one final tweak to the wooden jig that would hold the outer skin to the correct curvature. The problem with the jig was that I had focussed only on the length-wise curvature and failed to consider the cross-car curvature. I discovered this earlier on when I screwed the hood to the jig, then placed the hood and jig assembly onto the chassis. The hood followed the fender arches perfectly, but it was resting on the windshield, leaving no gap for the hidden wipers under the hood.
So I removed the flimsy hood from the jig once again, and made a few supports for the hood to rest upon the chassis by itself. I made two wooden forms for the sides of the hood to rest on…
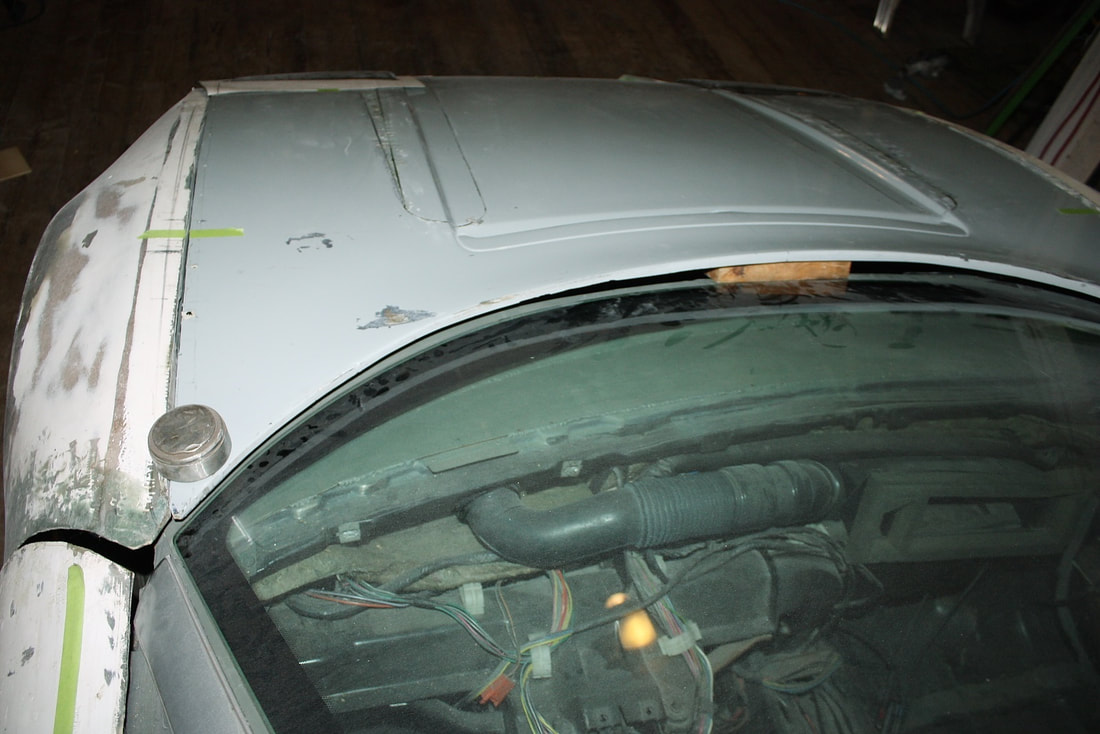
…and a wooden block in the center to space it away from the windshield. I also had to weigh down the rear corners of the hood because there was some tension involved:
…and a wooden block in the center to space it away from the windshield. I also had to weigh down the rear corners of the hood because there was some tension involved:
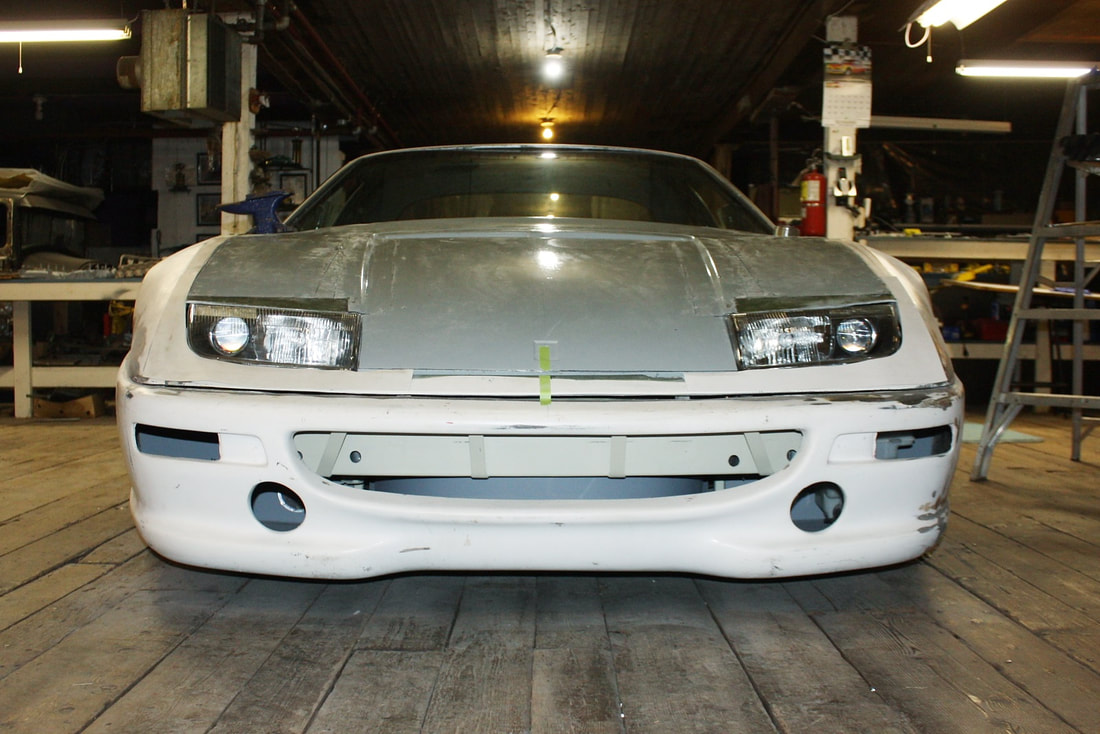
This gave a pronounced roundness to the hood from the front view:
Having forced the hood skin into the desired shape, I re-attached the wooden jig onto the hood, and adapted it to hold the new cross-car curvature:
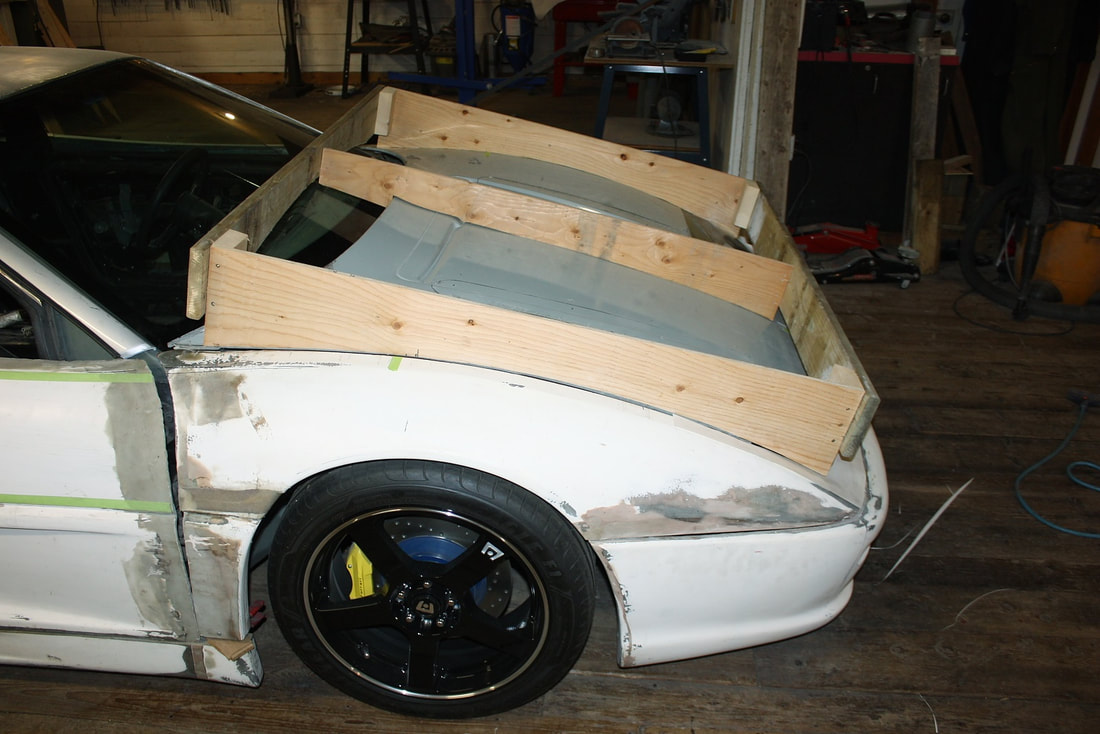
With the hood clamped firmly to the jig, I removed the hood/jig assembly from the chassis, turned it upside-down, and began planning how to bond the Styrofoam webbing to the underside:
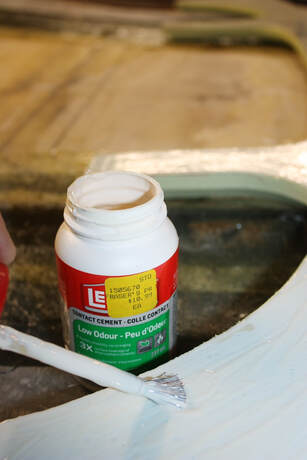
As it happens, LePage’s makes a solvent-free contact cement that’s perfect for bonding Styrofoam. It’s low odour, and it doesn’t dissolve the foam like ordinary contact cement. It’s got only one pitfall that I learned about after-the-fact: it isn’t quite as strong. I decided to try it, gooping up both the hood and the foam…:
As it happens, LePage’s makes a solvent-free contact cement that’s perfect for bonding Styrofoam. It’s low odour, and it doesn’t dissolve the foam like ordinary contact cement. It’s got only one pitfall that I learned about after-the-fact: it isn’t quite as strong. I decided to try it, gooping up both the hood and the foam…:
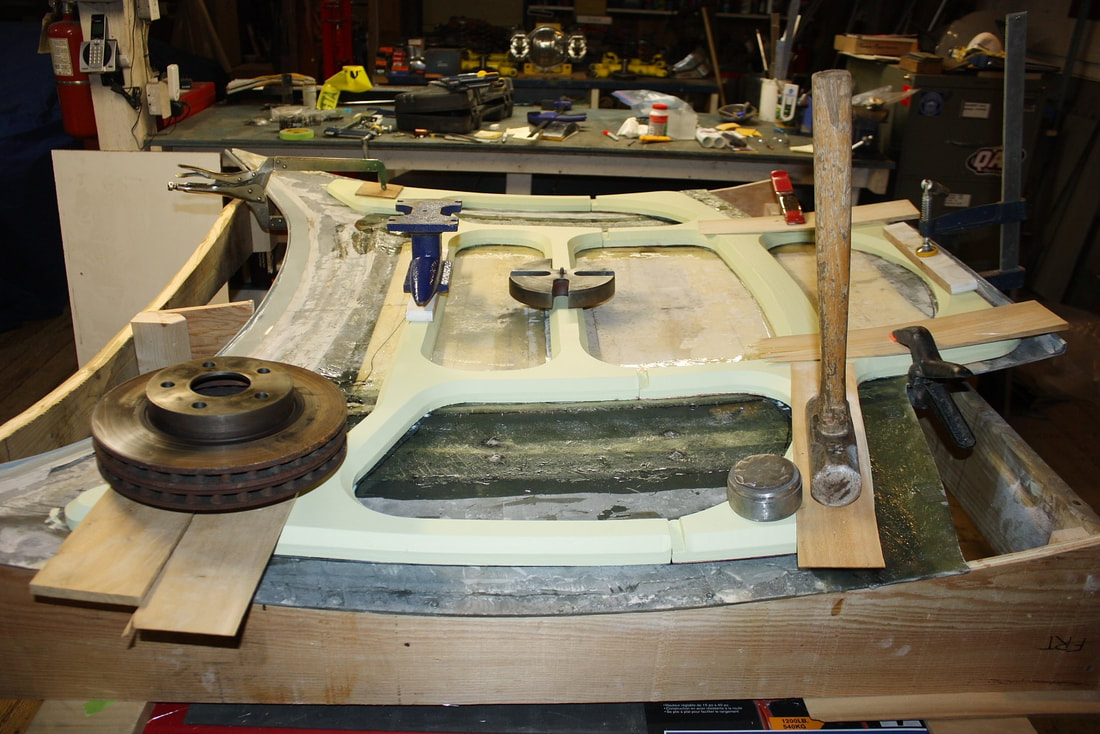
…letting it dry, and sticking the pieces together. I had to use a variety of clamps and weights to get the foam to conform to the hood, so for a while it looked like the scene of a horrible accident:
…letting it dry, and sticking the pieces together. I had to use a variety of clamps and weights to get the foam to conform to the hood, so for a while it looked like the scene of a horrible accident:
More soon!

 RSS Feed
