Well… don’t always believe what you read on the internet. But you can believe this: Latex paint DOESN’T protect polystyrene foam from polyester resin. Hopefully I’ll save at least one person the frustration of learning this first-hand.
When I began coating the high density foam buck with resin, all went well at first. I laid up and saturated several layers of 1.5 oz fibreglass mat in the pockets that would hold the front hinge mounts, set in the mounts, then glassed over them as well:
When I began coating the high density foam buck with resin, all went well at first. I laid up and saturated several layers of 1.5 oz fibreglass mat in the pockets that would hold the front hinge mounts, set in the mounts, then glassed over them as well:
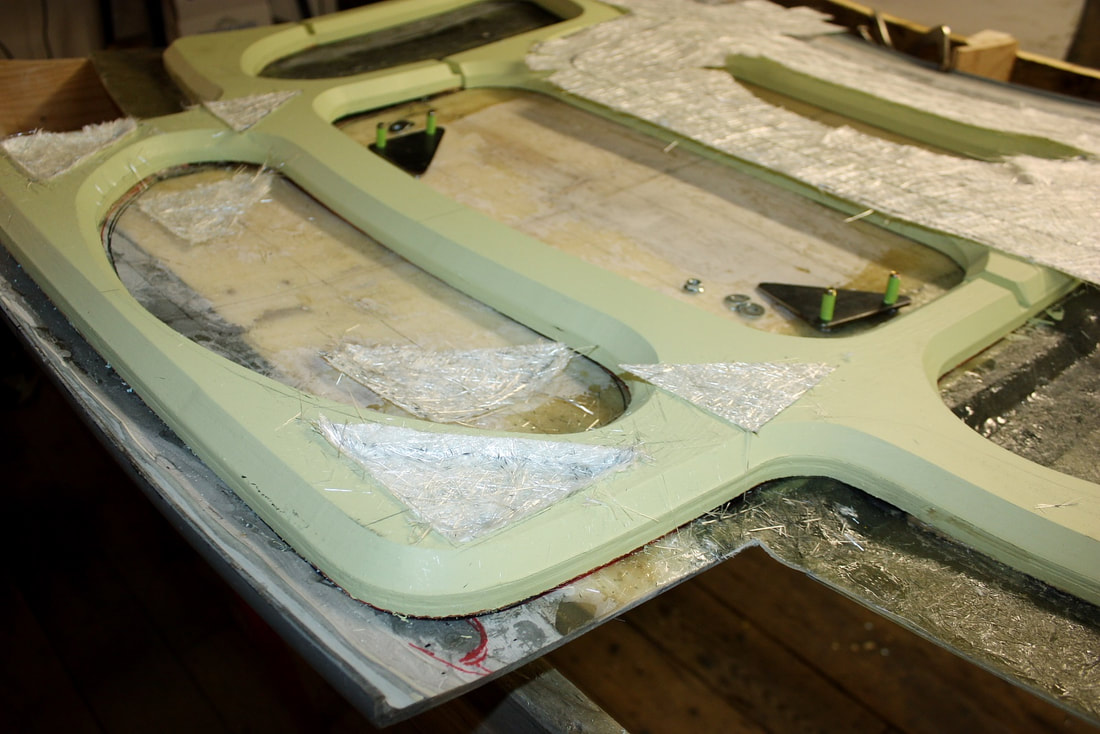
Next, I saturated the first layer of fibreglass mat to form the forward-most web… and that’s when things started to go wrong:
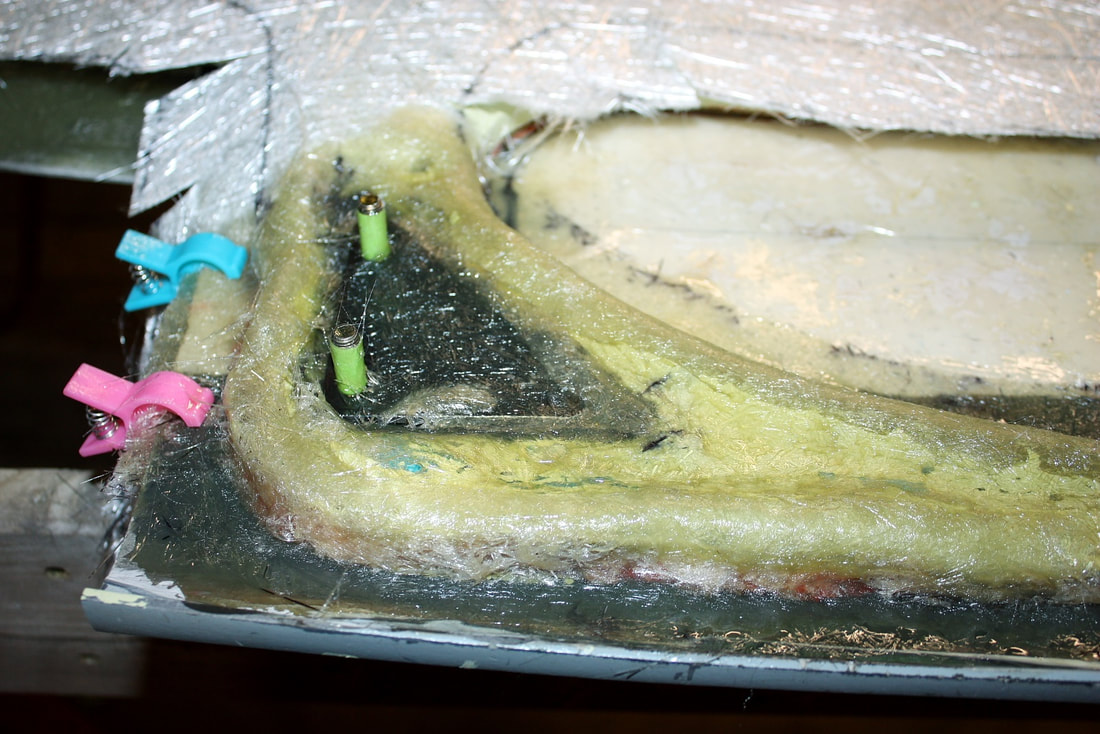
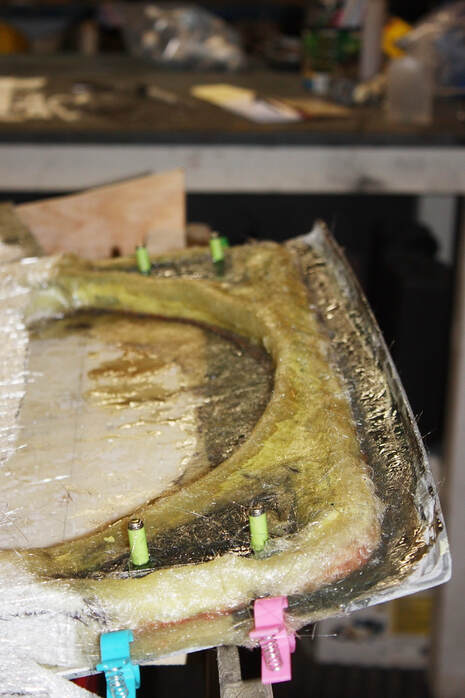
Three things happened: 1. the fibreglass mat filaments were much too stiff to follow the sharp corners of the Styrofoam buck, even once the polyester resin broke down the bond between the fibres; 2. within minutes the foam structure started dissolving and collapsing under the glass; and 3. the fine contoured lines routered into the foam were lost even after a single of three layers of fibreglass matting were laid. I stopped within 5 minutes of starting:
Three things happened: 1. the fibreglass mat filaments were much too stiff to follow the sharp corners of the Styrofoam buck, even once the polyester resin broke down the bond between the fibres; 2. within minutes the foam structure started dissolving and collapsing under the glass; and 3. the fine contoured lines routered into the foam were lost even after a single of three layers of fibreglass matting were laid. I stopped within 5 minutes of starting:
Clearly I needed to rethink how to make the webbing. The first step was ditching the male buck concept and adopting a female mold approach. That way, a thick stiff part could be made without losing any details on the visible side.
Then I spent several weeks brainstorming a suitable way to make a large, compound-curved mold. That’s when I stumbled upon EVA foam… the stuff exercise mats are made from. It’s flat, flexible, is easily shaped with a router, available in 1” thick sheets, and after some testing, I found it’s impervious to polyester resin!
The second step was to come up with a plan to router smooth, complex shapes into the foam by hand, since I don’t have a CNC mill. I decided I could cut thin plywood into various shapes and glue them to the foam to serve as router guides like so:

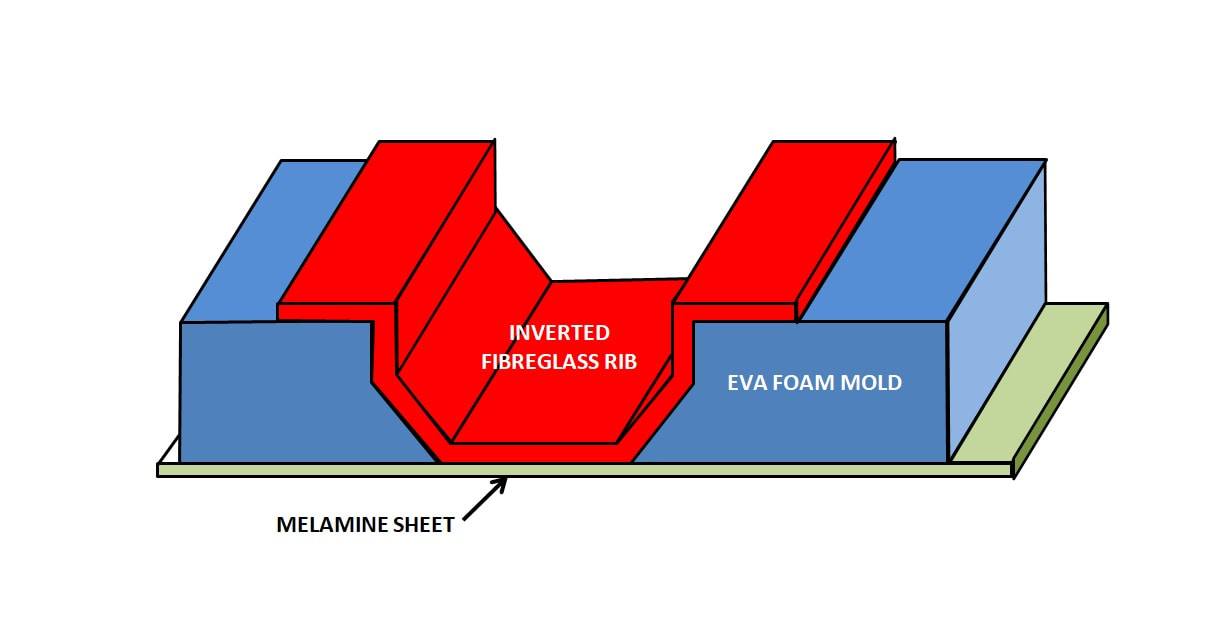
I could only find EVA foam in a maximum of 1’ thickness, which happened to match the height of my webbing. The trouble with that was that routering the full thickness of the foam would leave me with many separated pieces instead of a solid mold. So once the foam was shaped, the plan was to remove the plywood and glue the rubber mold to a thin, flexible sheet of melamine to hold the pieces together. The melamine would also serve to close off the bottom of the mold. Since polyester resin doesn’t stick to melamine, it would leave a nice smooth finish (this you can trust!), and that would allow me to inlay the fibreglass like so:
I could only find EVA foam in a maximum of 1’ thickness, which happened to match the height of my webbing. The trouble with that was that routering the full thickness of the foam would leave me with many separated pieces instead of a solid mold. So once the foam was shaped, the plan was to remove the plywood and glue the rubber mold to a thin, flexible sheet of melamine to hold the pieces together. The melamine would also serve to close off the bottom of the mold. Since polyester resin doesn’t stick to melamine, it would leave a nice smooth finish (this you can trust!), and that would allow me to inlay the fibreglass like so:
With my plan in hand, I set about finding the material I needed. I bought the EVA foam rubber mats on Amazon for $50, and I had scrap pieces of melamine and ¼” plywood (white board) saved from old reno projects:
With my plan in hand, I set about finding the material I needed. I bought the EVA foam rubber mats on Amazon for $50, and I had scrap pieces of melamine and ¼” plywood (white board) saved from old reno projects:
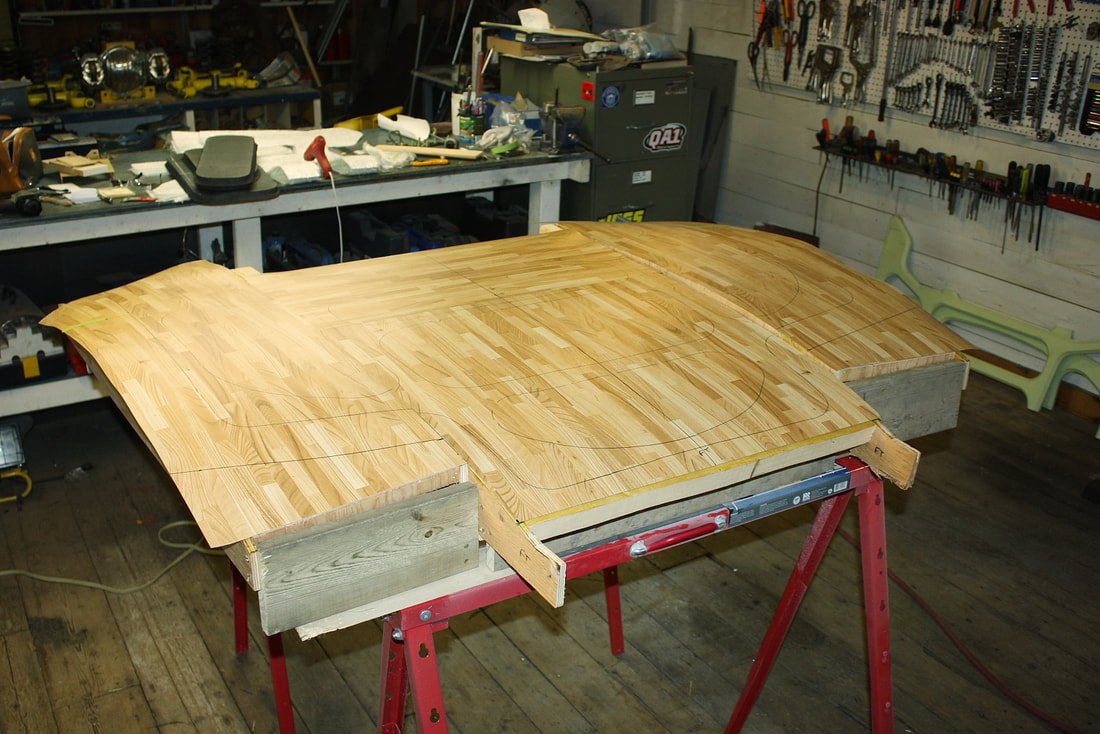
I began by measuring and cutting out the shapes for the router guides from the plywood. I just traced my old hood webbing patterns onto the wood, adjusted their size to account for the undercut of the router bit, and then cut the plywood with a jigsaw. In this next photo, I’ve already cut out the center “islands” from the plywood and have begun cutting up the web pattern since I need the outer perimeter, not the web itself for the router guide:
I began by measuring and cutting out the shapes for the router guides from the plywood. I just traced my old hood webbing patterns onto the wood, adjusted their size to account for the undercut of the router bit, and then cut the plywood with a jigsaw. In this next photo, I’ve already cut out the center “islands” from the plywood and have begun cutting up the web pattern since I need the outer perimeter, not the web itself for the router guide:
Here are the pieces I wanted (in white).
Here are the pieces I wanted (in white).
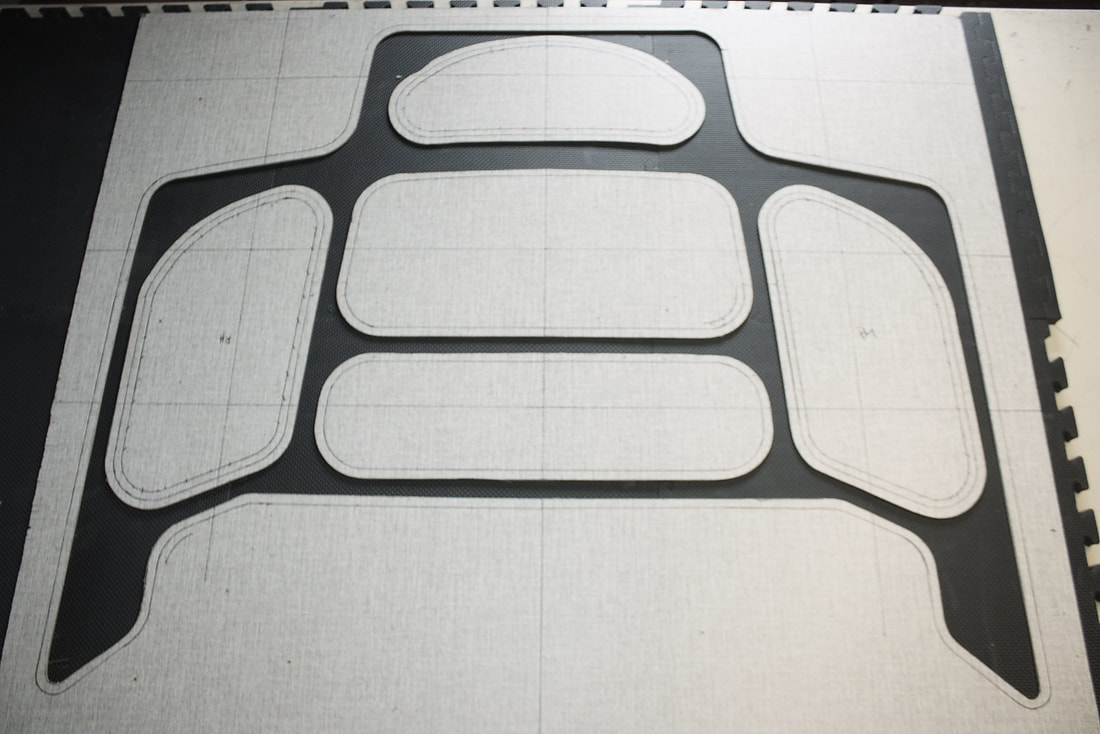
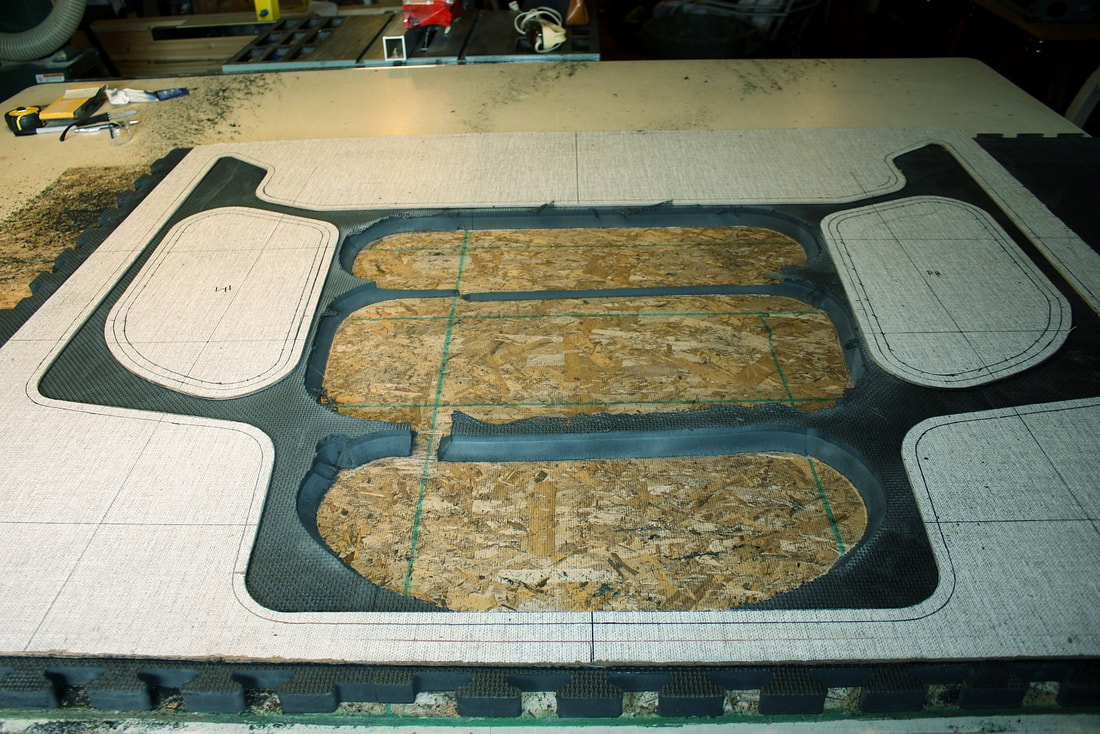
My next steps were to glue the plywood to the rubber foam, and router away the foam mat that’s still visible, leaving only the foam under the plywood intact.
To keep the plywood router guides from shifting, I hot-glued them to the EVA foam. The extra set of lines around the perimeter of each piece shows by how much the bit will undercut the wooden template:
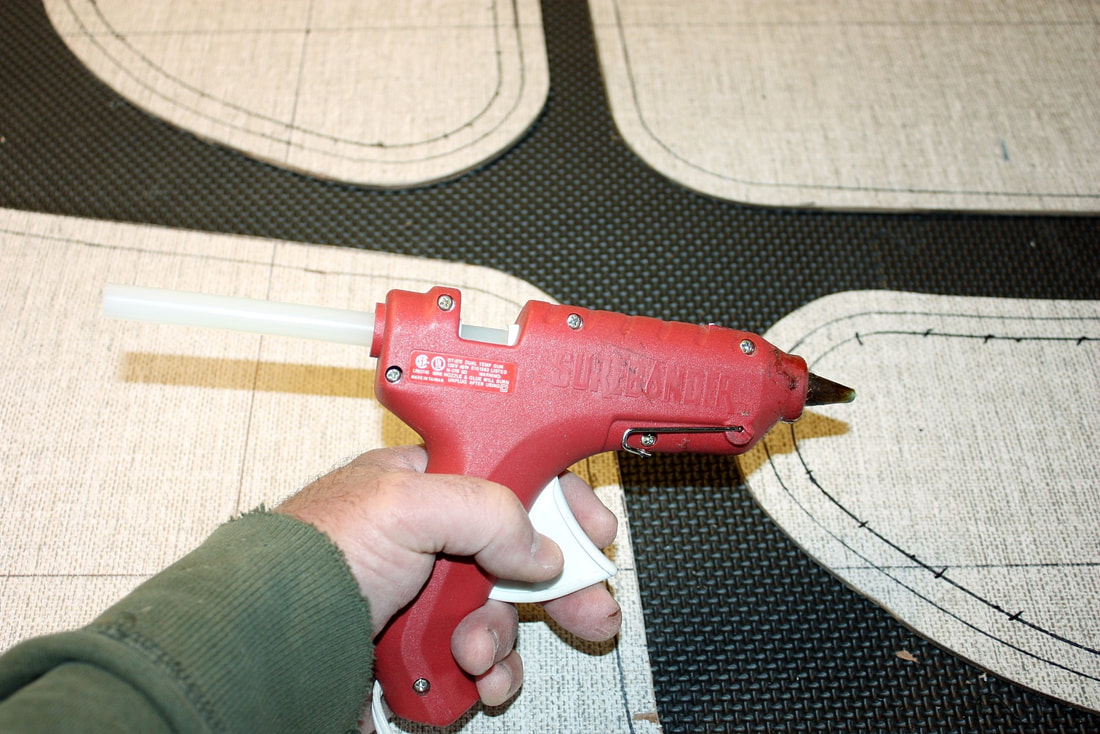
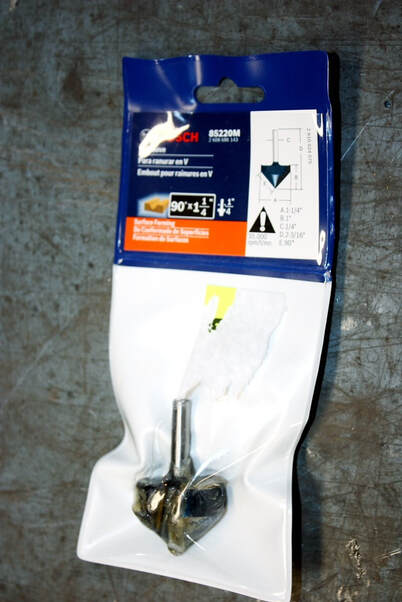
I wanted bevelled edges on the webbing, so I bought a $60 router bit with the shape and dimensions I wanted. It has a relatively large 1” diameter for the size of the shank (1/4”):
I wanted bevelled edges on the webbing, so I bought a $60 router bit with the shape and dimensions I wanted. It has a relatively large 1” diameter for the size of the shank (1/4”):
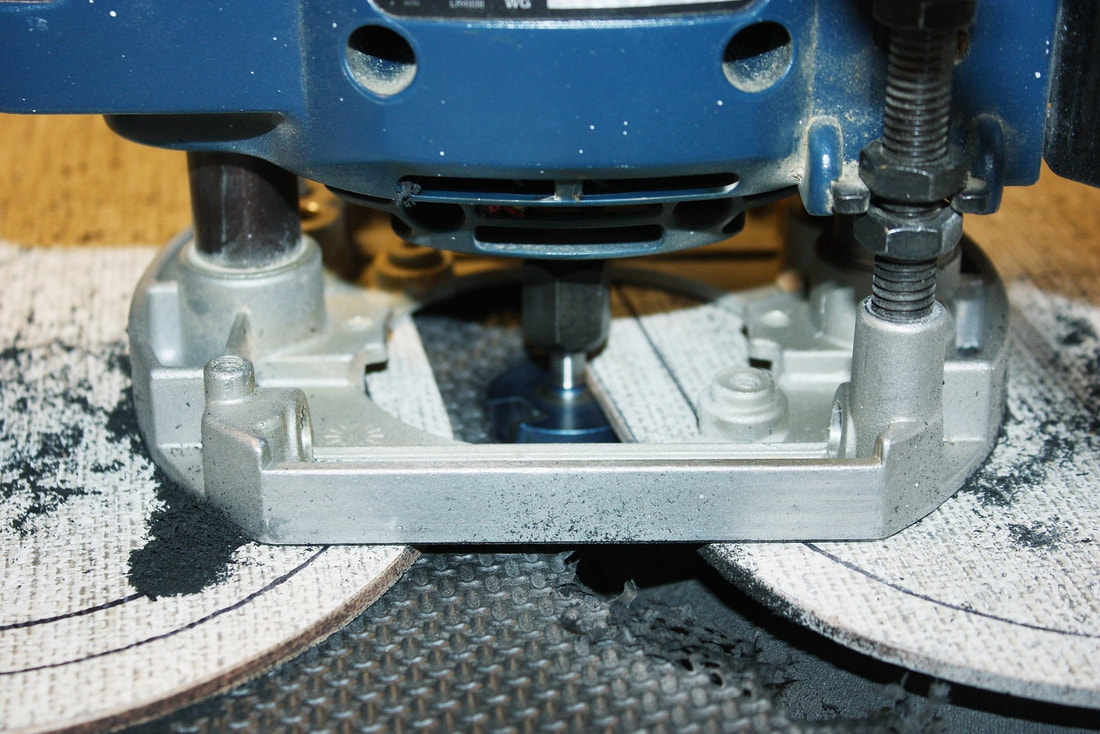
Here’s a photo of the router in action. Notice how I ran the shank of the bit against the plywood guide, undercutting all the way to the extra set of lines on the guide. Had I been able to purchase a bit with a guide bearing I would’ve, but in this case very little pressure was needed to hold the shank against the guide since the foam put up no resistance at all:
Here’s a photo of the router in action. Notice how I ran the shank of the bit against the plywood guide, undercutting all the way to the extra set of lines on the guide. Had I been able to purchase a bit with a guide bearing I would’ve, but in this case very little pressure was needed to hold the shank against the guide since the foam put up no resistance at all:
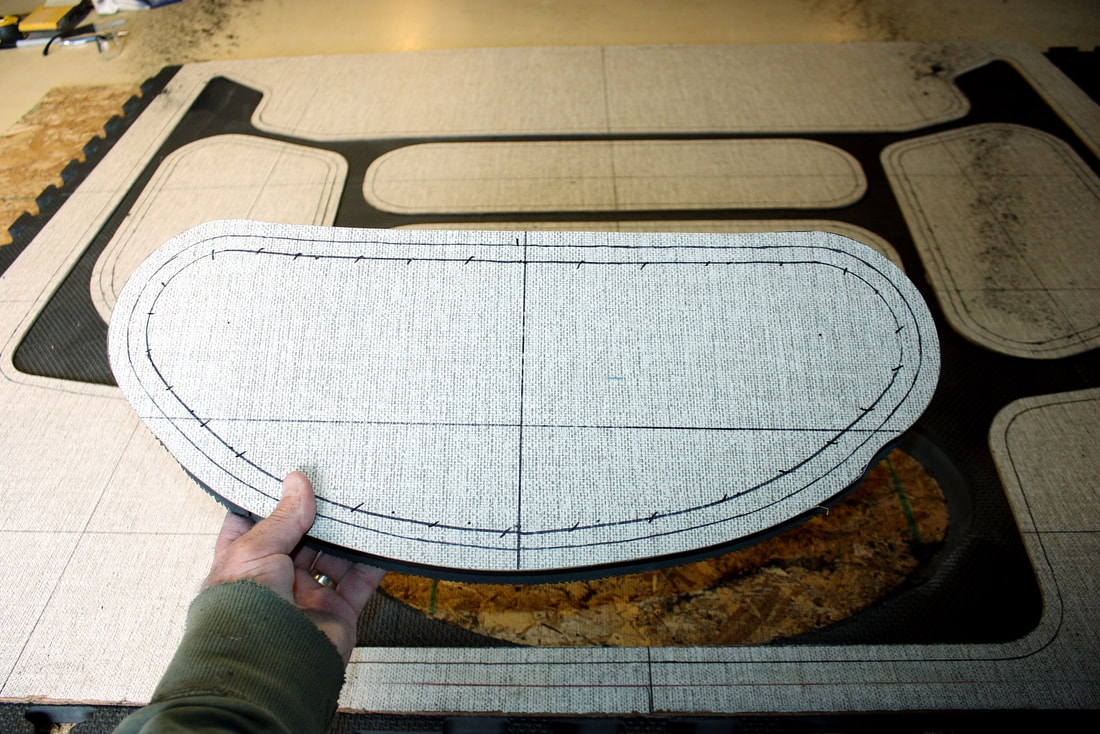
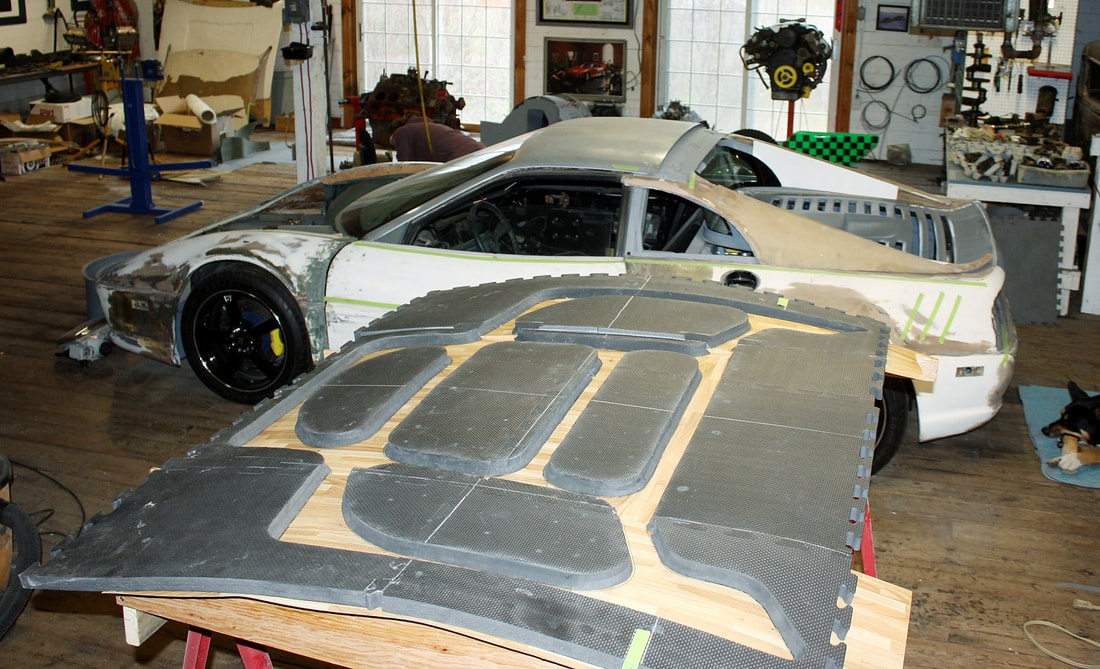
Here’s the first piece I cut out (remember, these are the pieces I want!):
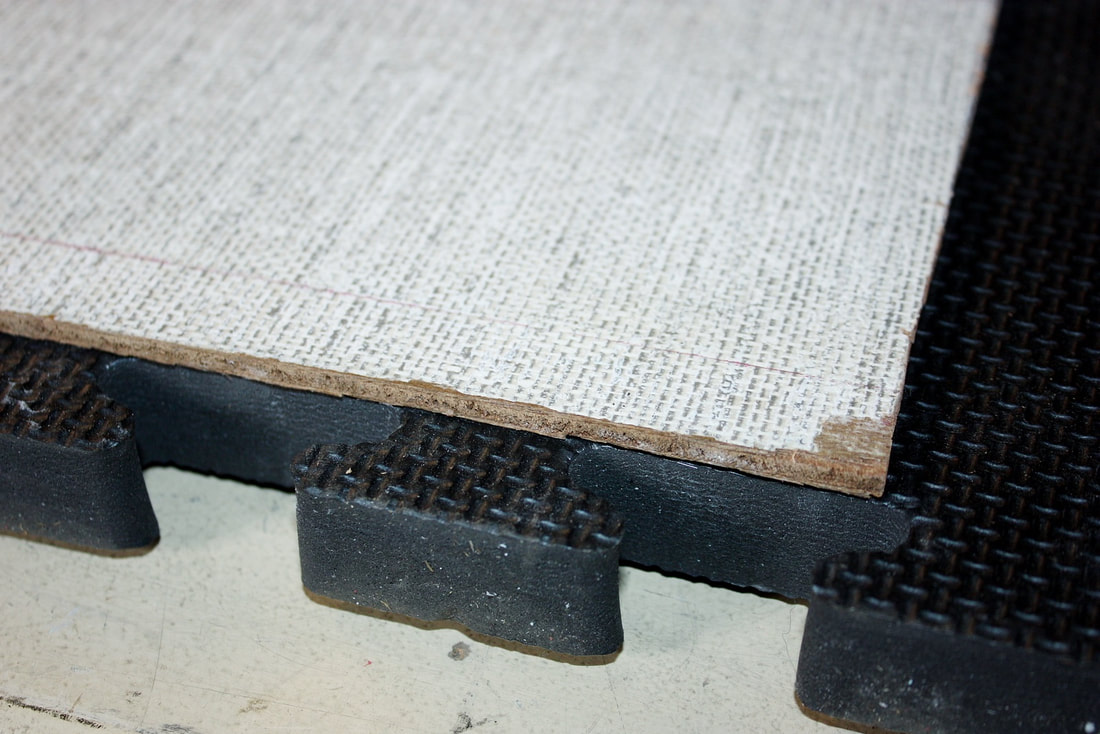
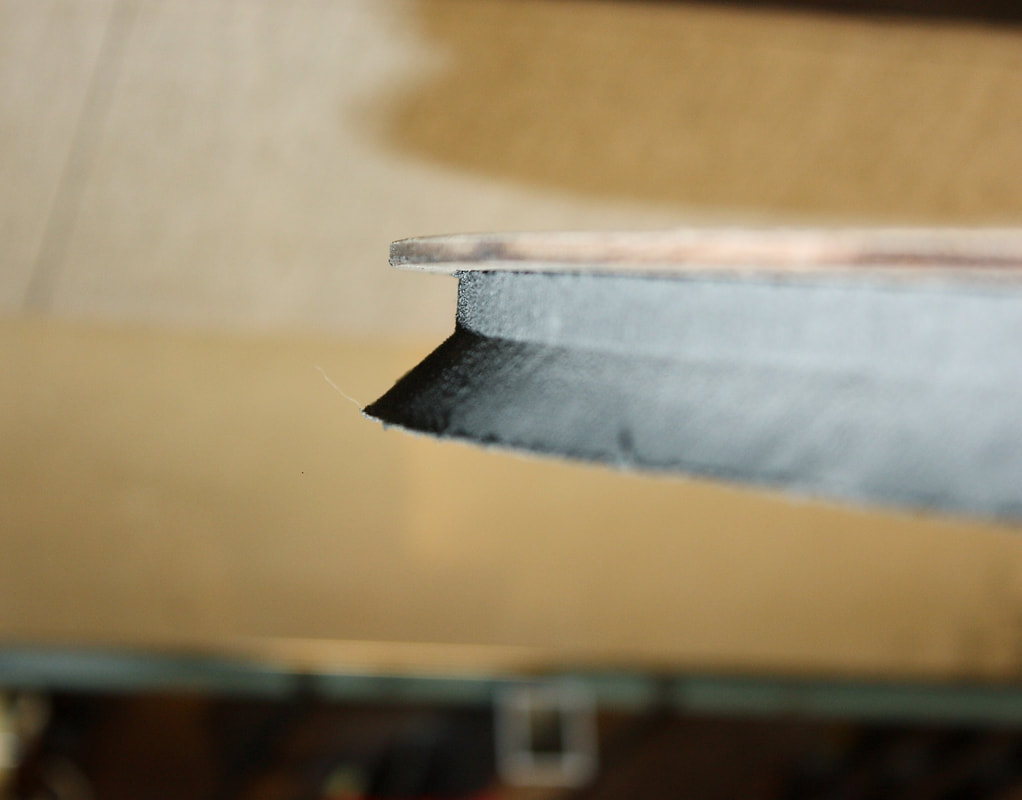
And here’s the profile of the cut. The plywood will be removed later:
And here’s the profile of the cut. The plywood will be removed later:
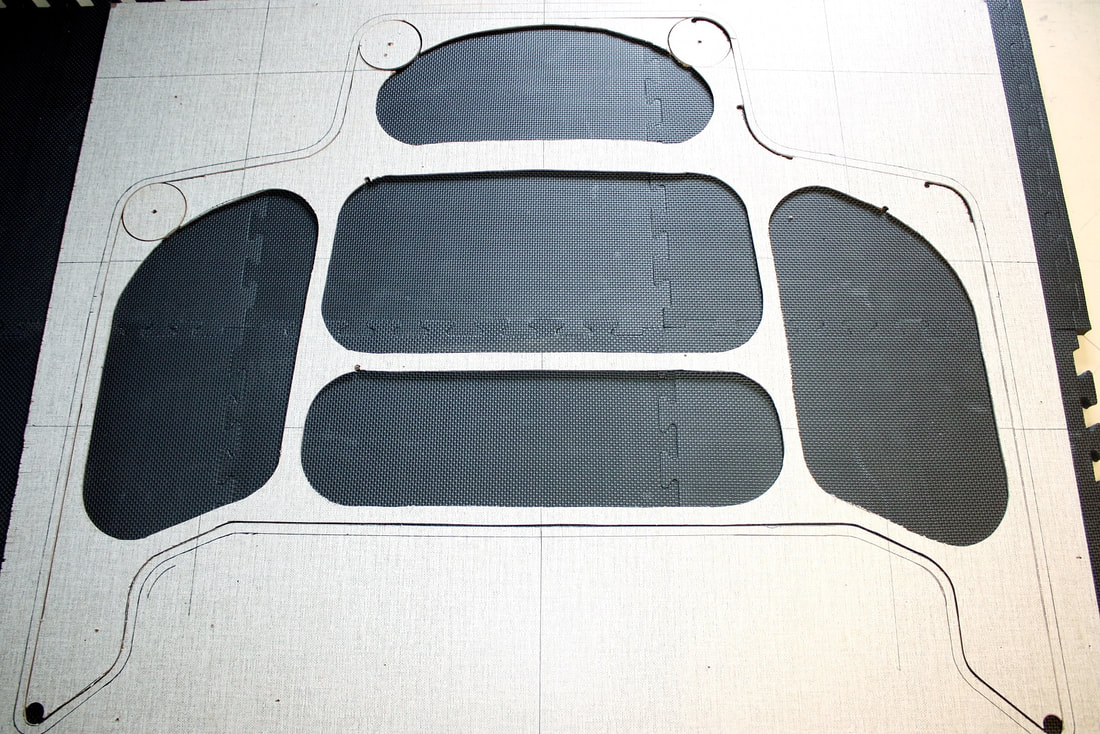
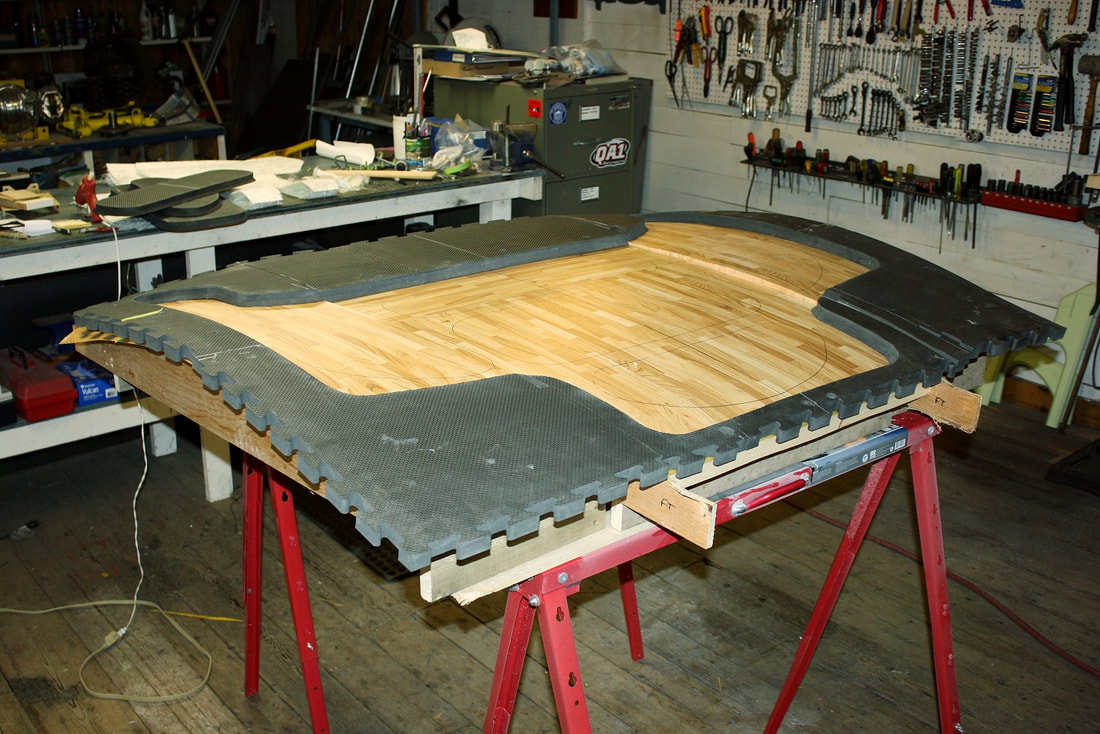
Here’s an in-progress shot of the cutting process. All of the black foam that’s visible is scrap and was in the process of being removed:
Here’s an in-progress shot of the cutting process. All of the black foam that’s visible is scrap and was in the process of being removed:
Once all the pieces were cut out and the plywood guides removed, the next step was to glue the rubber pieces onto a flexible sheet of melamine, closing off the bottom of the mold. But it wasn’t that simple. First, I had to shape the melamine into the compound curvature of the underside of the hood. That meant building yet another wooden buck.
To do that, I started with the hood mounted upside down in the hood buck from several posts ago. Note the wooden part is concave in order for the outer side of the hood skin to be convex:
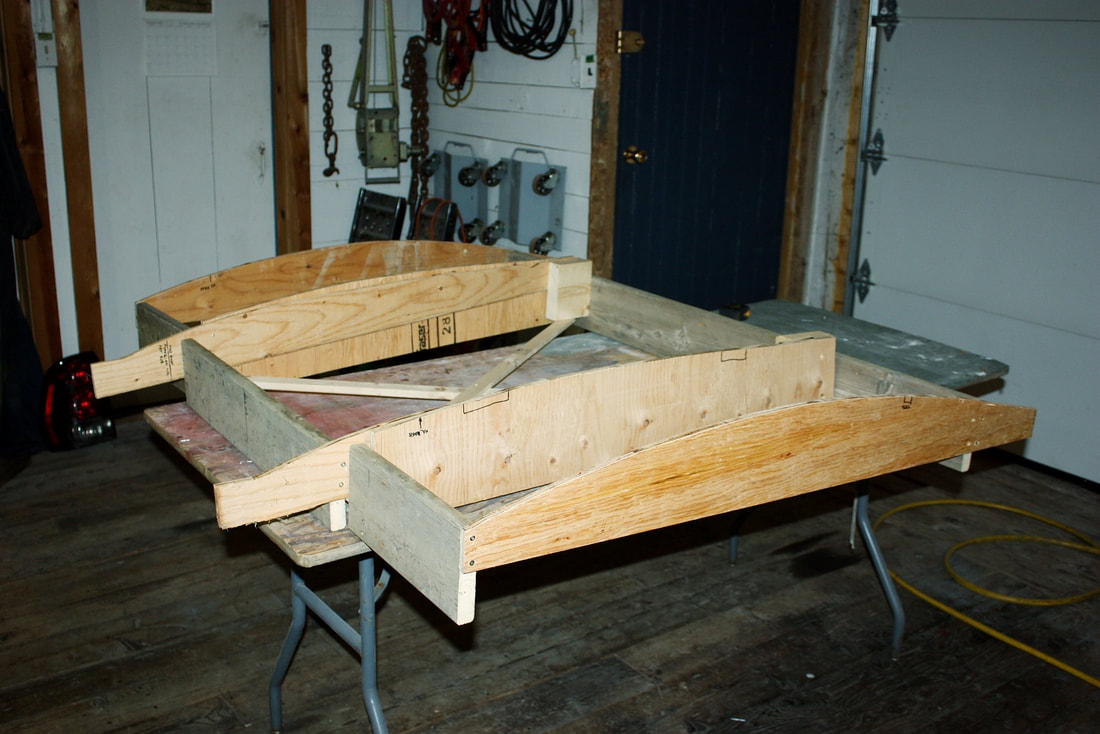
To make the webbing buck, I needed the exact opposite. So I built a convex wooden skeleton using the underside of the hood skin as the guide for the shape. Here you can just see the fibreglass hood sandwiched between the old and new bucks:
To make the webbing buck, I needed the exact opposite. So I built a convex wooden skeleton using the underside of the hood skin as the guide for the shape. Here you can just see the fibreglass hood sandwiched between the old and new bucks:
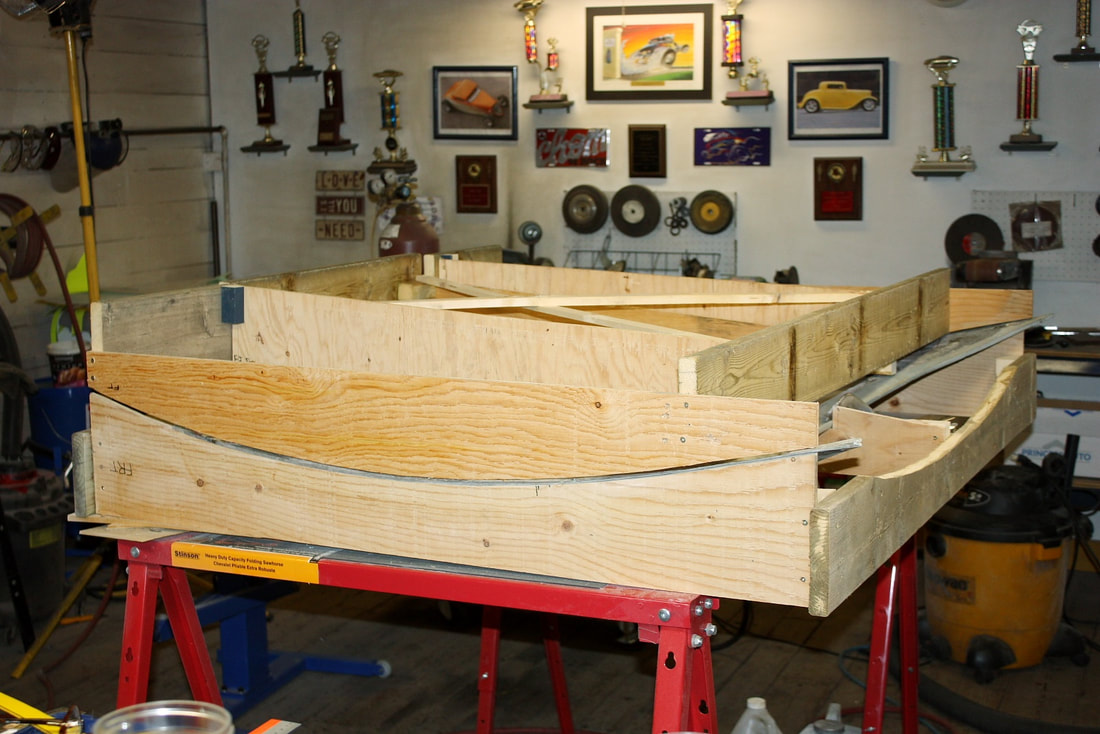
Once I had the correct contour of the underside of the hood, I moved the skeleton of the webbing buck to a separate table and flipped it over:
At that point I was able to glue the melamine sheeting to the skeleton to mimic the inverse of the hood’s underside. Confused yet? It looks like the top side of the hood skin, but it’s not quite the same shape:
At that point I was able to glue the melamine sheeting to the skeleton to mimic the inverse of the hood’s underside. Confused yet? It looks like the top side of the hood skin, but it’s not quite the same shape:
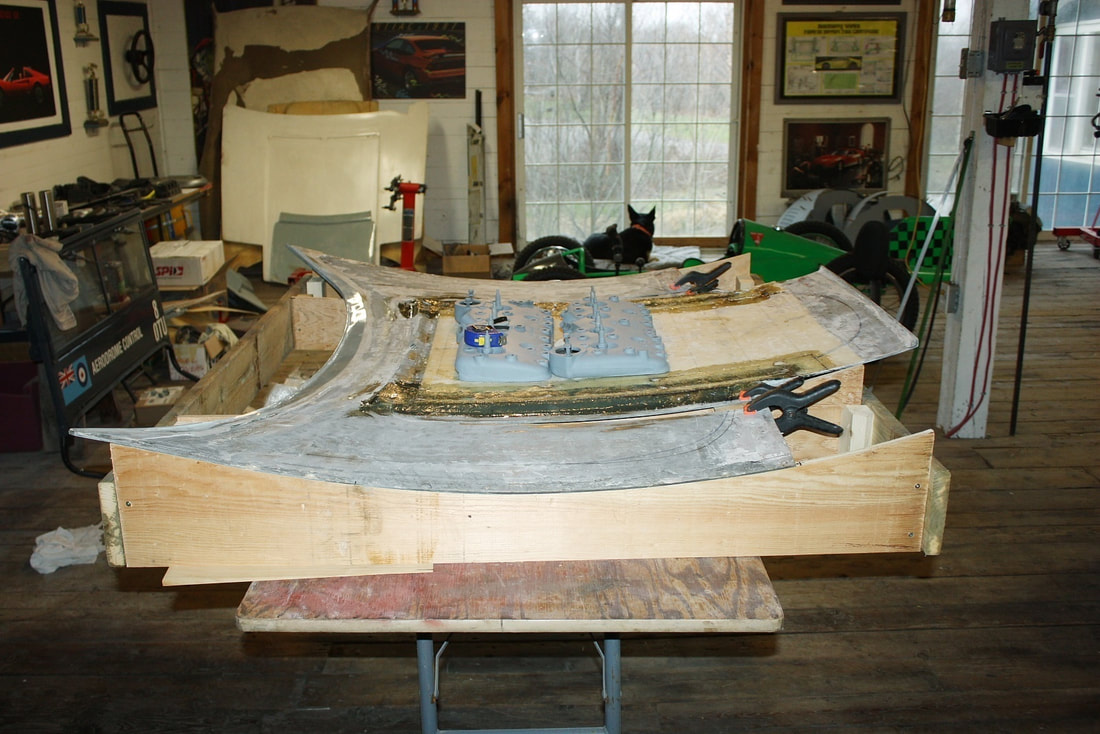
With the sheeting on, I was able to glue the rubber mold to the melamine. I had to keep reminding myself that this was a female mold, so everything was backwards and upside down!
With the sheeting on, I was able to glue the rubber mold to the melamine. I had to keep reminding myself that this was a female mold, so everything was backwards and upside down!
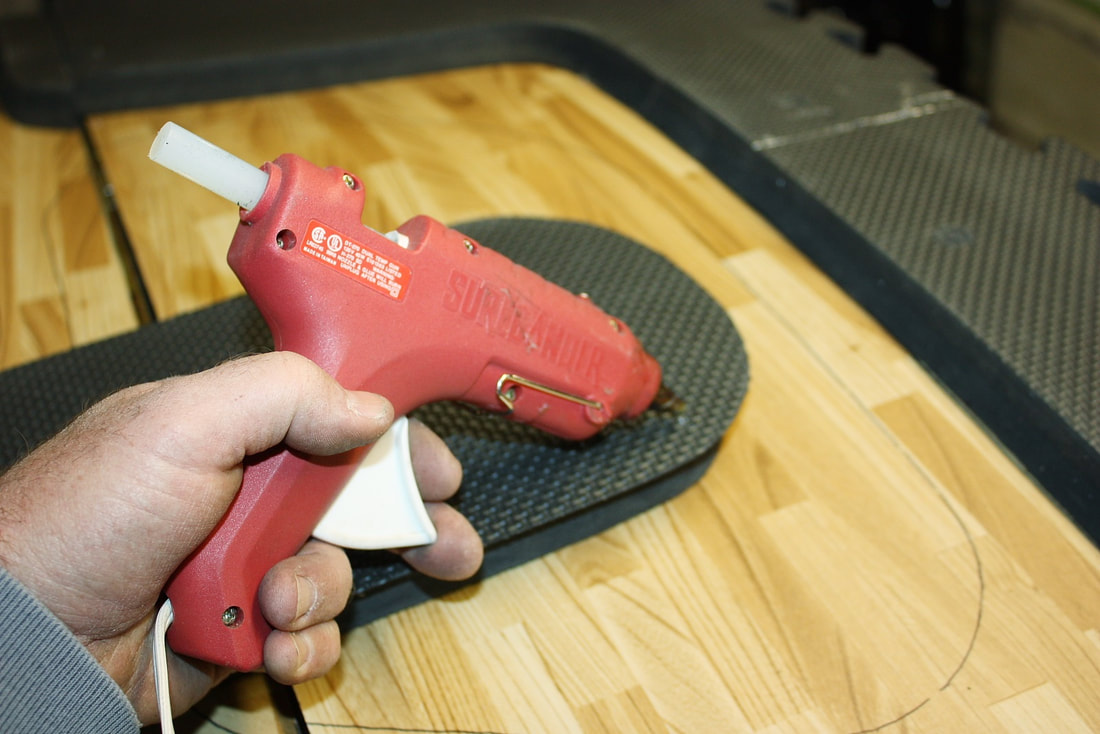
I had drawn the precise location of the rubber pieces onto the melamine surface, so all I needed was to tack the rubber on using a heat glue gun:
The finished female mold, with all the correct compound curves, looked like this:
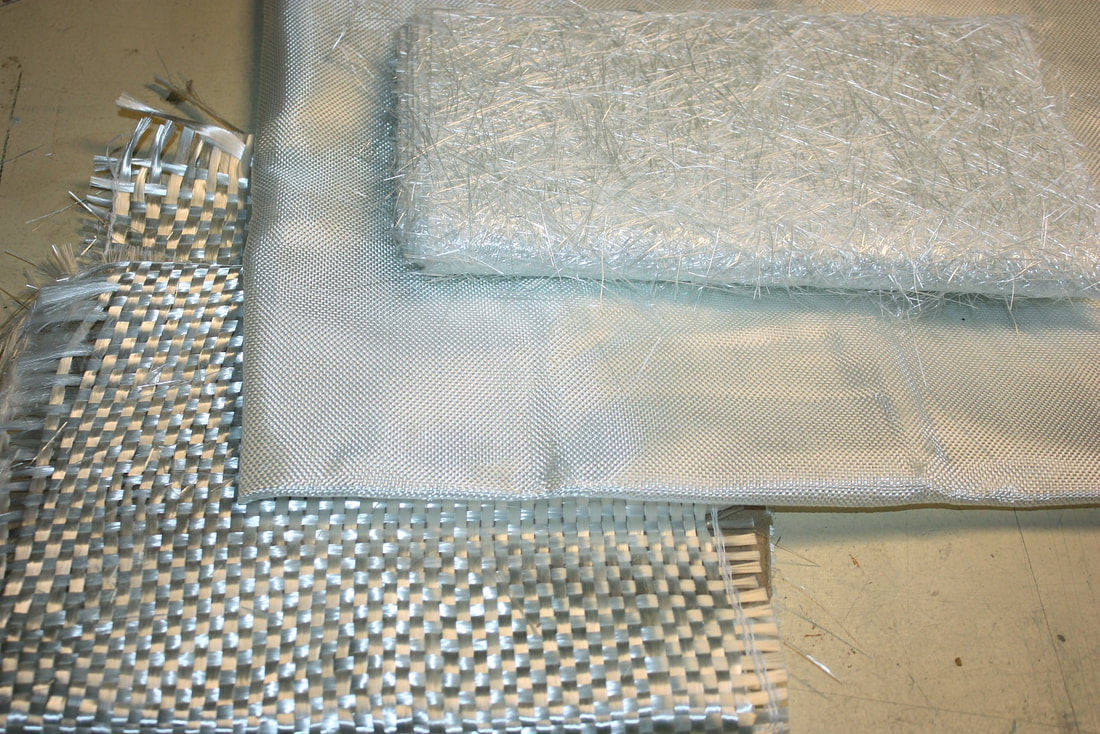
My previous experience with 1.5 oz chopped strand mat led me to use three different types of fibreglass depending on the layer. A very fine, 6 oz woven cloth for the first layer, the 1.5 oz chopped strand for each layer after that, and a heavy duty 40 oz woven cloth for hinge and latch mount reinforcements.
My previous experience with 1.5 oz chopped strand mat led me to use three different types of fibreglass depending on the layer. A very fine, 6 oz woven cloth for the first layer, the 1.5 oz chopped strand for each layer after that, and a heavy duty 40 oz woven cloth for hinge and latch mount reinforcements.
The 6 oz woven cloth was perfect for the first layer. Dry, it easily draped into place with minimal puckering and excellent conformance to even the sharp corners at the top of the mold:
The 6 oz woven cloth was perfect for the first layer. Dry, it easily draped into place with minimal puckering and excellent conformance to even the sharp corners at the top of the mold:
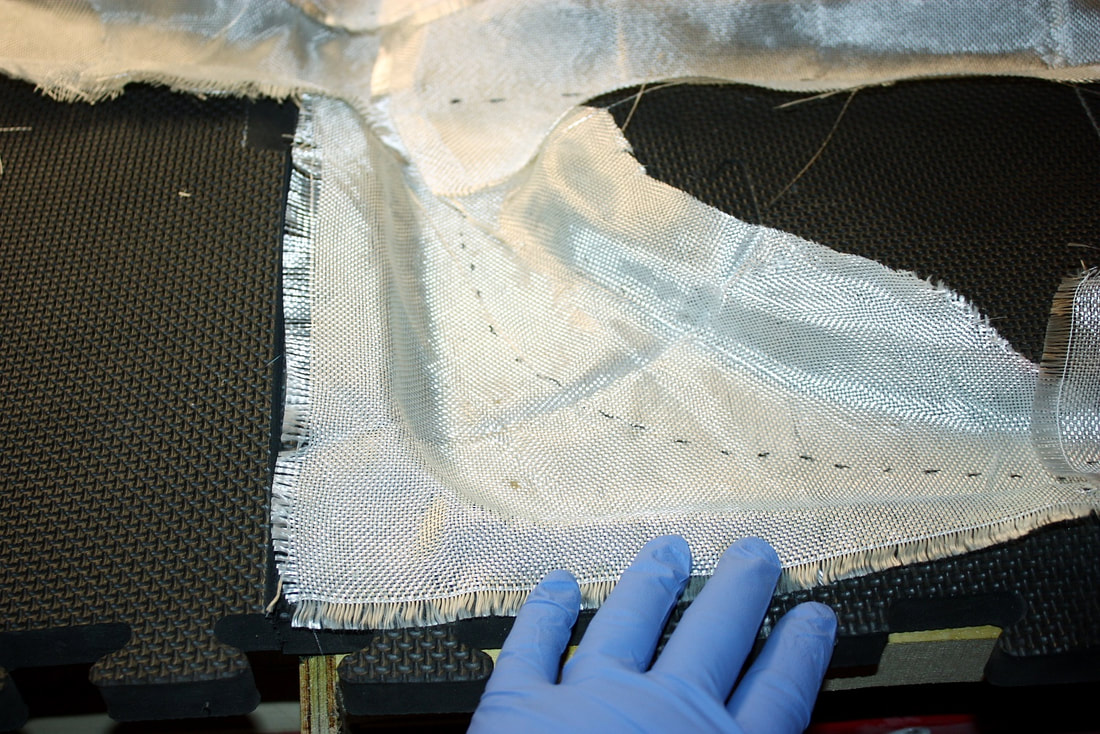
Wetting it out was a piece of cake given how thin the fabric was. Notice how tightly it stuck even around the sharpest of corners:
Wetting it out was a piece of cake given how thin the fabric was. Notice how tightly it stuck even around the sharpest of corners:
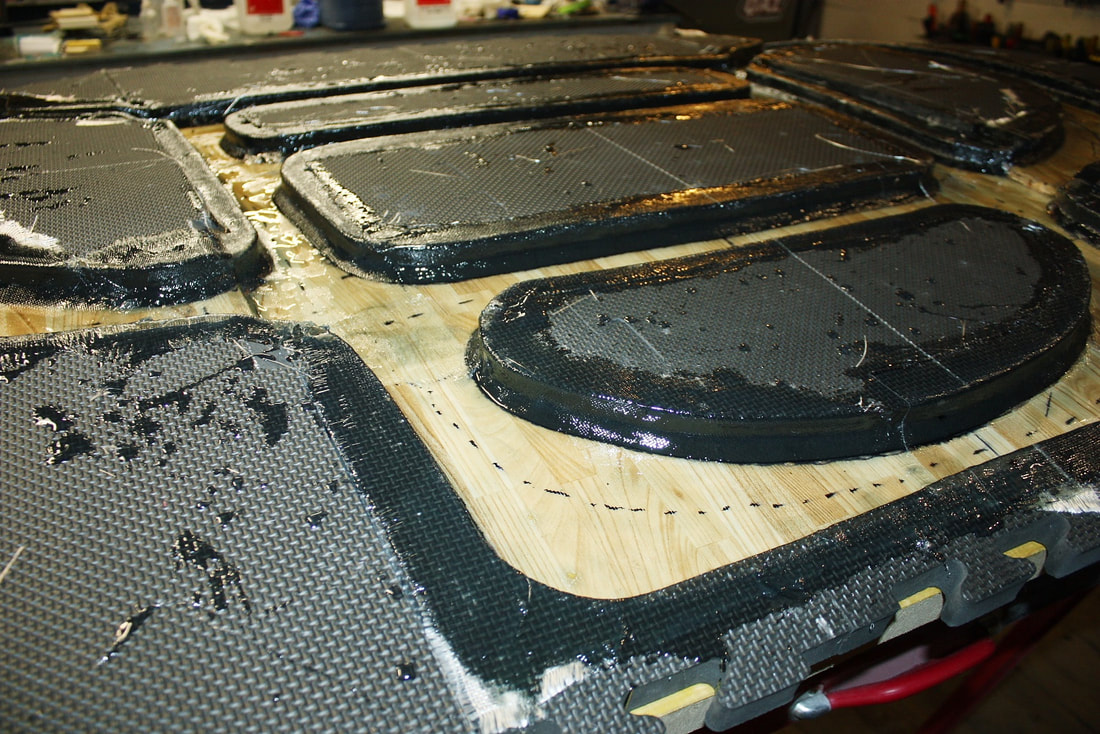
The next couple layers were 1.5 oz mat, which were far less forgiving and required to be tailor fit before wetting.
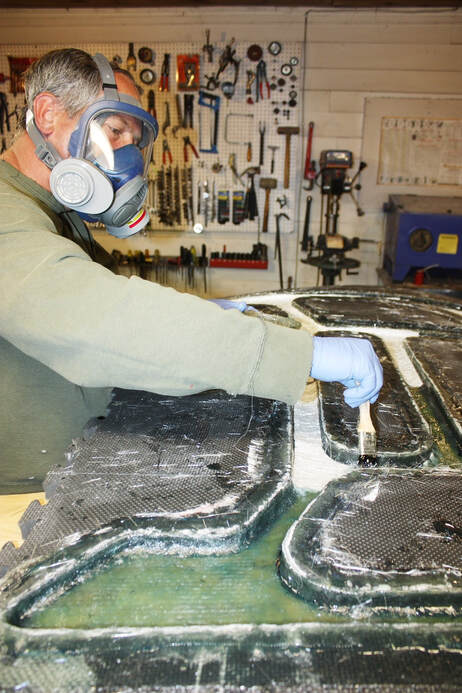
Here’s me saturating one of the three layers of chopped strand mat, but if you look closely, you’ll see the heavy duty weave in the foreground where one of the latches will be installed:
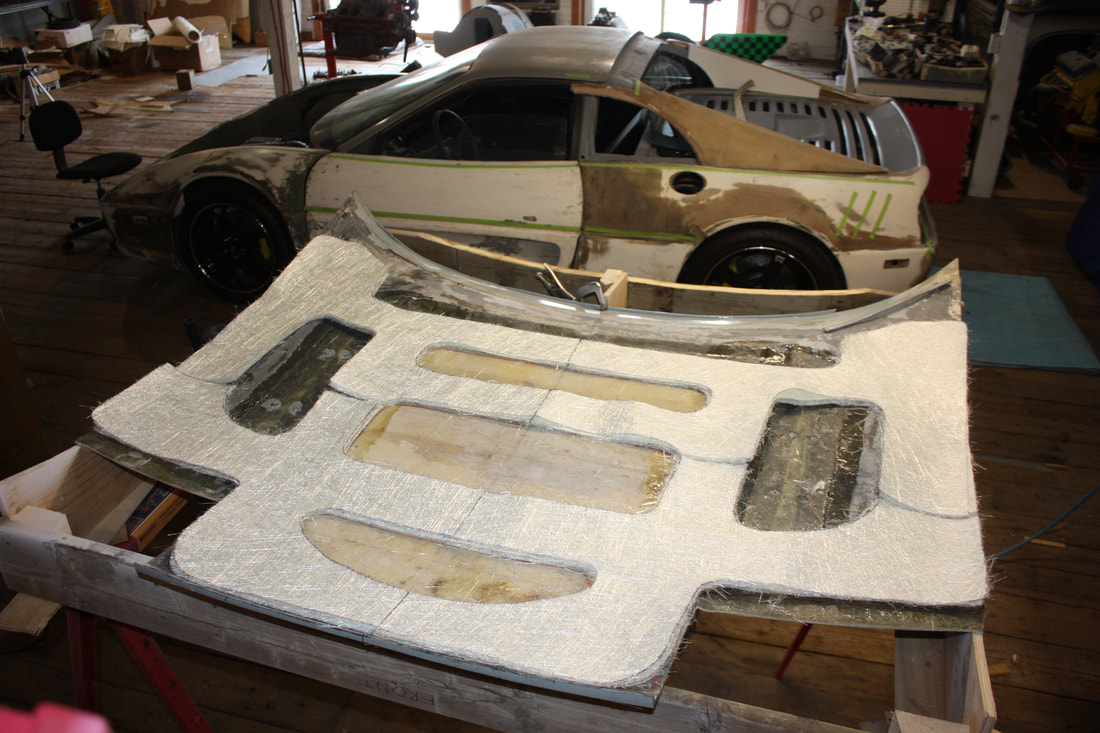
It took a couple days to lay up all the layers so I used unwaxed resin for the in-between coats. Unwaxed resin remains partly uncured wherever oxygen contacts it, so even after a day the next layer will make a chemical bond to the previous one. For the last layer, I mixed a special wax into the resin that causes it to cure despite being exposed to the air.
Next up: removal and fitting the webbing to the hood.

 RSS Feed
