This post covers the final step to prepare the roof panel for mounting, though the actual mounting will only take place later since it will be a semi-permanent installation and I still need to access the chassis to paint it.
With all of the underlying work completed I was finally ready to reattach the C-pillars to the roof panel.
Bonding the C-pillars was a three step process: gluing the rear roof edges of all three pieces together; making structural fibreglass patches on the joints on the outer skin; and flipping the roof panel over to make structural fibreglass patches on the inside joint. The easiest step was bonding sail panels to the rear roof edge:
Bonding the C-pillars was a three step process: gluing the rear roof edges of all three pieces together; making structural fibreglass patches on the joints on the outer skin; and flipping the roof panel over to make structural fibreglass patches on the inside joint. The easiest step was bonding sail panels to the rear roof edge:
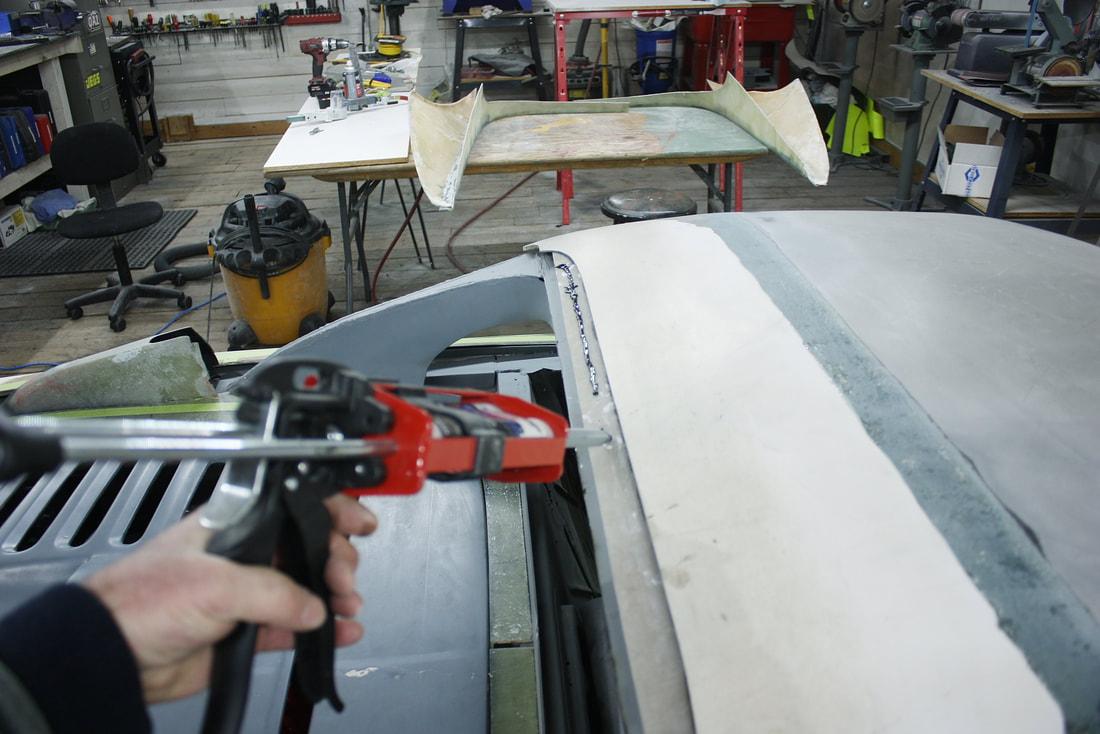
I used an epoxy panel adhesive as prescribed on the packaging: lay down and spread out a bead of epoxy on both parts…
I used an epoxy panel adhesive as prescribed on the packaging: lay down and spread out a bead of epoxy on both parts…
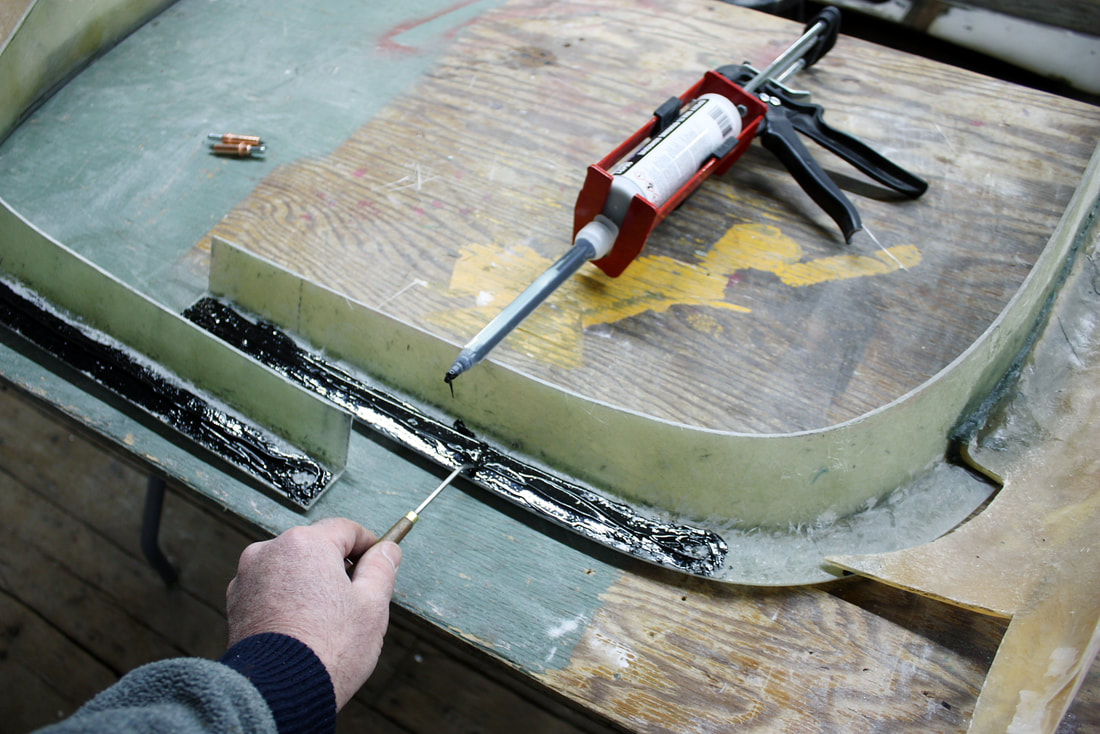
…then add a final un-spread bead to one of the parts and join them together with light pressure for 24 hours. To keep the parts aligned while the epoxy was setting, I made four 1/8” holes and used Cleco fasteners, which also kept the pressure on:
…then add a final un-spread bead to one of the parts and join them together with light pressure for 24 hours. To keep the parts aligned while the epoxy was setting, I made four 1/8” holes and used Cleco fasteners, which also kept the pressure on:
Once the epoxy had set up, the next step was to focus on the structural patch along the outside joint between the roof and sail panels. But since I had the chance to kill two birds with one stone, I jumped at it.
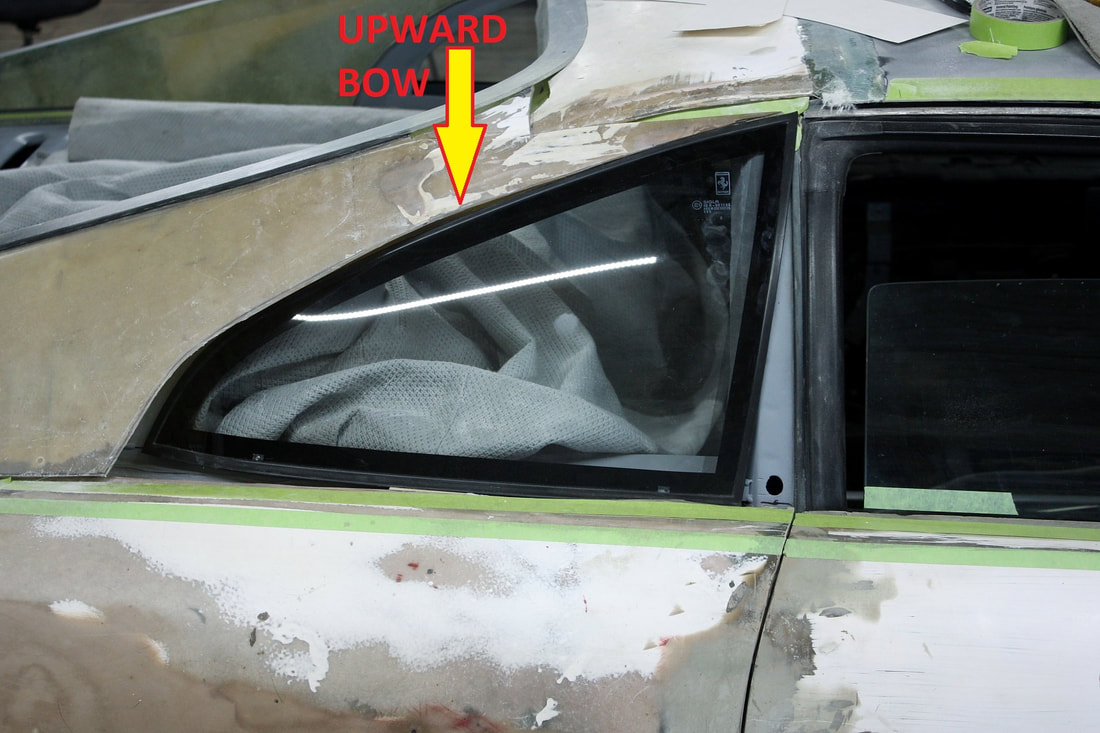
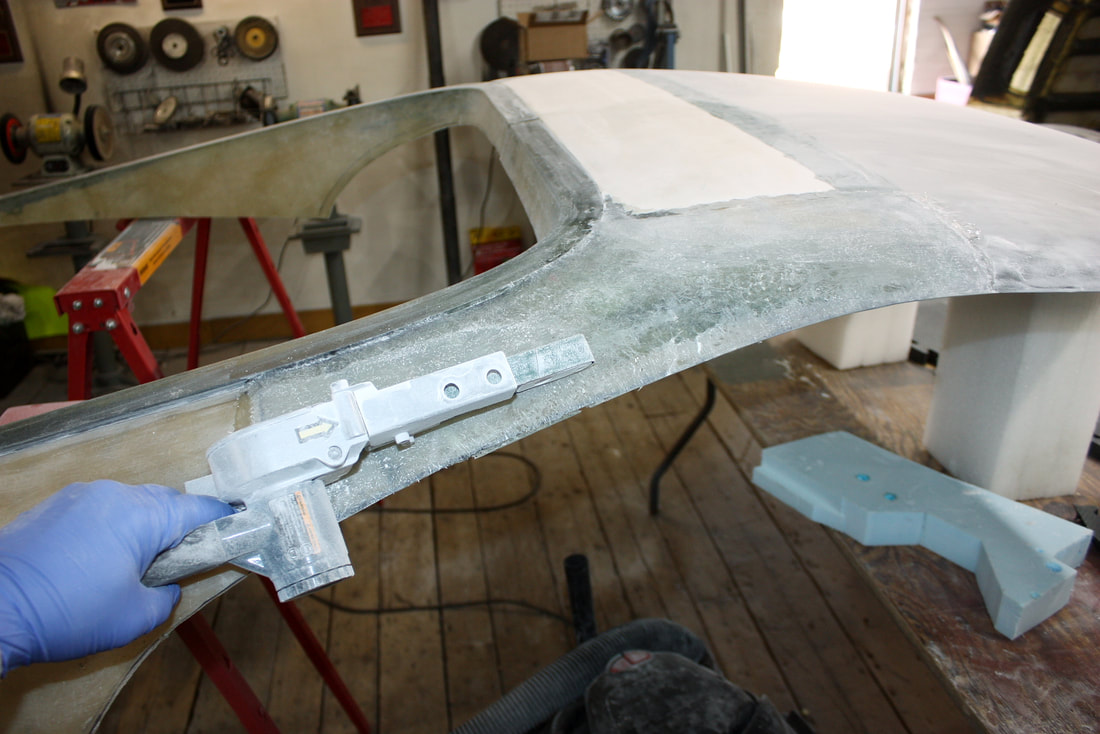
My earlier attempts to reform the horribly misshaped IFG quarter window openings got me to the 90% solution, so I decided the roof patch would stretch down far enough to correct the last 10%:
Once the epoxy had set up, the next step was to focus on the structural patch along the outside joint between the roof and sail panels. But since I had the chance to kill two birds with one stone, I jumped at it.
My earlier attempts to reform the horribly misshaped IFG quarter window openings got me to the 90% solution, so I decided the roof patch would stretch down far enough to correct the last 10%:
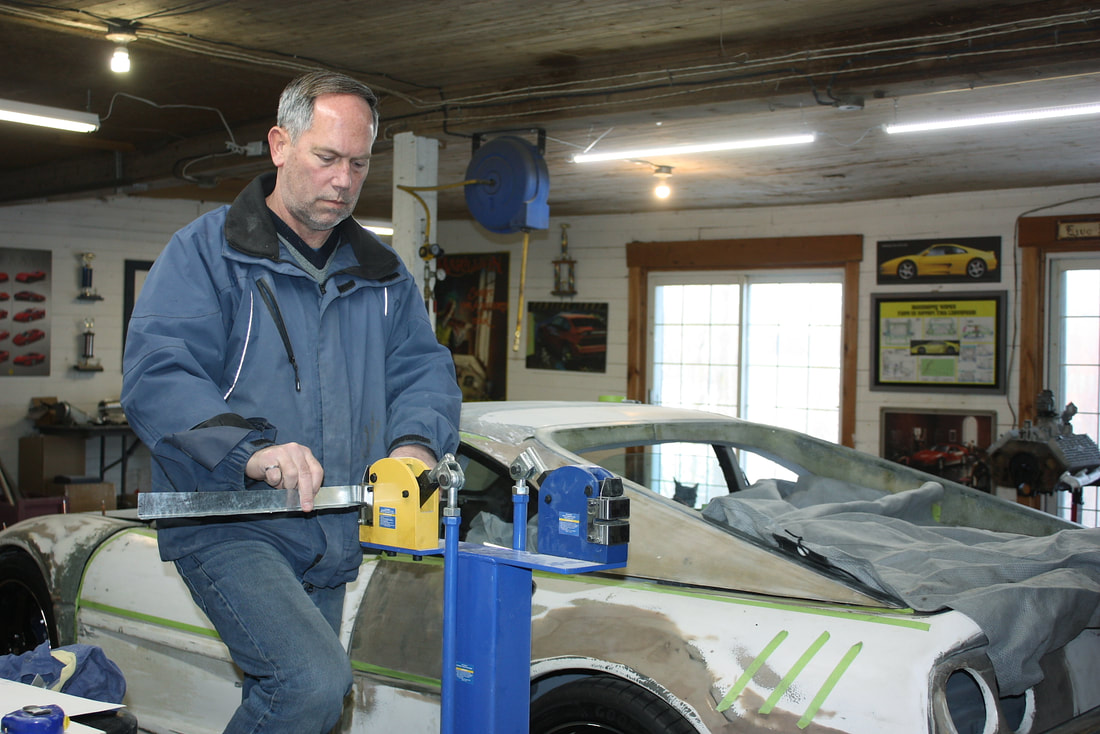
To get the right contour, I bent a long narrow piece of sheet metal into an angle, then used my expander to make a form with the perfect profile for the opening on both sail panels. The form made a drip tray of sorts to keep the saturated fibreglass and resin where they belonged:
To get the right contour, I bent a long narrow piece of sheet metal into an angle, then used my expander to make a form with the perfect profile for the opening on both sail panels. The form made a drip tray of sorts to keep the saturated fibreglass and resin where they belonged:

Next I securely bolted the roof panel to the chassis using the stock mounting points to make sure the final position would be repeatable.
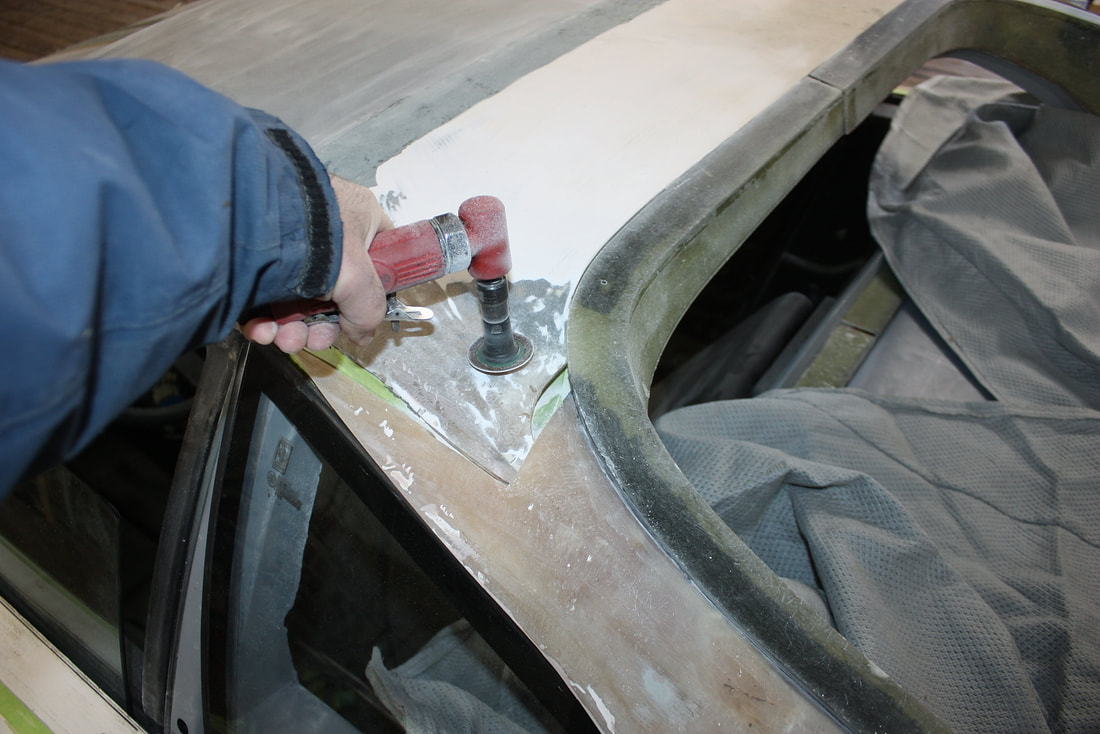
Then I prepared the skin on the roof and sail panels to accept the large fibreglass patches joining the three parts together. I started by sanding off the gel coat and roughing up the fibreglass near the joint for maximum adhesion:
Next I securely bolted the roof panel to the chassis using the stock mounting points to make sure the final position would be repeatable.
Then I prepared the skin on the roof and sail panels to accept the large fibreglass patches joining the three parts together. I started by sanding off the gel coat and roughing up the fibreglass near the joint for maximum adhesion:
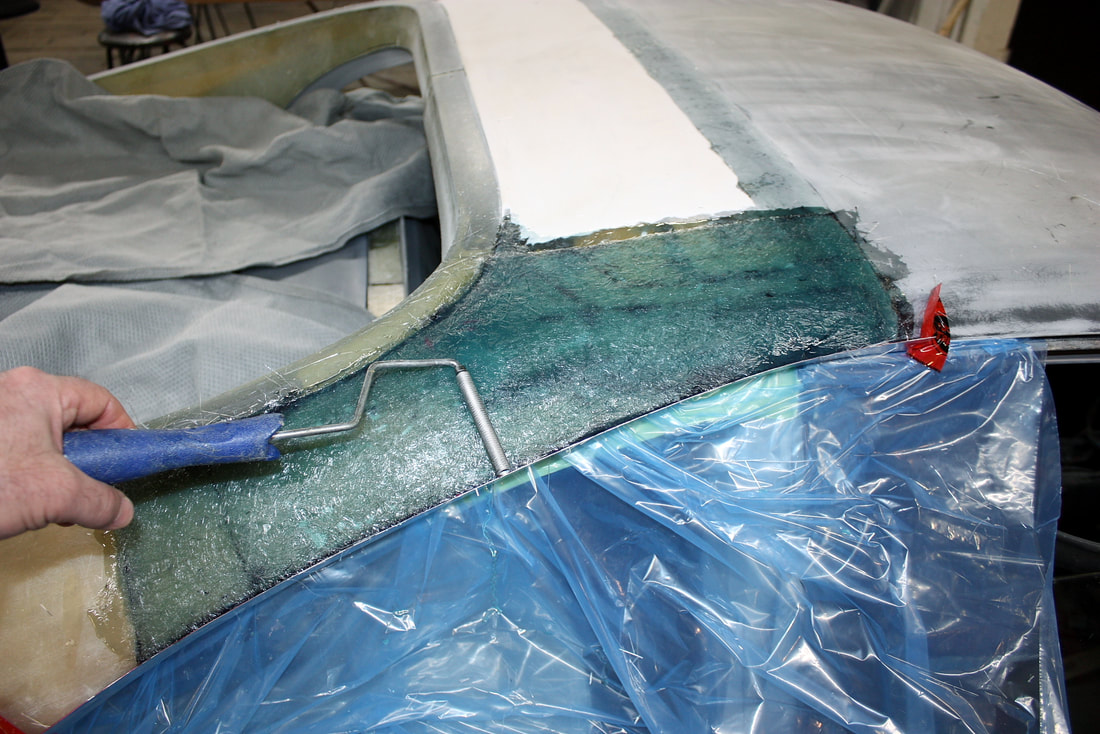
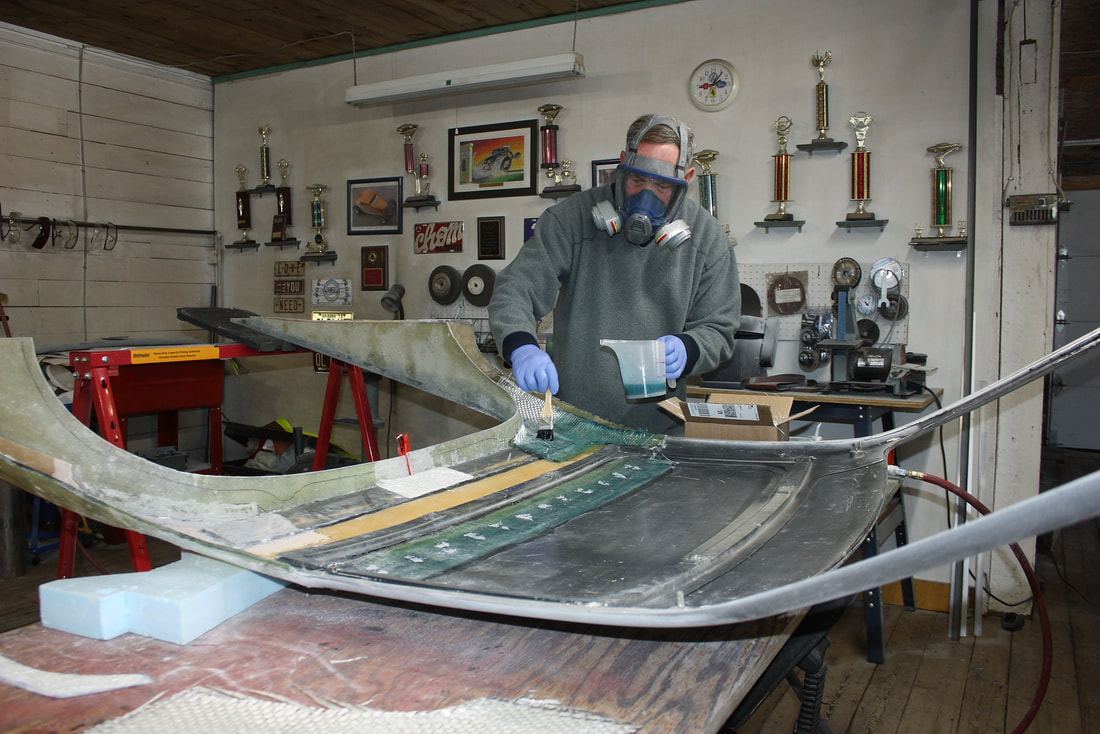
There were big gaps and uneven surfaces so the patch had to be big and multi-layered. I cut several smaller pieces of 1.5 oz mat to fill in the lower lying areas, and three large outer layers of 1.5 oz mat per joint:
There were big gaps and uneven surfaces so the patch had to be big and multi-layered. I cut several smaller pieces of 1.5 oz mat to fill in the lower lying areas, and three large outer layers of 1.5 oz mat per joint:
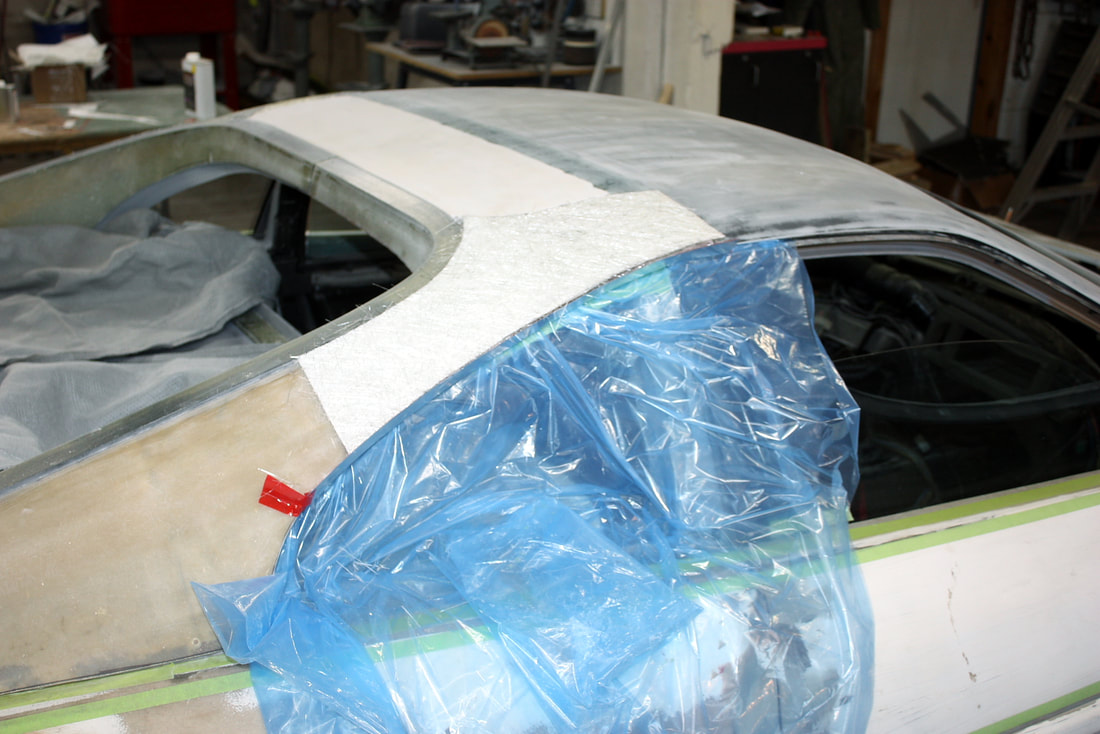
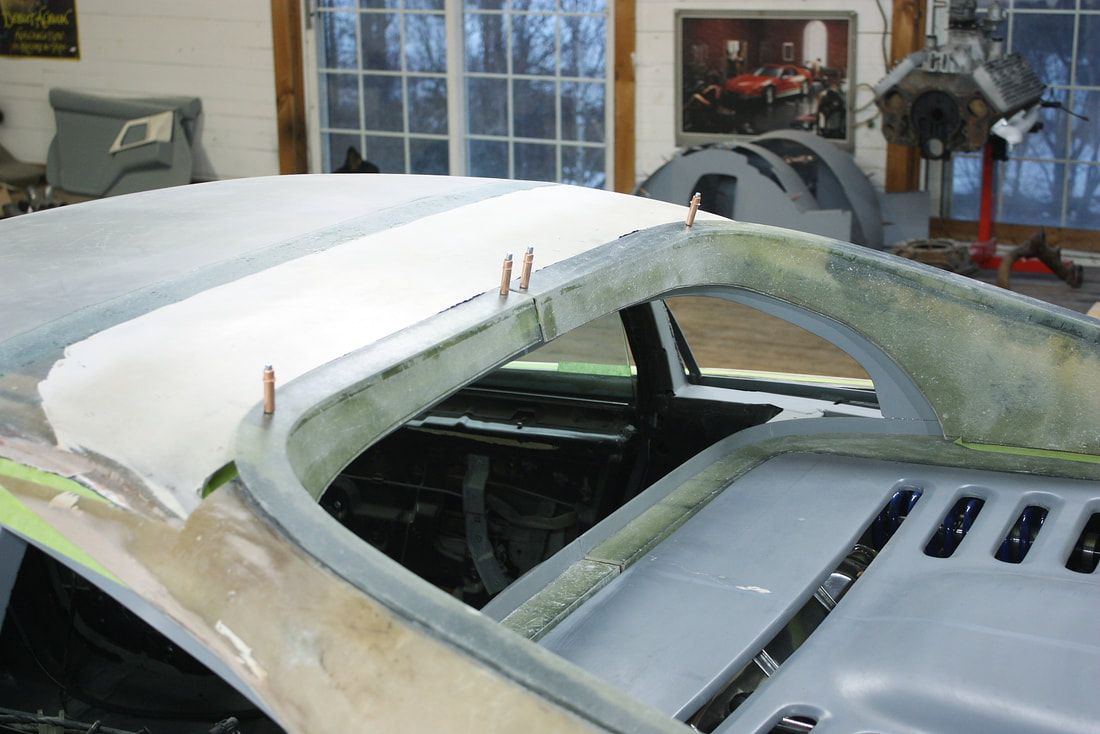
Then I saturated the mat with resin and waited for it to kick over. If you look carefully you’ll see the metal former I made to reshape the quarter window openings:
Then I saturated the mat with resin and waited for it to kick over. If you look carefully you’ll see the metal former I made to reshape the quarter window openings:
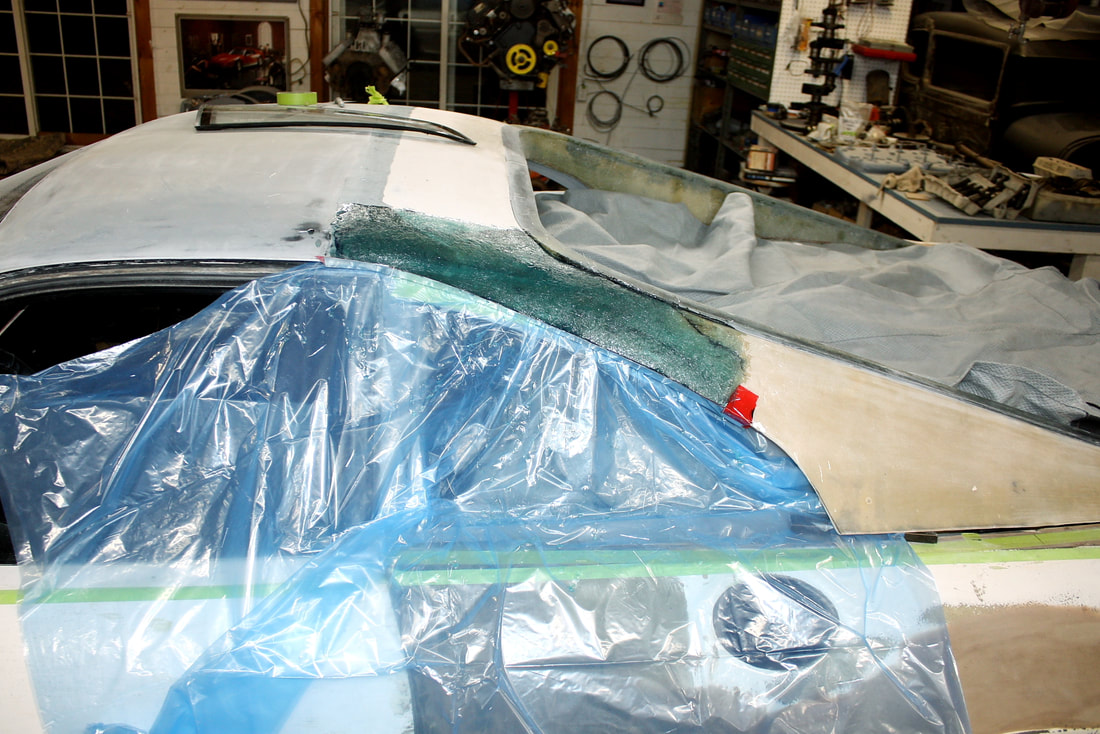
The overly large outer skin patches were necessary to structurally bond the three pieces together allowing me to turn the whole assembly upside down without worrying about it coming apart. They would be ground down to a cosmetic finish after they’d served their purpose.
Once the resin had cured, I did a quick check to see how well the window contours came out…
… then lifted the newly bonded roof off the chassis…:
… then lifted the newly bonded roof off the chassis…:
… and carefully set it upside-down on a worktable and a pair of sawhorses:
… and carefully set it upside-down on a worktable and a pair of sawhorses:
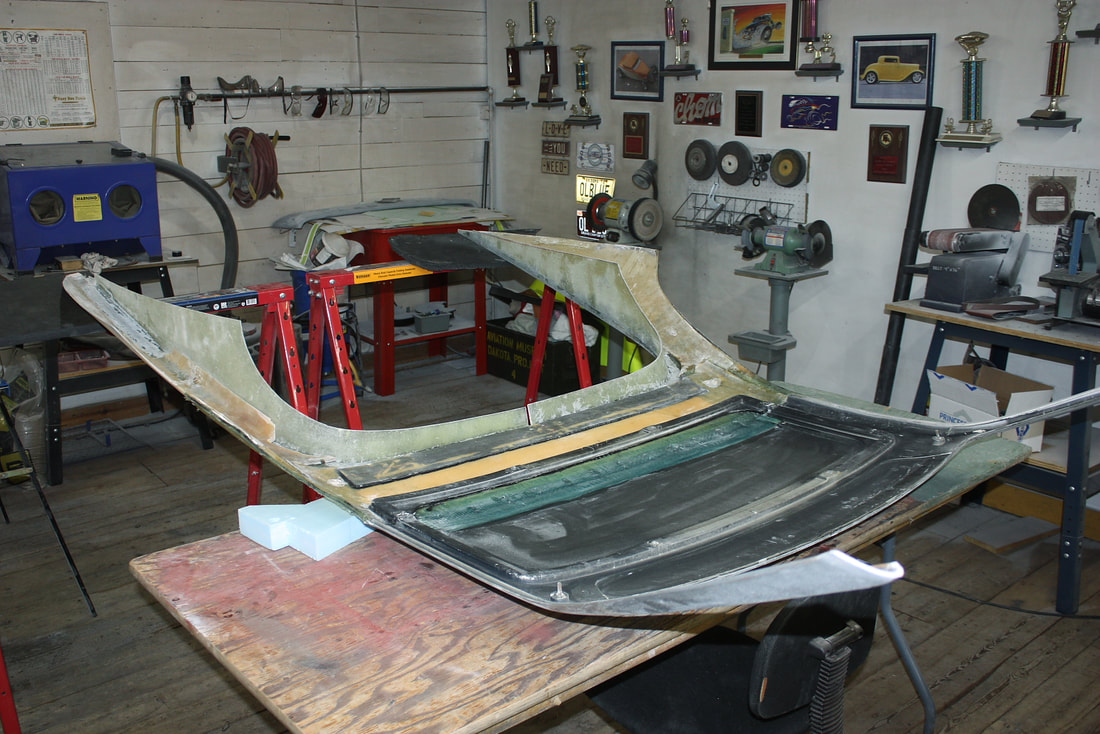
At this point I marked out the size and shape of the fibreglass patches I’d need to make on the underside of the roof joints…:
At this point I marked out the size and shape of the fibreglass patches I’d need to make on the underside of the roof joints…:
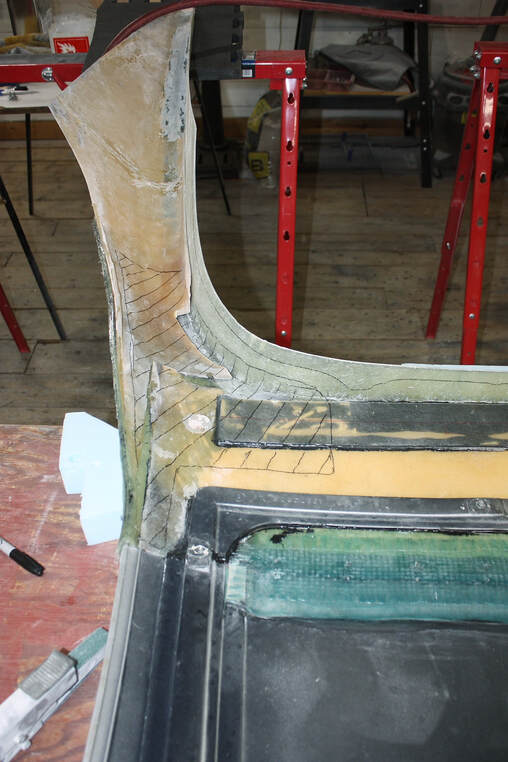
… and set about grinding the jagged edges at the joints of the three parts smooth. I also roughed up the entire marked out area with 80 grit sand paper to ensure a good mechanical bond with the upcoming patch:
… and set about grinding the jagged edges at the joints of the three parts smooth. I also roughed up the entire marked out area with 80 grit sand paper to ensure a good mechanical bond with the upcoming patch:
I then cut out two layers of heavy fibreglass cloth for each side, as well as a smaller fibreglass mat patch to fill the gap where the two sail panels met together in the center of the rear roof edge:
I then cut out two layers of heavy fibreglass cloth for each side, as well as a smaller fibreglass mat patch to fill the gap where the two sail panels met together in the center of the rear roof edge:
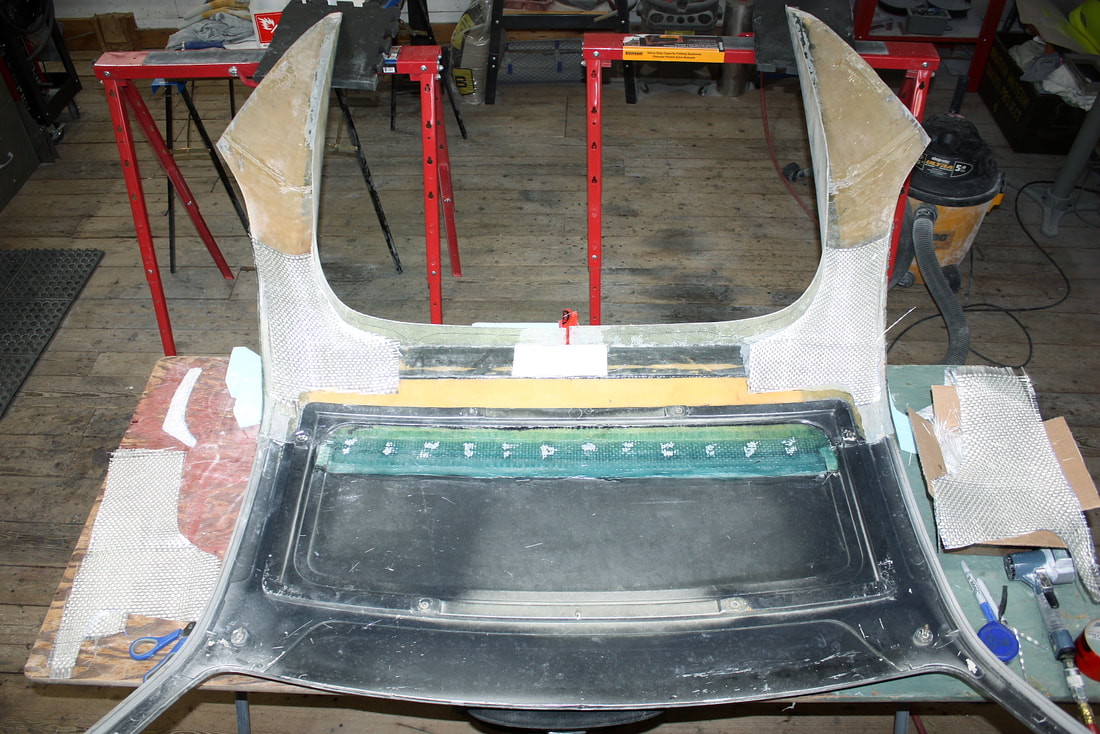
It took about 1.5 cups of resin to saturate the patches on each side… and about twenty minutes per patch. That meant I had to mix up separate batches of resin for each joint because the resin turns into a gel in about 20 minutes:
It took about 1.5 cups of resin to saturate the patches on each side… and about twenty minutes per patch. That meant I had to mix up separate batches of resin for each joint because the resin turns into a gel in about 20 minutes:
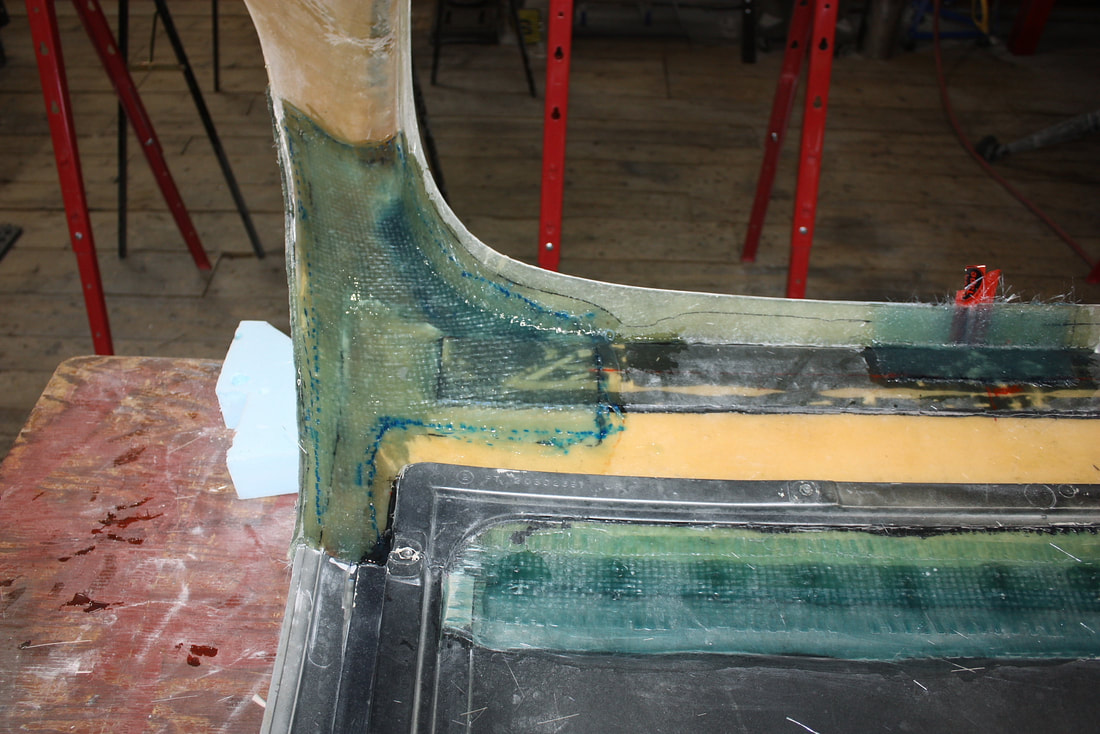
Here’s a close up of the driver’s side patch and the little patch in the center of the rear roof edge:
Here’s a close up of the driver’s side patch and the little patch in the center of the rear roof edge:
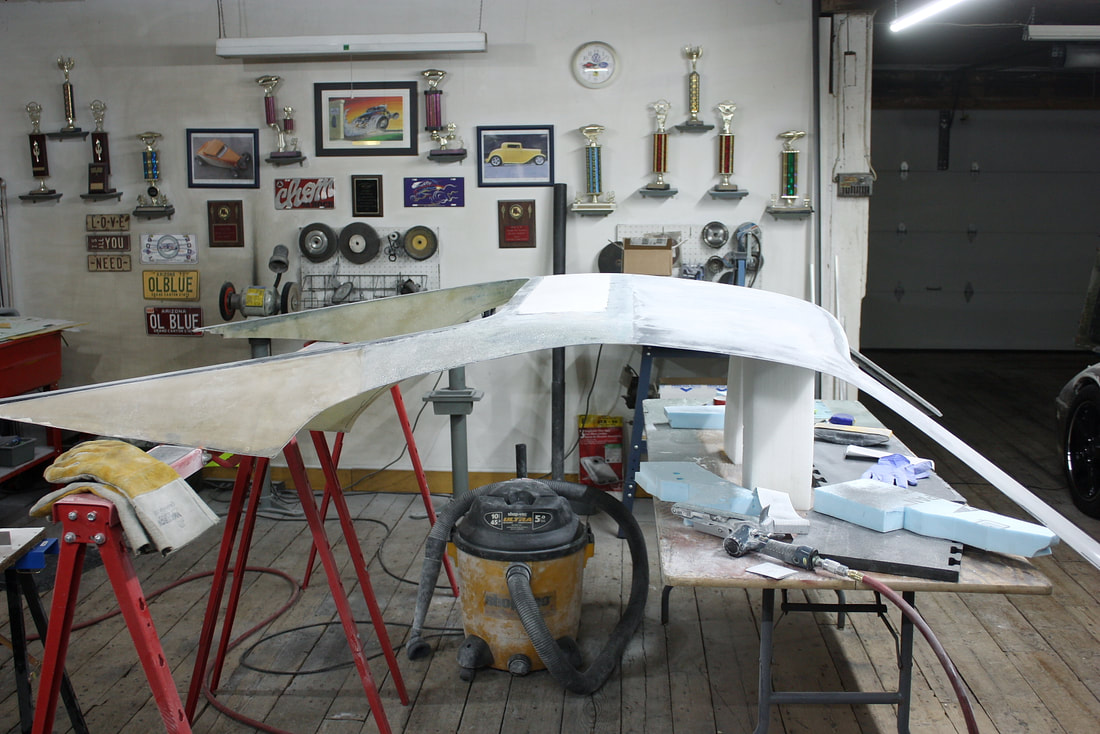
Once cured, the roof and sail panels were as one. The joints were nice and stiff, which allowed me to flip the assembly over right-side-up by myself to address the patches on the outer skin:
Once cured, the roof and sail panels were as one. The joints were nice and stiff, which allowed me to flip the assembly over right-side-up by myself to address the patches on the outer skin:
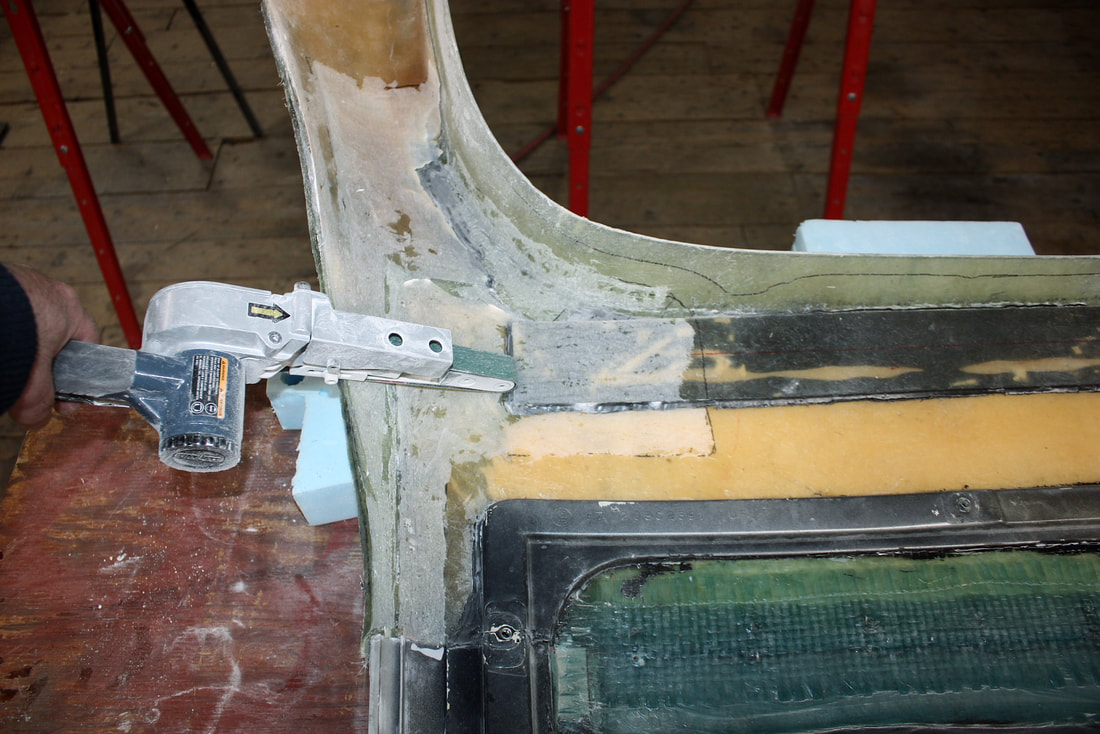
I did the bulk of the work reducing the thickness of the outer patches with an 80 grit belt on my pneumatic handheld belt sander:
I did the bulk of the work reducing the thickness of the outer patches with an 80 grit belt on my pneumatic handheld belt sander:
Then I finished up the rough shaping with a sanding block and more 80 grit paper.
Then I finished up the rough shaping with a sanding block and more 80 grit paper.

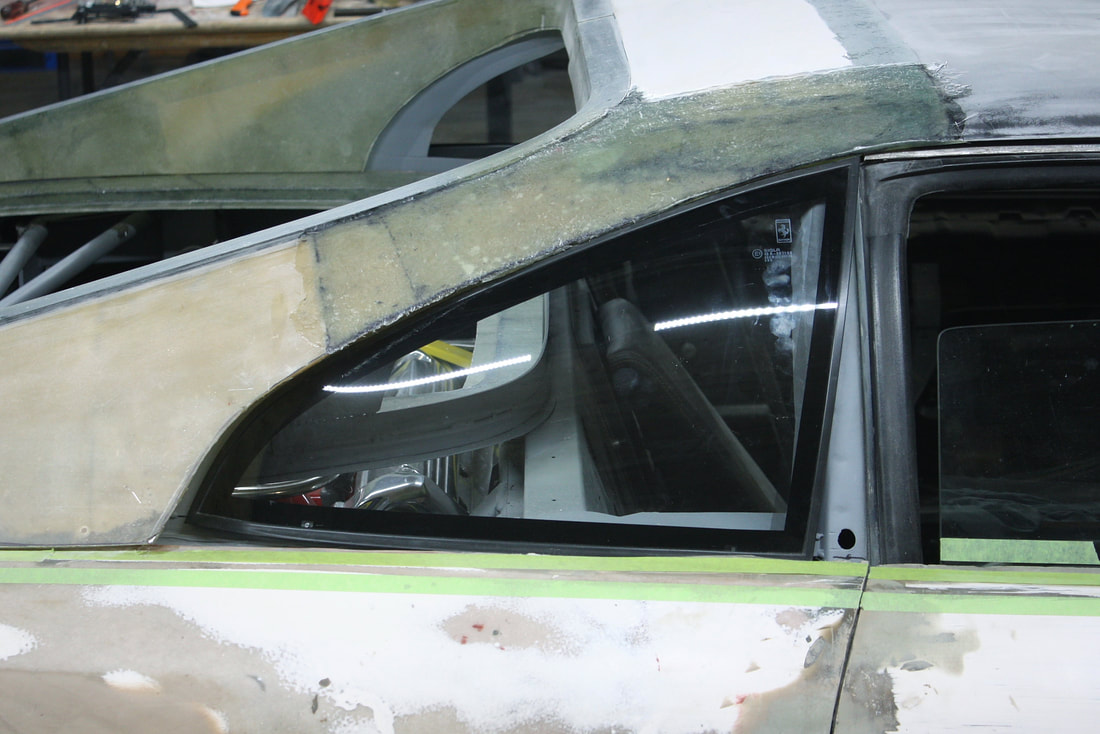
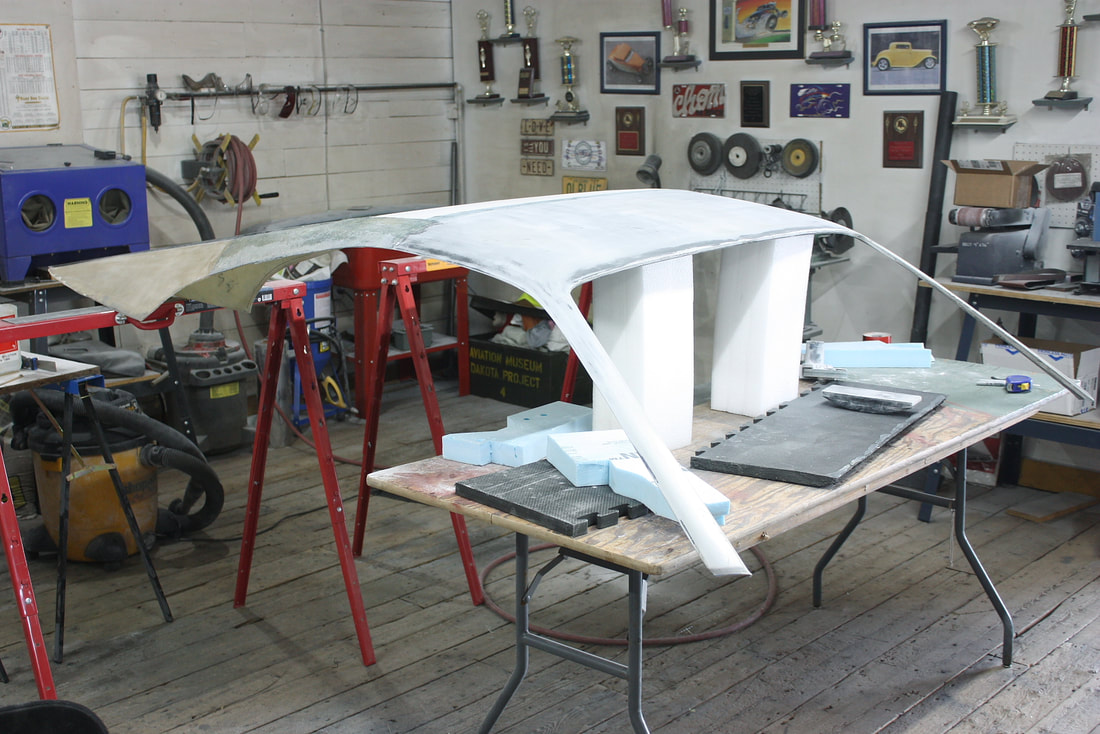
There were still lots of low spots that will require fillers, but that’s outside the scope of this section to simply mount the body. Nevertheless, the roof was definitely starting to take shape:
There were still lots of low spots that will require fillers, but that’s outside the scope of this section to simply mount the body. Nevertheless, the roof was definitely starting to take shape:
With that bit done, I reinstalled the roof onto the chassis and left the rest of the massaging for the next phase.
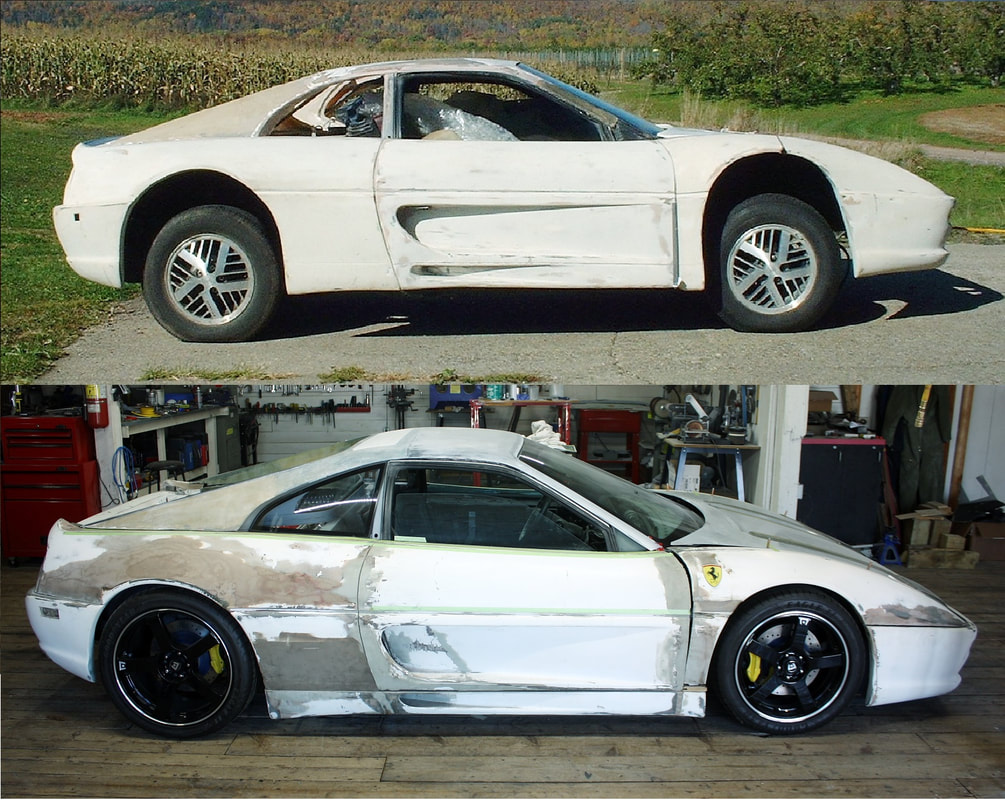
It took 4-1/2 months from the time I started work on the roof panel to get to this point. Had I purchased and Air Dynamics body kit, I would probably have arrived at the same stage in about a month, so choose wisely if you’re considering an F355 for yourself!
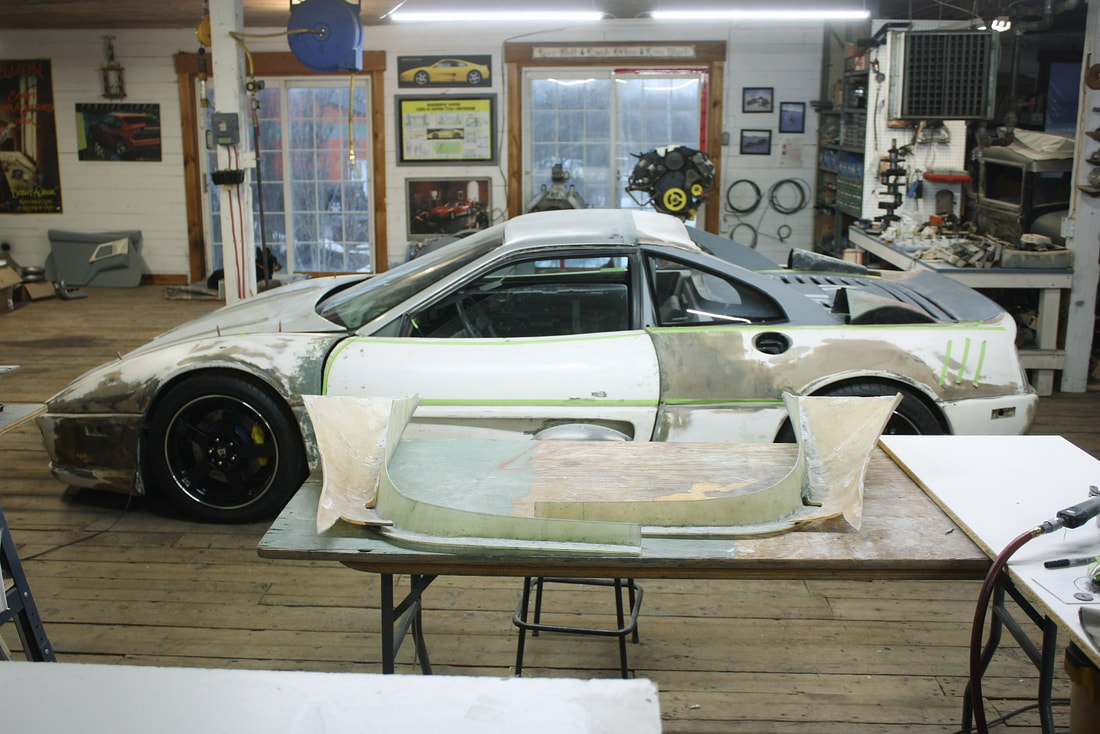
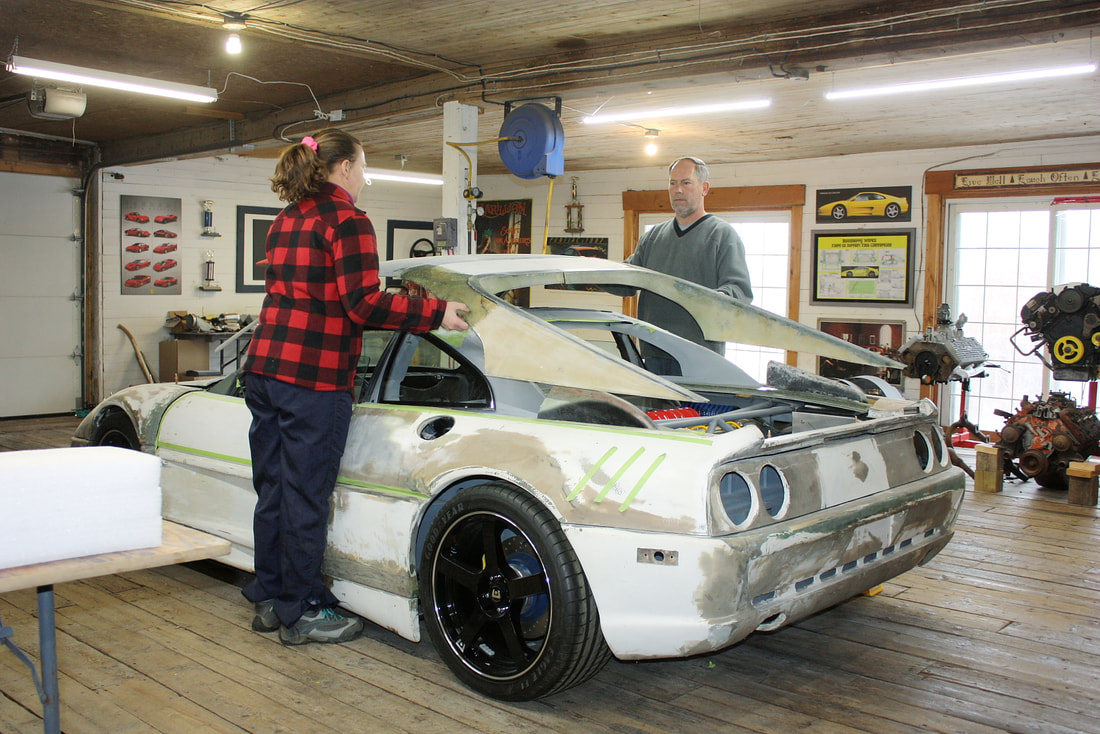
From these before and after photos the changes to the roofline and window profiles are pretty obvious:
With that bit done, I reinstalled the roof onto the chassis and left the rest of the massaging for the next phase.
It took 4-1/2 months from the time I started work on the roof panel to get to this point. Had I purchased and Air Dynamics body kit, I would probably have arrived at the same stage in about a month, so choose wisely if you’re considering an F355 for yourself!
From these before and after photos the changes to the roofline and window profiles are pretty obvious:
Next up? The decklid.

 RSS Feed
