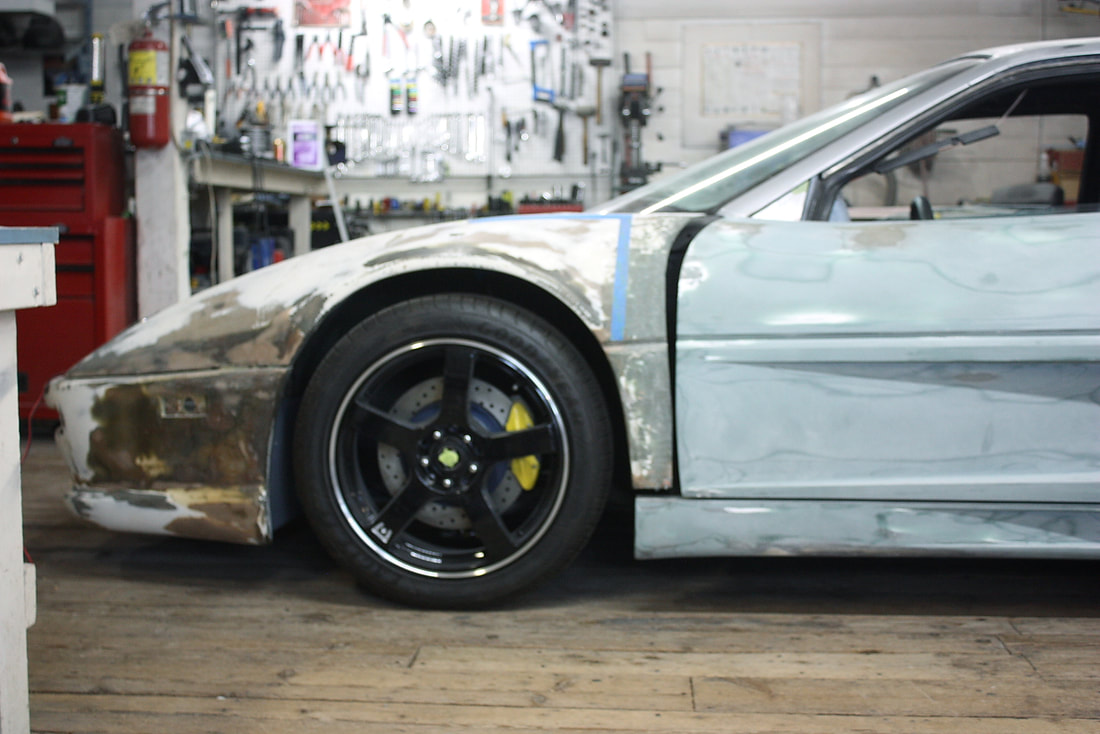
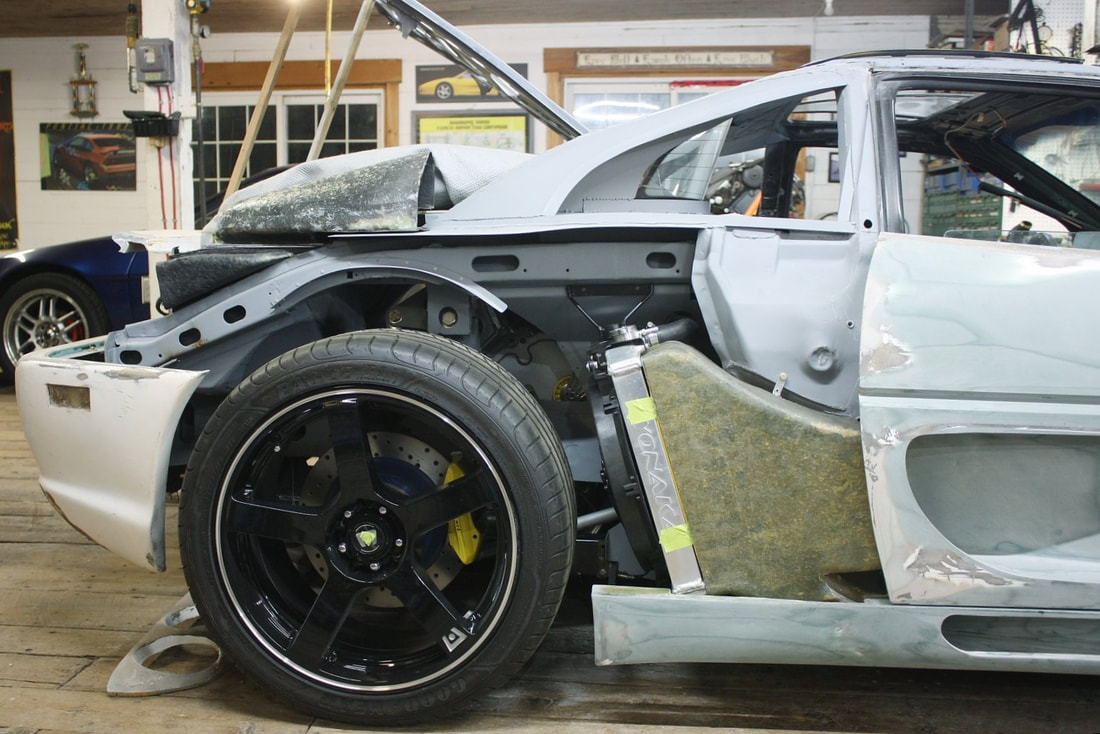
With the driver’s side rear quarters done, it was time to set my sights on the passenger side. I'll cover the entire quarter panel in two posts since many of the processes were very similar for the LH and RH sides. Here’s the patient awaiting examination:
With the driver’s side rear quarters done, it was time to set my sights on the passenger side. I'll cover the entire quarter panel in two posts since many of the processes were very similar for the LH and RH sides. Here’s the patient awaiting examination:
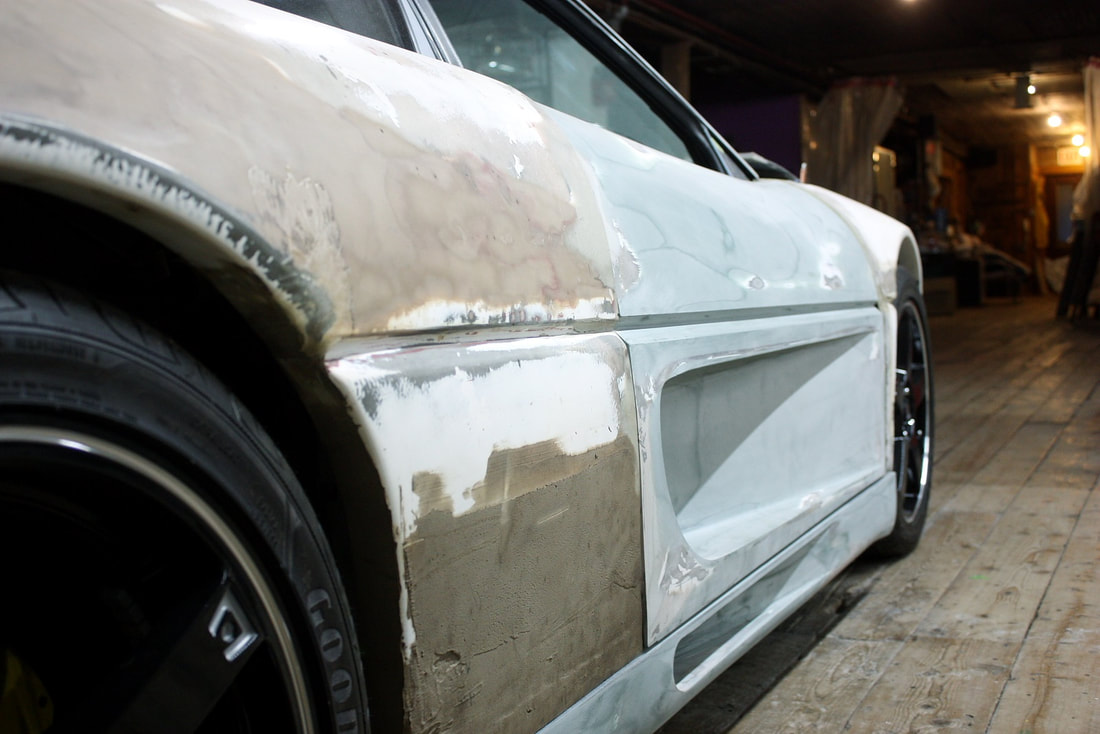
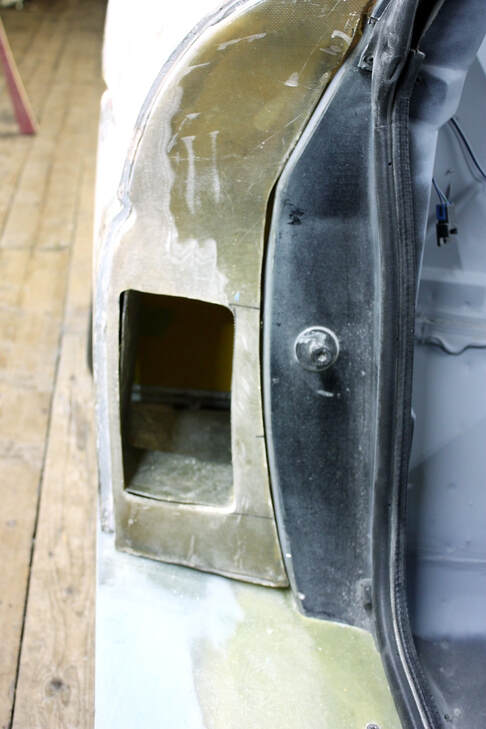
The passenger side rear quarters had many of the same problems as the driver’s side, but most were a lot less pronounced. The body line along the top of the fender was much better, but it still peaked too far forward; the entire panel jutted out compared to the door skin; the wheel arch was a strange shape; there was a ton of old filler that hadn’t properly cured; and it needed a quarter window scoop to bridge the gap between the window and the body:
The passenger side rear quarters had many of the same problems as the driver’s side, but most were a lot less pronounced. The body line along the top of the fender was much better, but it still peaked too far forward; the entire panel jutted out compared to the door skin; the wheel arch was a strange shape; there was a ton of old filler that hadn’t properly cured; and it needed a quarter window scoop to bridge the gap between the window and the body:

One positive thing was the straightness of the belt line… it needed some definition, but at least it wasn’t going to need wholesale surgery:
One positive thing was the straightness of the belt line… it needed some definition, but at least it wasn’t going to need wholesale surgery:
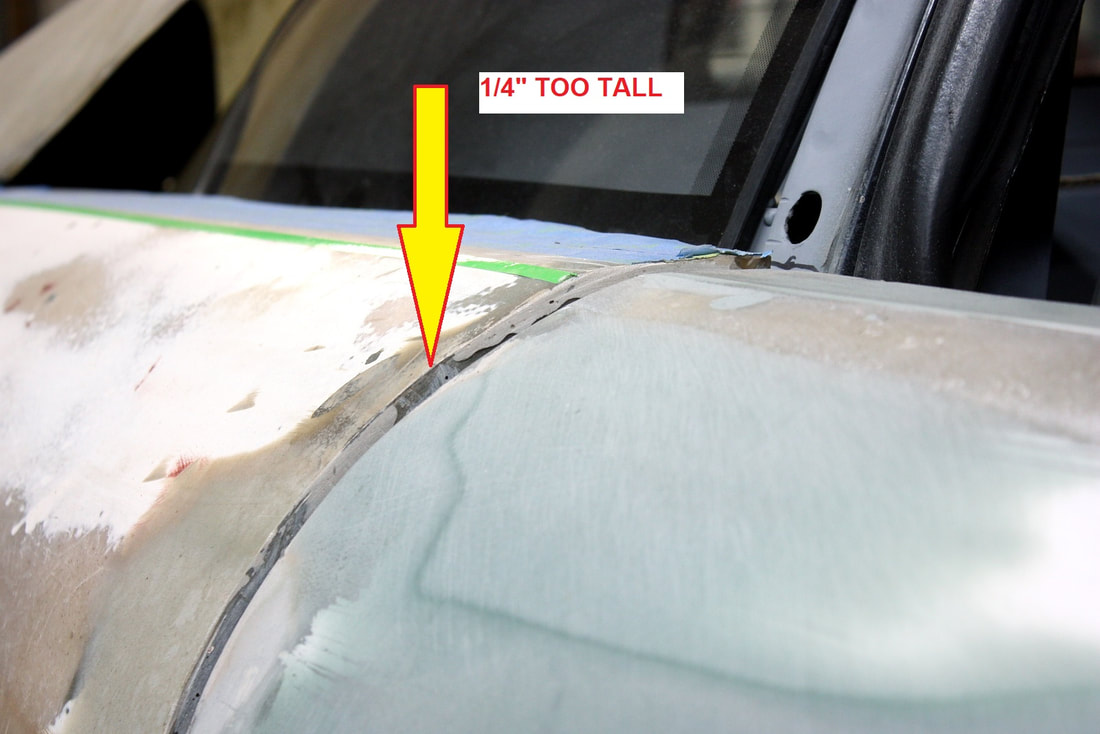
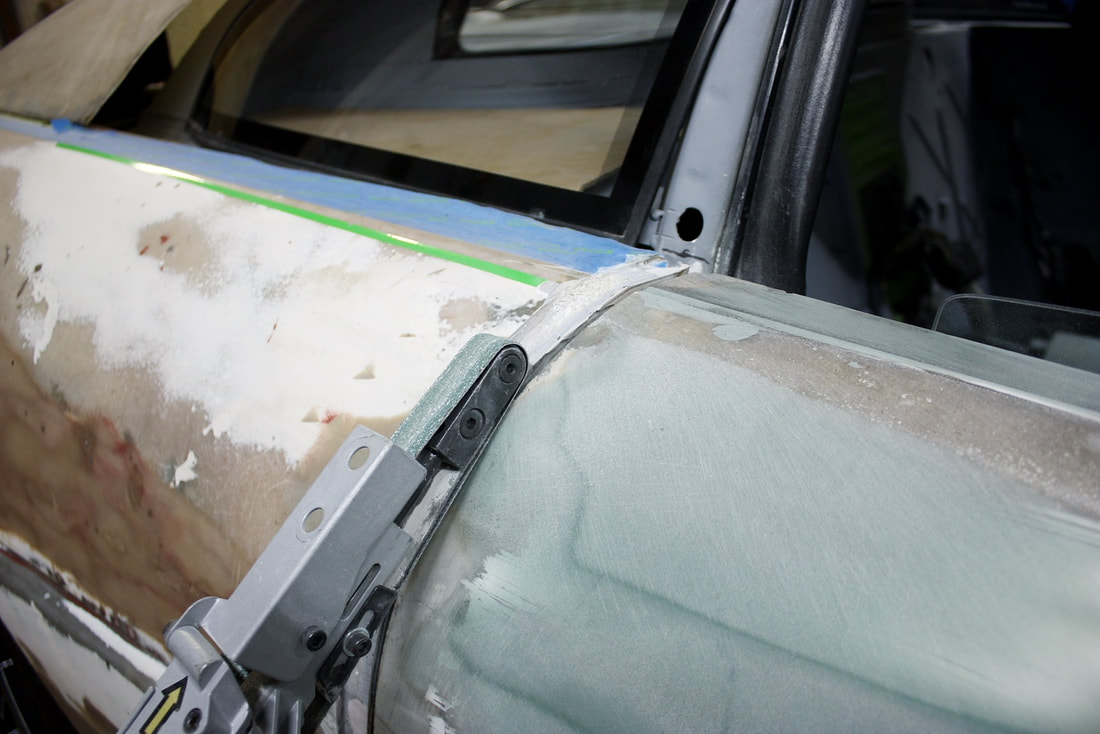
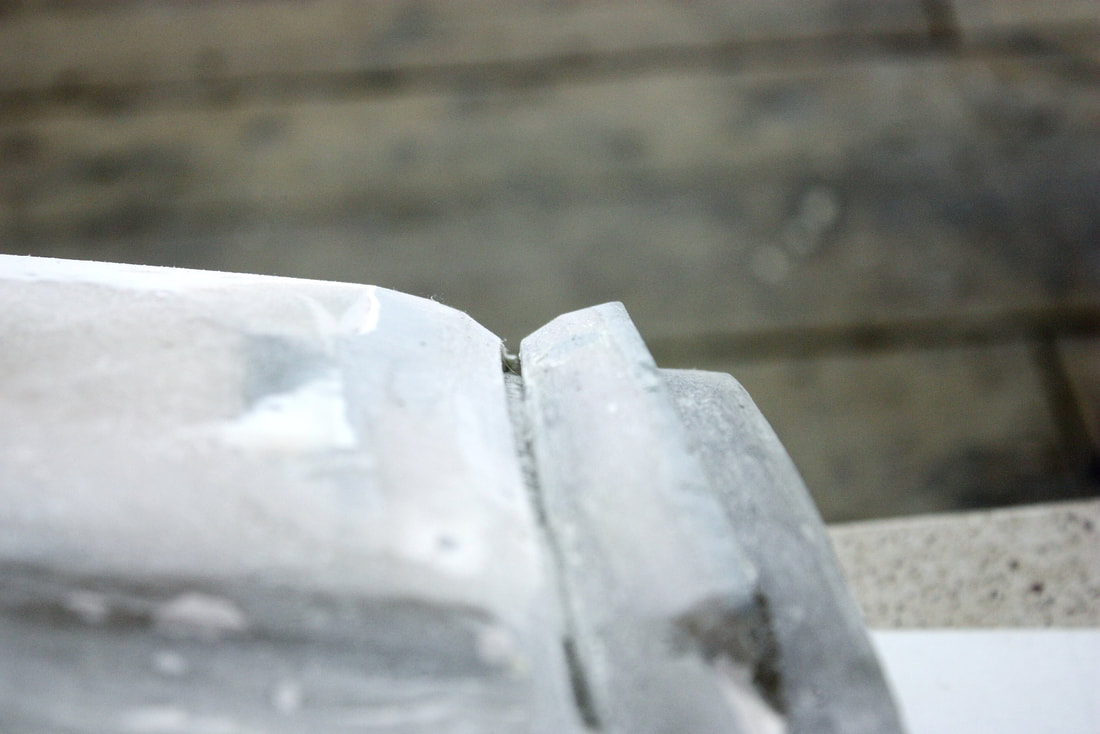
There was a certain order things had to be done because the solution for some problems affected others. I decided first to tackle aligning the quarter panel’s skin height with that of the door’s, since that would also affect the body line along the top of the fender, and the precise location of the window scoop. This next photo shows how the top of the quarter panel stuck too far out:
There was a certain order things had to be done because the solution for some problems affected others. I decided first to tackle aligning the quarter panel’s skin height with that of the door’s, since that would also affect the body line along the top of the fender, and the precise location of the window scoop. This next photo shows how the top of the quarter panel stuck too far out:
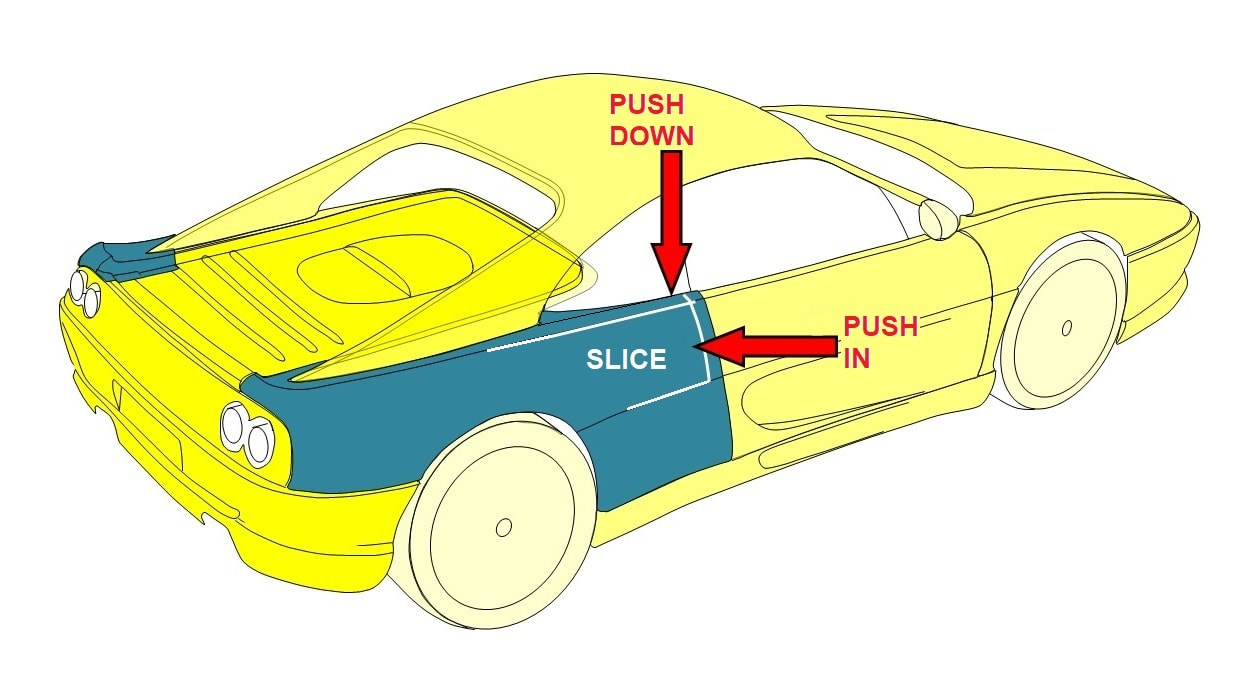
I couldn’t just move the whole panel inward for all the same reasons I couldn’t with the driver’s side. So, I made a similar plan to slice the panel along three sides and lever the skin and the top fender line into place, killing two birds with one stone:
I couldn’t just move the whole panel inward for all the same reasons I couldn’t with the driver’s side. So, I made a similar plan to slice the panel along three sides and lever the skin and the top fender line into place, killing two birds with one stone:
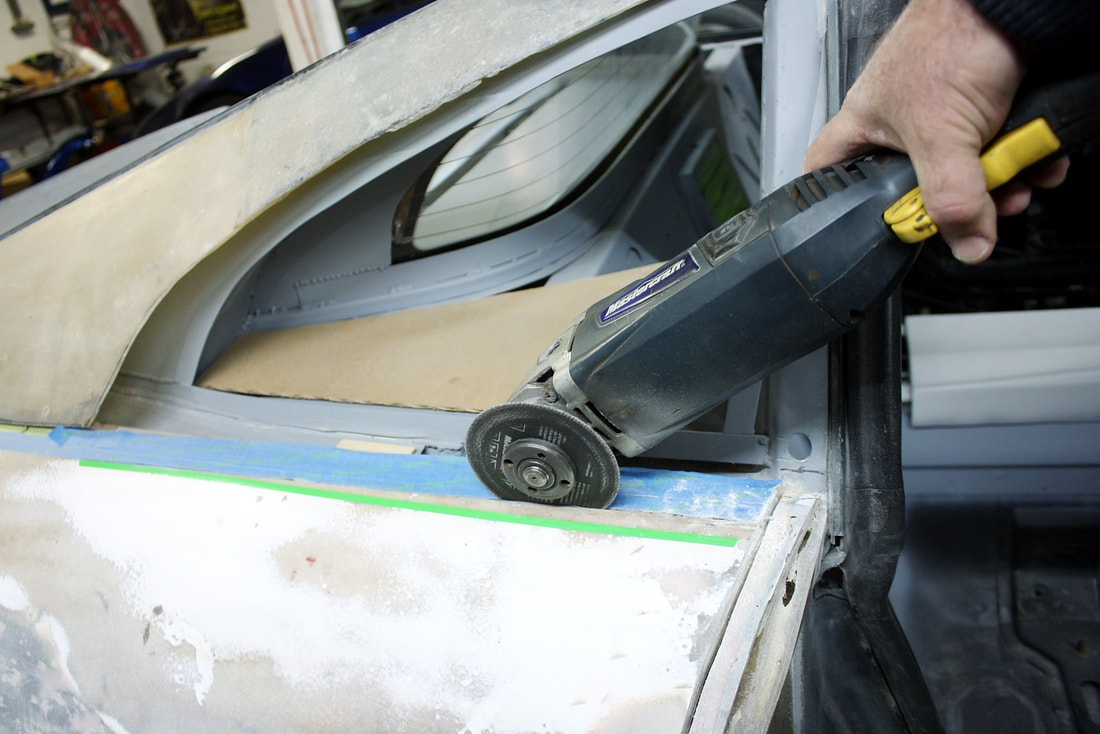
As with the driver’s side, the first step was to grind the quarter panel at the door jamb down to the height of the door skin to serve as an index for the rest of the skin panel once the panel was removed from the car:
As with the driver’s side, the first step was to grind the quarter panel at the door jamb down to the height of the door skin to serve as an index for the rest of the skin panel once the panel was removed from the car:
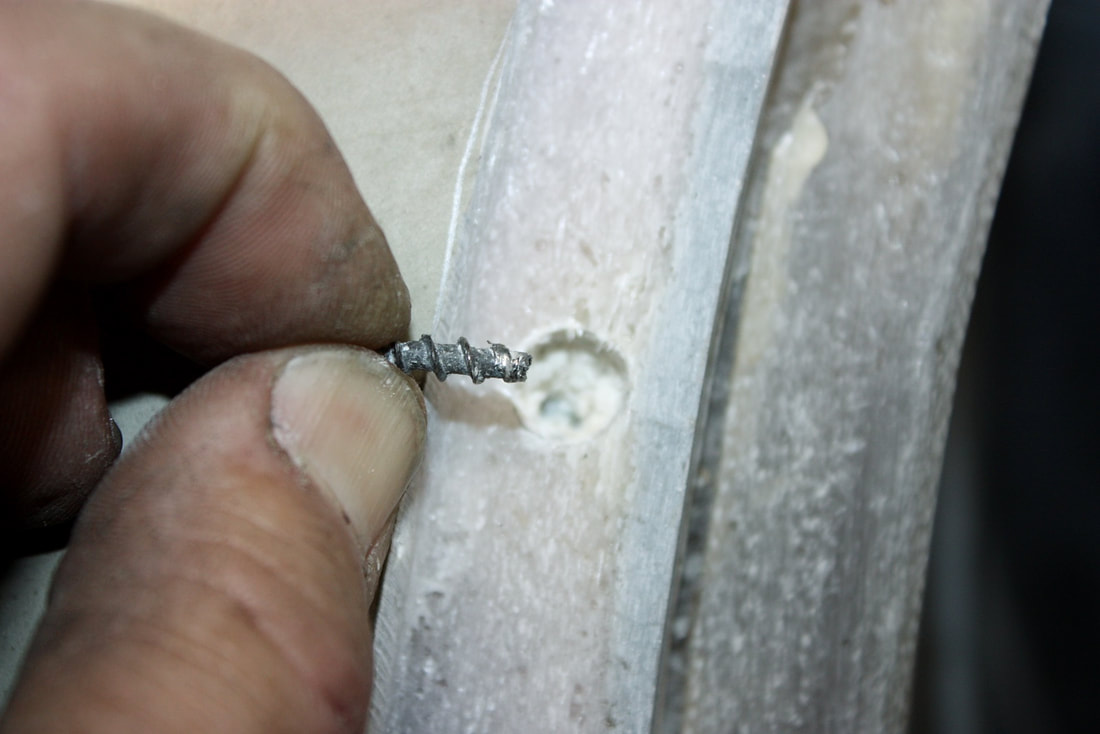
While doing so, I found the remnants of two drywall screws embedded in the fibreglass! Yikes! It’s not a good practice to bury screws like this, or cover them over, because they will show up in the finish sooner or later:
While doing so, I found the remnants of two drywall screws embedded in the fibreglass! Yikes! It’s not a good practice to bury screws like this, or cover them over, because they will show up in the finish sooner or later:
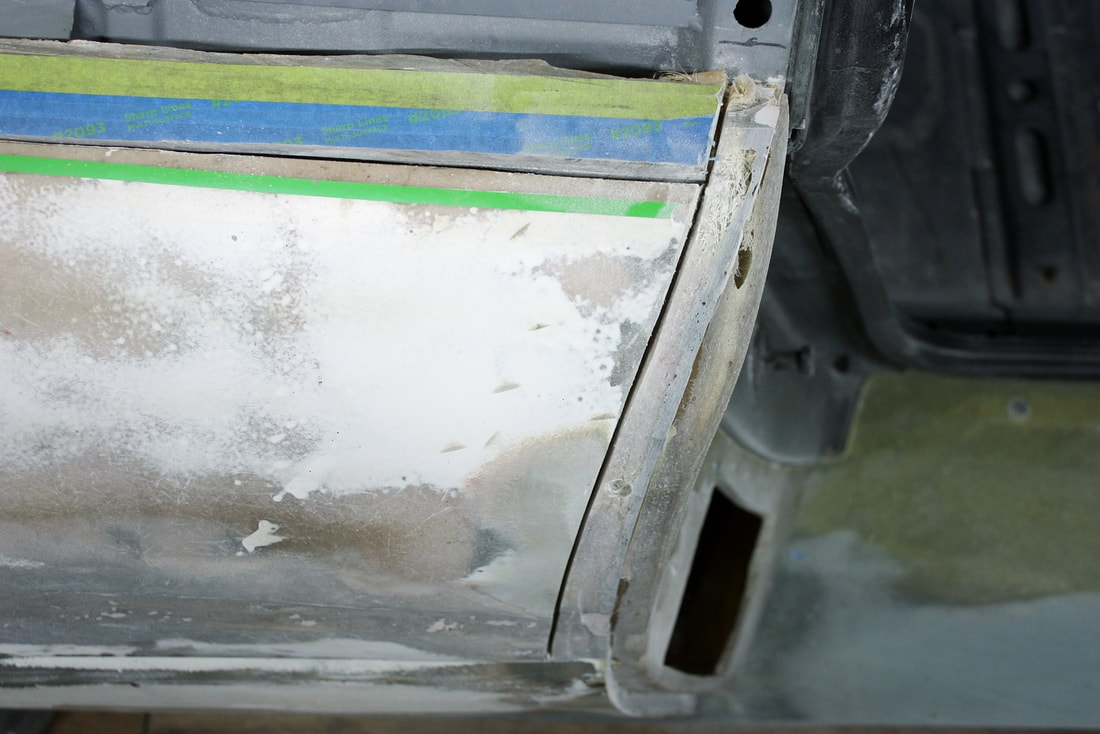
Once the jamb area was ground down to height, I sliced the door skin according to plan:
Once the jamb area was ground down to height, I sliced the door skin according to plan:

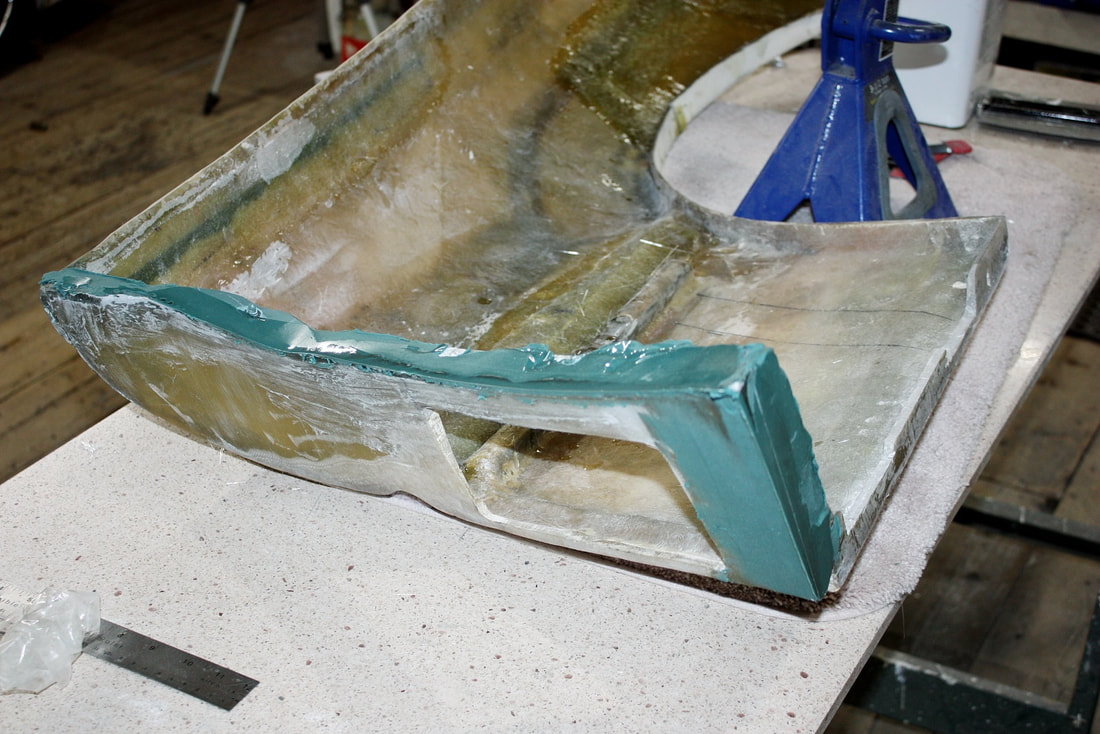
Then I removed the quarter panel to do the messy fibreglassing work off the car:
Then I removed the quarter panel to do the messy fibreglassing work off the car:
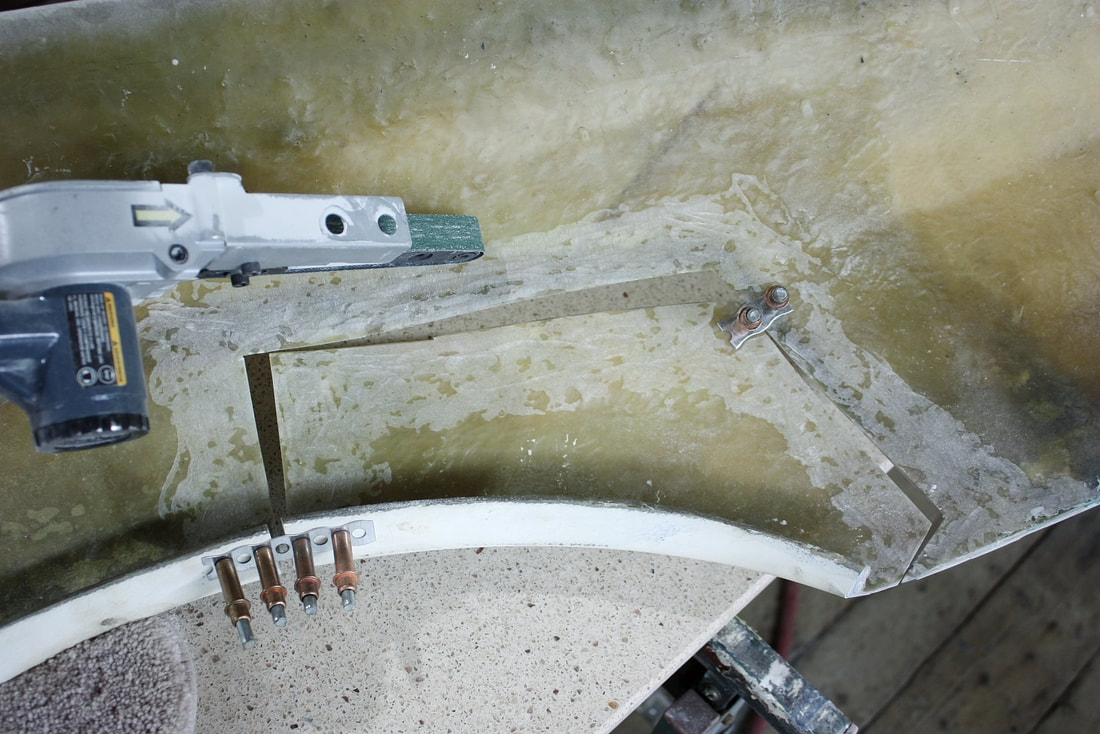
I clamped the skin and upper fender surface in their new, lowered locations, then cut some fibreglass mat to re-bond them in place from the inside:
I clamped the skin and upper fender surface in their new, lowered locations, then cut some fibreglass mat to re-bond them in place from the inside:
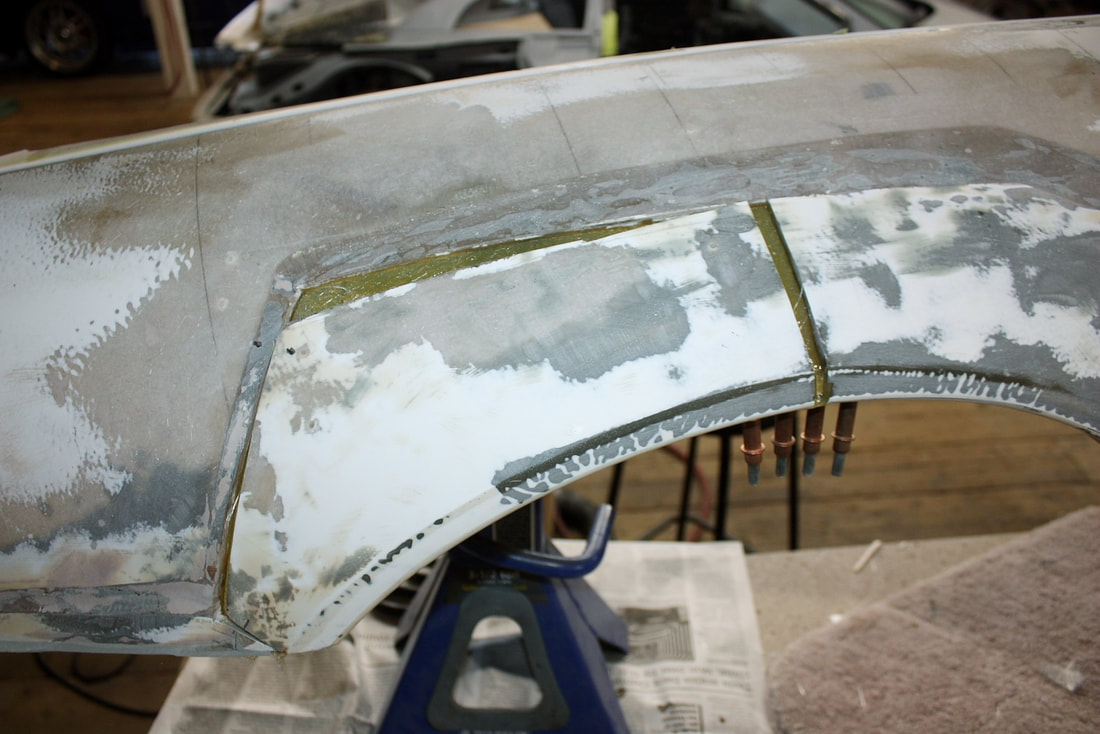
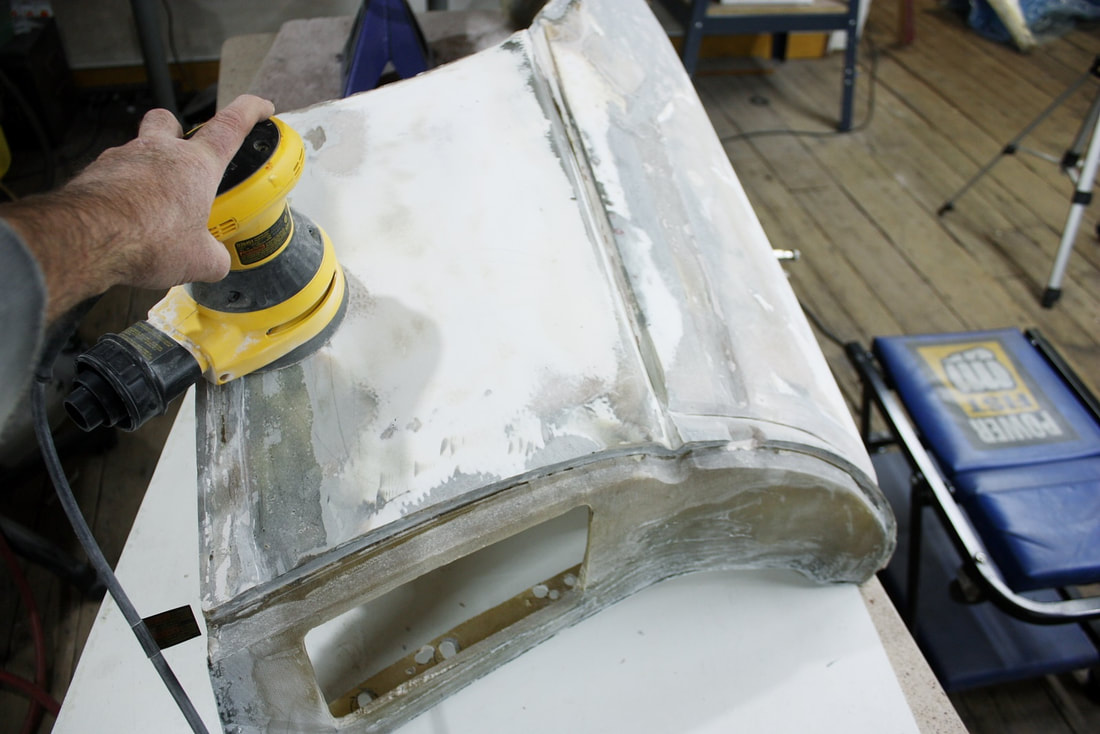
Then, I found the old fillers were getting in the way of completing the job from the outside, so I ground much of it out:
Then, I found the old fillers were getting in the way of completing the job from the outside, so I ground much of it out:
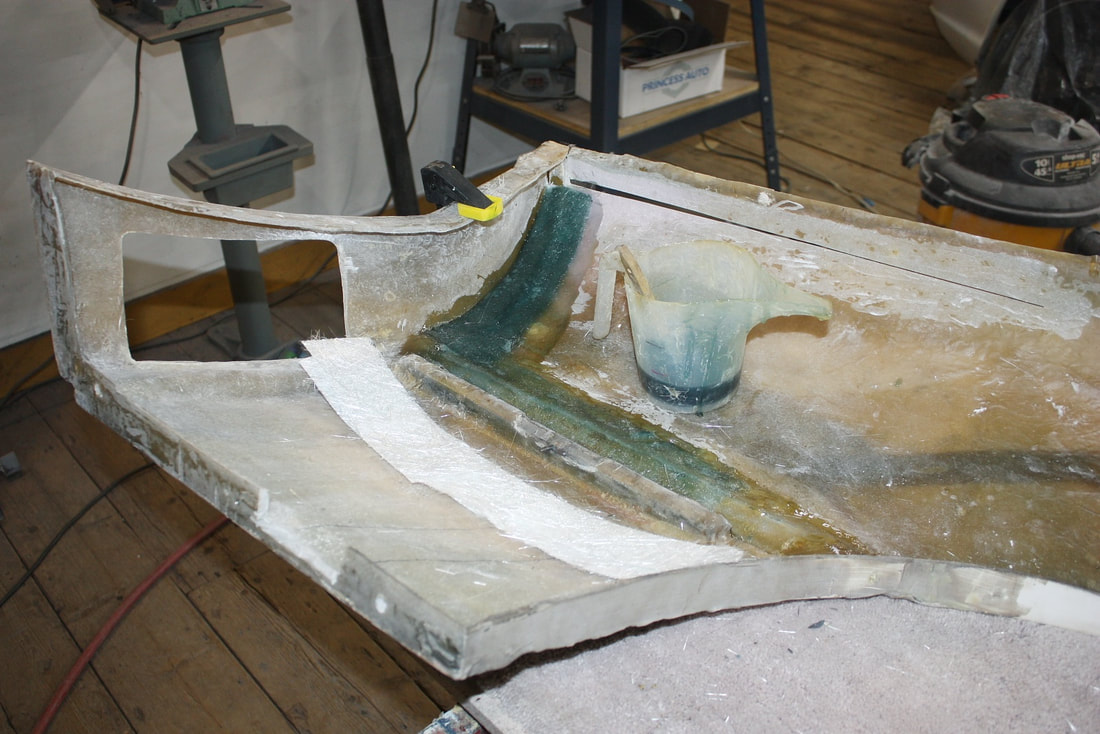
Next, I vee-grooved the outside surface of the skin along all the cuts I had made right down to the new fibreglass patches I’d made on the inside:
Next, I vee-grooved the outside surface of the skin along all the cuts I had made right down to the new fibreglass patches I’d made on the inside:

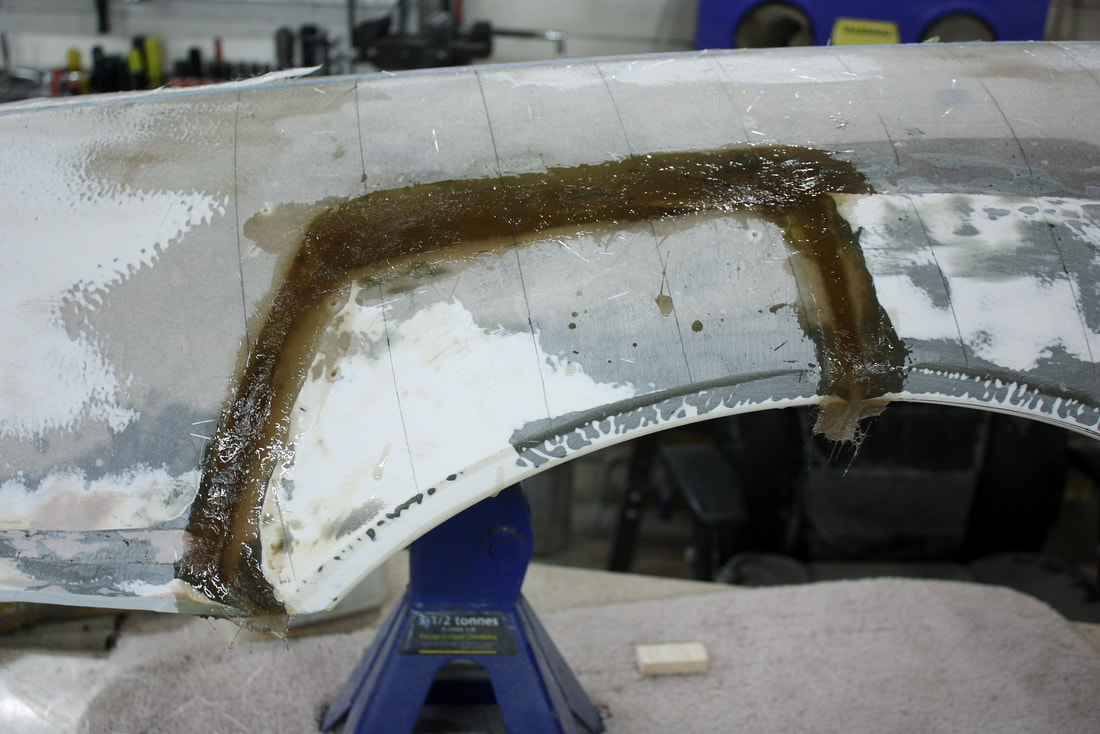
Using long thin strips of fibreglass mat, I built up the V-grooves close to the final skin height, then filled the remaining depth with kitty hair filler. It would all get skimmed with short strand later on.
With that structural bit out of the way, I turned my attention to the badly shaped wheel arch. This is a result of Don having cut and moved the original IFG wheel arch down and outward several years ago. It was a good start but it also needed a reduction in diameter at the same time.
I made a template of the opening on the driver’s side and, by using my laser level, I was able to locate the template in exactly the same cross-car location on the passenger side. That allowed me to measure the needed changes to make the wheel openings symmetrical:
Using long thin strips of fibreglass mat, I built up the V-grooves close to the final skin height, then filled the remaining depth with kitty hair filler. It would all get skimmed with short strand later on.
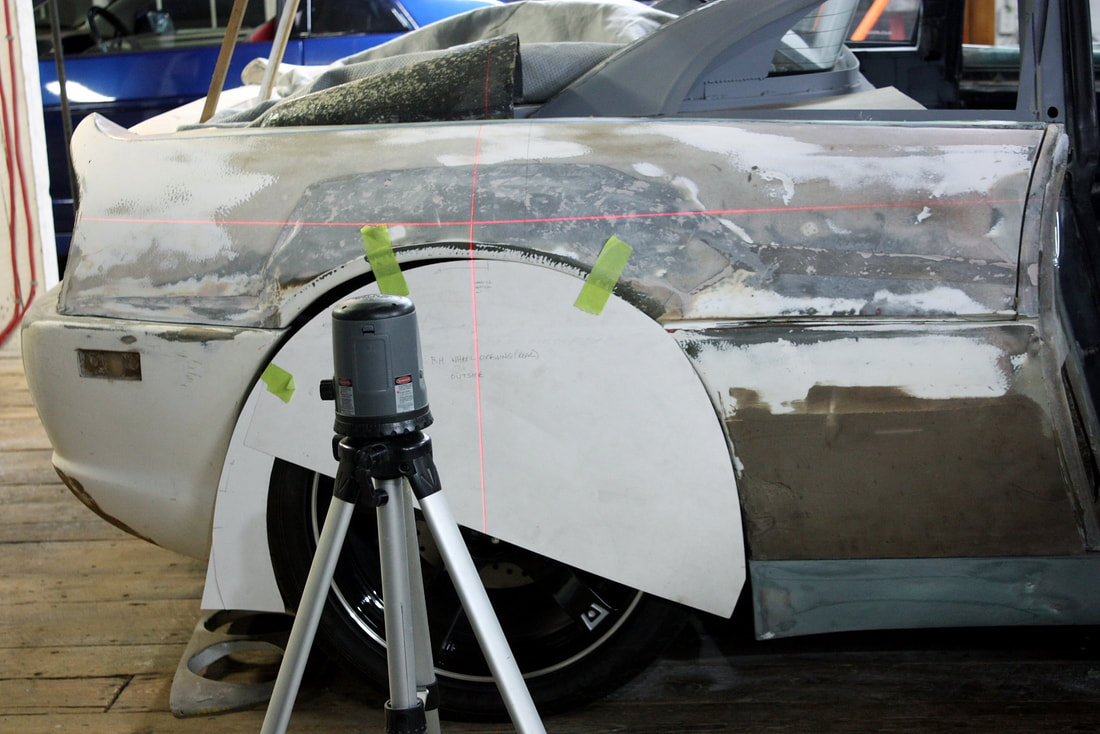
With that structural bit out of the way, I turned my attention to the badly shaped wheel arch. This is a result of Don having cut and moved the original IFG wheel arch down and outward several years ago. It was a good start but it also needed a reduction in diameter at the same time.
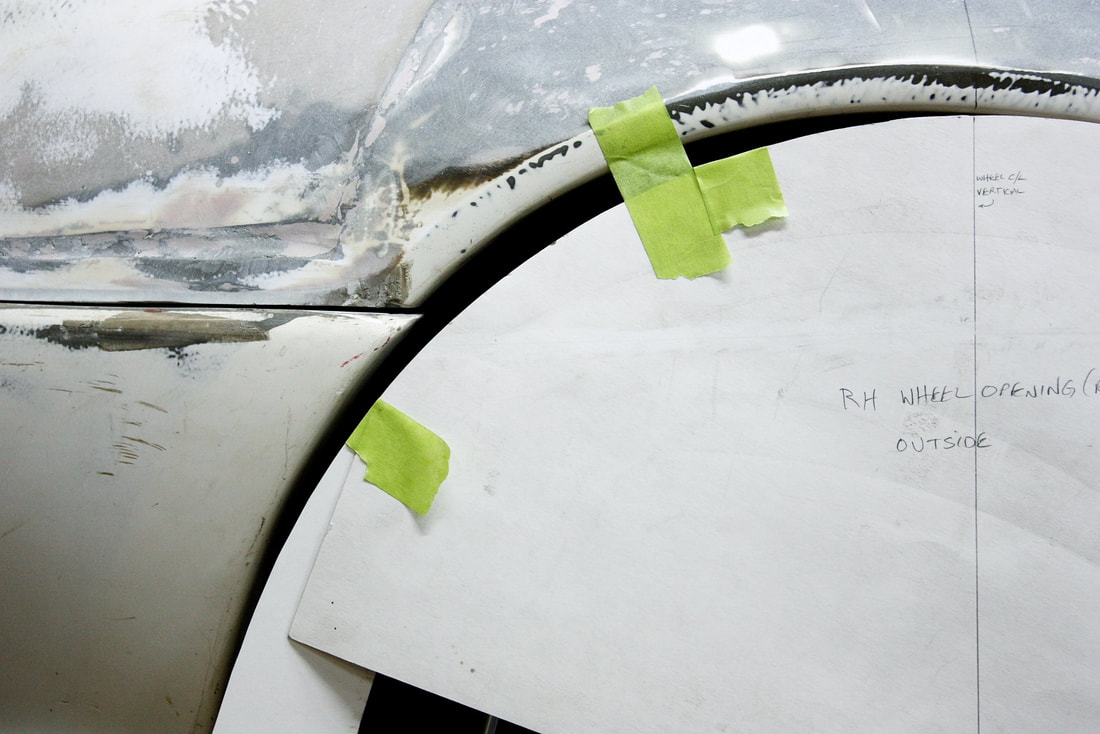
I made a template of the opening on the driver’s side and, by using my laser level, I was able to locate the template in exactly the same cross-car location on the passenger side. That allowed me to measure the needed changes to make the wheel openings symmetrical:
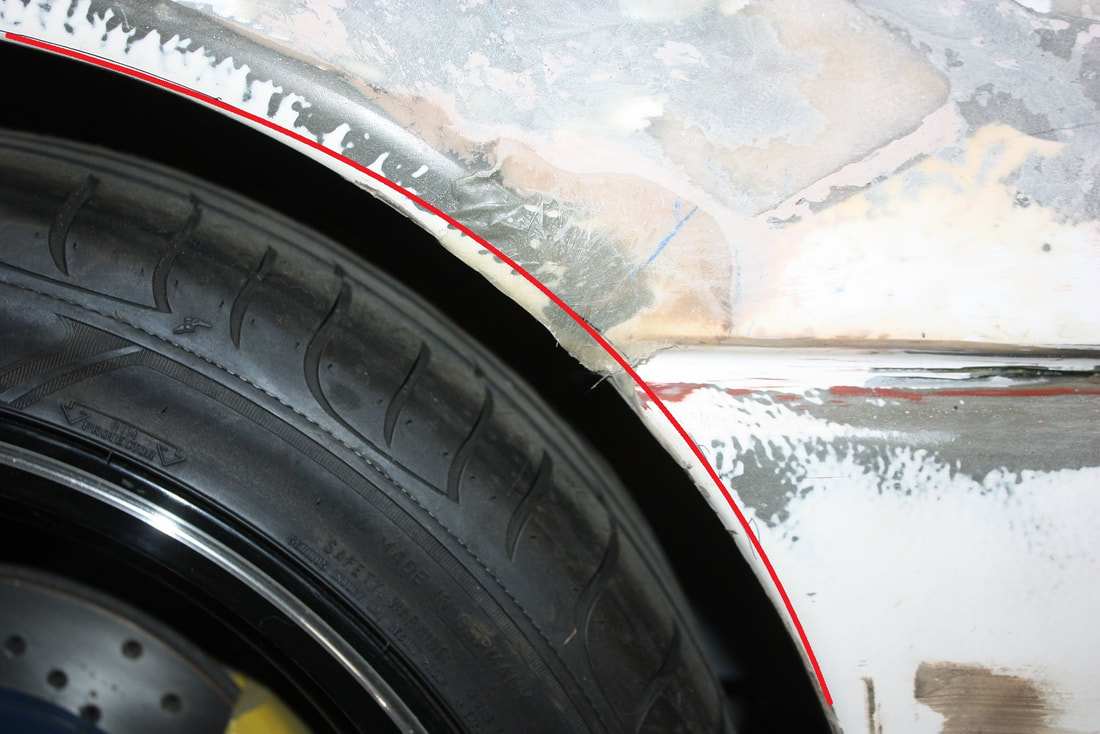
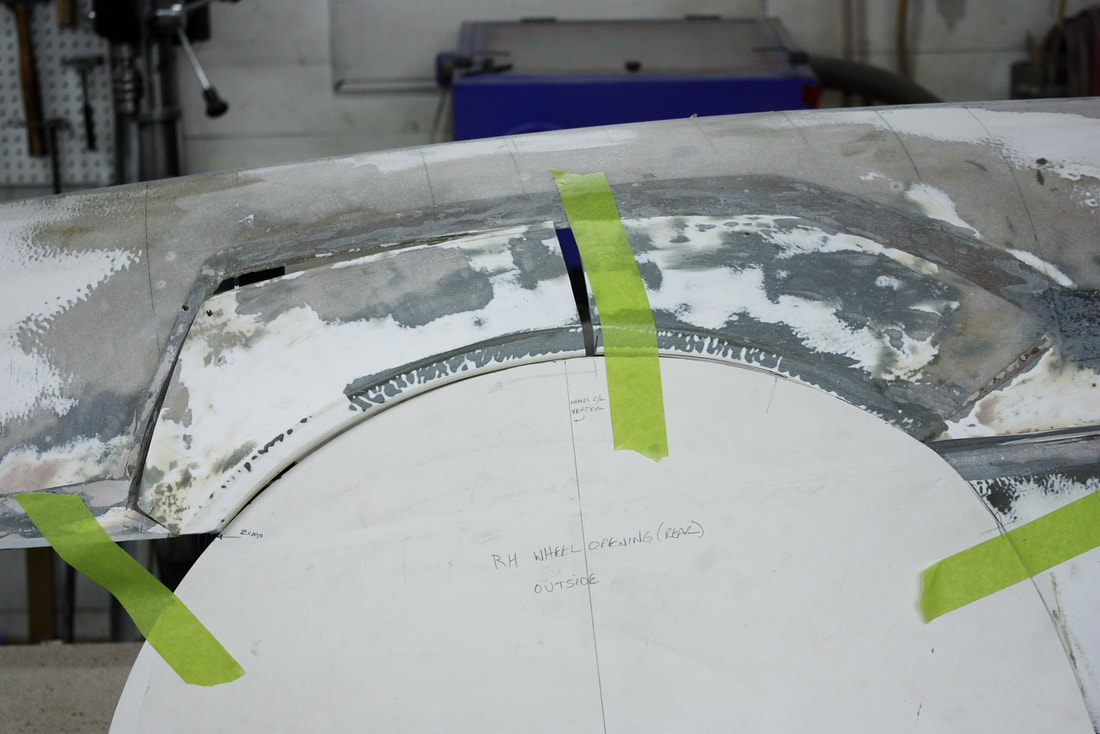
In these next two photos, you can see just how different the curvature of both wheel arches were to each other:
In these next two photos, you can see just how different the curvature of both wheel arches were to each other:
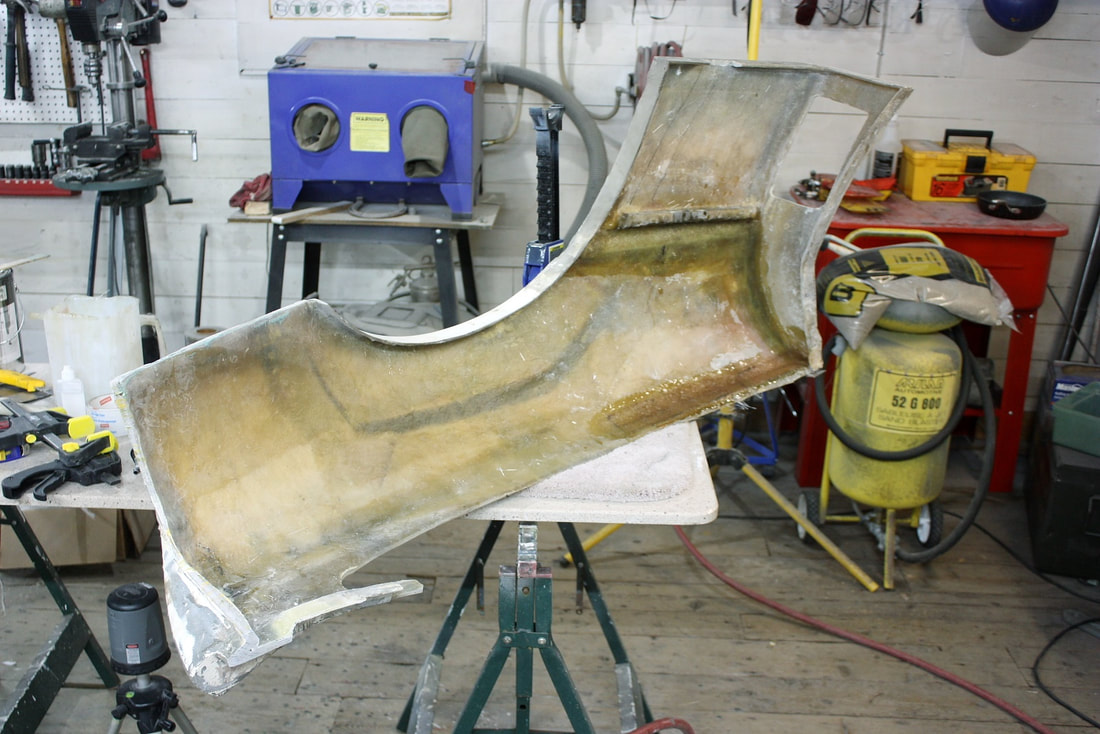
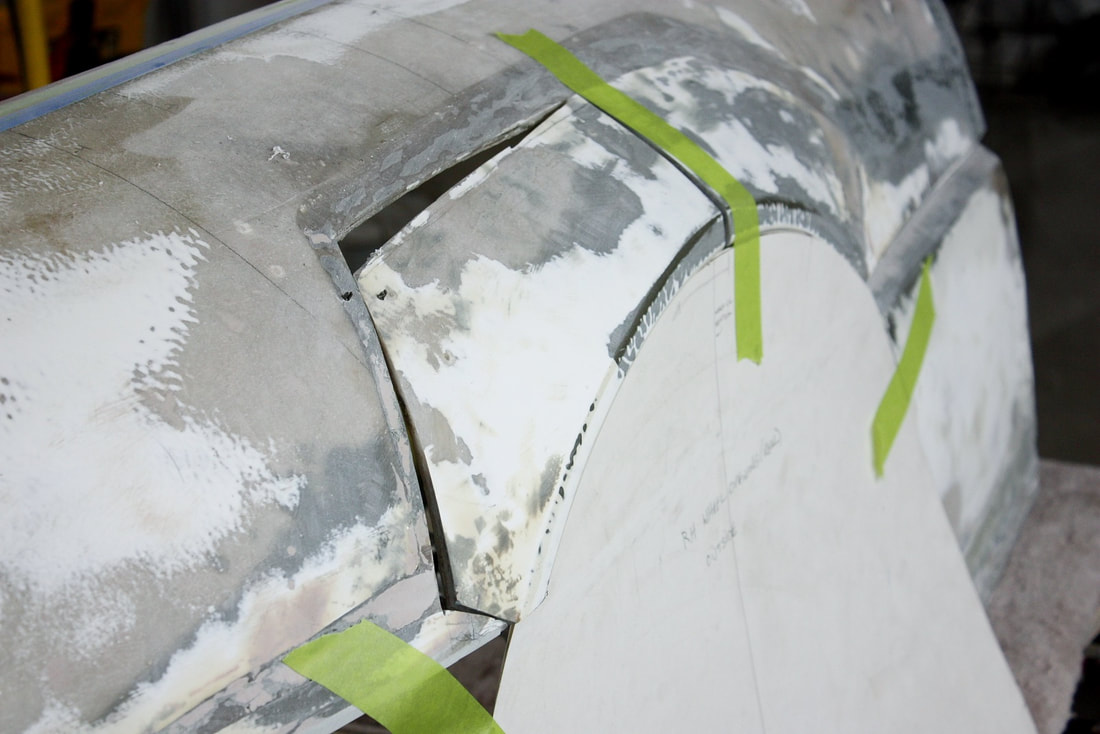
To address the rear half of the arch, I needed to separate it from the quarter panel, and pivot it downward at the back edge to bring it in line. So I sectioned the aft half of the same panel Don did 15 years earlier… which is clear in these photos:
To address the rear half of the arch, I needed to separate it from the quarter panel, and pivot it downward at the back edge to bring it in line. So I sectioned the aft half of the same panel Don did 15 years earlier… which is clear in these photos:
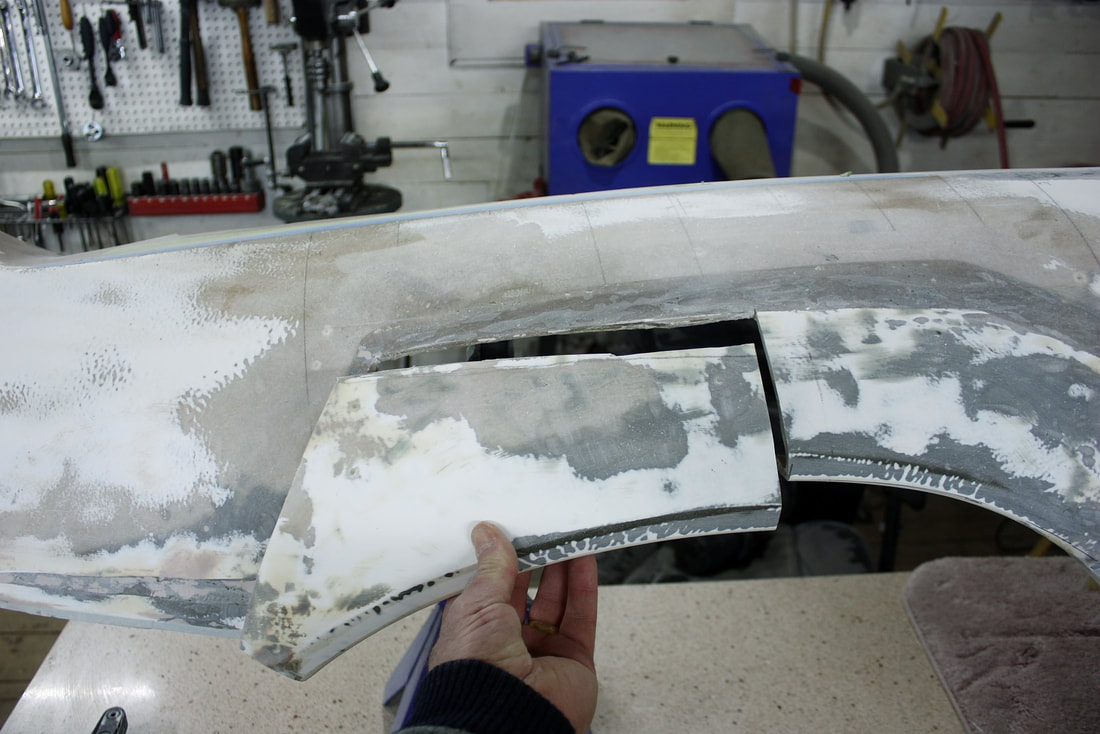
Then, I rotated the newly sectioned piece until it aligned with my template:
Then, I rotated the newly sectioned piece until it aligned with my template:
I tacked the piece in position with a couple Cleco fasteners and some steel exhaust strapping, then roughed up the backside where I applied several layers of fibreglass mat:
I tacked the piece in position with a couple Cleco fasteners and some steel exhaust strapping, then roughed up the backside where I applied several layers of fibreglass mat:
Once the inside surfaces were bonded, I flipped the quarter panel over, roughed up the outside surfaces, and did the same:
Once the inside surfaces were bonded, I flipped the quarter panel over, roughed up the outside surfaces, and did the same:
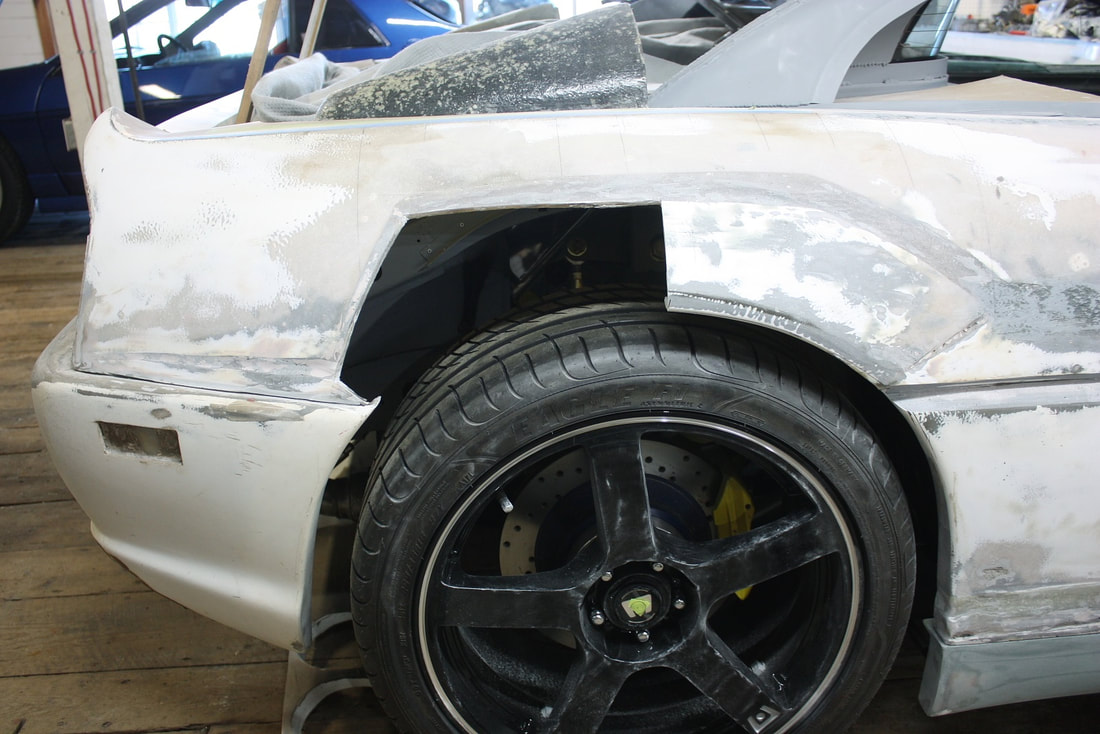
The wheel arch started to take on a proper shape once I reinstalled the quarter panel. (Obviously the rear fascia will need similar work to match up with the quarter):
The wheel arch started to take on a proper shape once I reinstalled the quarter panel. (Obviously the rear fascia will need similar work to match up with the quarter):
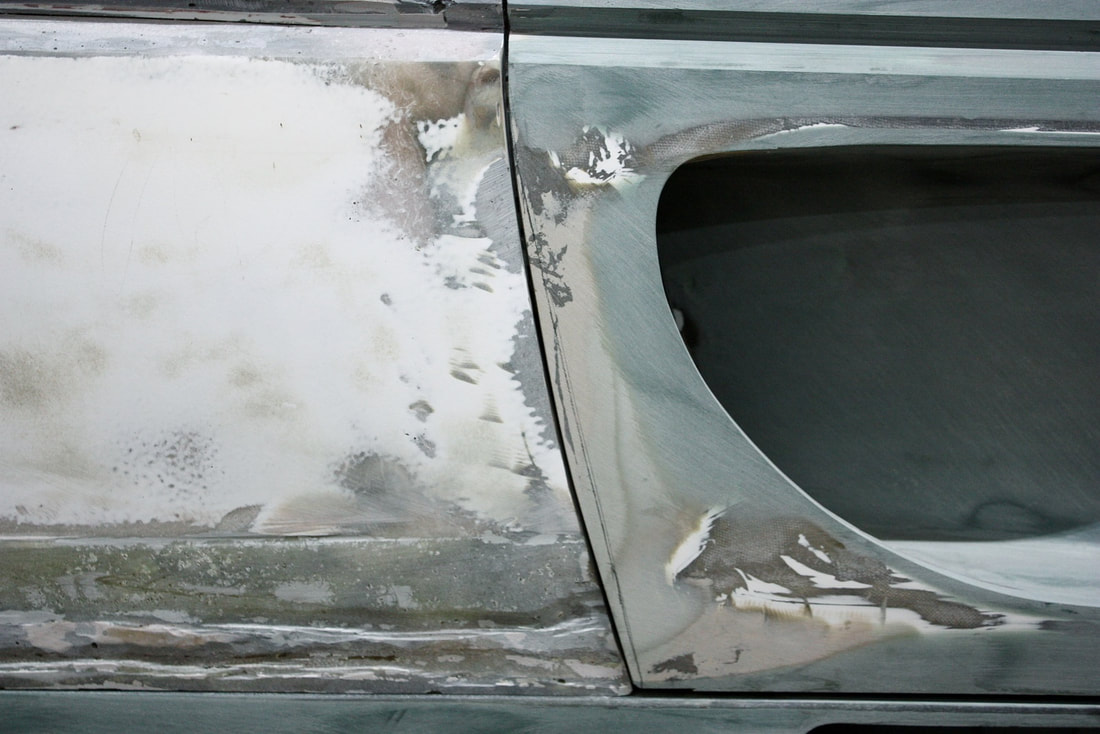
The next thing I tackled were the gaps between the quarter panel, the door sill, and the door jamb. They were worse on this side than on the driver’s side:
The next thing I tackled were the gaps between the quarter panel, the door sill, and the door jamb. They were worse on this side than on the driver’s side:
The gaps were caused by the mounting flanges on the quarter panel being misshaped, but that was no surprise since the flanges attempt to mate up with the contorted metal of the door jamb.
The only way I could produce a tight fitting flange against the door jamb was to use the jamb itself as the mold. So I wrapped the metal jamb with packing tape to act as non-stick surface, then piled a bunch of short strand filler onto the fibreglass return flange, and quickly reinstalled the quarter before the filler could set up. As I tightened the mounting bolts the excess filler oozed out from the gaps confirming a form-fitting surface was being created. Once it hardened, I removed the quarter panel, cleaned up the excess filler, and was happy the gaps were perfectly filled. Here it is before clean up:
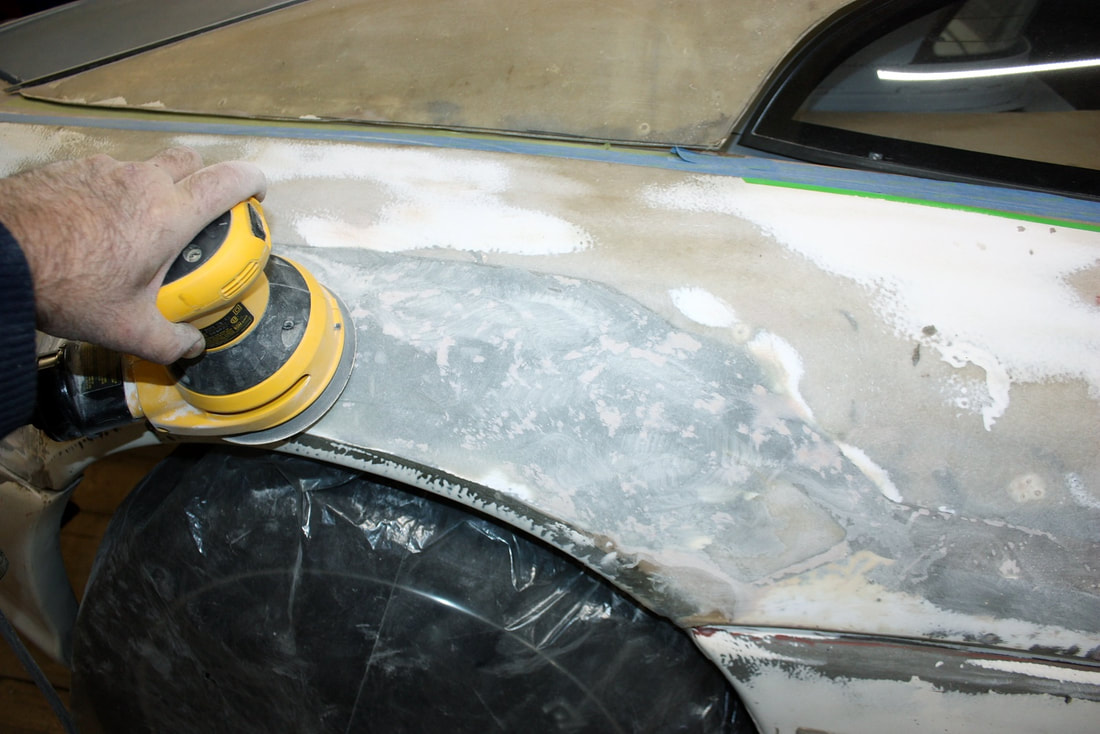
At this point I had a couple smaller issues to address. The first was to grind out the rest of the old putty from the bottom half of the quarter panel. I could tell it was the right thing to do because it didn’t sand well at all… constantly gumming up the sand paper. That’s a good indication that not enough hardener was used to cure the filler:
At this point I had a couple smaller issues to address. The first was to grind out the rest of the old putty from the bottom half of the quarter panel. I could tell it was the right thing to do because it didn’t sand well at all… constantly gumming up the sand paper. That’s a good indication that not enough hardener was used to cure the filler:
The old fillers were hiding some nasty gouges in the panel that needed more than just a finishing putty to fill properly. I needed kitty hair to repair several other areas on the quarter panel so I decided to prep the other areas firsthand and deal with the kitty hair all at once. I’ll cover that in my next post, as well as wrap up the work on the passenger side rear quarter panel.
The old fillers were hiding some nasty gouges in the panel that needed more than just a finishing putty to fill properly. I needed kitty hair to repair several other areas on the quarter panel so I decided to prep the other areas firsthand and deal with the kitty hair all at once. I’ll cover that in my next post, as well as wrap up the work on the passenger side rear quarter panel.

 RSS Feed
