In my last post, I recessed the forward half of the quarter panel, re-arched the top surface of the fender, reshaped the wheel arch, and removed a bunch of old body filler… everything with a green check mark here:
In my last post, I recessed the forward half of the quarter panel, re-arched the top surface of the fender, reshaped the wheel arch, and removed a bunch of old body filler… everything with a green check mark here:
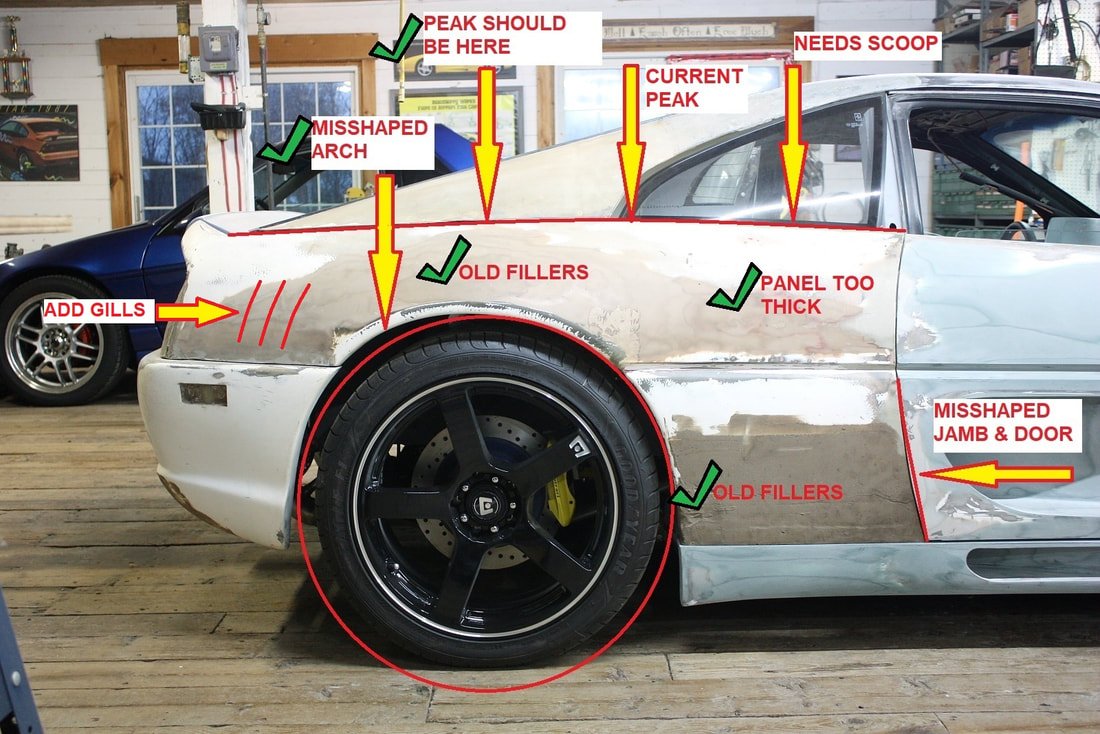
What was left on the “To-Do” list was reshaping the door gap, making a quarter window scoop, adding some shark gills, and making the whole surface flow smoothly from door jamb to duck tail.
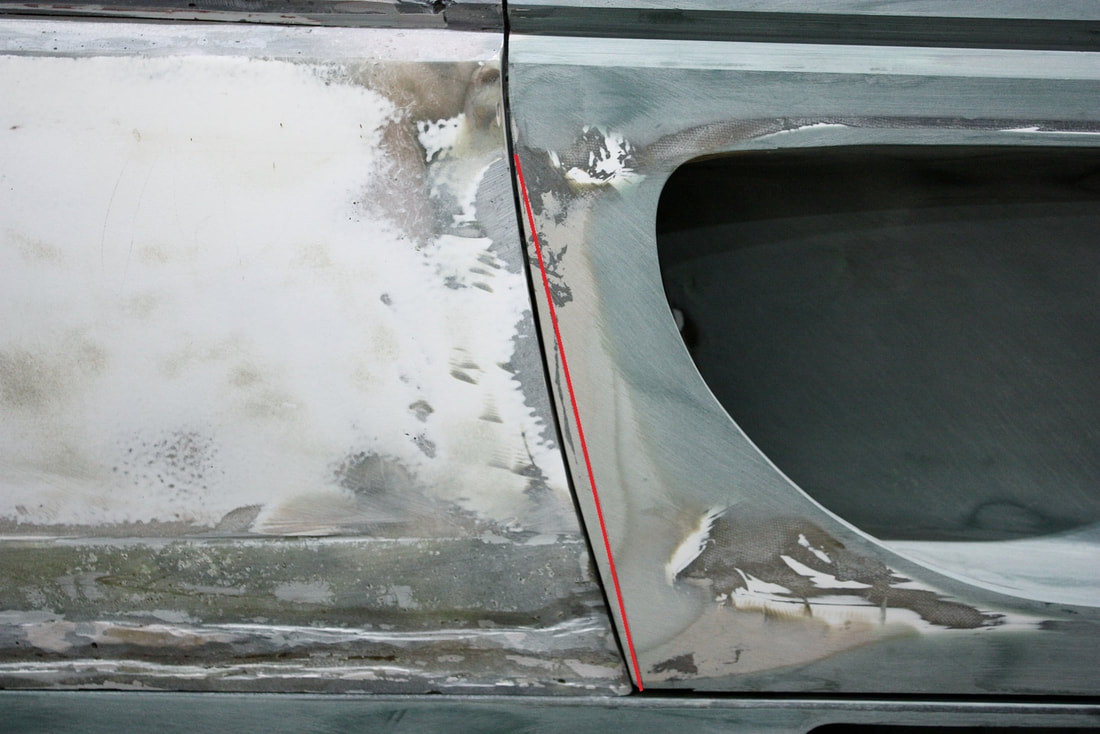
The first area that I attacked was the shape of the door gap. Earlier on I had noticed the rear edges of the driver’s and passenger’s doors had different profiles. The red line shows the difference:
What was left on the “To-Do” list was reshaping the door gap, making a quarter window scoop, adding some shark gills, and making the whole surface flow smoothly from door jamb to duck tail.
The first area that I attacked was the shape of the door gap. Earlier on I had noticed the rear edges of the driver’s and passenger’s doors had different profiles. The red line shows the difference:
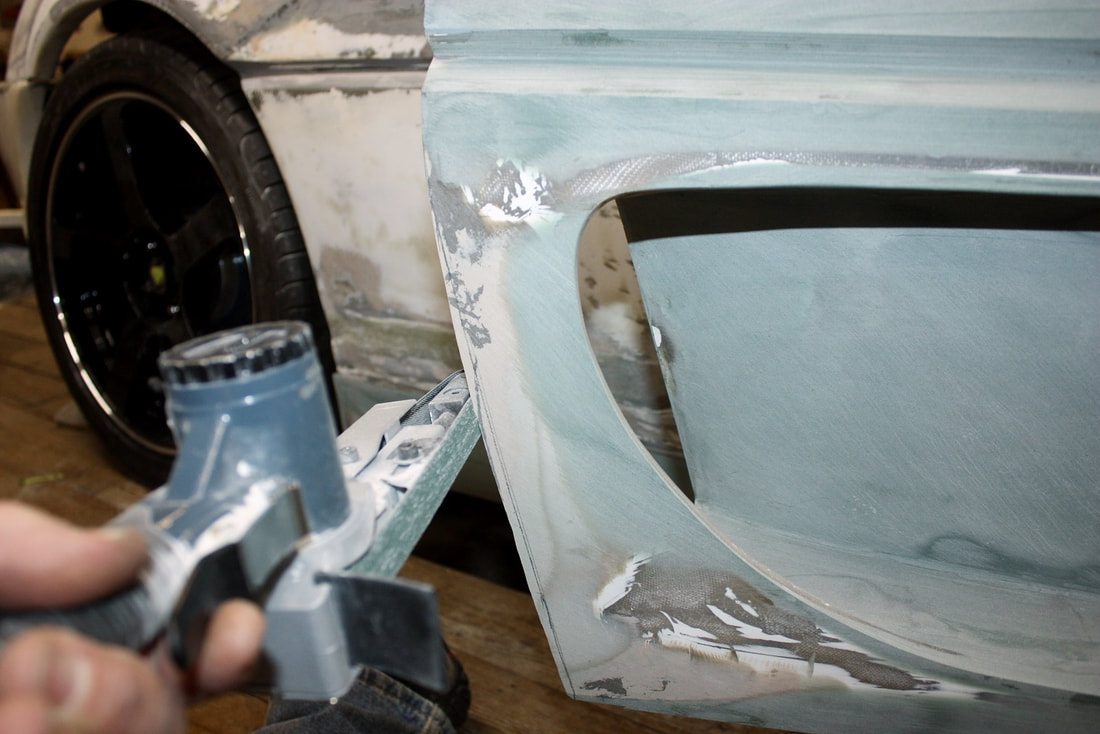
After checking authentic F355’s online, I found the driver’s door was properly shaped, so I attacked the passenger door with my pneumatic belt sander:
After checking authentic F355’s online, I found the driver’s door was properly shaped, so I attacked the passenger door with my pneumatic belt sander:
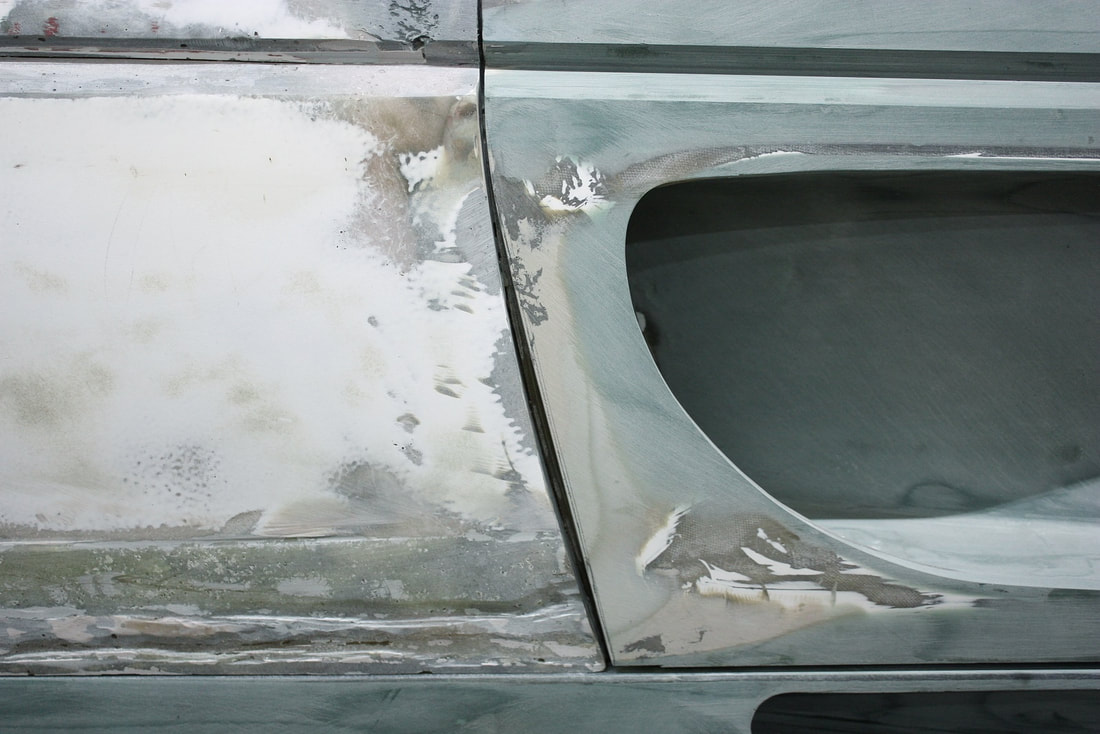
Building up the jamb to match the new door shape would need kitty hair for maximum strength since it’s an area that’s easily bumped. I needed long strand fillers in other areas too, so I decided to wait and do them all at once, so I moved on to the window scoop.
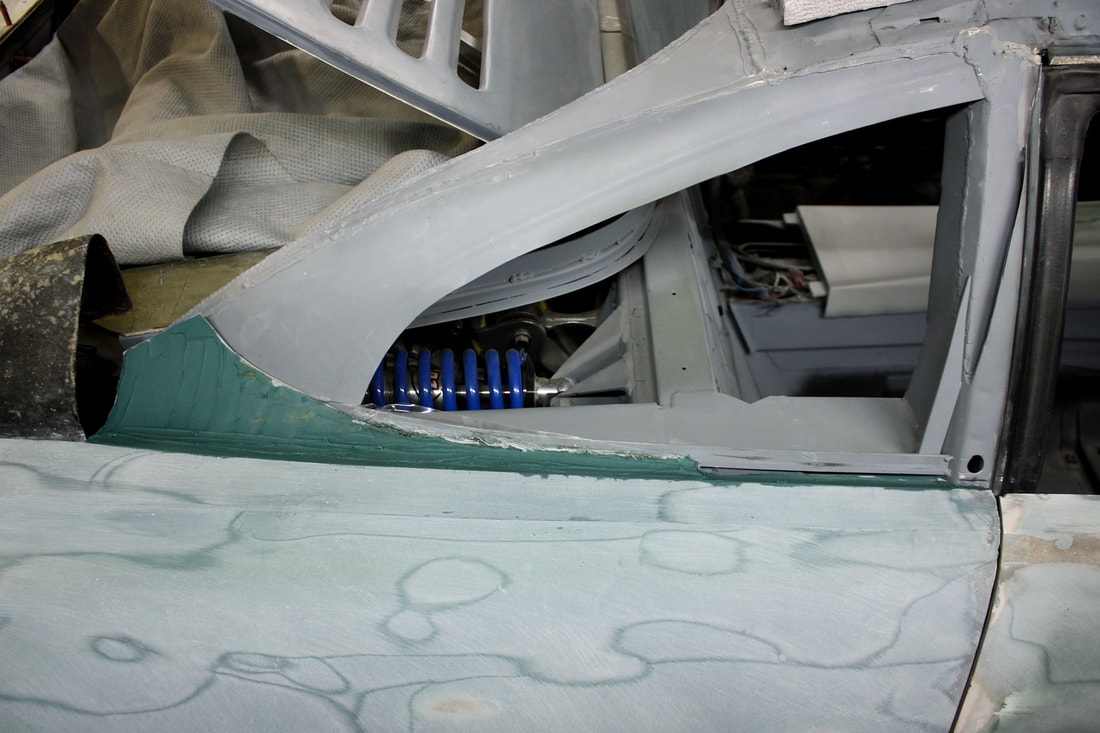
I had made the curved “floors” of both window scoops at the same time so for anyone just joining up with my blog, there’s a description of how I made them in post #177. As with the driver’s side, there was no way to bond the scoop in the correct location and angle with the quarter panel off the car, so I laid the scoop in place like so:
Building up the jamb to match the new door shape would need kitty hair for maximum strength since it’s an area that’s easily bumped. I needed long strand fillers in other areas too, so I decided to wait and do them all at once, so I moved on to the window scoop.
I had made the curved “floors” of both window scoops at the same time so for anyone just joining up with my blog, there’s a description of how I made them in post #177. As with the driver’s side, there was no way to bond the scoop in the correct location and angle with the quarter panel off the car, so I laid the scoop in place like so:
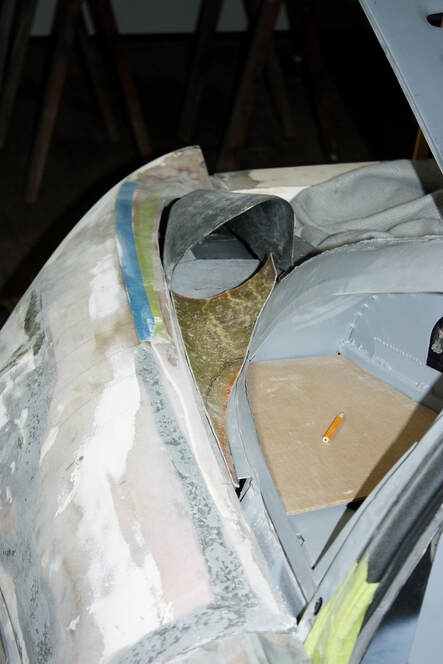
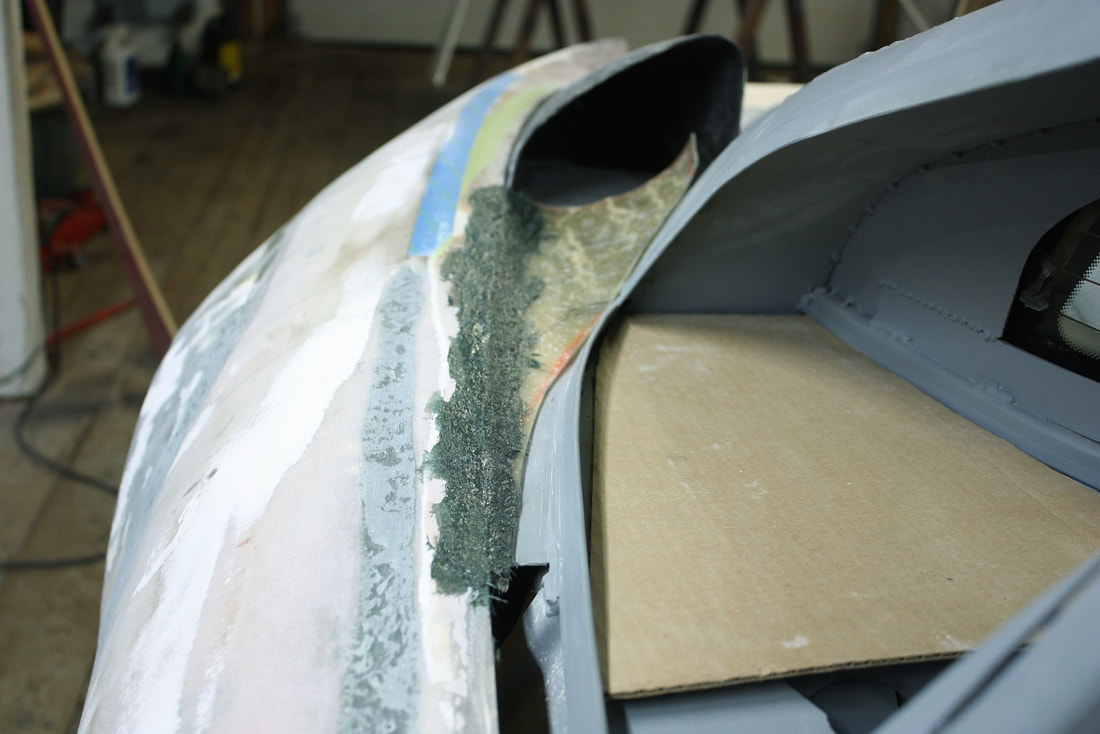
… then mixed a generous amount of kitty hair to tack the window scoop temporarily to the quarter from the outside:
… then mixed a generous amount of kitty hair to tack the window scoop temporarily to the quarter from the outside:
I used the rest of the long strand filler to rework the door jamb and fill the gouges in the lower half of the quarter panel shown in my last post. Once the filler hardened on the window scoop, I was able to remove the quarter panel and fibreglass the scoop properly to the panel from the underside:
I used the rest of the long strand filler to rework the door jamb and fill the gouges in the lower half of the quarter panel shown in my last post. Once the filler hardened on the window scoop, I was able to remove the quarter panel and fibreglass the scoop properly to the panel from the underside:
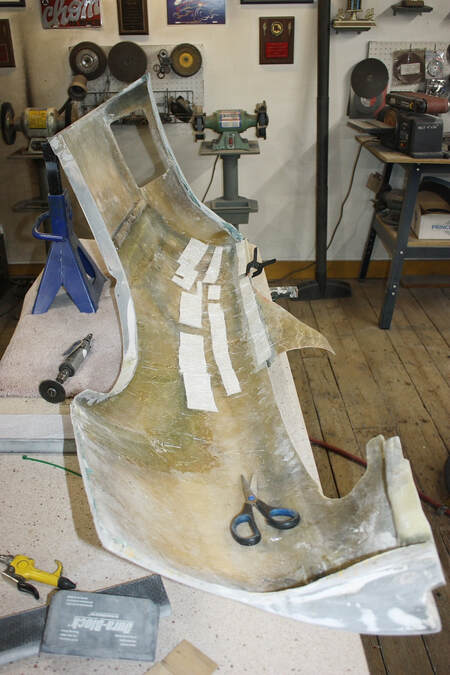
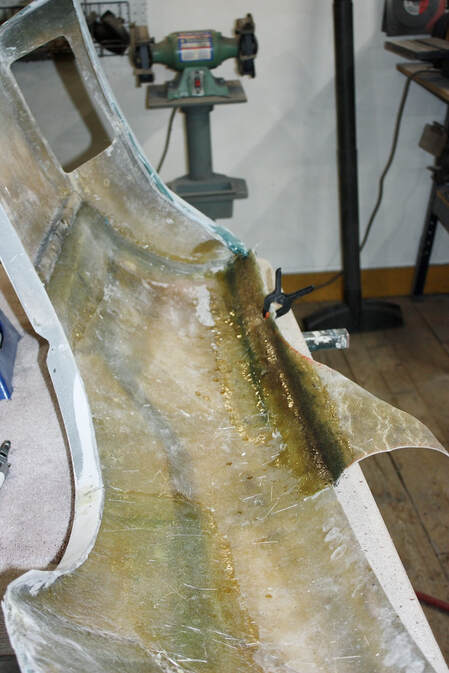
When the resin had cured, I flipped the quarter panel over, ground down the long strand, and skim-coated the scoop with short strand filler for smoothing:
When the resin had cured, I flipped the quarter panel over, ground down the long strand, and skim-coated the scoop with short strand filler for smoothing:
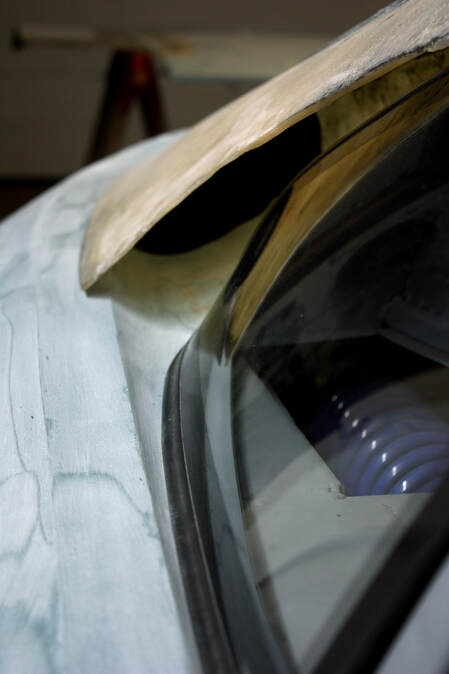
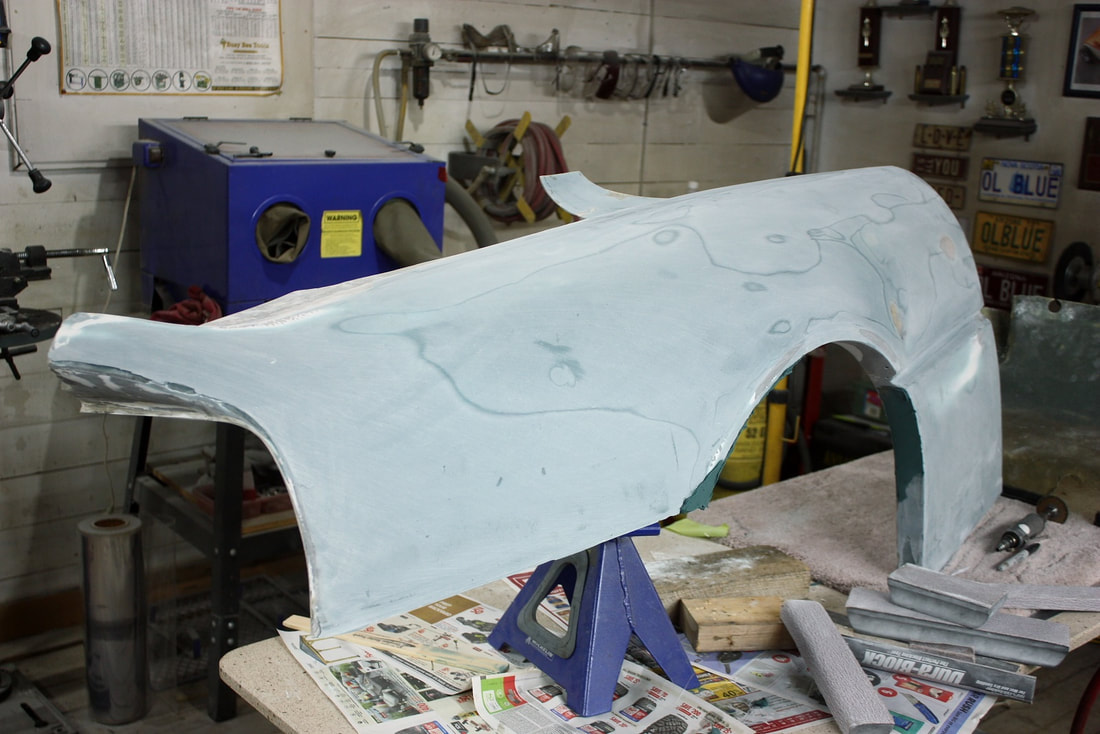
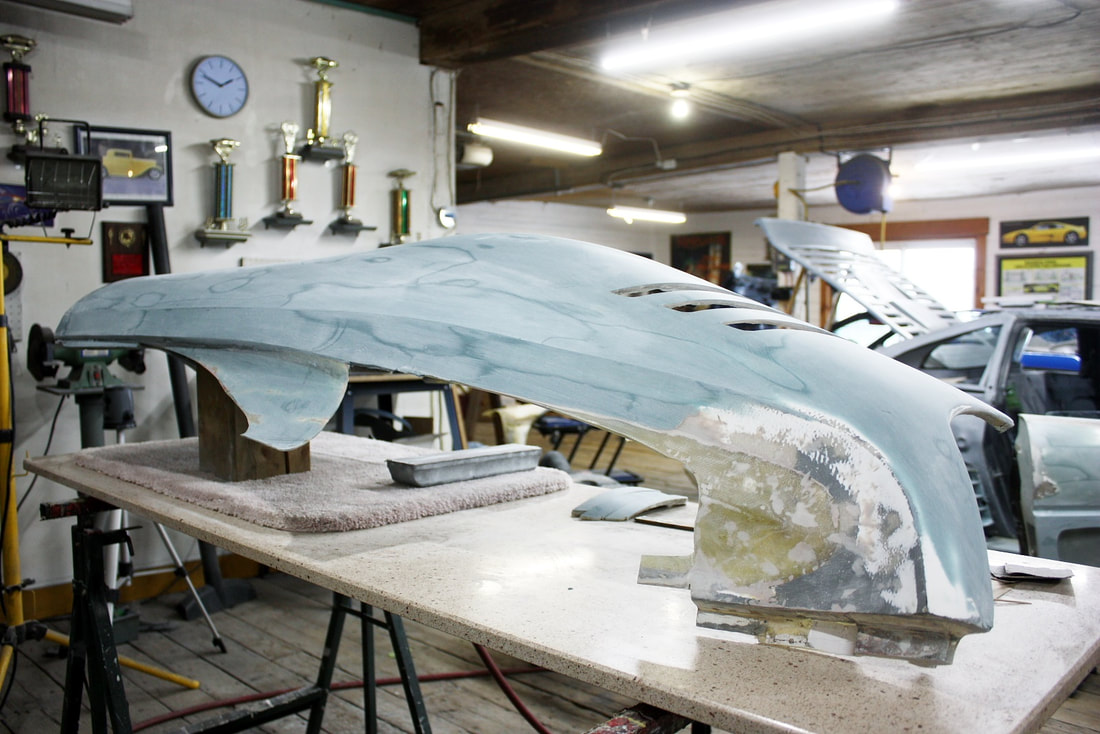
With that done, I made several skim coats over the entire quarter panel to meld all the modifications into a single flowing surface,:
With that done, I made several skim coats over the entire quarter panel to meld all the modifications into a single flowing surface,:
I was closing in on the last couple hours of work needed to the passenger side quarter panel. As with the driver’s side, I needed several mods to the radiator shroud to align it with the larger inlet scoops in the rocker and door:
I was closing in on the last couple hours of work needed to the passenger side quarter panel. As with the driver’s side, I needed several mods to the radiator shroud to align it with the larger inlet scoops in the rocker and door:
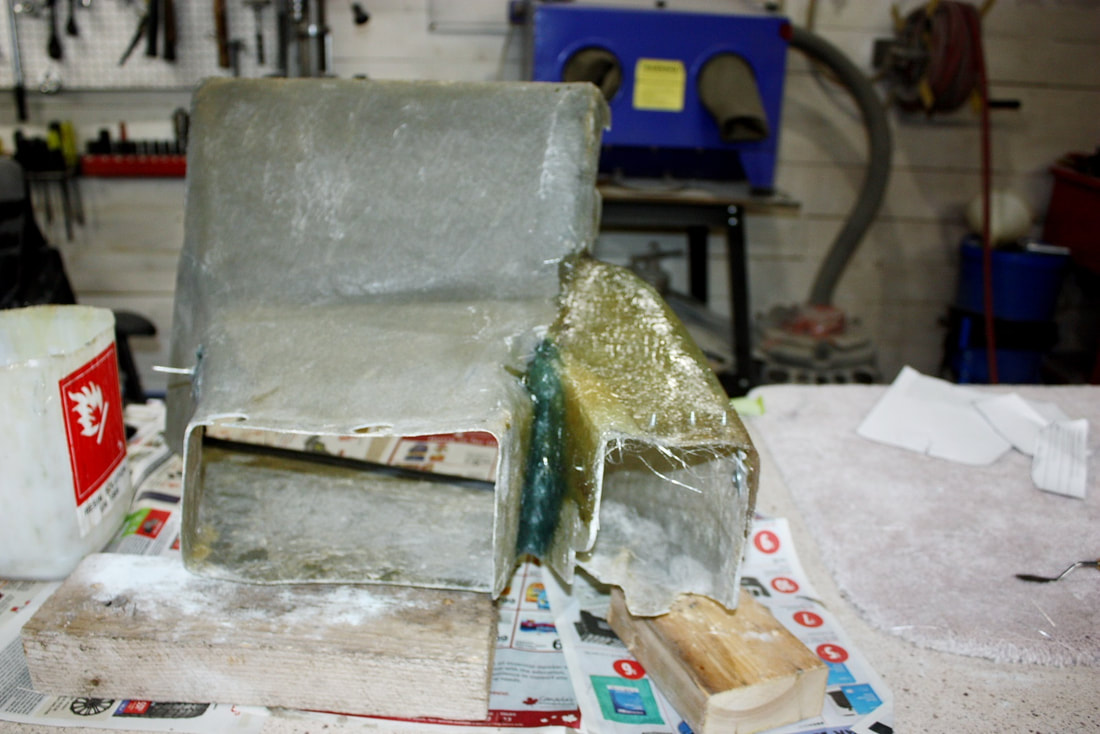
Then the insides had to be smoothed out for aesthetics and a little better flow:
Then the insides had to be smoothed out for aesthetics and a little better flow:
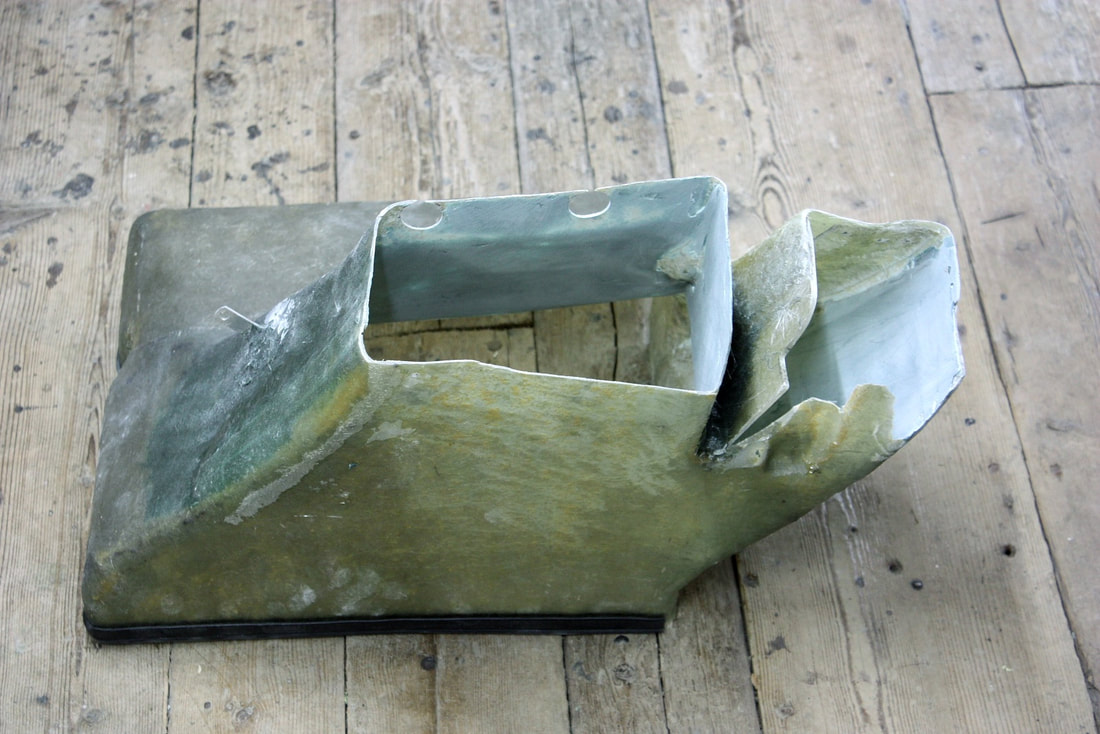
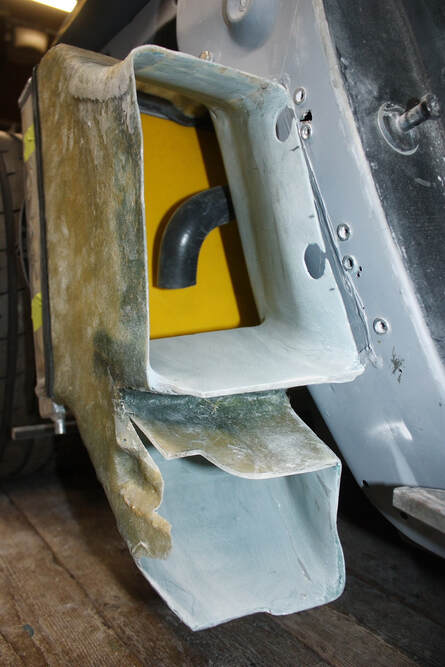
Next I fabricated and installed the airfoils inside the shrouds to redirect the air upwards into the radiator:
Next I fabricated and installed the airfoils inside the shrouds to redirect the air upwards into the radiator:
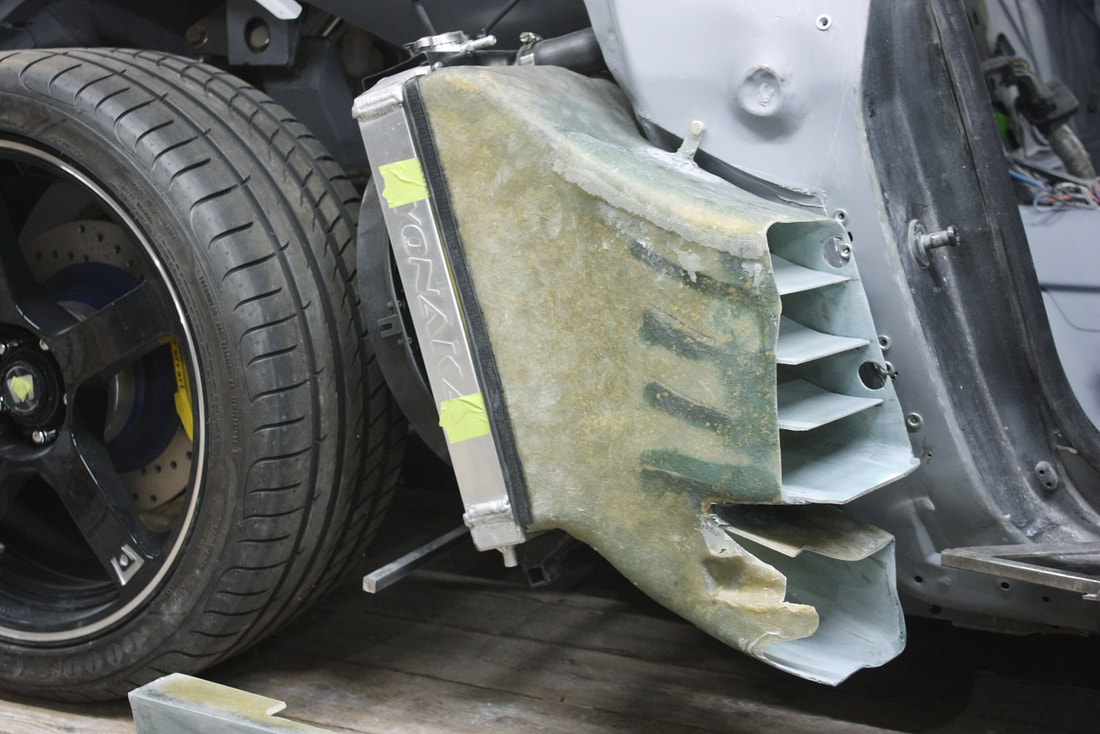
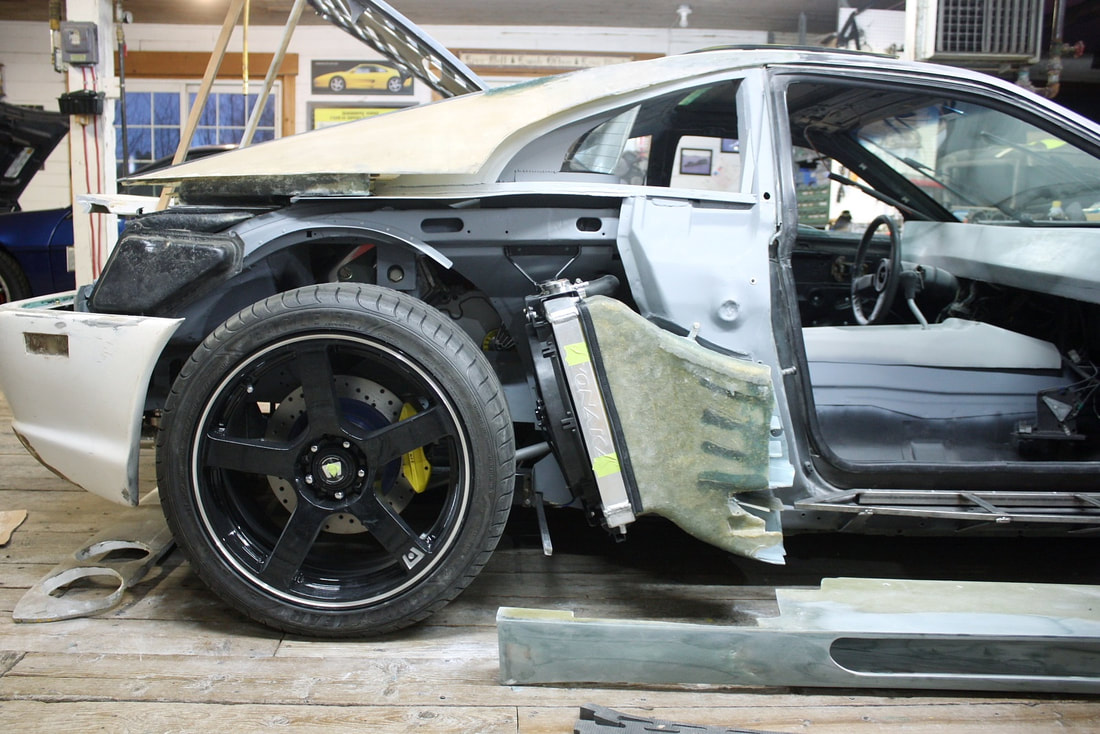
And reinstalled the rocker and quarter panel to check the fit (and for a photo op!):
And reinstalled the rocker and quarter panel to check the fit (and for a photo op!):
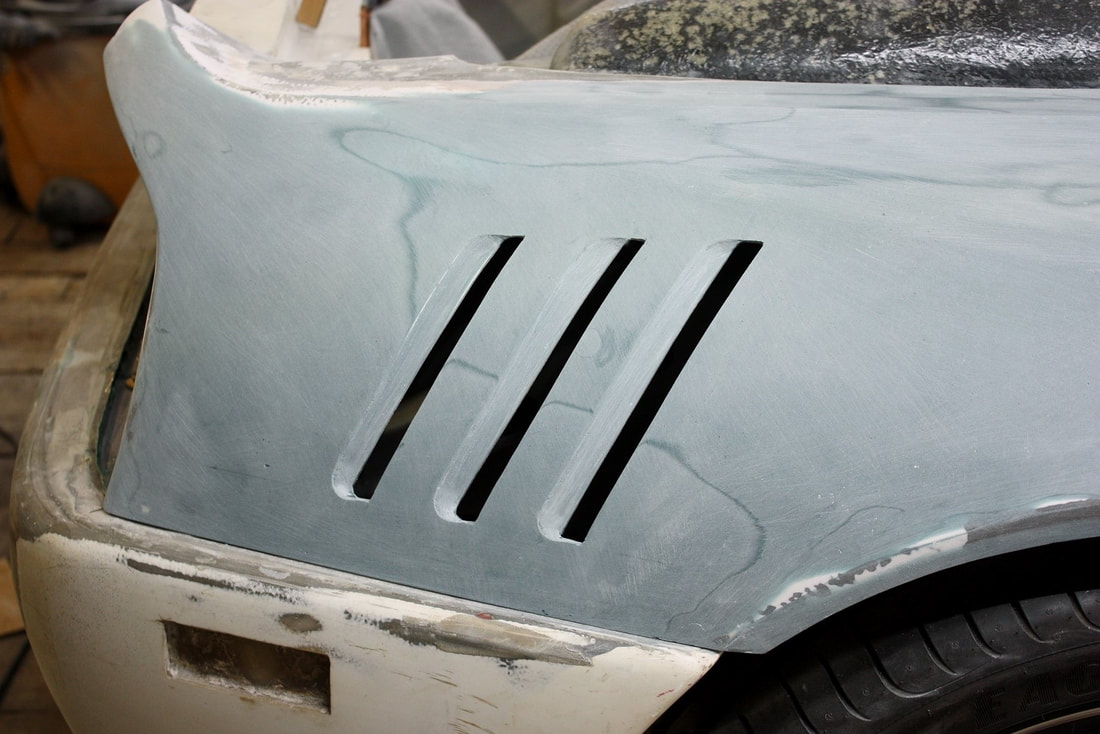
The last detail was to cut and shape the shark gills on the aft section, so off it came one more time. Here I’d already marked and sliced the holes in the quarter panel:
The last detail was to cut and shape the shark gills on the aft section, so off it came one more time. Here I’d already marked and sliced the holes in the quarter panel:
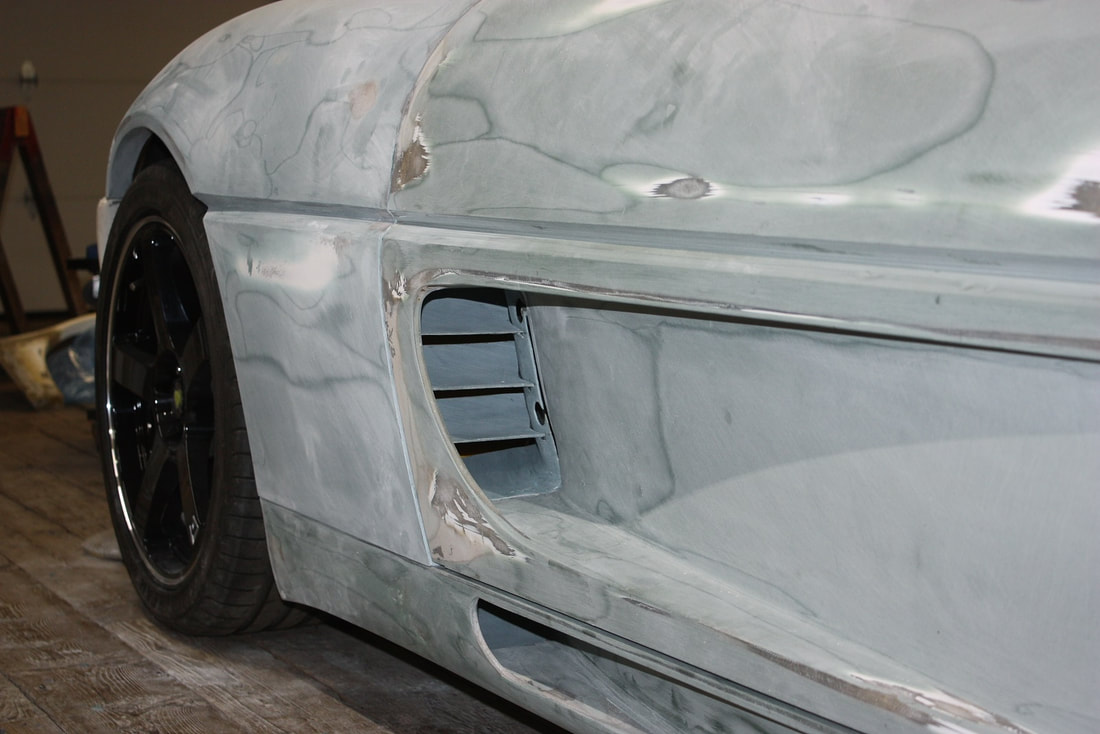
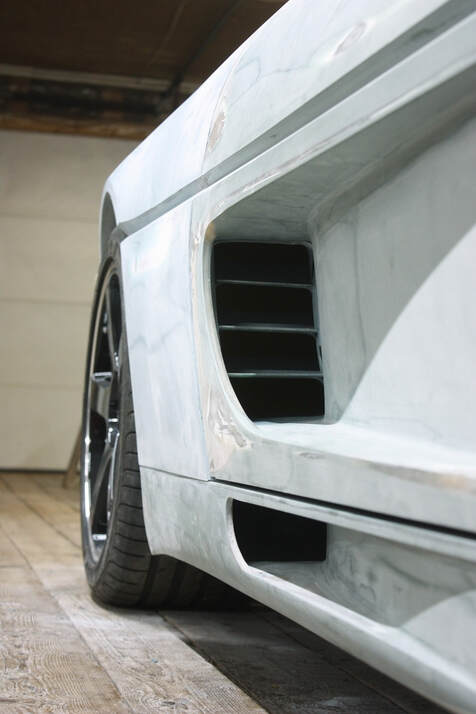
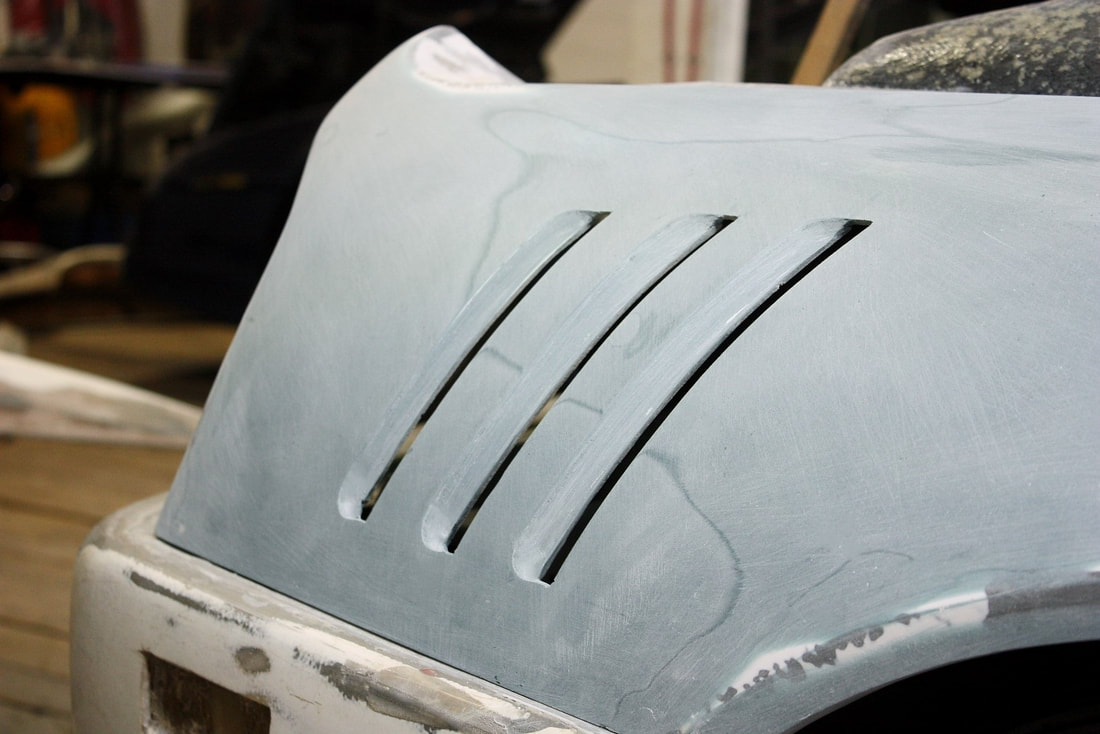
For more details about how I made the louvered gills, check out post #179 since I used the same process on the driver’s side. Here’s what the passenger side gills looked like once they’d been finessed enough for this stage of body shaping:
For more details about how I made the louvered gills, check out post #179 since I used the same process on the driver’s side. Here’s what the passenger side gills looked like once they’d been finessed enough for this stage of body shaping:
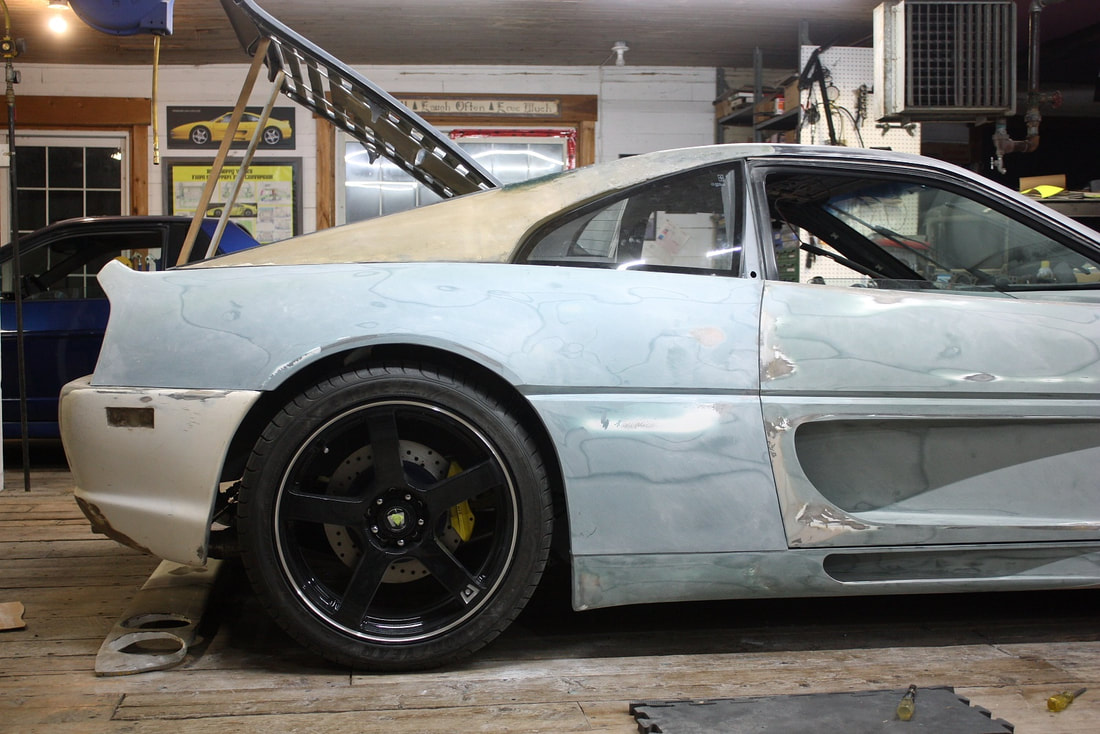
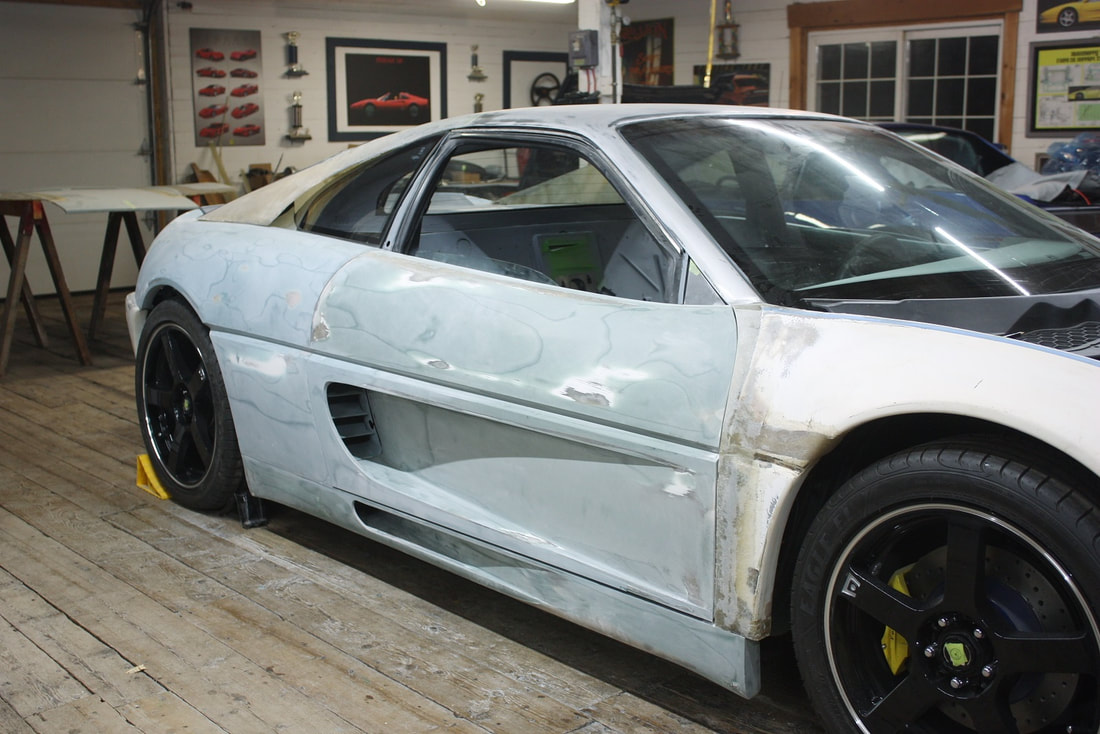
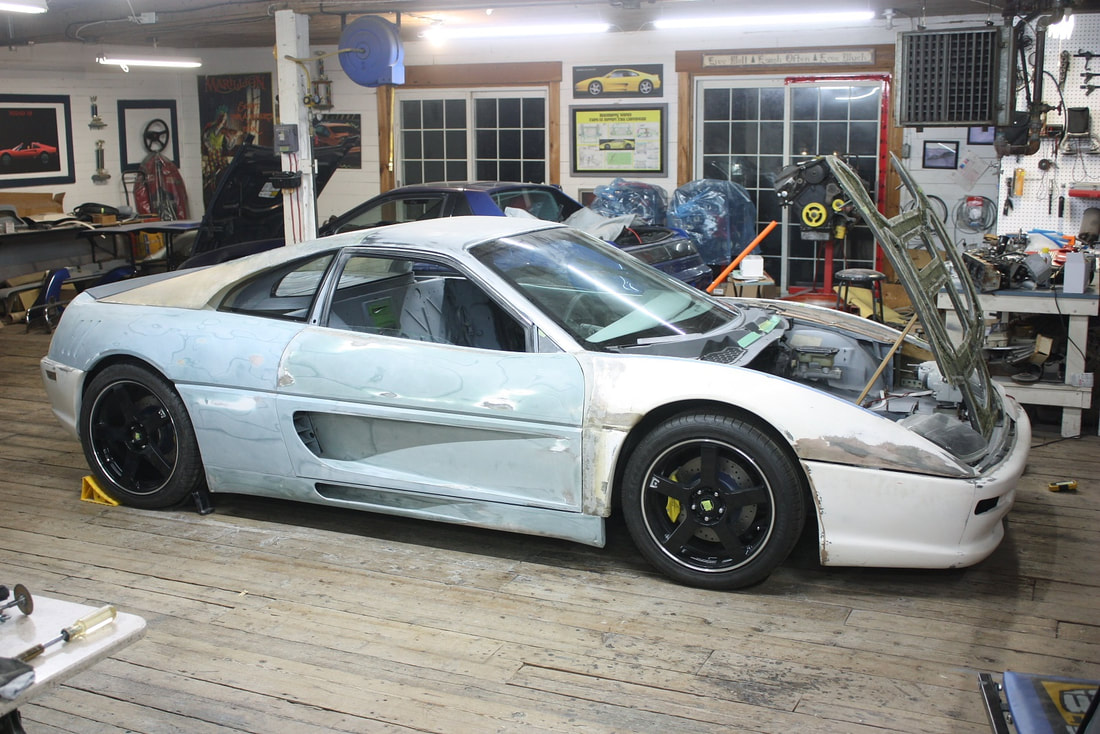
And with that, I was finally finished the rear quarters. It was a tough slog with many modifications to make, and lots of mating surfaces at, and below, the skin level. But the work is slowly paying off considering what I started with:
And with that, I was finally finished the rear quarters. It was a tough slog with many modifications to make, and lots of mating surfaces at, and below, the skin level. But the work is slowly paying off considering what I started with:
Next I tackle the front fenders… unfortunately there’s lots to keep me busy there too.
Next I tackle the front fenders… unfortunately there’s lots to keep me busy there too.

 RSS Feed
