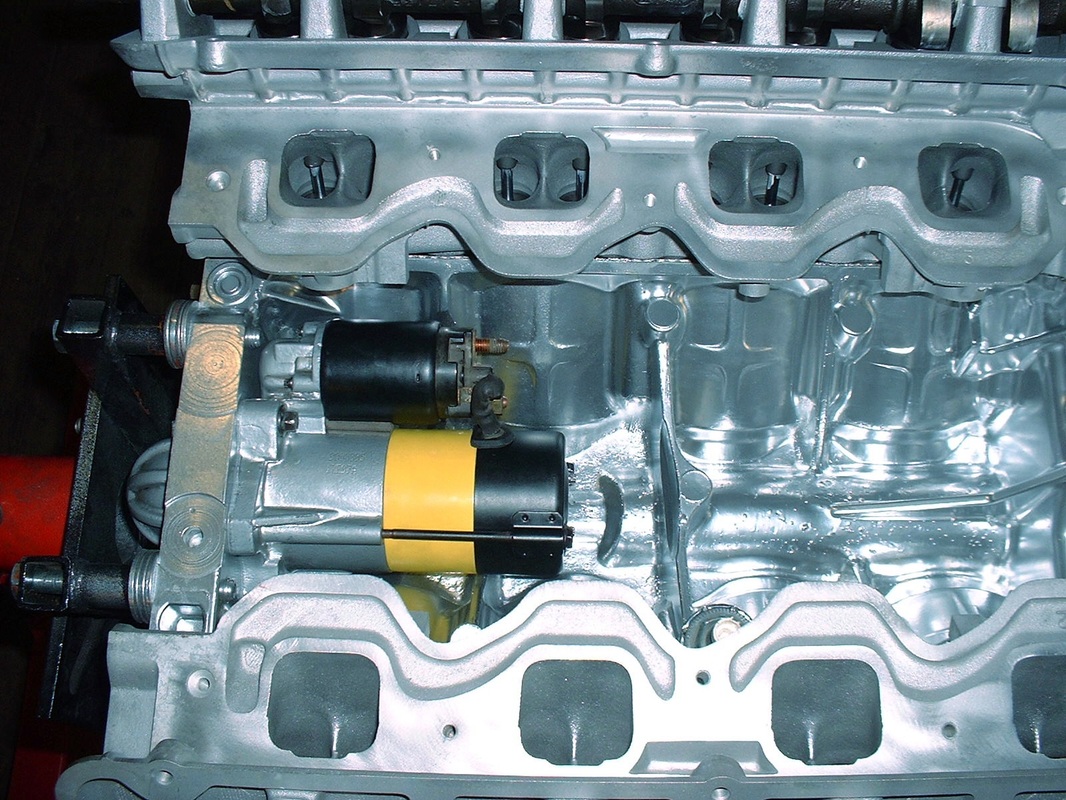
The next logical thing to build up is the intake manifold, except that on the Northstar engines the starter sits under it, nestled in the Vee of the block. It’s a crazy location at first glance, but on the other hand it leaves more room on the exterior of the engine to route things like the exhaust system, axles, and mounts. I kind of like the ingenuity behind the decision to stick it in an otherwise empty space.
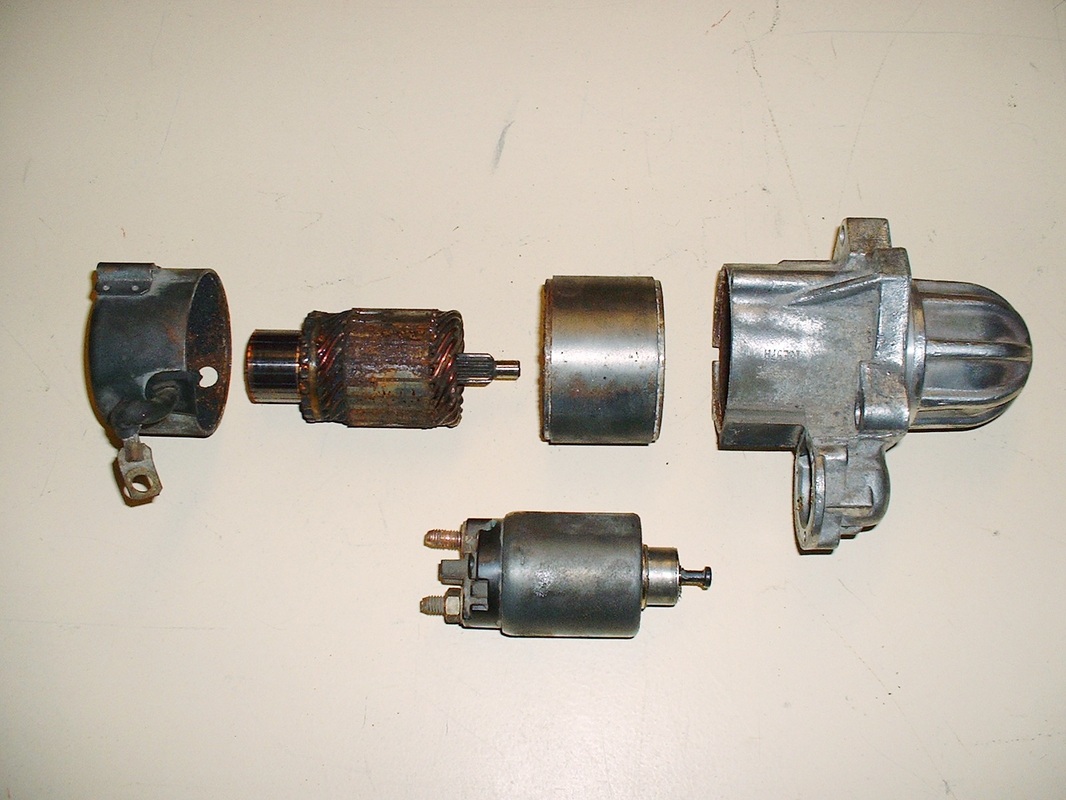
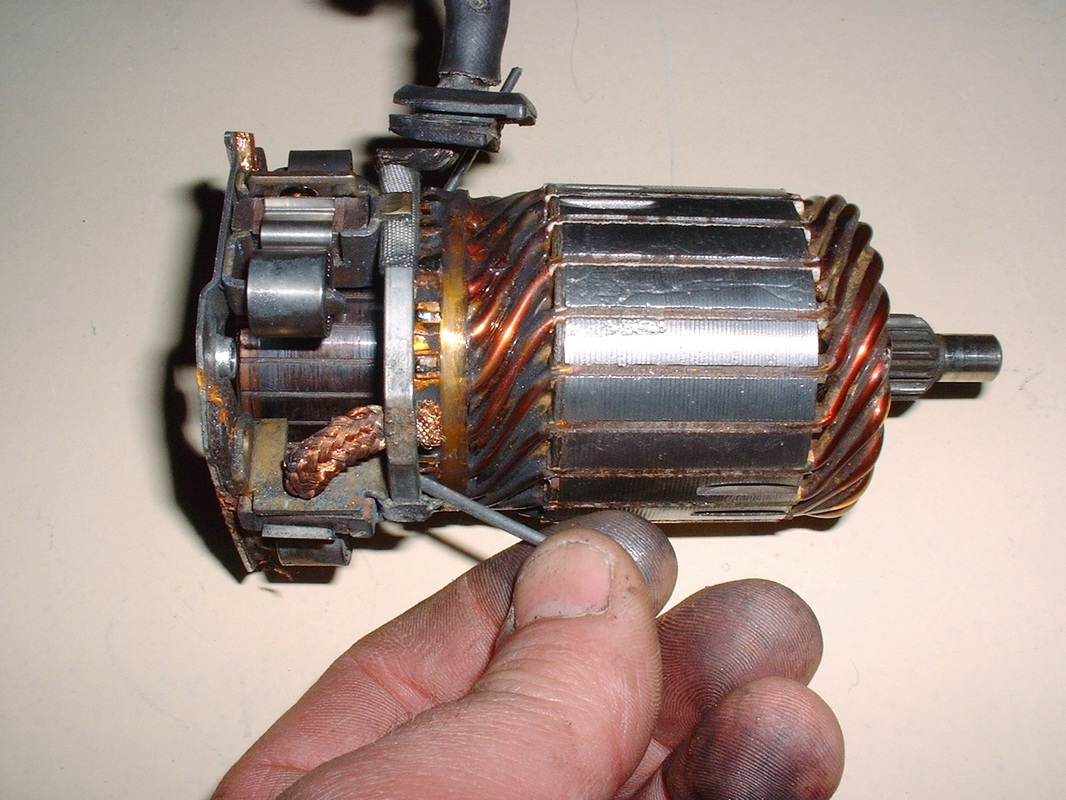
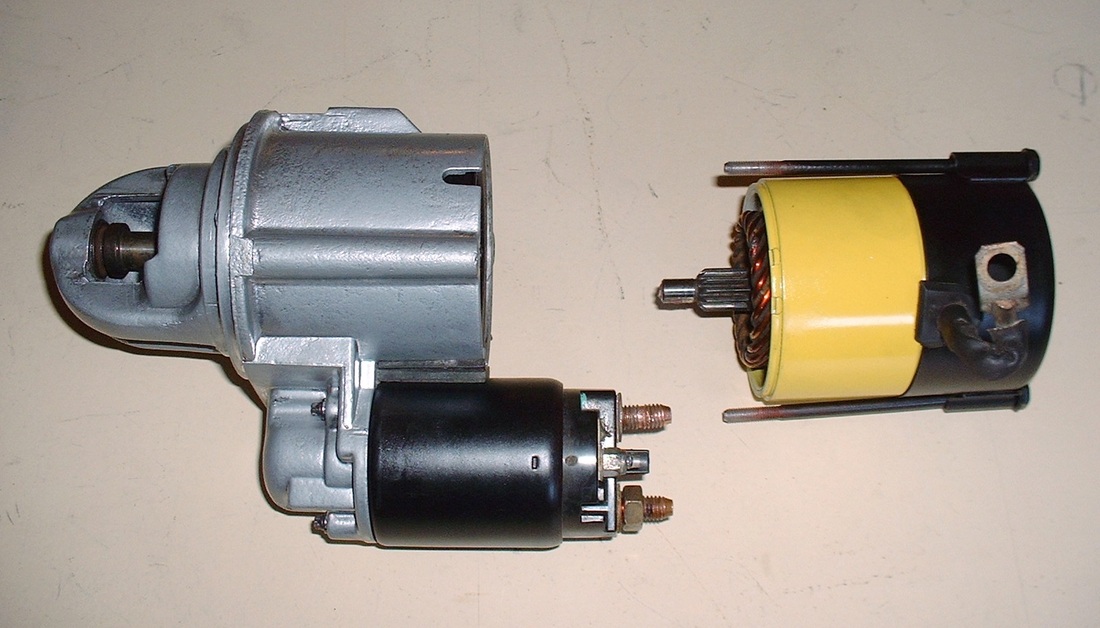
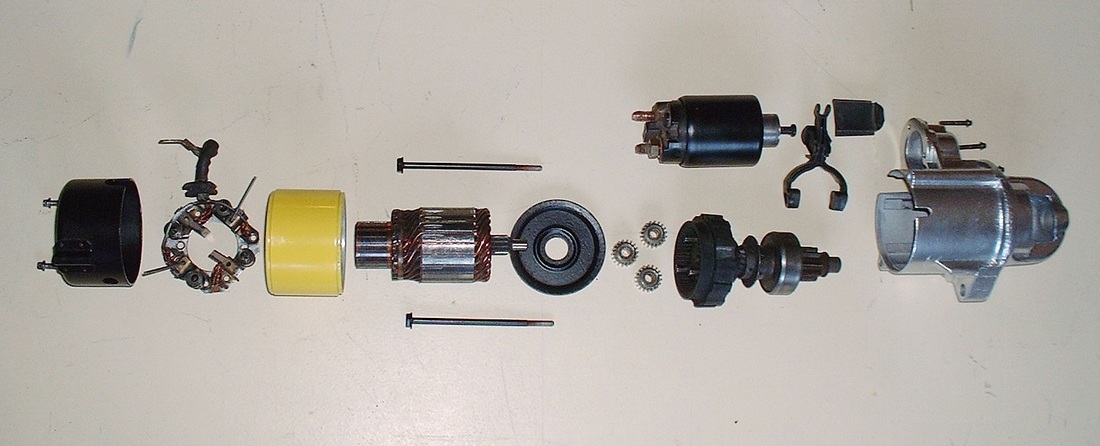
Given it's hiding place, it would be silly to stick the old one back in without rebuilding it. Mine looked OK from the outside, but it was a different story once I opened it up. Here’s a breakdown of the major parts from top left: brush carrier, armature, magnet housing, gearbox, and at the bottom of the image is the solenoid.
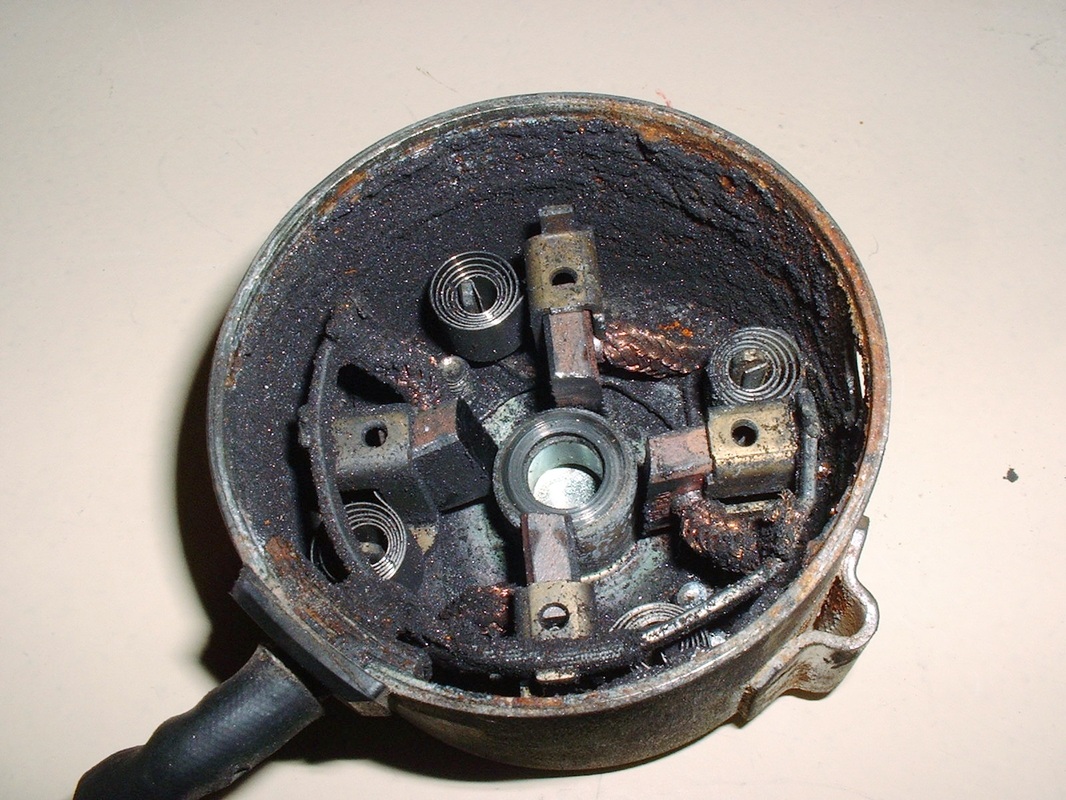
Here’s a close up of the housing for the starter brushes. Note how much dust there is from the wear of the four brushes. I would imagine that at some point in time, all that electrically conductive dust would cause problems:
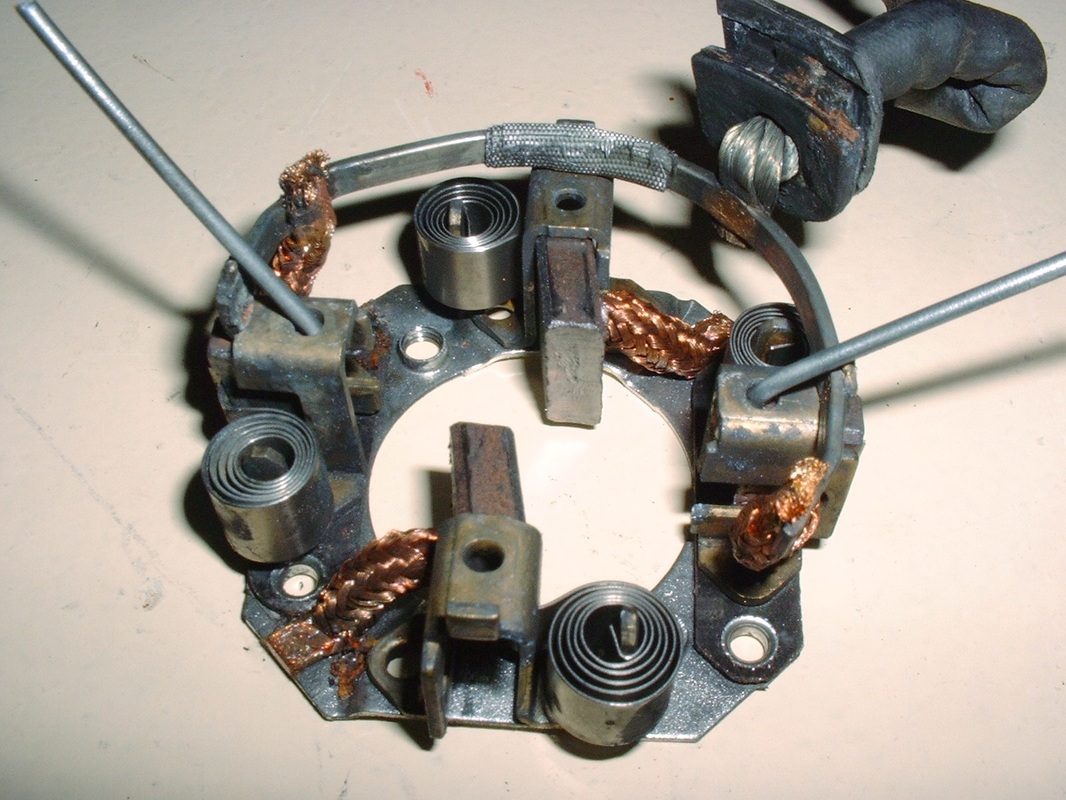
The entire four-brush assembly is held in the housing with only two screws making it easy to take out and clean. Once removed, all I did was spray some electrical component cleaner on the brush assembly and in the housing to rinse it all out. The brushes were nowhere near worn out, so there was no need to replace them:
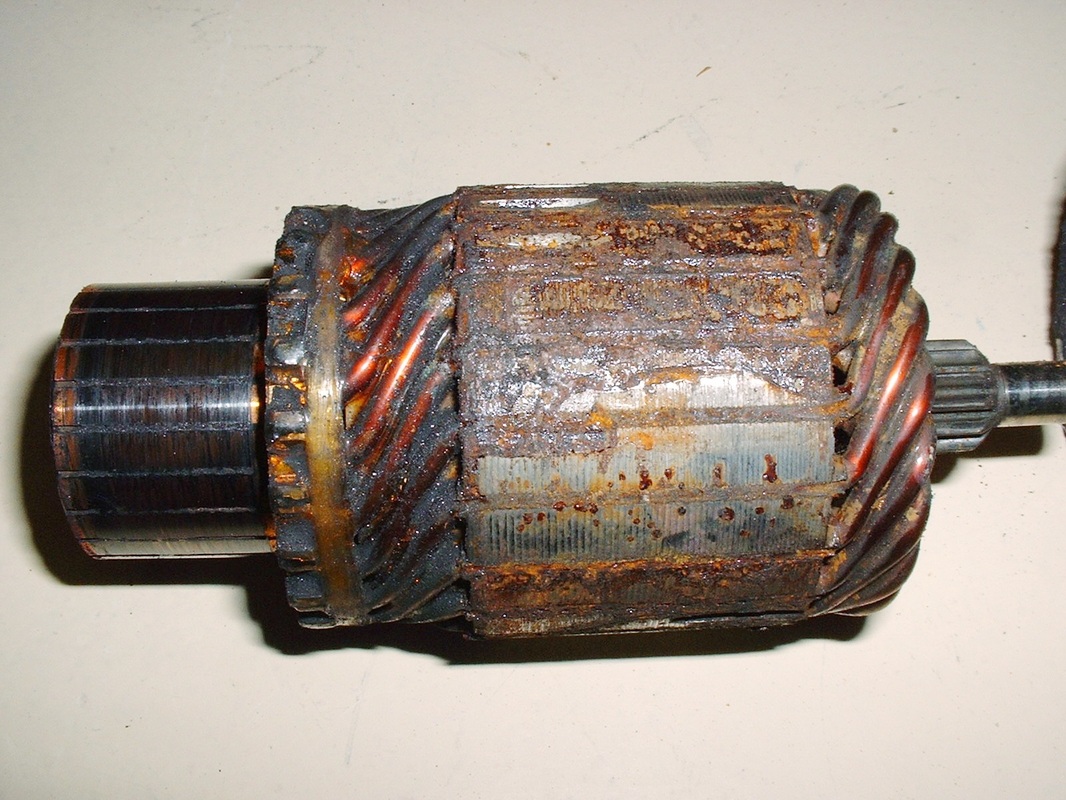
Here’s the commutator/armature assembly before I attacked it with the wire wheel on the bench grinder. Mine had obviously been penetrated by moisture and sat in the same position for some time as the armature had a build-up of rust on one side:
Once it was spic and span, I mated the brush assembly to the commutator end of the armature and pulled out the little brush retaining pins I had made out of some piano wire:
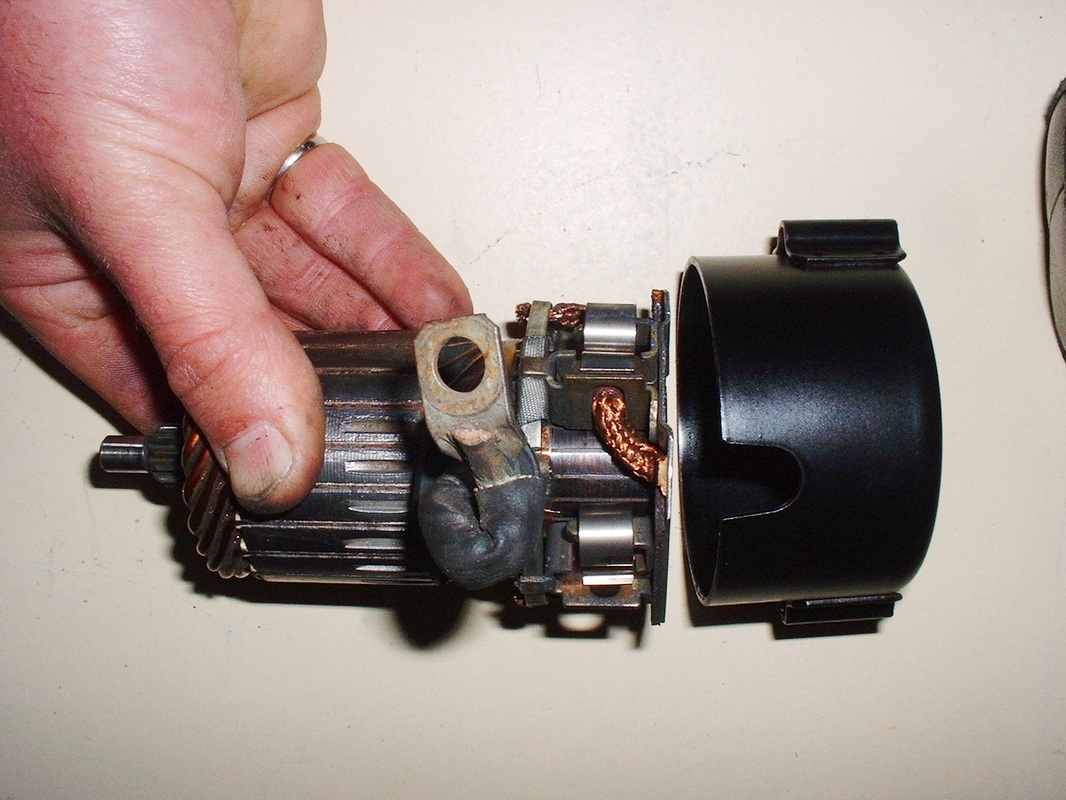
With that bit of business taken care of, I could reinstall the guts of the motor assembly back into the freshly refinished brush housing:
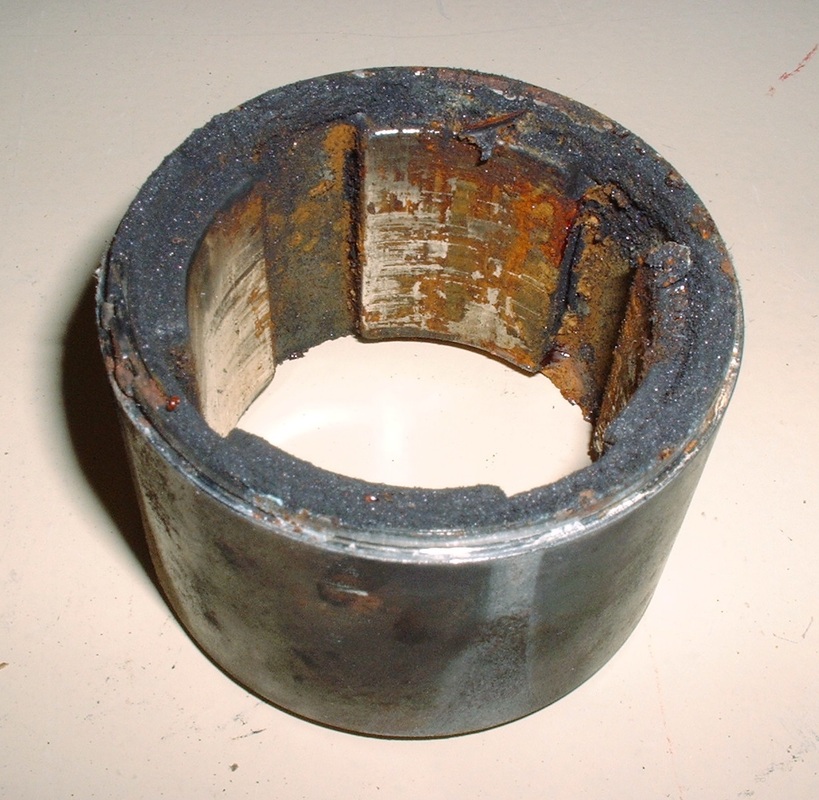
The next step was to clean up the magnet housing… here’s what it looked like before. It’s interesting to note that the magnets are fully sealed in a metal casing. Not sure why, but it’s a notch above the rest, as far as field magnets go. I wire wheeled the outside on my bench grinder and used steel wool on the inside to clean up the rusty stains. Then I spent ten minutes getting the wire wheel bristles that broke off and the steel wool lint off the magnets! With the power of these magnets, I could probably have used the wire wheel without wearing goggles!
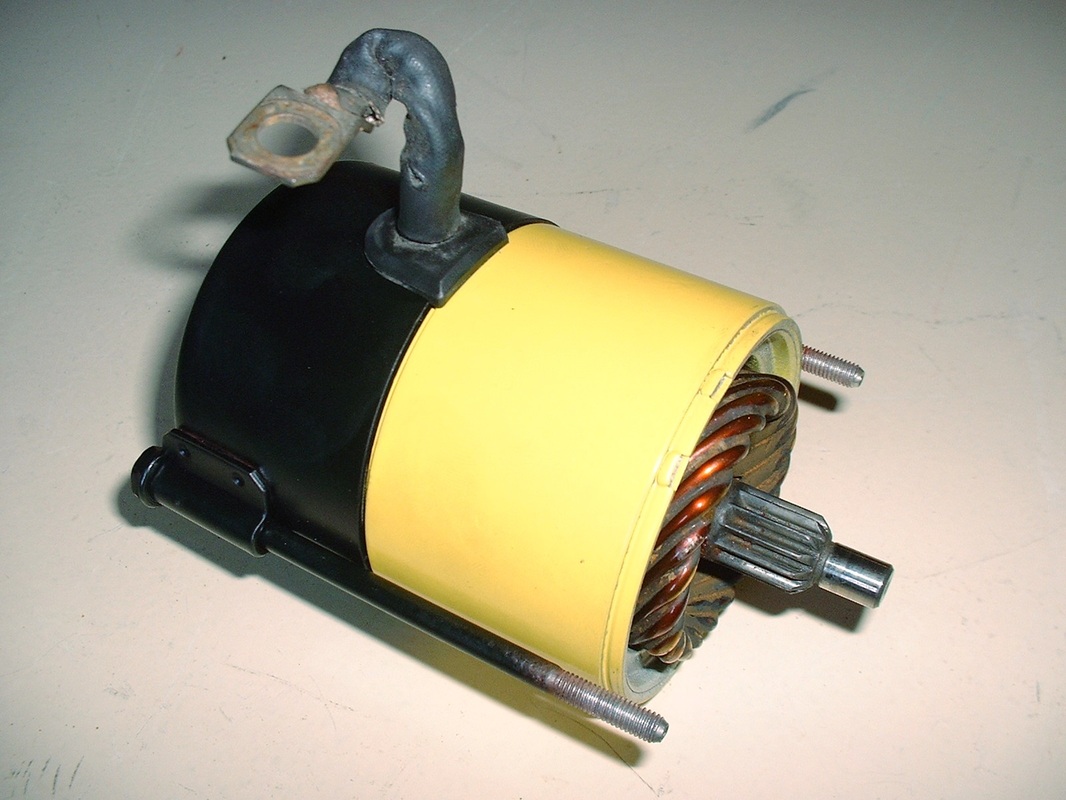
Once it was cleaned up and painted to match what I expect to be the body colour of the car, I installed it on the armature assembly:

I learned the hard way that you simply can’t slide the magnet housing towards the armature and expect the armature to stay put. About two seconds after the above photo was taken, the armature whipped out of the brushes and stuck itself to the magnet housing. Of course that meant starting all over again removing the brush assembly and retracting them to be able to slip in the commutator again. But I’m a quick learner so the next time I went to install the magnet housing, I held the armature firmly in place so it wouldn’t get sucked out of the brushes housing.
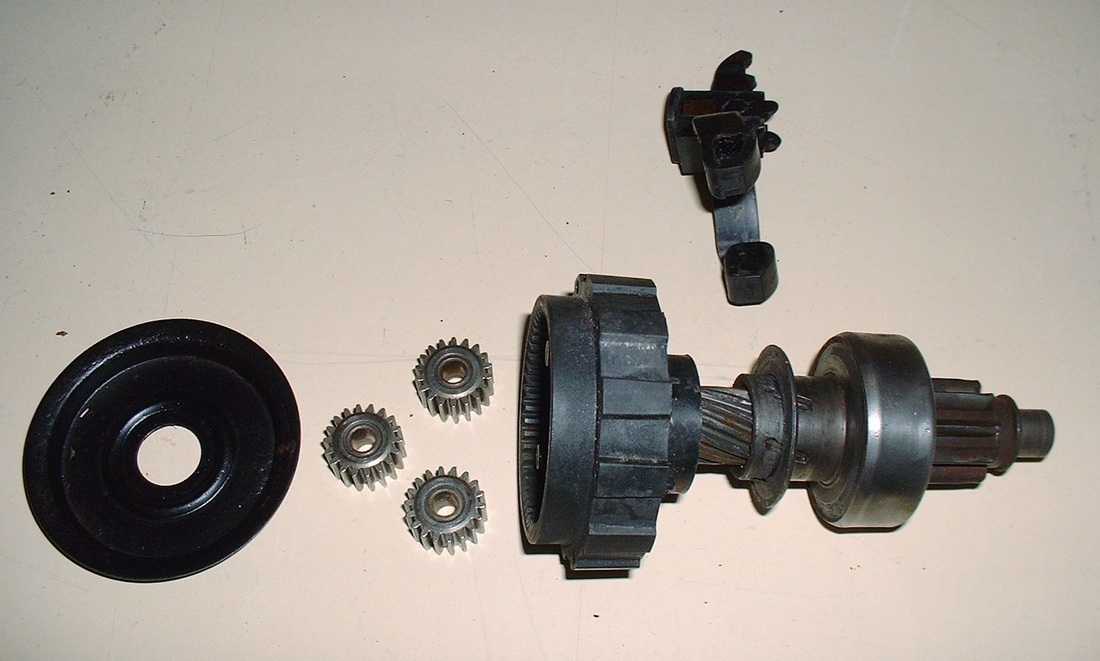
On to the gearbox half of the starter: The gearbox is separated from the motor with a plate that’s supposed to keep the grease off the motor. Mine was rusty so I took it off, sandblasted and refinished it. Then I removed the three planetary gears, and cleaned them as well as the starter pinion mechanism:
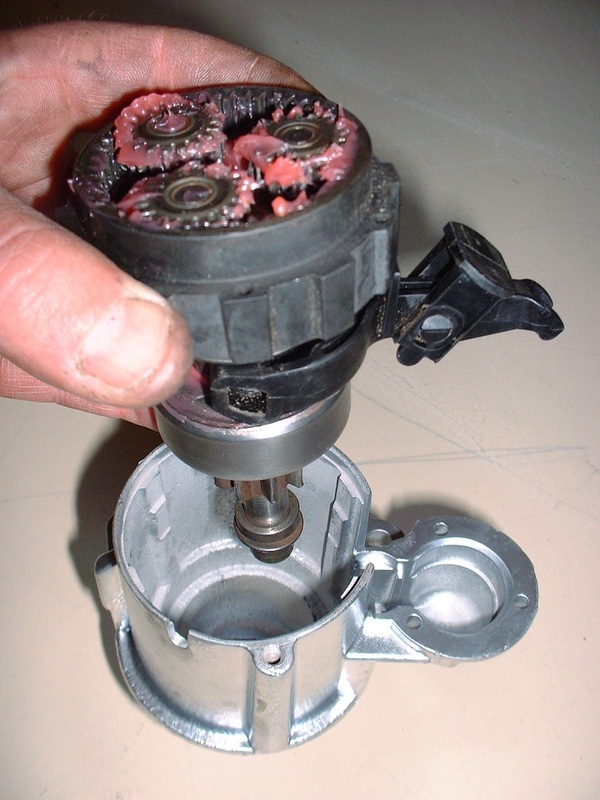
After re-greasing, the pinion assembly was ready to be installed back into the gearbox housing.
Then came the solenoid…
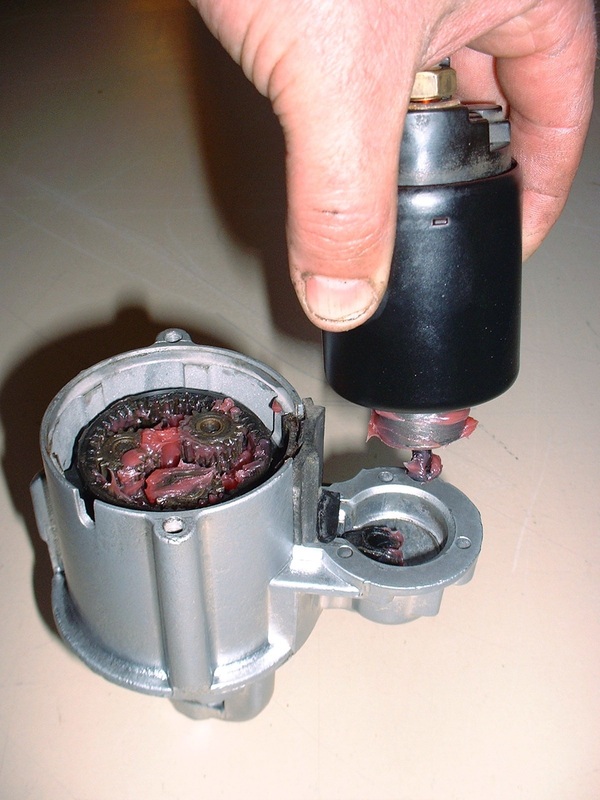
Then once the gearbox grease shield was refitted, it was time to mate the gearbox to the motor assembly:
I hooked it up to a spare shop battery and made sure it worked by cycling it about twenty times… I don’t want to have to deal with it again for a very long time.

For fun, I took a photo of all the reconditioned parts laid out on my work bench:
Finally, here it is mounted in place in the cylinder valley. The cables for it and the knock sensor run under the intake manifold and emerge up near the pulley end of the engine.

 RSS Feed
