Back in Post #119 I finished describing most of the work Don Ostergard had done to the body panels before he ran out of steam and sold them to me. I didn’t cover the work he did to the IFG hood because he wasn’t satisfied with it despite many hours of tweaking it. Here’s a photo showing an unmodified IFG hood alongside an authentic F355 hood to illustrate how much he had to change it to look right:
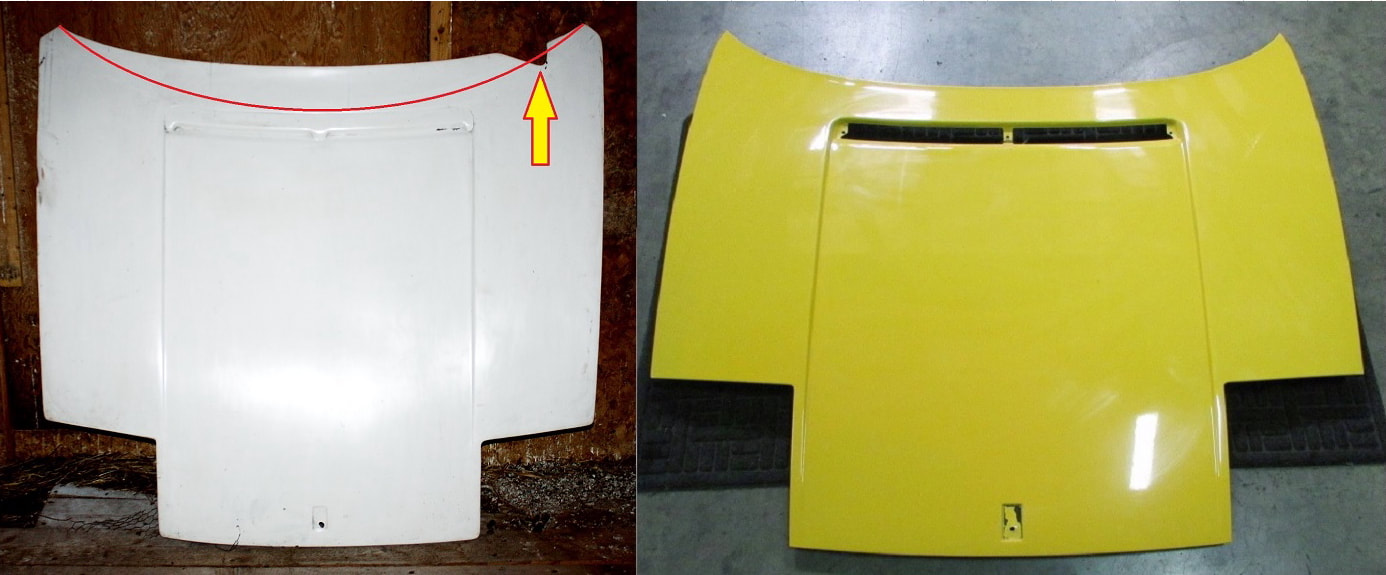
It had to be modified for the extended windshield, the wiper notch had to be eliminated, the HVAC inlet had to be moved further forward, and of course it had to be arched properly and it needed an inner liner to give it strength. Here's a photo of it after he’d accomplished all of that:
It had to be modified for the extended windshield, the wiper notch had to be eliminated, the HVAC inlet had to be moved further forward, and of course it had to be arched properly and it needed an inner liner to give it strength. Here's a photo of it after he’d accomplished all of that:
After all that work, it still didn’t fit well or look right: it ramped up too much at the base of the windshield, and the center section had a strange bow in it.
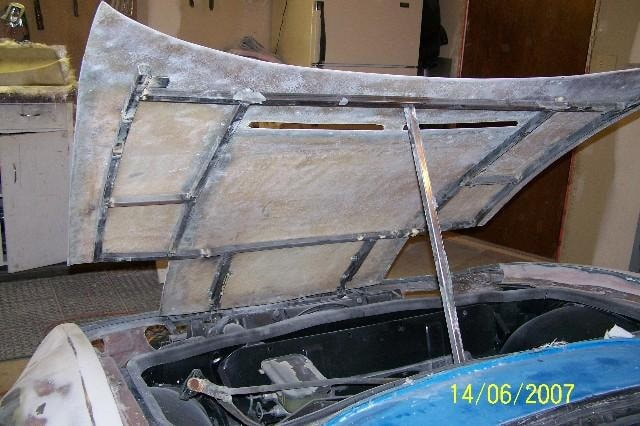
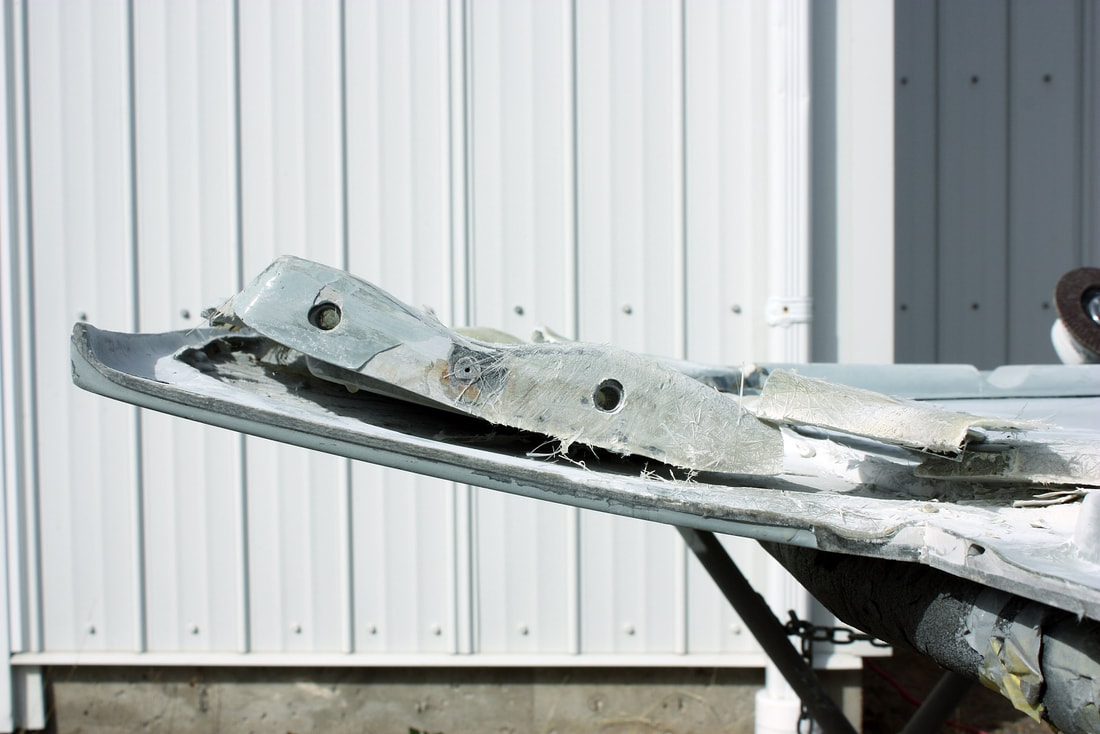
Whether Don had the IFG-supplied inner hood skin or not, I’m not sure, but he chose to stiffen this hood with steel tubing bonded to the underside of the fibreglass. The steel provided the desired curvature, but in hindsight is wasn’t a particularly safe way to do it. Modern hoods are made to fold during front end collisions so they don’t become guillotines. The metal framework probably wouldn't buckle, and the longitudinal tubing could potentially make human shish-kabobs in a serious crash:
After all that work, it still didn’t fit well or look right: it ramped up too much at the base of the windshield, and the center section had a strange bow in it.
Whether Don had the IFG-supplied inner hood skin or not, I’m not sure, but he chose to stiffen this hood with steel tubing bonded to the underside of the fibreglass. The steel provided the desired curvature, but in hindsight is wasn’t a particularly safe way to do it. Modern hoods are made to fold during front end collisions so they don’t become guillotines. The metal framework probably wouldn't buckle, and the longitudinal tubing could potentially make human shish-kabobs in a serious crash:
I’m not showing these photos to criticize Don’s work, far from it. Rather, most of us are amateur car builders, and it would be a sin not to post critical findings, good or bad, so we can all learn from each other.
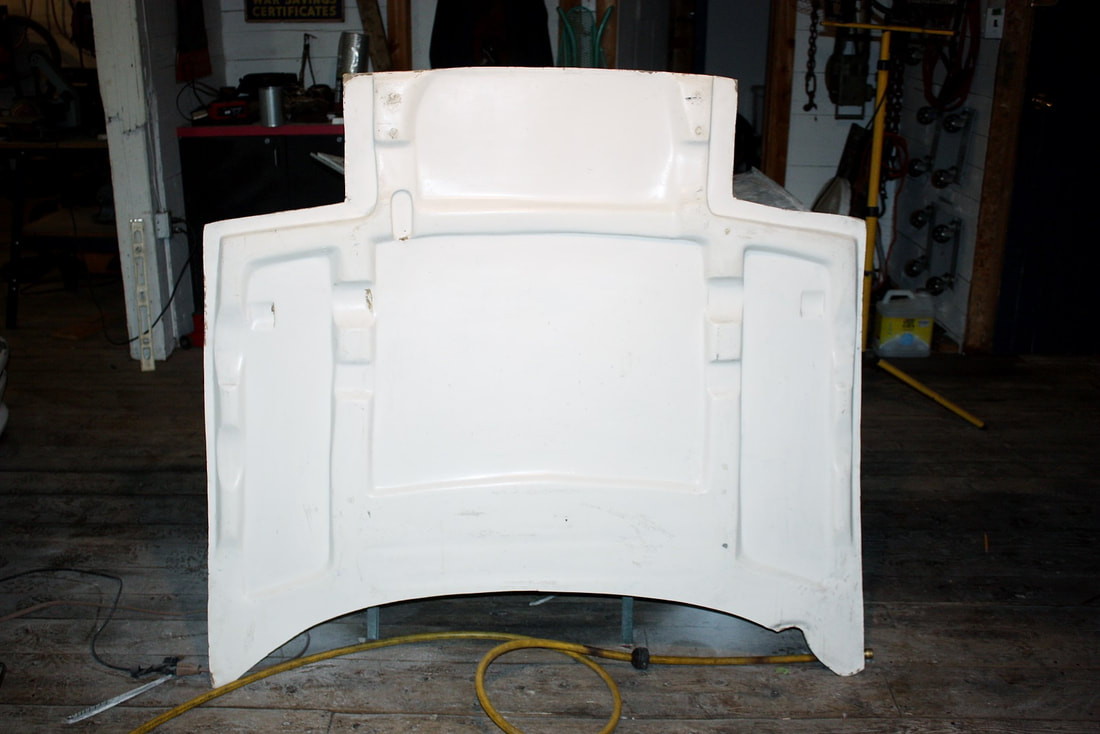
Luckily for me, Don realized these issues and bought a new hood before selling the body to me. He bought the new hood from the now defunct company CK3, which was a far cry better right out of the shipping crate. Here's the CK3 hood (grey) along side my own original, unmodified IFG hood (white):
I’m not showing these photos to criticize Don’s work, far from it. Rather, most of us are amateur car builders, and it would be a sin not to post critical findings, good or bad, so we can all learn from each other.
Luckily for me, Don realized these issues and bought a new hood before selling the body to me. He bought the new hood from the now defunct company CK3, which was a far cry better right out of the shipping crate. Here's the CK3 hood (grey) along side my own original, unmodified IFG hood (white):
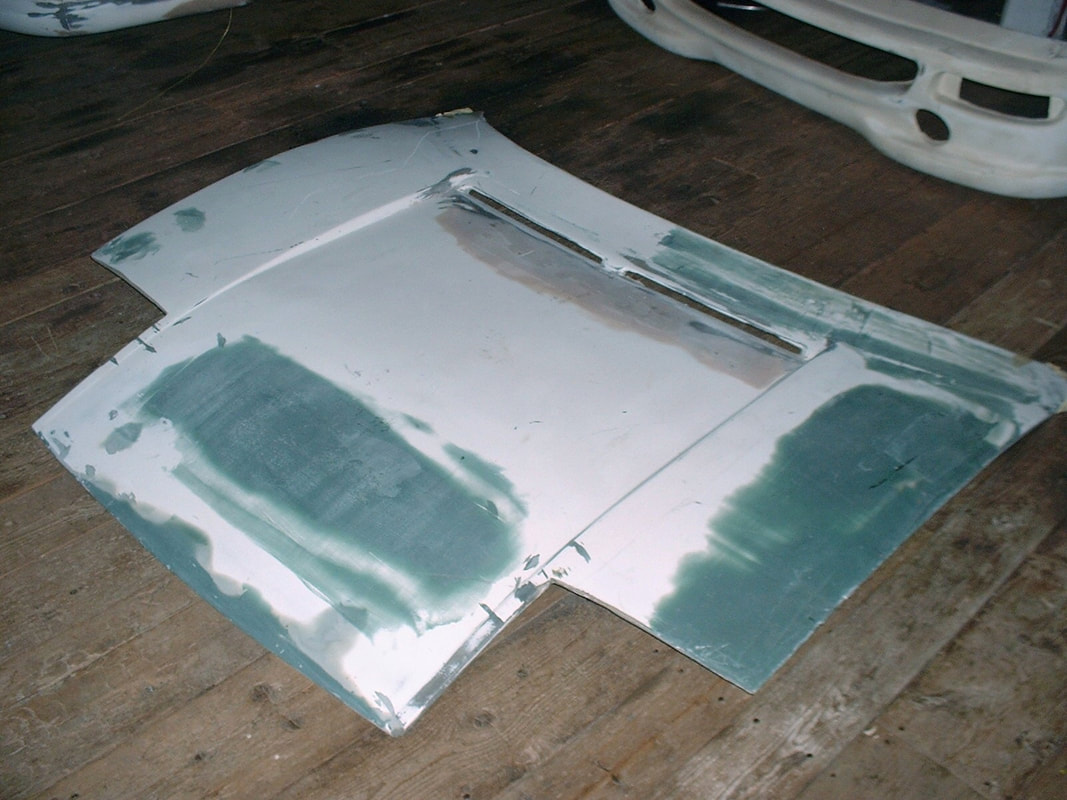
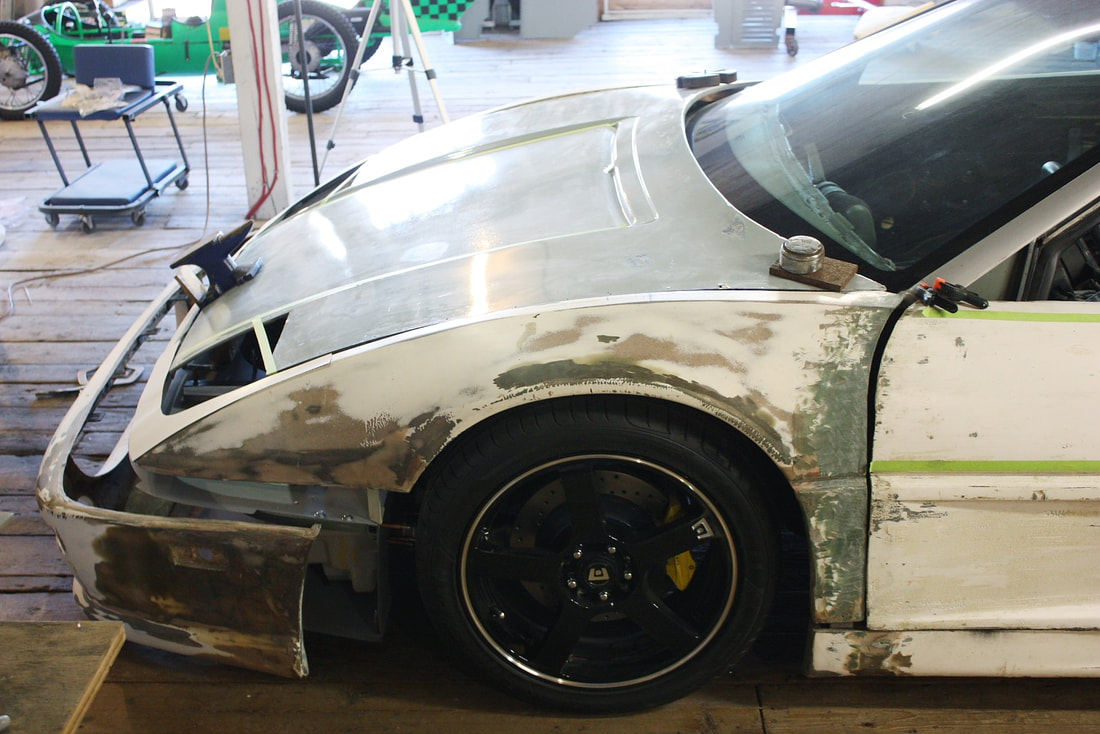
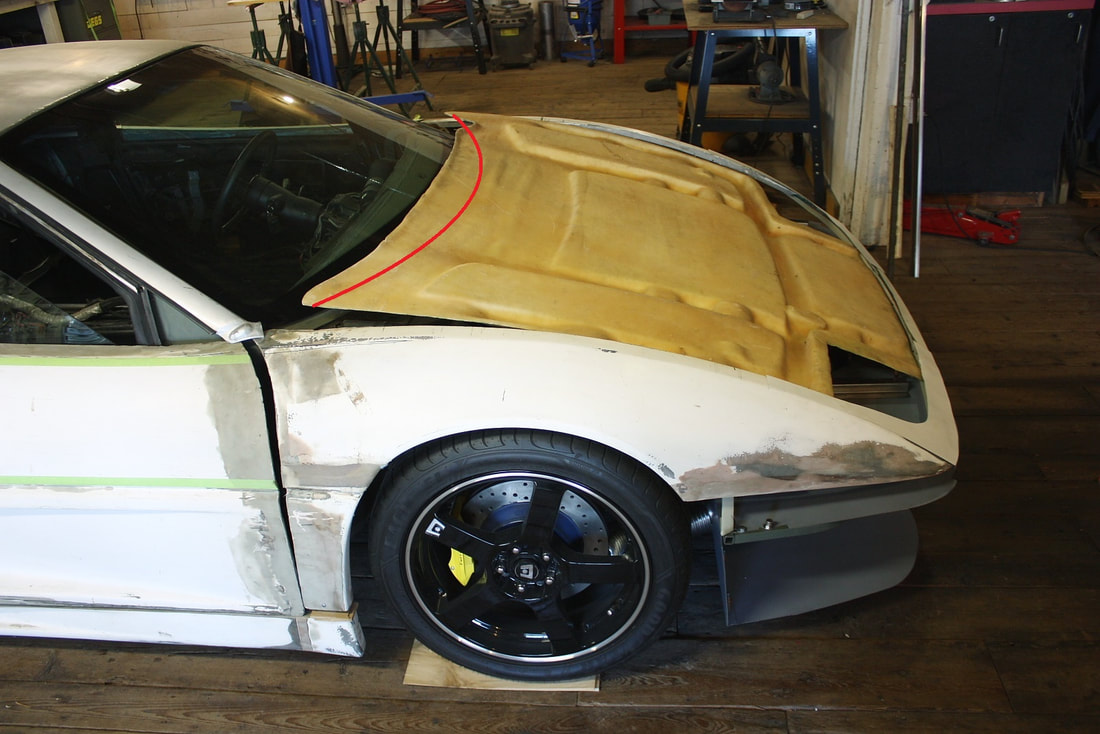
Problem solved… right? Nothing ever works out that easily in the kit car world! Unfortunately, CK3 bonded the inner liner to the outer hood skin at the factory, thinking they were doing him a favour. They weren't. The IFG fenders have a different curvature profile than the CK3 kit, so of course the hood fit rather poorly:
Problem solved… right? Nothing ever works out that easily in the kit car world! Unfortunately, CK3 bonded the inner liner to the outer hood skin at the factory, thinking they were doing him a favour. They weren't. The IFG fenders have a different curvature profile than the CK3 kit, so of course the hood fit rather poorly:
It doesn’t look that bad in the above photo, but that’s after I’d already separated the underlying ribs at the leading edge of the hood from the outer skin. The skin popped up about an inch once I’d done that:
It doesn’t look that bad in the above photo, but that’s after I’d already separated the underlying ribs at the leading edge of the hood from the outer skin. The skin popped up about an inch once I’d done that:
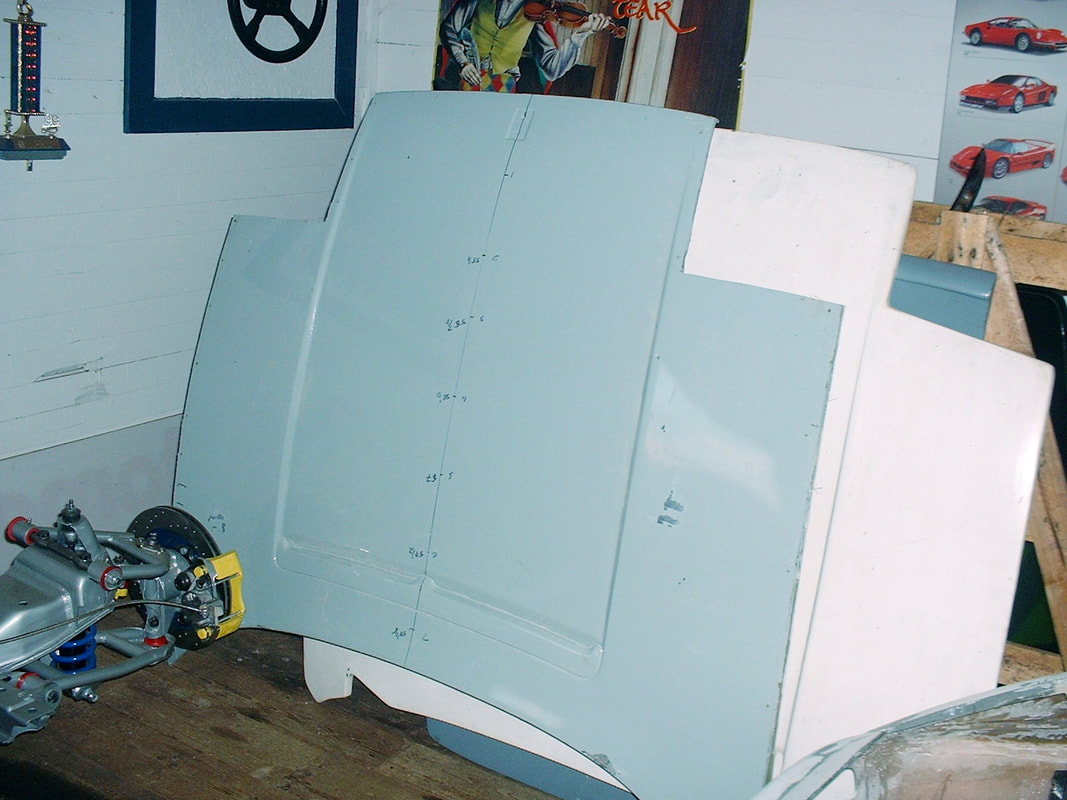
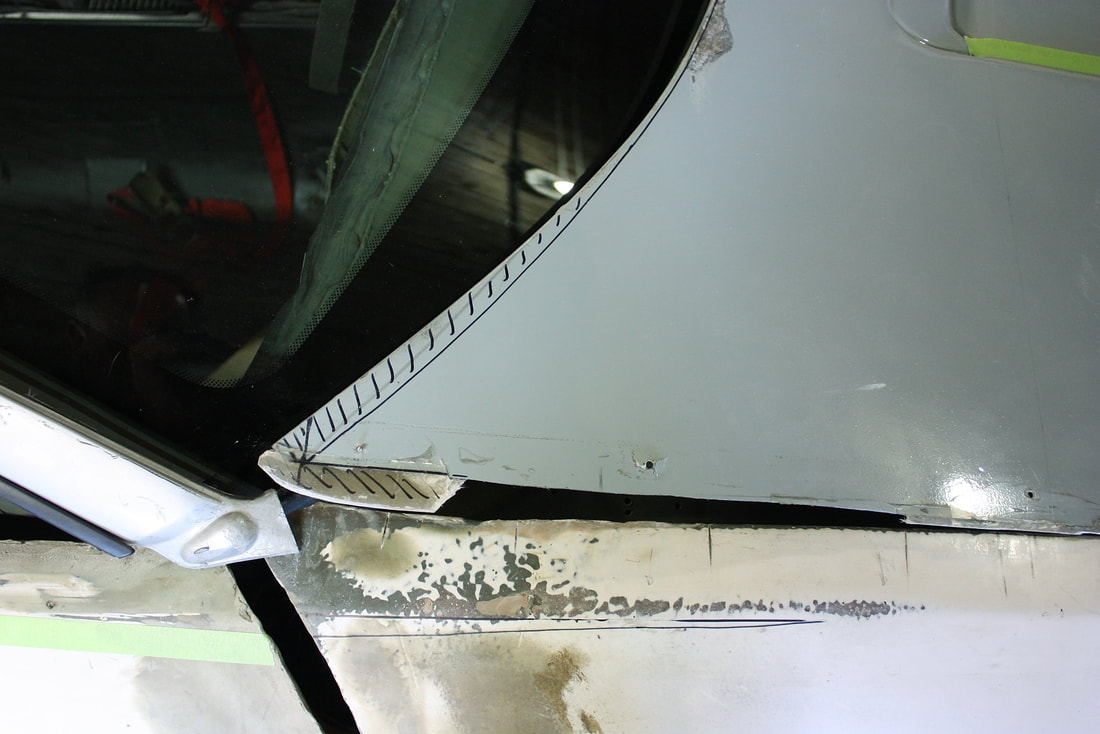
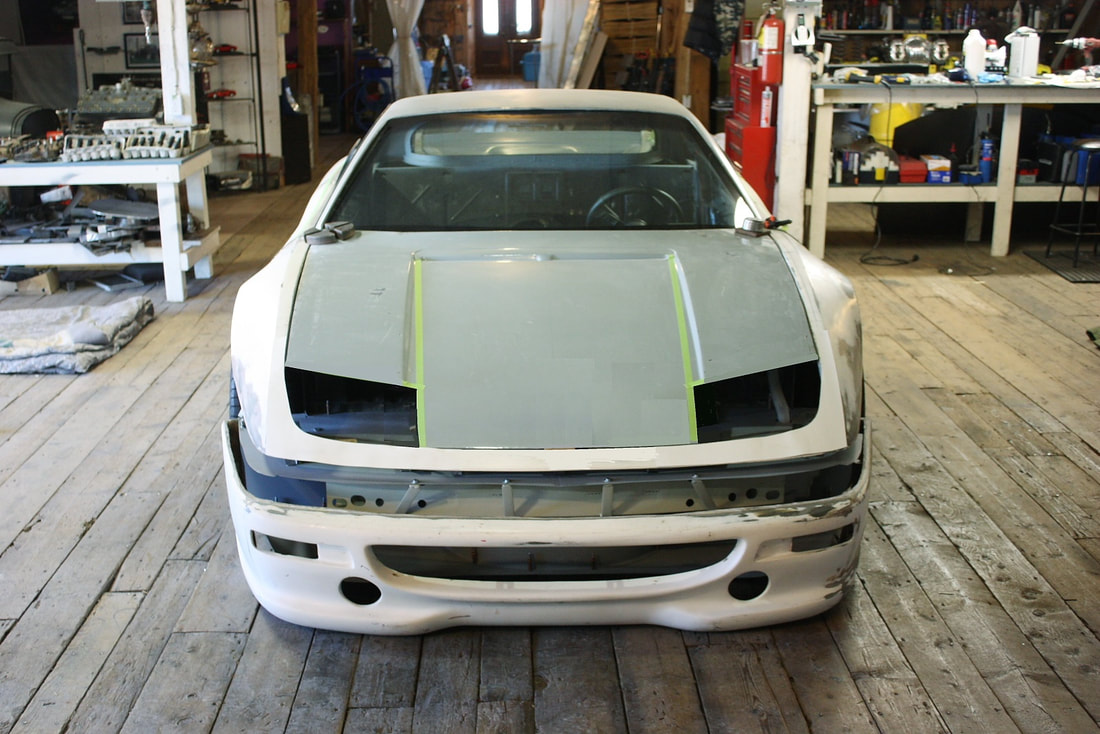
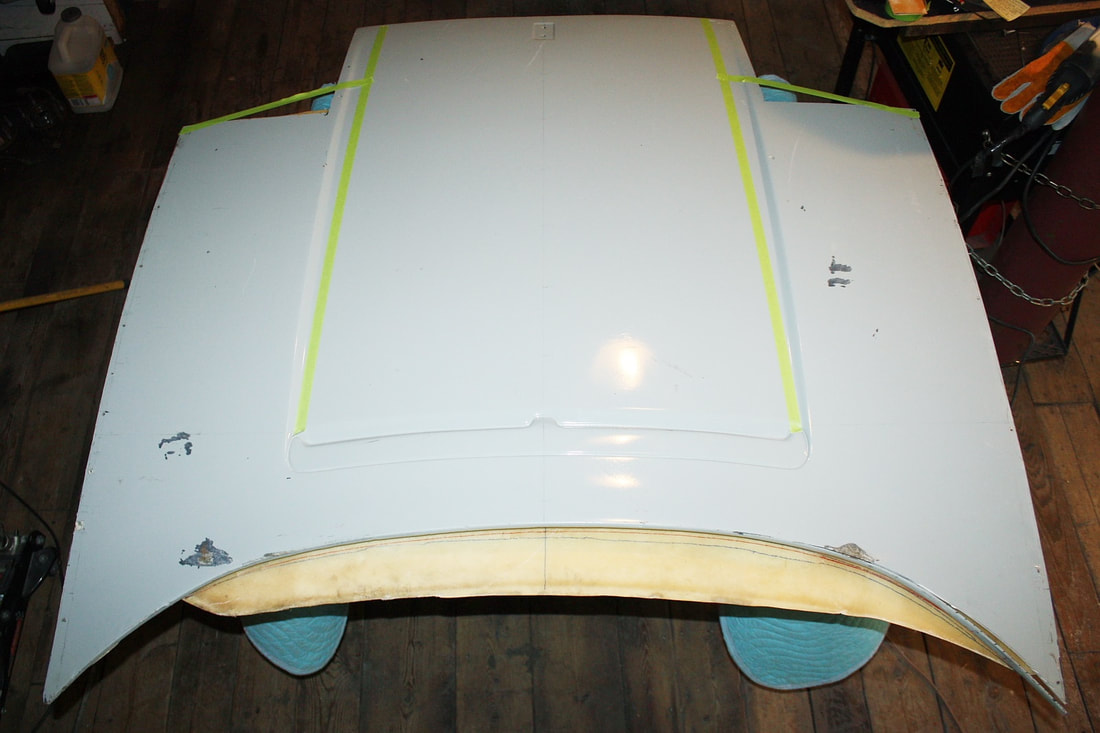
If that, and the minor recurving at the base of the windshield were all that had been required, then I would’ve broken out the resin and made it work. But among other things, the CK3 ribs interfered with my Solstice wiper motor, the ribs weren’t well done, and the hood wasn’t symmetrical. The hash marks show how different the hood was from side to side at the base of the windshield:
If that, and the minor recurving at the base of the windshield were all that had been required, then I would’ve broken out the resin and made it work. But among other things, the CK3 ribs interfered with my Solstice wiper motor, the ribs weren’t well done, and the hood wasn’t symmetrical. The hash marks show how different the hood was from side to side at the base of the windshield:
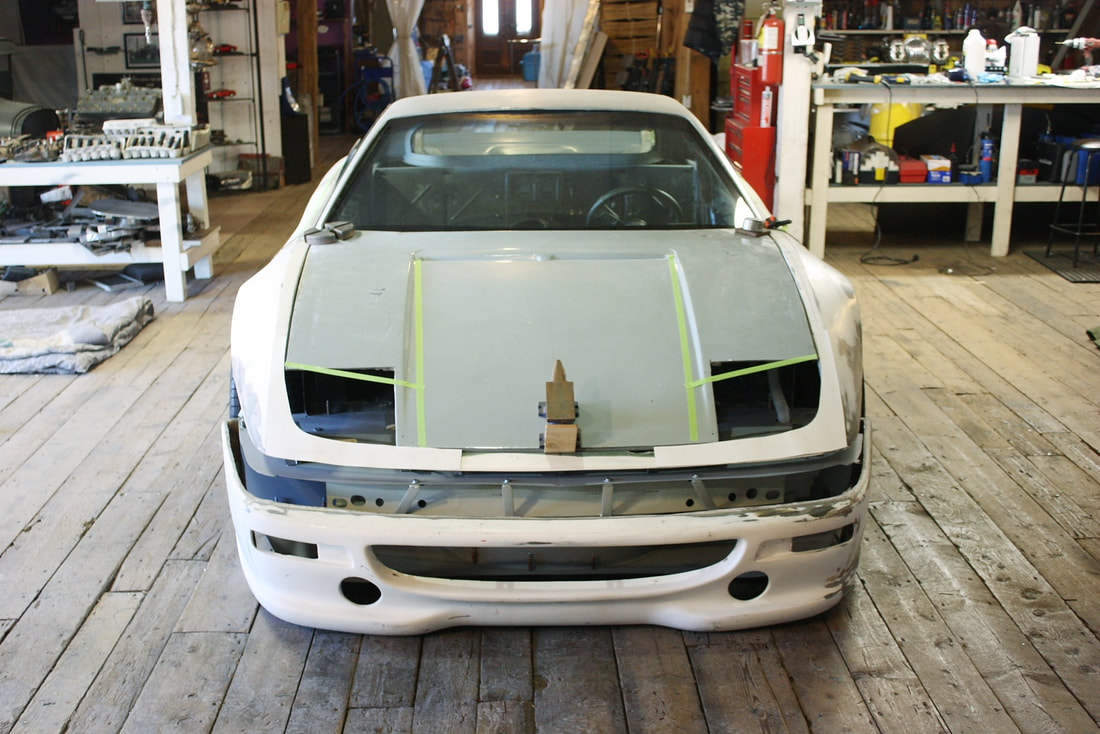
And because of my choice in headlights, the hood would need more than a little nip and tuck. The green masking tape around the headlight openings shows how much wider and angled the Nissan headlights are than the F355 light pods:
And because of my choice in headlights, the hood would need more than a little nip and tuck. The green masking tape around the headlight openings shows how much wider and angled the Nissan headlights are than the F355 light pods:
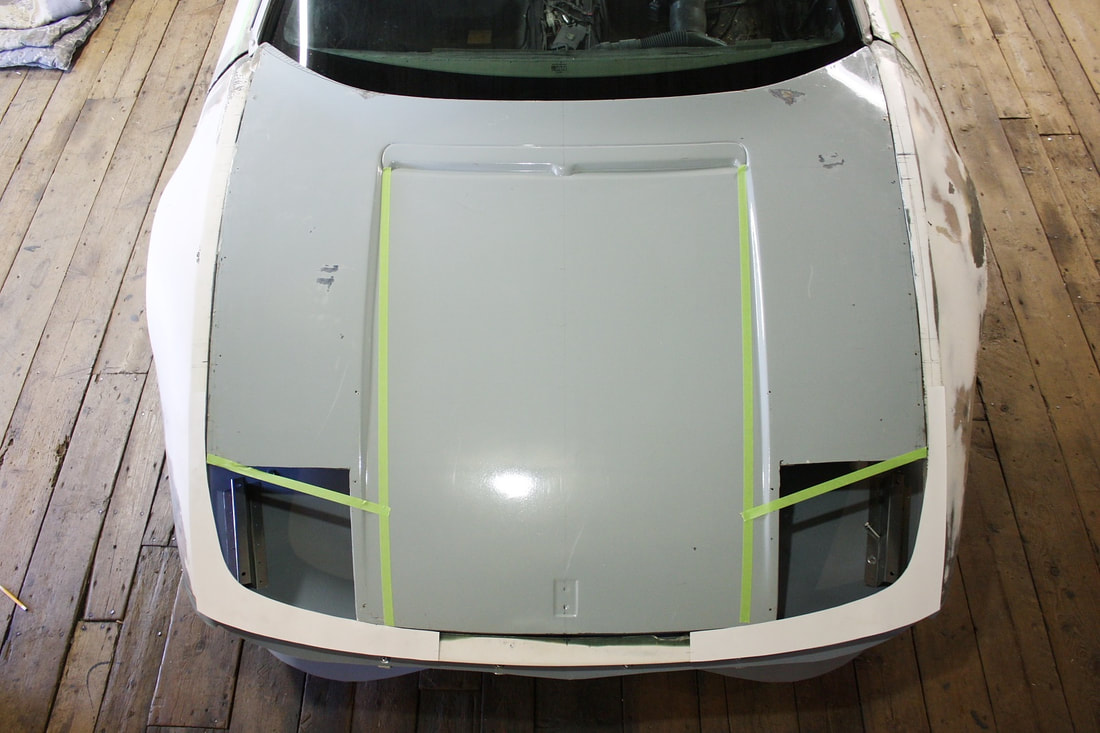
And it didn’t take a genius to figure out that the two hood creases running the length of the hood would look out of place if they remained in the stock locations. So I added the extra green masking tape to illustrate where the hood creases would need to be moved to match up with the inside edges of the new headlights in the photo above.
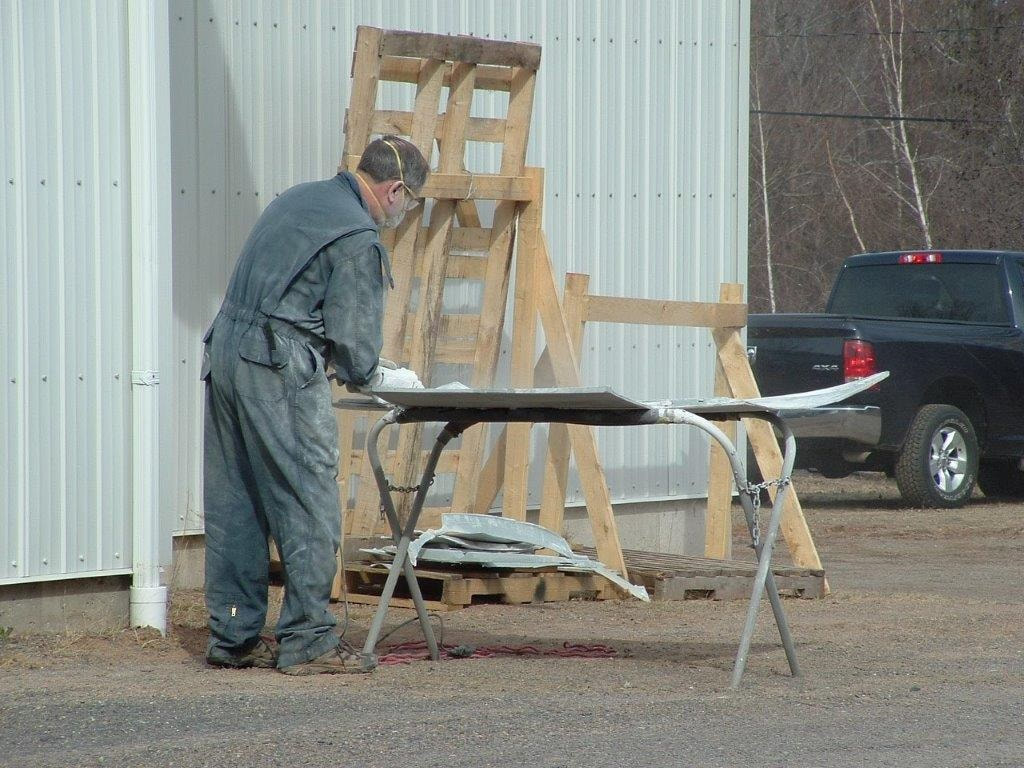
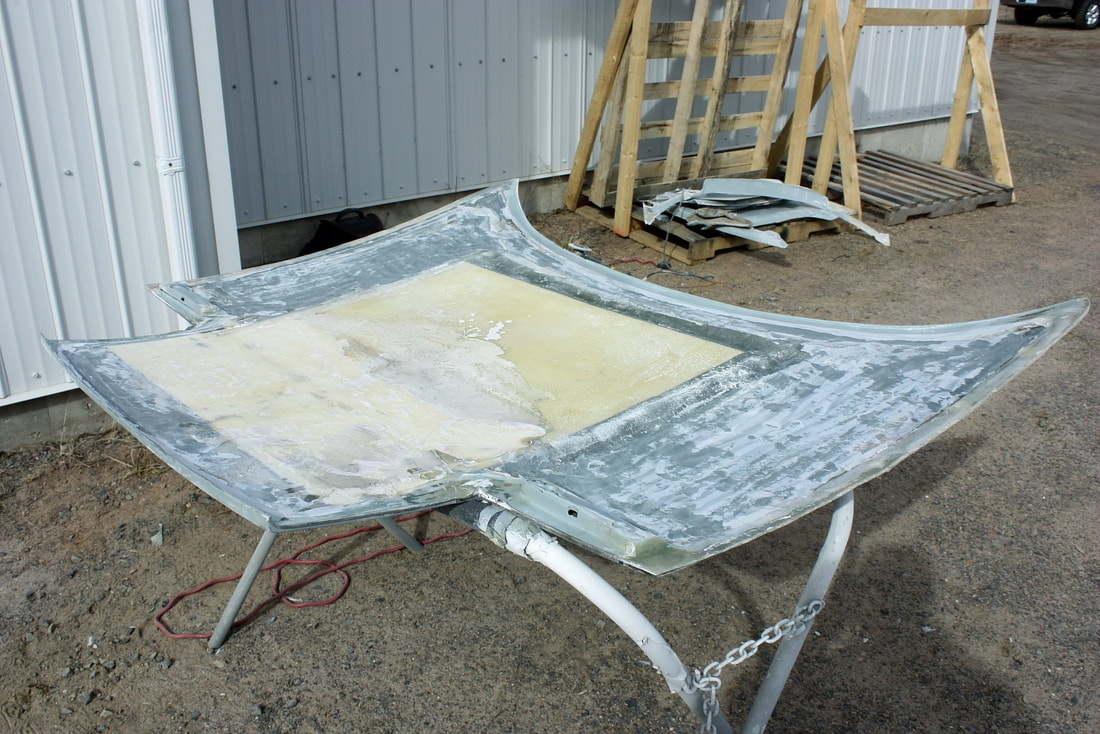
All these issues nudged me toward removing the CK3 inner hood liner, reshaping, curving, and filling the outer hood skin, and rebonding a new liner. So I waited for a sunny day and set up the saw horses outside to do the dirty work:
And it didn’t take a genius to figure out that the two hood creases running the length of the hood would look out of place if they remained in the stock locations. So I added the extra green masking tape to illustrate where the hood creases would need to be moved to match up with the inside edges of the new headlights in the photo above.
All these issues nudged me toward removing the CK3 inner hood liner, reshaping, curving, and filling the outer hood skin, and rebonding a new liner. So I waited for a sunny day and set up the saw horses outside to do the dirty work:
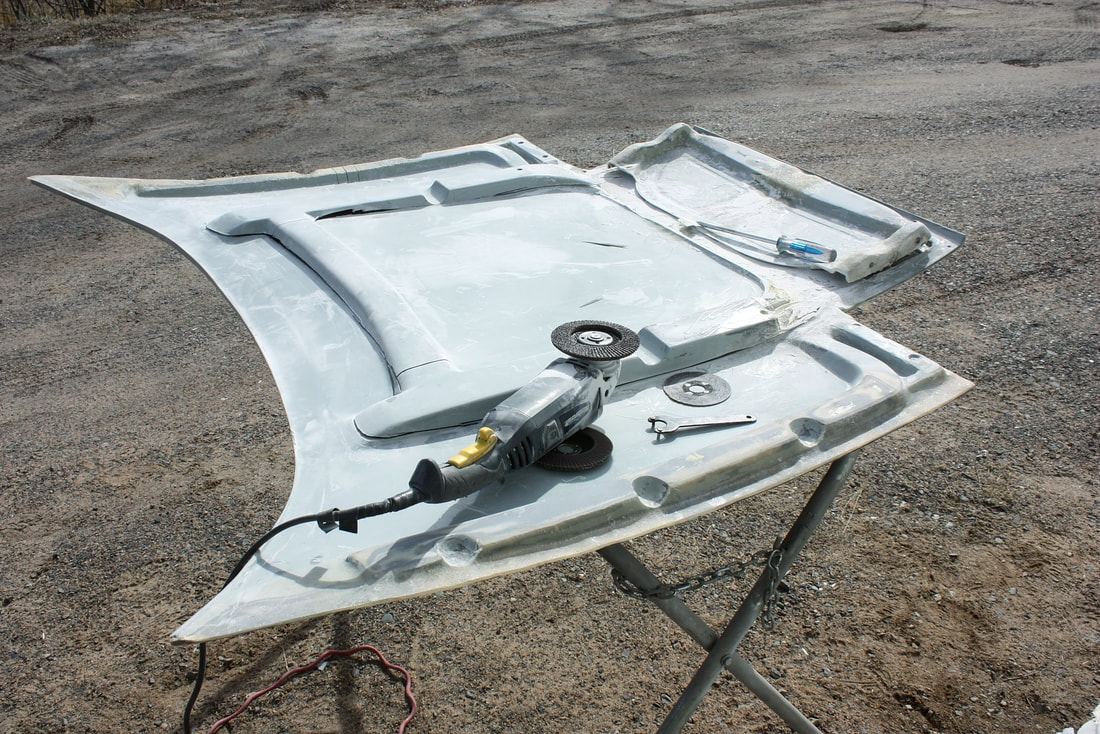
The angle grinder with a cut off disk made short (but dusty) work of the rib removals:
Once the ribs were gone, it didn’t’ take too much prying to unglue the inner from the outer skins. It was cold so most of the adhesive was brittle and simply broke free:
Once the ribs were gone, it didn’t’ take too much prying to unglue the inner from the outer skins. It was cold so most of the adhesive was brittle and simply broke free:
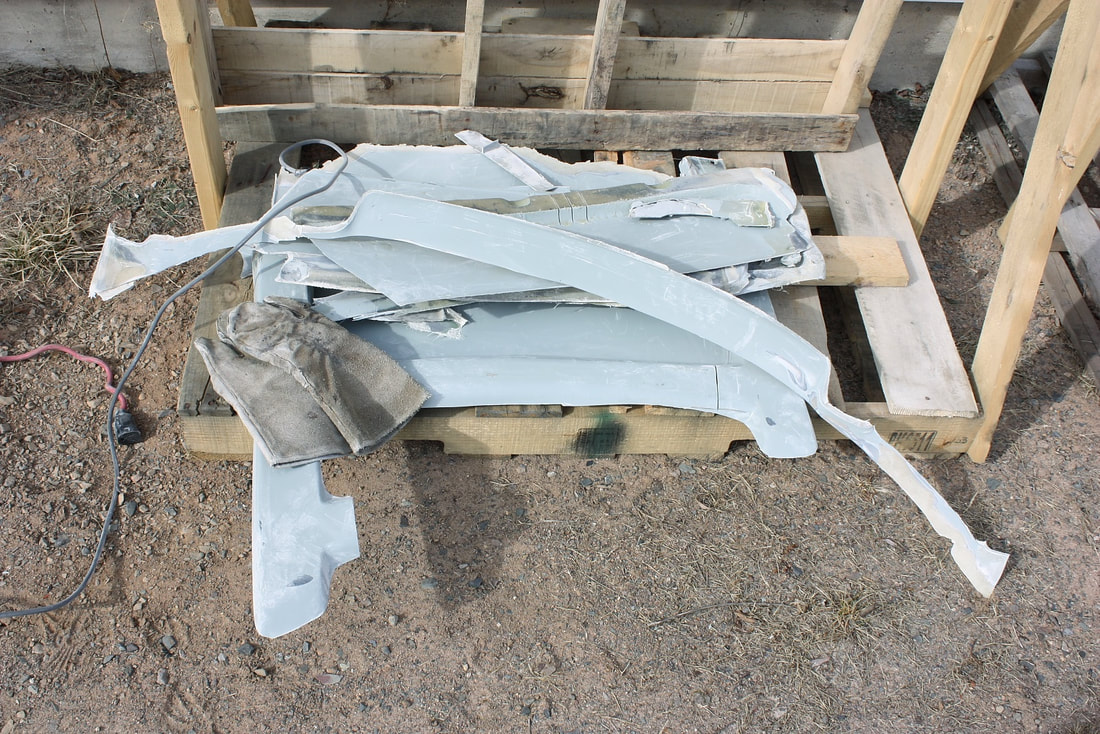
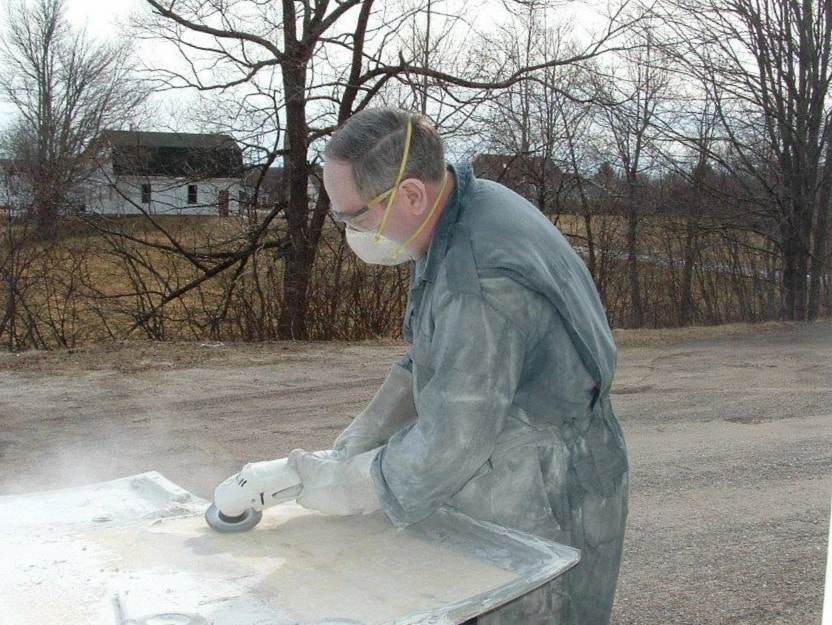
There were still lots of bits and pieces that didn’t come off cleanly, so I installed a coarse sanding disk on the grinder and made lots more itchy-scratchy dust:
Once I was done, the underside of the hood was pretty clean and looked like this:
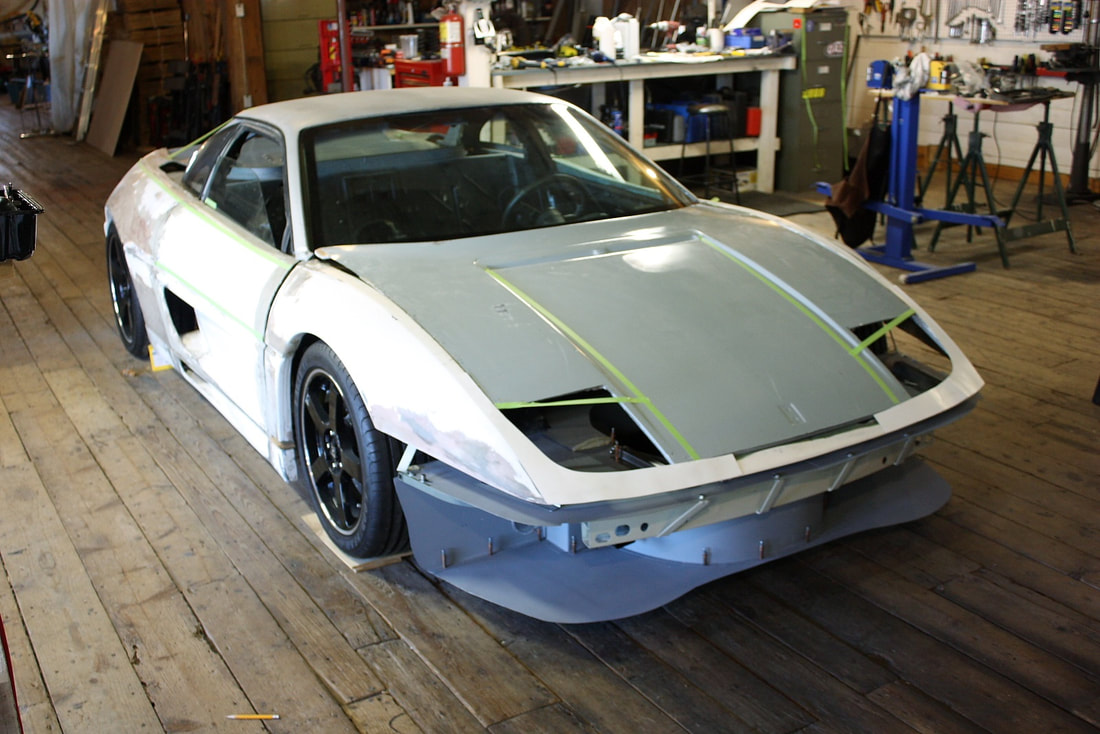
Using a couple steel weights to flex the outer skin to the curvature of the IFG fenders, I set the hood back on the car for a trial fit:
I also narrowed the entire hood to create gaps up the fender line. The CK3 hood was too wide overall, but curiously all the extra width needed to be trimmed along the passenger side in order to center the hood. Here’s the front view with a small anvil holding the nose down… kind of looks like an albino rhinoceros!
I also narrowed the entire hood to create gaps up the fender line. The CK3 hood was too wide overall, but curiously all the extra width needed to be trimmed along the passenger side in order to center the hood. Here’s the front view with a small anvil holding the nose down… kind of looks like an albino rhinoceros!
I was curious to see what the hood might look like with the headlight holes made to the correct shape and size so I worked some crude magic with MS Paint. Me likey.
I was curious to see what the hood might look like with the headlight holes made to the correct shape and size so I worked some crude magic with MS Paint. Me likey.
Since I already had a complete unmolested IFG hood and inner liner of my own, I decided to see if I could use the IFG liner under the CK3 hood. I laid it out on the chassis and apart from requiring the mandatory trimming for the extended windshield, it looked like it might work:
Since I already had a complete unmolested IFG hood and inner liner of my own, I decided to see if I could use the IFG liner under the CK3 hood. I laid it out on the chassis and apart from requiring the mandatory trimming for the extended windshield, it looked like it might work:
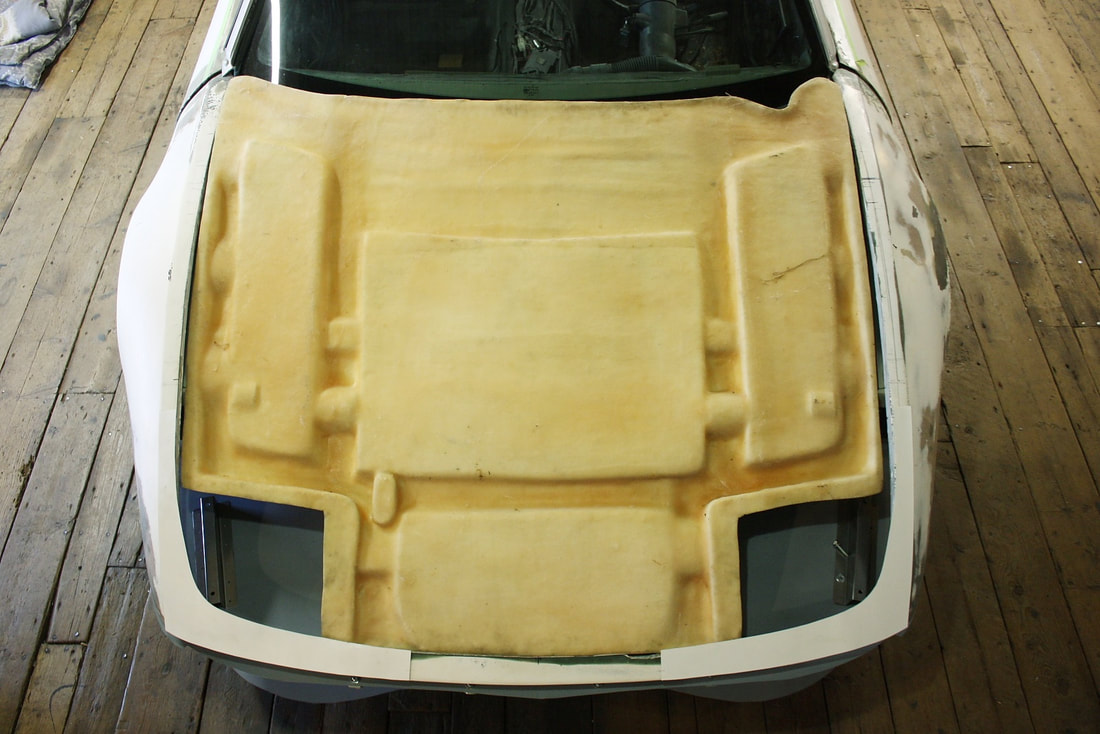
I was hoping that once trimmed, it would fall into place, or at least be flexible enough to be useable:
I laid the hood on top of the liner and marked off the excess to clear the extended windshield:
Here’s the inner liner after the surgery:
It didn’t take long for my hopes to be dashed. The liner was cast with a serious downward bow leaving virtually none of it touching the outer hood skin except the very perimeter. Though it's hard to capture with the camera, these next two photos give some idea how both skins are bowed in opposite directions:
It didn’t take long for my hopes to be dashed. The liner was cast with a serious downward bow leaving virtually none of it touching the outer hood skin except the very perimeter. Though it's hard to capture with the camera, these next two photos give some idea how both skins are bowed in opposite directions:
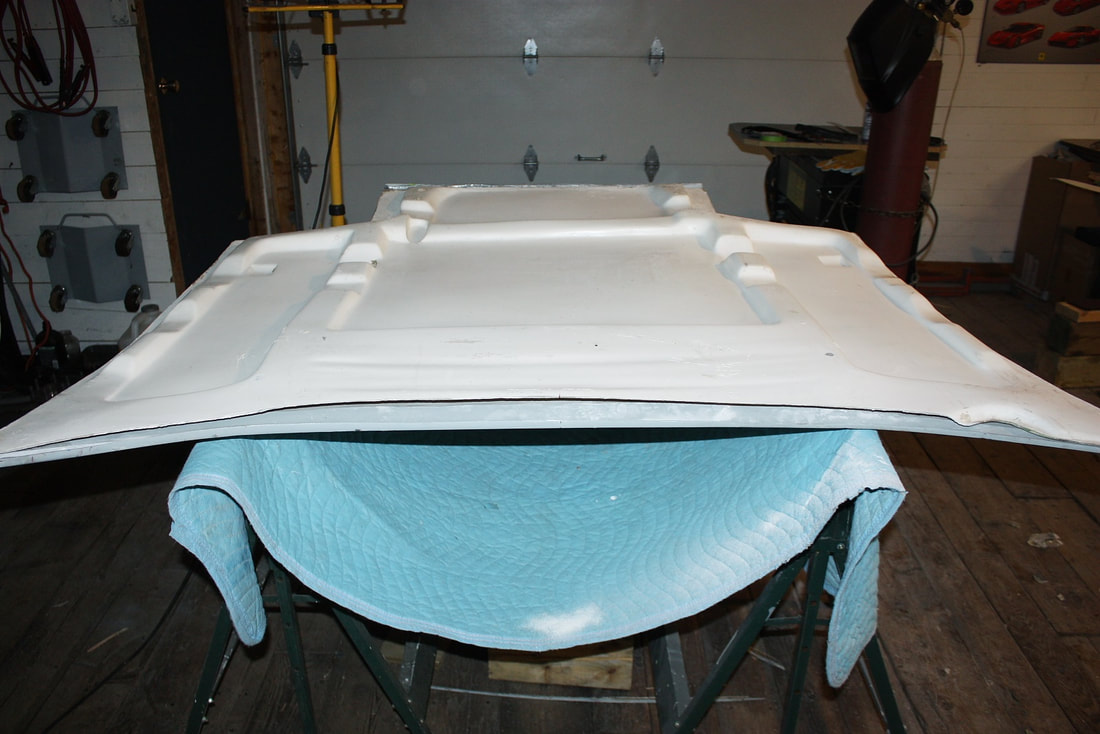
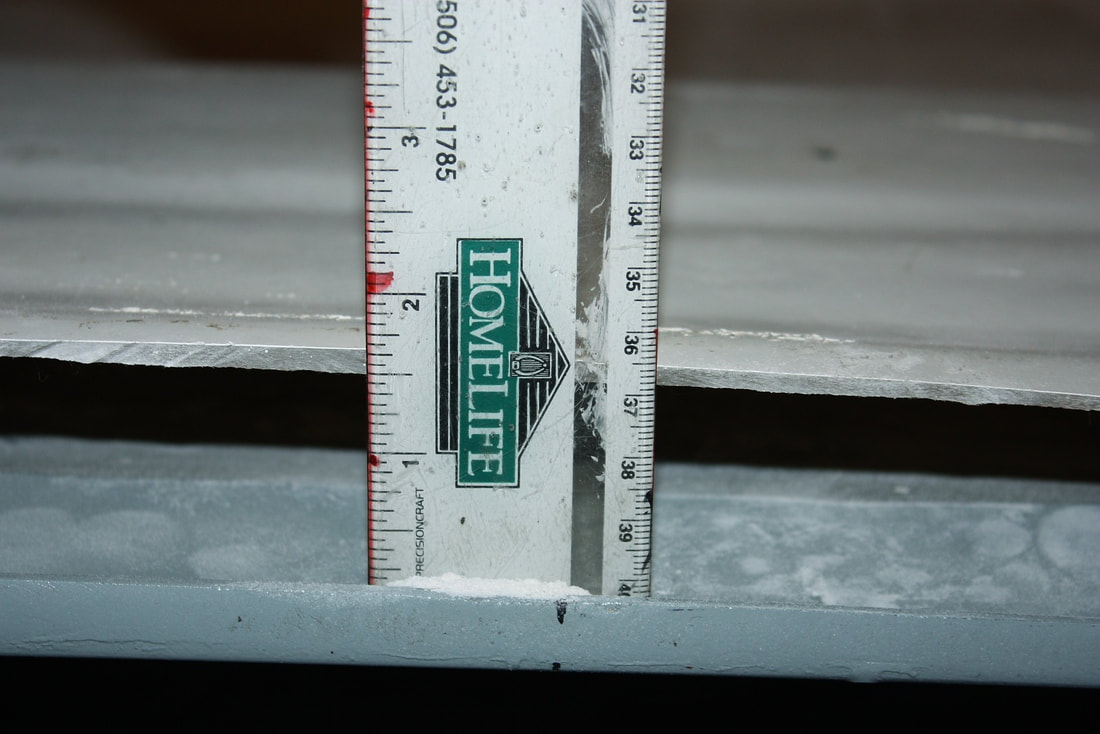
Along the trailing edge of the hood, the inner liner stands 1.5” away from the outer skin, and it only gets worse toward the center of the hood.
Bonding these two together would put both pieces in constant tension and would ultimately warp both in an unpredictable way, even if they were joined together in a form. The IFG inner liner isn’t exactly great looking either... the ribs are different heights and widths, they aren’t straight or symmetrical, and the hinge mounts are too far apart and would interfere with the headlights. One step forward… two steps back.
Bonding these two together would put both pieces in constant tension and would ultimately warp both in an unpredictable way, even if they were joined together in a form. The IFG inner liner isn’t exactly great looking either... the ribs are different heights and widths, they aren’t straight or symmetrical, and the hinge mounts are too far apart and would interfere with the headlights. One step forward… two steps back.

 RSS Feed
