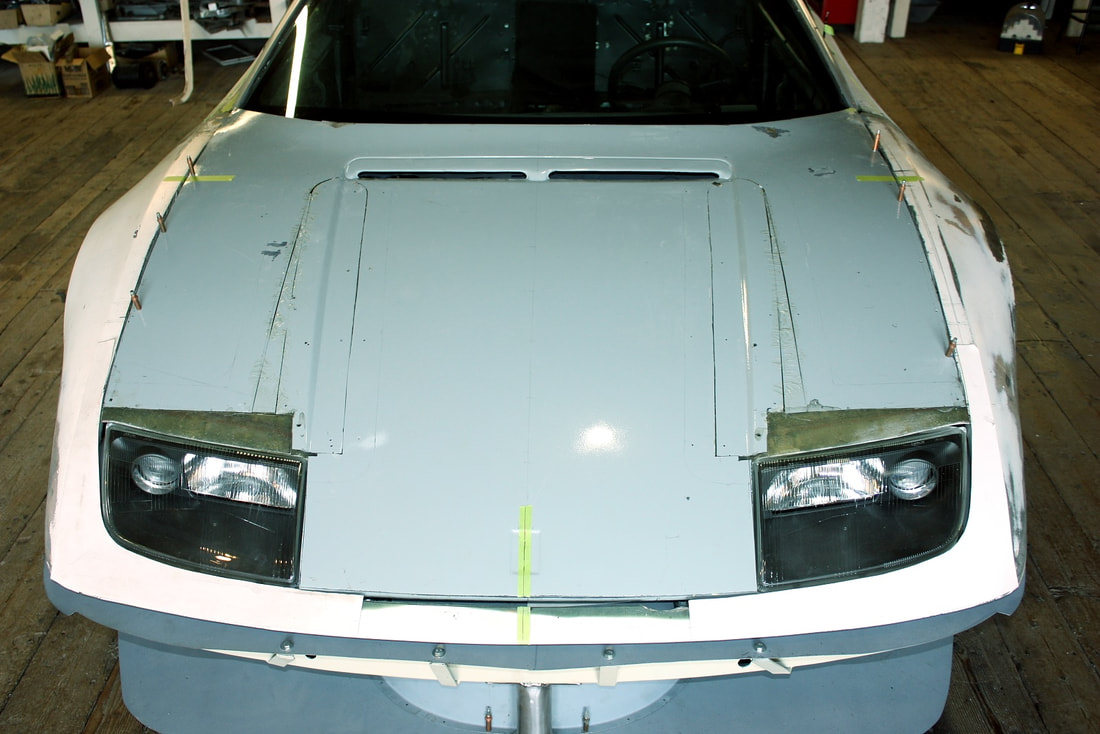
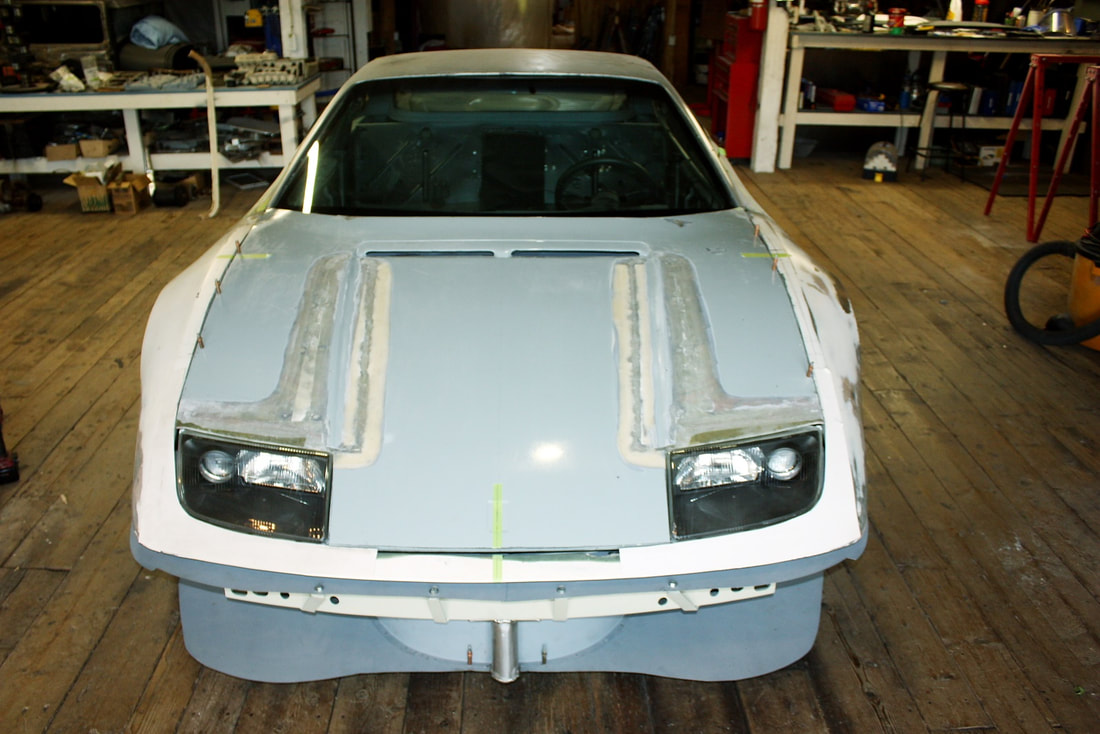
The third and final loose end that needed tying up on the front of the car was the hood splices I’d made earlier. Earlier on I had cut up the outer hood skin, realigned the factory hood creases with the 300ZX lights, and grafted the hood creases back to the hood from the underside. Here you can see the skin grafts leading up the hood to the HVAC inlet on both sides:
To make sure the seams wouldn’t crack or show up years down the road, it wasn’t going to be enough to simply fill in the splice joints with body filler. Instead, I had to grind out each seam completely from the topside until I reached the new fibreglass I had laid from below (Step 2 below), and chamfer the edges of the groove to give the greatest possible surface for new structural fibreglass to build up the area again (Step 3 below):
To make sure the seams wouldn’t crack or show up years down the road, it wasn’t going to be enough to simply fill in the splice joints with body filler. Instead, I had to grind out each seam completely from the topside until I reached the new fibreglass I had laid from below (Step 2 below), and chamfer the edges of the groove to give the greatest possible surface for new structural fibreglass to build up the area again (Step 3 below):

Grinding out the splice joints is a messy job, so I moved the hood outdoors for this part. I used a flapper style sanding disk on my high speed angle grinder to do the dirty work. It works quickly but is a super-spreader of fibreglass dust:
Grinding out the splice joints is a messy job, so I moved the hood outdoors for this part. I used a flapper style sanding disk on my high speed angle grinder to do the dirty work. It works quickly but is a super-spreader of fibreglass dust:
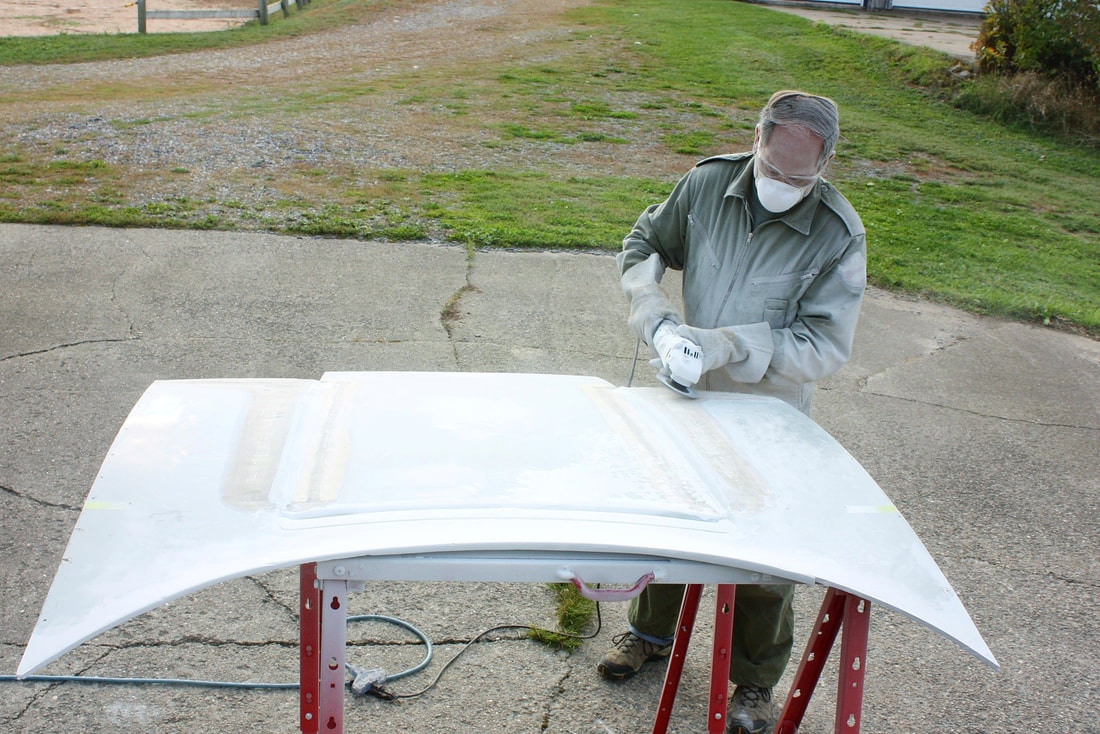
There’s no way to avoid getting completely covered in fine glass fibres so it’s best to wear a second layer of clothes, eye protection, and a dust mask… which is an absolute MUST:
There’s no way to avoid getting completely covered in fine glass fibres so it’s best to wear a second layer of clothes, eye protection, and a dust mask… which is an absolute MUST:

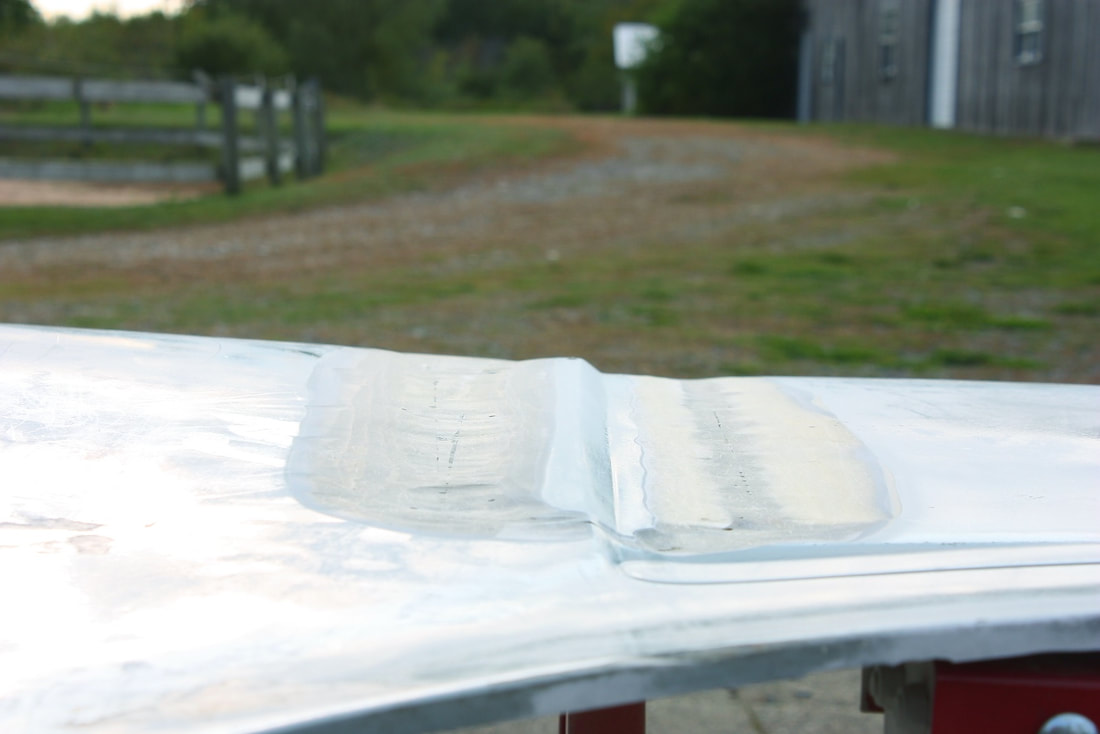
Though it’s a bit hard to see in this photo, once I got to the bottom of each seam, I chamfered the surrounding material out a further two inches on either side. Fibreglass resin doesn’t stick well to the gray-coloured gel coat finish either, so I needed to grind the gel coat off anywhere that was going to see new fibreglass:
Though it’s a bit hard to see in this photo, once I got to the bottom of each seam, I chamfered the surrounding material out a further two inches on either side. Fibreglass resin doesn’t stick well to the gray-coloured gel coat finish either, so I needed to grind the gel coat off anywhere that was going to see new fibreglass:
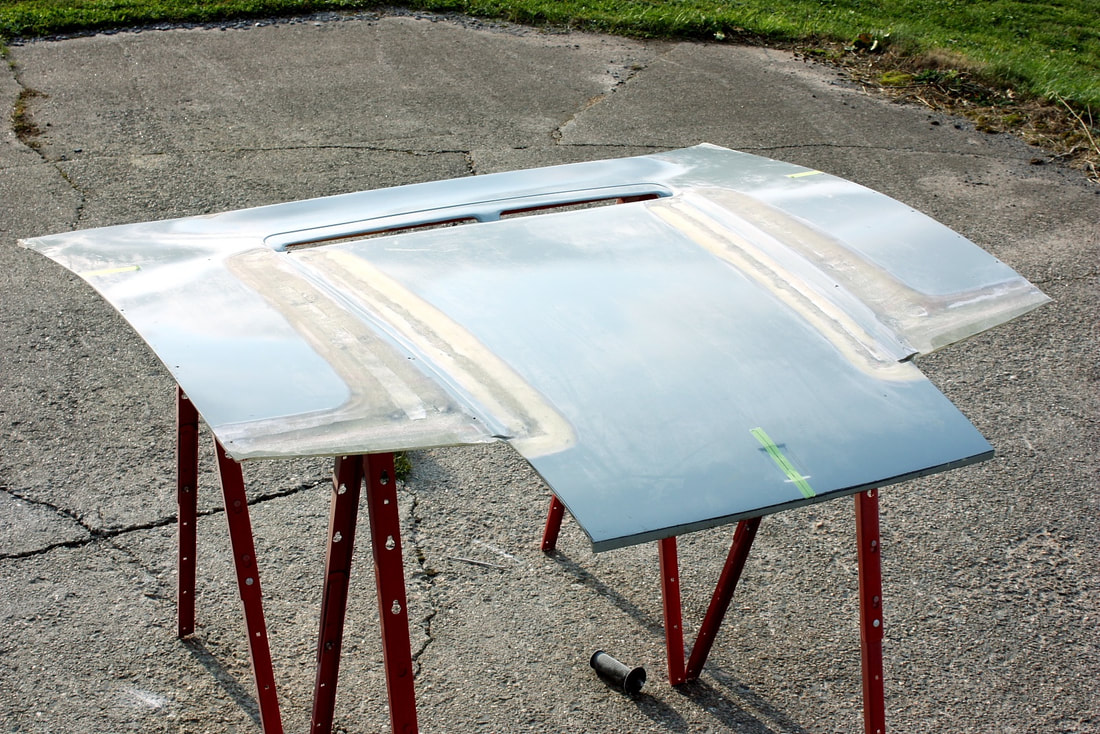
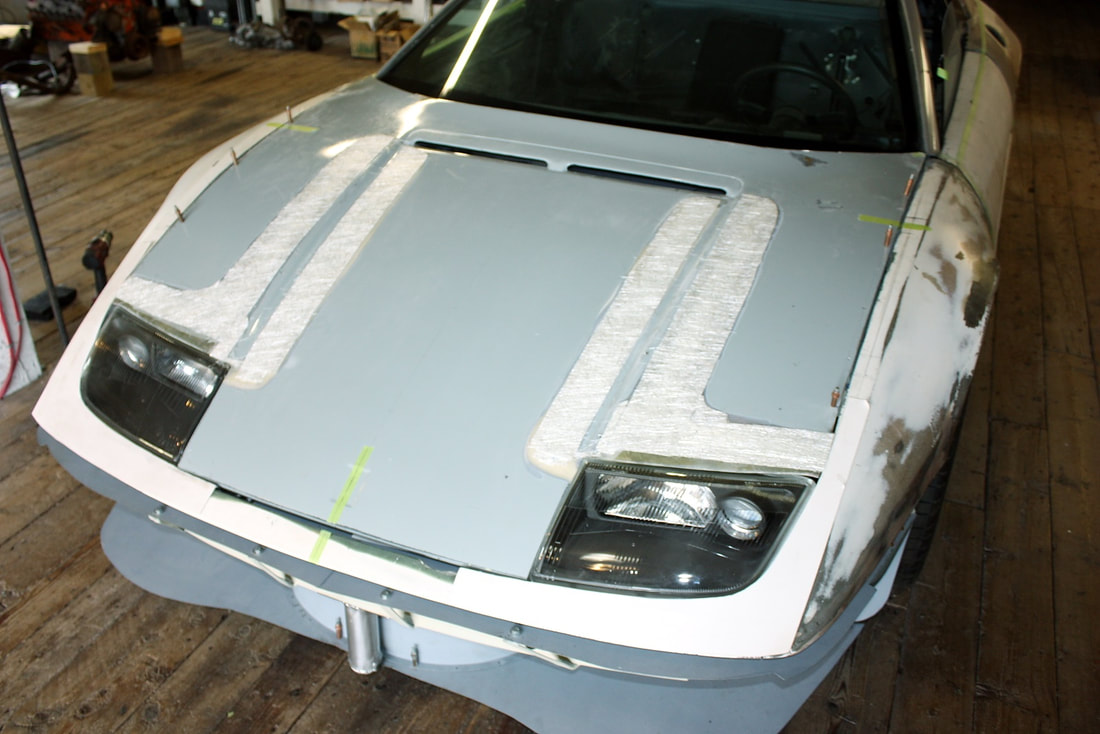
I had lots of grinding to do since each side had two long seams running up from the headlights to the HVAC inlet, and another shorter seam behind each headlight running across the hood:
I had lots of grinding to do since each side had two long seams running up from the headlights to the HVAC inlet, and another shorter seam behind each headlight running across the hood:
The next step was to lay new fibreglass and resin in the chamfered areas to build them back up being flush with the surrounding skin again. Because the hood skin by itself was quite flexible, I mocked it up onto the underhood webbing so that the new fibreglass I was about to add would reinforce the correct curvature:
The next step was to lay new fibreglass and resin in the chamfered areas to build them back up being flush with the surrounding skin again. Because the hood skin by itself was quite flexible, I mocked it up onto the underhood webbing so that the new fibreglass I was about to add would reinforce the correct curvature:
I cut four layers of 1.5 oz mat for each groove with the first layer being about an inch wide and each successive layer being 1” wider than the previous one to fill the chamfer properly. Here they are mocked up:
I cut four layers of 1.5 oz mat for each groove with the first layer being about an inch wide and each successive layer being 1” wider than the previous one to fill the chamfer properly. Here they are mocked up:

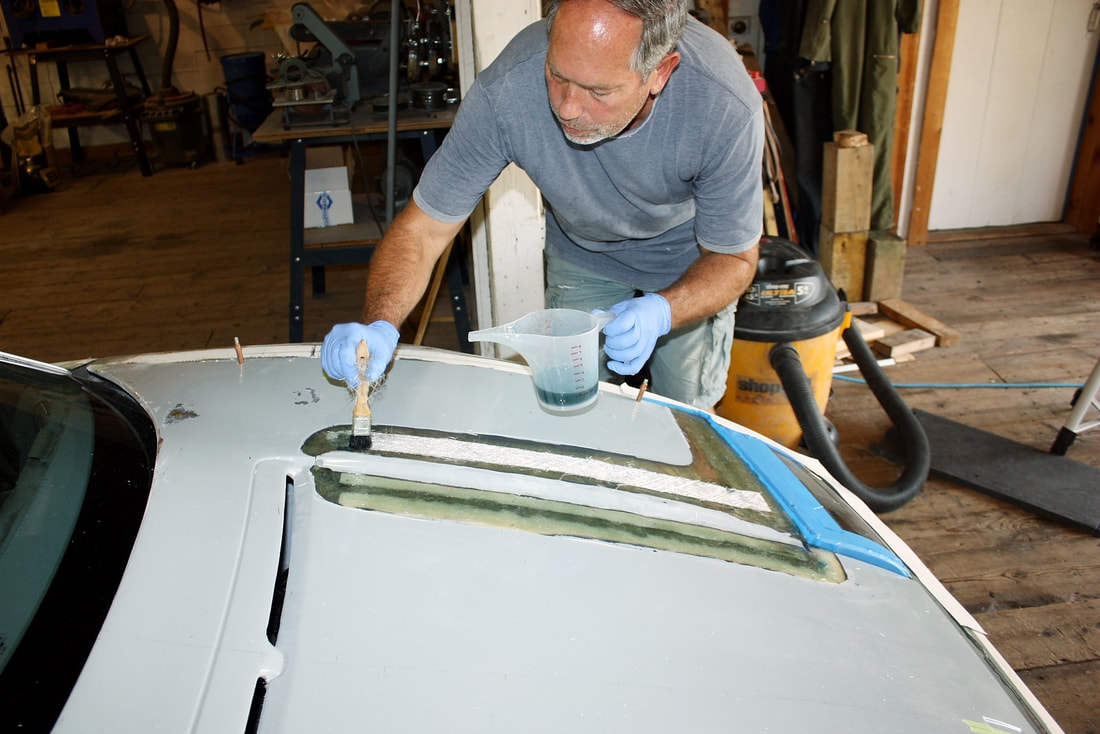
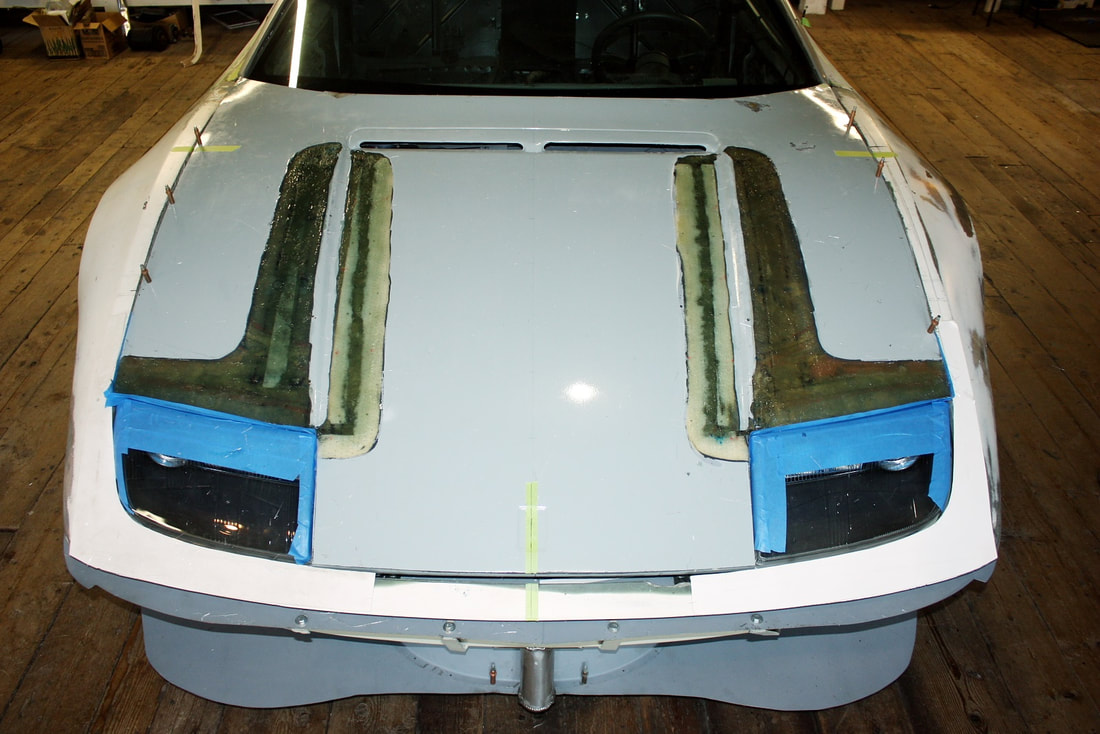
Before I mixed the resin, I taped up the headlight lenses to protect them from accidental drips. Then I saturated each layer of fibreglass using a paint brush with the bristles cut short to help work out any air bubbles:
Before I mixed the resin, I taped up the headlight lenses to protect them from accidental drips. Then I saturated each layer of fibreglass using a paint brush with the bristles cut short to help work out any air bubbles:
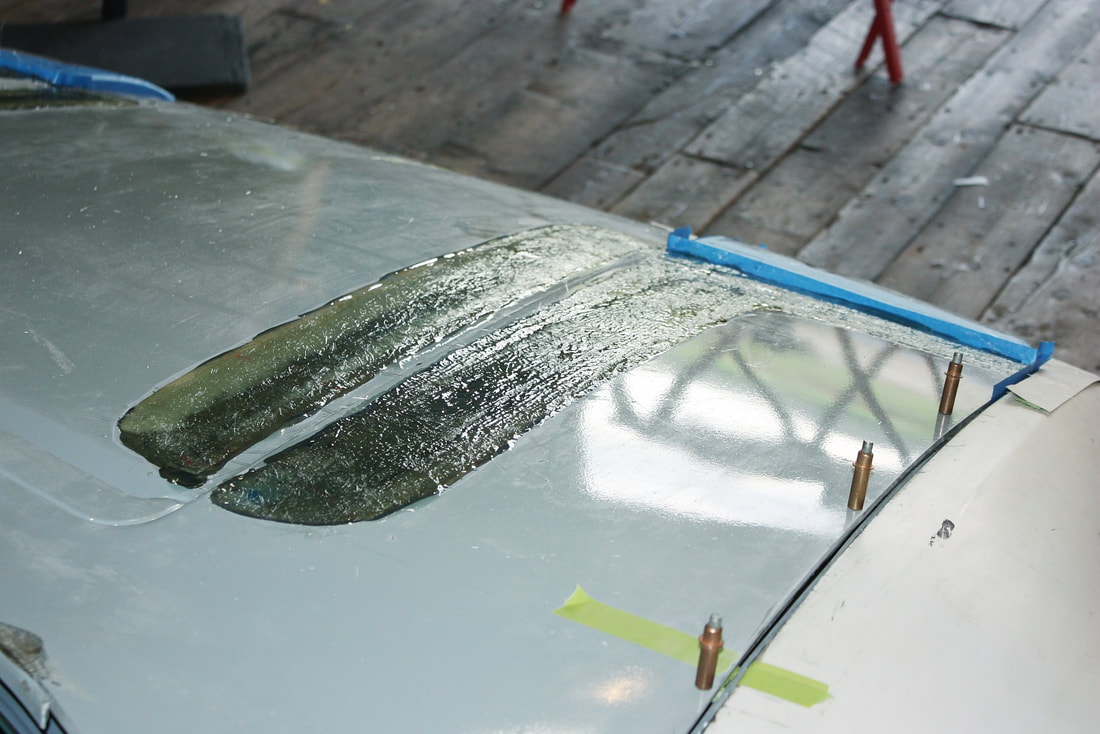
The object of the game was to get the new fibreglass as close as possible to the height of the surrounding skin leaving the least amount of body filler needed later on:
The object of the game was to get the new fibreglass as close as possible to the height of the surrounding skin leaving the least amount of body filler needed later on:
It doesn’t look like much, but this whole headlight upgrade was a time consuming modification.
It doesn’t look like much, but this whole headlight upgrade was a time consuming modification.
With final bonding and smoothing being left for later, I was ready to move on to mounting the next major body panel: The Roof.
With final bonding and smoothing being left for later, I was ready to move on to mounting the next major body panel: The Roof.

 RSS Feed
