I had originally planned to reshape all of the body panels before moving onto the finer smoothing stage, but a friend of mine decided to throw a monkey wrench into my clockwork.
Lionel, an auto body veteran extraordinaire with 35 years experience at private and big name shops, recently retired and was looking for something interesting to keep him busy. So when he offered to do the final stages of preparation on my car prior to paint, it was an offer I couldn’t refuse.
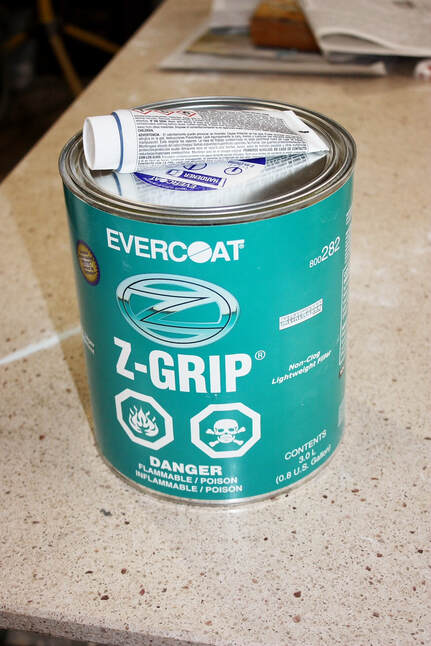
I had finished the major reshaping of the vertical body panels with short strand structural fillers, so the next step for these panels was a light weight, non-structural body filler for final smoothing. The product I chose was Evercoat Z-Grip (part #800282), which is a polyester resin and talc/limestone/magnesite based filler. It’s super lightweight when cured, and easily sanded and shaped:
I had originally planned to reshape all of the body panels before moving onto the finer smoothing stage, but a friend of mine decided to throw a monkey wrench into my clockwork.
Lionel, an auto body veteran extraordinaire with 35 years experience at private and big name shops, recently retired and was looking for something interesting to keep him busy. So when he offered to do the final stages of preparation on my car prior to paint, it was an offer I couldn’t refuse.
I had finished the major reshaping of the vertical body panels with short strand structural fillers, so the next step for these panels was a light weight, non-structural body filler for final smoothing. The product I chose was Evercoat Z-Grip (part #800282), which is a polyester resin and talc/limestone/magnesite based filler. It’s super lightweight when cured, and easily sanded and shaped:
While Lionel worked the sides, I stayed out of his way and started working on the hood and cowl.
He wanted the car raised a good foot off the floor to make it easier to work on. His plan was to skim coat the entire surface of each panel, then block sand them with 80 grit paper. He mostly used a 12” semi-rigid Dura-block foam sanding block and Norton or 3M 80 grit sticky-backed sandpaper.

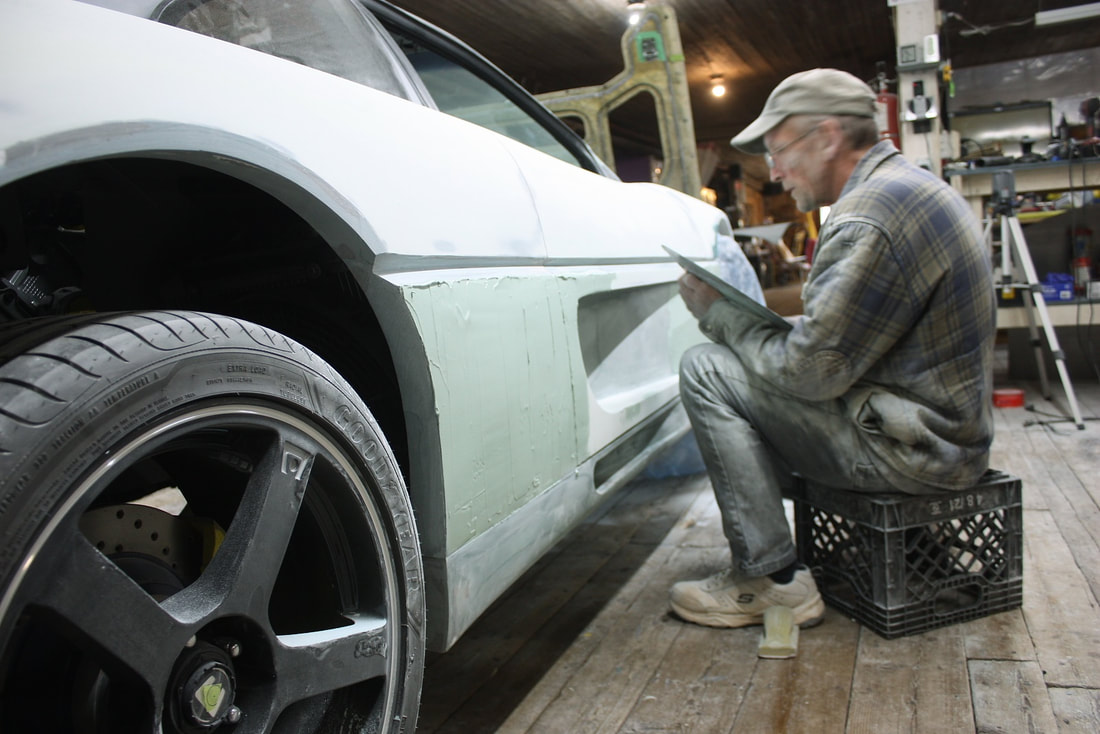
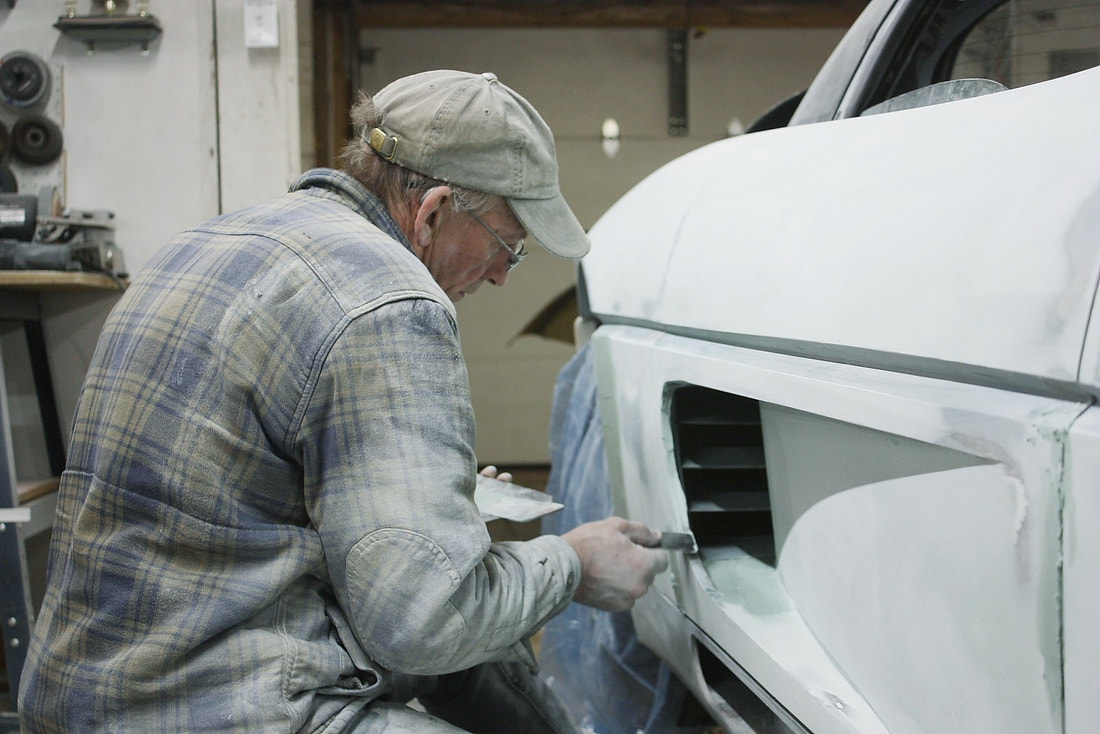
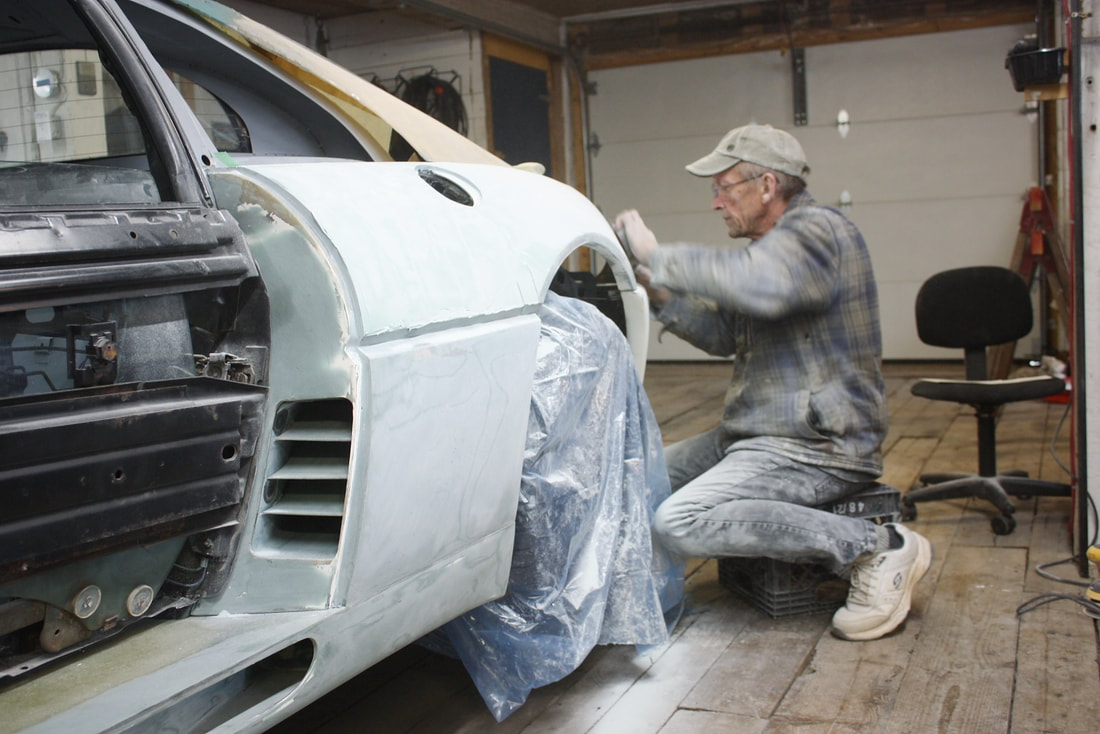
He worked fast, working the passenger front fender, upper door-half, and upper rear quarters at first, then moving on to the lower passenger side of the car (notice the blurry hands!):
He worked fast, working the passenger front fender, upper door-half, and upper rear quarters at first, then moving on to the lower passenger side of the car (notice the blurry hands!):

I heat my shop with a forced-air hot water radiator system, so managing dust became my secondary job. I had a hard time keeping up:
I heat my shop with a forced-air hot water radiator system, so managing dust became my secondary job. I had a hard time keeping up:
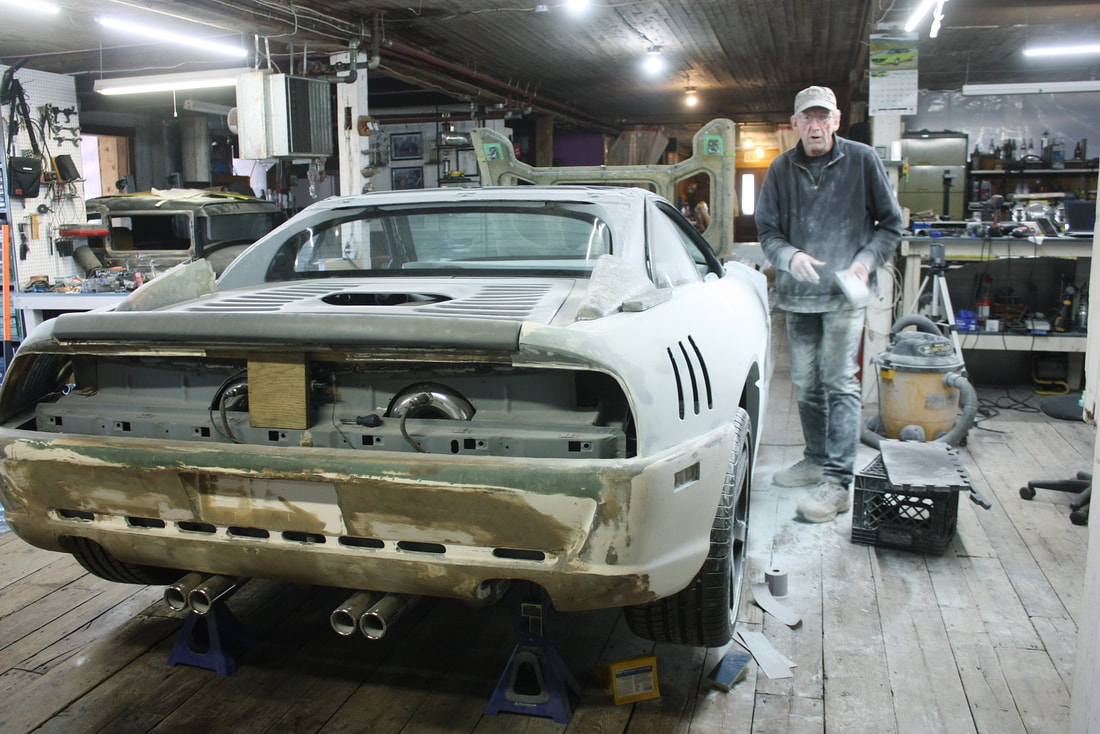
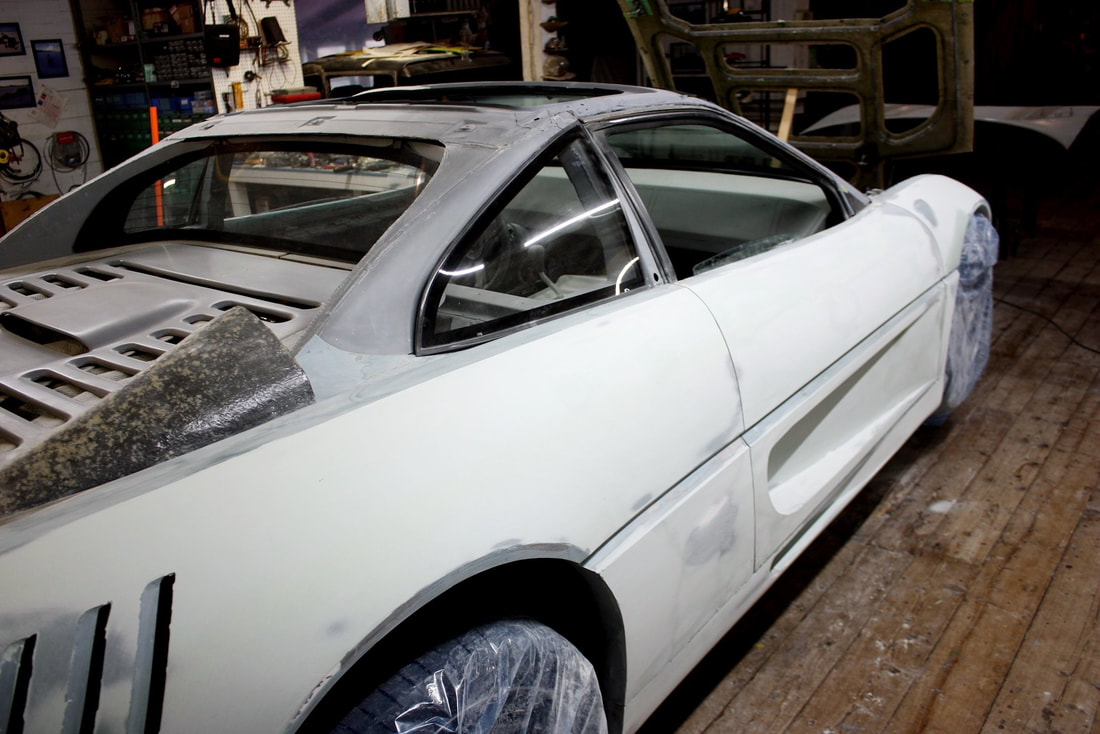
Here, he’d completed the 80 grit stage on the top half and was working the lower half. He’d wanted the roof off to give more clearance when he was blocking the upper rear quarter:
Here, he’d completed the 80 grit stage on the top half and was working the lower half. He’d wanted the roof off to give more clearance when he was blocking the upper rear quarter:
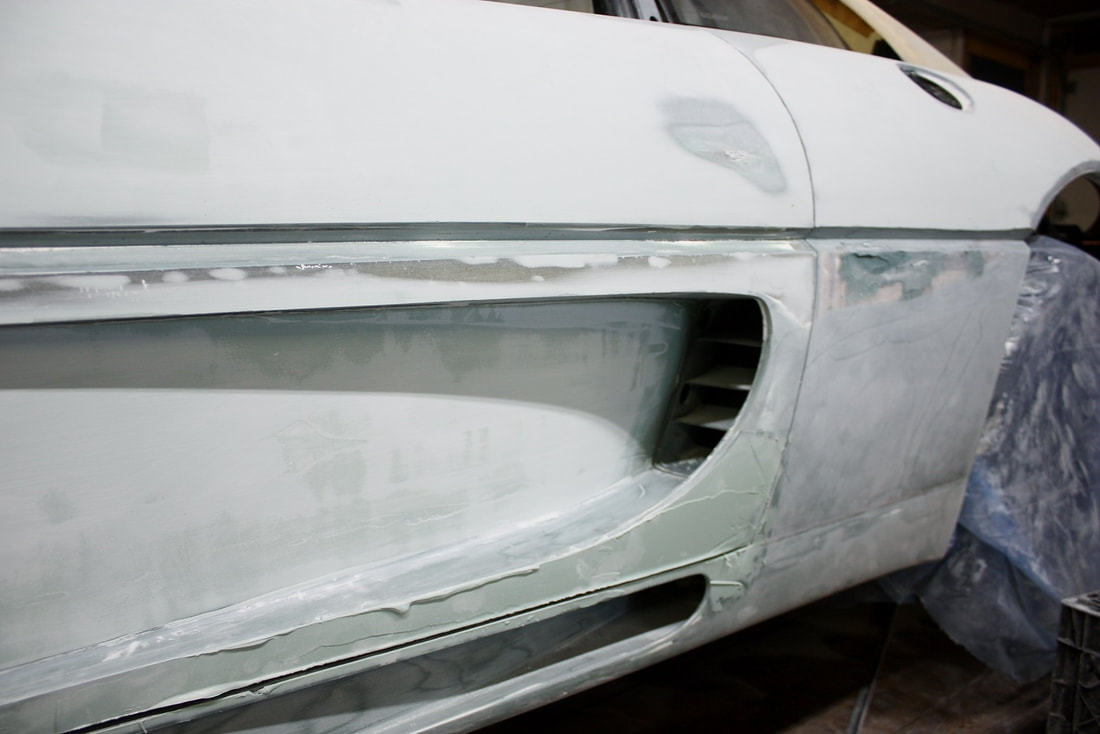
The lower doors and rockers were a bit more tedious with all their edges and surfaces, and at one point we removed them to better access the deeper parts of the scoops. Here, more mud was going on:
The lower doors and rockers were a bit more tedious with all their edges and surfaces, and at one point we removed them to better access the deeper parts of the scoops. Here, more mud was going on:
After 18 hours, he was done filling and blocking the passenger side with 80 grit:
After 18 hours, he was done filling and blocking the passenger side with 80 grit:
Once the passenger side was done, he moved on to the driver’s side. The same process was used here so I won’t go into great detail, except to post a few more photos from different angles. Did I mention it was hard to capture his hands in focus?
Once the passenger side was done, he moved on to the driver’s side. The same process was used here so I won’t go into great detail, except to post a few more photos from different angles. Did I mention it was hard to capture his hands in focus?
As he went along, he corrected minor problems in the body contours that had escaped my less capable eyes and “feel”. The high spots ended up revealing themselves as the Z-Grip was sanded down to the darker underlying short strand filler (or in some cases down to the fibreglass):
As he went along, he corrected minor problems in the body contours that had escaped my less capable eyes and “feel”. The high spots ended up revealing themselves as the Z-Grip was sanded down to the darker underlying short strand filler (or in some cases down to the fibreglass):
The SF fender badge recess was time consuming to get just right. He had to take into account the 2-3 millimeters of future build up including primers, paint, and clear coat:
The SF fender badge recess was time consuming to get just right. He had to take into account the 2-3 millimeters of future build up including primers, paint, and clear coat:
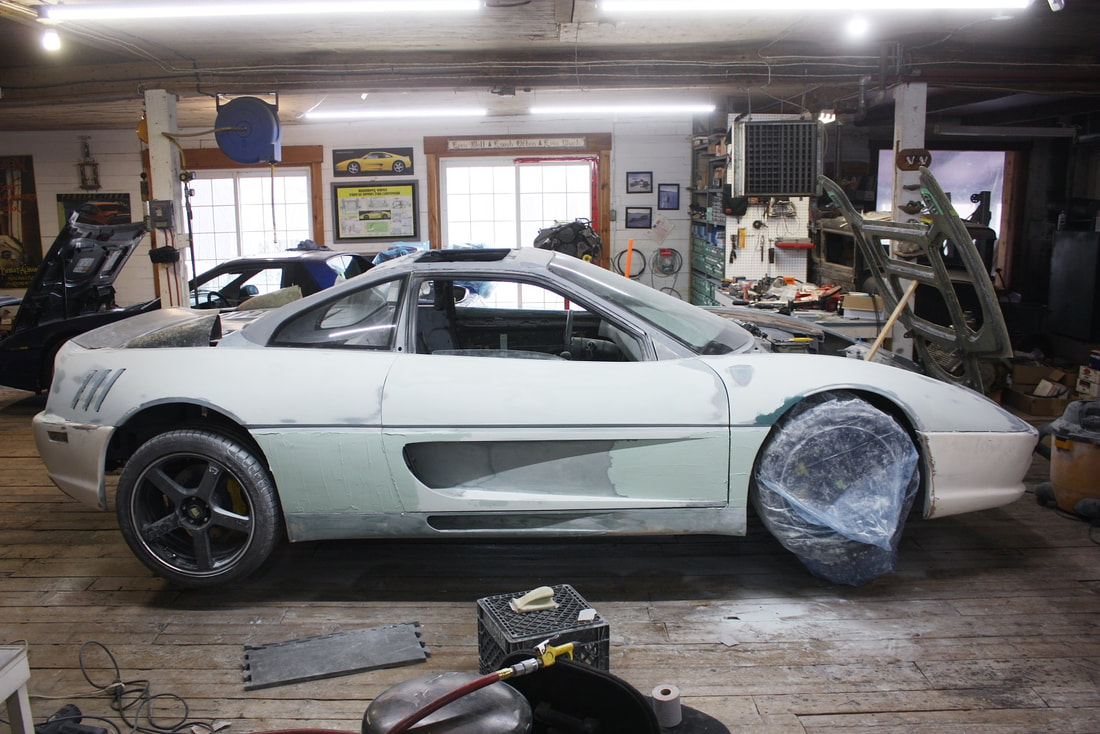
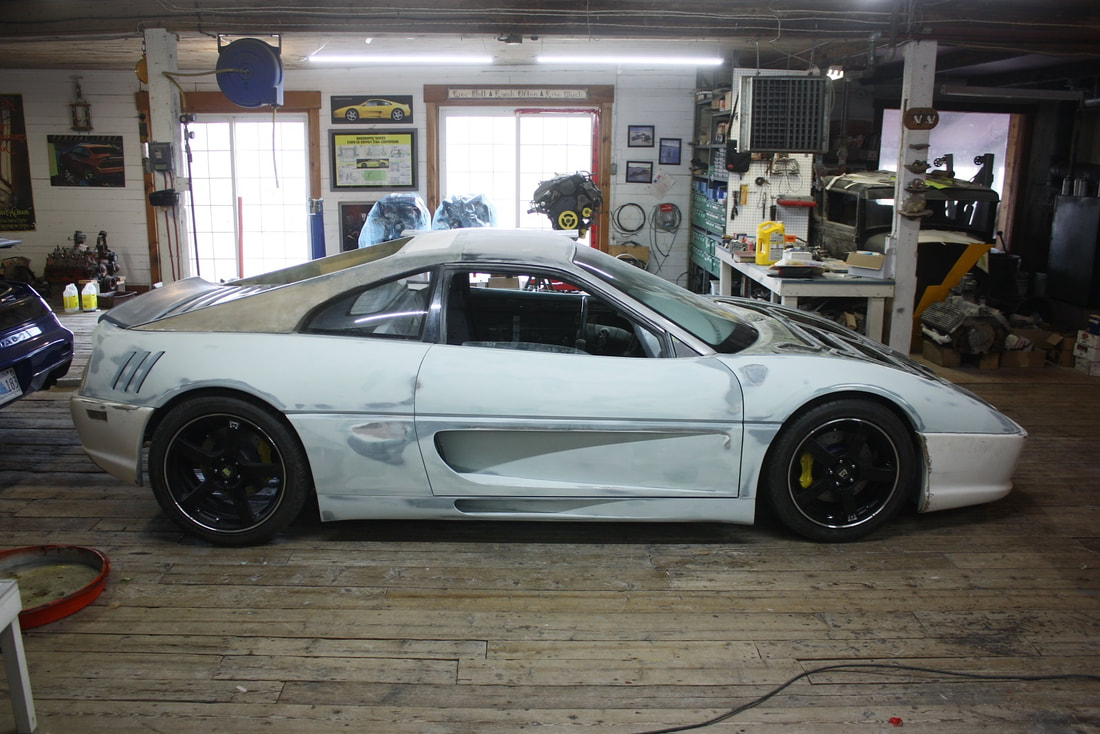
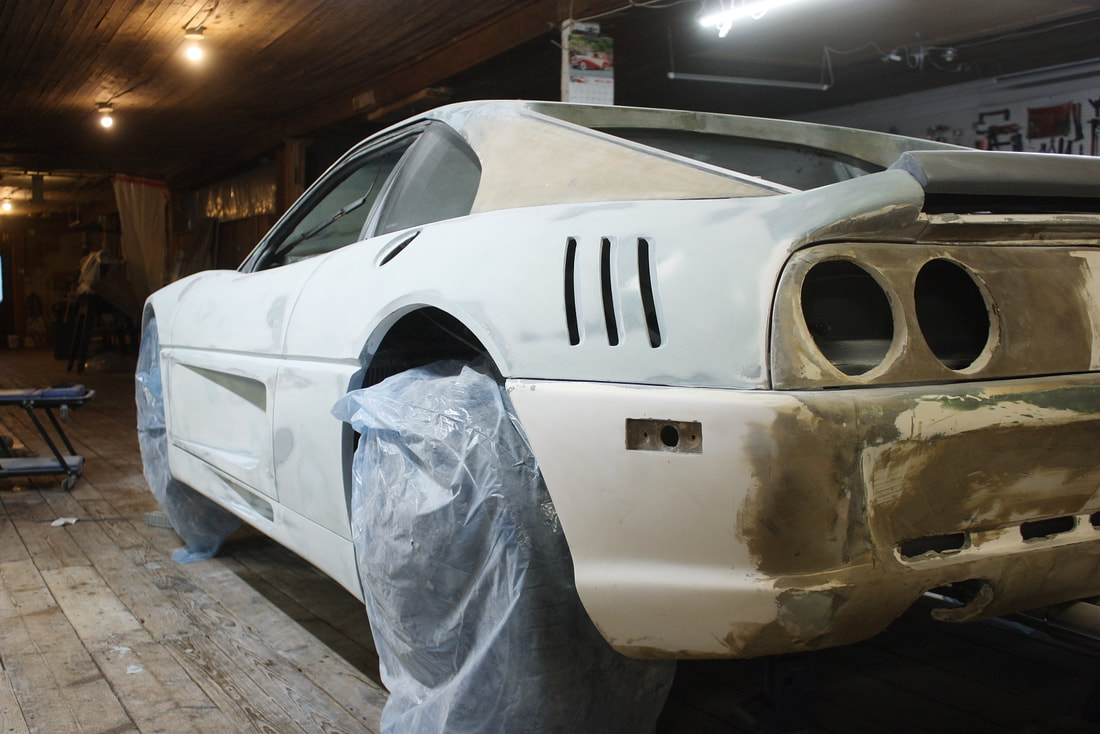
Things were really starting to shape up well… it was surprising how used to the teal coloured short strand filler I had gotten. The light duck egg blue of the Z-Grip made it look like someone else’s car!
Things were really starting to shape up well… it was surprising how used to the teal coloured short strand filler I had gotten. The light duck egg blue of the Z-Grip made it look like someone else’s car!

Here are a couple shots at low angles down the sides from the front and rear (the eagle-eyed among you will notice what I’d been up to while Lionel was making dust):
Here are a couple shots at low angles down the sides from the front and rear (the eagle-eyed among you will notice what I’d been up to while Lionel was making dust):
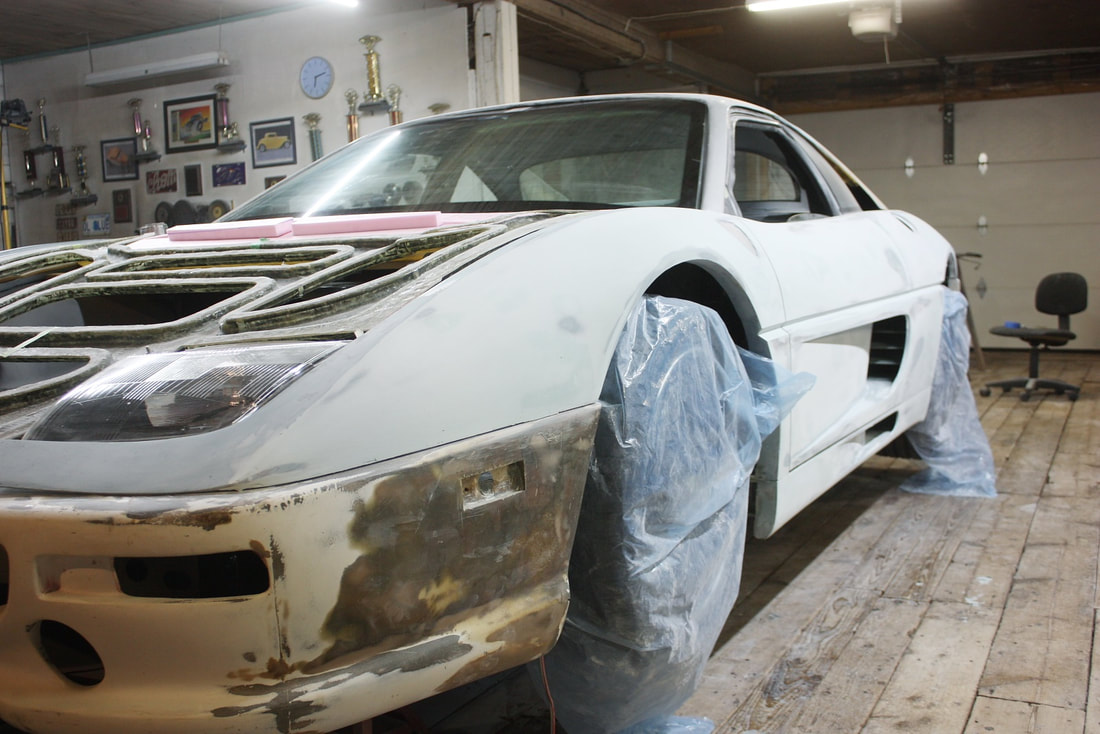
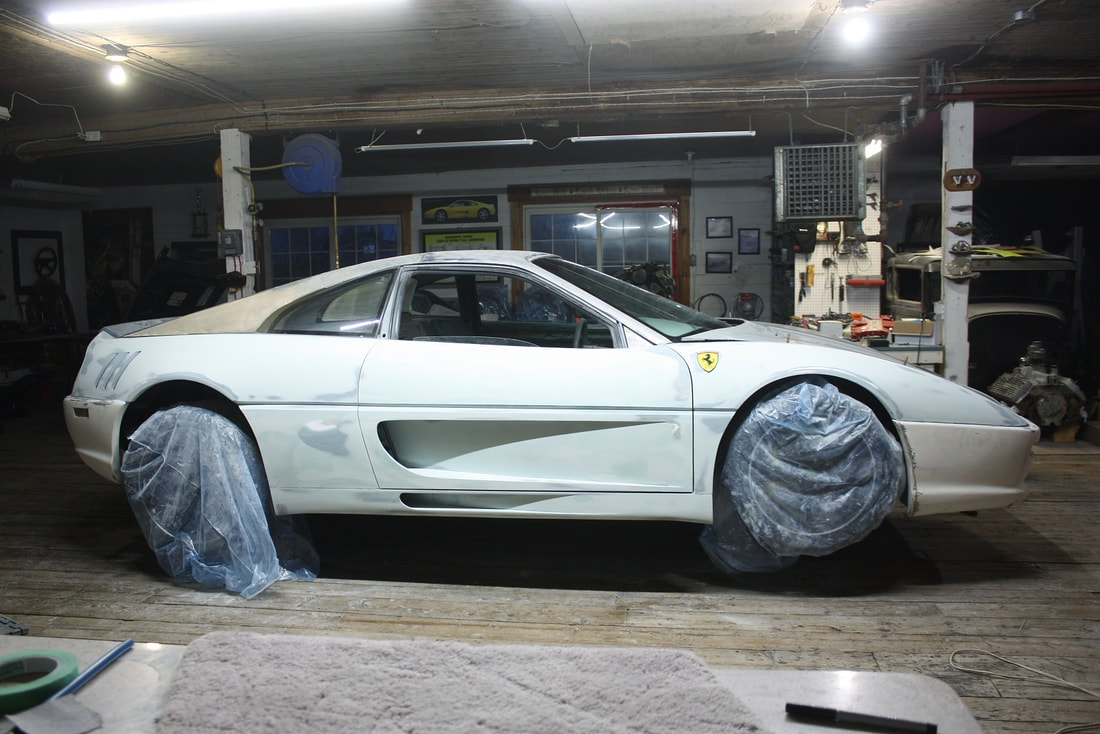
Once the driver’s side had been blocked with 80 grit, Lionel ran out of things to do. I needed to catch up before I could use his talents again, so I lowered the car and took another photo of the driver's side from a few steps back:
Once the driver’s side had been blocked with 80 grit, Lionel ran out of things to do. I needed to catch up before I could use his talents again, so I lowered the car and took another photo of the driver's side from a few steps back:
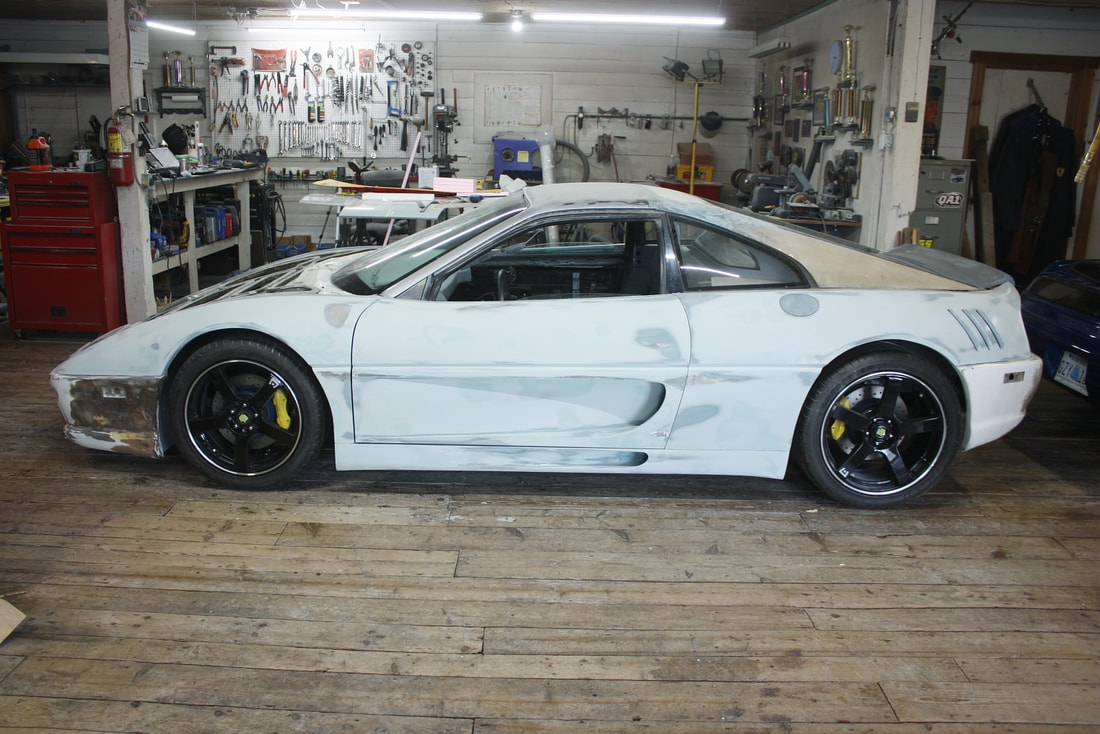
Again, this was just the first of several smoothing stages the car will go through under his hand. The 80 grit work will be followed up with a spray-on, high solids polyester primer surfacer designed to hold down body repairs and provide an excellent foundation for epoxy primer. That will be followed by more block sanding with successively finer papers, and some spot glazing before finally handing the car over to a body shop for a value-shaded epoxy primer, and colour and clear coats.
Next up? More design work.

 RSS Feed
