Moving the upper control arm mounts outboard meant that they ended up encroaching on the space where the shock absorber came through the cross member. The body of the shock is 42 mm diameter, and the space for it to come up through measured about 45 mm. Not enough room considering how much the shock changes angles as it's compressed and extended by the movement of the lower control arm.
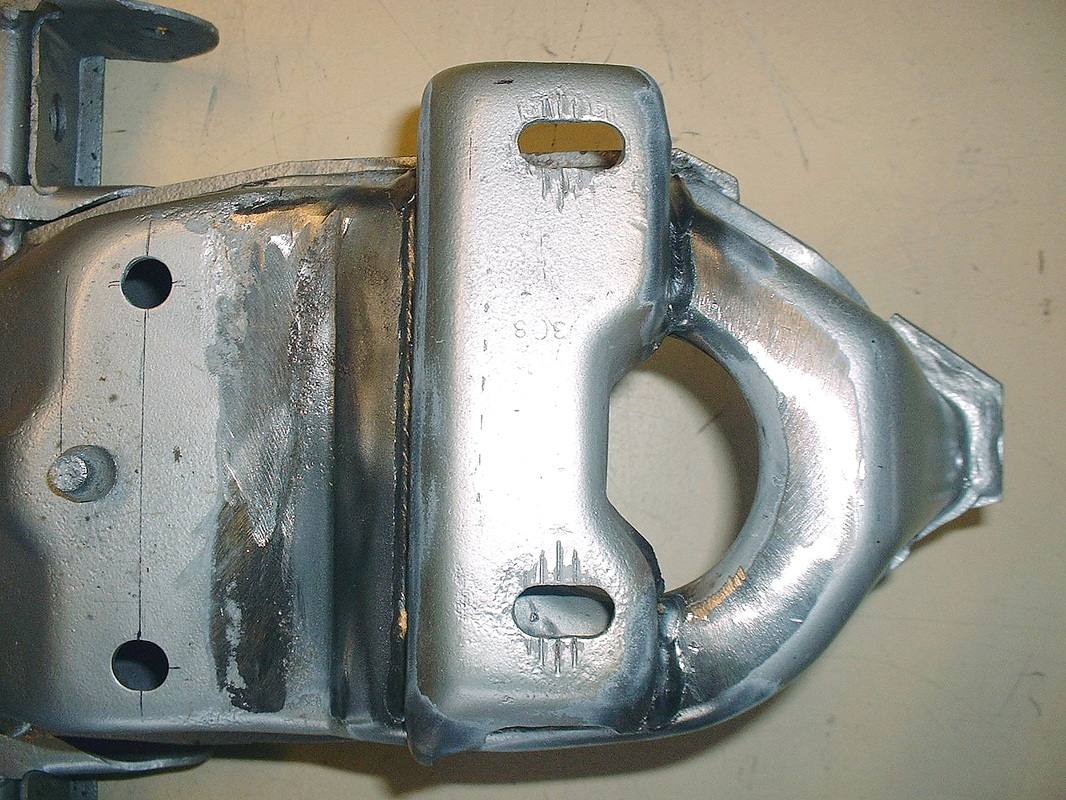
Here's the view from the underside. Notice the OEM spring seat is formed from the edges of the hole in the cross member being formed into a 90 degree circular lip.
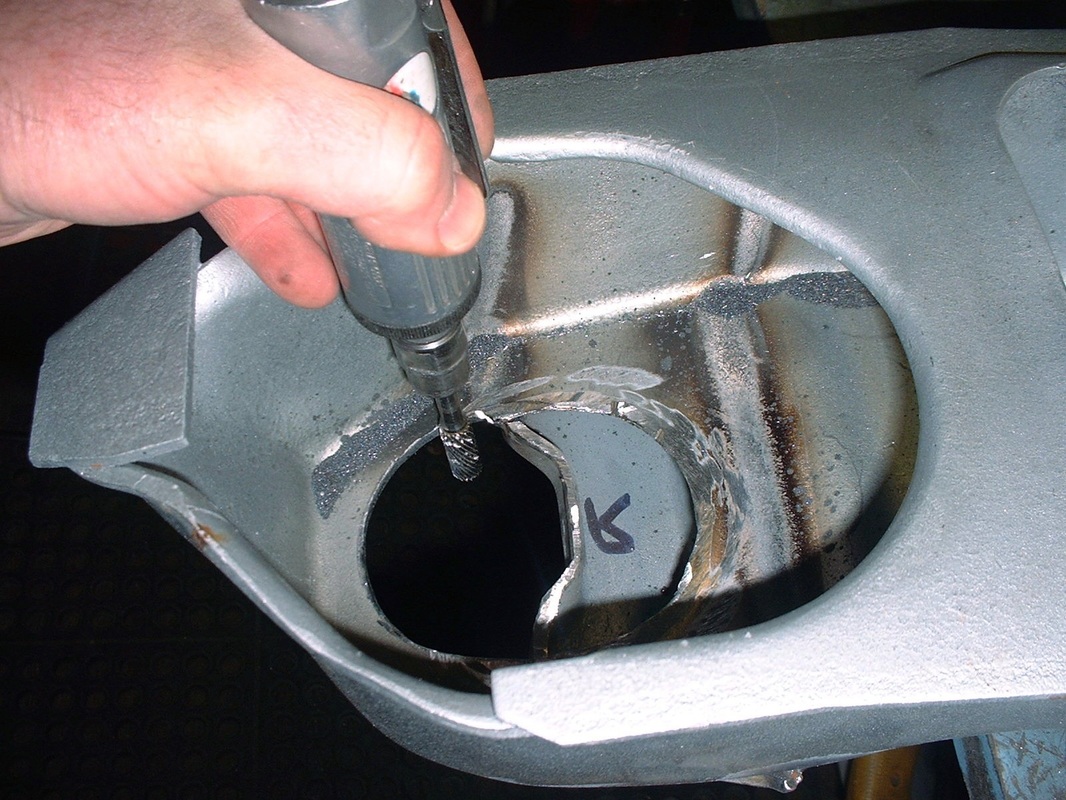
Since the adjustable HT coil-over springs are a different diameter than the OEM springs, the HT kit comes with new spring seats that are supposed to be slipped over the OEM seats. But I needed to enlarge the hole in the cross member for the shock body so the OEM spring seats had to come out.
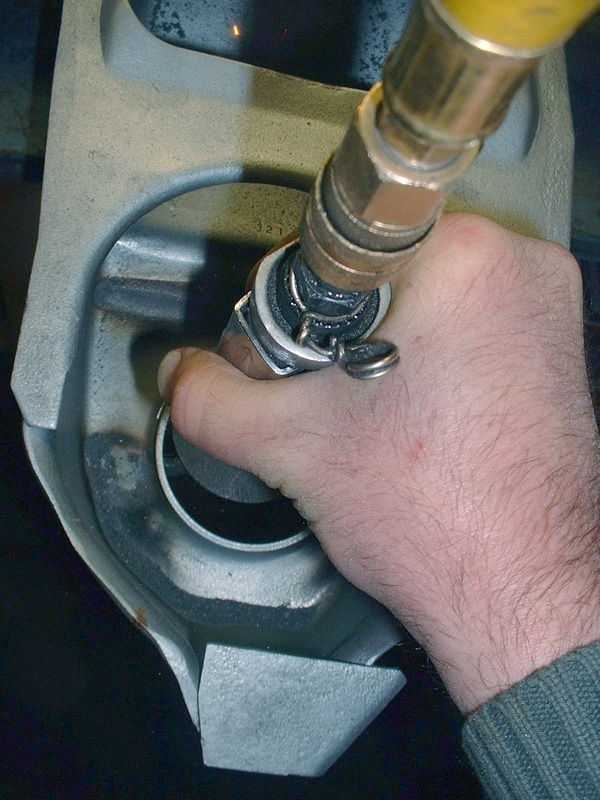
A cut-off wheel on the die grinder made short work of that. I followed up the die grinder with the angle grinder to smooth out the area and bring it flush with the surrounding material to give a nice level mounting surface for the new HT spring seats later on.
That left plenty of room to mark out and enlarge the shock through-way hole in the cross member. I used the HT spring seat as a guide to trace the outline on the underside of the member, and then chucked up a carbide burr to hog out the hole, leaving plenty of material edge-wise to maintain the strength of the area.
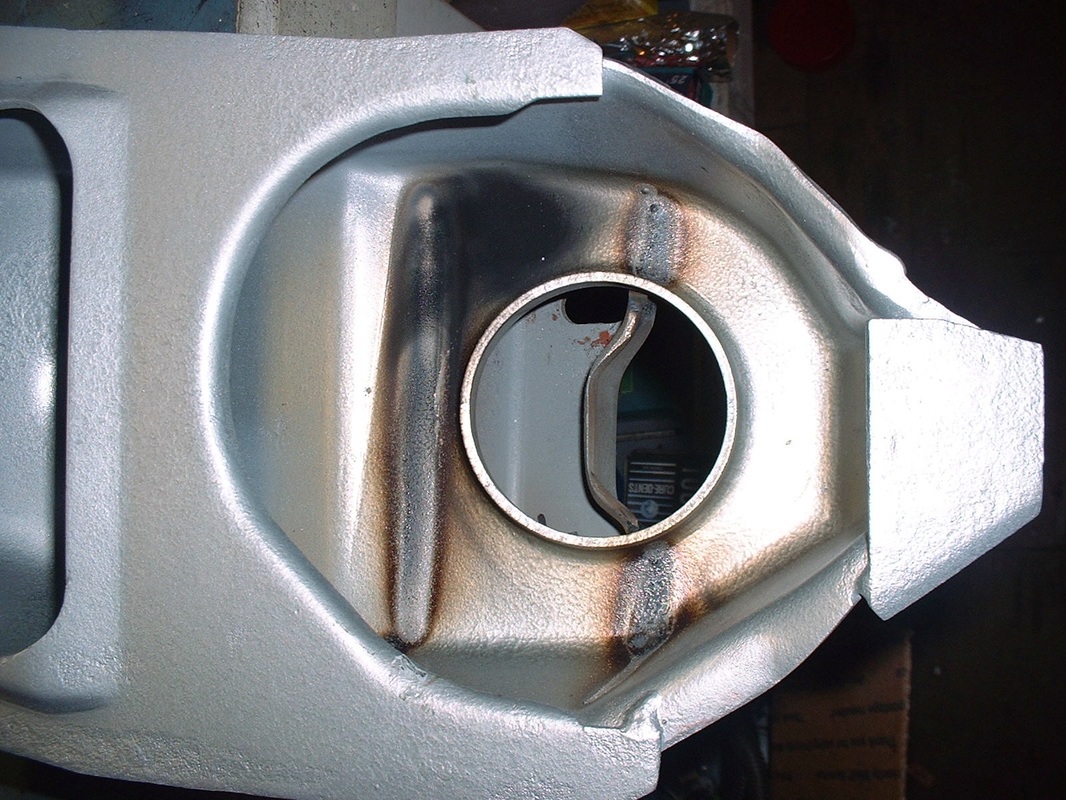
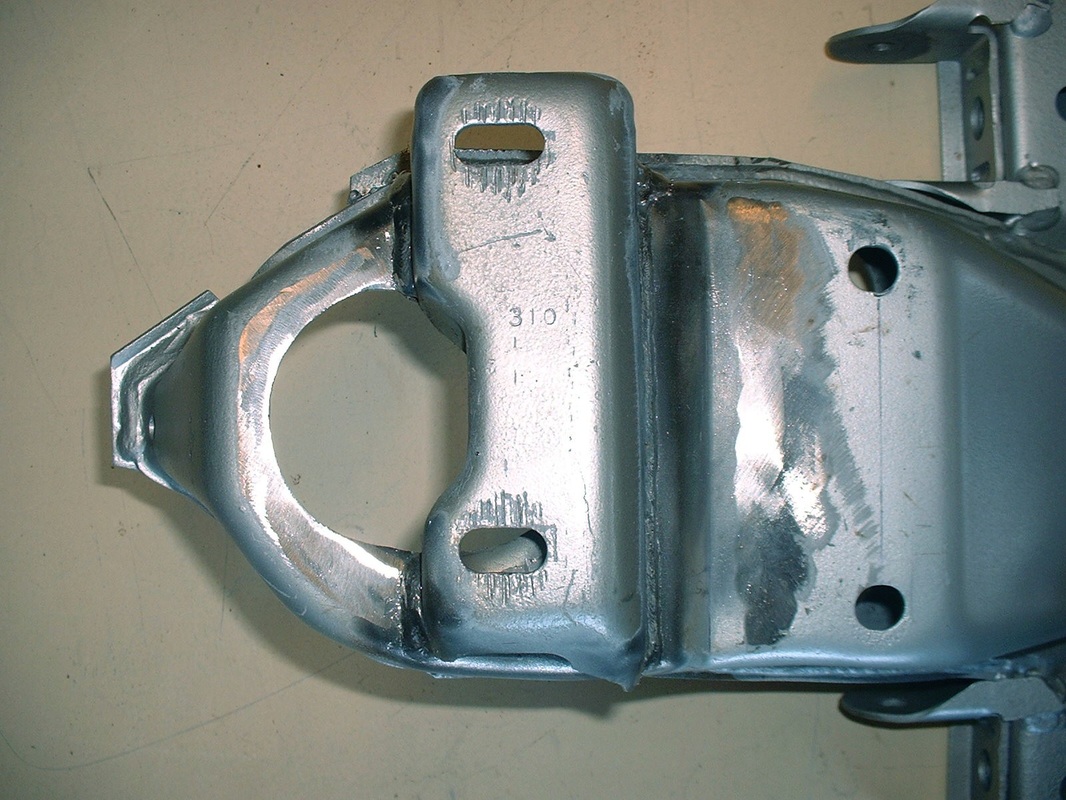
Here's a top view photo to show how much further outboard the hole was made. Compared to the first photo in this post, the amount of material removed is obvious.
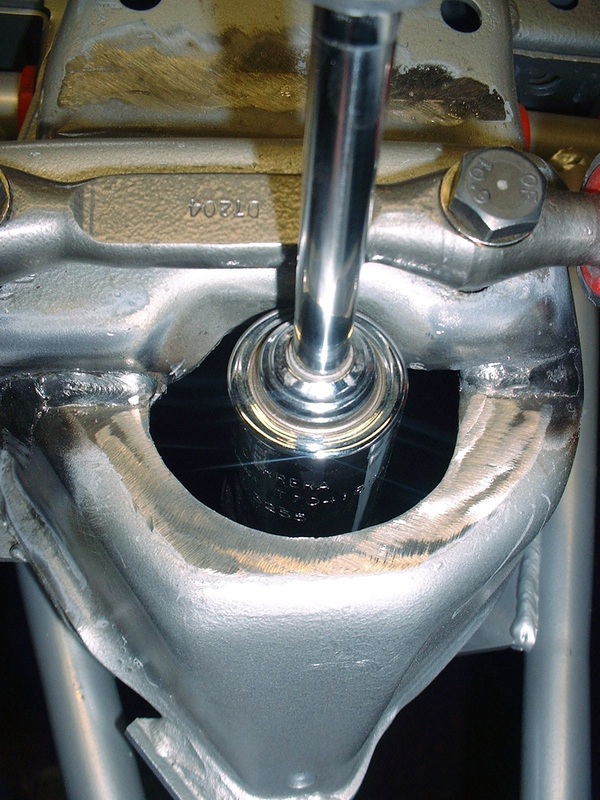
The next step was to mock up the front suspension to make sure the shock would clear with lots of room throughout the entire range of travel. This time everything checked out. Considering I had only 1.5 mm clearance all the way around when I started, this pic shows how much additional clearance was gained by taking this extra step. The upper shock tower was left off for clarity.
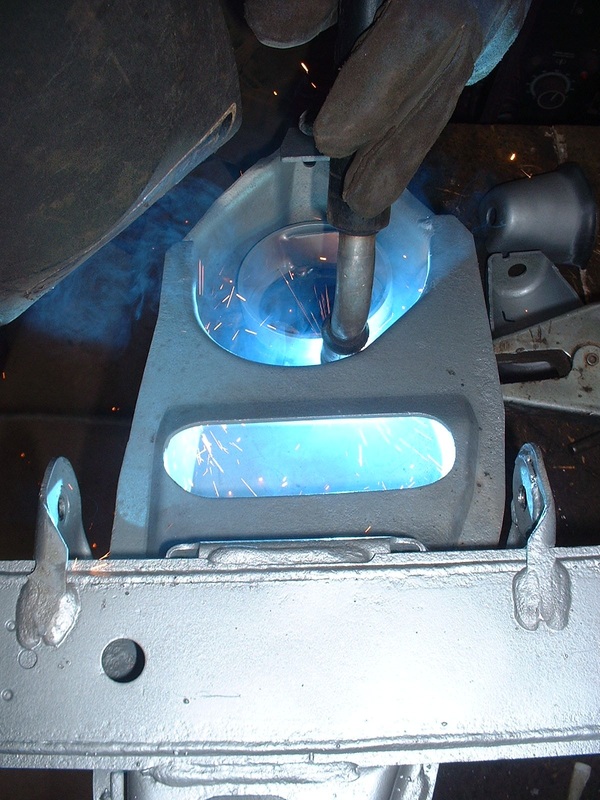
Next came welding the HT spring seats and the upper shock mounts in their new locations.
The instructions that accompany the HT Motorsports front adjustable coil-overs state that their new spring seats need only be "glued" over top of the OEM spring seats with a 3/4" bead of silicone. They claim that upward spring pressure will always keep the seat properly located, and that the silicone will absorb vibrations and prevent squeaking. To be fair, they suggest that you peen the new seat into place.
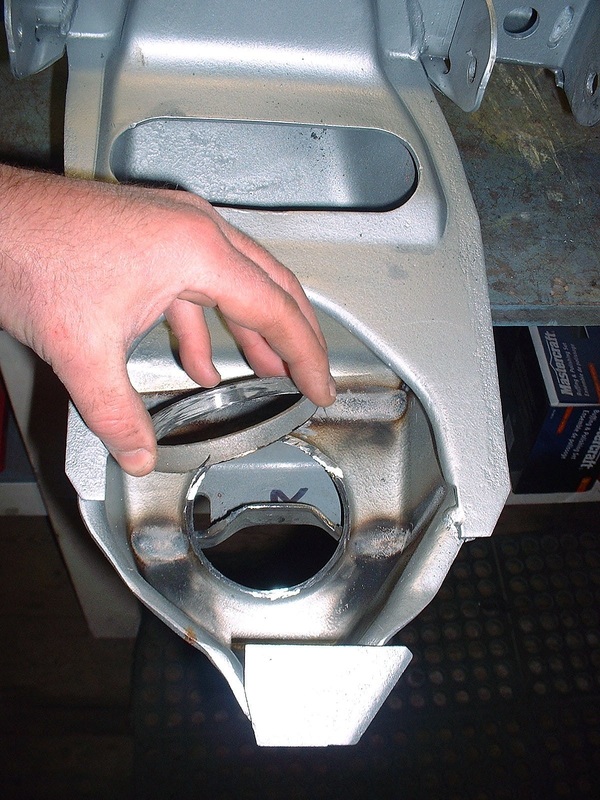
I'm not sure I would've subscribed to the gluing philosophy even if I hadn't cut off the OEM spring seat. I'd rather have something as important as the spring seats very firmly attached to the cross member, so I tacked them in place in preparation for final welding. These needed to be welded before the upper shock mounts since I needed access to the spring seats from both the top and bottom for welding, and the shock mounts would have blocked access from above.
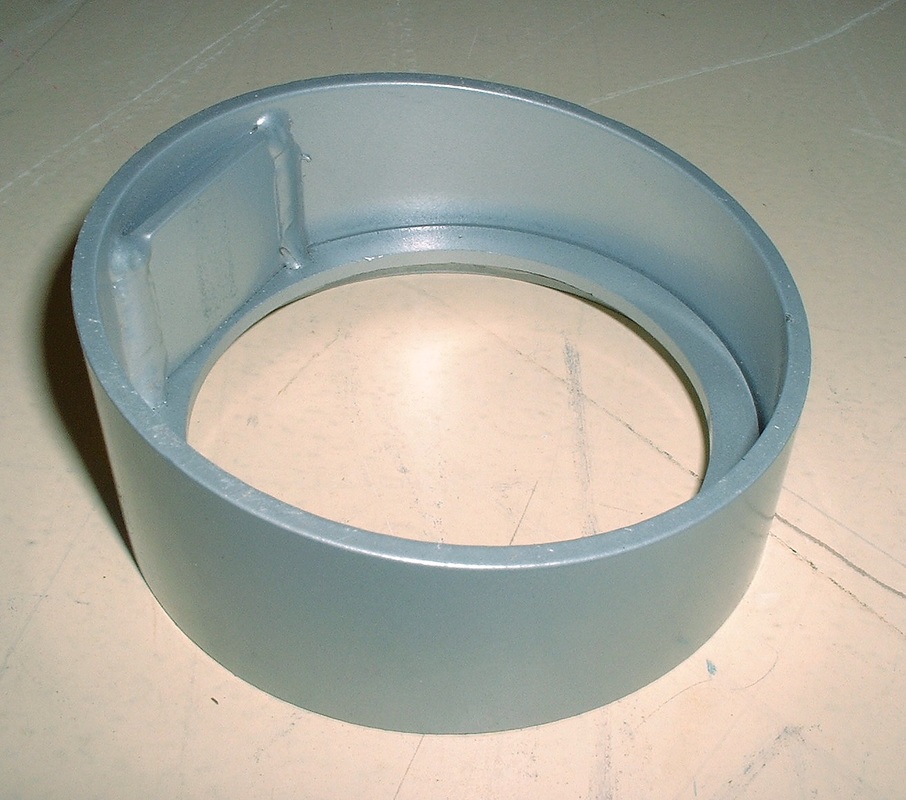
The HT seats are actually beveled in one direction, and have a flat bar welded inside them to properly locate the spring since the inside diameter of the seat is slightly larger than the OD of the spring. The tab goes to the outboard side.
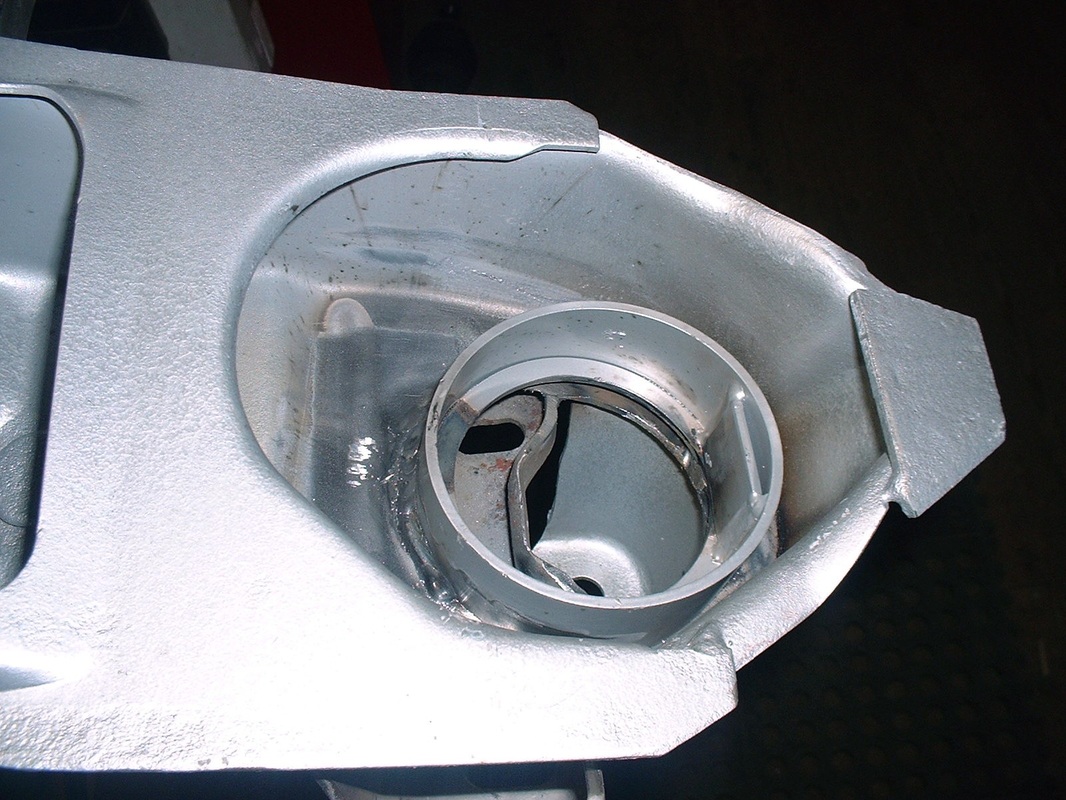
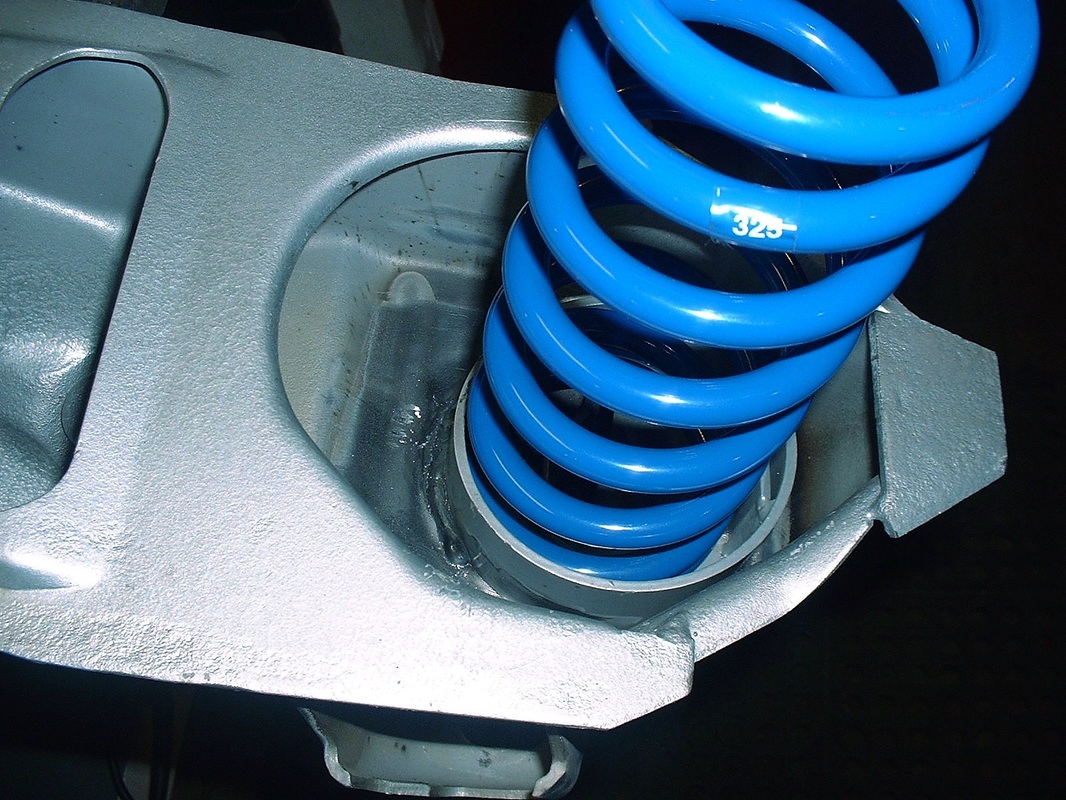
Once they were welded in place, I test fitted the springs just to show how they sat inside the seats, rather than outside the seats like the OEM ones.
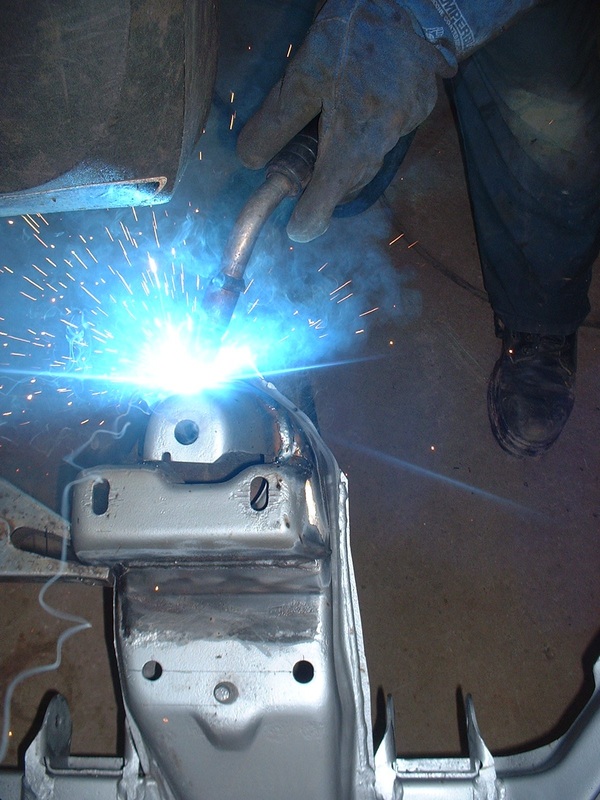
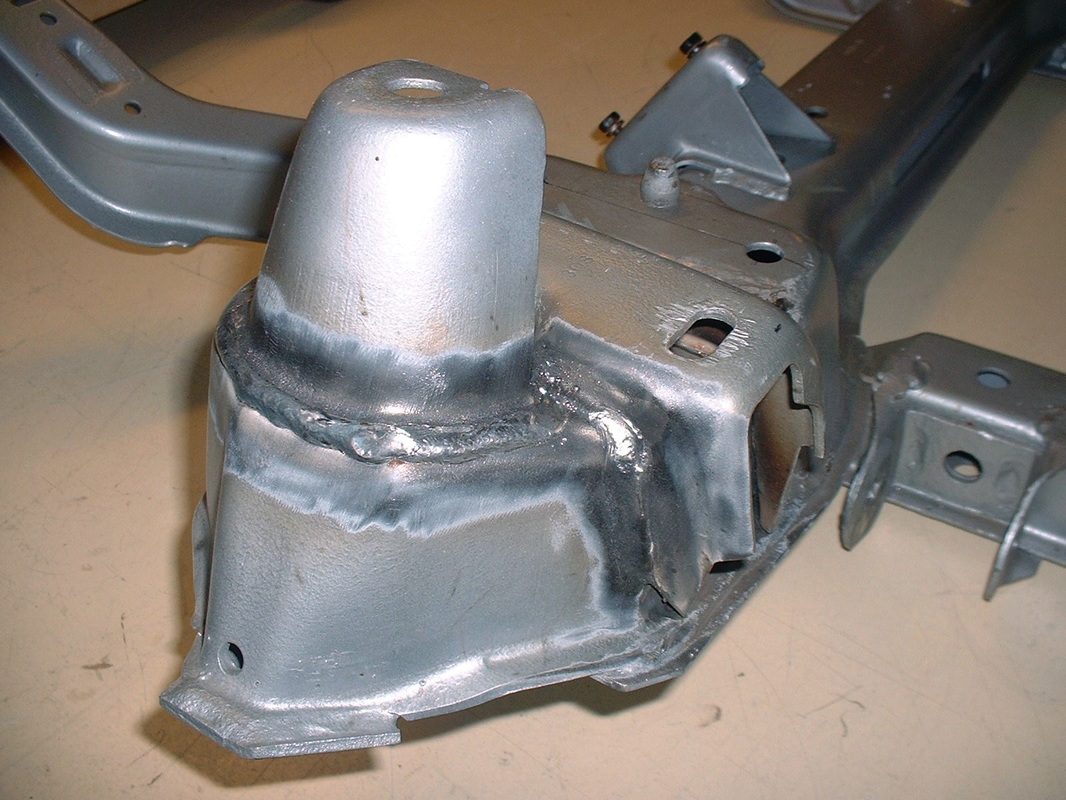
Finally, the last step before priming and repainting was to weld the upper shock towers in their new location. There wasn't enough room to move them the full 35 mm outboard like the UCA mounts, so I moved them to the furthest outboard point possible; about 25 mm. I had marked the optimal location when I mocked up the suspension, so it was just a matter of tacking them, then giving them the full blast.
Here's the final outcome. The best thing about it is that it looks totally stock even to the trained eye.
Shortening the HT Motorsports upper control arms was next on the agenda.

 RSS Feed
