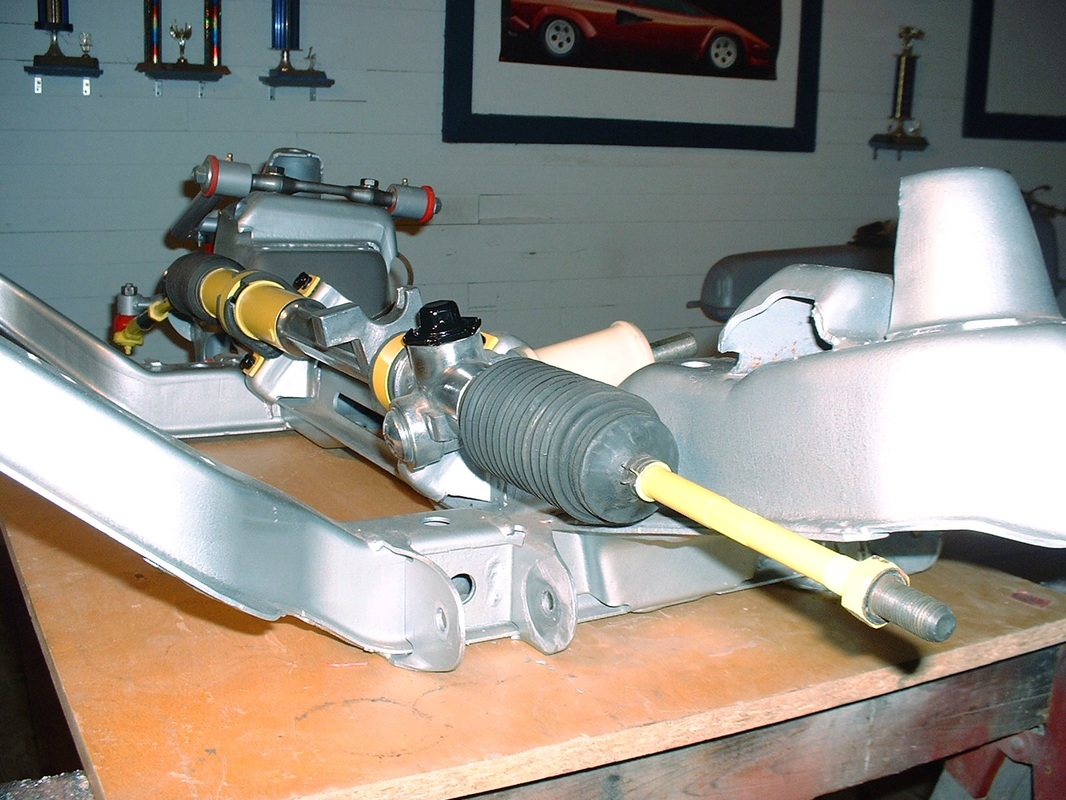
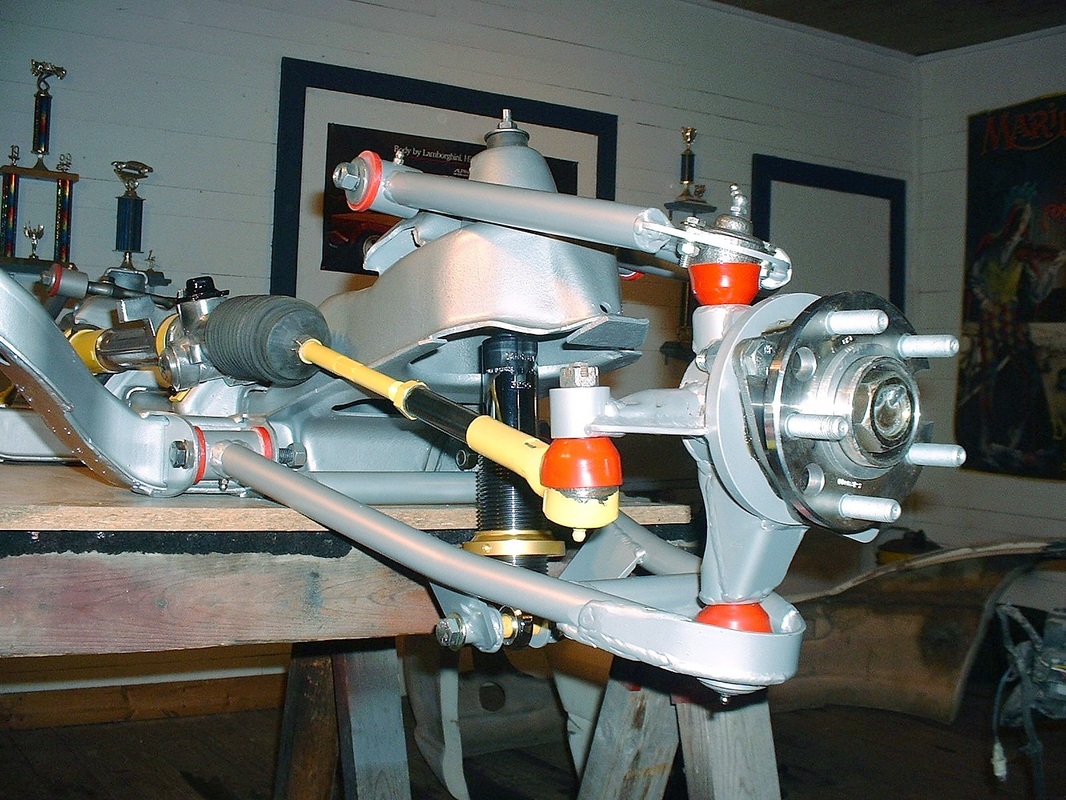
The first thing I decided to attach to the front cross member was the tidied-up steering rack. I checked it over for worn inner tie rods and the rack bushing at the passenger end, but the clearances seemed pretty much like new. So I blasted everything with crushed glass, polished a few highlights on the rack tube, and primed and painted the steel parts. Once it was ready, four simple bolts torqued to 20 lbft held it to the cross member:

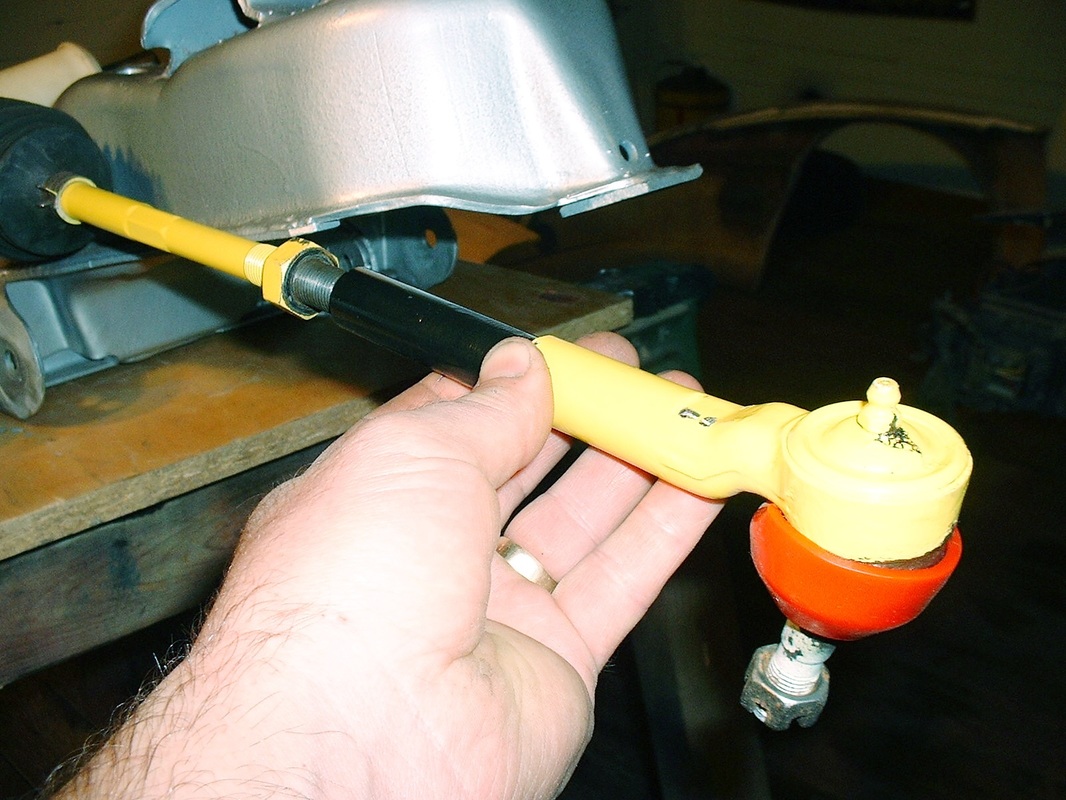
76 mm long tie rod extension tubes with male threads on one end and female on the other were provided in the Held Motorsports kit to lengthen the stock tie rods:
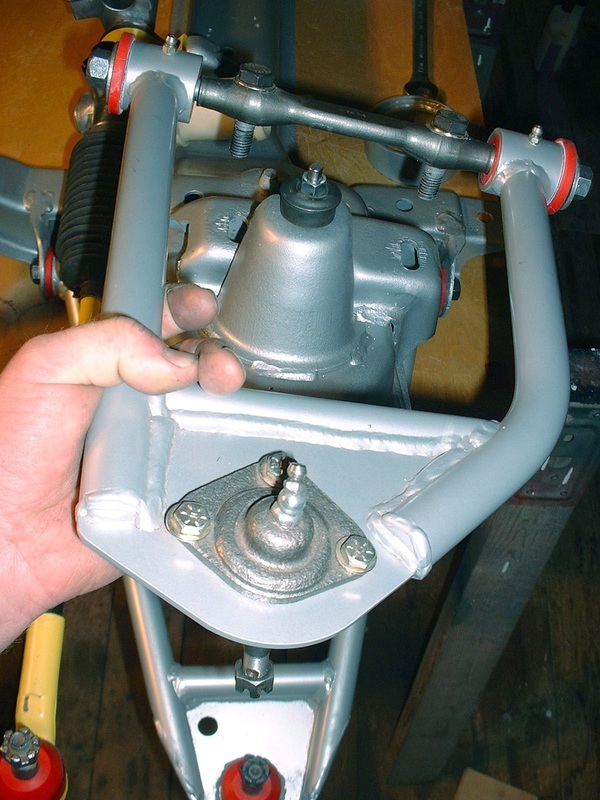
Next was installing the lower control arms. Notice how the lower shock mount ears extend quite significantly below the arm. This reduces ground clearance somewhat over uneven roads compared to the OEM arms but allows the use of the adjustable shocks:
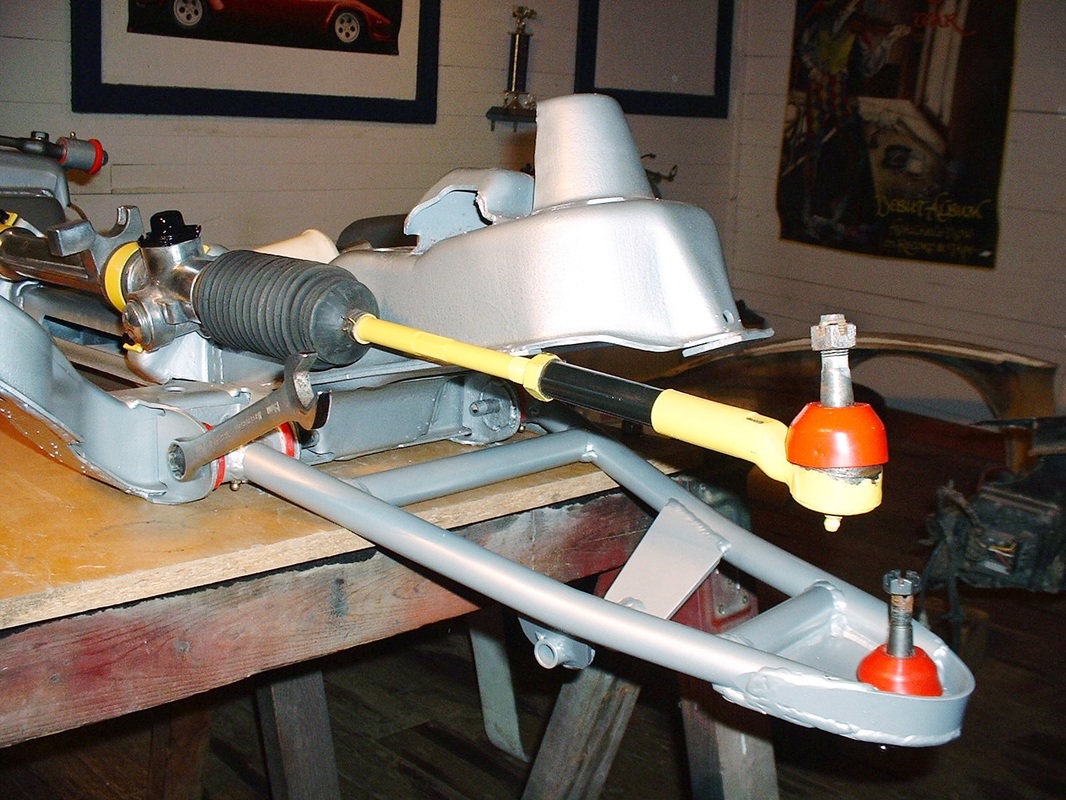
Getting these lower arms in the cross member pockets with the urethane bushings took a little poly grease and a lot of elbow grease. They certainly were a tight fit, which I suppose is better than having them flop around.
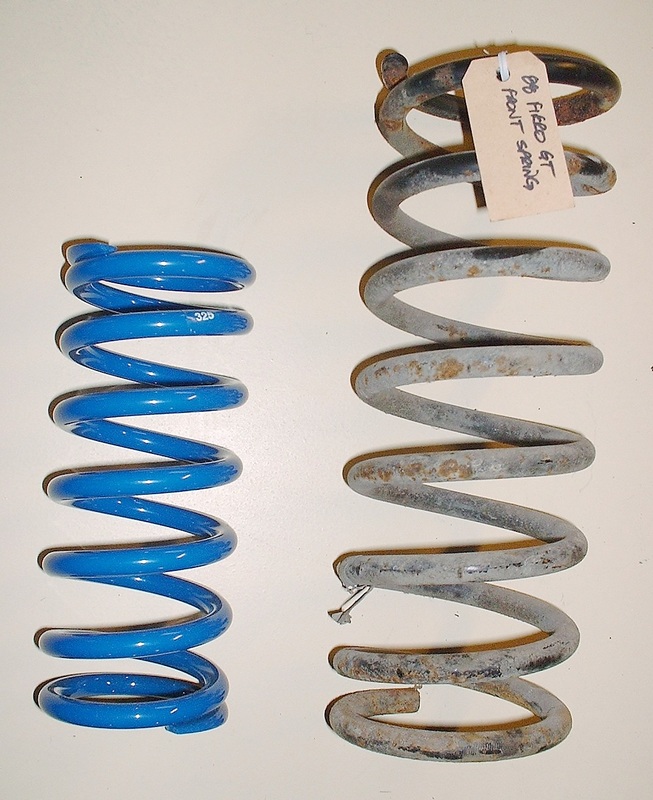
Next up was the installation of the shocks and springs. Here’s a close up of the my new 325 lb/in front springs vs the old OEM springs. I hope I didn’t make a mistake and order them too stiff. Only time will tell.
Here are the rest of the pieces that make up the coil-over shock. I got the Carerra chromed shocks with my suspension kit, not that anyone will see much of them once the adjustable tubes are installed over them.
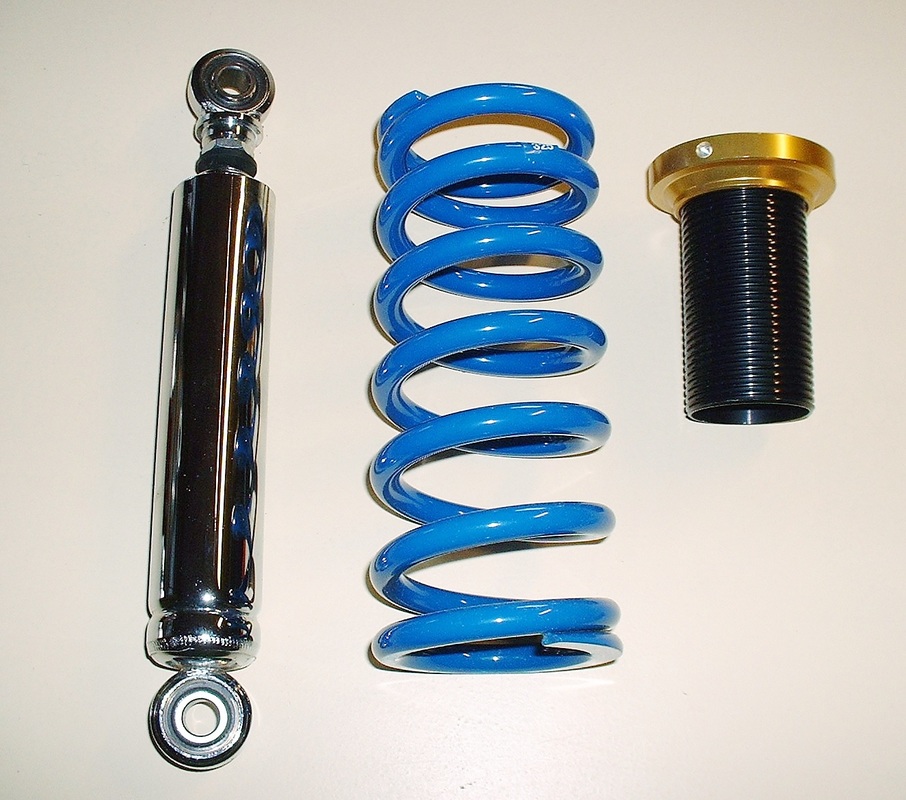
In order to keep the threaded adjuster tube from sliding off the end of the shock body, a powerful circ-clip is installed in the lower groove of the shock. Installing these clips nearly had me pitching the whole thing into the pond. It had to be one of the most frustrating aspects of this build so far. I bent two pairs of circ-clip pliers, searched half a dozen times for the clips on the floor after they went flying every direction imaginable, and pinched my finger tips.
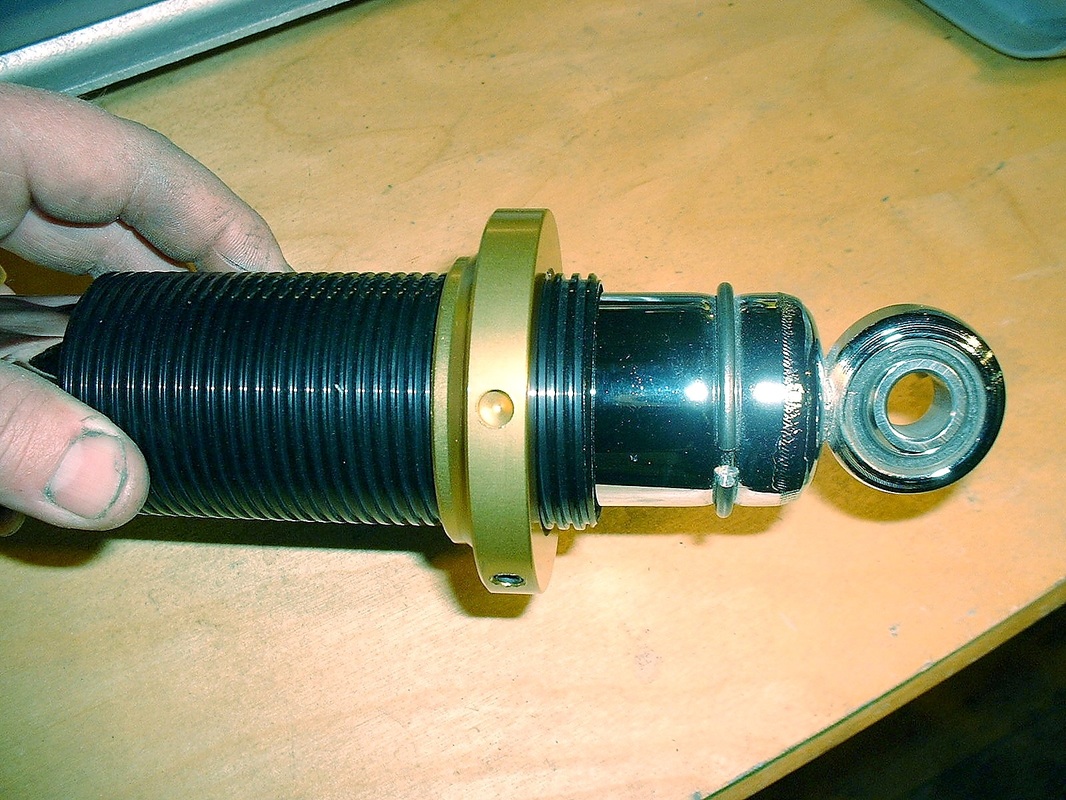
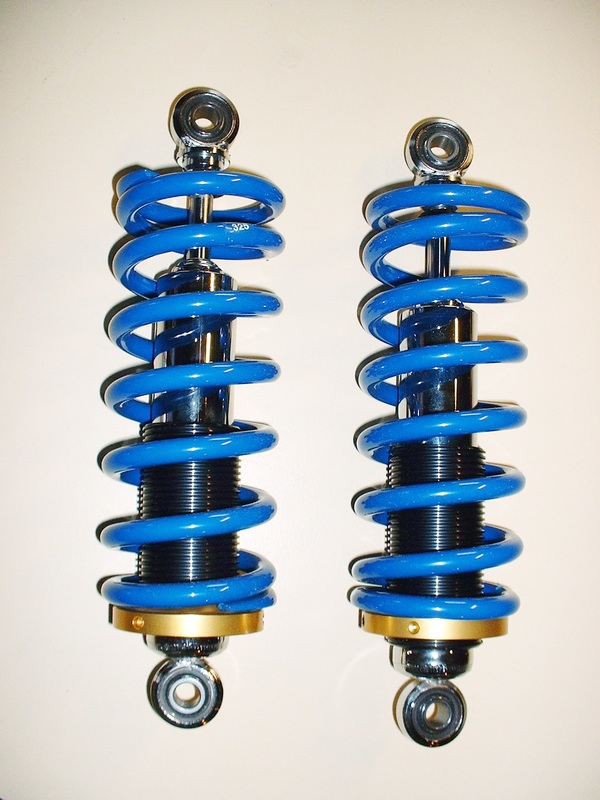
Once they were finally on, I could finish building up the coil-overs… which was just a matter of slipping the threaded tubes on and then the springs. See what I meant by how little the chrome body of the shock shows? At least I’ll know they’re there.
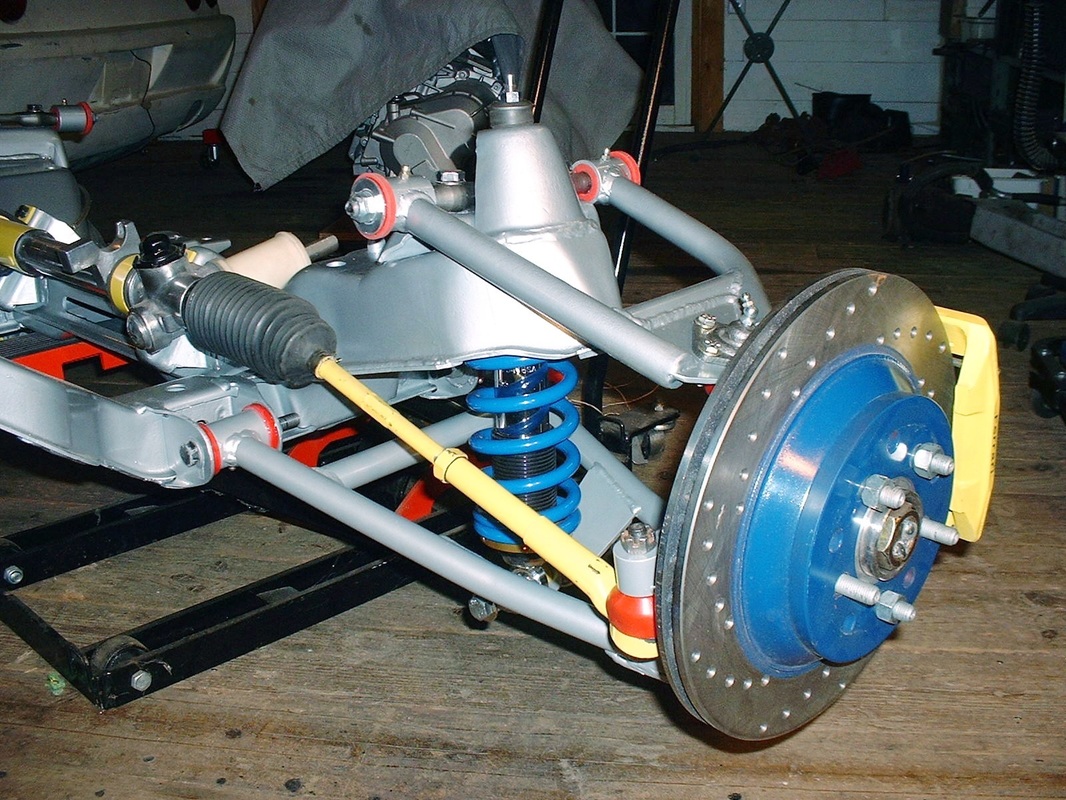
Once I had the coil-overs built up and installed, the next step was adding the upper control arm. Just two bolts through the upper pivot bolt hold each arm to the cross member. The front-end caster and camber alignment depends on where you tighten the two bolts through the elongated holes in the top of the cross-member.
The next piece of the puzzle was the knuckle assembly. It’s only held onto the control arms by the upper and lower ball joints and the outer tie rod.
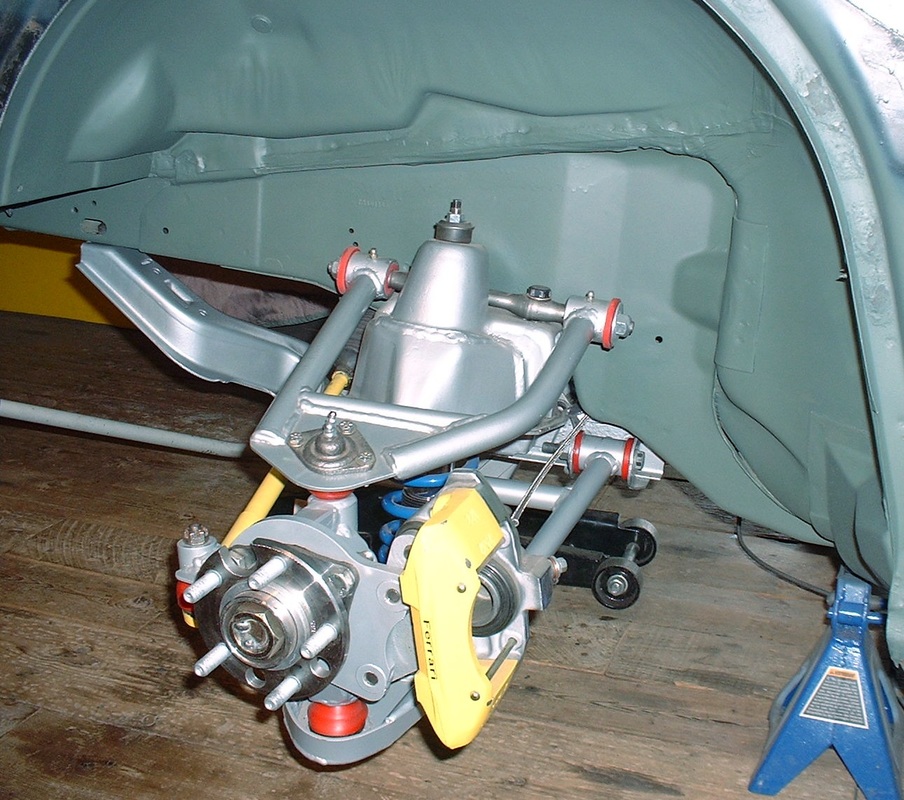
As with the rear suspension, I opted for the 12" C4 Corvette rotors and stock '88 Fiero calipers. That meant simply bolting on the Fiero Addictions brake caliper adapter onto the HT knuckle...
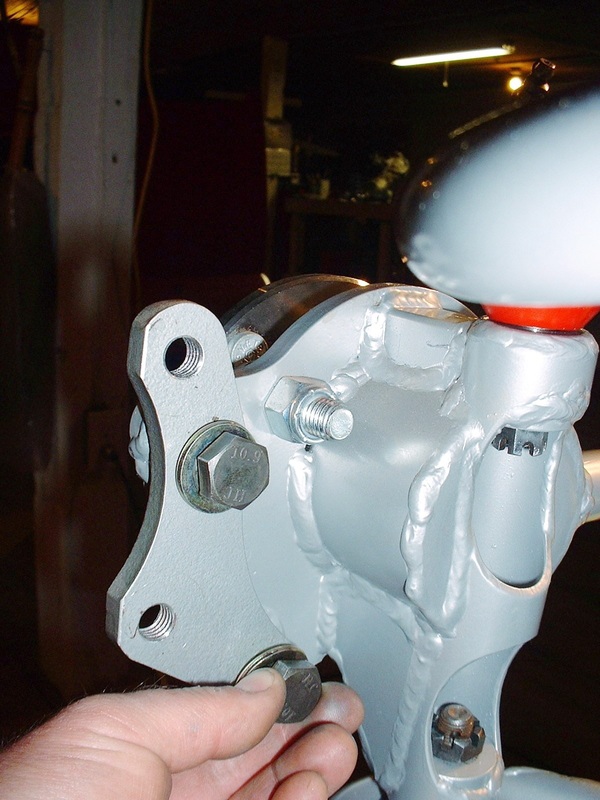
... and then bolting the caliper onto the adapter using the stock caliper bolts through the sliders. In this view you can clearly see the tilt of the upper control arm to enhance anti-dive.
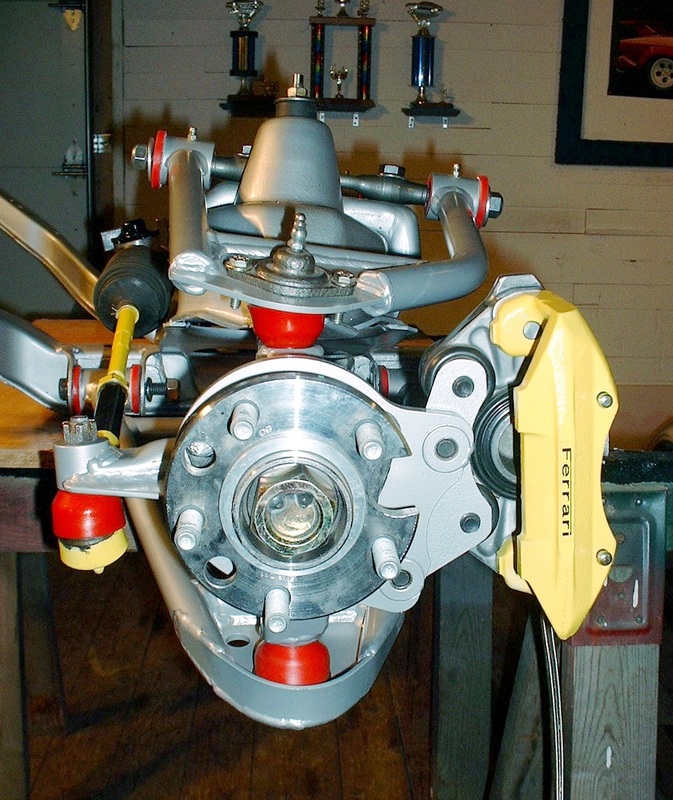
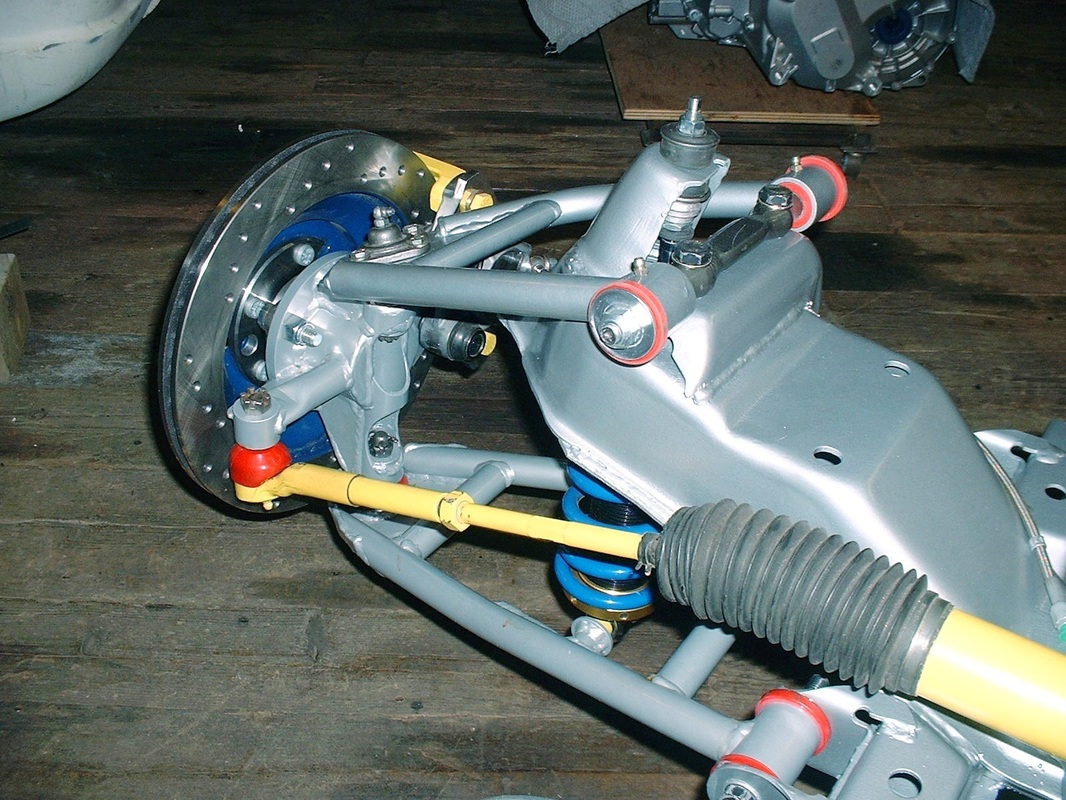
With the caliper installed, it was a simple matter of slipping on the rotors at a bit of an angle, sticking on a couple lug nuts to hold them square to the hub, and installing the brake pads in the same manner as the rears were done earlier.
And finally, here's an inboard shot to complete all the possible angles anyone could possibly want to see. It's kind of colourful, but in my defence I didn't get to choose the colour of the ball joint boots or bushings. I would've gone for lime green.
Once the other side was completed, I raised the car and aligned the cross member with the chassis mounts:
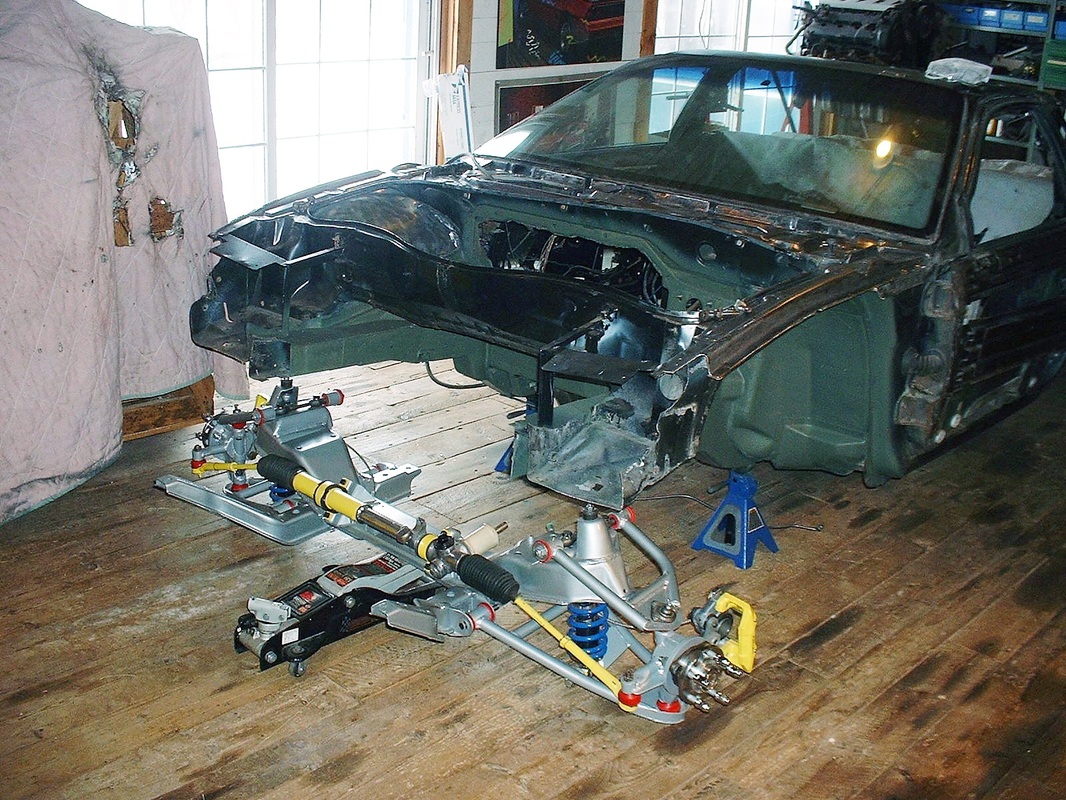
Then lowered the chassis onto the cross member and bolted it into place:
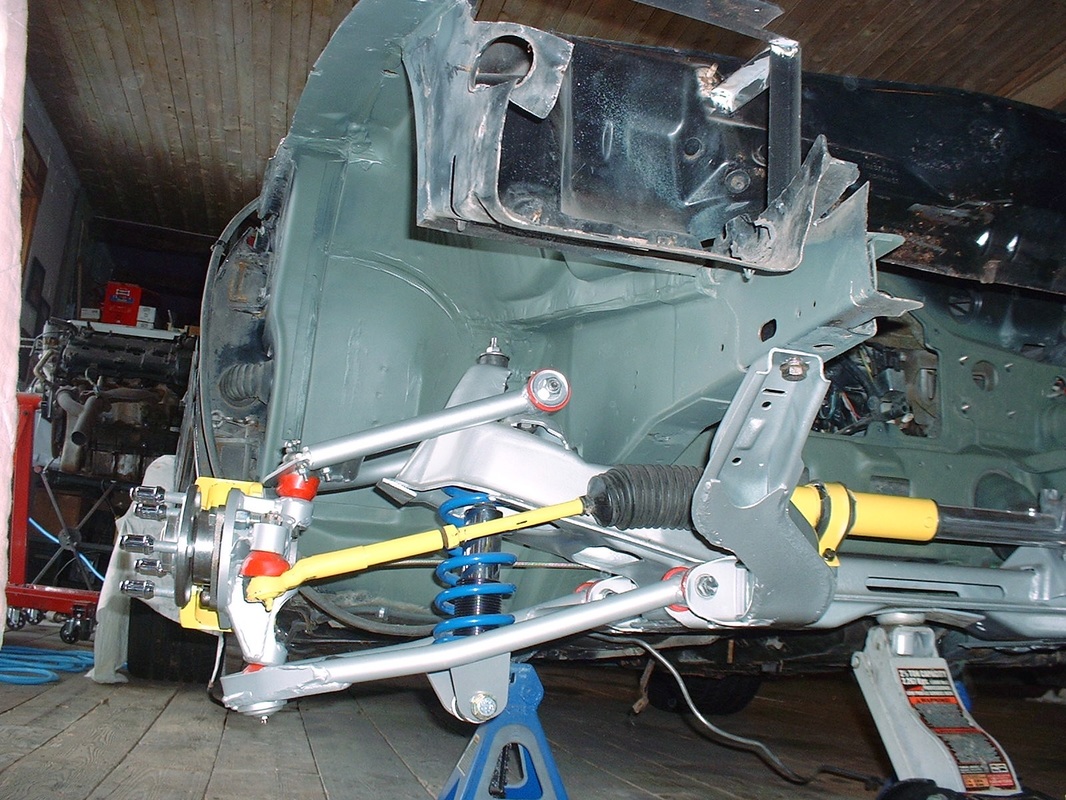
Here's what the final configuration looked like (less the brake rotor):

 RSS Feed
