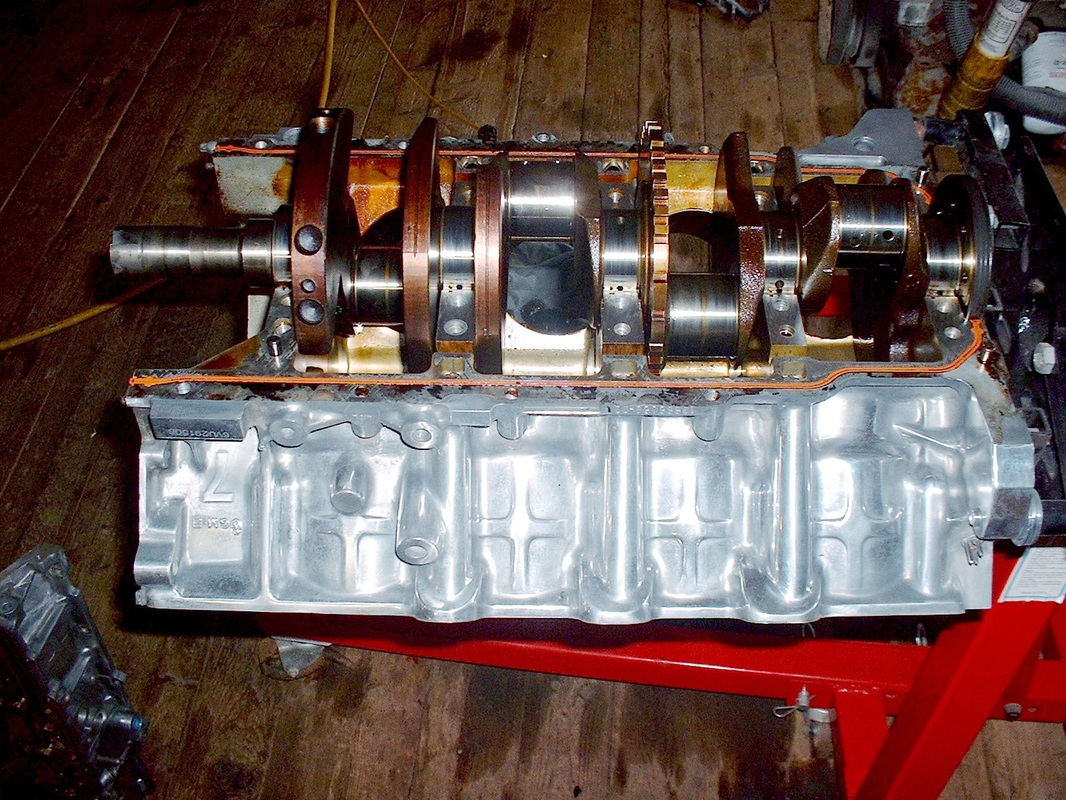
The last couple steps before my favorite part (the rebuild), were to separate the two halves of the engine and remove the crankshaft. Removing the lower engine case half was actually a lot easier than I thought it would be. Cadillac machined several thin slots along the parting line to stick a screwdriver in between and pry the two parts apart. Here's the upside down engine block with the lower half removed:
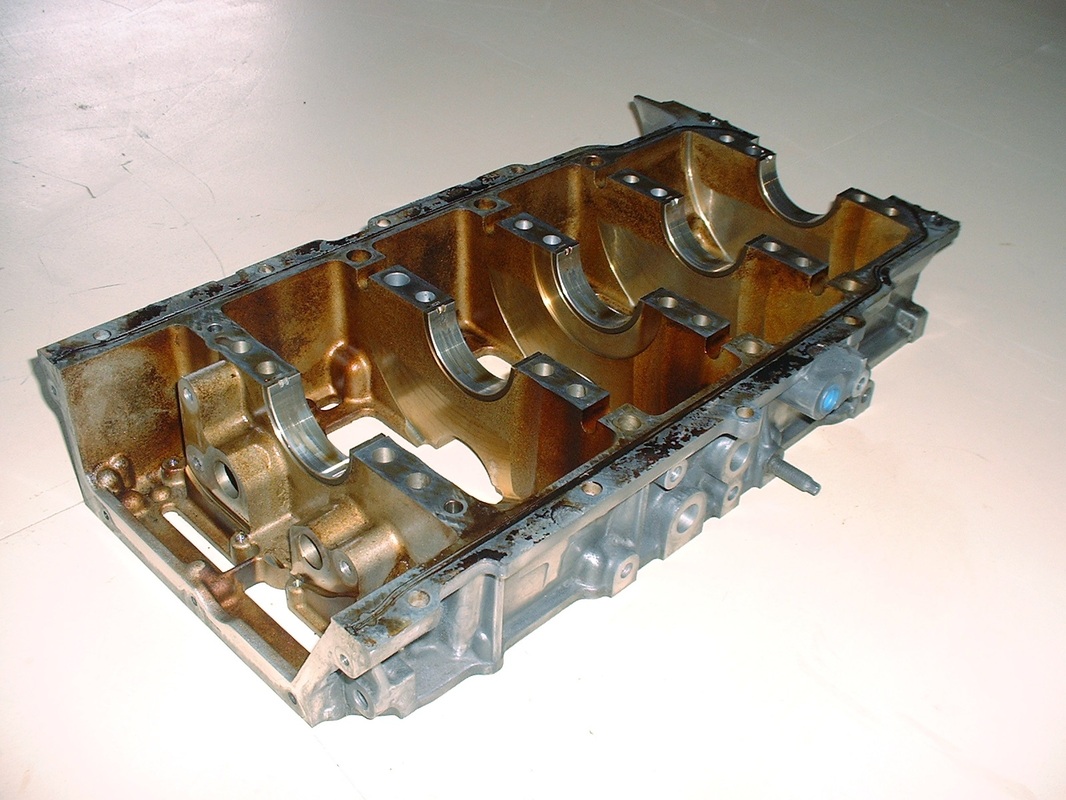
This next picture is the lower engine case half. The baked-on oil from +200K kms of use left a coating of varnish on the inside of the engine. It made for some pretty cool pictures with neat colors. The chemical cleaning would take care of that and make it all shiny again.
Anyone used to rebuilding the old Small Block Chevy engines will find a big difference in the way the crank bearings are held in place. On the Northstar, all of the main crank bearing caps are integrated into the lower block-half instead of being separate parts.
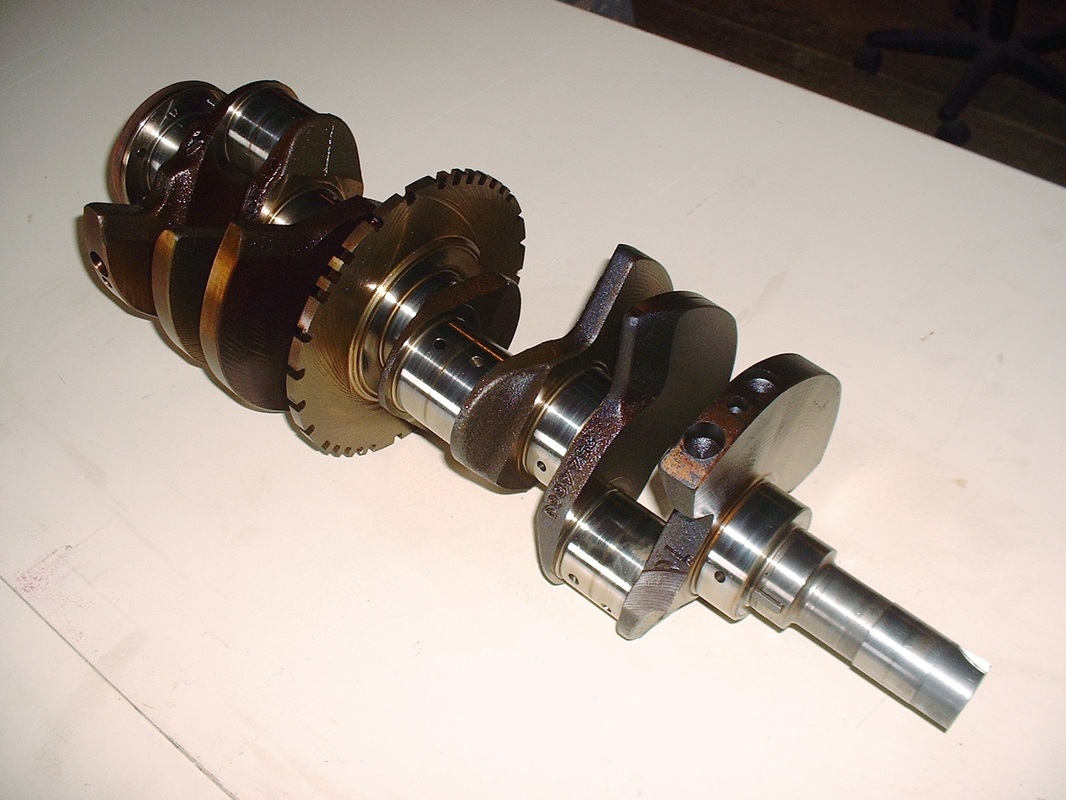
With the engine halves apart, I was then able to lift out the crankshaft. The main journals were scored lightly needing them to be machined down 0.25 mm (0.010"), but the connecting rod journals only needed a polishing. For those who aren’t familiar with newer engines, the machined disk in the middle of the crank with the square saw-teeth is the crank position indicator. Two stationary magnetic probes bolted to the side of the engine “read” the teeth as they pass by and send the information to the Powertrain Control Module (PCM) for spark control, misfire detection, etc.
Here's the bare upper half of the engine block ready for deep cleaning:
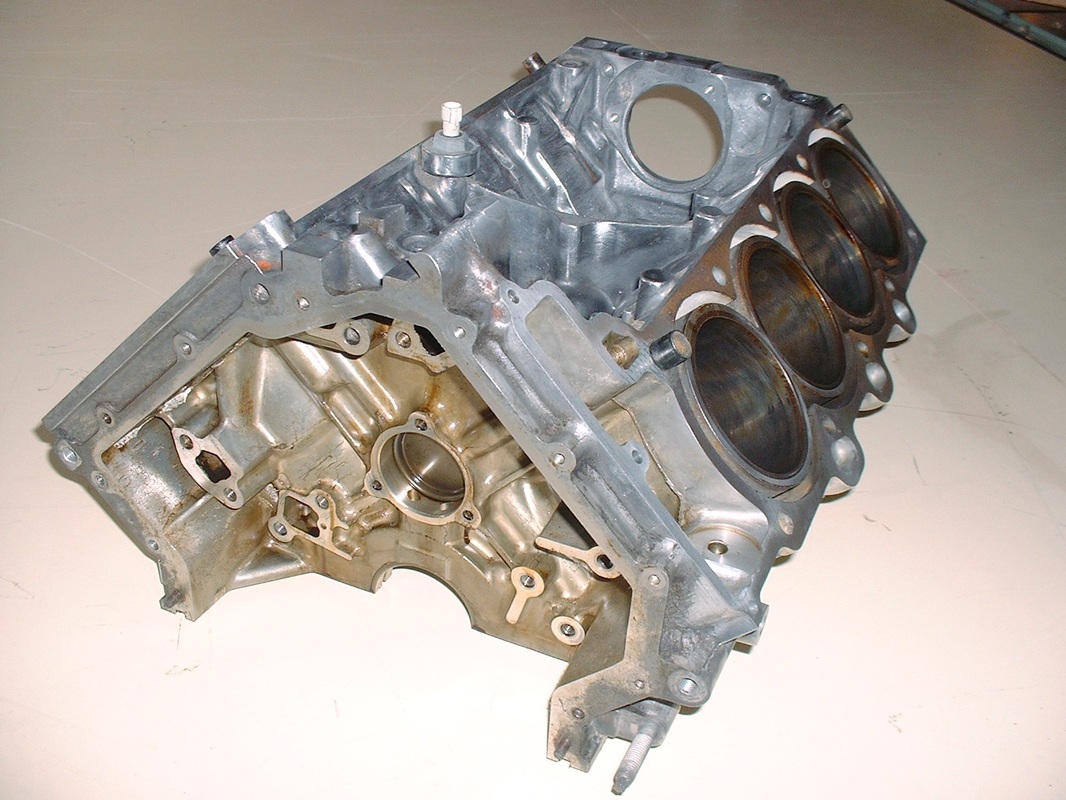
At this point I figured if I was going to polish the exterior of the block to a nice shiny finish, now might be the right time. The chemical cleaning at the machine shop would not only take care of the old oil stains on the inside, but also clean away any leftover grinding and polishing residue from my silly OCD desire for a spotless engine.
I started with the oil pan knowing that if it turned out to be too tedious a task to carry on with the whole block, then at least some of it might show. I started by sanding the big casting lines off the pan, then got progressively finer with the sand paper until I stopped at 400 grit. That took the better part of 12 hours to do. Here it is part-way through around the 220 grit phase.
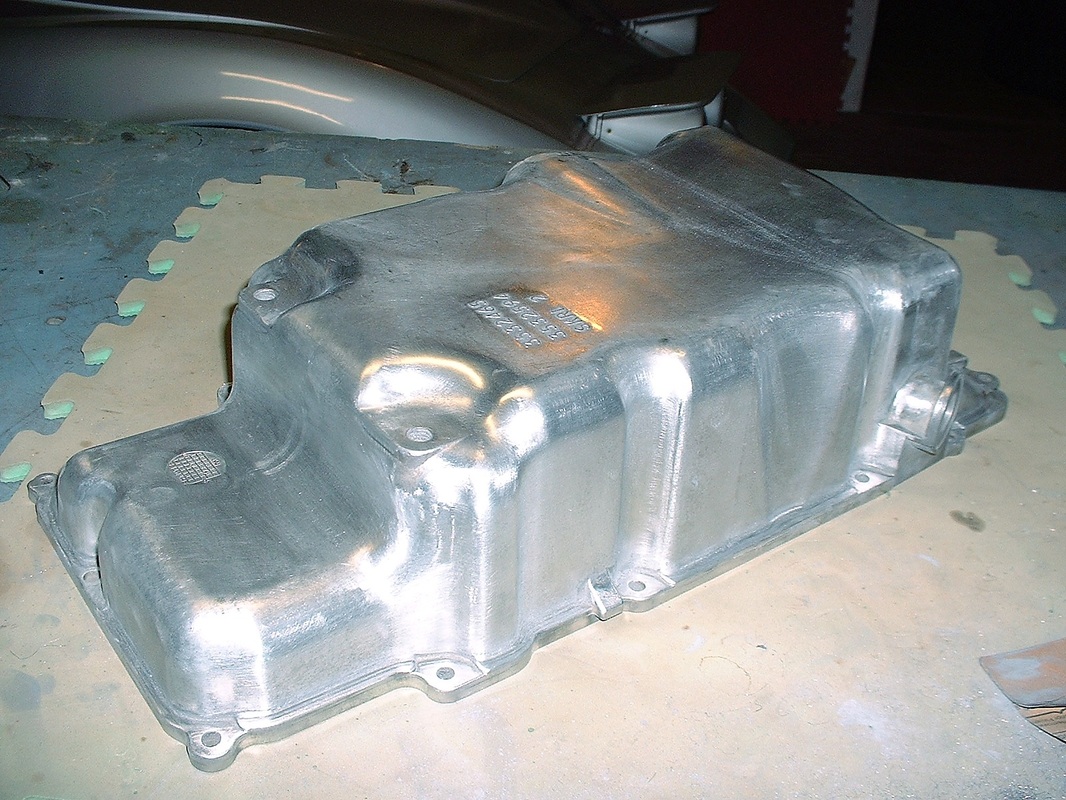
Then I broke out the polishing compound and my 8” bench-mounted buffer and had-at-it for another 3.5 hours. I found that the oil pan isn’t made of the highest quality aluminium and there are swirls of different colors here and there. But that’s OK because at 120 km/h only the bugs at road level will ever see it… just before they get sucked into the vortex left behind by my rear bumper.
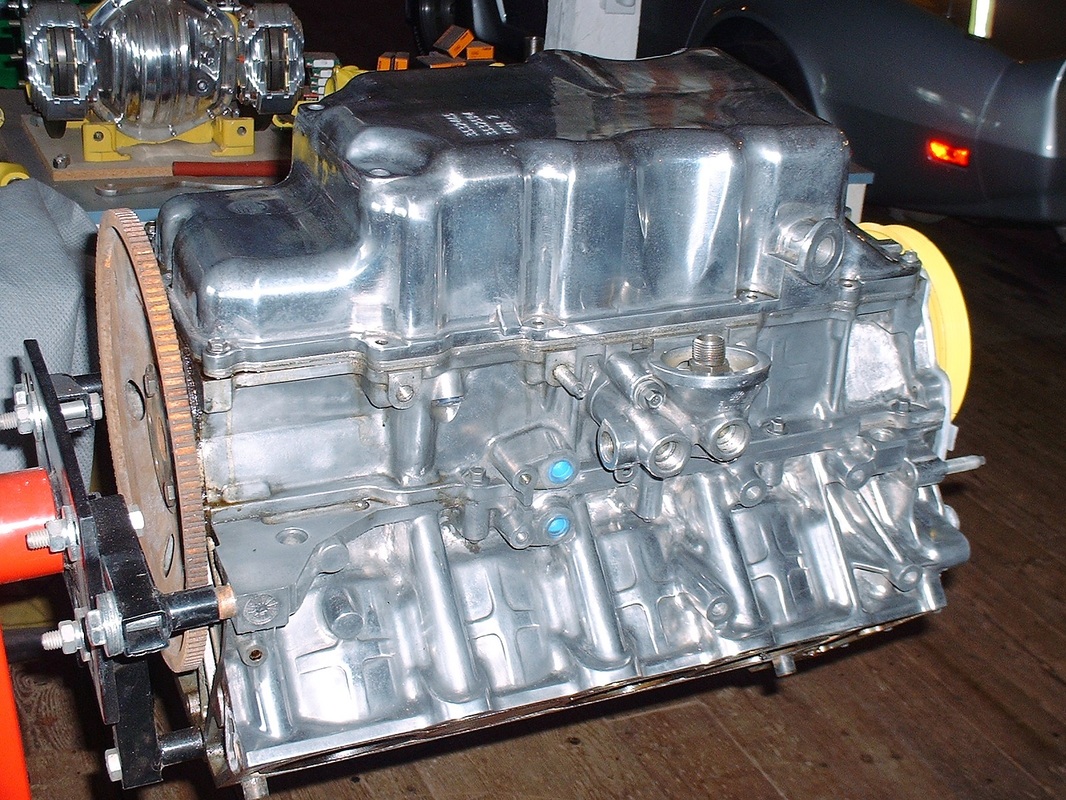
I find photographing polished aluminium is always disappointing; it never looks anywhere near as nice as it does in real life. I loosely assembled the engine block back together so that I could work on it at a comfortable work height on the engine stand. This is what it looked like with the pan done and halfway through the block sanding process.
All said and done, the oil pan took 15.5 hours while the block took 25... sure makes the winter pass by quickly, and if you're a thief, it's a good way to get rid of your fingerprints too.

 RSS Feed
