Next came a task I was not looking forward to... polishing the water pump housing. For those who aren’t familiar with the N* configuration, the water pump is pressed into a huge aluminium water manifold that bridges the two cylinder banks at the back of the engine. It’s so long that many people refer to it as the water log. Here’s what it looks like off the engine.
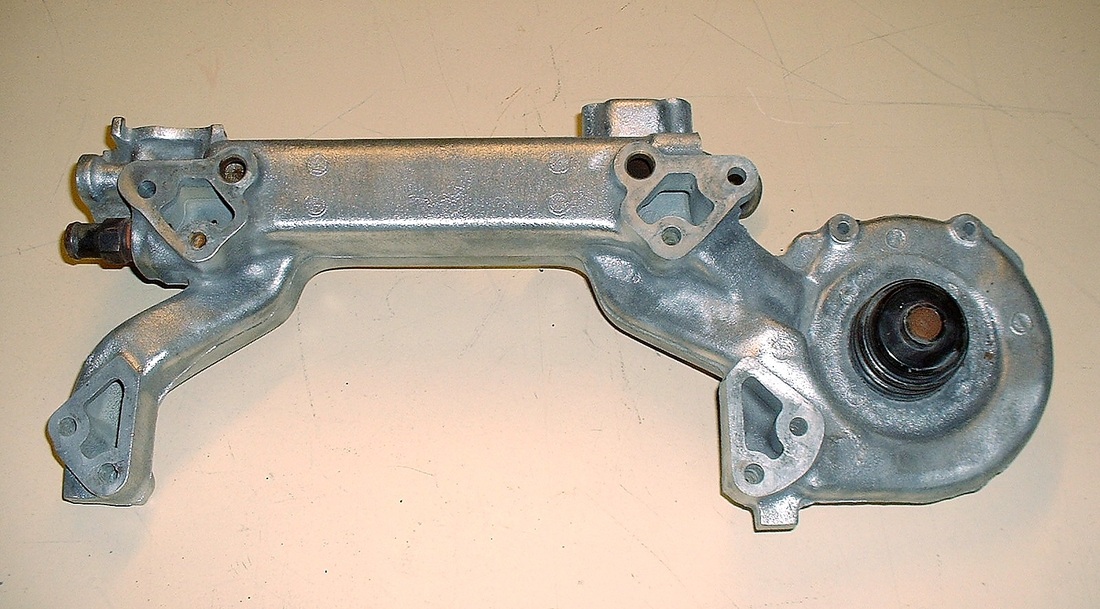
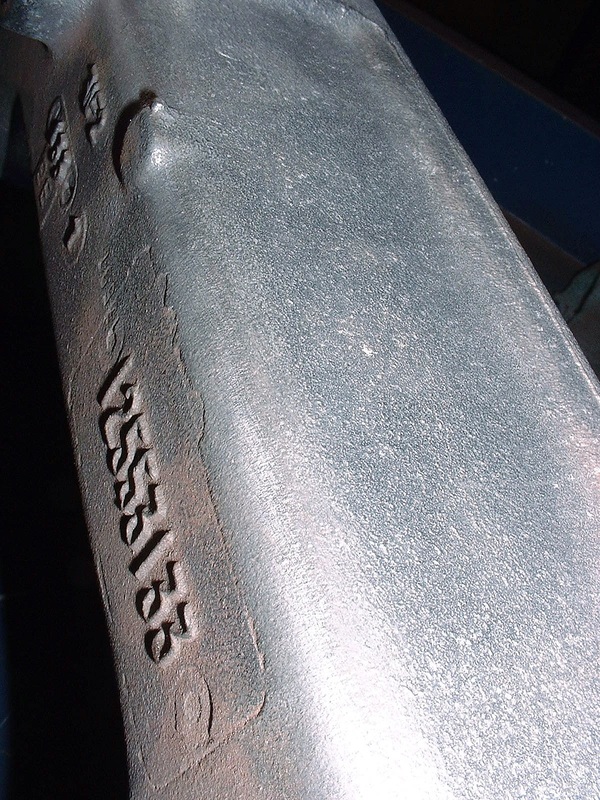
Up close you can see that it’s a rather rough sand casting with lots of raised, mismatched seams, manufacturing stamps and cast-in time, date, and part number stamps. Luckily not a lot of it is seen, but enough does that it bothered me.
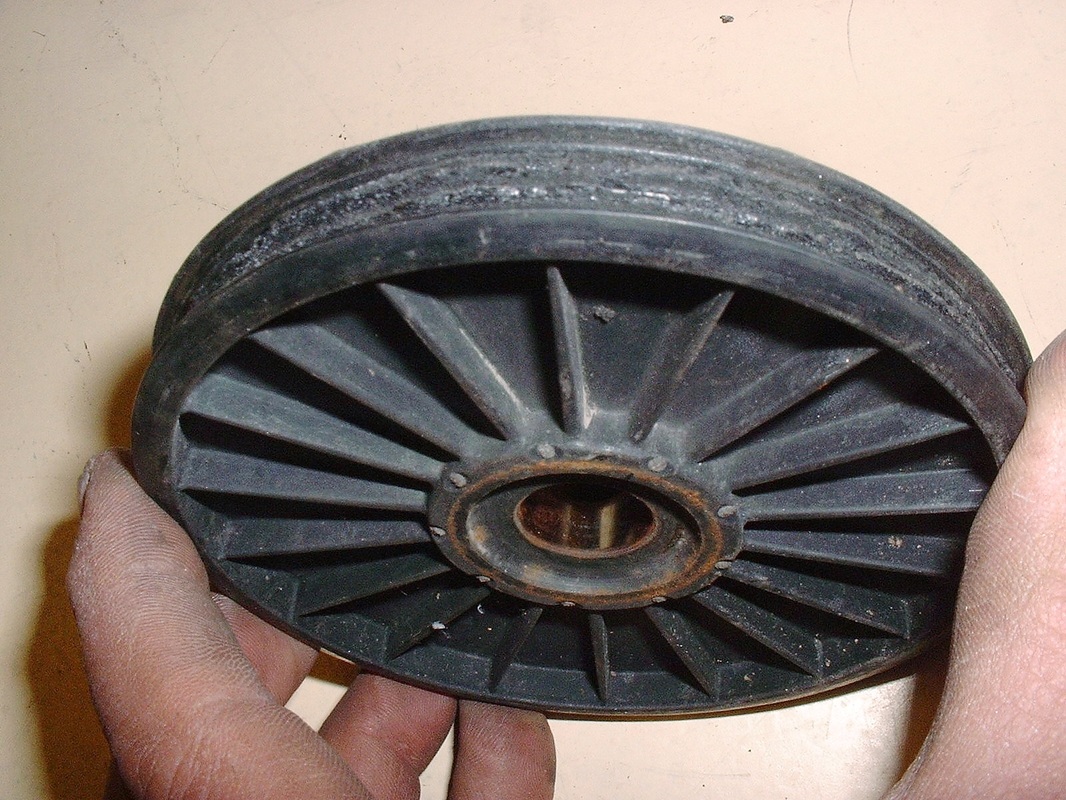
I decided I'd prep myself for the big polishing job by starting off on a small piece first. This is the tensioner for the water pump belt:

Apart from a little corrosion, it didn’t look all that bad, except that the tensioning pivot point was seized and the pulley was coming apart. I’m pretty sure in no time flat it would have eaten up the little water pump belt. And since it’s not in an easy place to inspect once it’s installed in the Fiero, it could easily lead to an overheated engine:

The pulley core and outer ridges are made of steel with a plastic coating. The two middle ridges on the pulley are entirely plastic. No biggie right? Just remove the pulley and order up a new one. Except that GM doesn’t sell the pulley and the tensioner separately… of course not! And the cost… are you holding onto your socks? A whopping $197. Good thing I had my second engine to rob parts like this from.
Surely I would have better luck with the cam-mounted pulley right. Strike two! The middle ridges looked like a mouse had munched on them for breakfast, lunch, supper, and a bedtime snack. Aside from that explanation, I have a hard time understanding how this would happen. Again, the dealership wanted five times more money than the part could possibly be worth… $69.25. Spare engine, to the rescue!
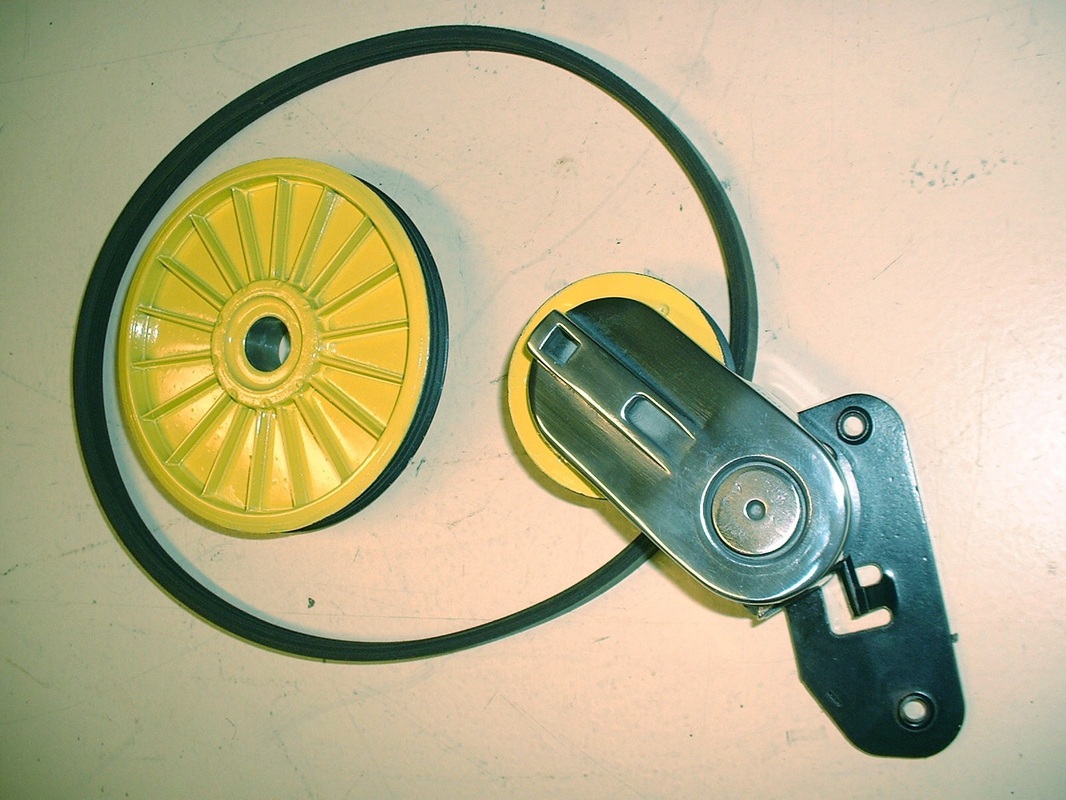
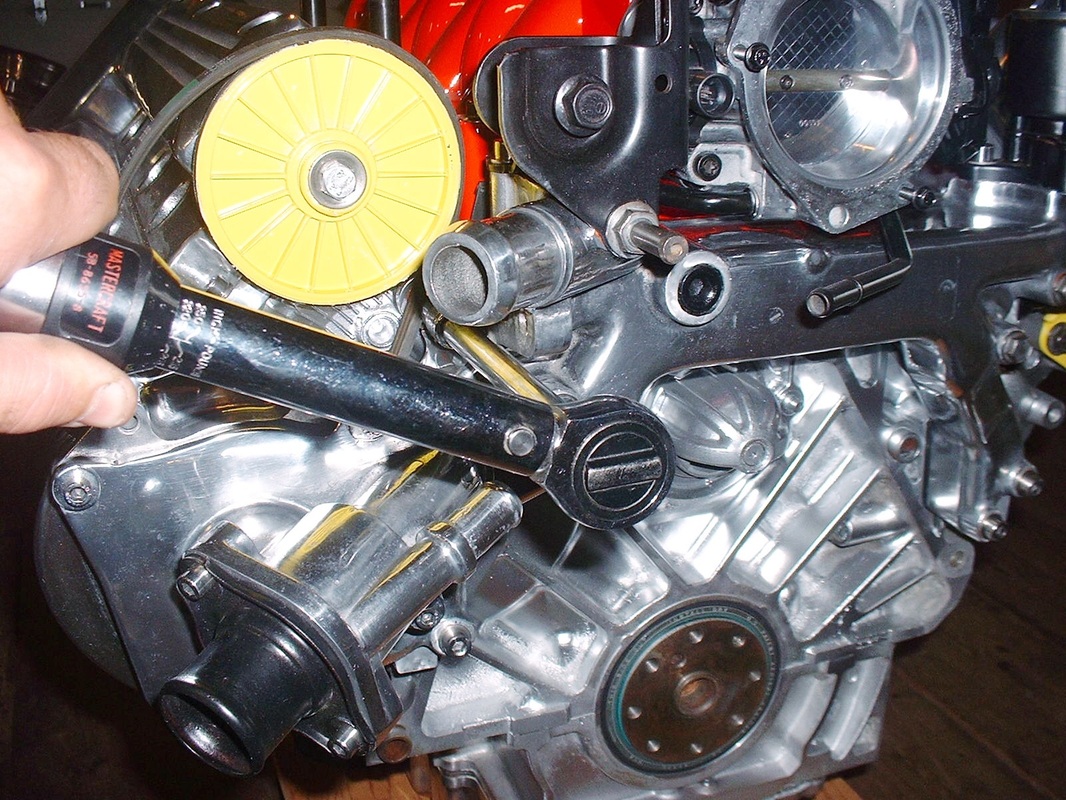
After spending a couple hours bead-blasting, sanding, polishing and painting various parts of the water pump tensioner, here’s how it turned out… like a little jewel:
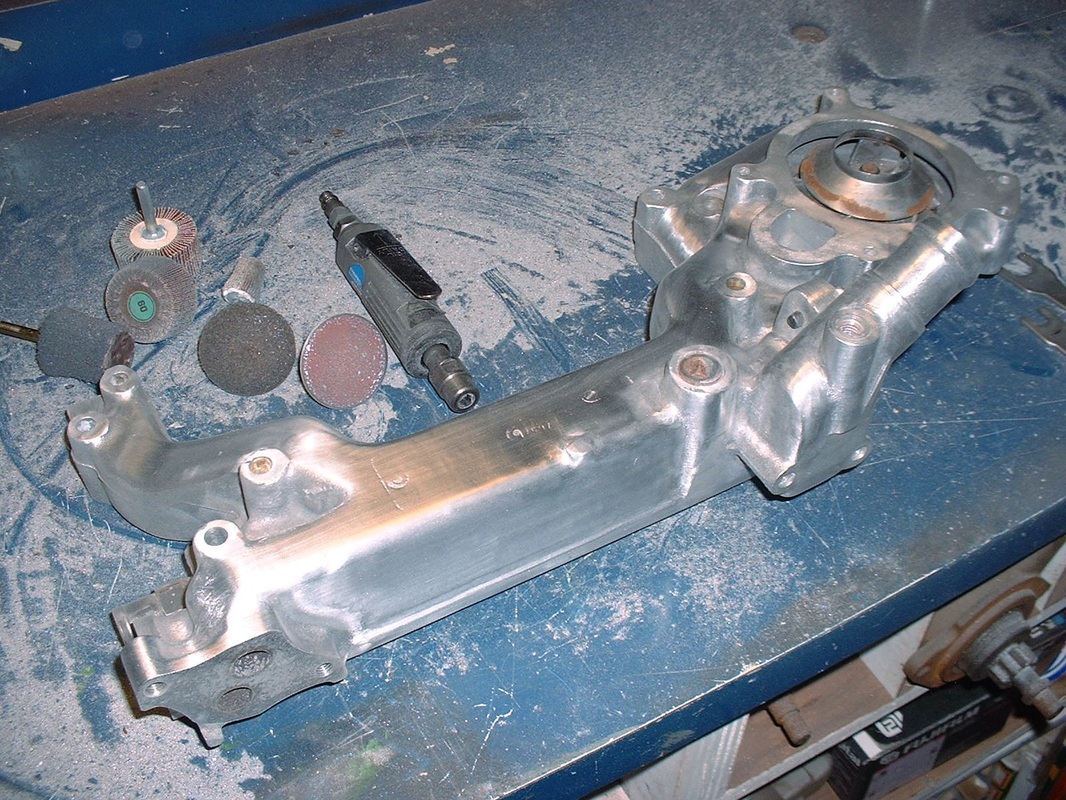
That got me prepped for the water log. I started by smoothing it out as much as possible using a handful of rotary sanding disks, flapper wheels, and high speed burrs. At the stage shown in this picture I’d used mostly a 3” and a 1” diameter 60 grit flapper wheel to get the pebble finish smooth and to remove the casting lines.
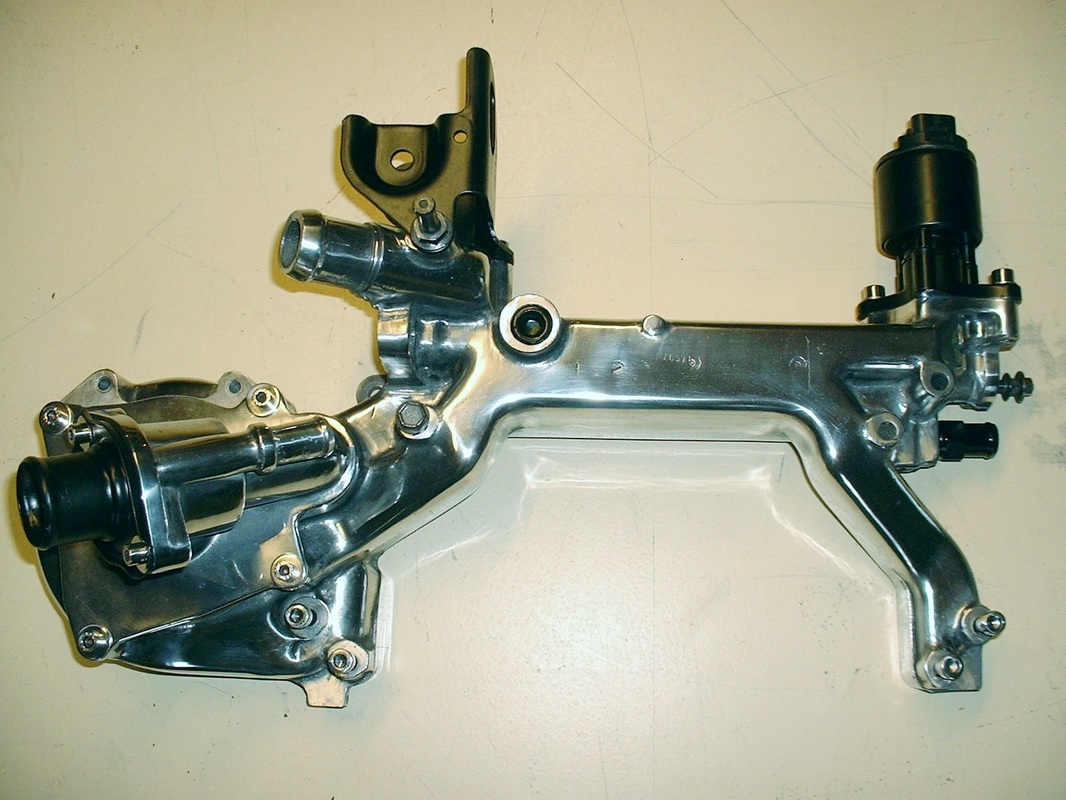
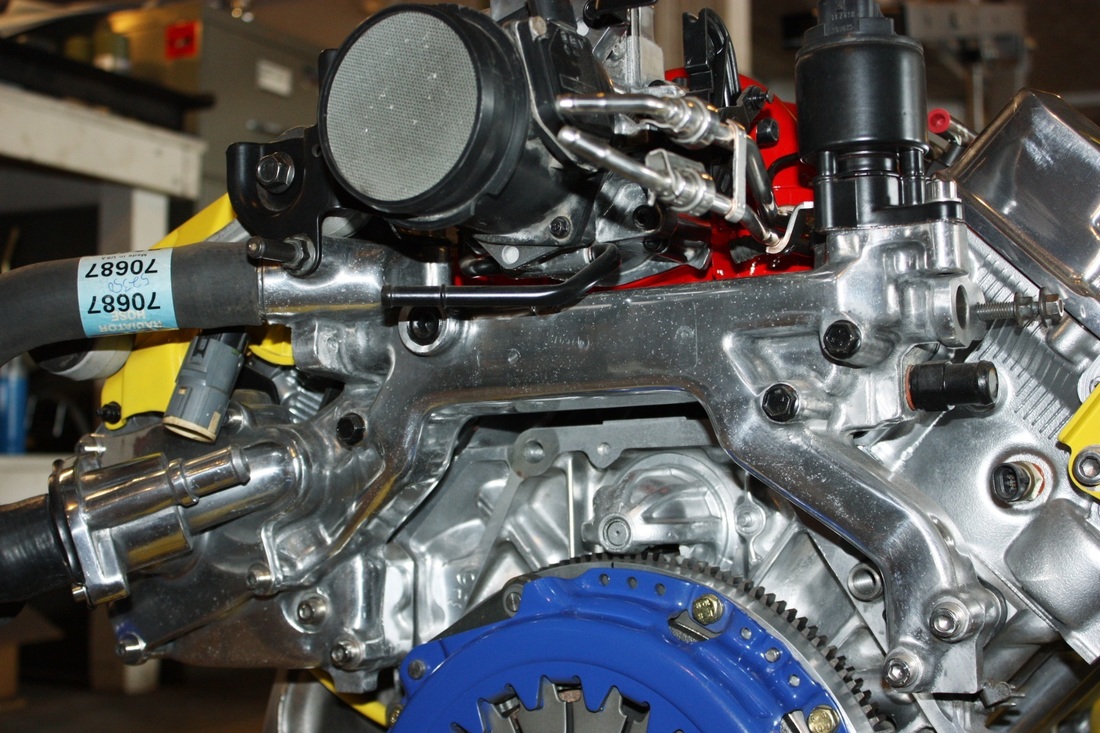
There were a lot tricky spots on it that needed special attention and special tools. In all, I spent 12.5 hours from start to finish on this piece, and I'll be the first to admit it’s not perfect, but then again not much is going to be seen once the engine is installed. Here's the finished piece with the thermostat housing and EGR valve installed:
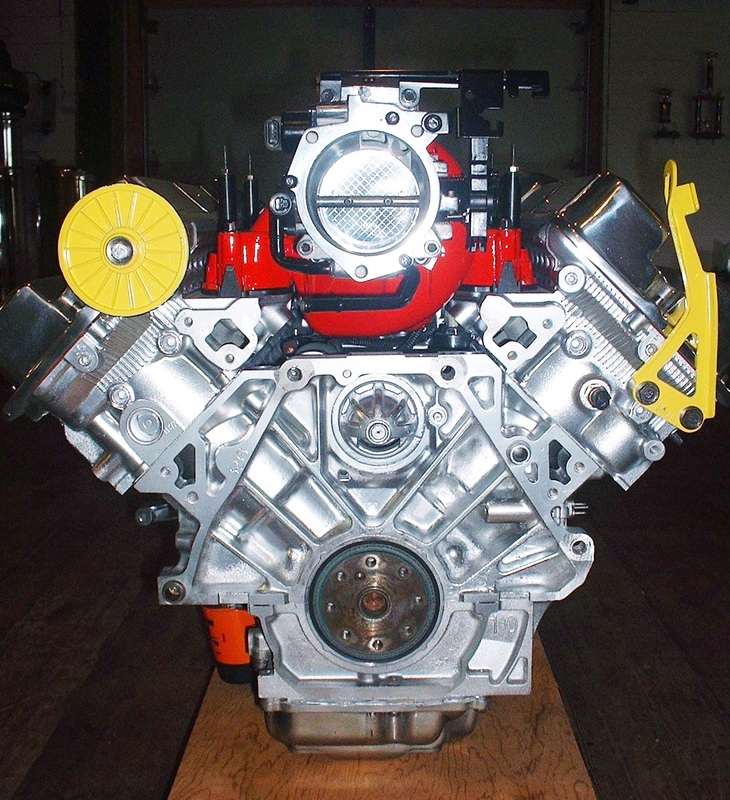
To start the pump installation, the first thing was to slip the bright yellow cam pulley on the end of the cam shaft like so:
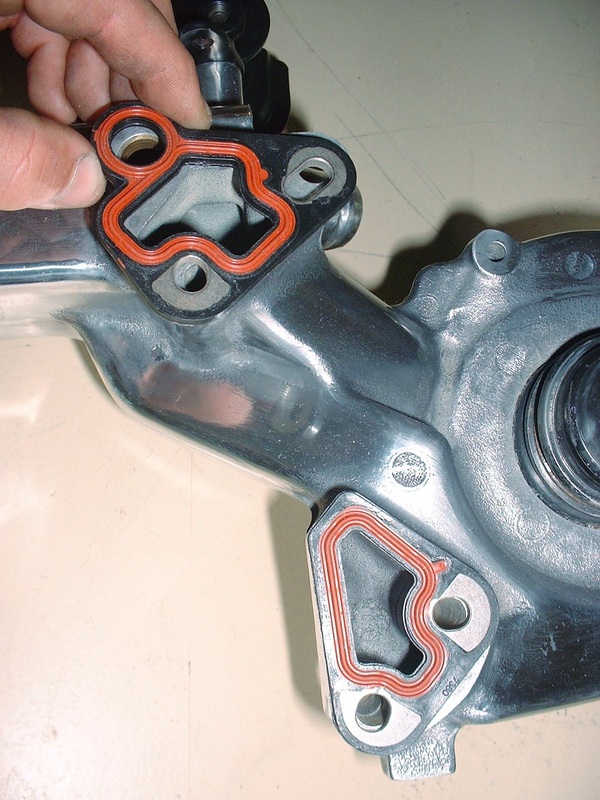
The next step was to add new water log gaskets:
Then installing the eight mounting bolts through the log after they had been coated with sealant:
Finally, the little water pump belt was snaked around the cam, pump and tensioner pulleys.
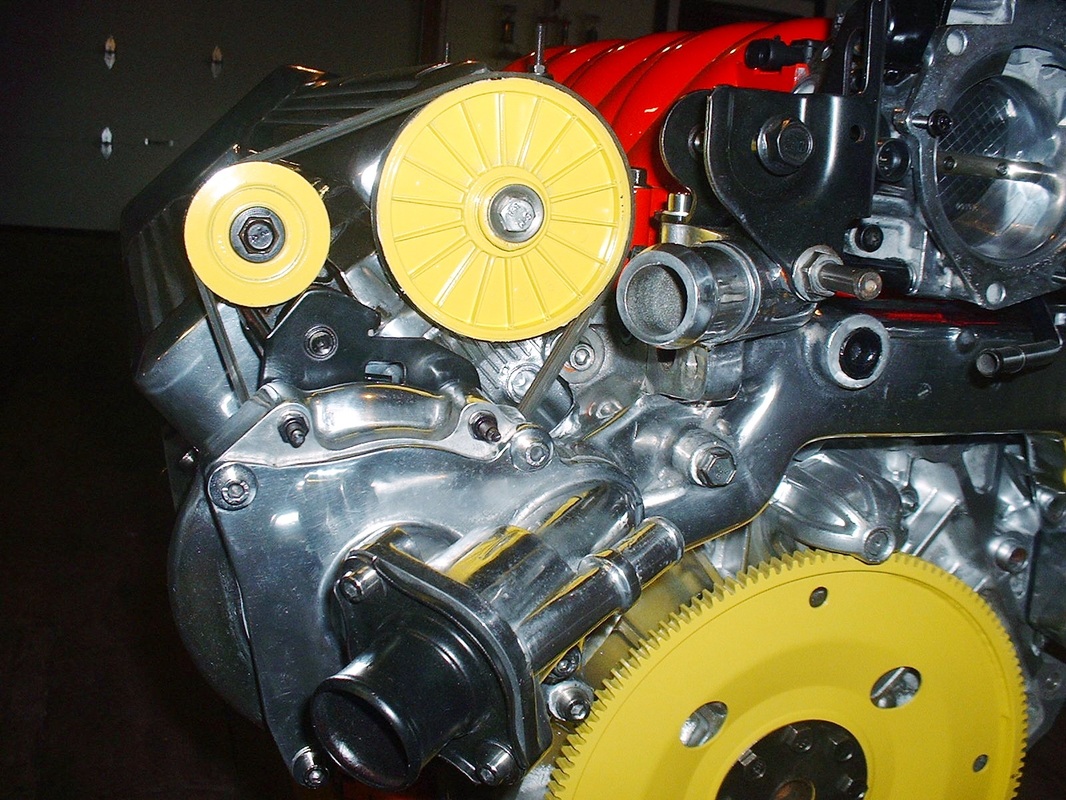
Here's what the pump assembly looked like once it was complete:

 RSS Feed
