The next stage in developing the cooling system was to determine how to securely mount the fans to the radiators. Some people use zip ties through the fins but they usually regret the decision somewhere down the road when the ties wear through the thin aluminium walls of the fins.
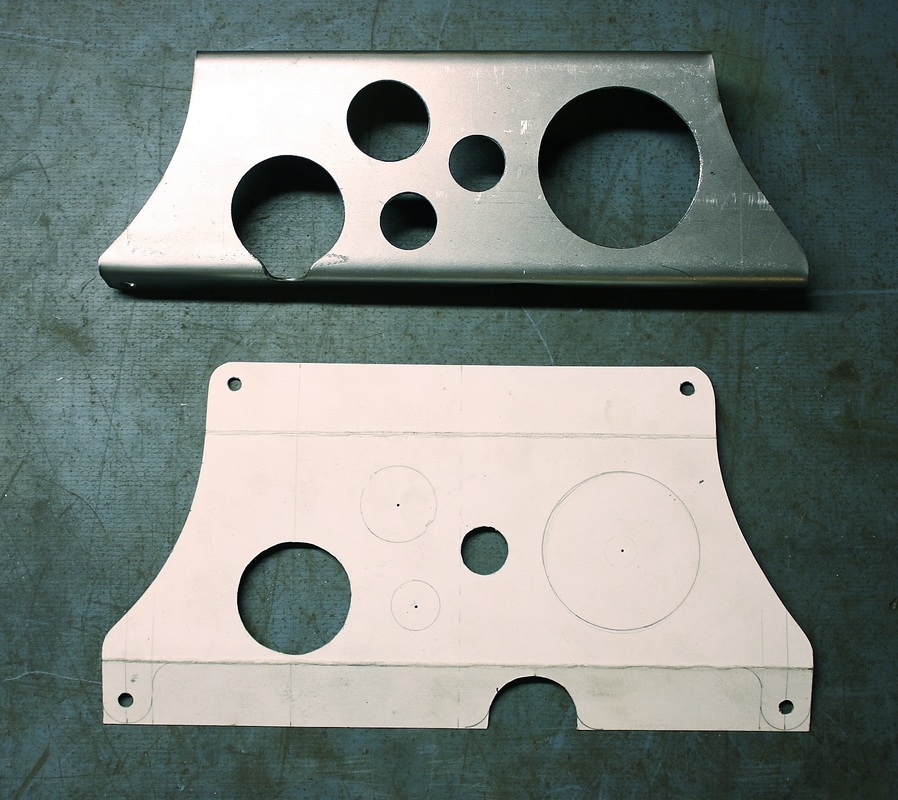
I decided to design my own mounting brackets and ran into the first challenge when I found the threaded bosses on the radiators were on the wrong side. After playing around with a couple cardboard templates I came up with a solution for the bottom mounts first, since they were the least complicated:
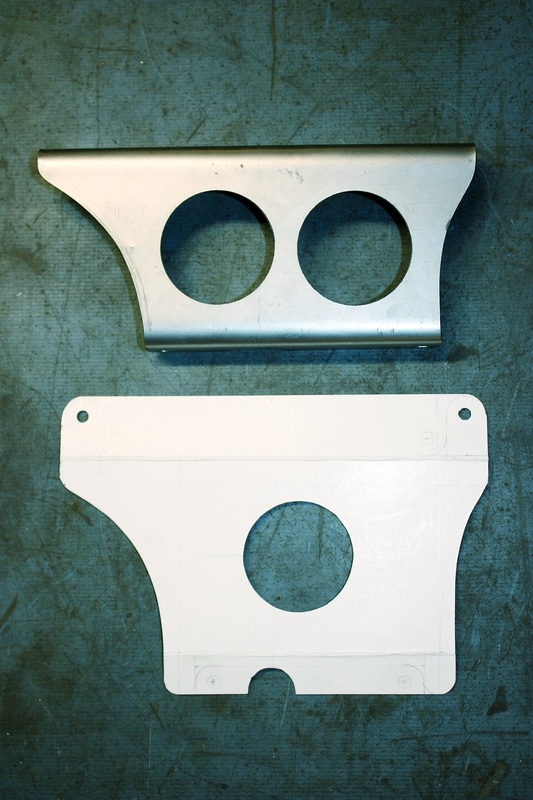
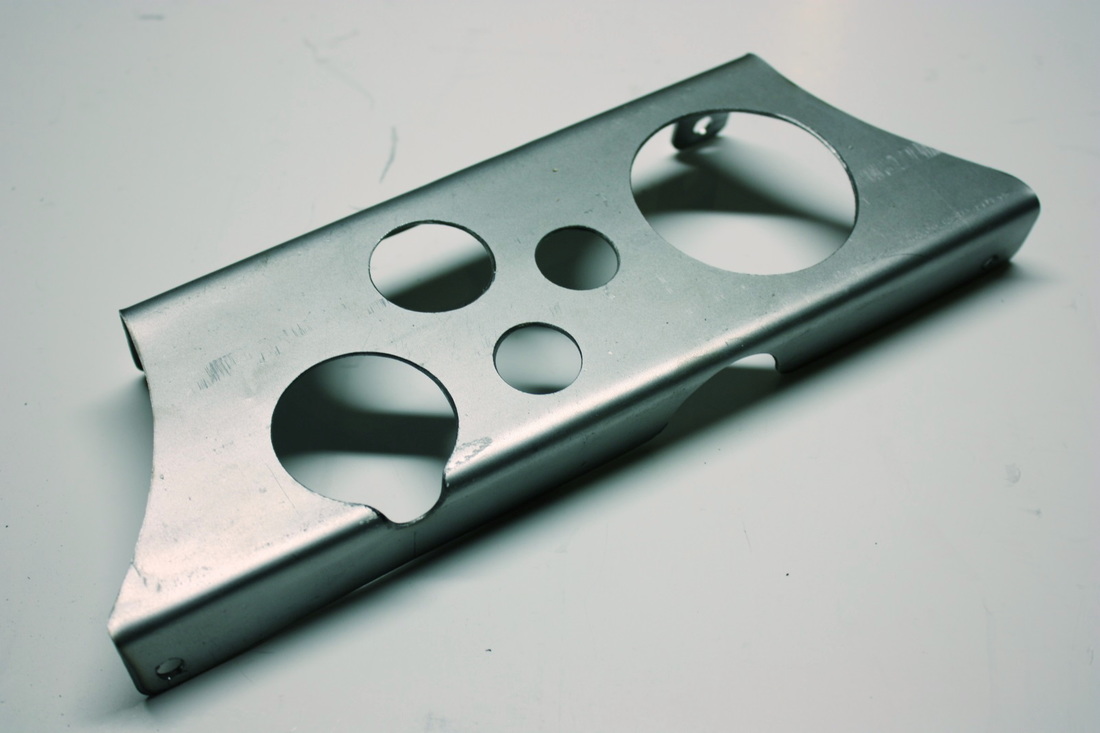
The prototype cardboard template only had one lightening hole but I decided to add a second hole in the actual metal bracket:
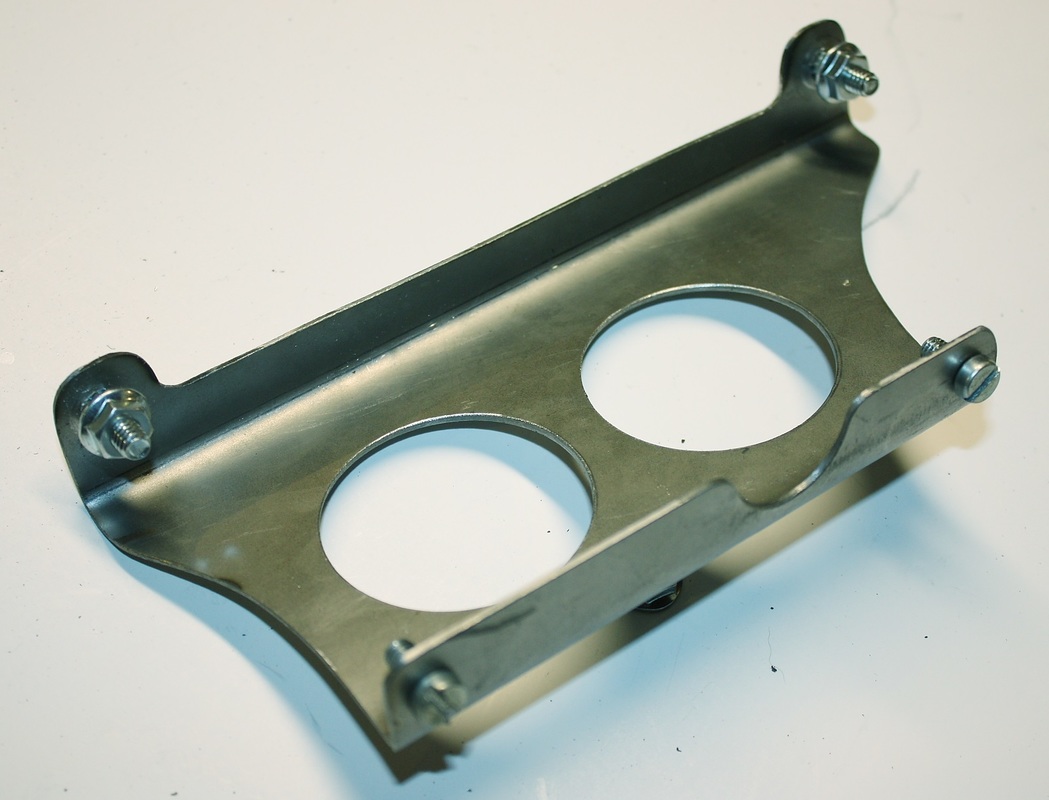
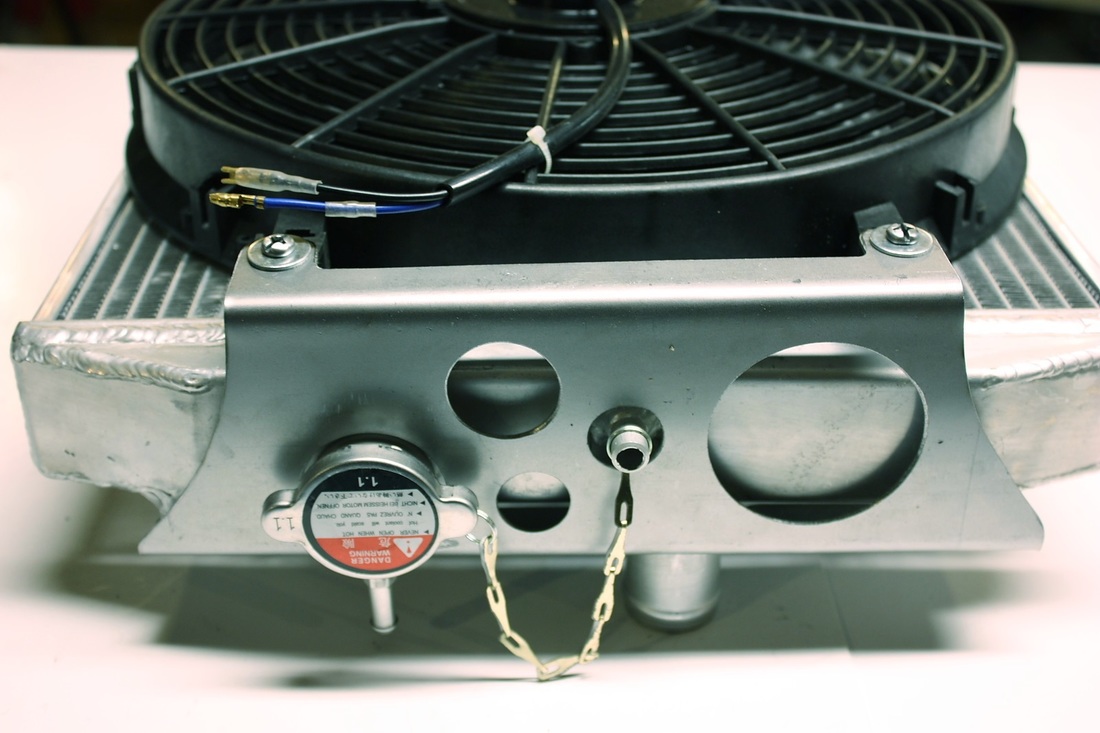
I used a bi-metal hole saw in my drill press to cut out the lightening holes. Here's how the lower bracket mounted to the fan bosses on the backside:

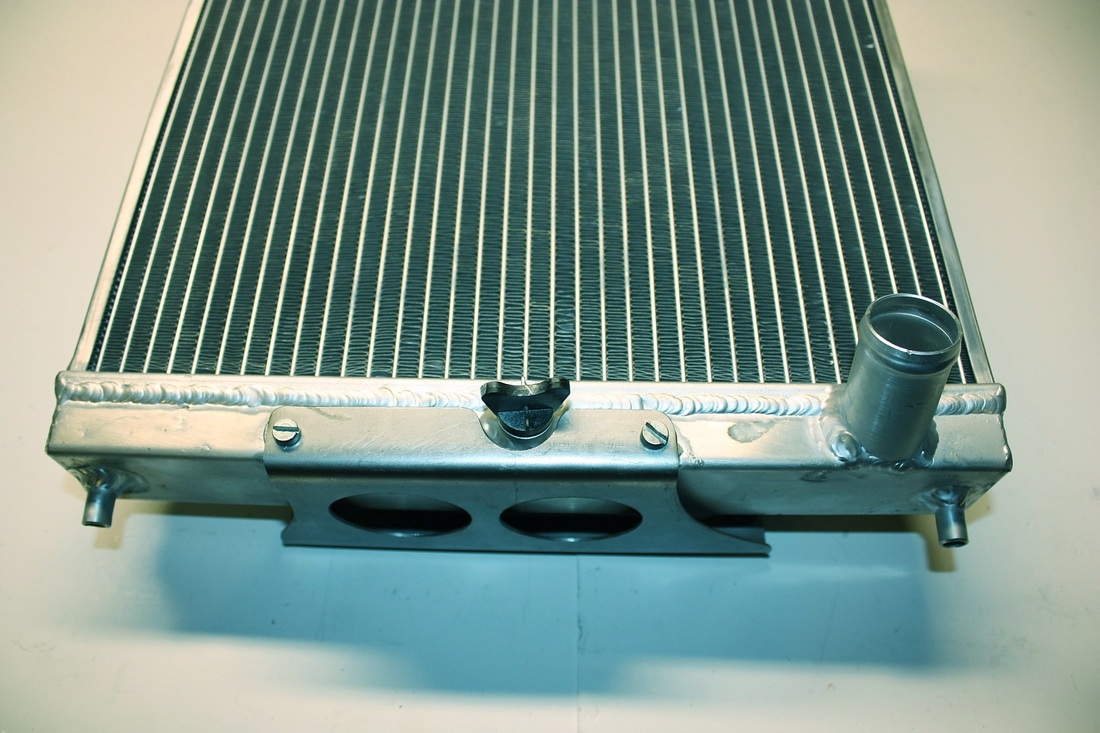
On the front side I needed to make a clearance notch to avoid interference with the drain plug, but otherwise the bracket was pretty straight-forward:
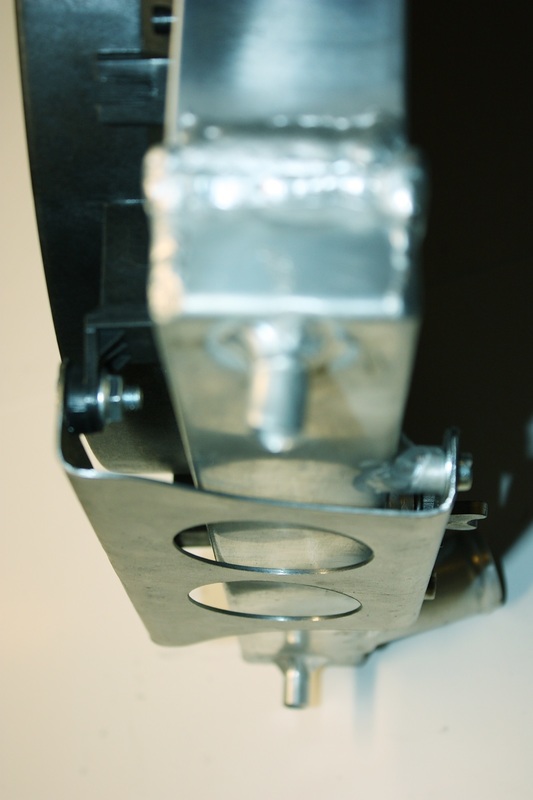
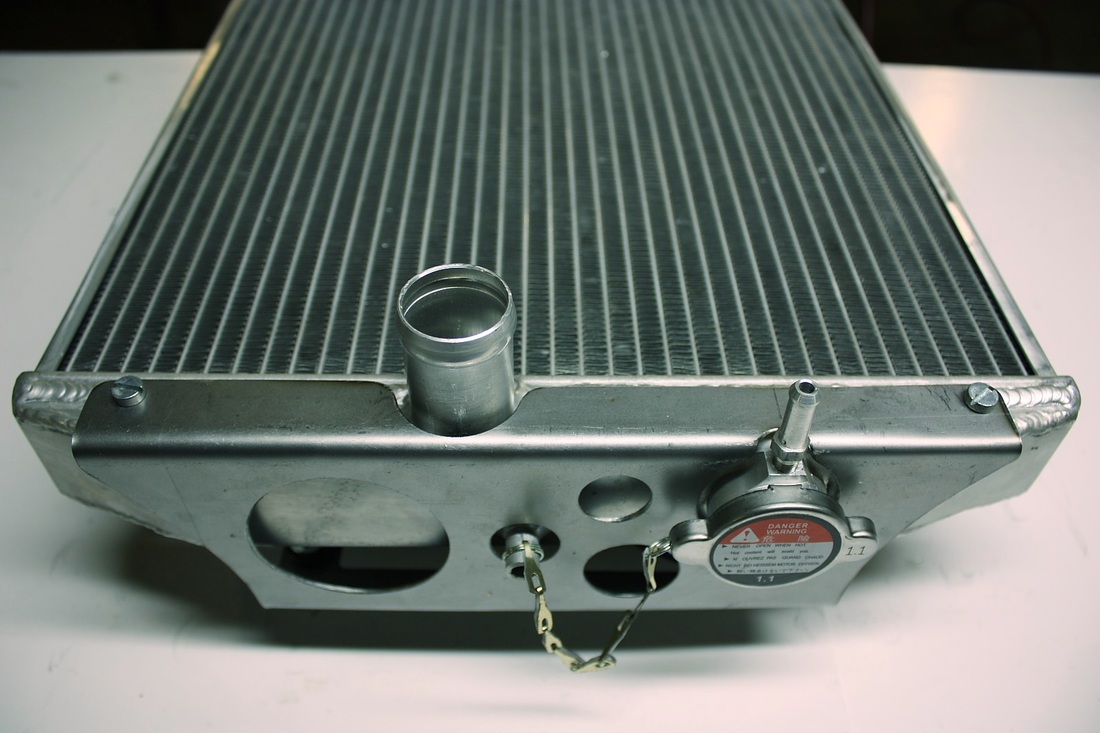
This final view shows the clearance I gave myself between the bottom of the radiator and the lower bracket. I didn't want the steel bracket touching any part of the aluminium radiator in order to avoid abrasion:
The upper fan mount was a fair bit more challenging because of all the additional hardware in the way. Getting the right measurements was the most time consuming part. Here's the upper mount template and the first mount:
It sort of looks like a piece of Swiss cheese but once you see it mounted you'll understand why.
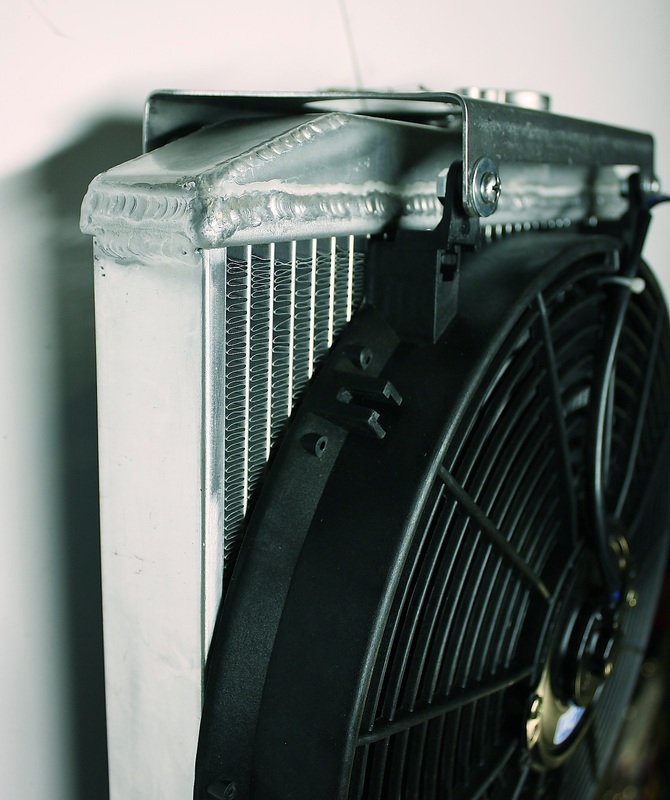
On the top I had to make allowances for the radiator cap neck and an aluminium post. The post is used with a grommet to isolate vibrations when the entire assembly is mounted to the chassis.
Then, on the backside I needed notches to clear the upper radiator hose tube and the overflow nipple on the fill neck...
...all the while keeping the four mounting holes aligned with each other and maintaining minimal contact between the aluminium radiator and the steel mount:
I was pretty happy with the way they turned out. Next I needed to figure out how to mount the entire assembly to the chassis.

 RSS Feed
