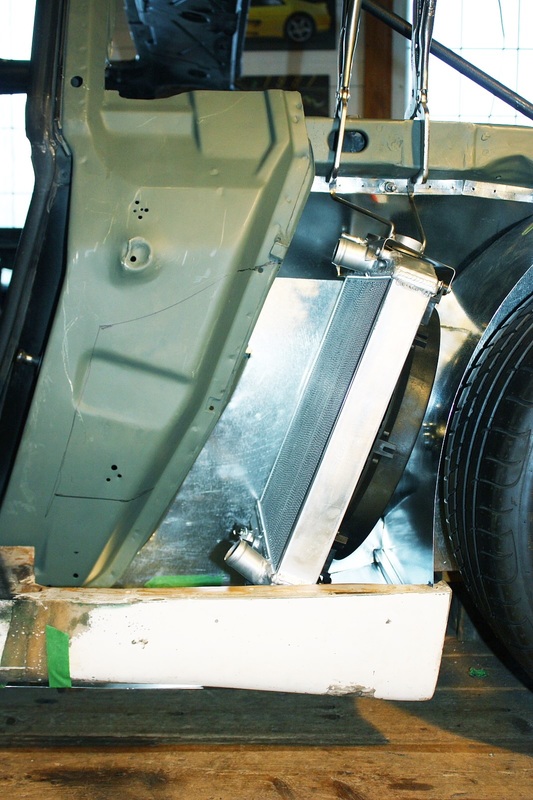
With the position of the radiators finally resolved, I concentrated my next efforts on getting the airflow from the door and rocker scoops to the radiators. The first step would be to lessen the obstruction that the B-pillars posed for air flowing to the inboard third of the radiators. Softening the radius of the rear corners with a nip & tuck was in the cards, so like in the TV show, I got out the black marker and made my lines:
Then I got out my trusty die grinder to make the cuts:
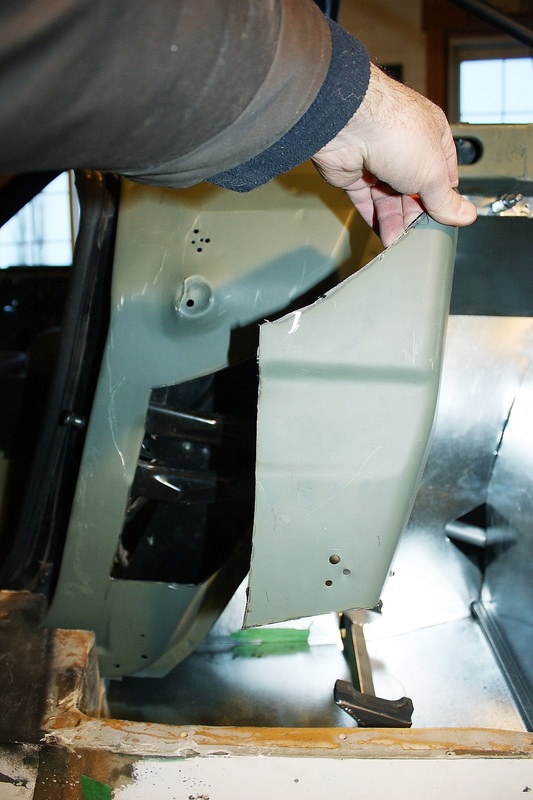
I was aware of a structural member for the door latch hiding behind the area I was cutting so I was careful:
The stamped steel mini-beam connects the door latch post to the weld flange at the back of the B-pillar. I didn't want to fool around with that because having doors rattle on rough pavement is really annoying and cheap sounding.
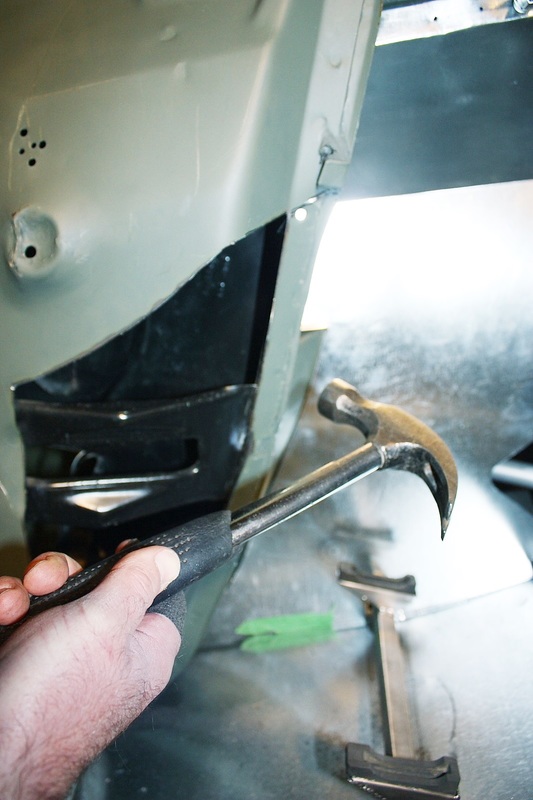
The next thing I did was bend the weld flange at the back of the B-pillar with a hammer. I only needed to bend it back to about 45 degrees:
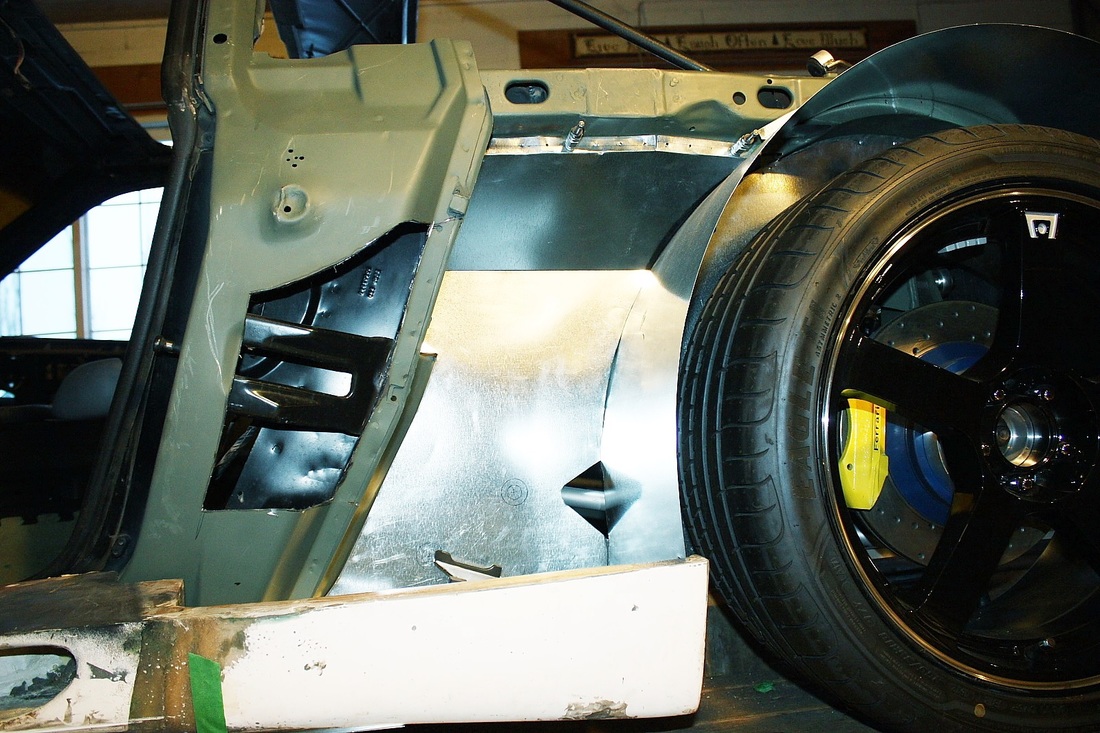
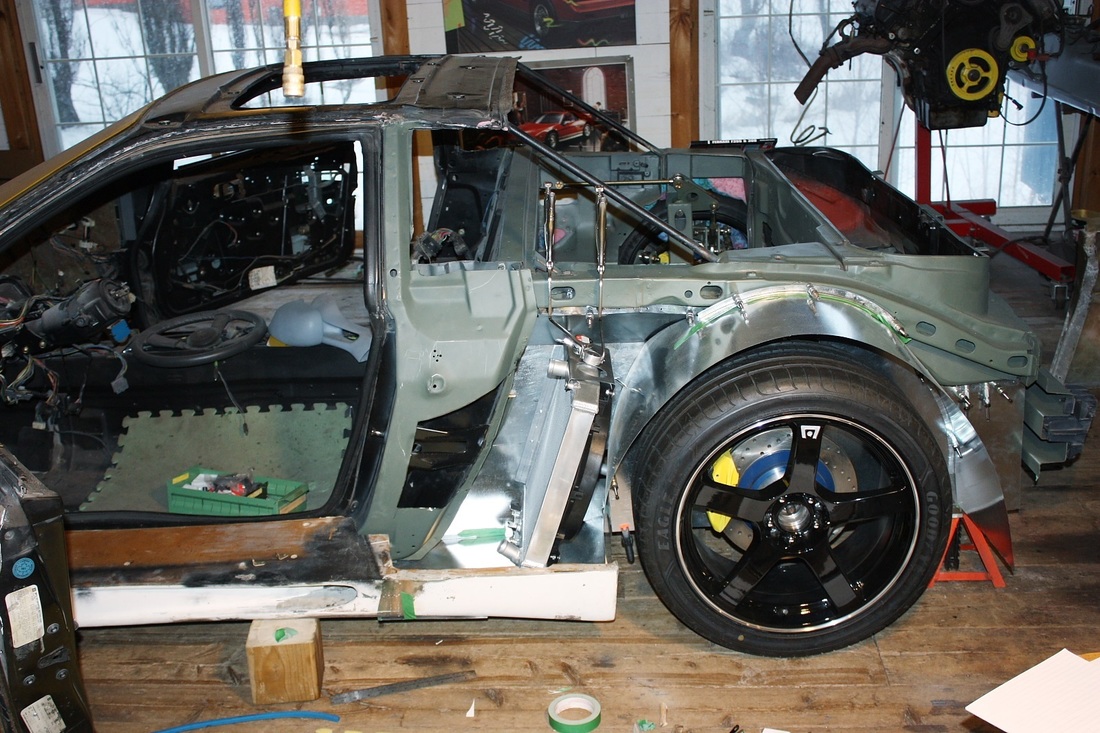
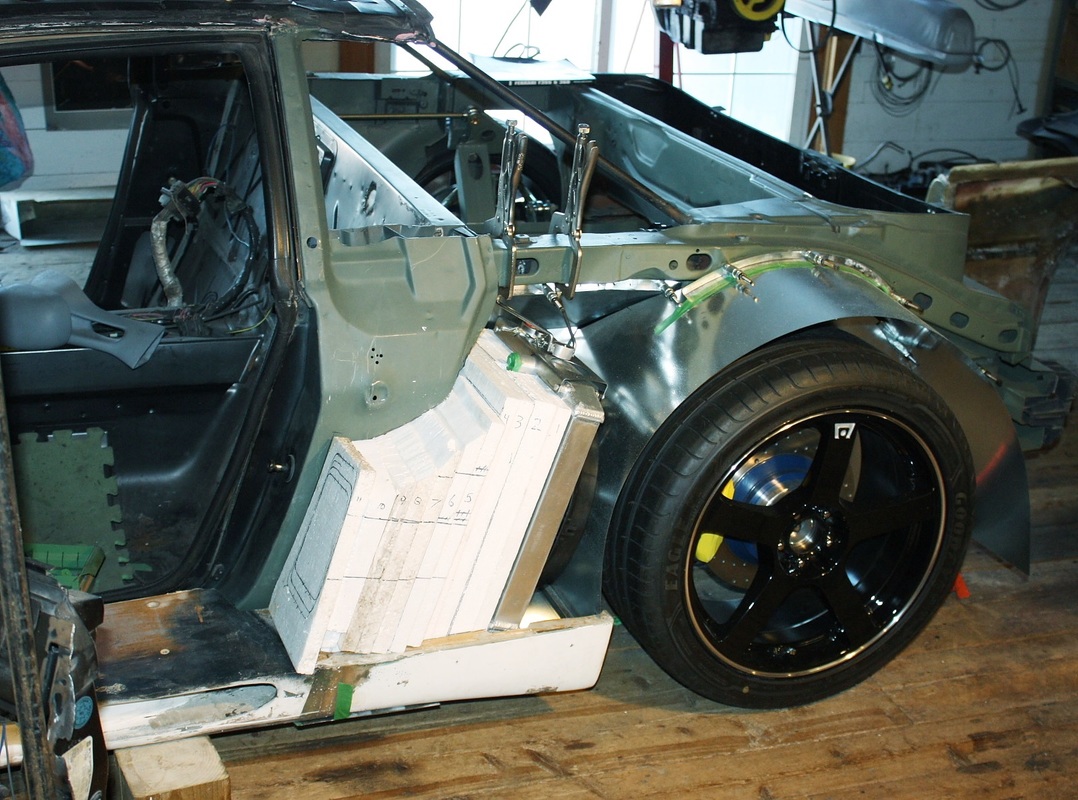
Here's the big picture:
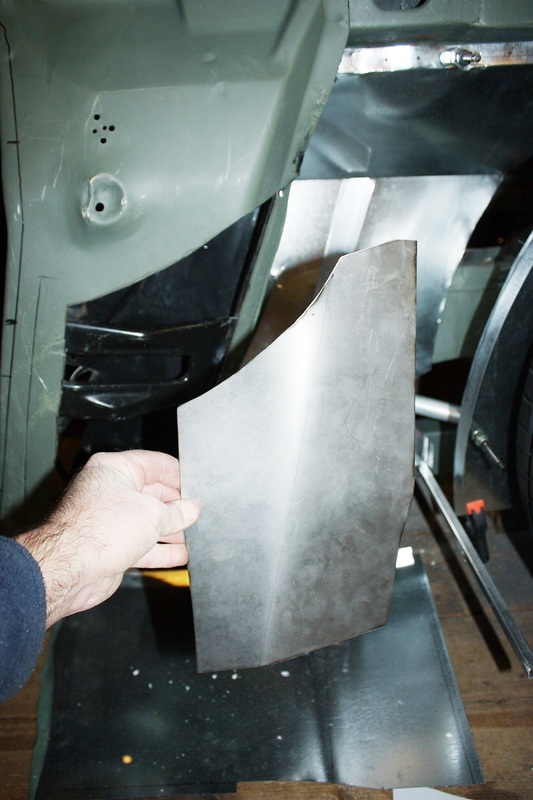
Next, I needed to close up the hole I'd just made. I made some cardboard templates of the pieces needed, cut them out of some 18 gauge steel sheet and formed them by hand (and foot!) over a piece of 4" round pipe I had laying around:
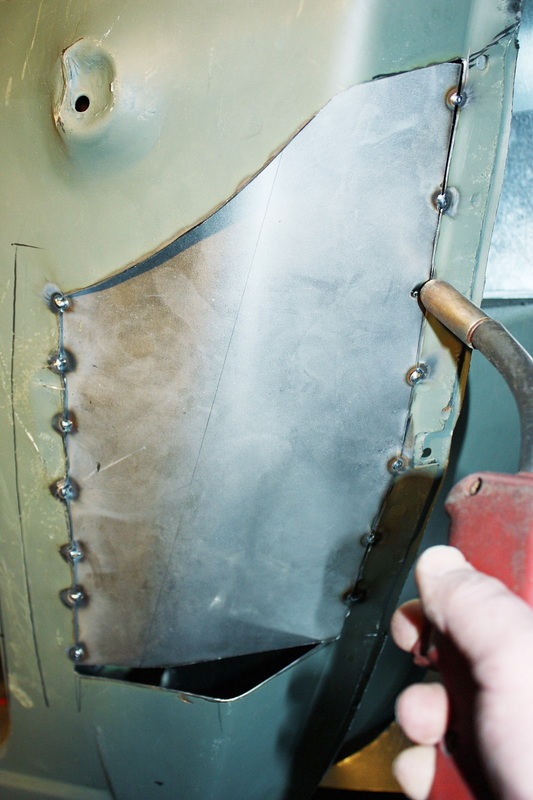
Once they fit just right, I tack welded them in place so I could measure the smaller pieces to close off the tops and bottoms:
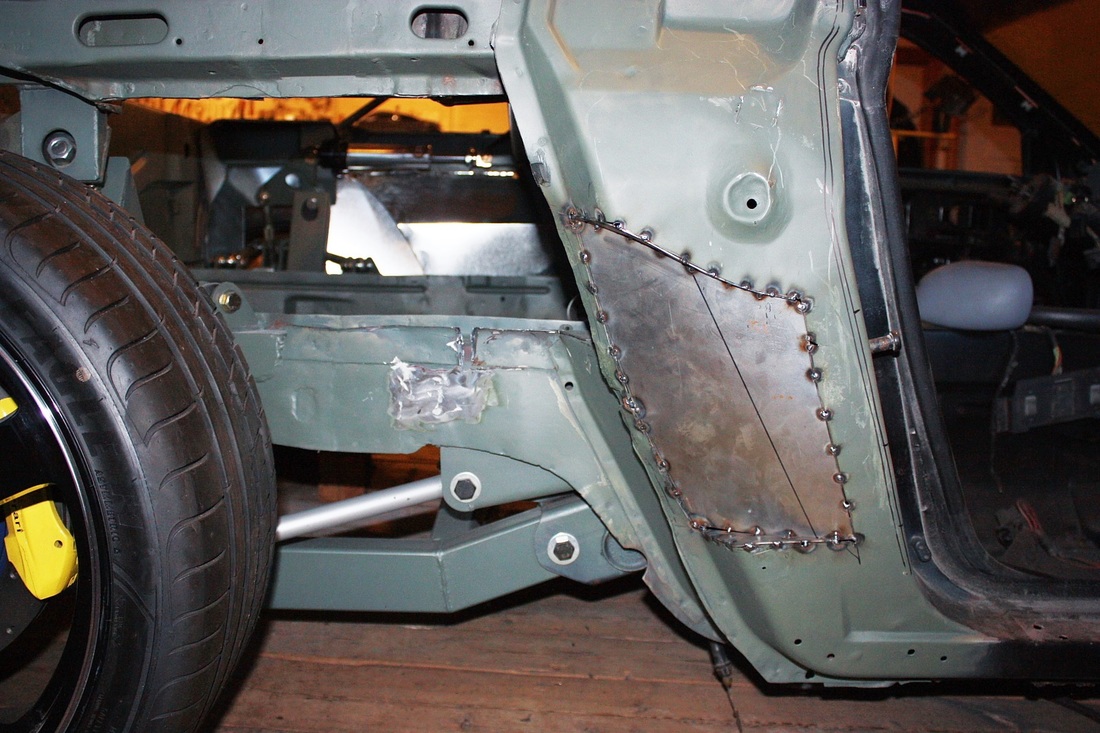
I made up the parts and tacked them in place in about three hours for both sides. Here's the passenger side ready for final welding:
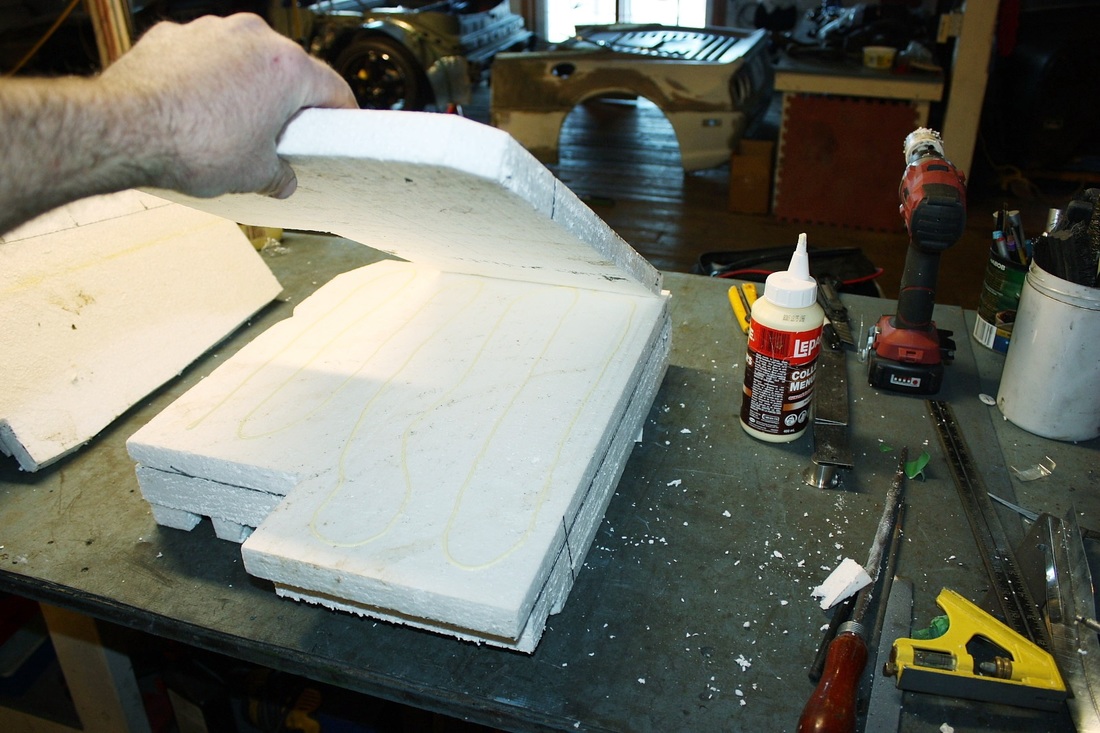
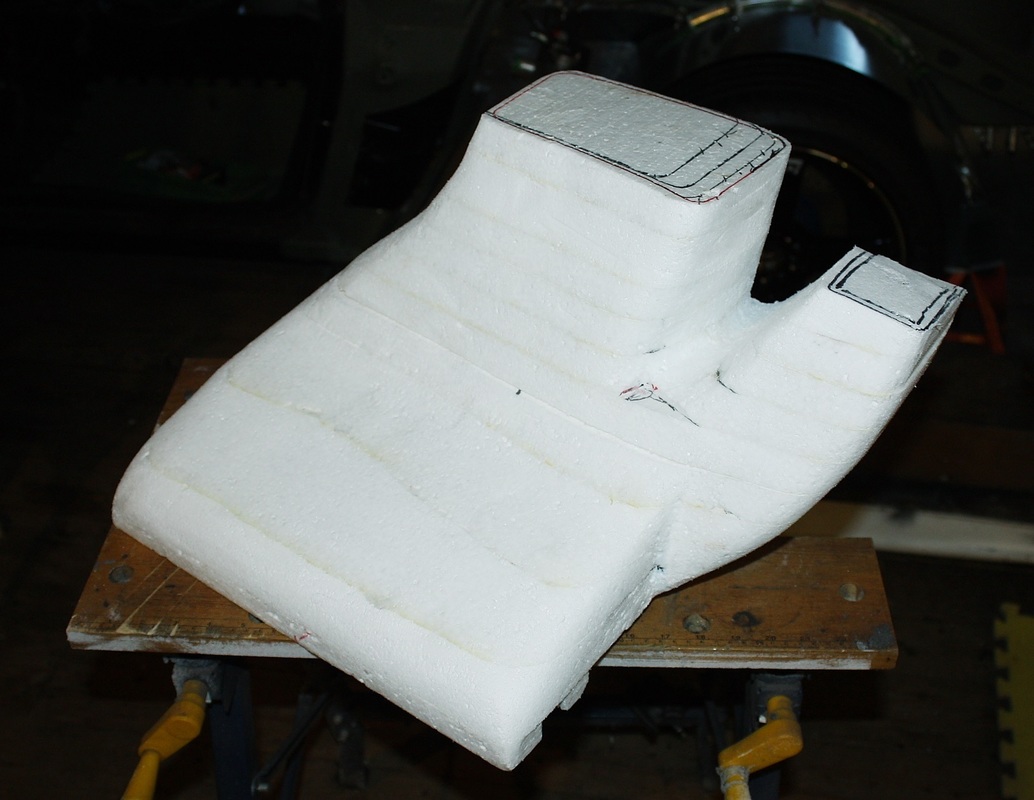
From this point, the plan was to make the radiator shrouds out of sheet metal, but things got complicated really fast. There was just no way I could make the convoluted shapes needed to make two differently sized inlets (which were offset with respect to each other) converge into a single, larger outlet that was offset from both inlets, within the allowable space. So I resorted to Plan B: fiberglass! I found some old polystyrene foam board sitting in the shop attic gathering dust, so I started cutting wafers to fill the space between the radiator and the two scoops to make a male form:
I labelled and indexed the foam sheets to make it easier to align them properly when it came time to glue them together. I found that white carpenter's glue wouldn't dry even after more than 24 hours, so I had to take the first buck apart, wash it off and try again with some foam-friendly contact-cement spray.
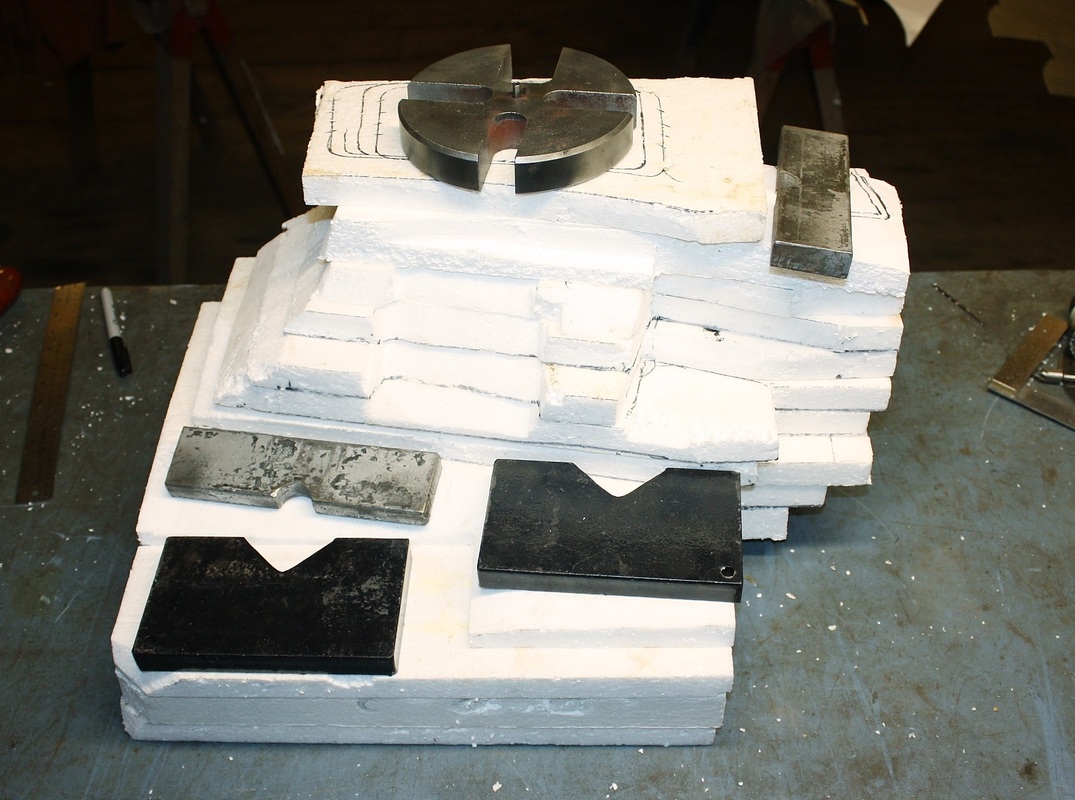
And then used a bunch of 1/2" steel plates to weigh them all down while the glue set. What a strange shape!
I left the foam much larger in all dimensions just to give me room to sculpt out the Y-shaped shroud that I needed. For the sculpting, I used a handheld, air powered belt sander. What breeze it was to make even moderately fine adjustments to the shape:
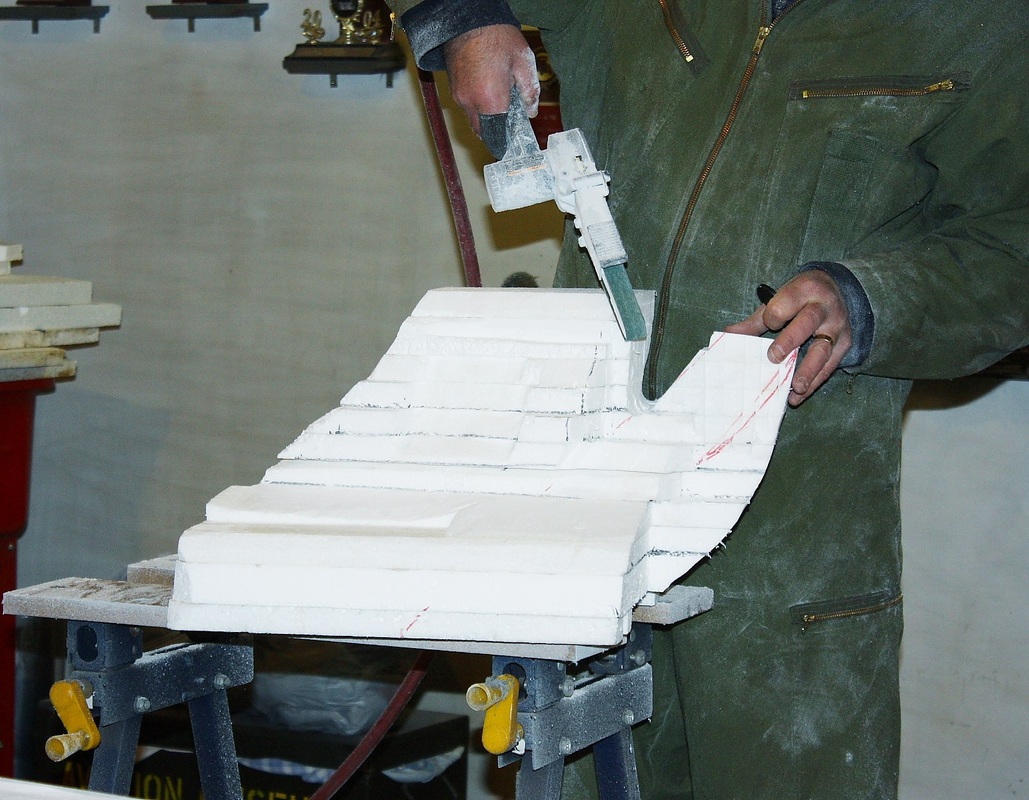
Here's the rough foam buck after about a half hour of sculpting and a quick hand sanding with some 120 grit. I still needed to fit it, tweak it, and align it many times before it would fit right:
Here it is during the first of many mock ups:
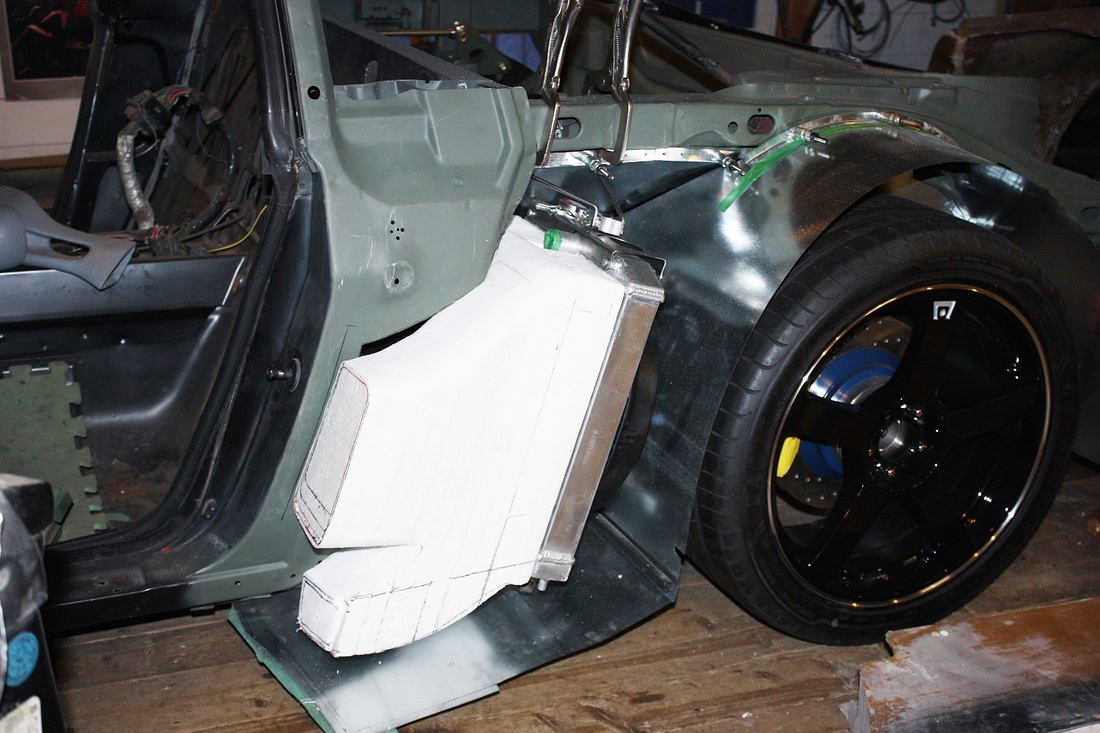
Not bad for the first "go". To bridge the gap between the scoops and the radiator and get the right fit and alignment between them, I would have needed the door panels and the rockers installed at this point. Of course they weren't, so I left the two intake arms of my foam buck extra long at this point.

 RSS Feed
