After being overwhelmed by the price and availability of fibreglass supplies in my area, a friend came to my rescue with a care package. He's a big-wig at a major boat-building company which goes through fibreglass like Mimi goes through eye shadow on the Drew Carrie Show. He brought a couple gallons of resin, some hardener, a couple square yards of 1.5 oz mat, a can of release wax, a roller, some acetone, and some measuring and mixing containers! Thanks Graham!
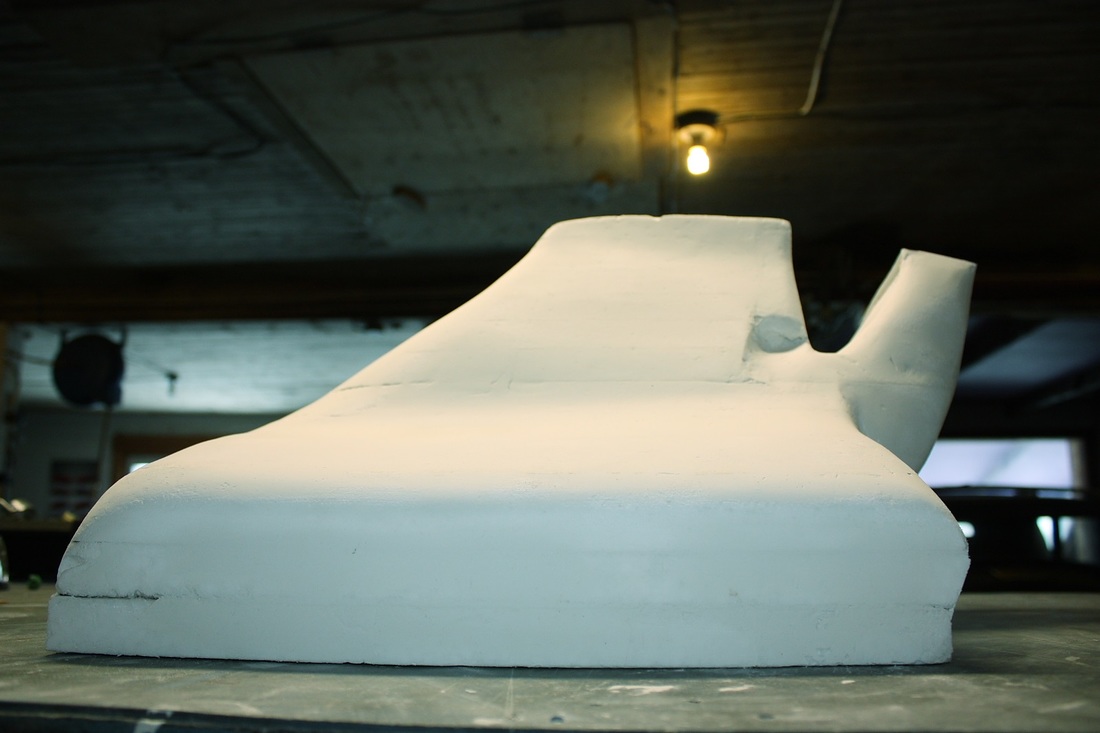
Before I made use of all the goodies, I applied drywall crack filler to the entire styrofoam buck, let it dry overnight and sanded it smooth the next day:
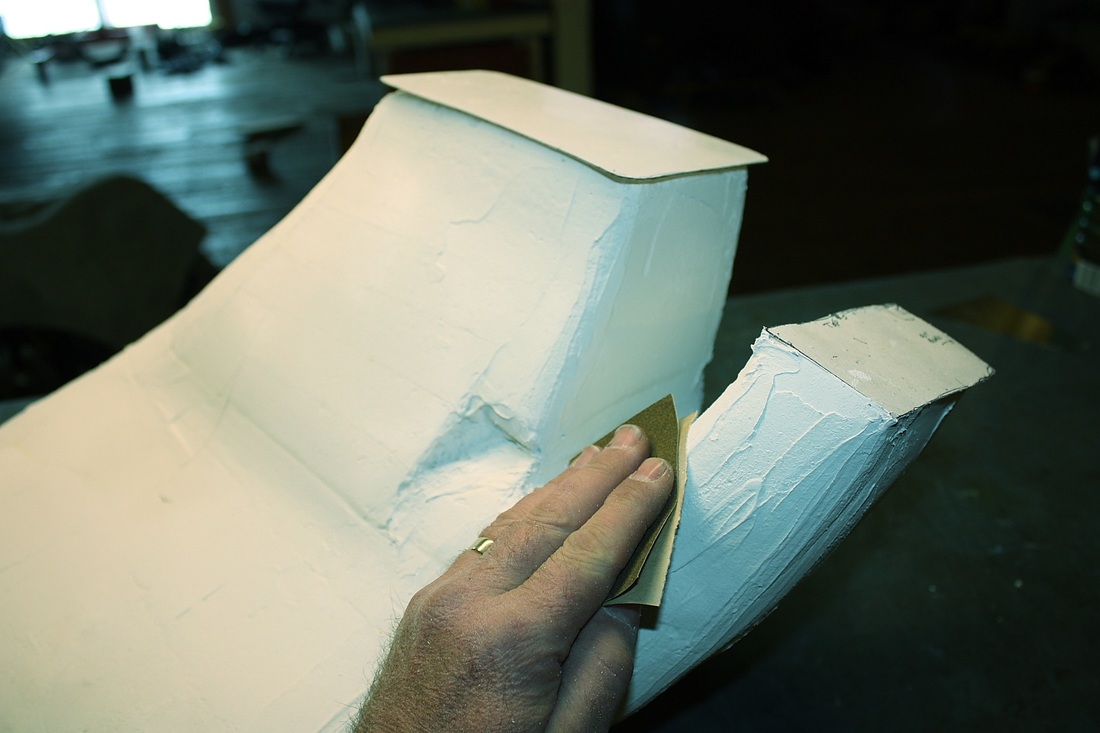
I wasn't too concerned with perfection since this is after all the inside of the radiator shroud, which no one will ever see again (short of a critter crawling inside and making a nest).
In fact, for the RH shroud, I didn't go through the trouble of puttying the buck since the next step was to wrap the entire thing with packing tape which made it bumpy again. (I needed the tape to protect the styrofoam from being eaten away by the resin).
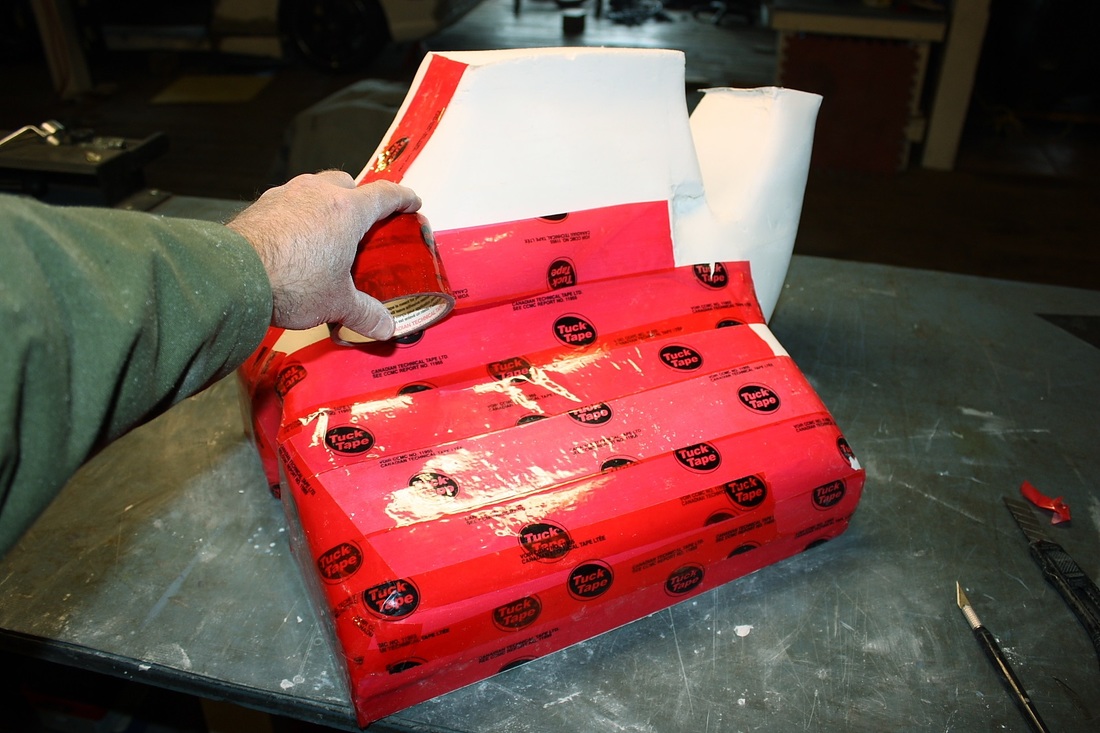
The tape hid some of the superficial flaws, but created a few of its own: it doesn't like to wrap around complex curves. Nevertheless, I got the job done reasonably well:
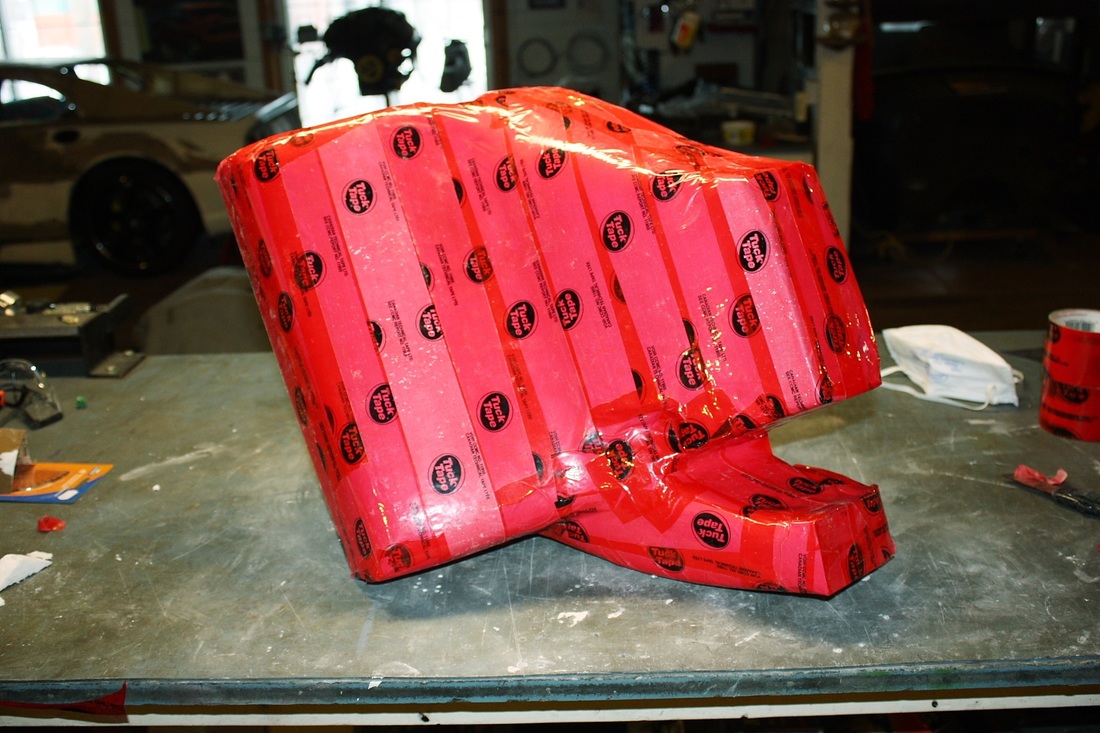
Even though the next step probably wasn't necessary, I rubbed the tape with the mould release wax to make it easier to separate from the fibreglass later on. The fibreglass can stick to the tape sometimes, so better safe than sorry:
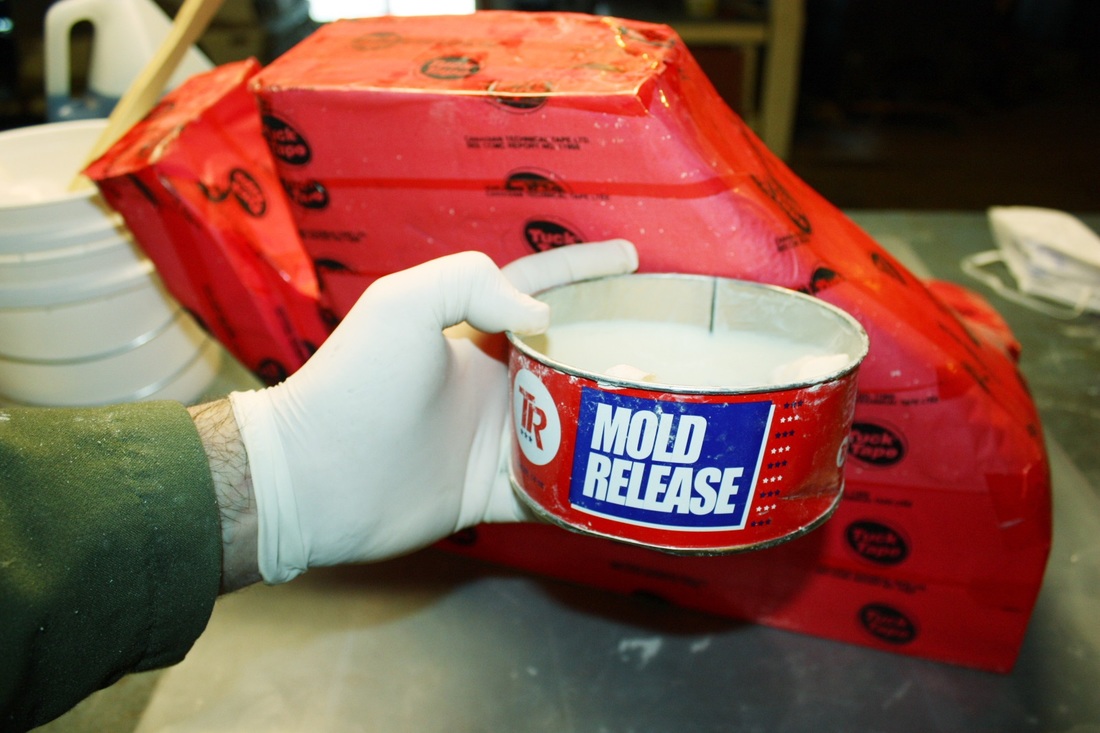
Once the wax had dried, I donned six layers of clothes, my activated carbon filter breathing mask, and some nitrile gloves to start cutting the fibreglass mat (I get itchy and picky just looking at fibreglass!). Then I mixed up a pint of resin with 1/8 oz of hardener and got to work. The working time was about 20 minutes before the resin started to gel-up, which was just enough to use up one pint:
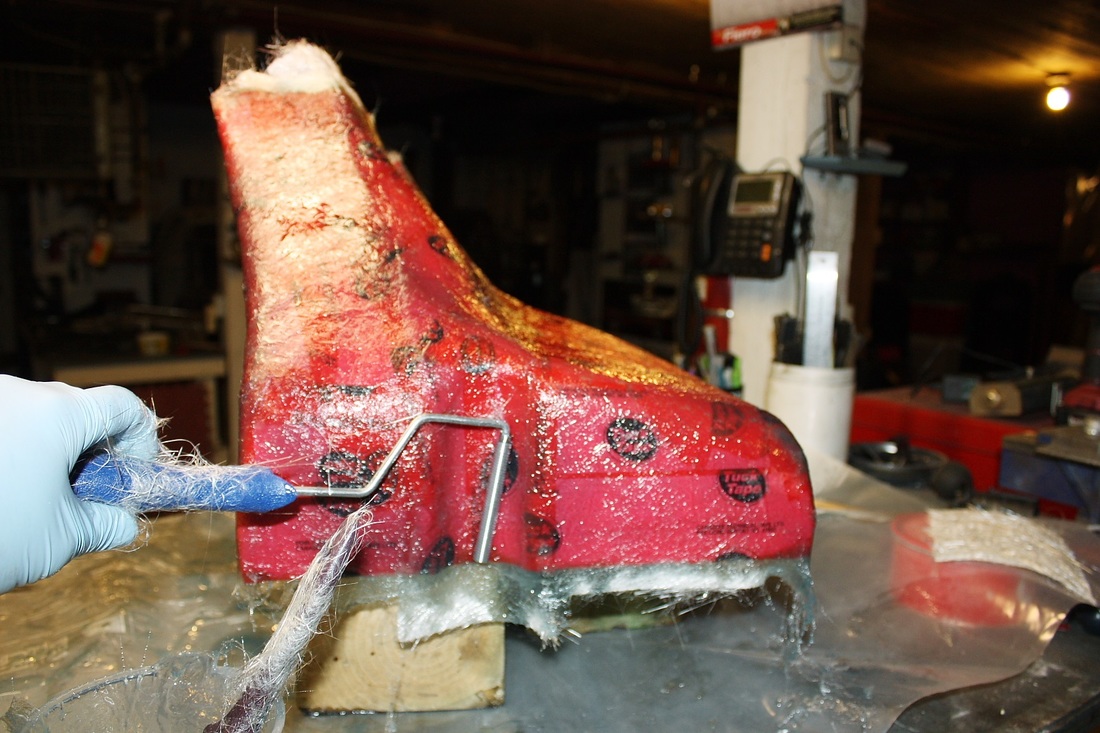
I laid up two layers of mat and ran through 2.5 pints of resin in total. By the next morning the resin had hardened so it was time to whittle away the foam from the inside. It wasn't as easy as I thought it would be:
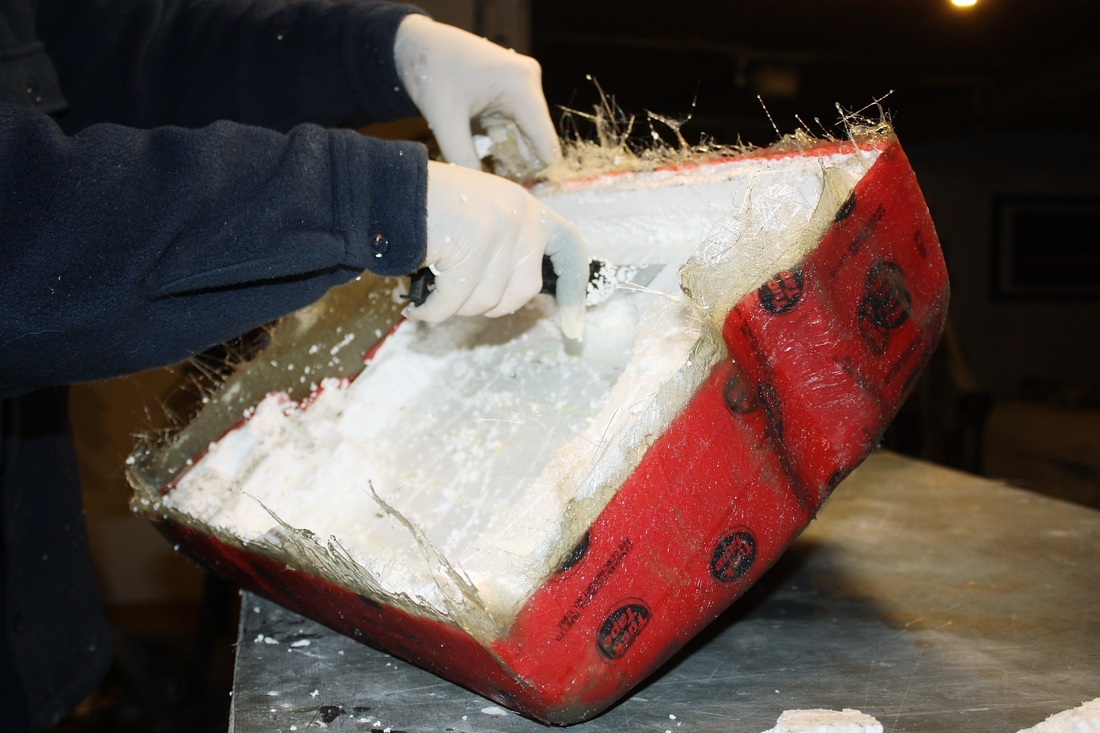
Once the biggest part of the foam was removed, the rest came out by simply pulling on the red tape. There was a thin film of sticky resin residue left over on the inside of the fibreglass beneath the tape, but it cured over the following night:
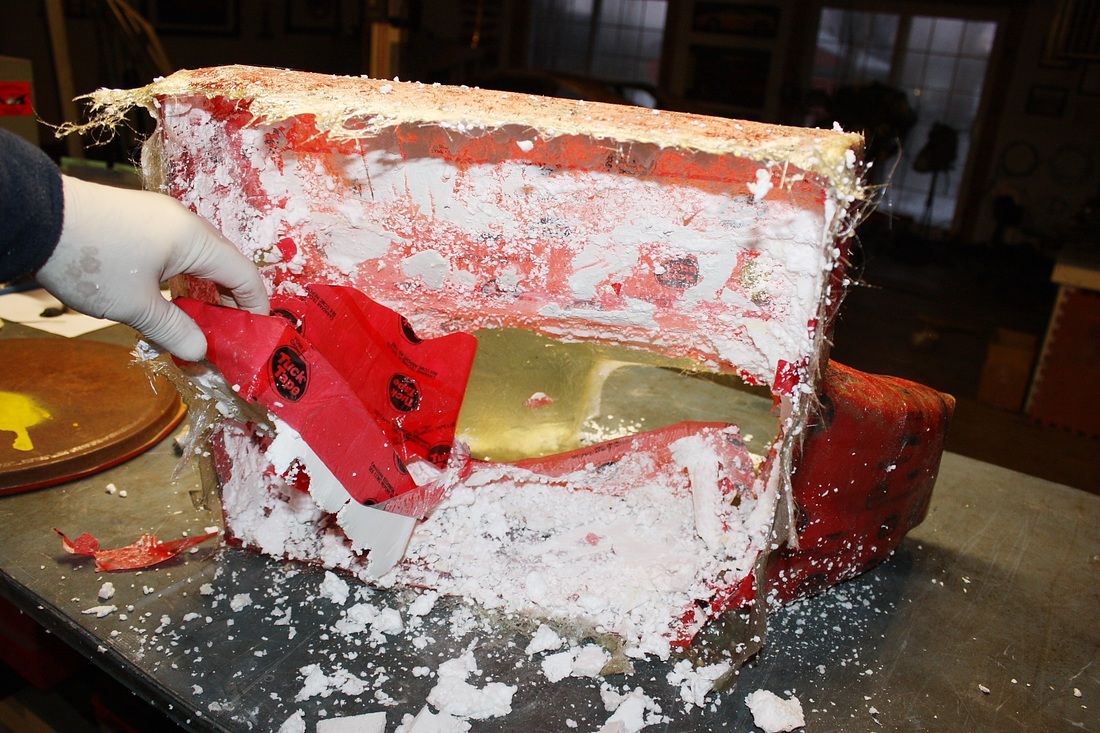
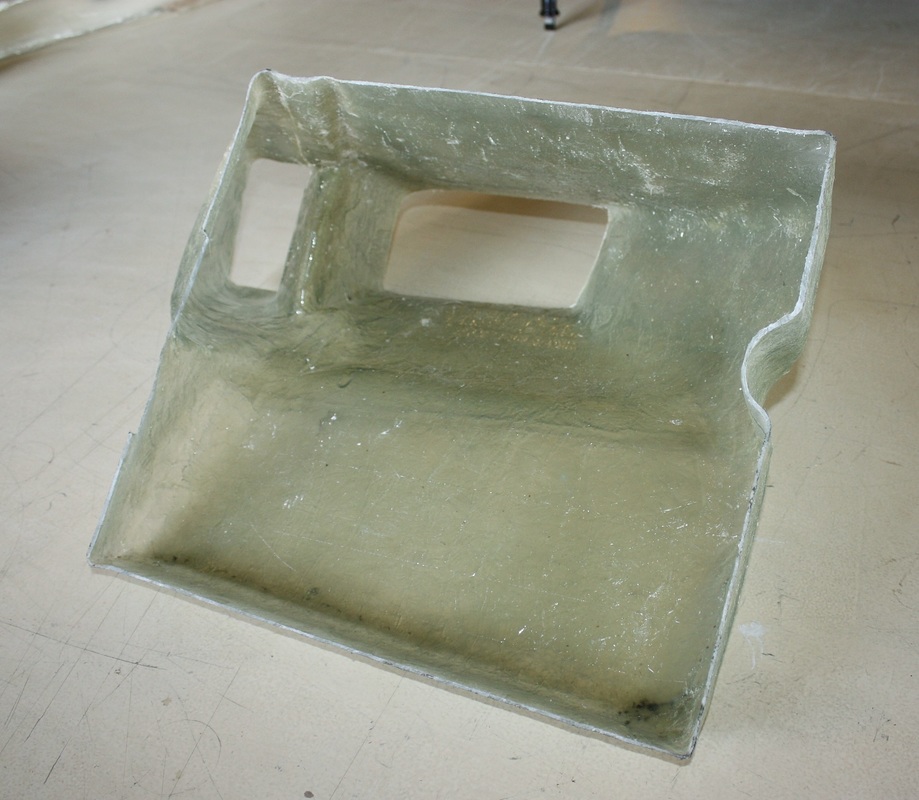
Here's the cleaned up shroud ready for final trimming:

The inside is relatively smooth, though the tape left a few marks as expected. It's certainly good enough considering the job it has to do.
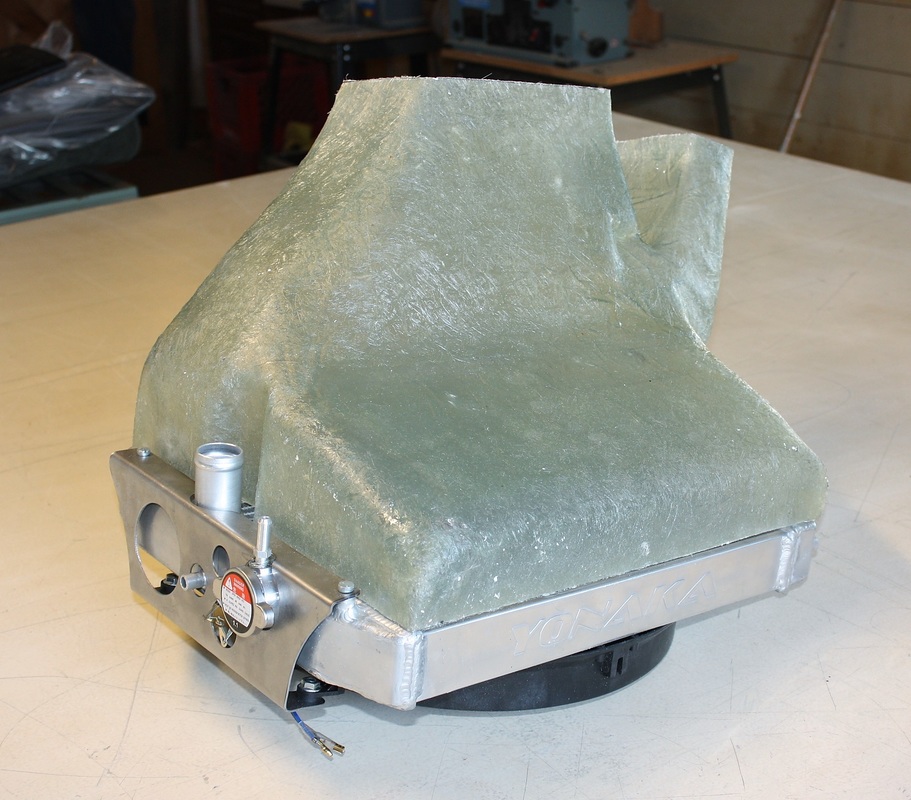
When I built up the foam mould, I made it longer than needed so once the resin hardened, I trimmed off about 1.5" from the interface with the radiator. I've got it fitting nice and evenly all around:
Here's a bug's eye view just before he gets julienned into neat little slices!
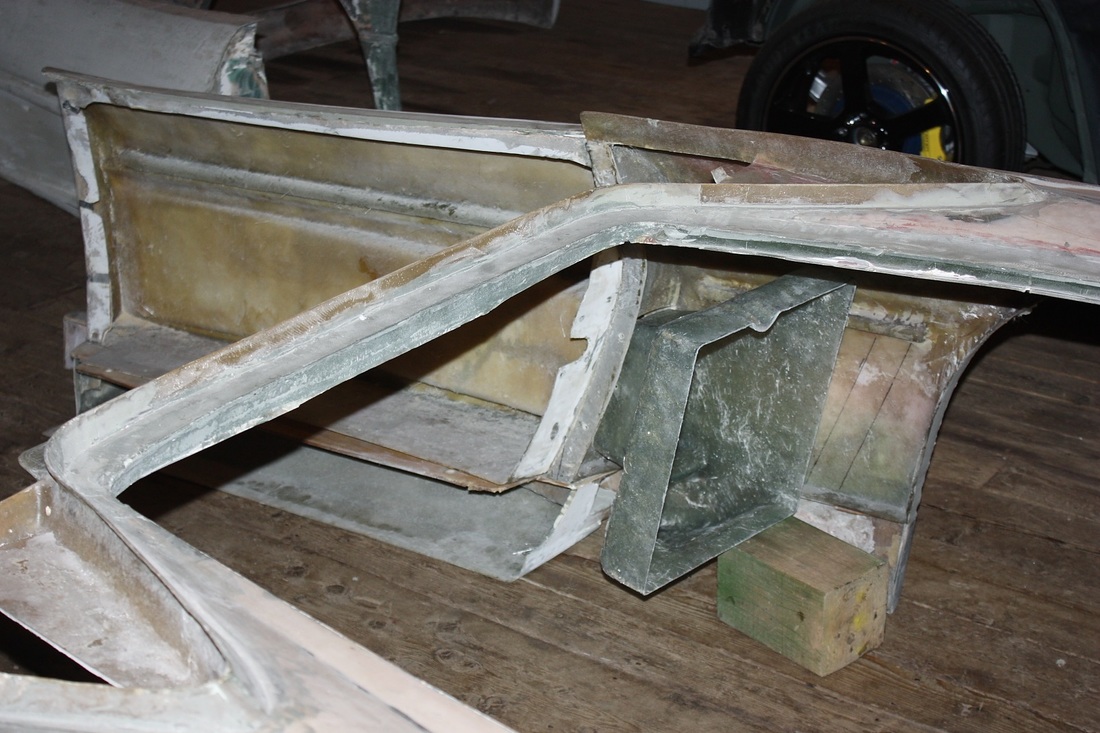
Once the RH shroud had been made the same way, I mocked up the two shrouds inside the rear quarter panels to get a sense of how much surface area the radiators will cover. It's a lot easier to visualize here than it is with the same view of the chassis:
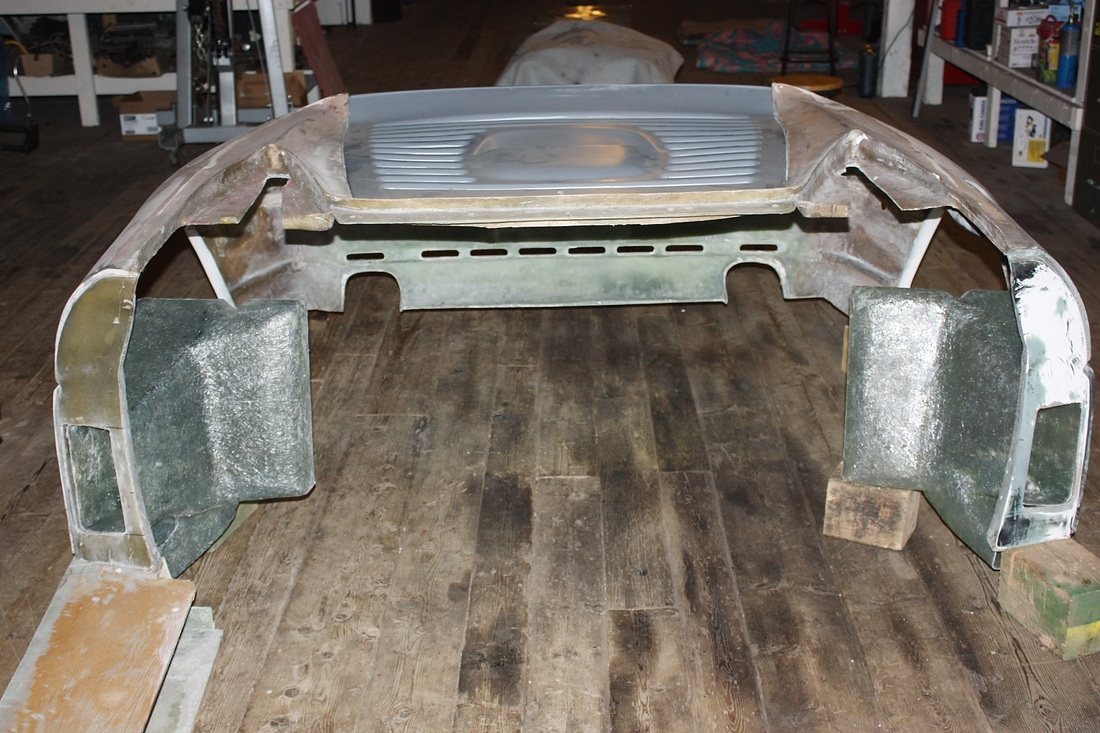
Here's a different angle of the same thing. Once the quarters are solidly mounted to the chassis, I'll fibreglass the shrouds to the quarter panels:
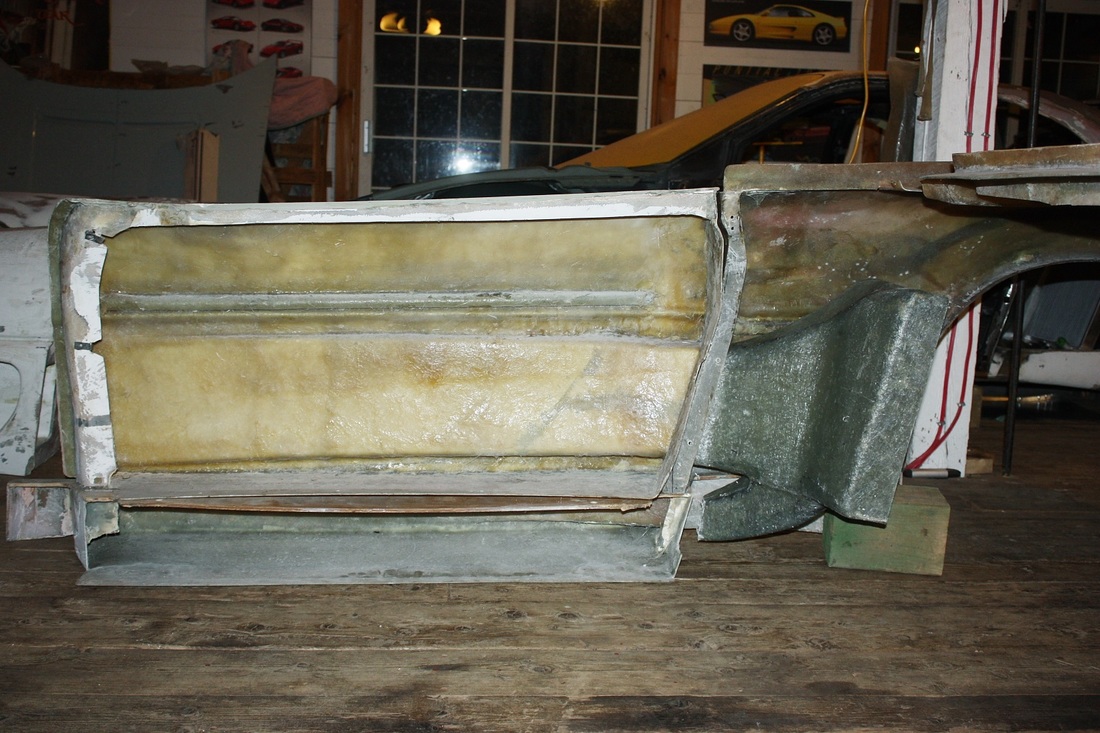
And another shot from the inside of fiberglass body showing how the door scoops flow nicely into the radiator shrouds:
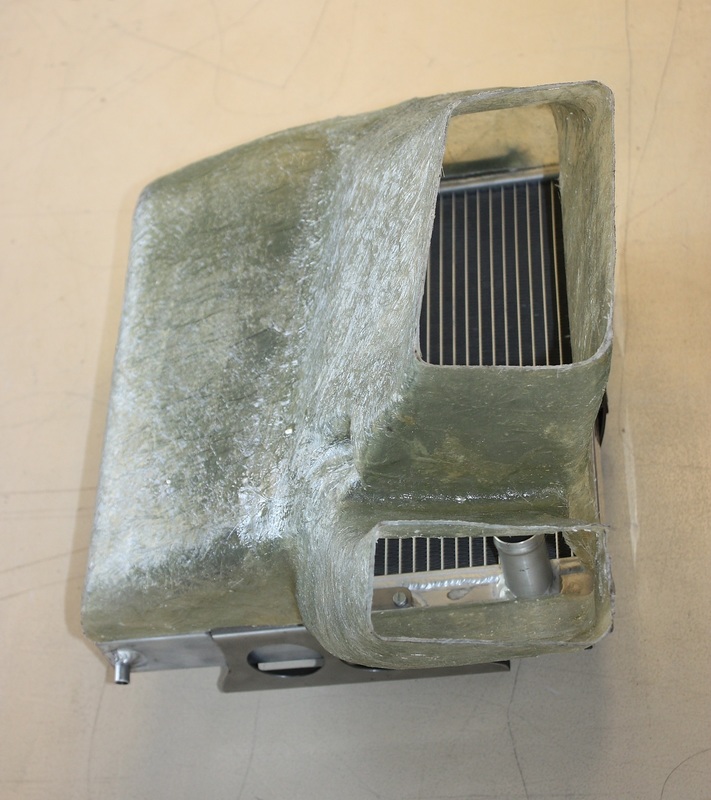
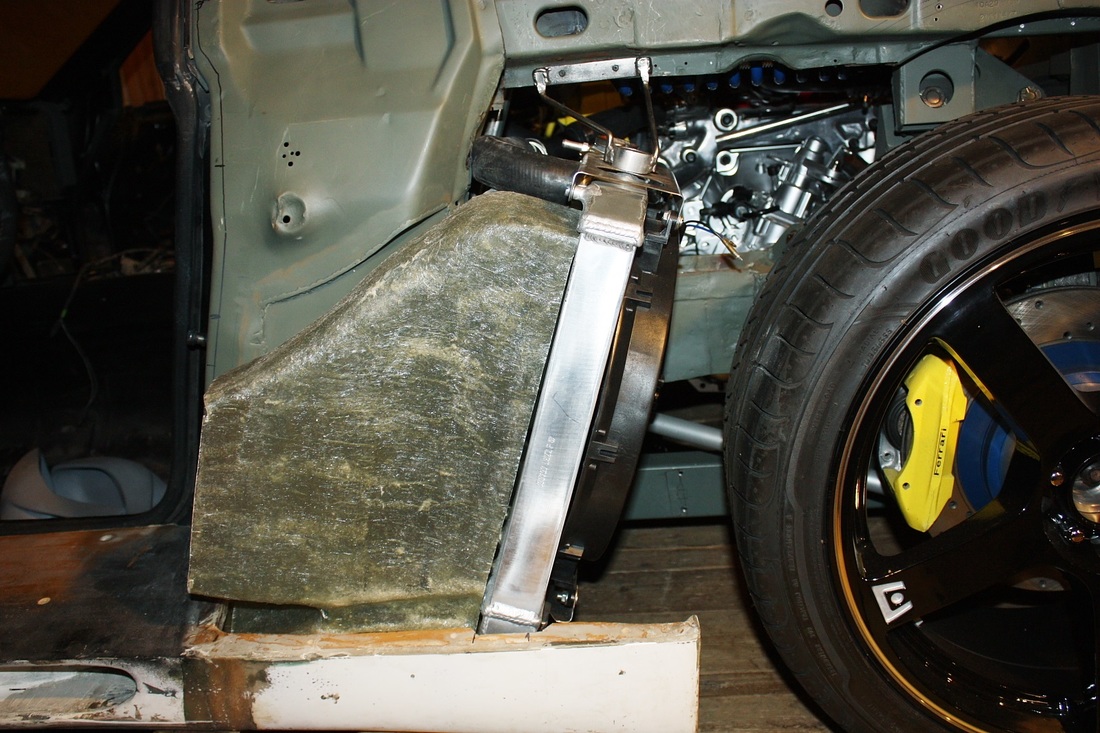
This last photo shows how the shroud nestles between the radiator and the base of the large B-Pillar:

 RSS Feed
