I decided to make the bell crank main bodies from 3/16" thick steel plate and started by drilling the bore for the hubs.
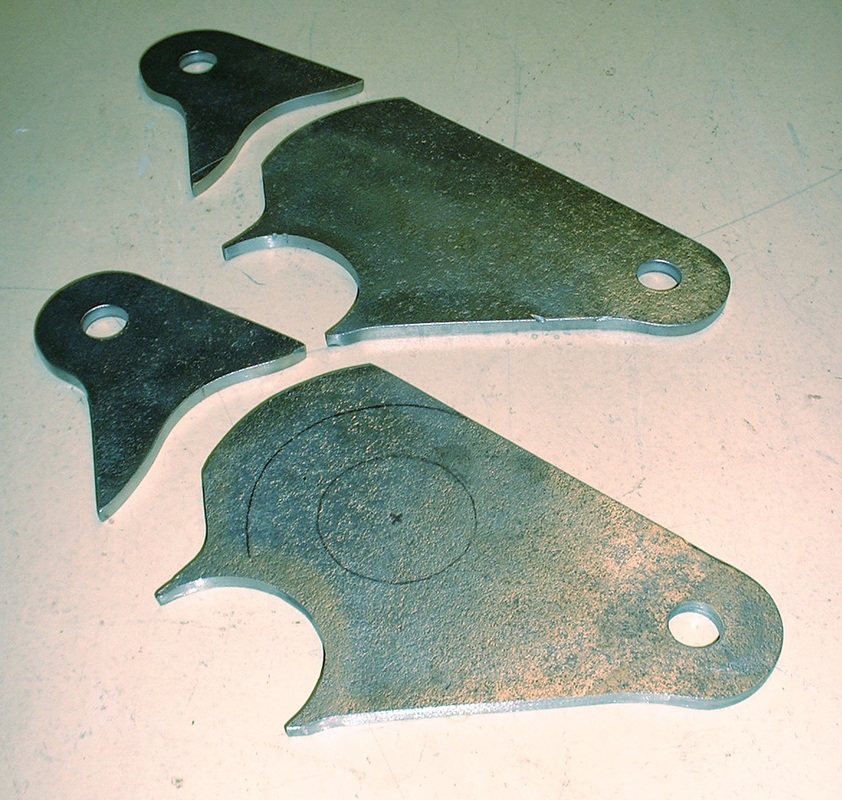
I needed to make the bodies in two pieces to accommodate the different widths of the shock and pushrod eyes at either end. The smaller pieces will be overlapped onto the larger pieces when welded, making the spacing between them 1.0" while the spacing between the main body halves will be 5/8". This is what they looked like once one set was cut out:
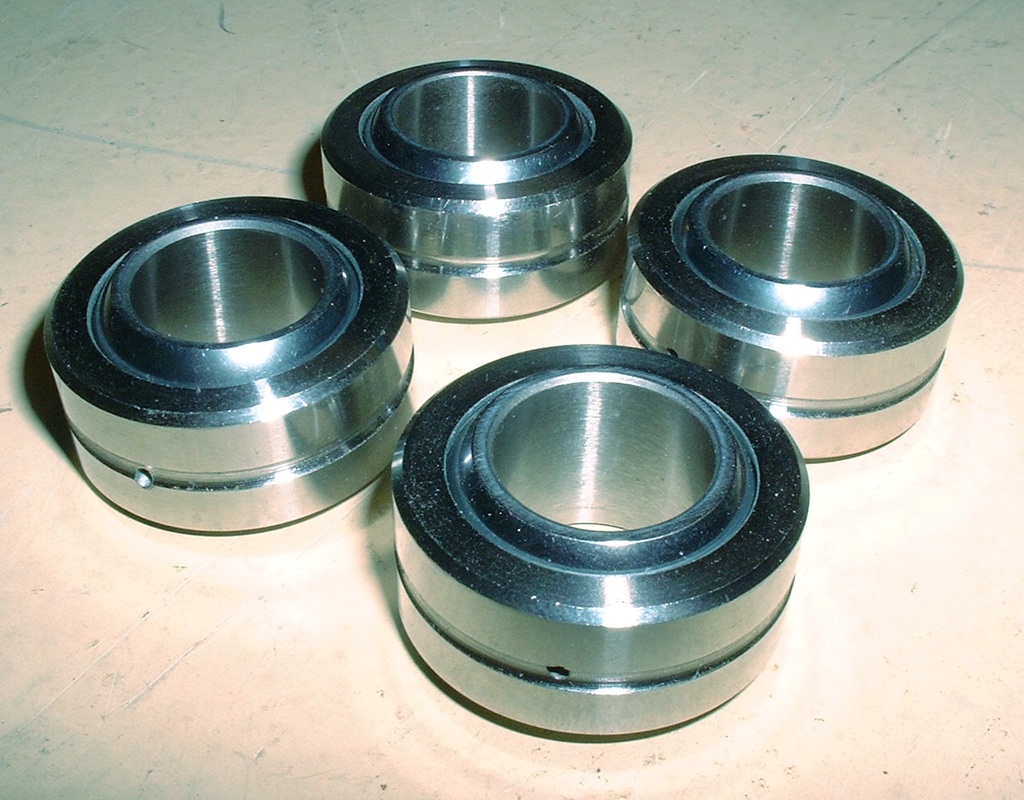
The hub bearings I chose were FK S10 spherical bearings rather than more typical needle bearings since they bear the loads more evenly around their circumference. They have a 5/8" bore for the crank fulcrum bolt. To keep the crank from tilting on the spherical bearings, I decided to use two per crank hub. Notice they have a predrilled lubrication hole and groove.
I managed to get some time on a friend's metal lathe to make the bell crank hubs. As planned, I started out with a piece of DOM 1.75OD X 1.0" ID structural steel tubing. It was $15 per foot so I bought 12" and cut two sections from it that were 1/4" longer than what I needed.
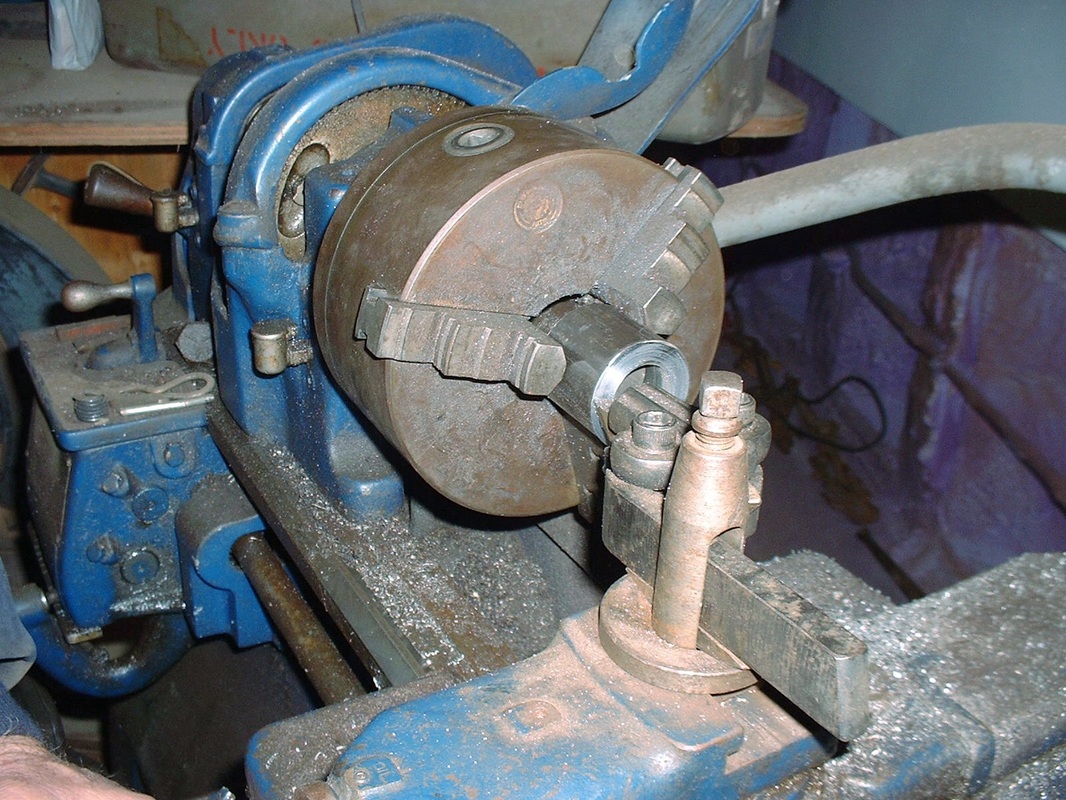
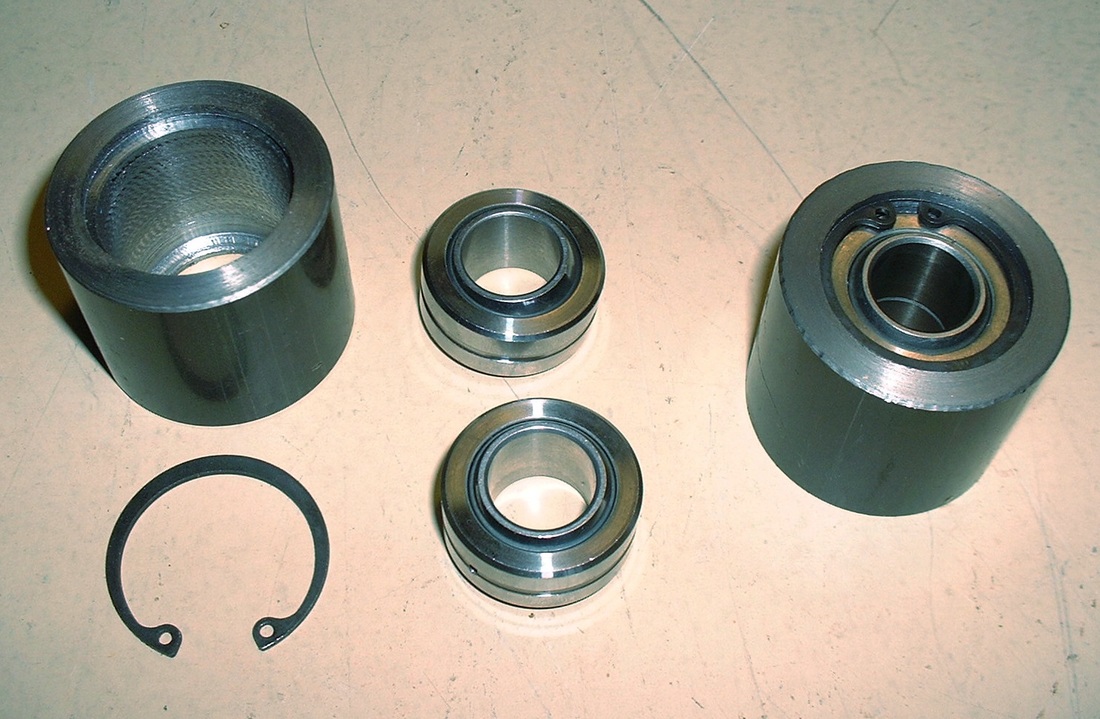
Once I had machined the inside diameter to 1.1875 (1-3/16") leaving a shoulder at one end, I machined a snap ring groove at the correct distance from the shoulder.
Things went pretty smoothly and although I was aiming for an interference fit between the bearing and the hub, the lathe (or perhaps the operator!) wasn't accurate enough to achieve any better than a finger-tight fit on both hubs. That was OK though since Locktite 680 is made for just such an application. Once the inside diameter machining was completed, I shaved off the extra 1/4" I had left on the length, centring the bearings between both ends. Here are the pieces that go into making one bearing hub together with one that's assembled:
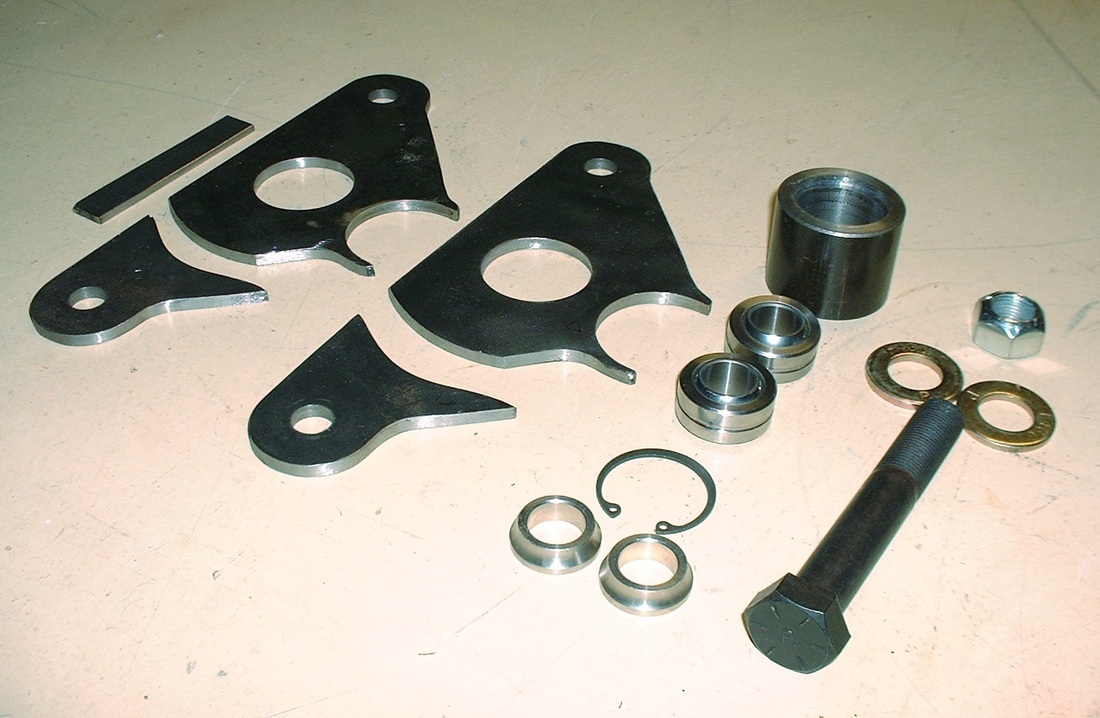
And here are all the parts that went into making a single bell crank:
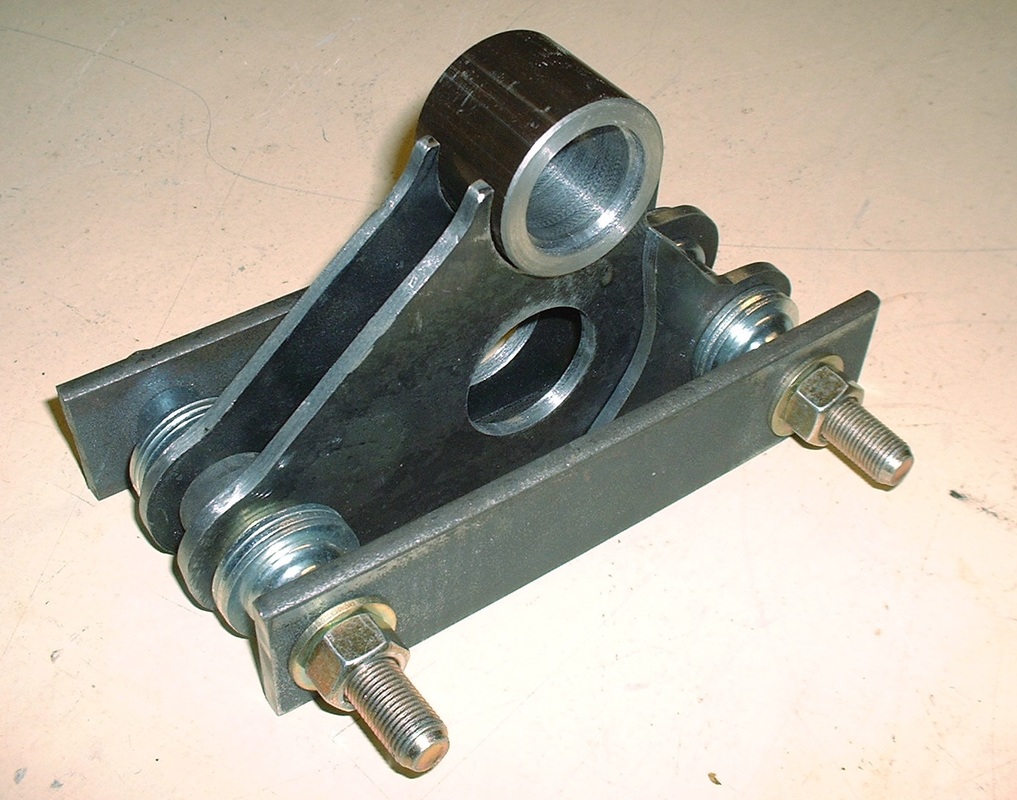
In preparation for welding up the major parts, I made up a simple jig to locate and properly align all the parts together:
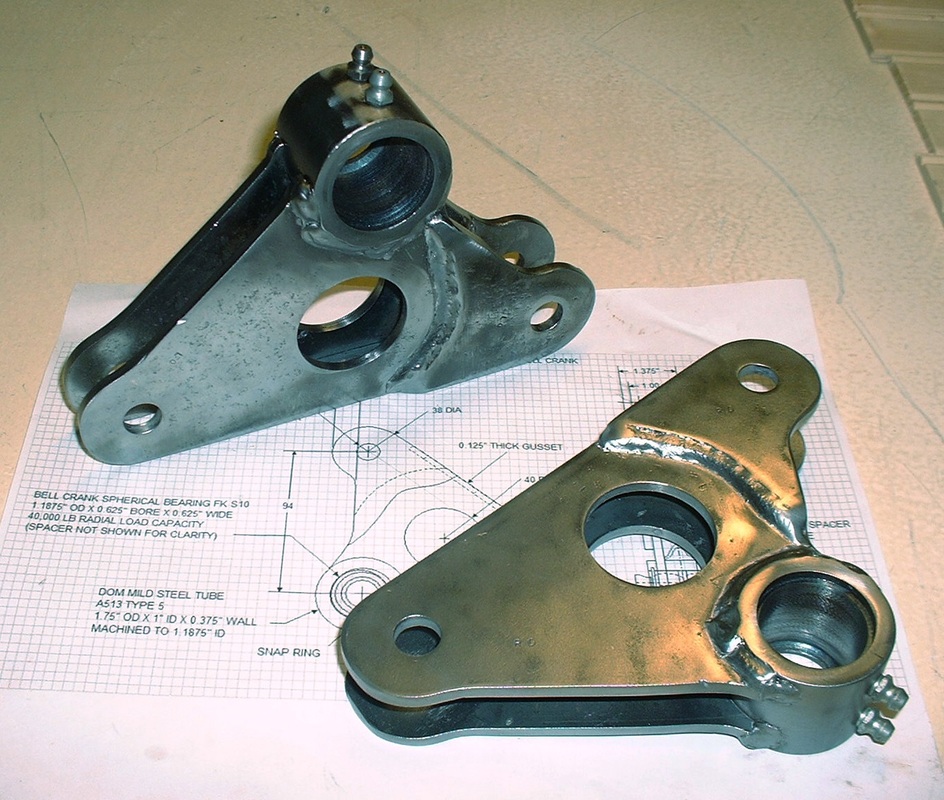
Here's a close up of both of them showing just how hot things got to assure good weld penetration between the 3/16" plate steel and the hub, which measures 9/32" thick. The heat patterns left on the steel are a good clue that there was even penetration. The other thing you can imagine is how disappointed I was with all the spatter, especially after making all the parts so clean and tidy!

Here's what they looked like after being cleaned up:
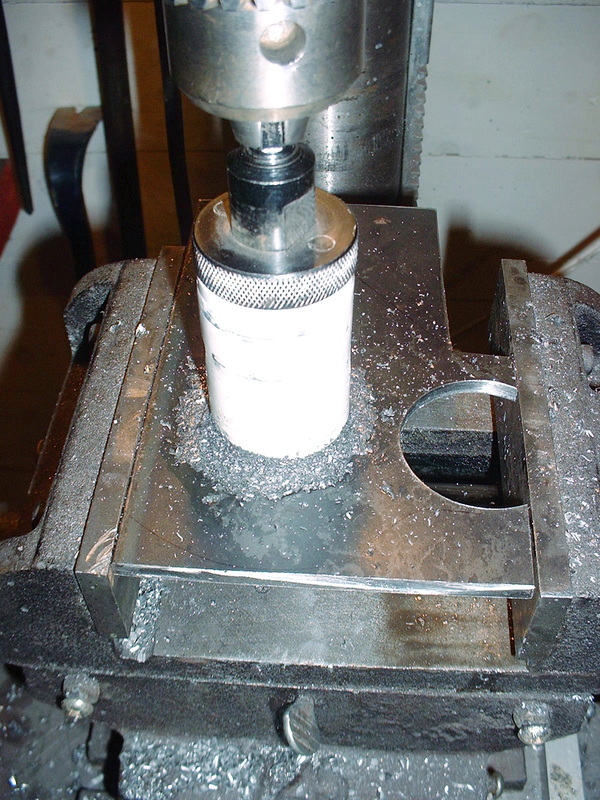
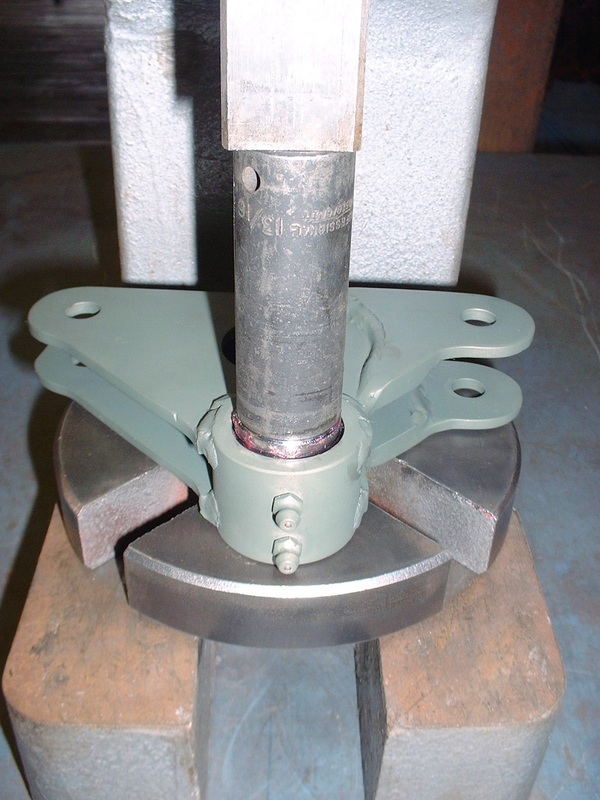
The next step was to reload the hubs with the bearings, which after welding, required light pressure from an arbour press... no longer just finger tight! I didn't end up using any Locktite 680 to bond them to the hubs.
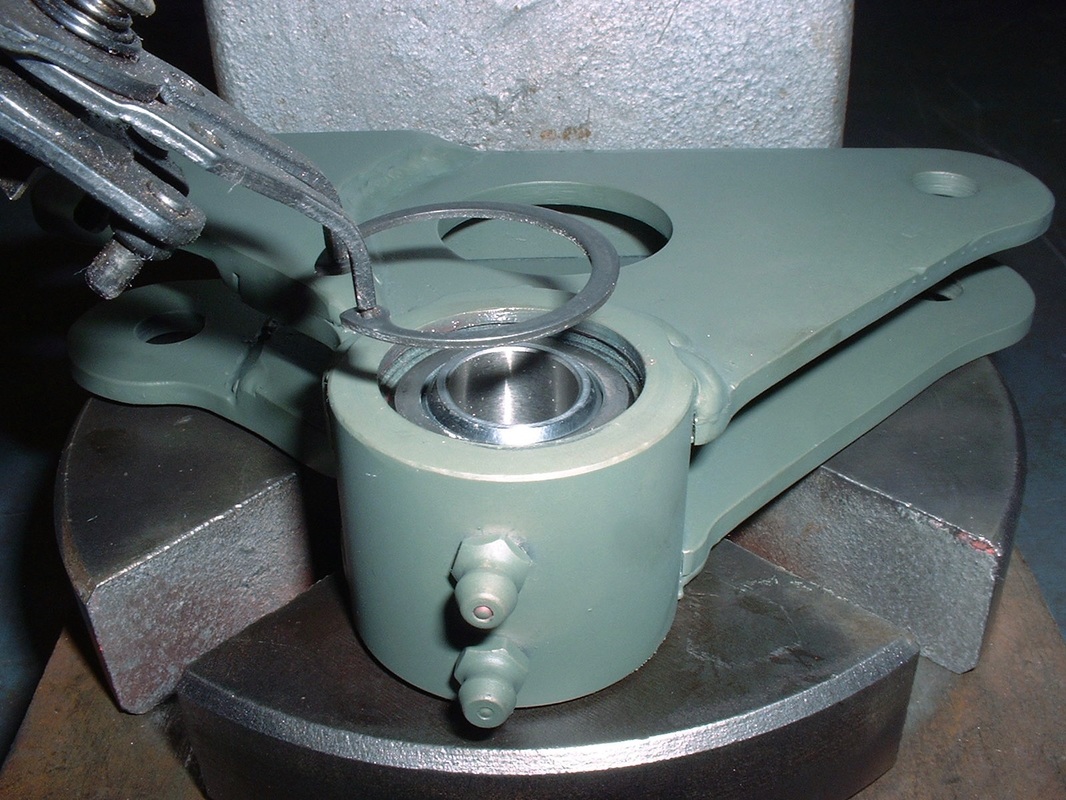
Lastly, I installed the snap rings to positively retain the bearings in the hubs:

 RSS Feed
