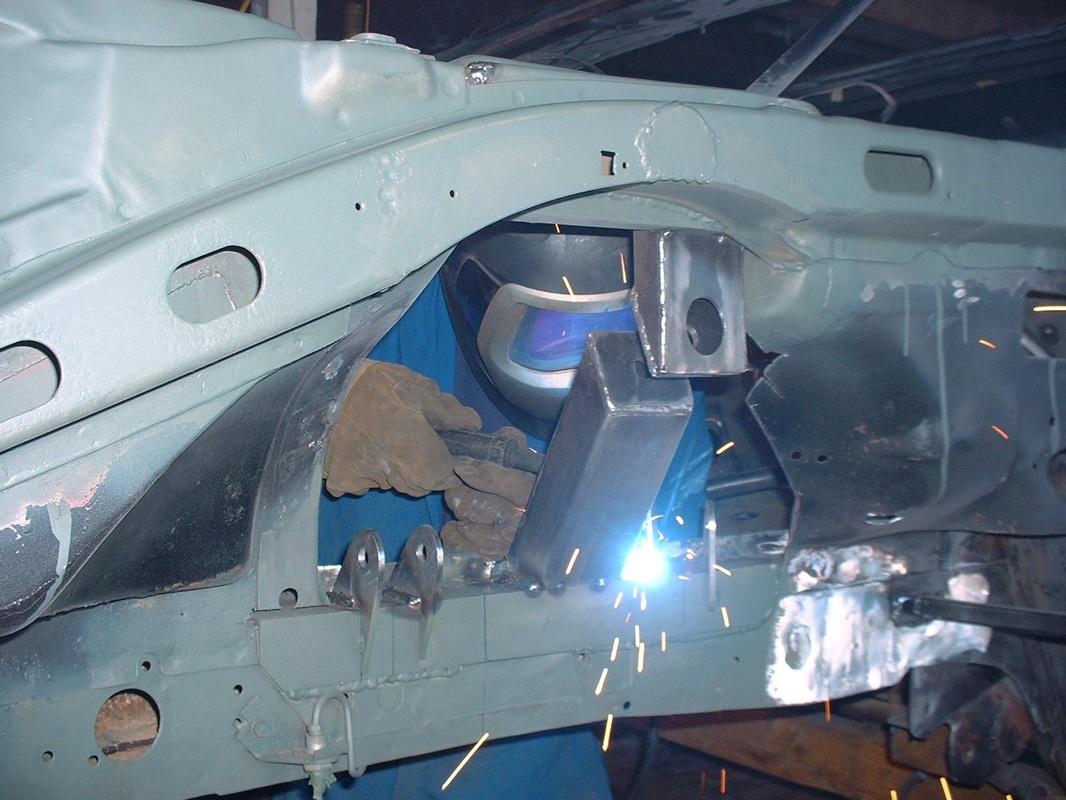
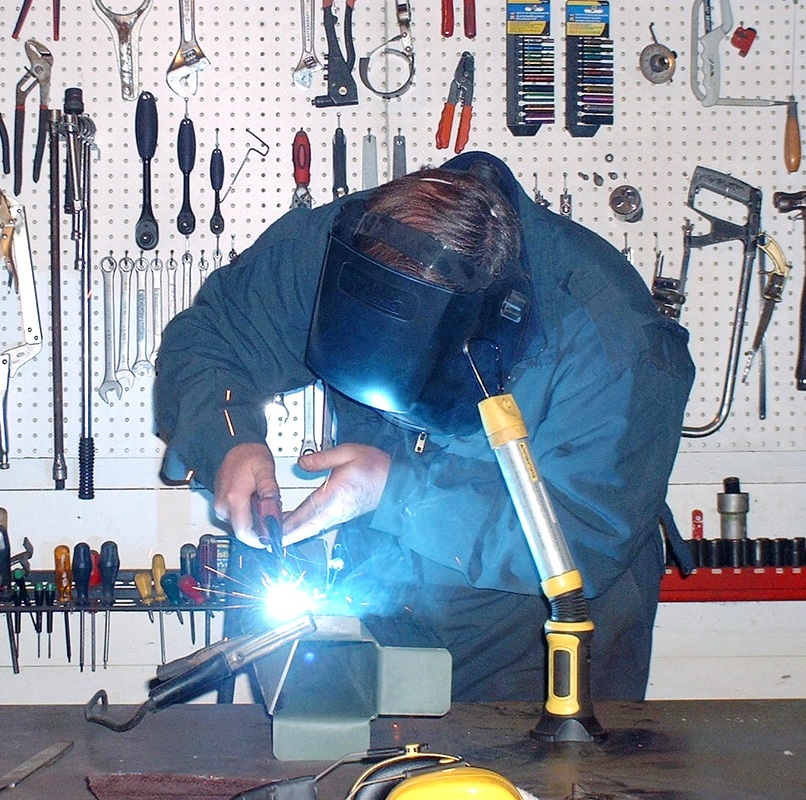
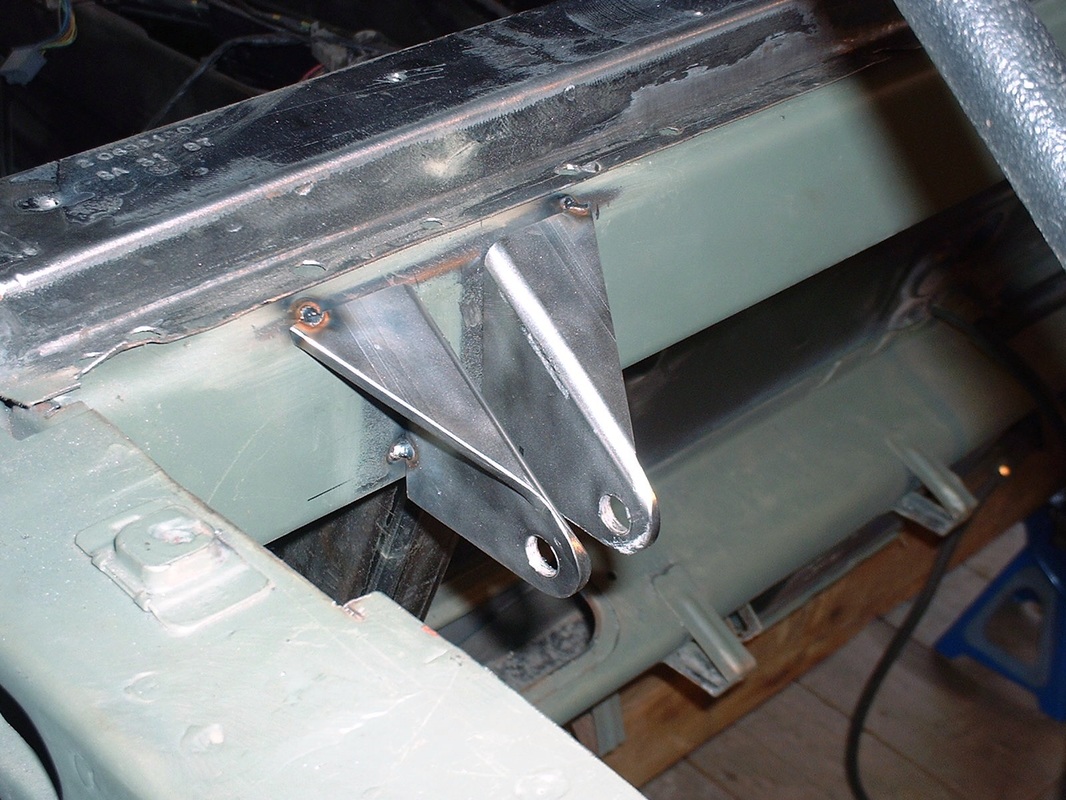
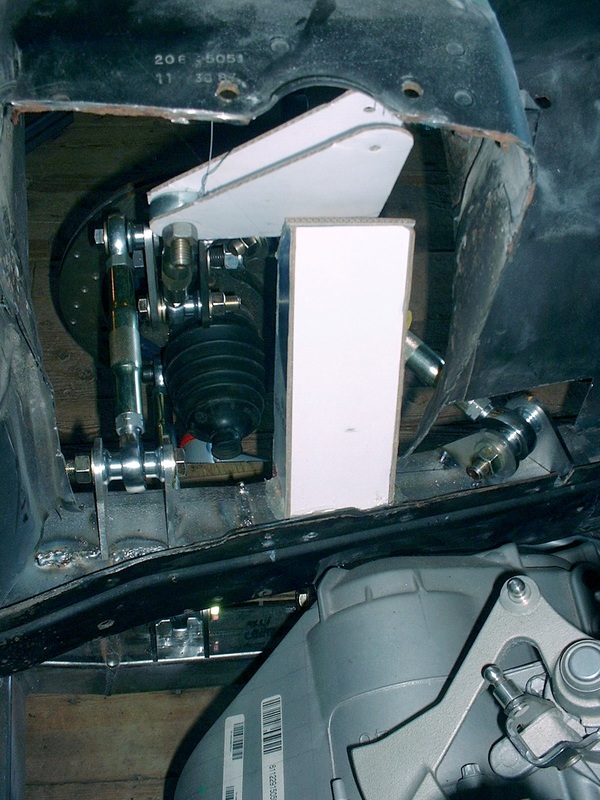
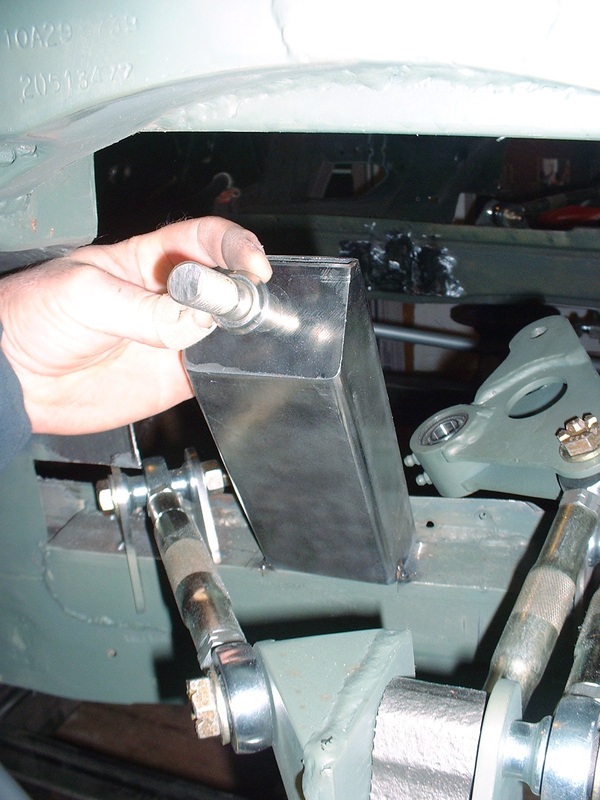
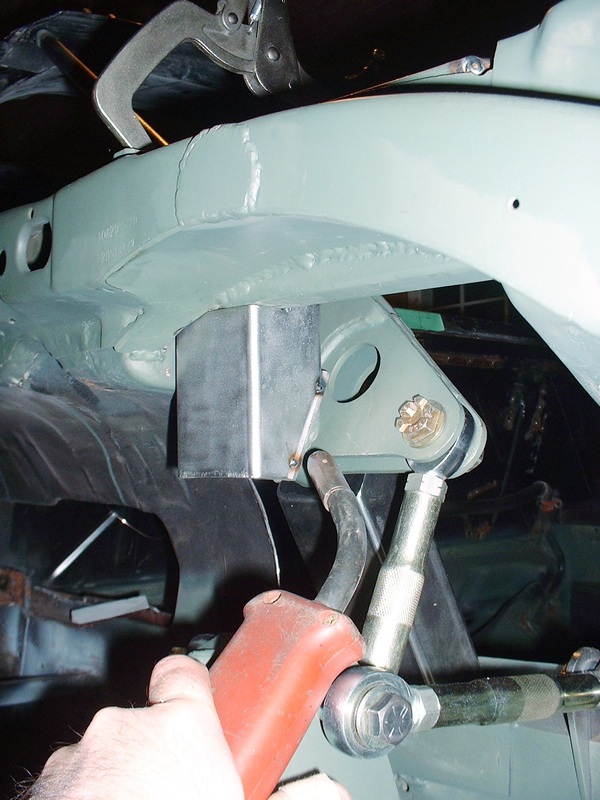
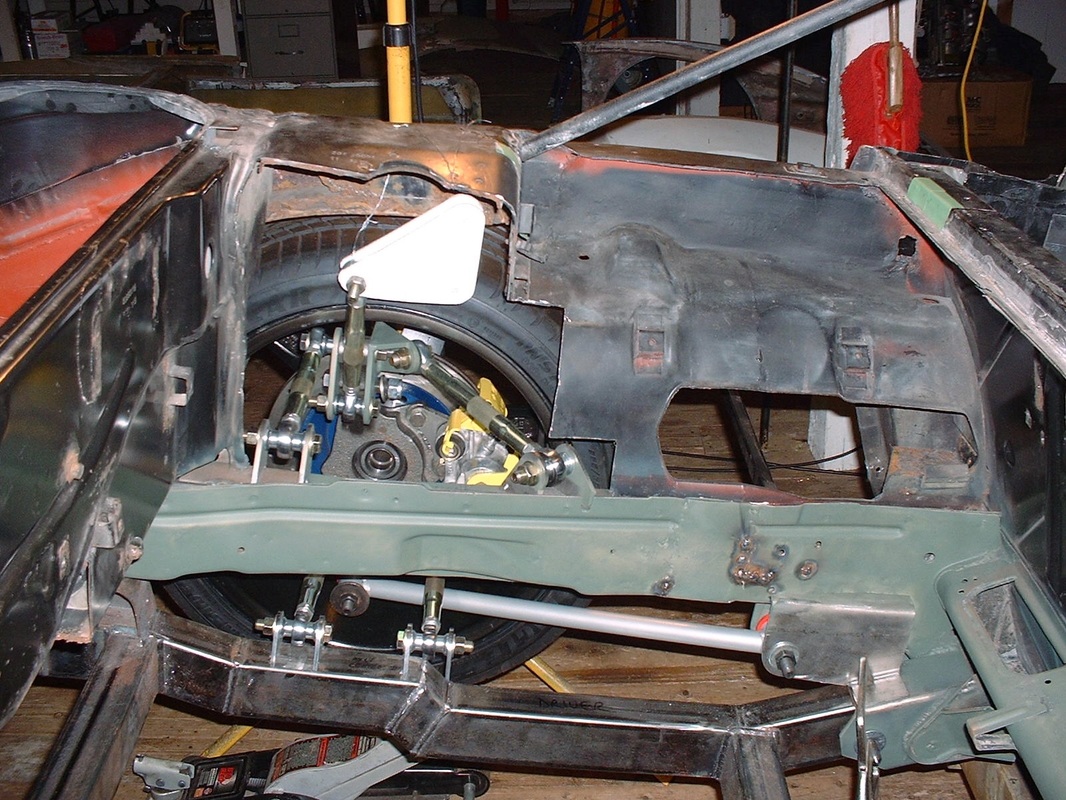
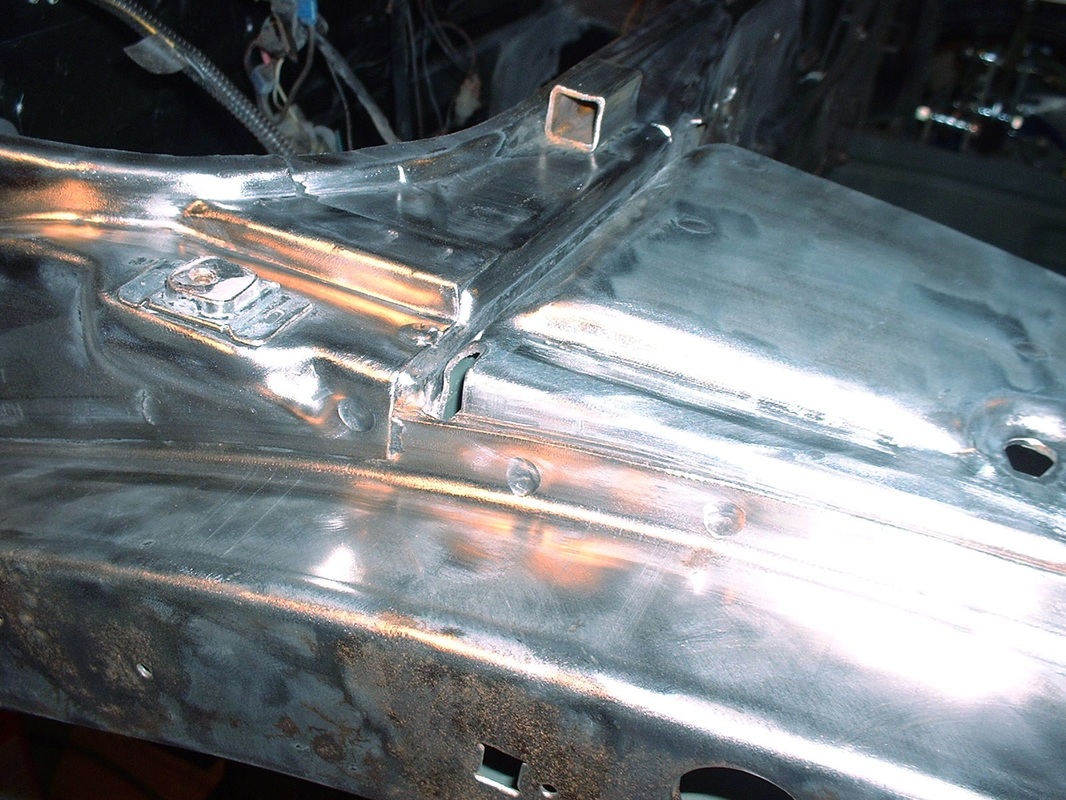
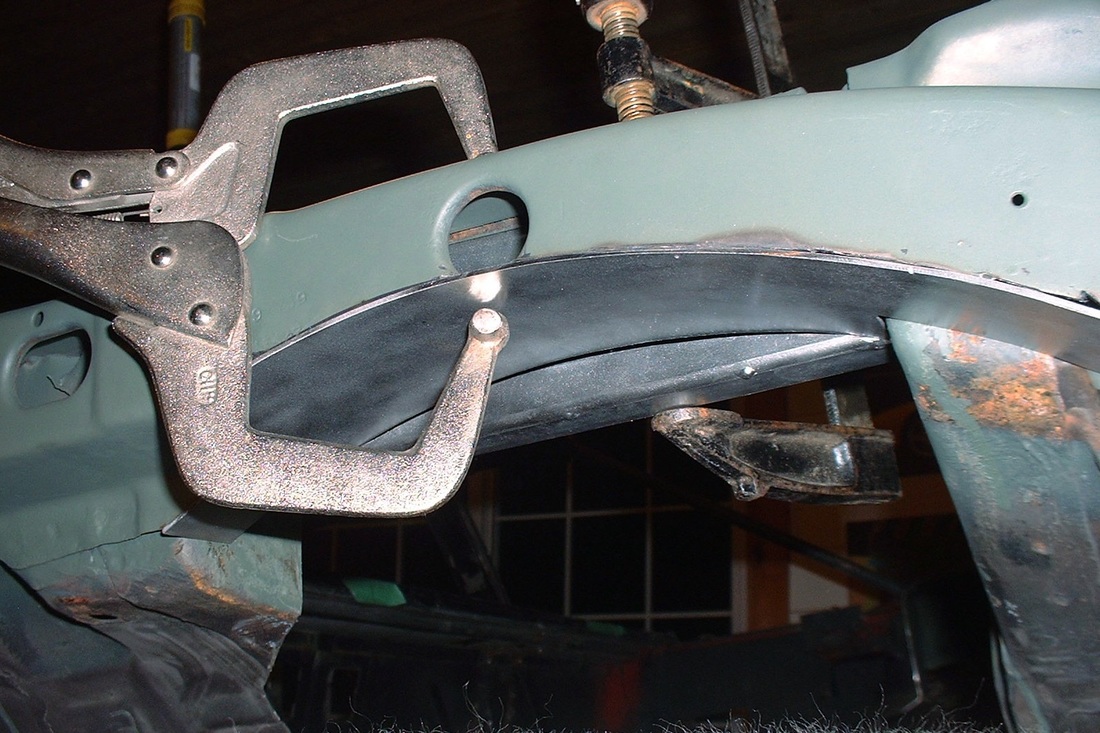
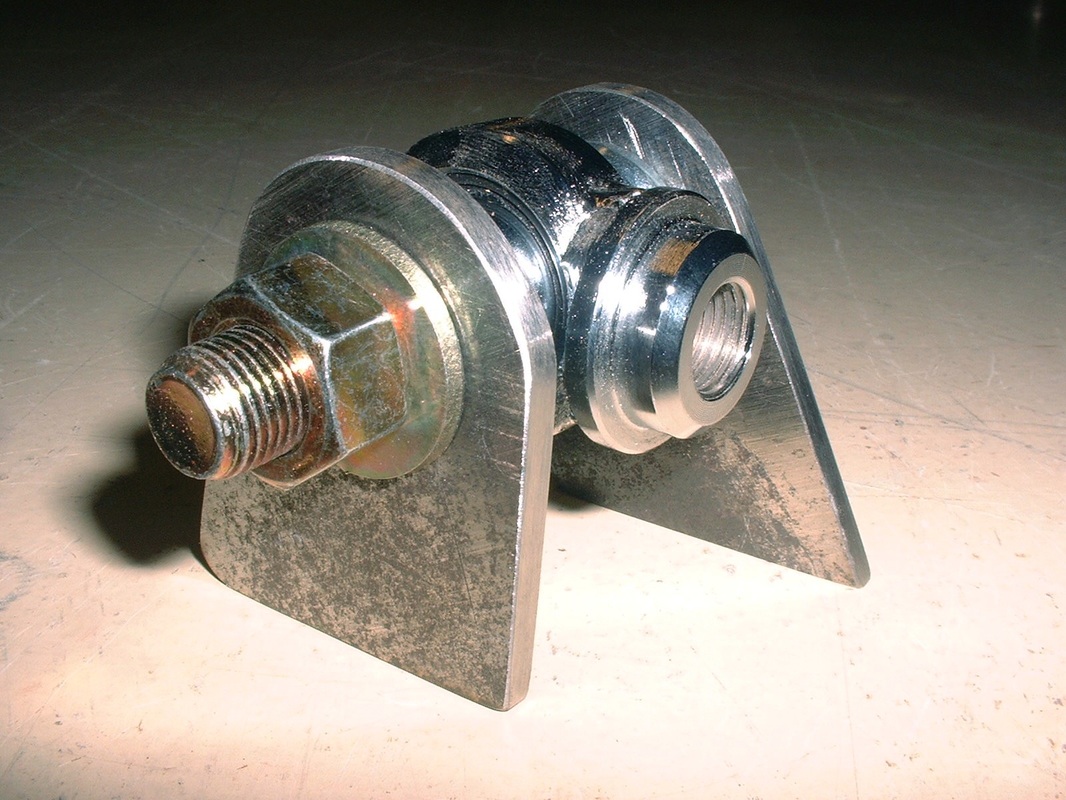
At this point, I cycled the suspension through its full range of travel to make sure none of the bell crank and pushrod system would bind up. It worked like a well greased machine so I decided it was time to finalize the welding and called in a favour from a friend who's a certified welder. He spent more than an hour welding all of the major suspension mounts I had only tacked on earlier. Here he was welding the bell crank mounts:
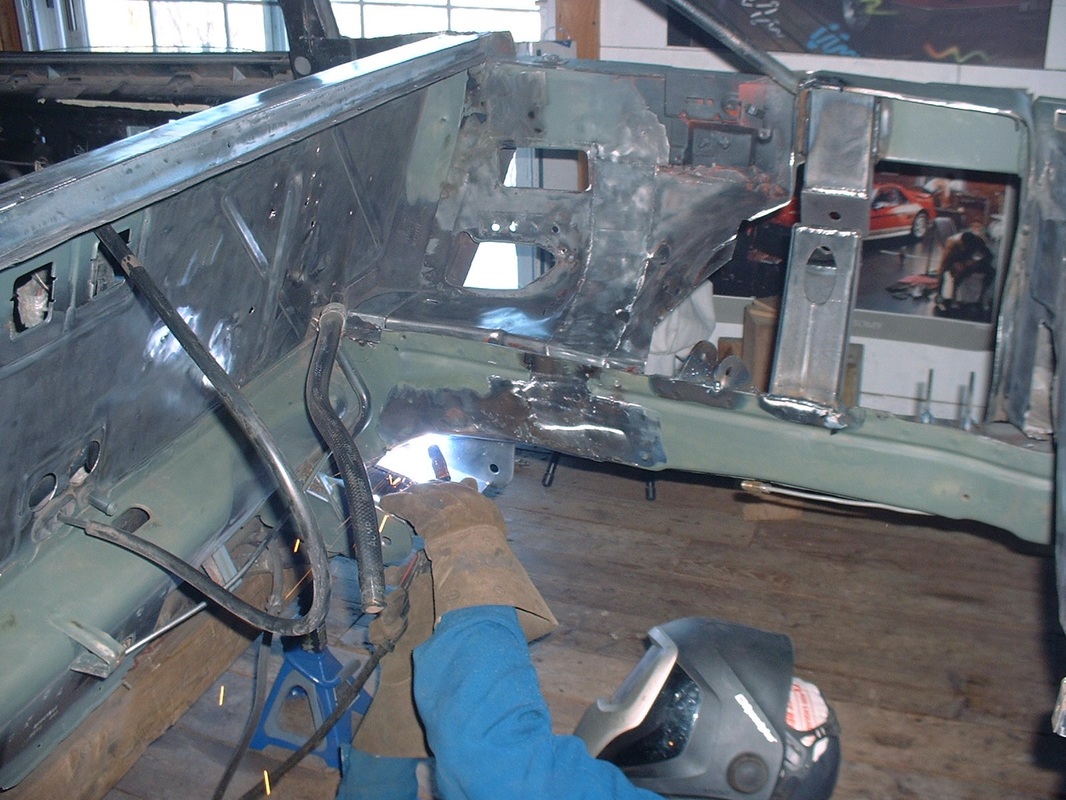
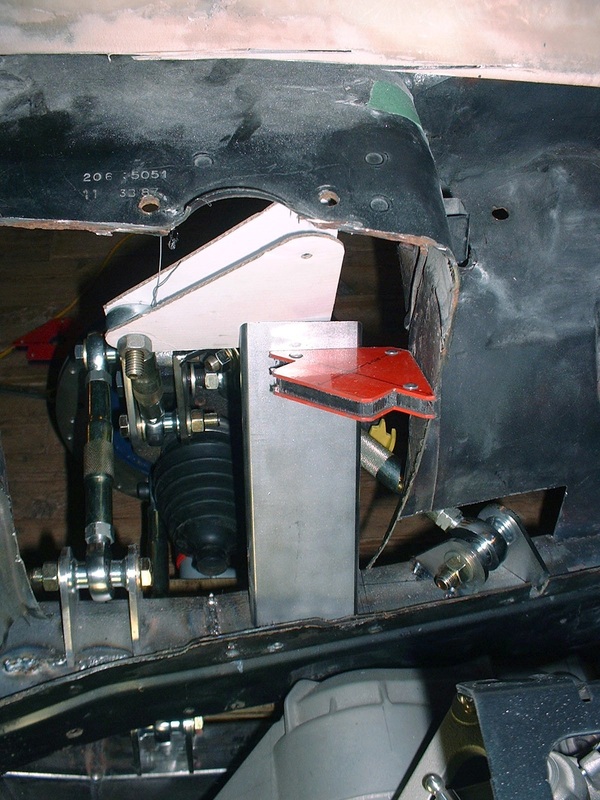
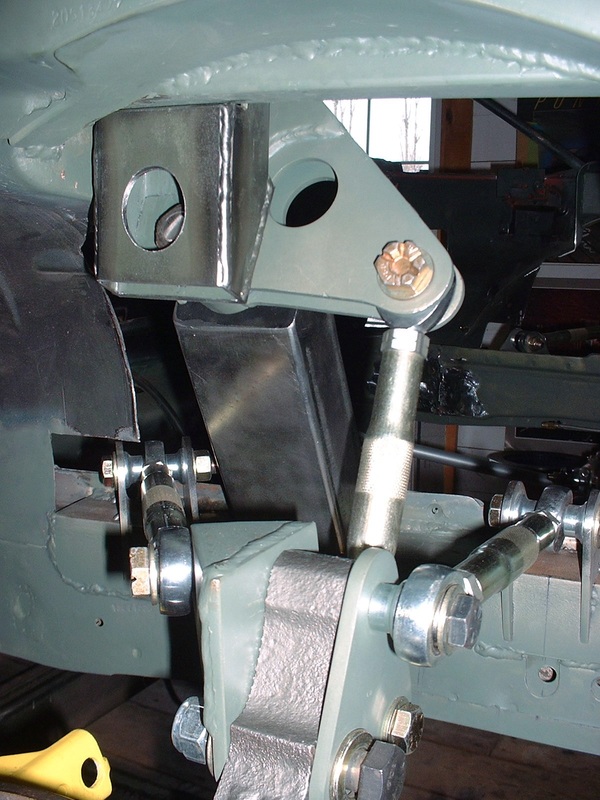
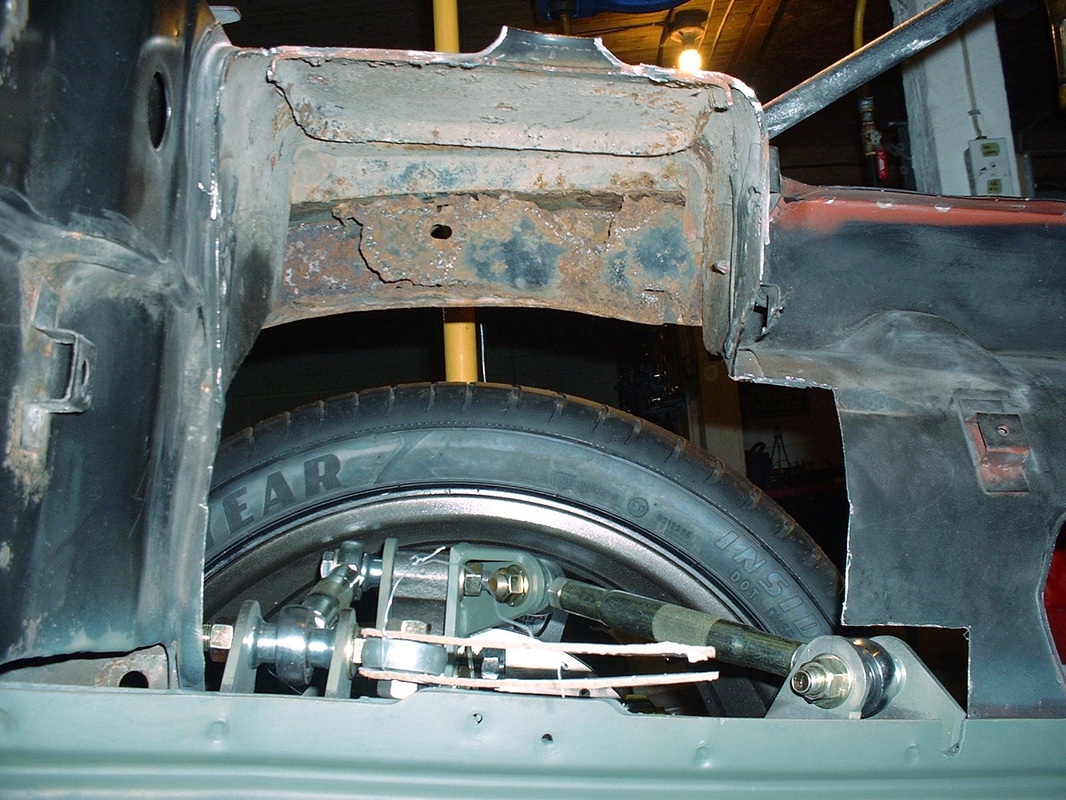
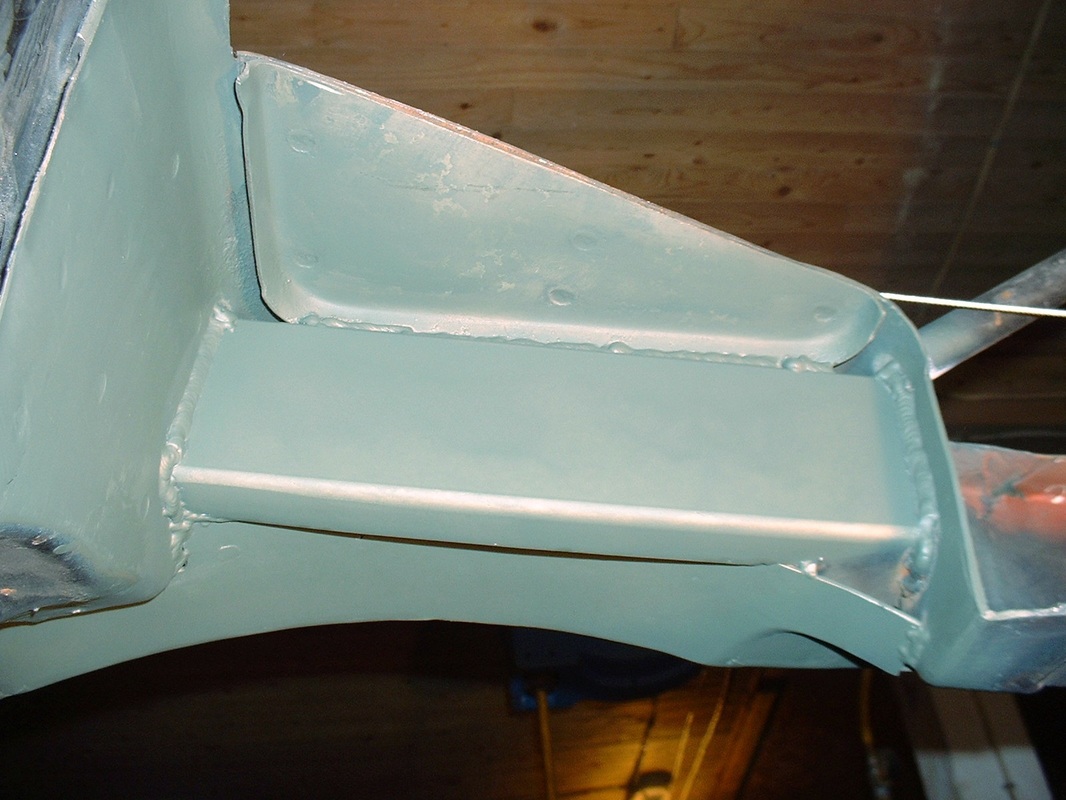
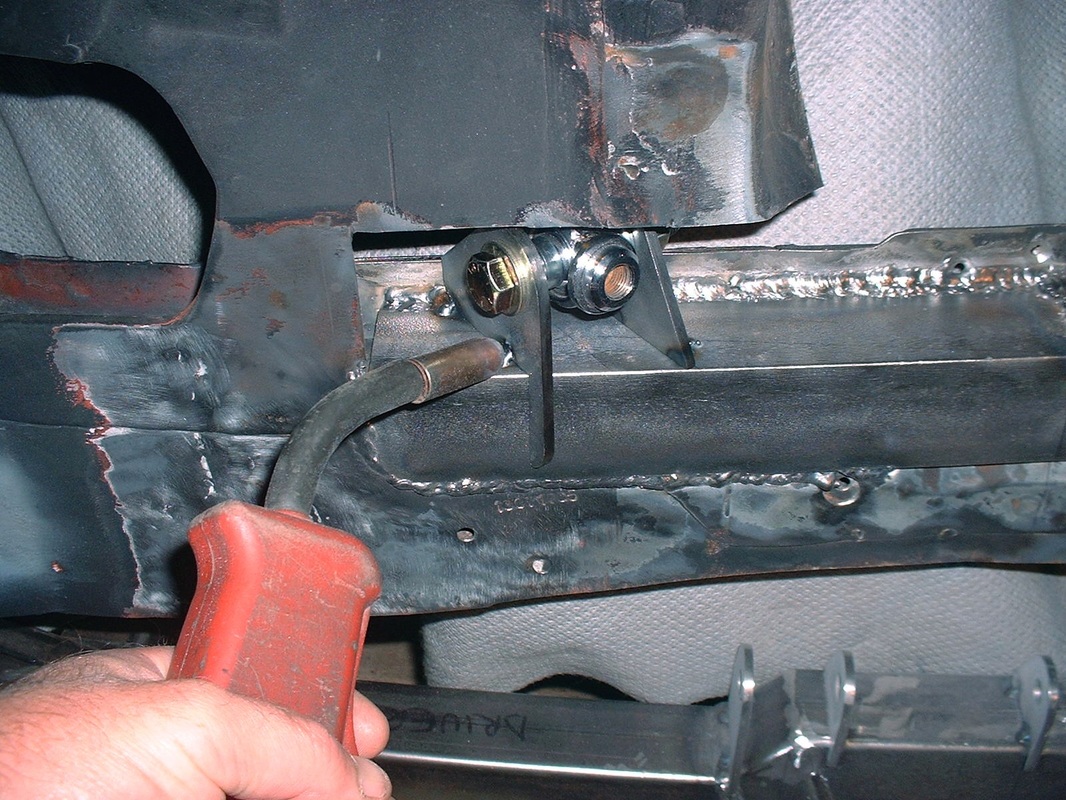
The trailing link mounts:
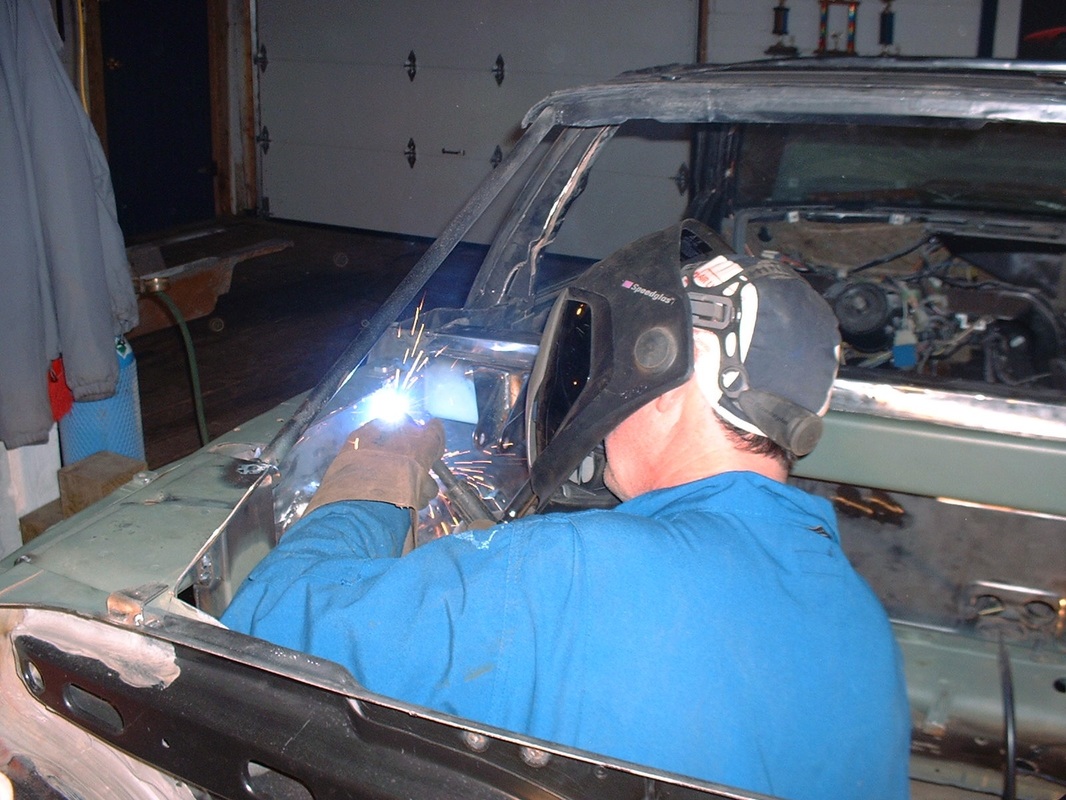
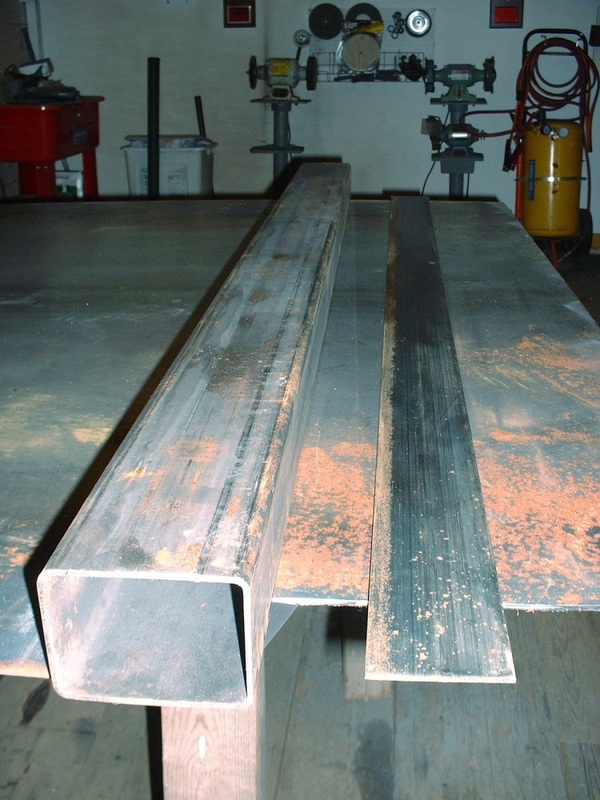
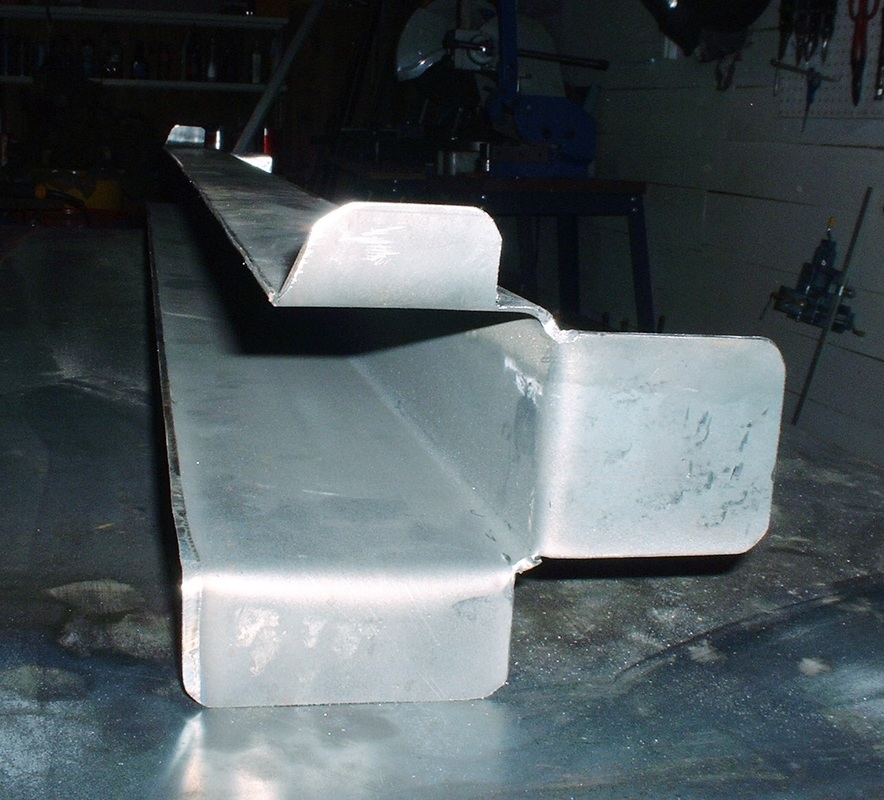
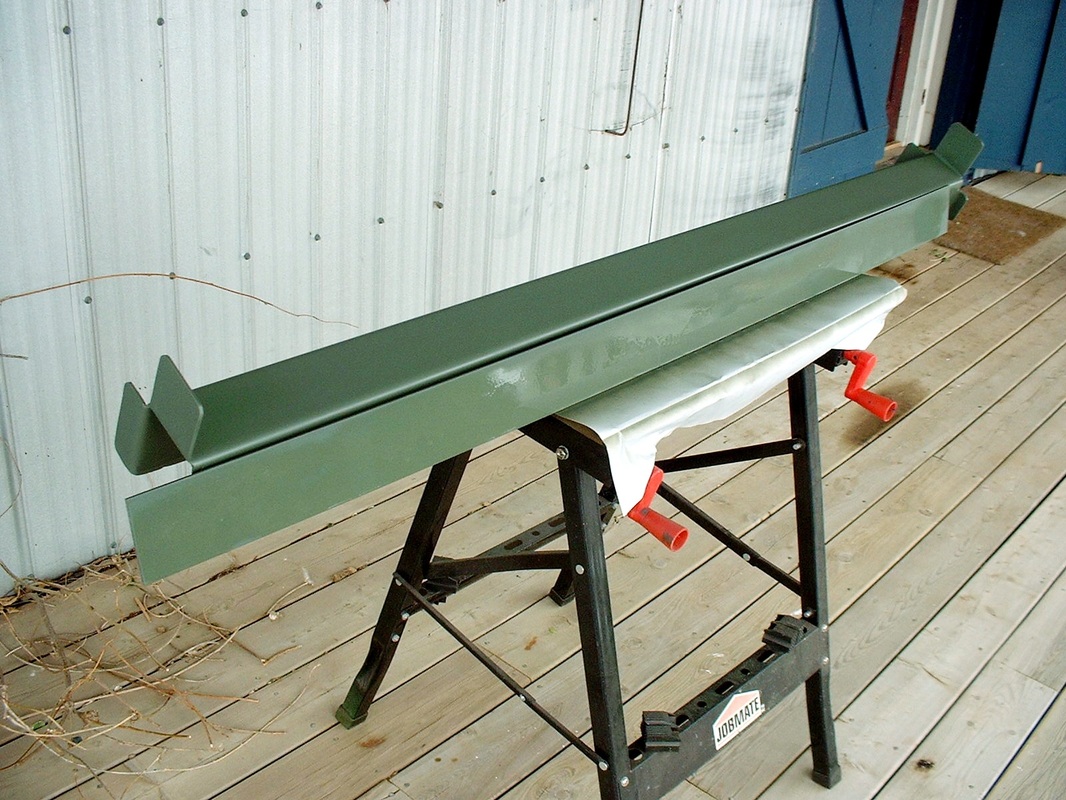
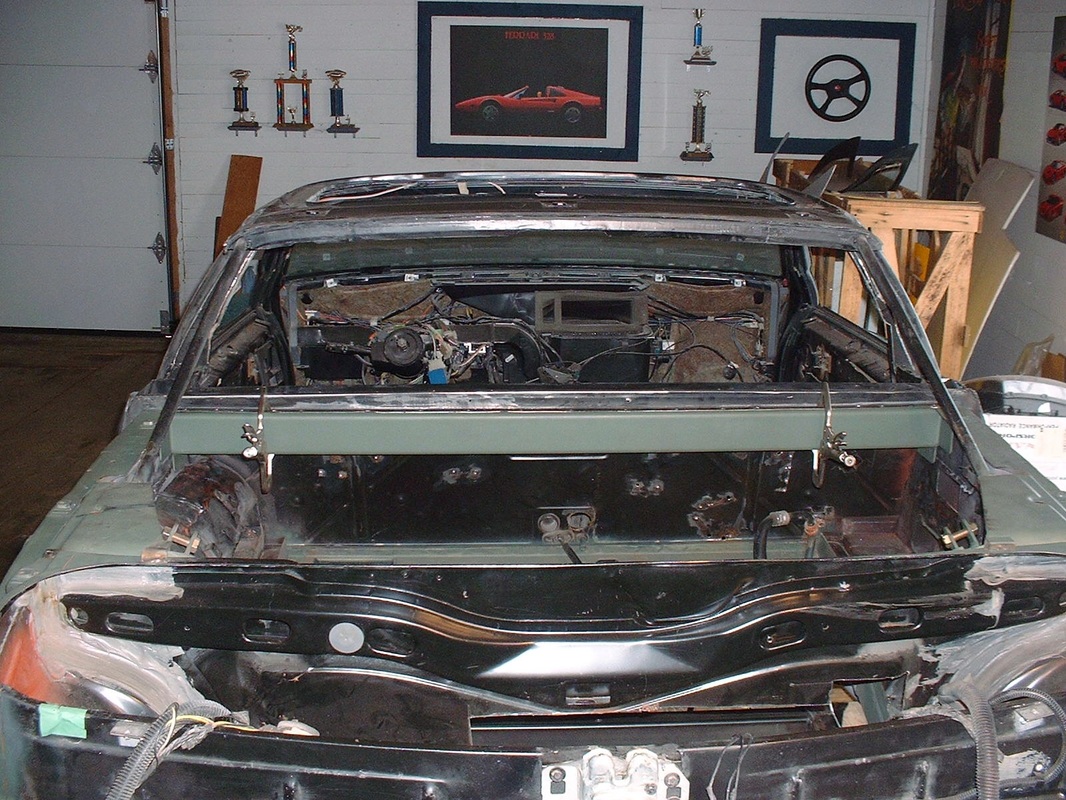
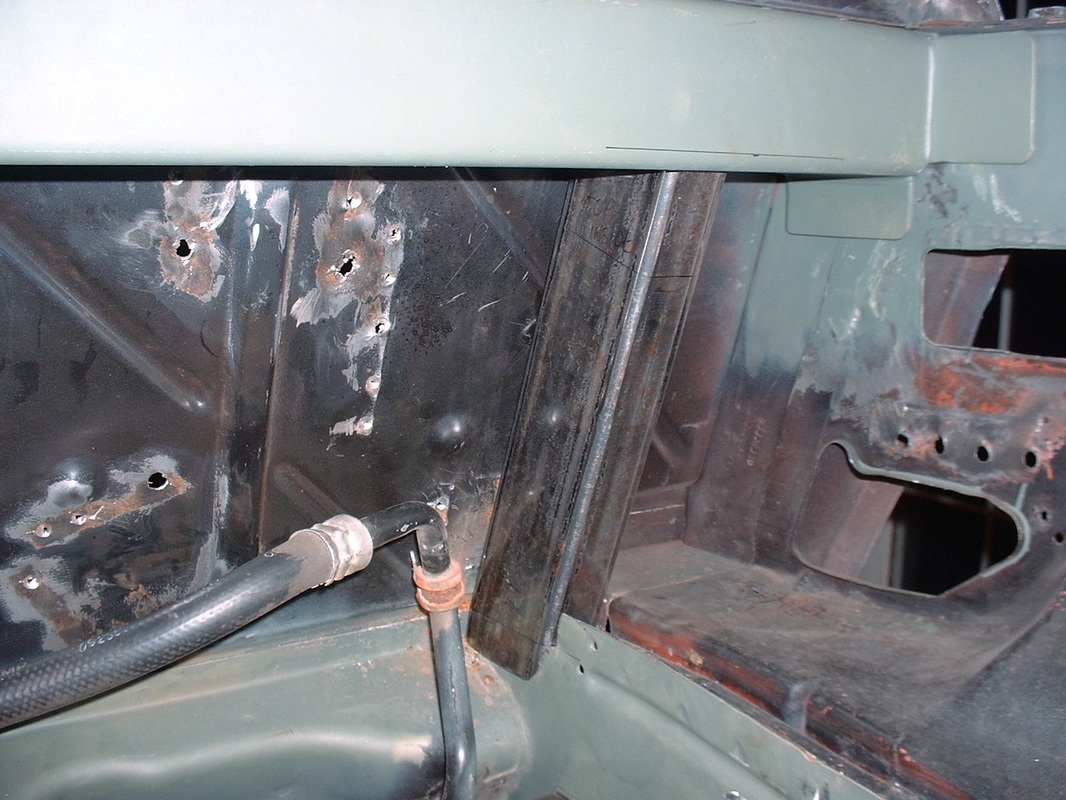
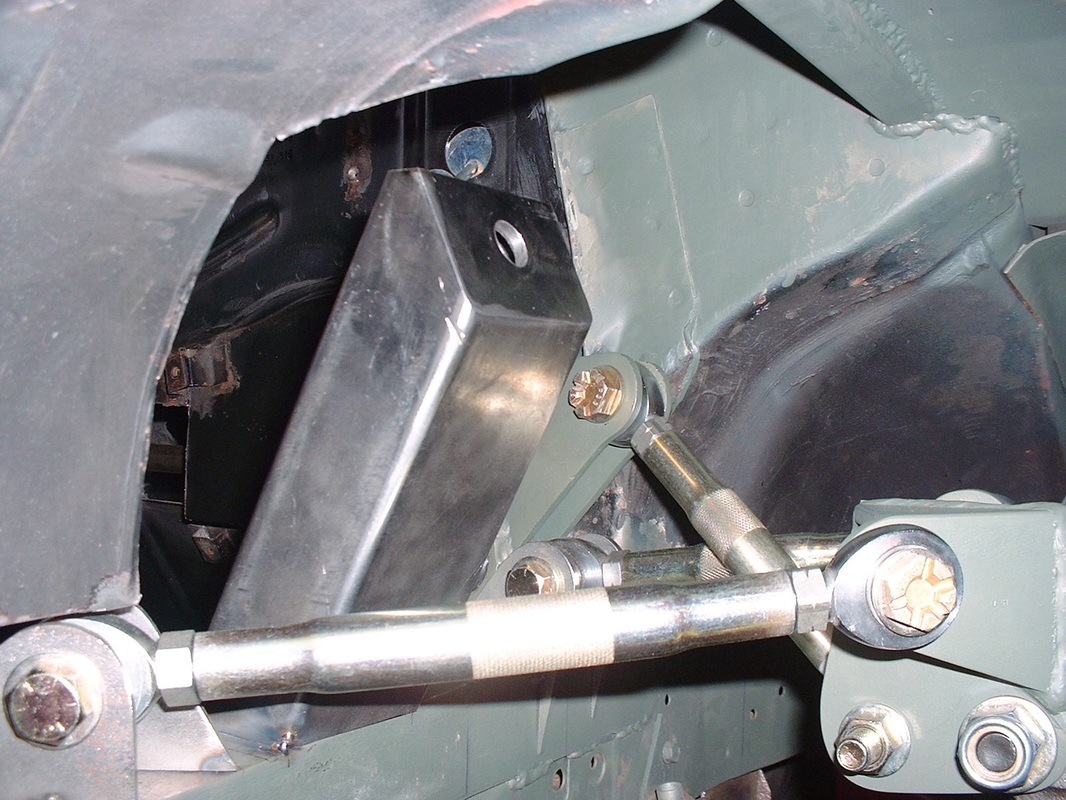
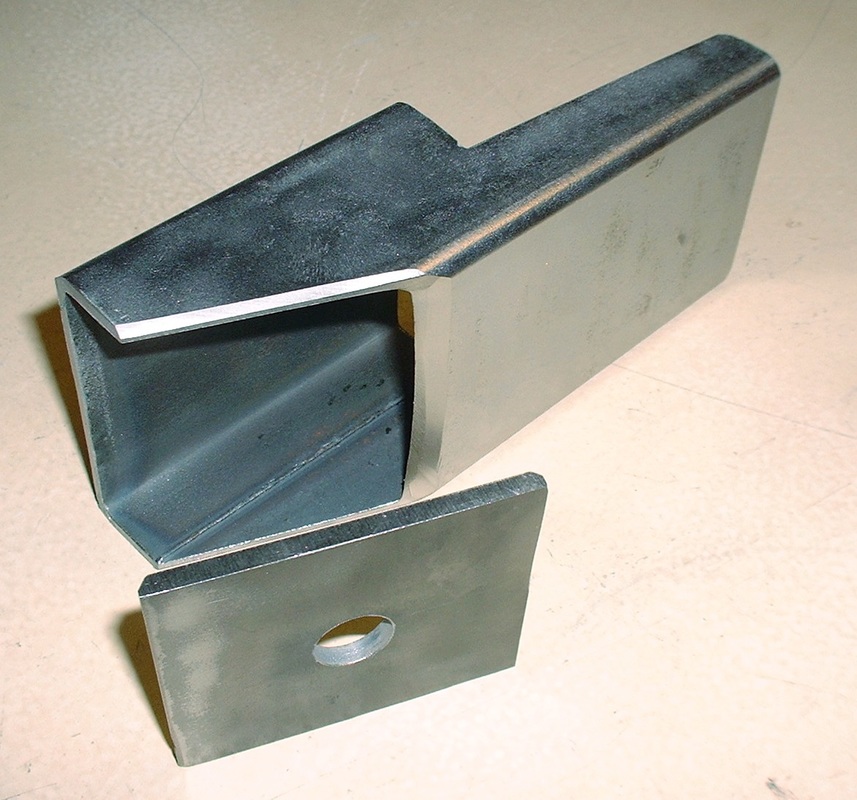
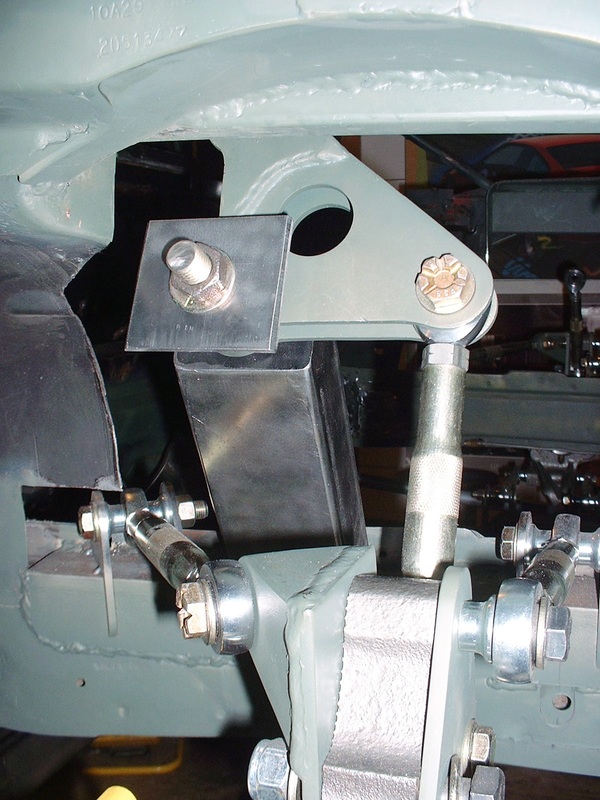
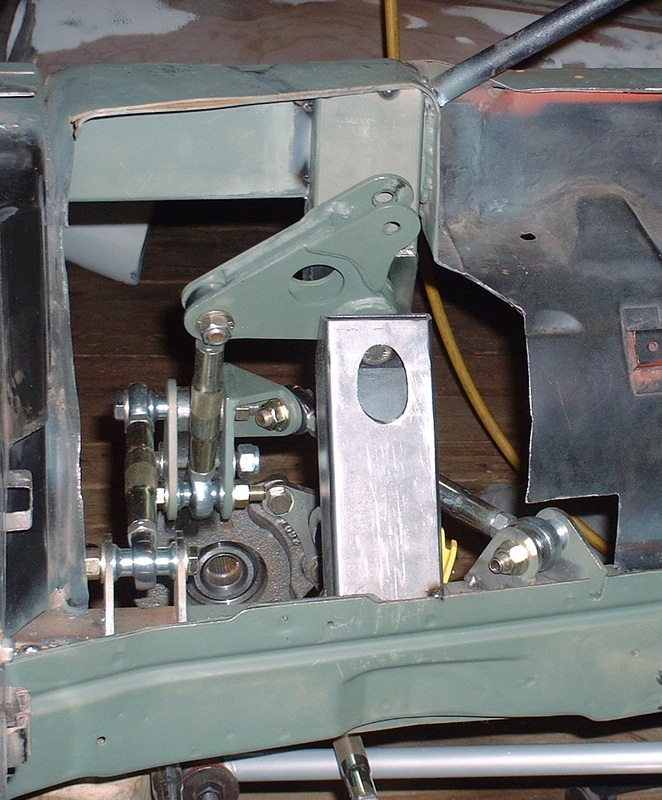
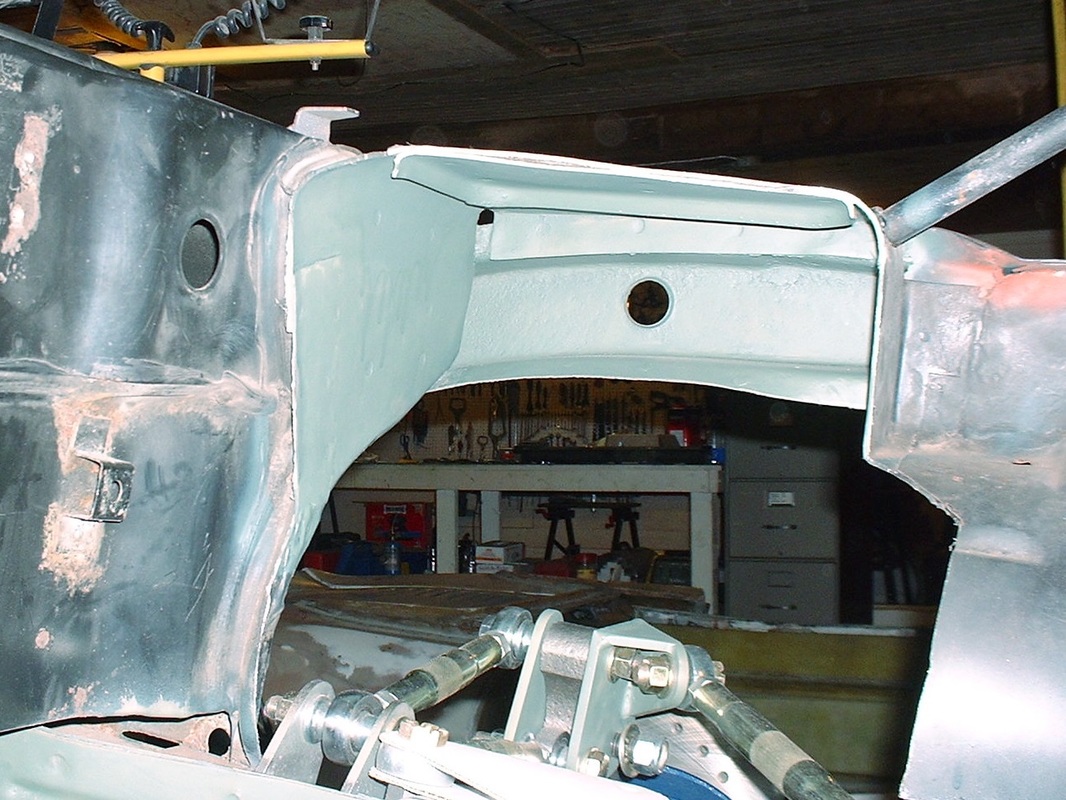
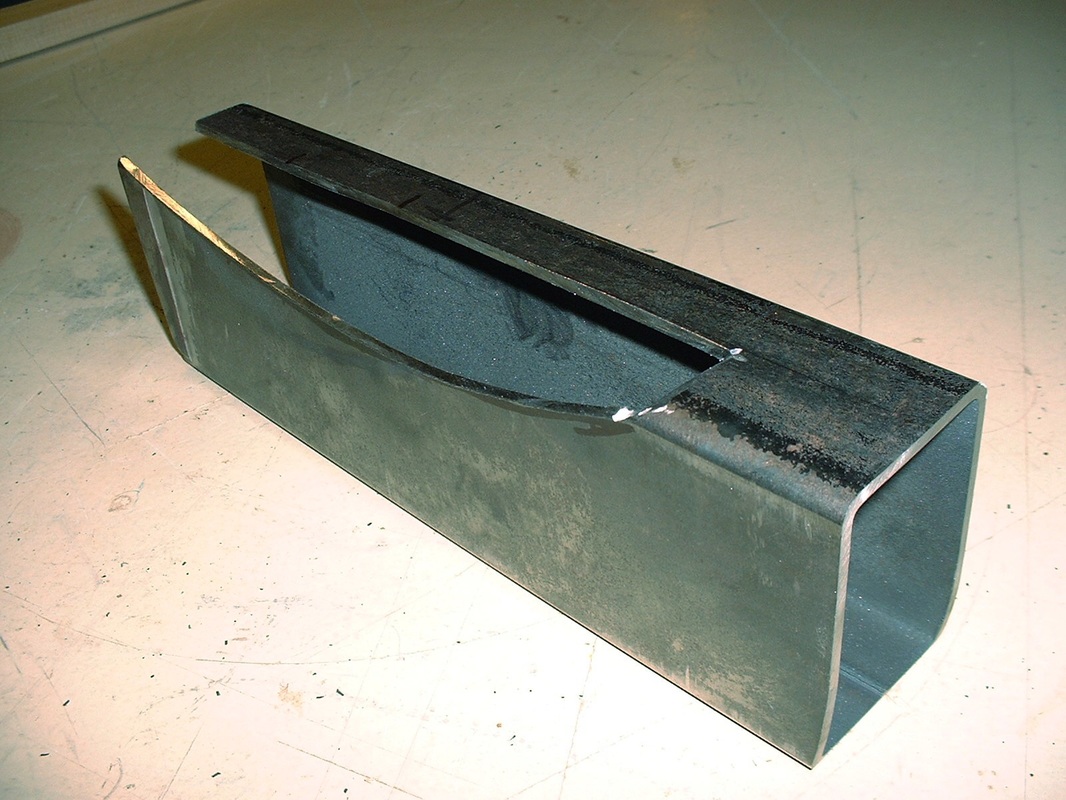
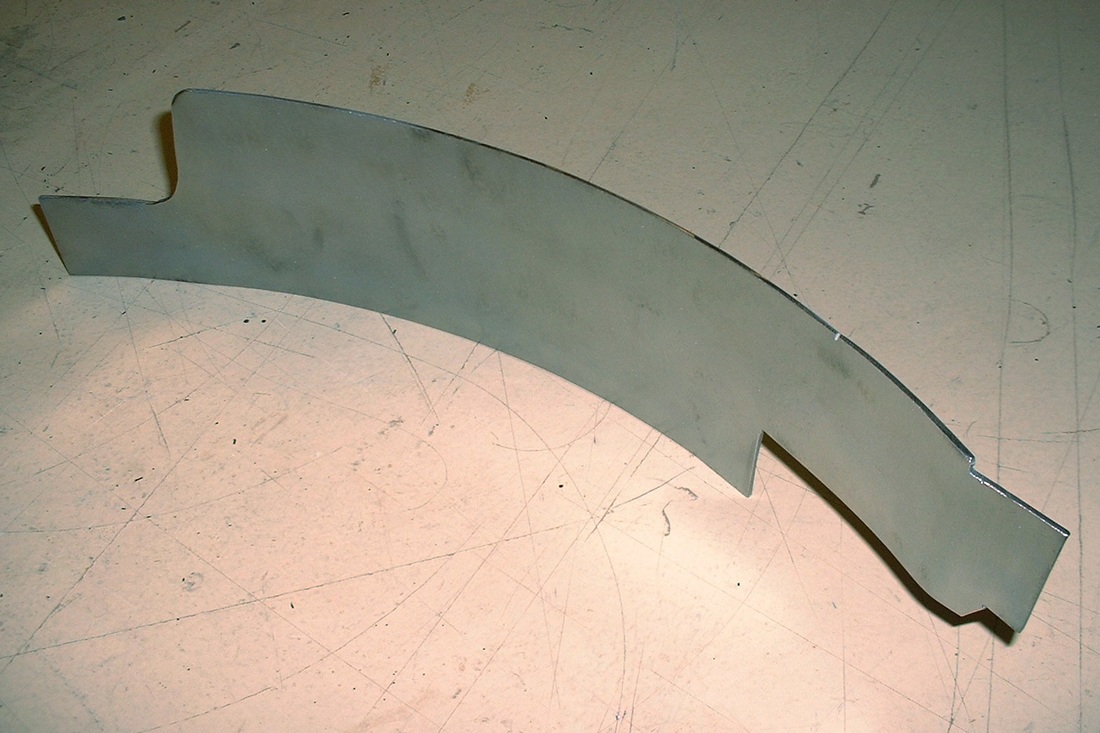
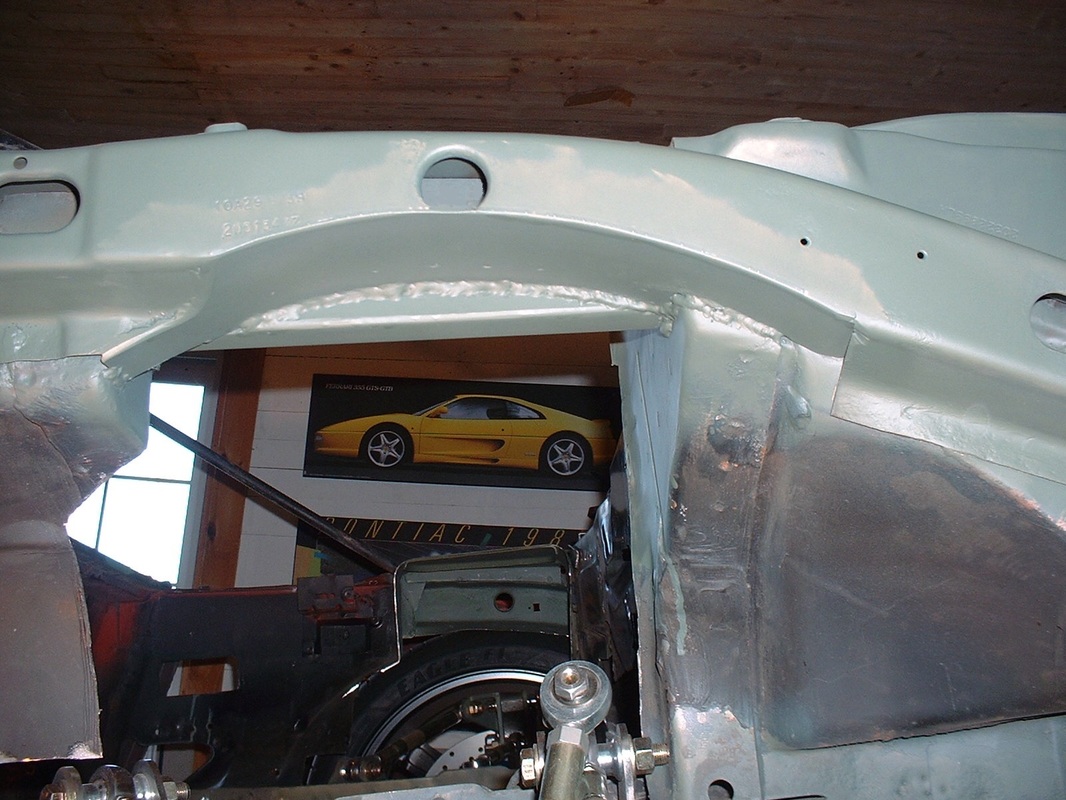
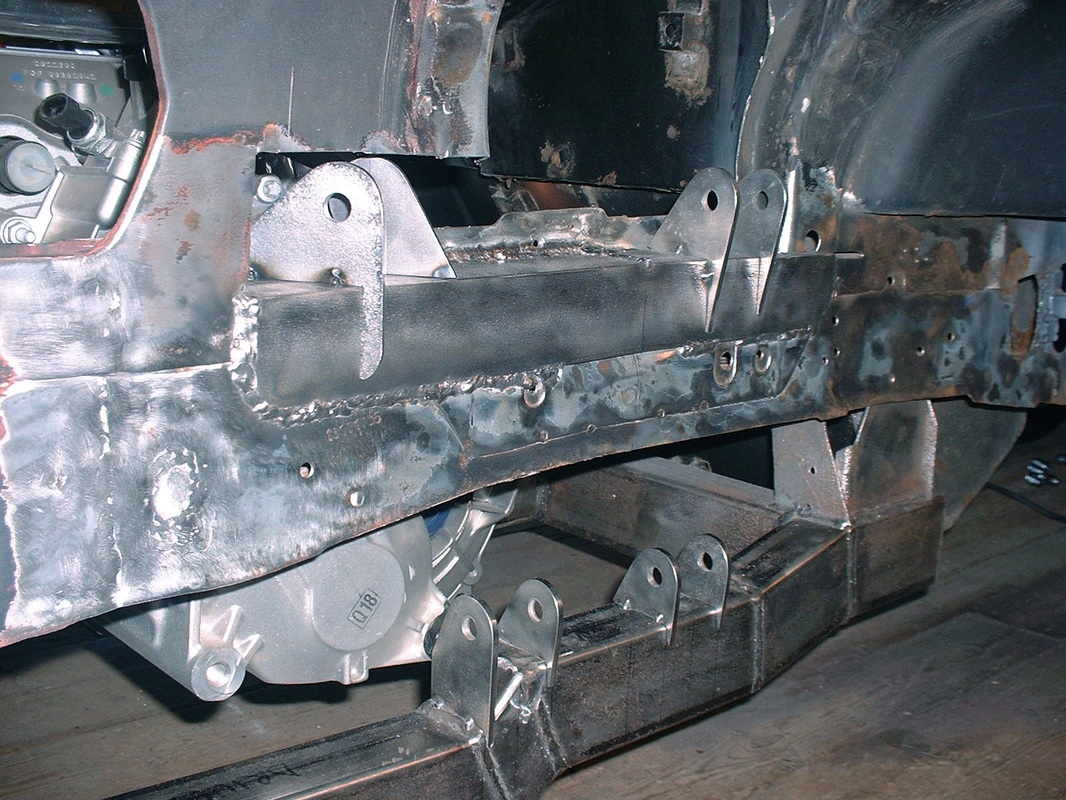
And the new rear upper cross member:
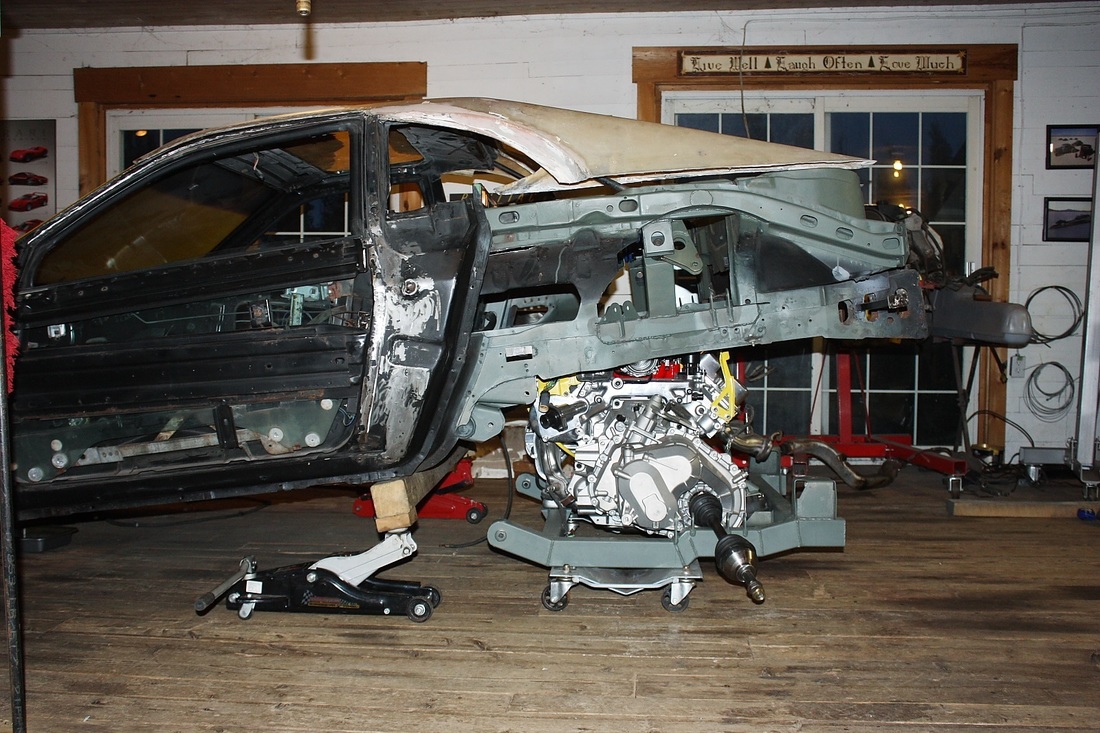
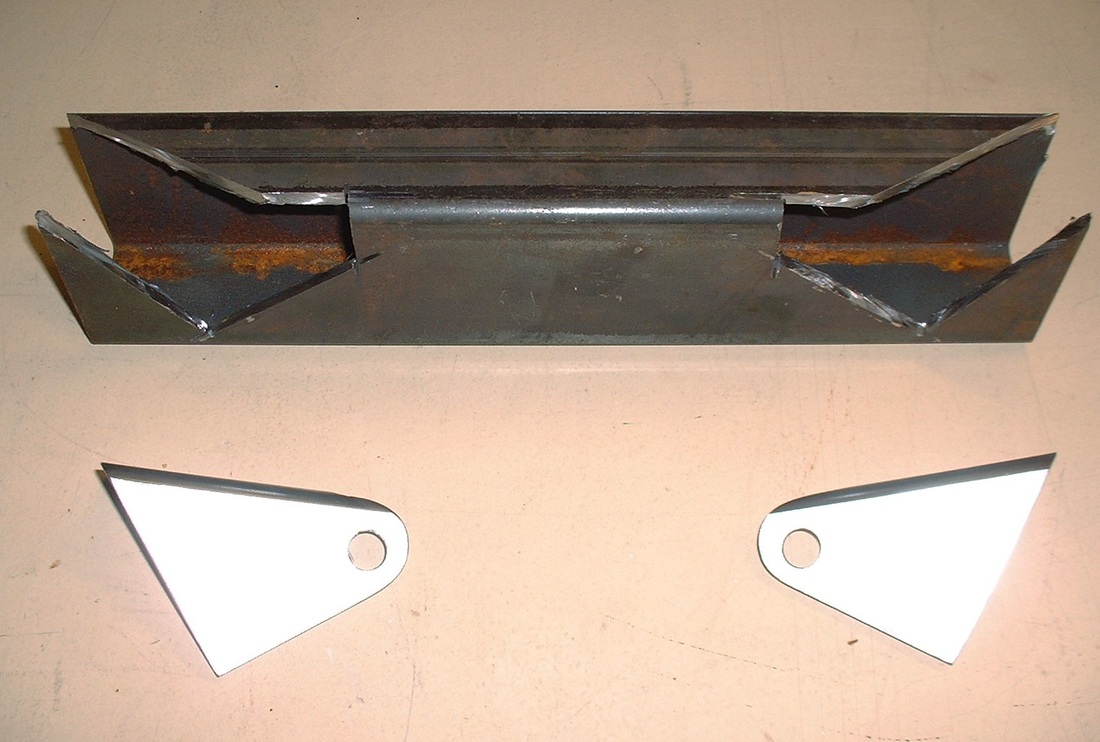
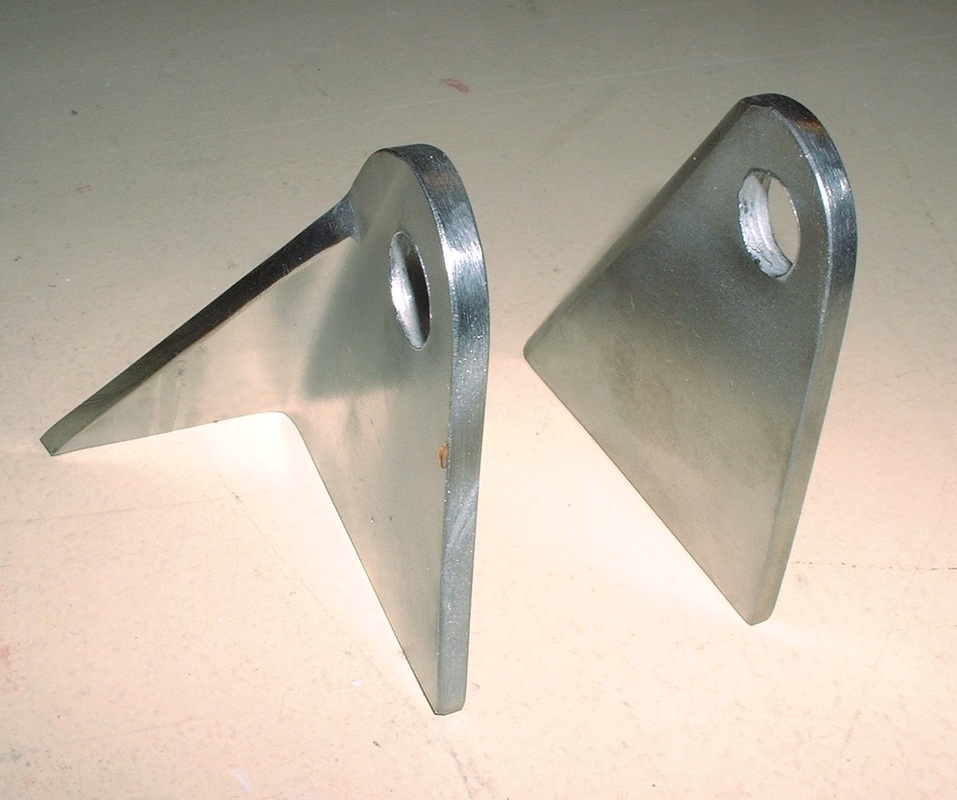
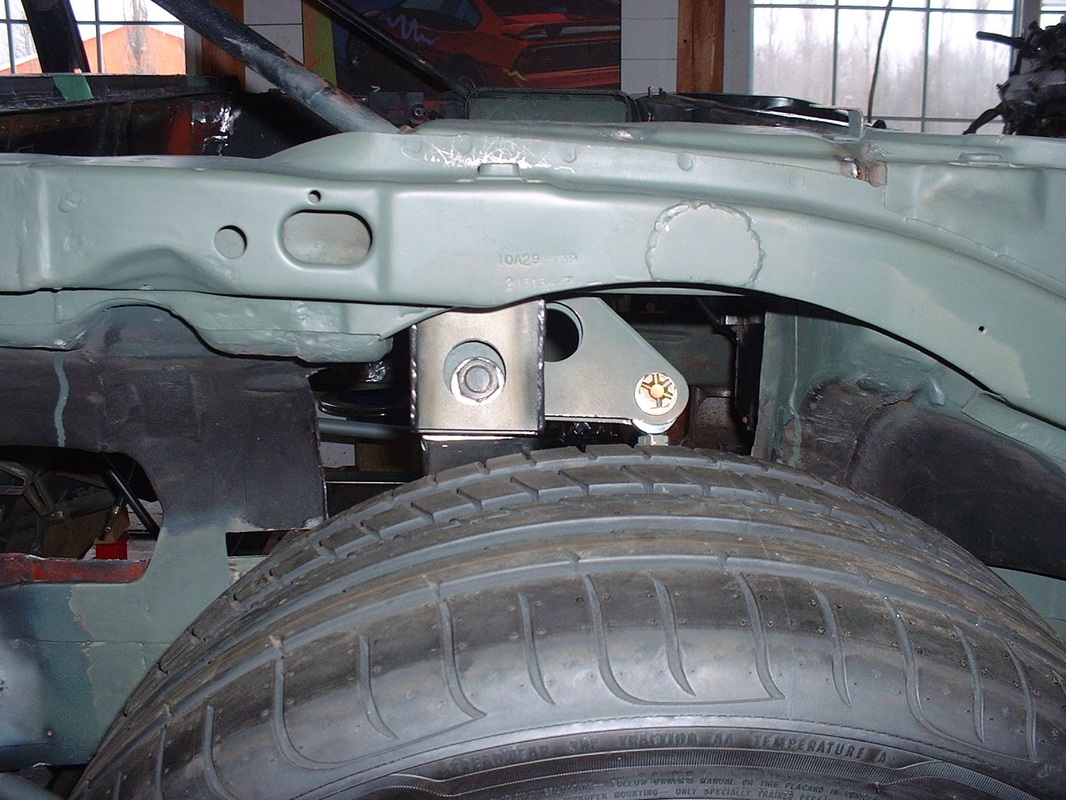
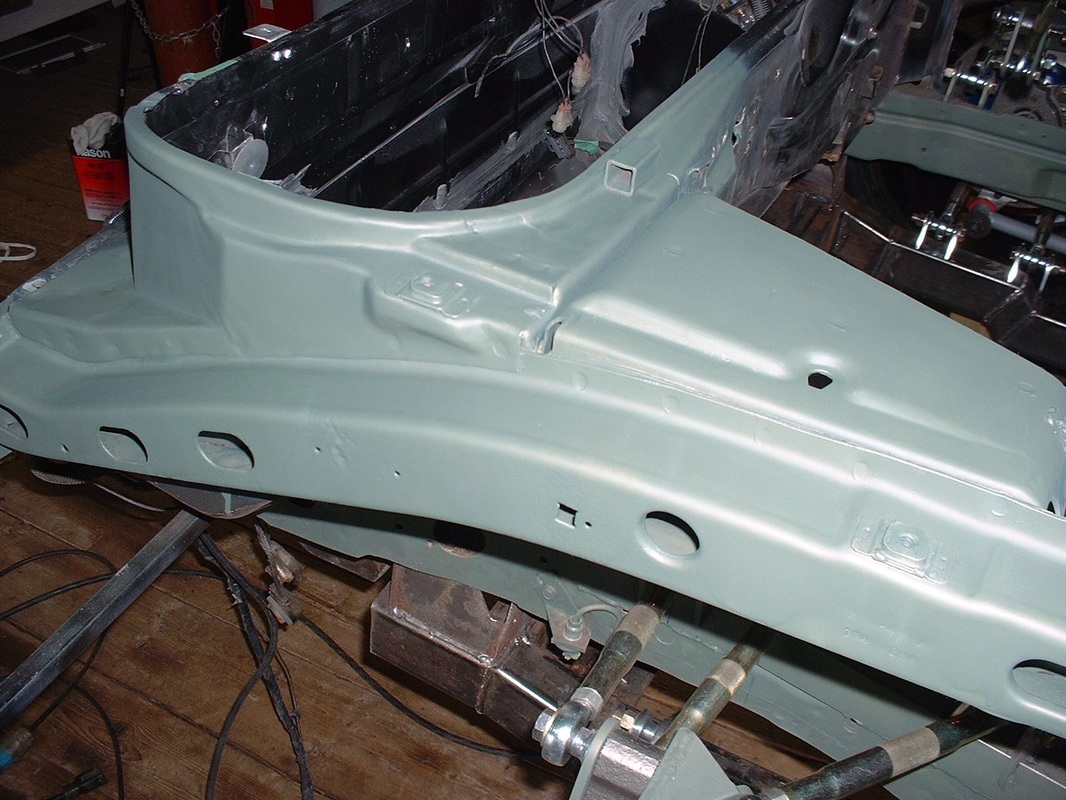
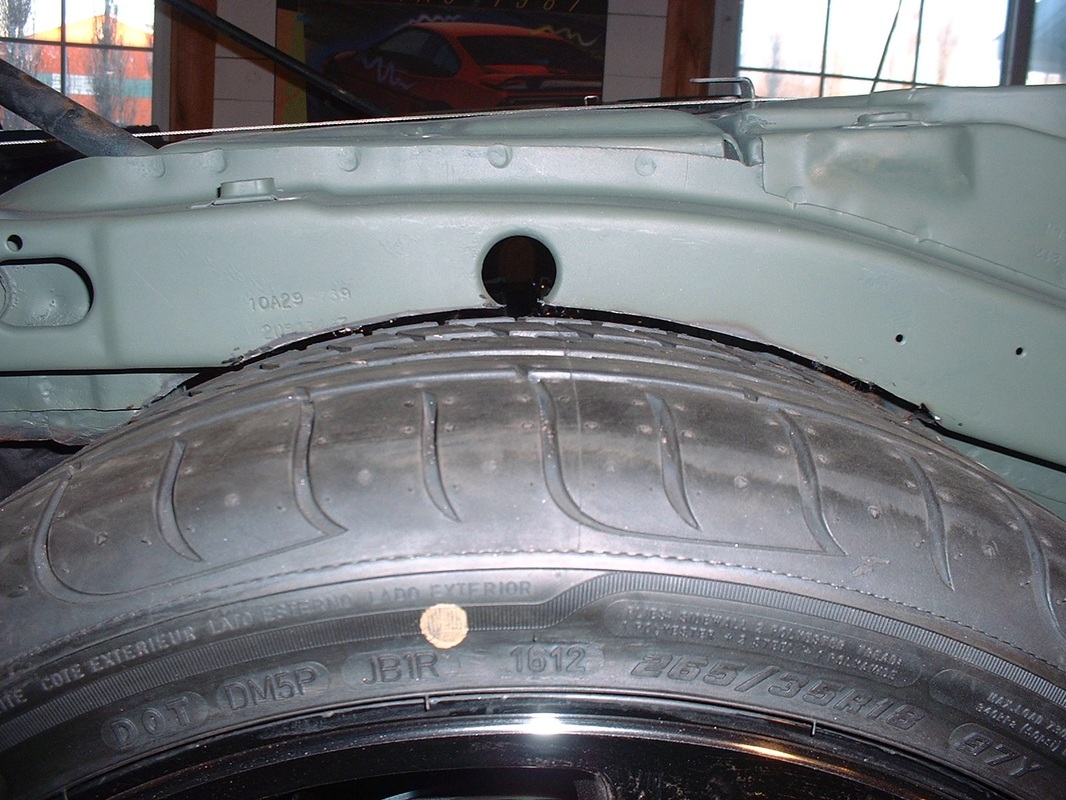
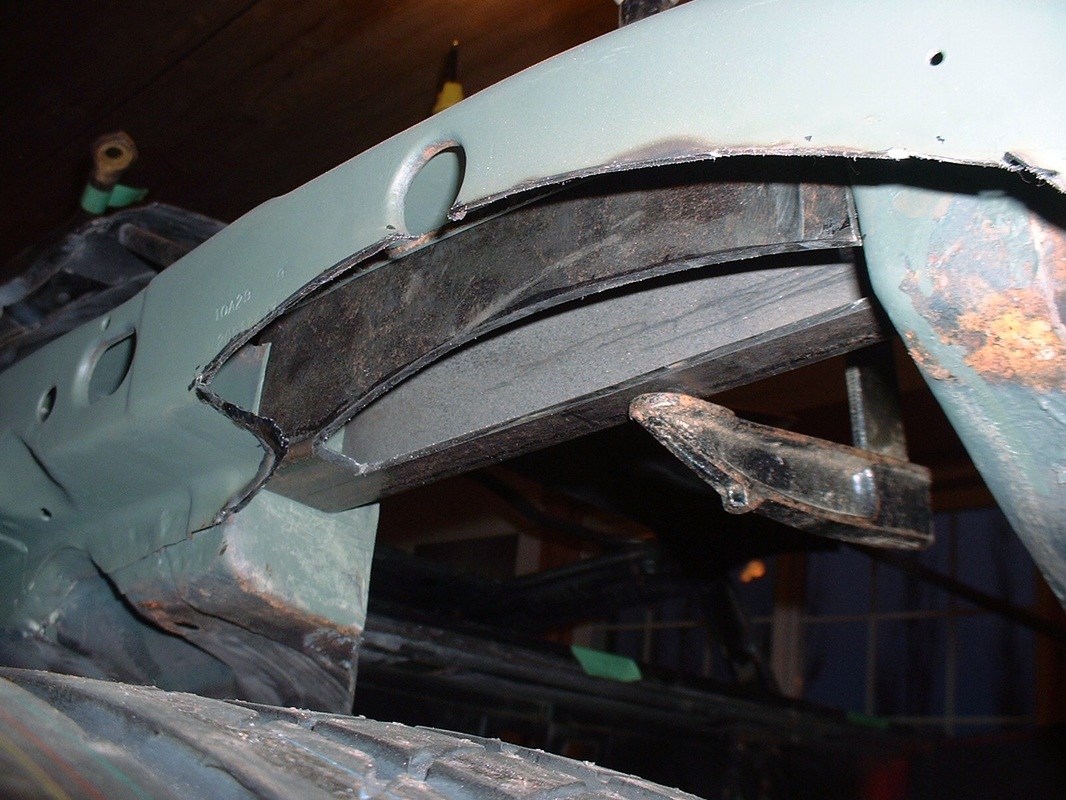
It's clear from these photos why the powertrain couldn't be installed to do this work. But once the welds had cooled and had been cleaned up and primed, I couldn't wait to test fit the new engine and transmission. Anyone familiar with the Fiero knows that it's done from the bottom, so I jacked the chassis up and rolled the new cradle into place:
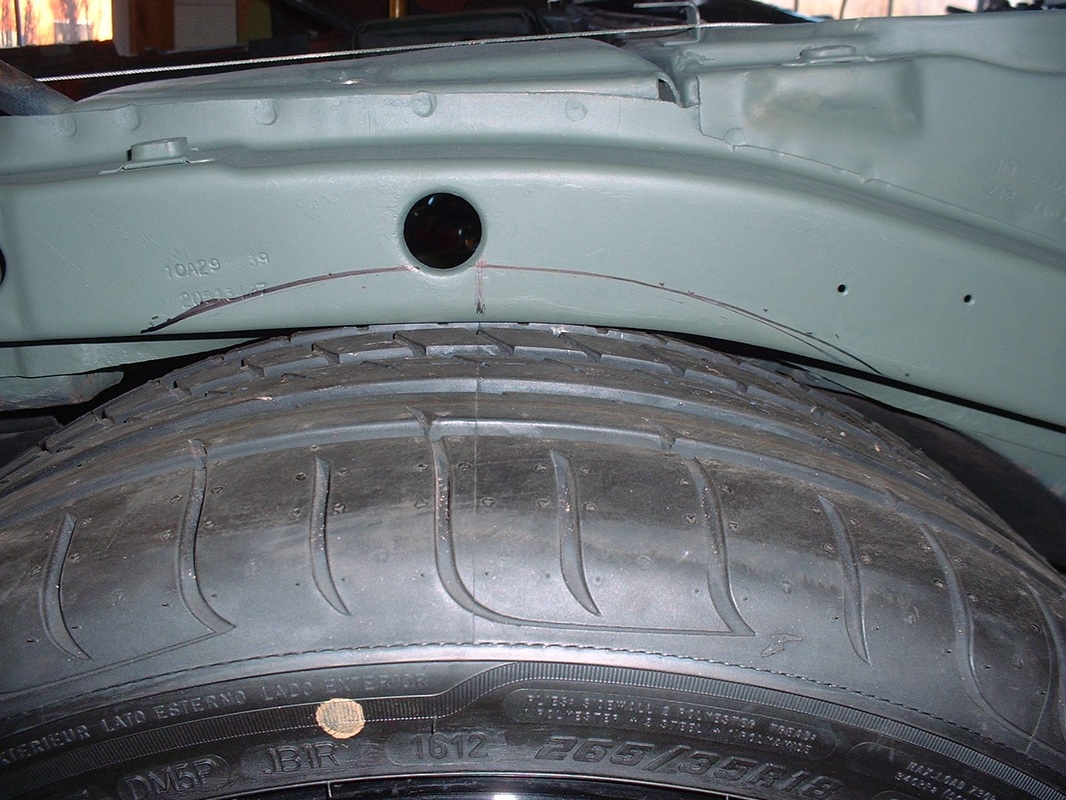
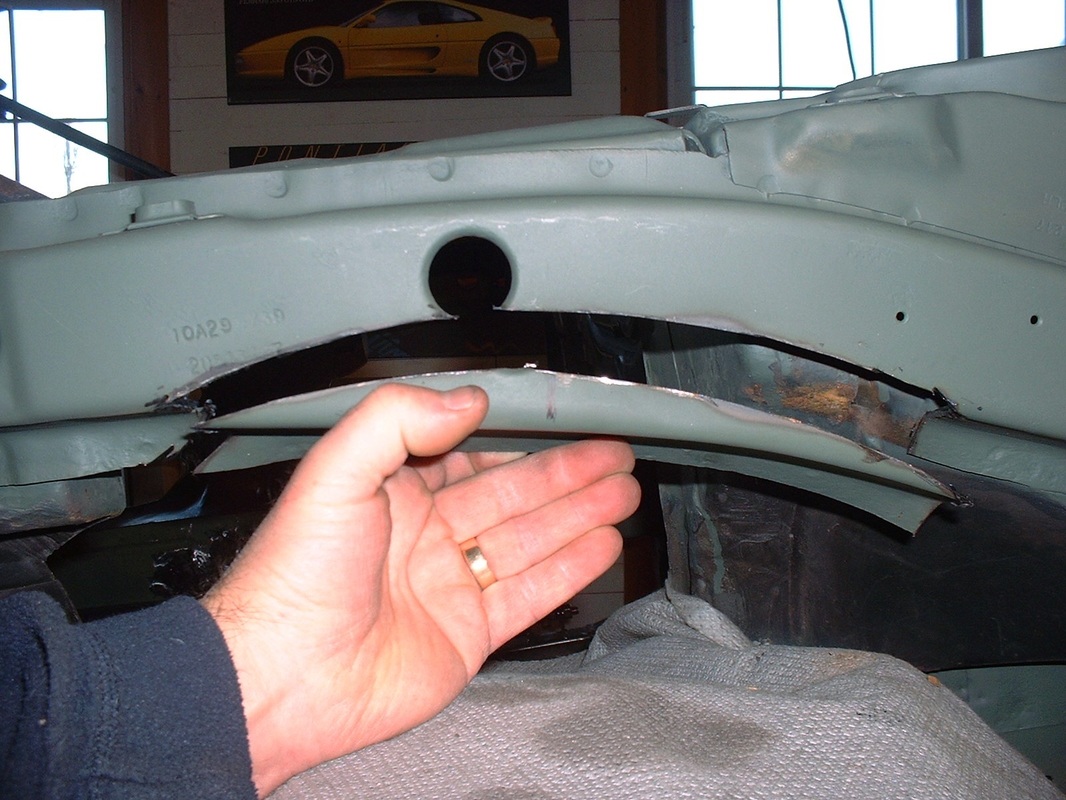
With a few minor adjustments here and a little trimming of some trunk sheet metal there, it slipped into place as though GM had intended it all along:
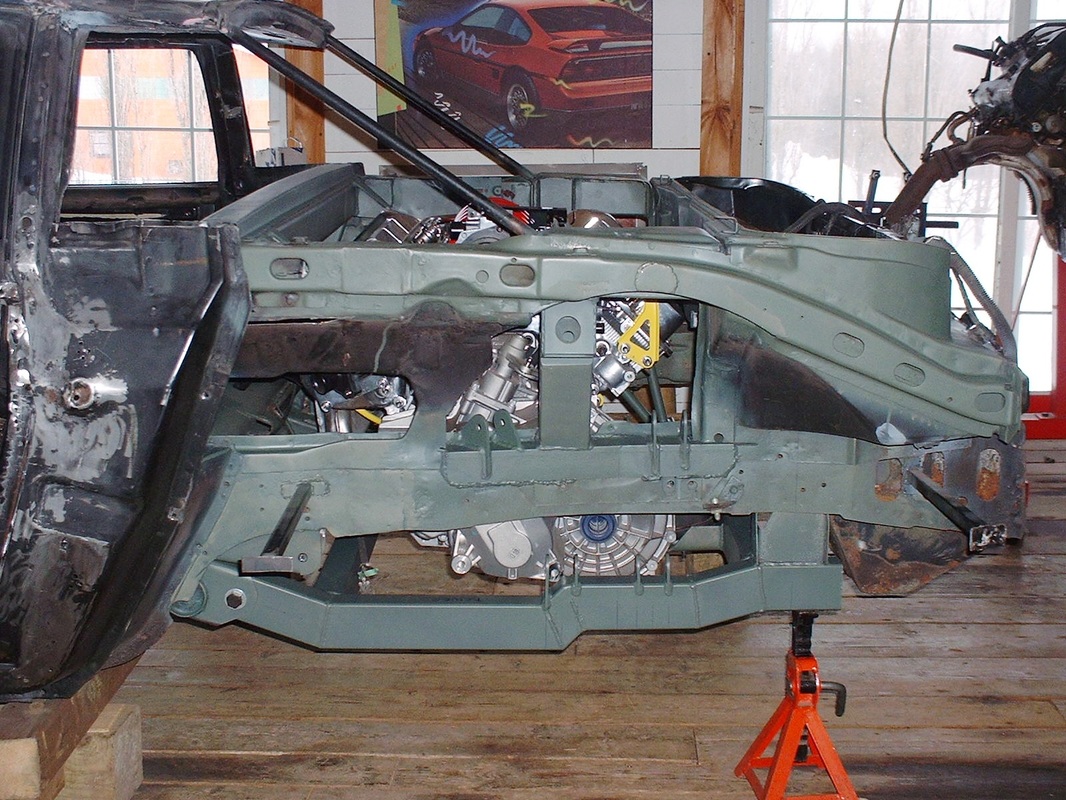
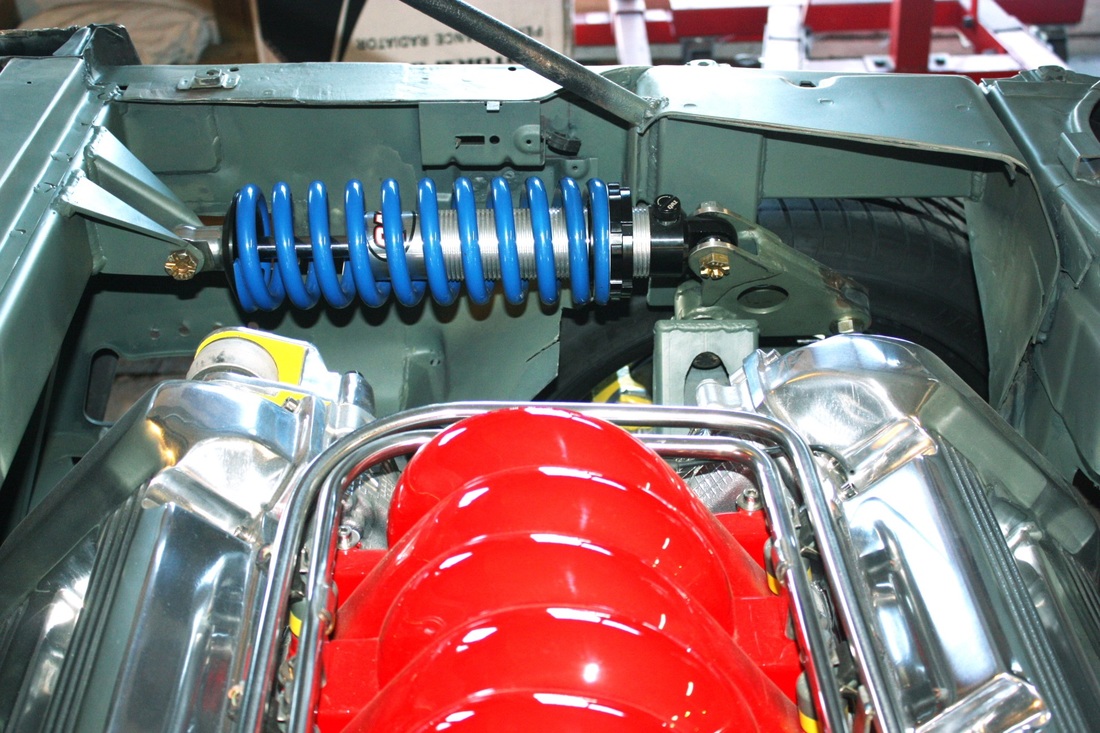
Here's the top view:
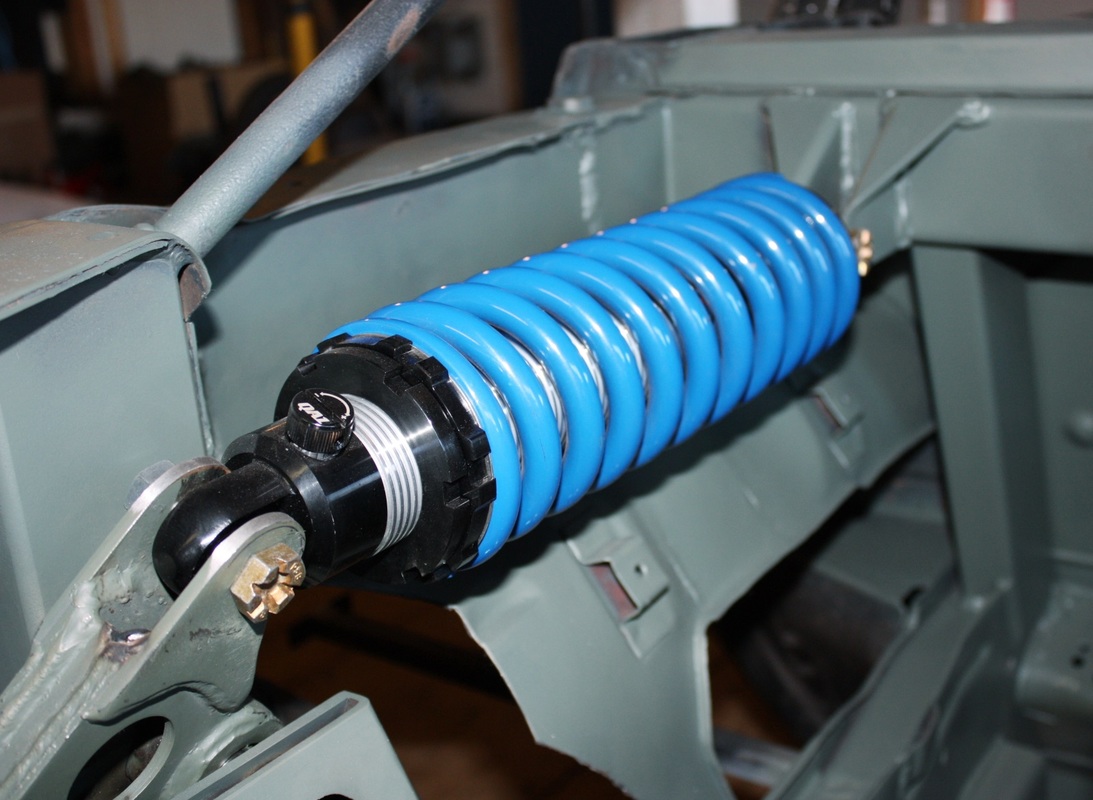
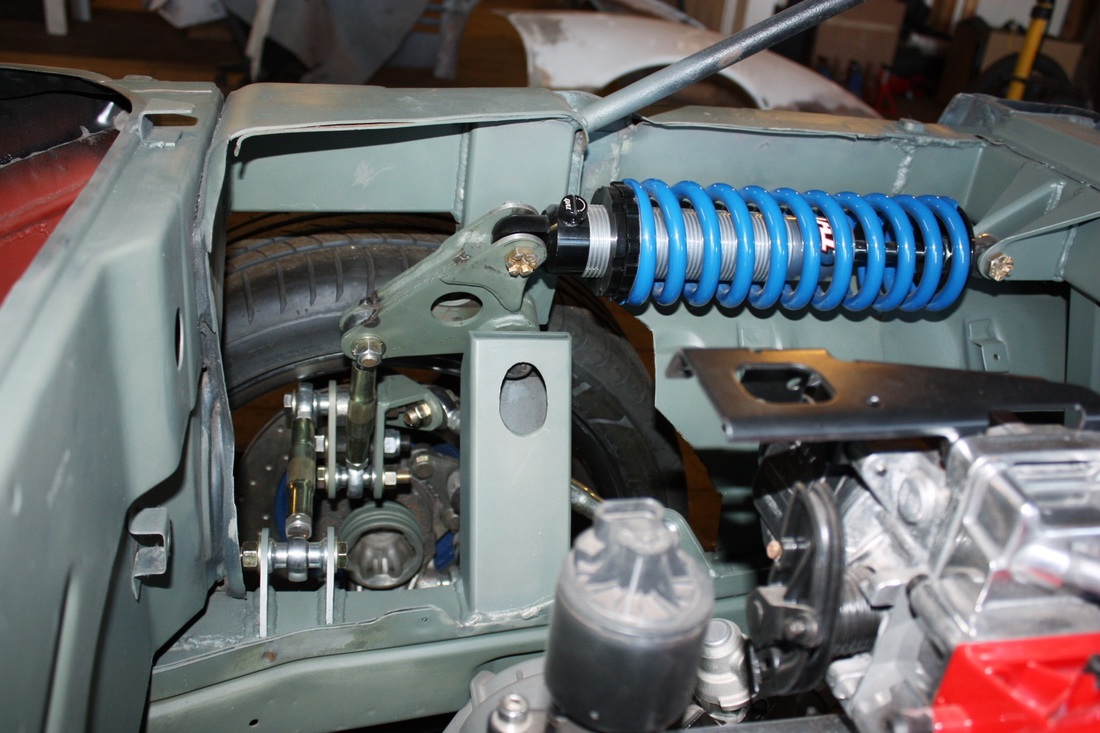
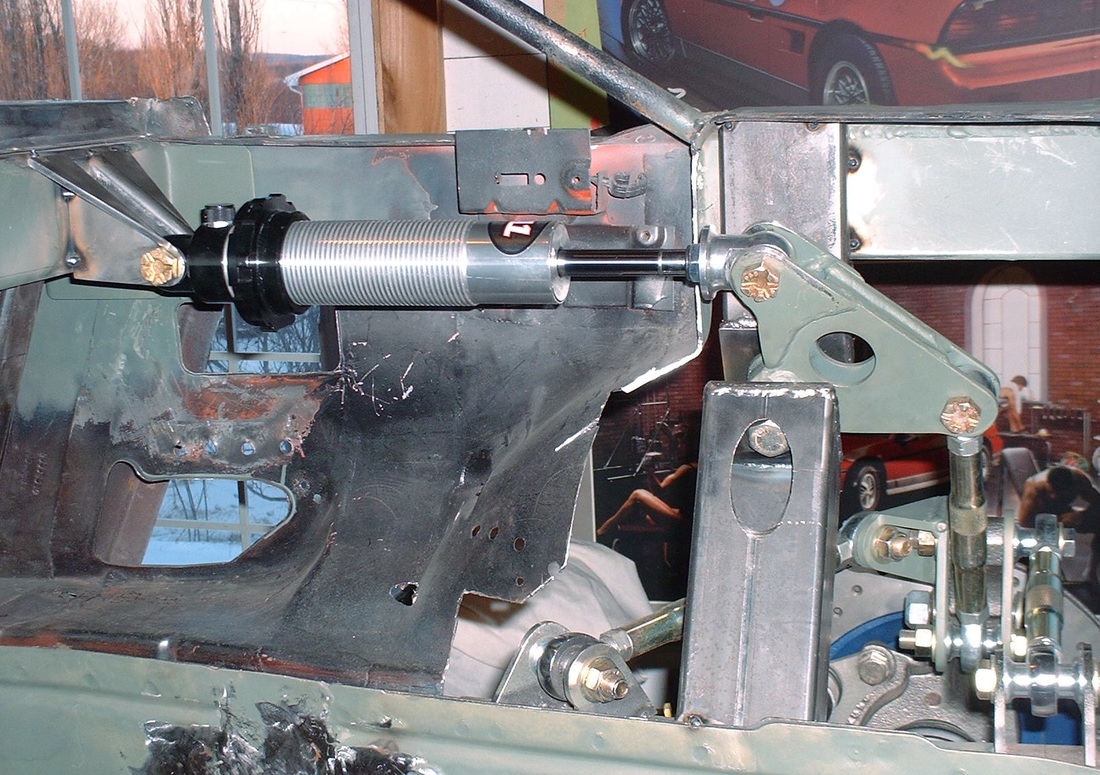
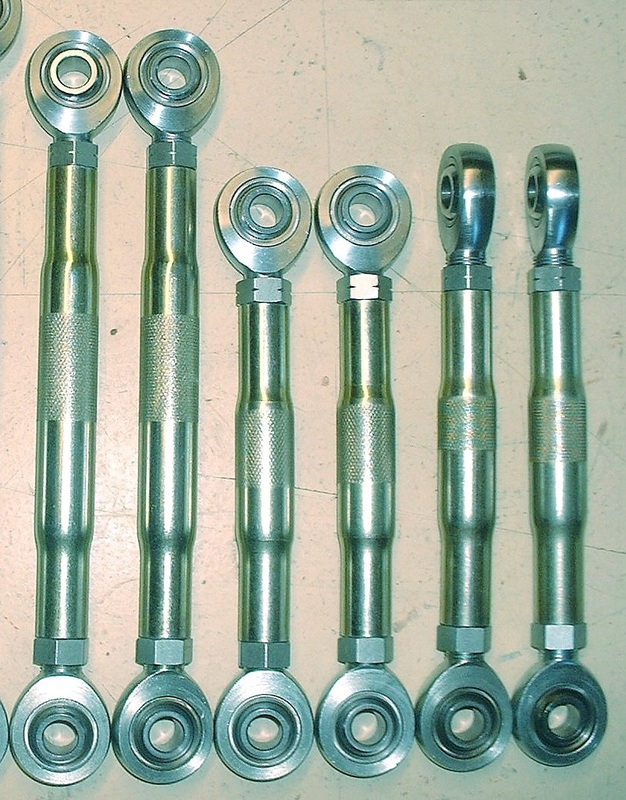
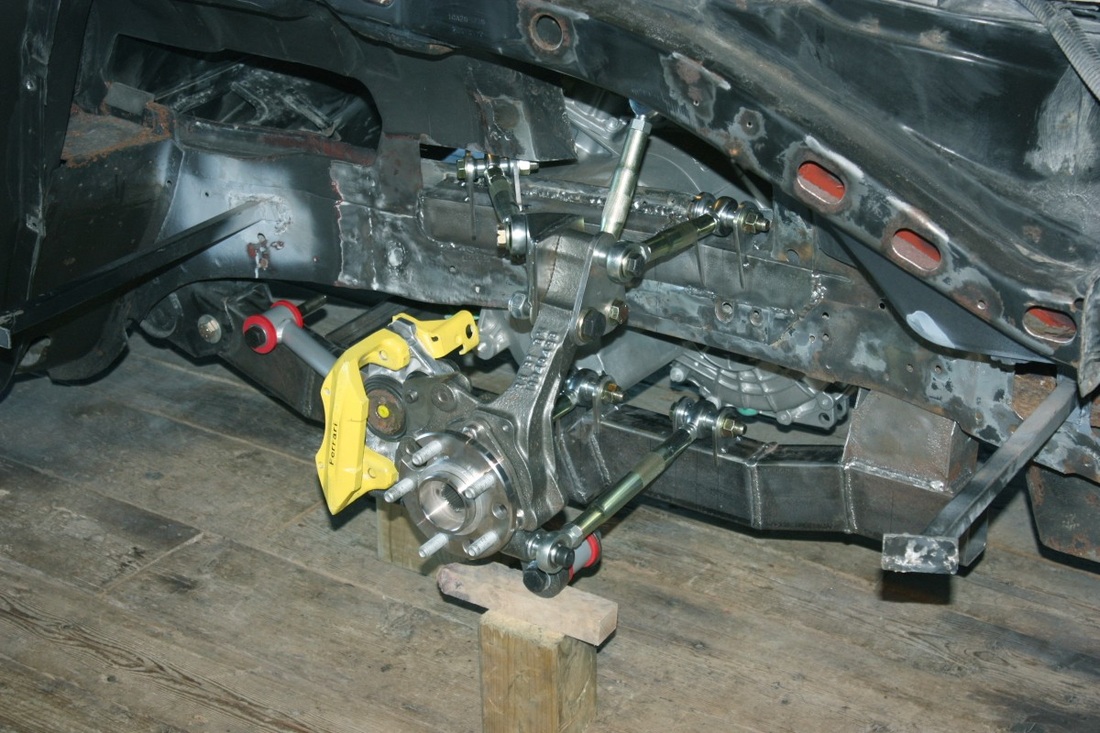
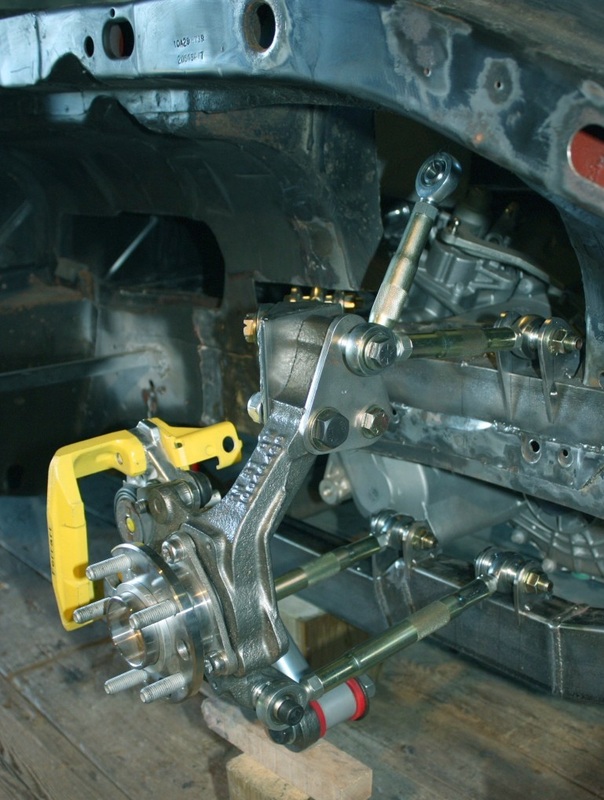
Then I started building up the suspension again to get a first hand-hand look at what I'd only seen in drawings to this point. First came the coil-over shocks and bell cranks:
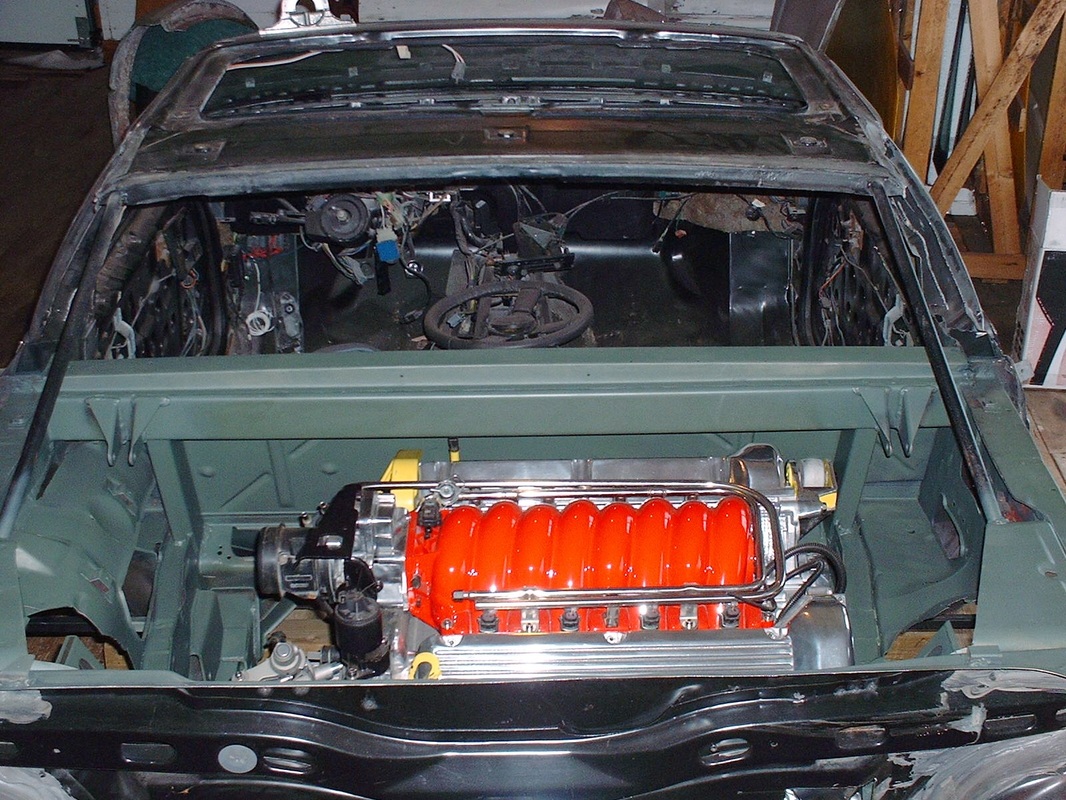
This view shows how they book-end the powertrain:
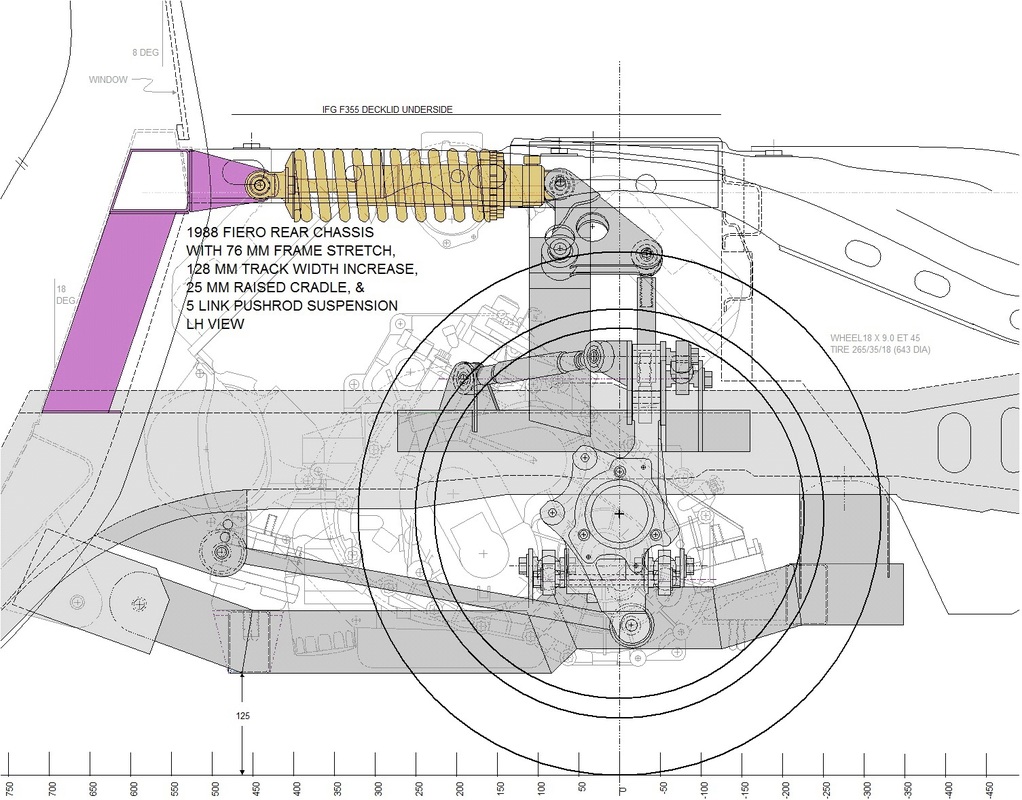
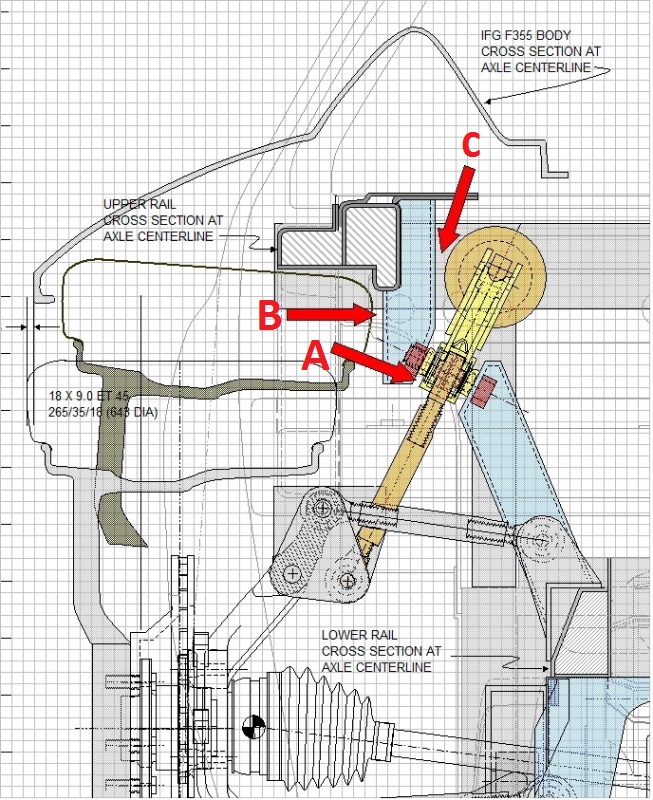
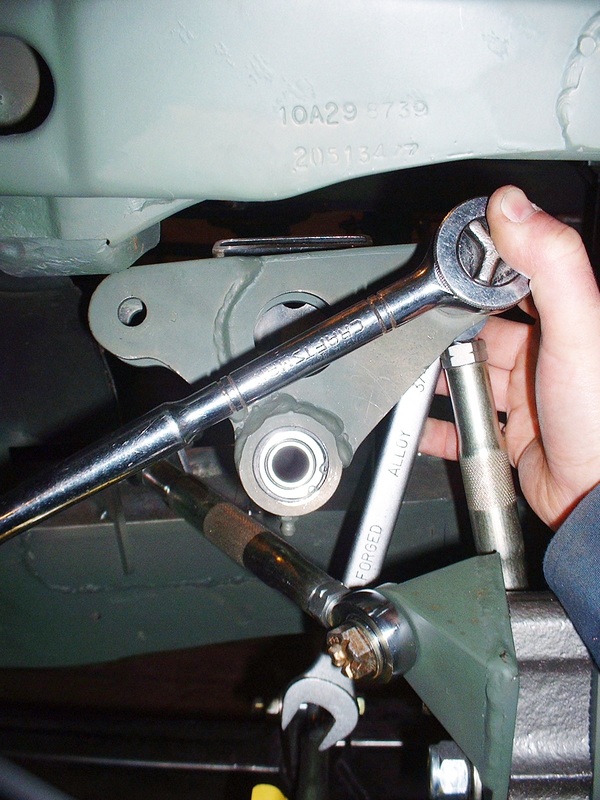
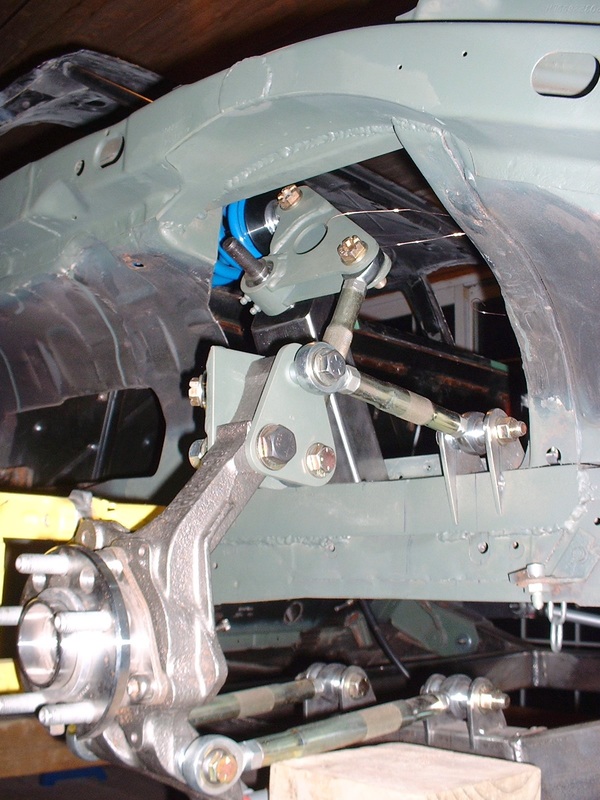
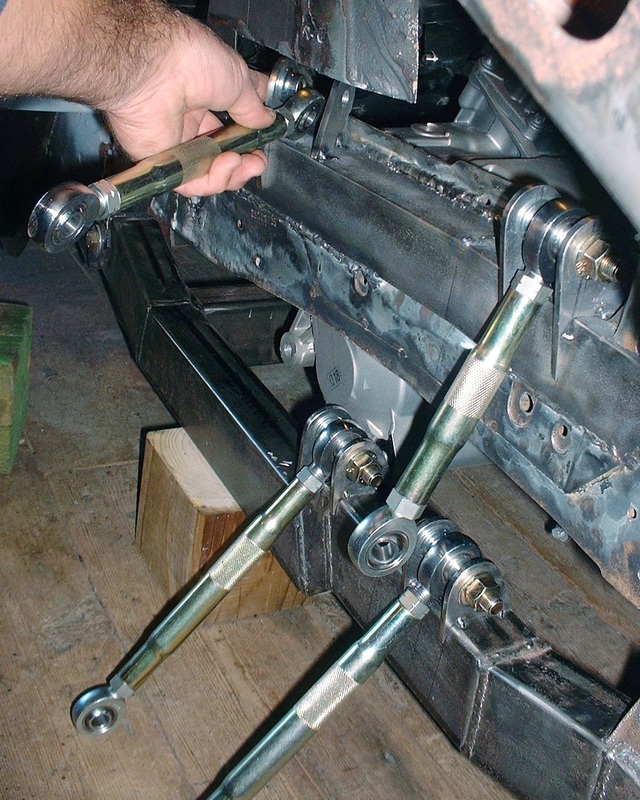
Then came reinstalling the rest of the 5 link installation:
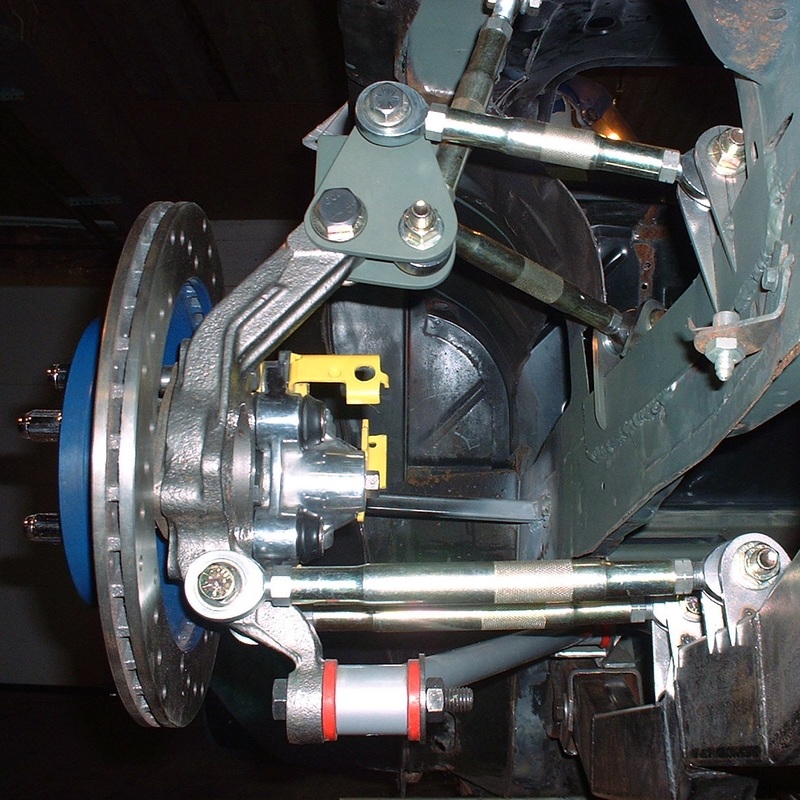
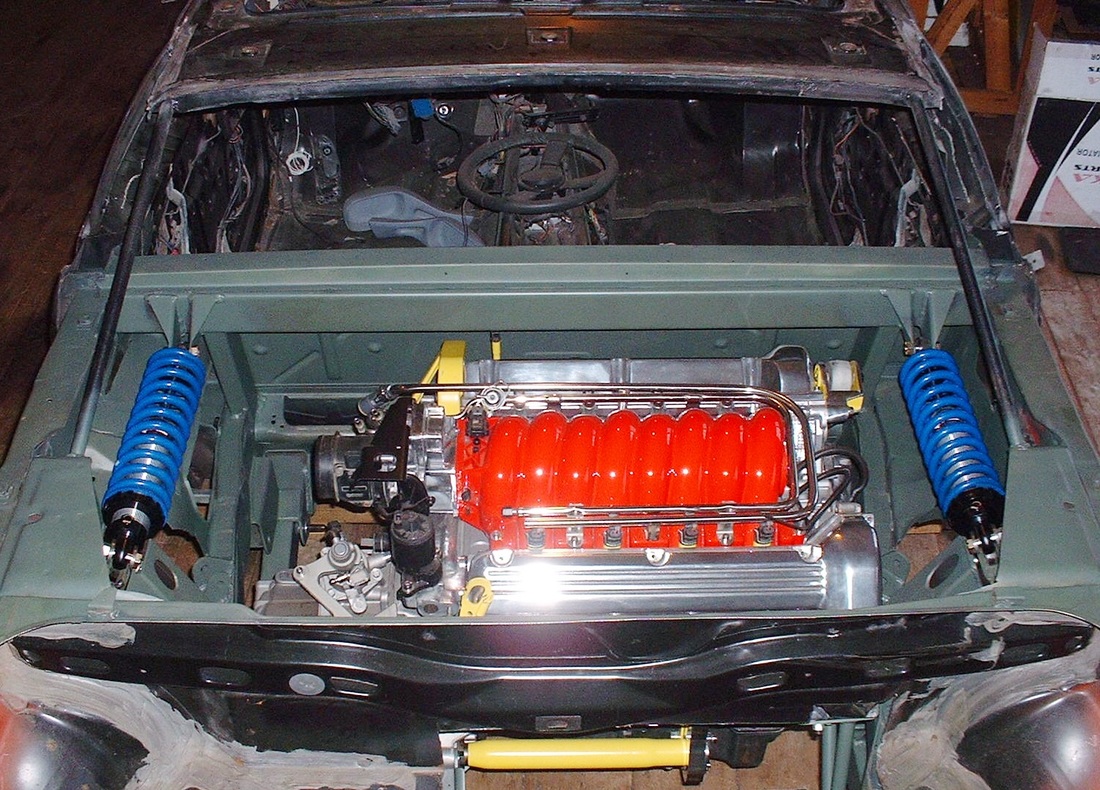
Here's the view from the engine bay looking at the driver's side:
And the view from the engine bay looking at the passenger side:
The last thing to do was to video the suspension through the full range of travel. To do that I had to remove the springs from the coil-overs otherwise trying to compress the 350lb/in springs would have simply lifted the entire chassis. Here's the suspension in action:


 RSS Feed
