Welcome, die-hard readers, to the front fenders! For such a small pair of pieces, getting the fenders right is pretty important to the overall look of the car because they each have to align with five other body panels. Get any of those alignments wrong and from one or more angles the car won’t look like the $150K - $200K car it’s supposed to represent.
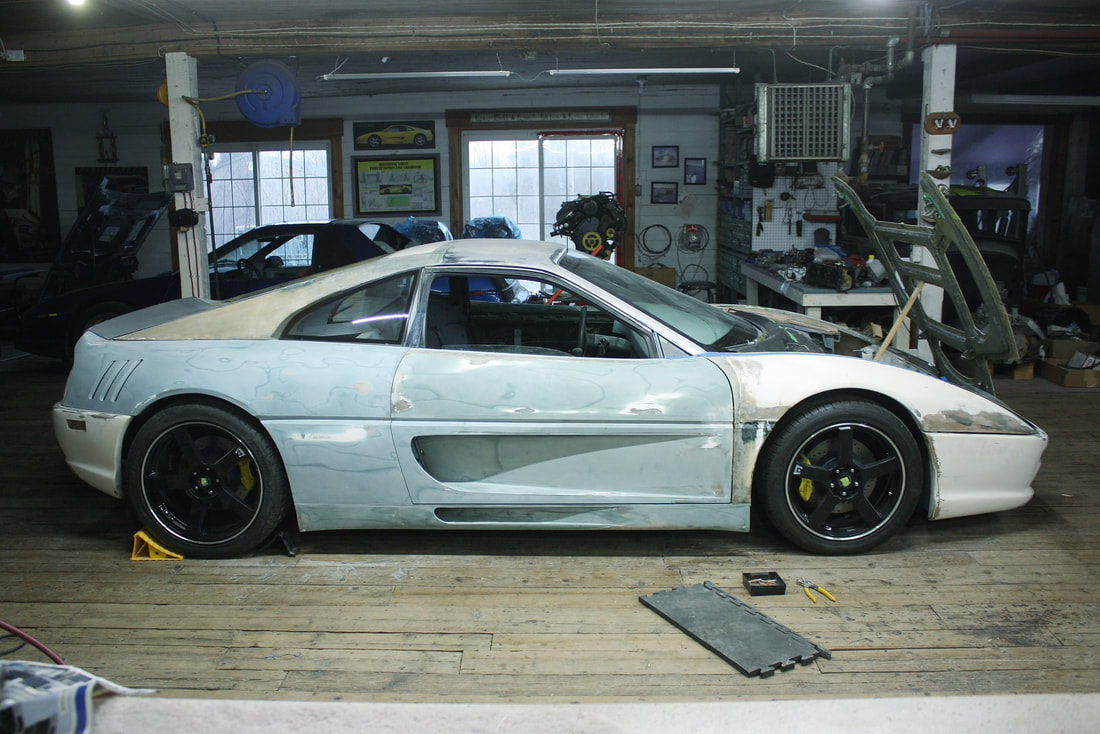
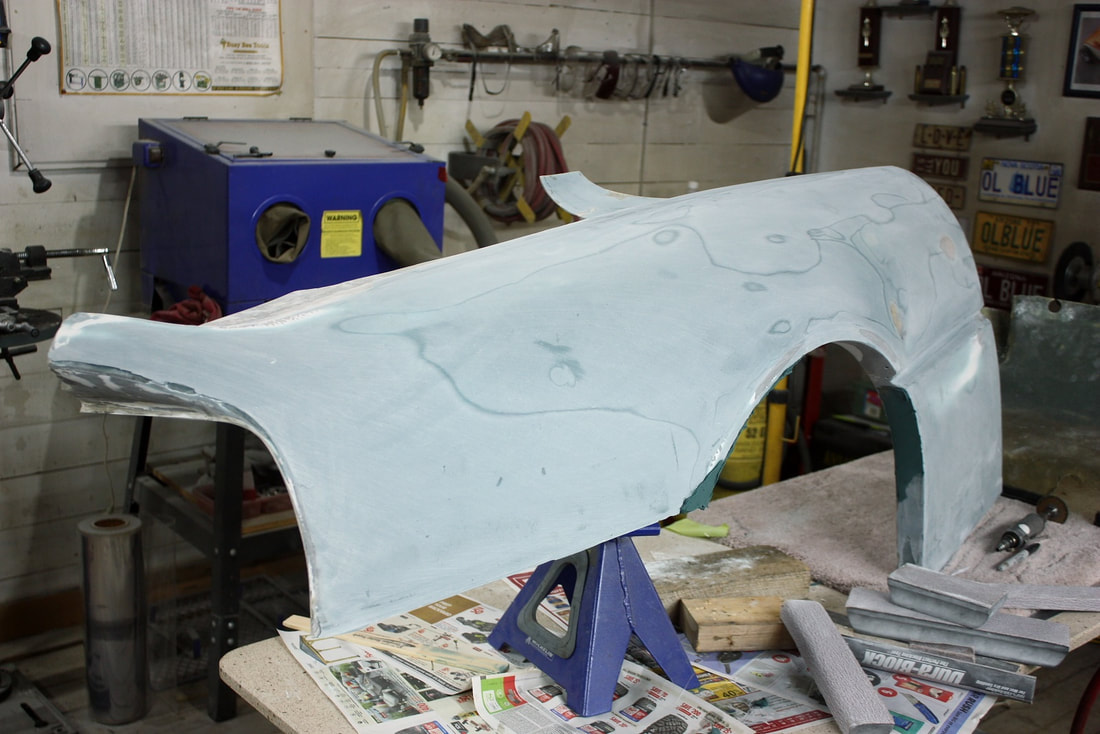
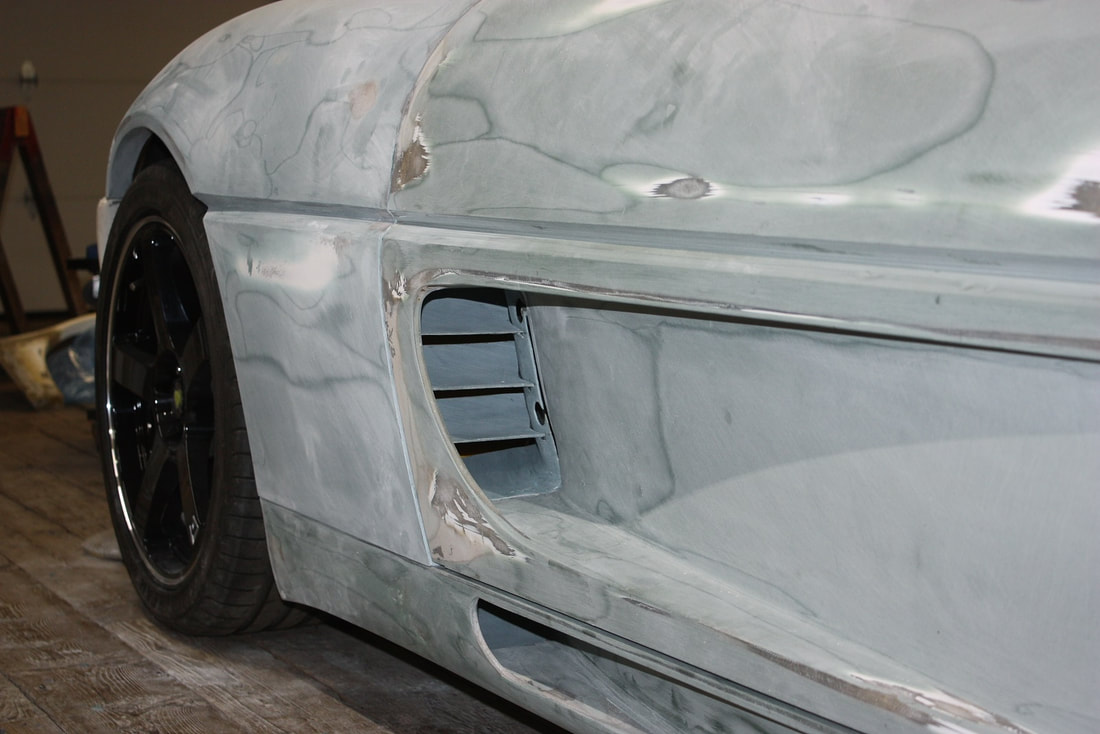
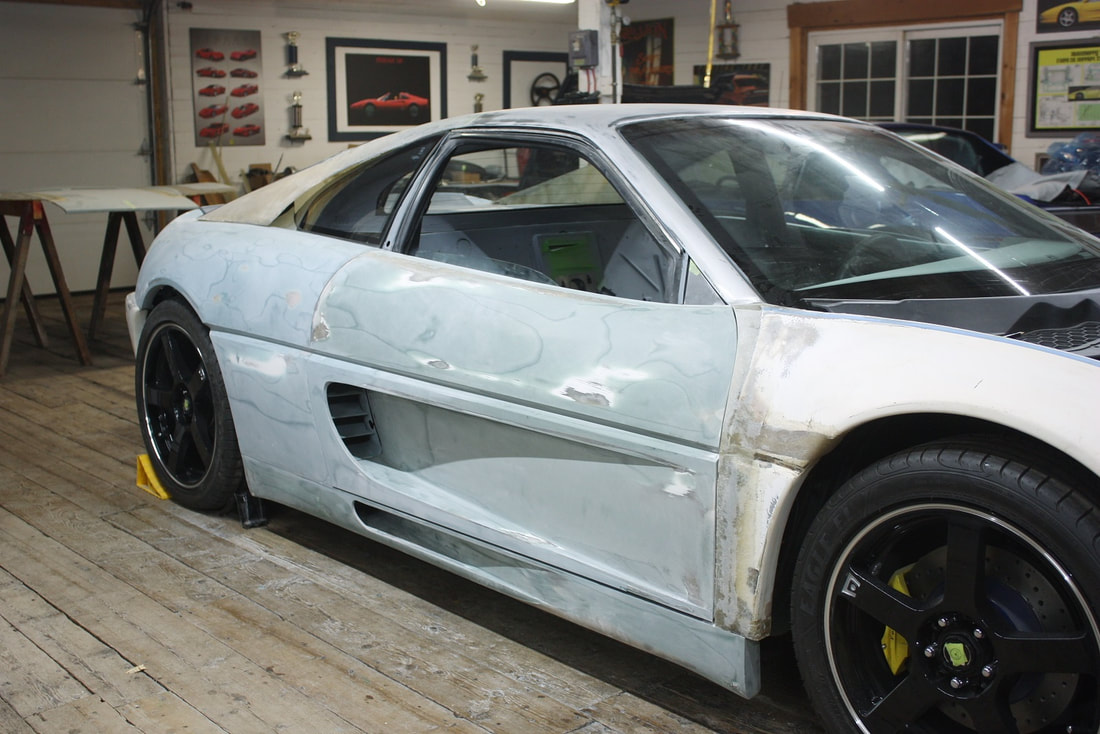
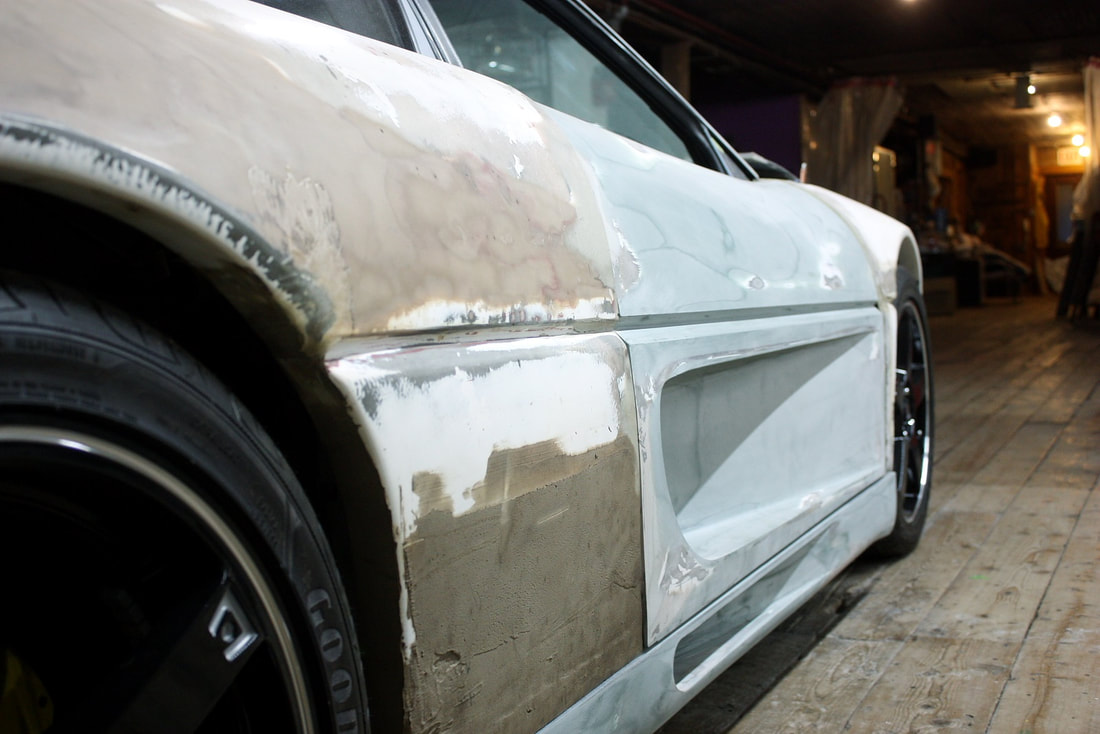
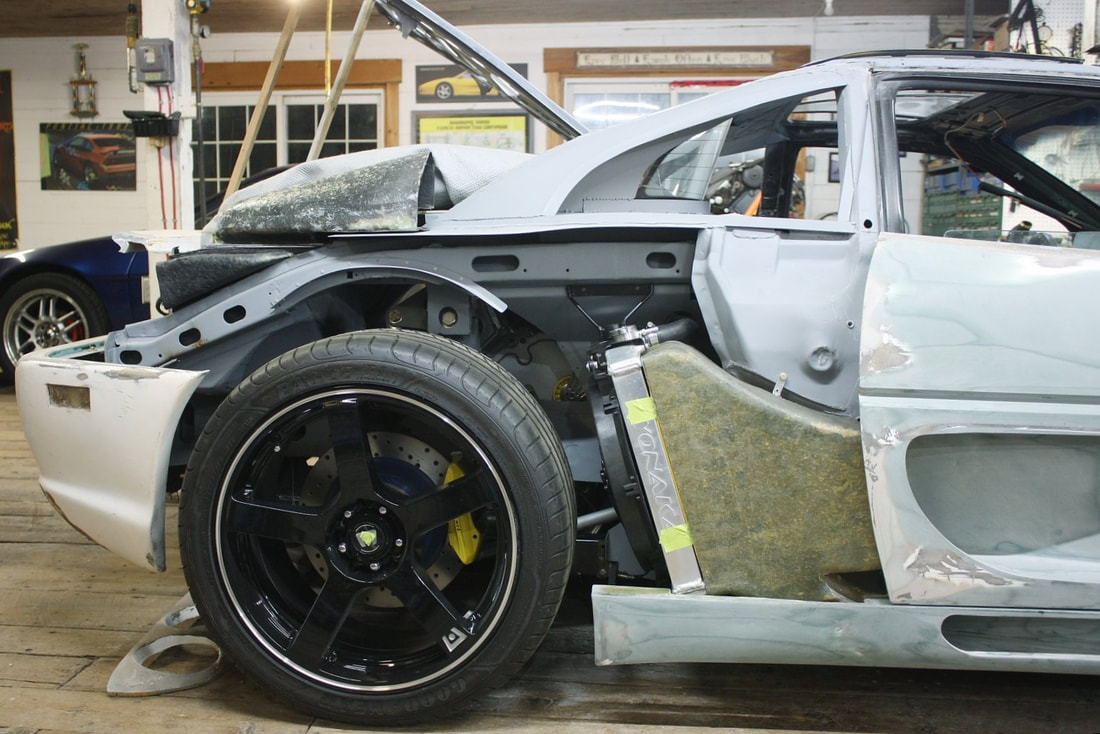
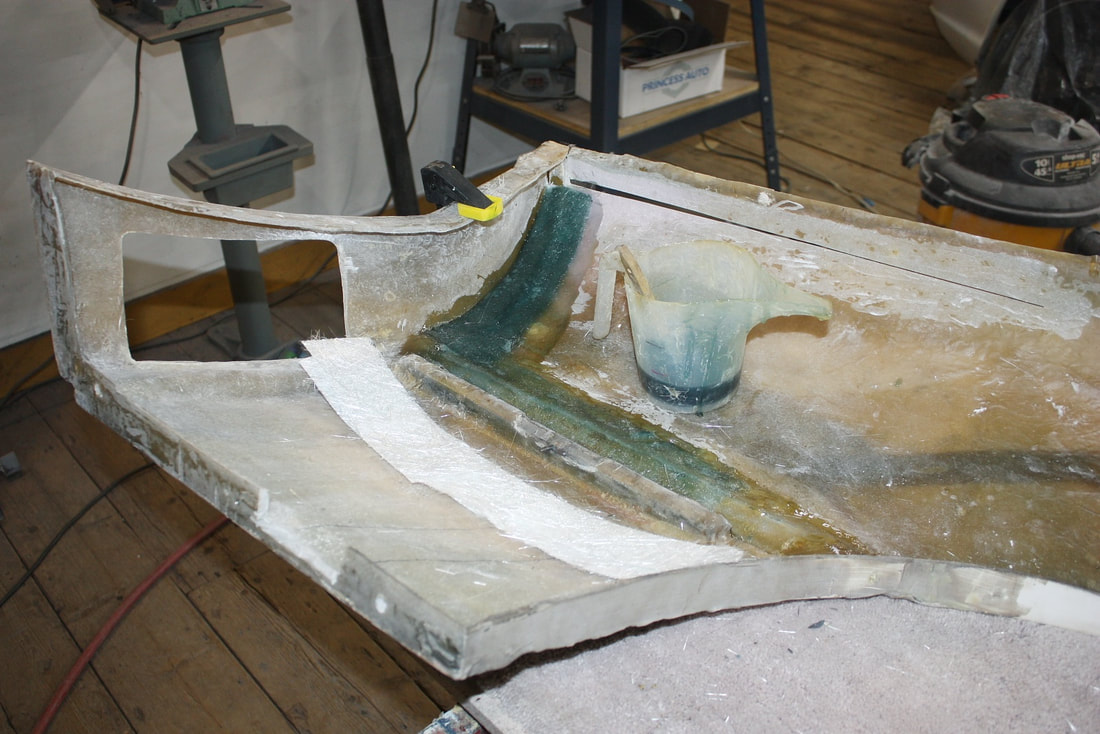
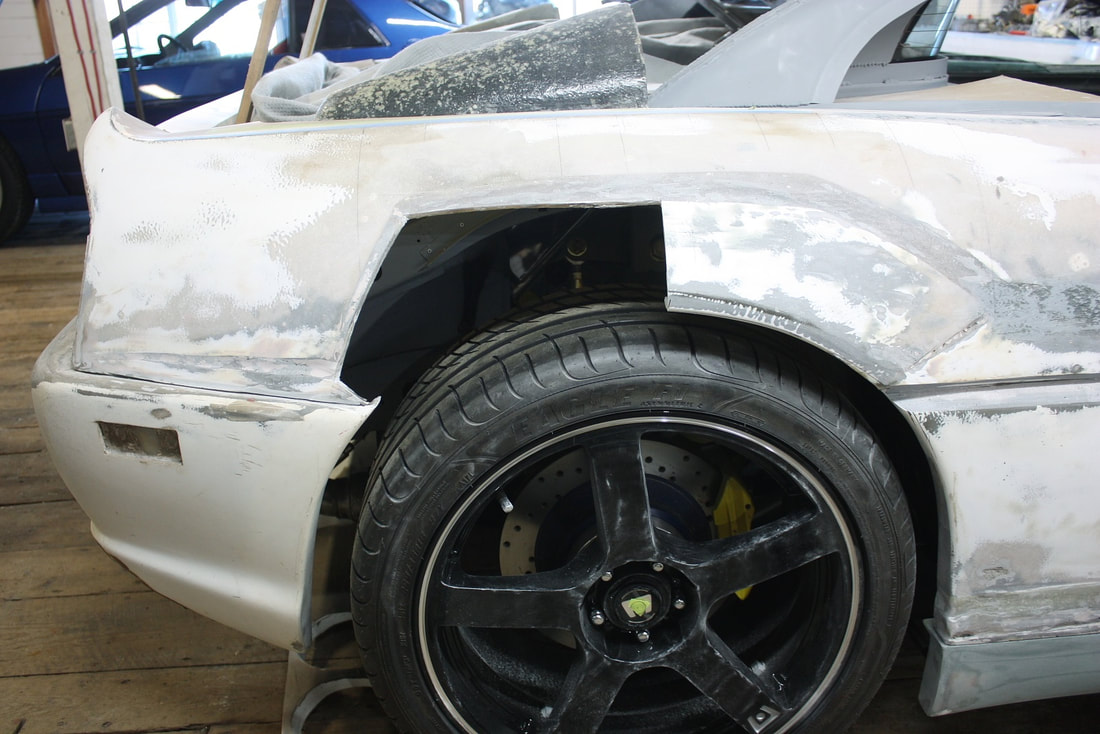
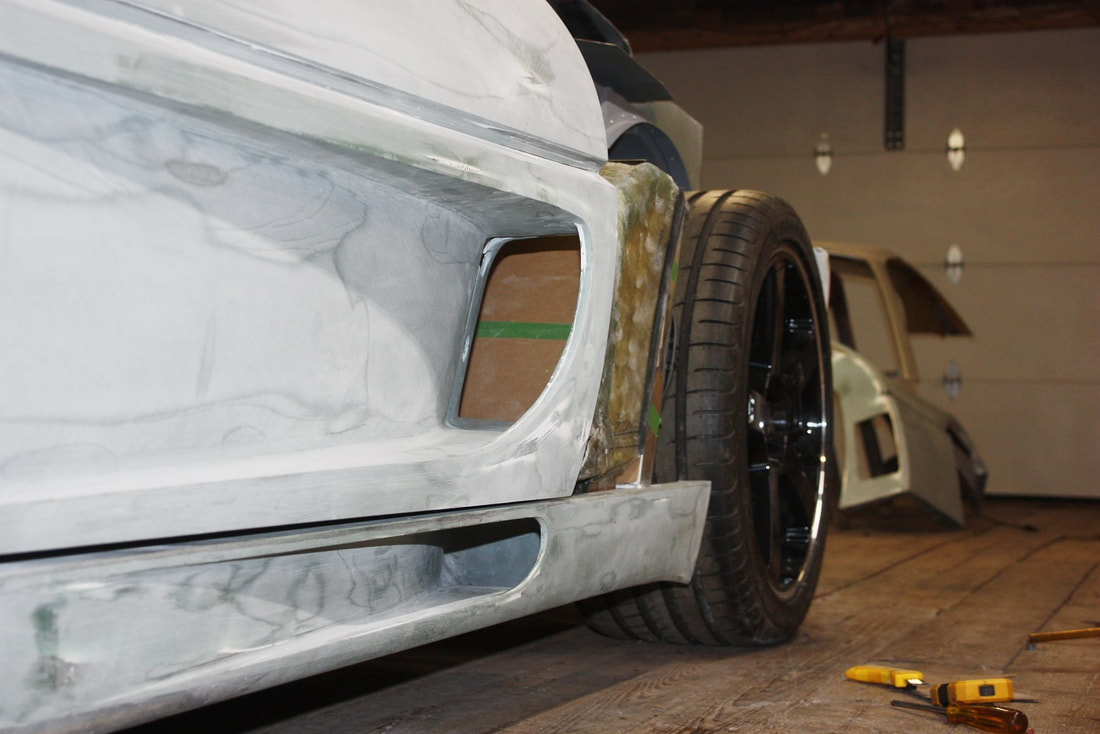
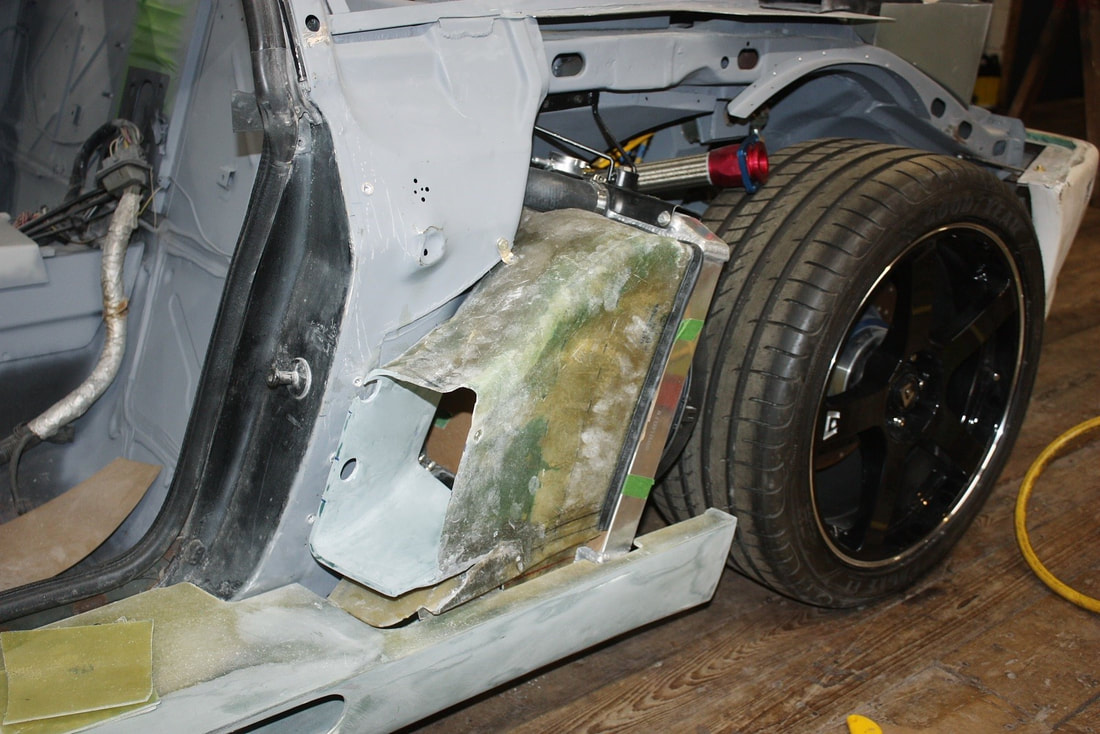
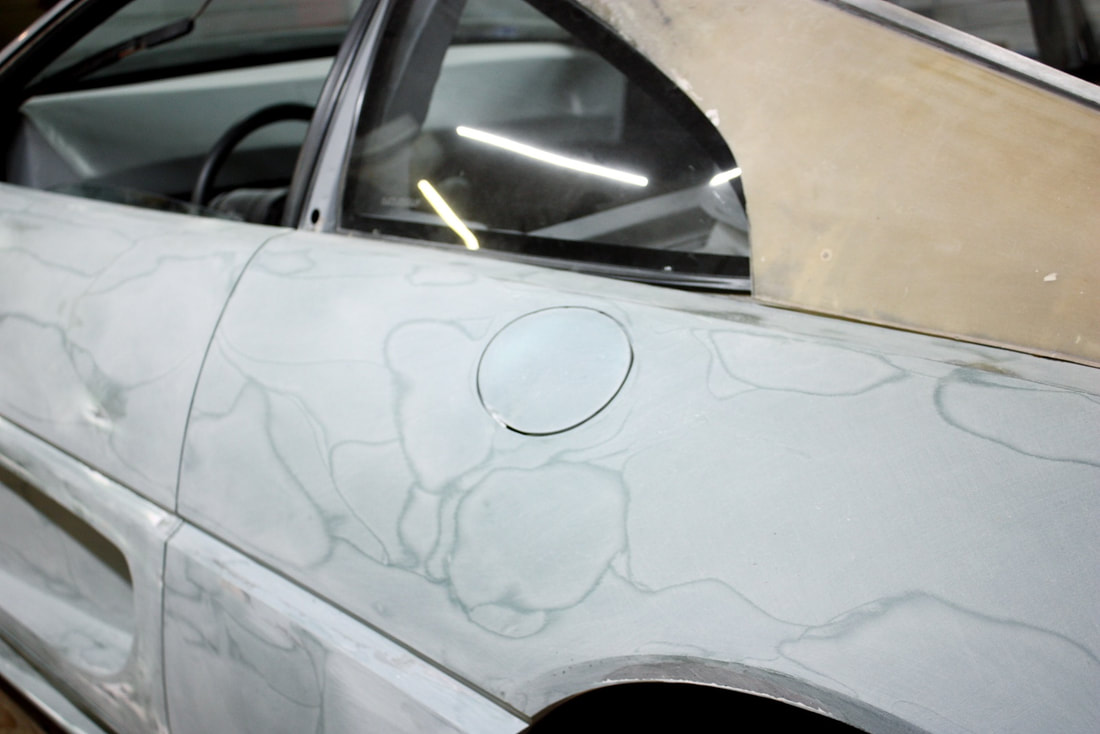
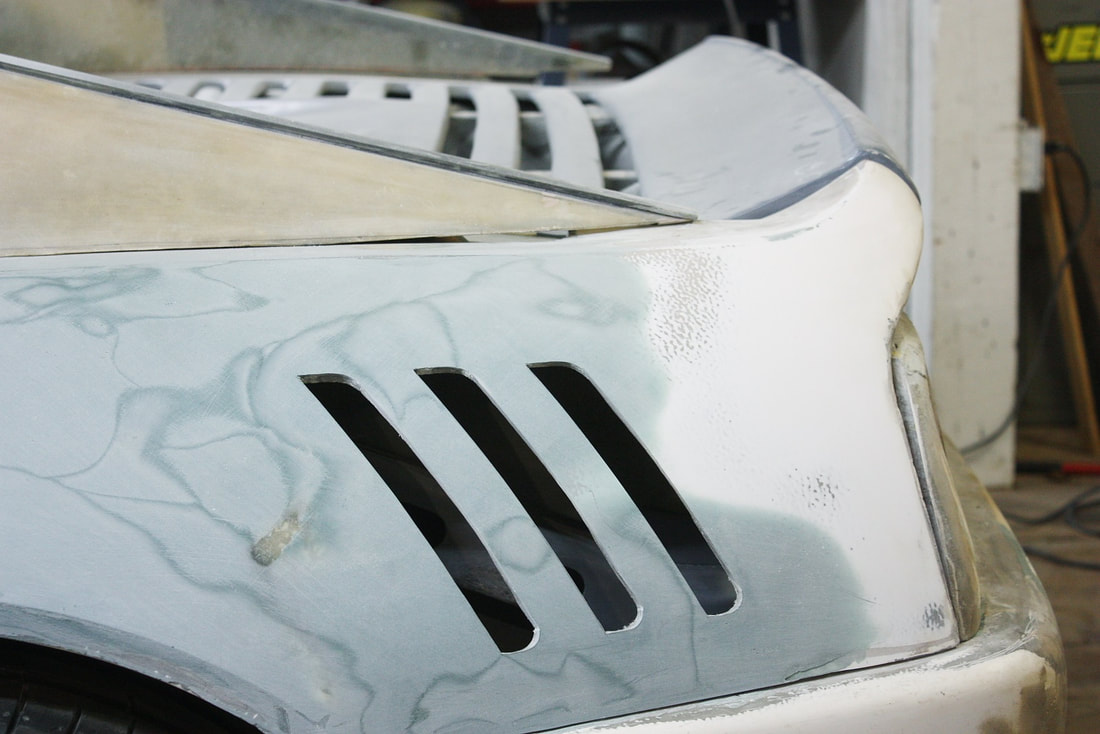
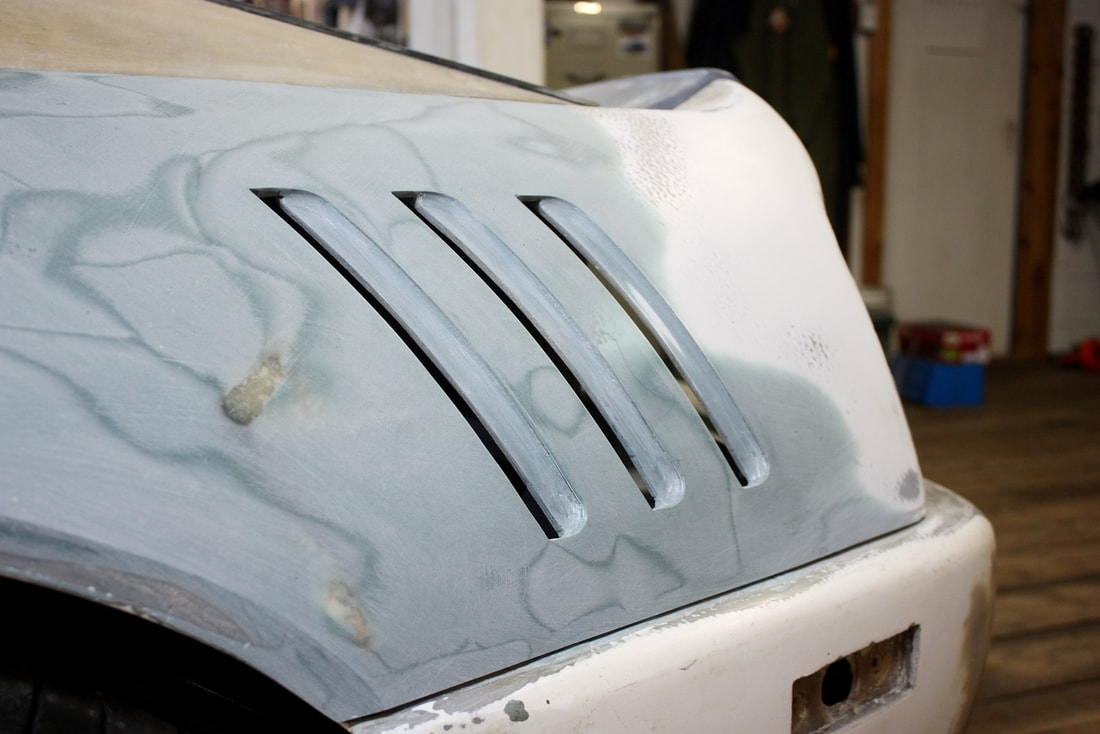
Here’s the current starting point for the passenger side fender. If you look quickly you’d be forgiven for thinking it was almost ready for priming. But pictures do, in fact, lie:
Welcome, die-hard readers, to the front fenders! For such a small pair of pieces, getting the fenders right is pretty important to the overall look of the car because they each have to align with five other body panels. Get any of those alignments wrong and from one or more angles the car won’t look like the $150K - $200K car it’s supposed to represent.
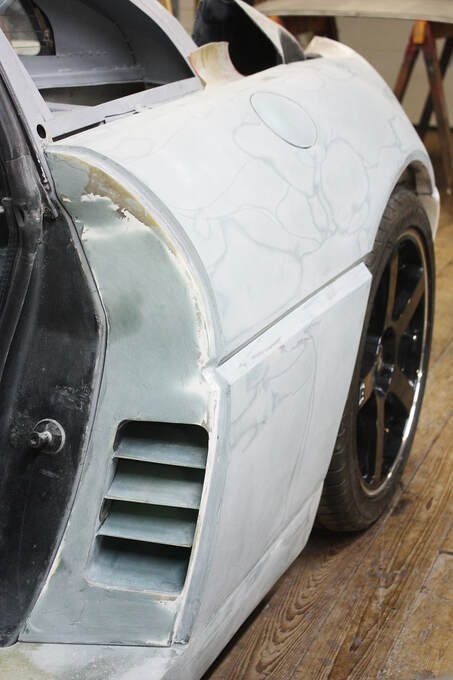
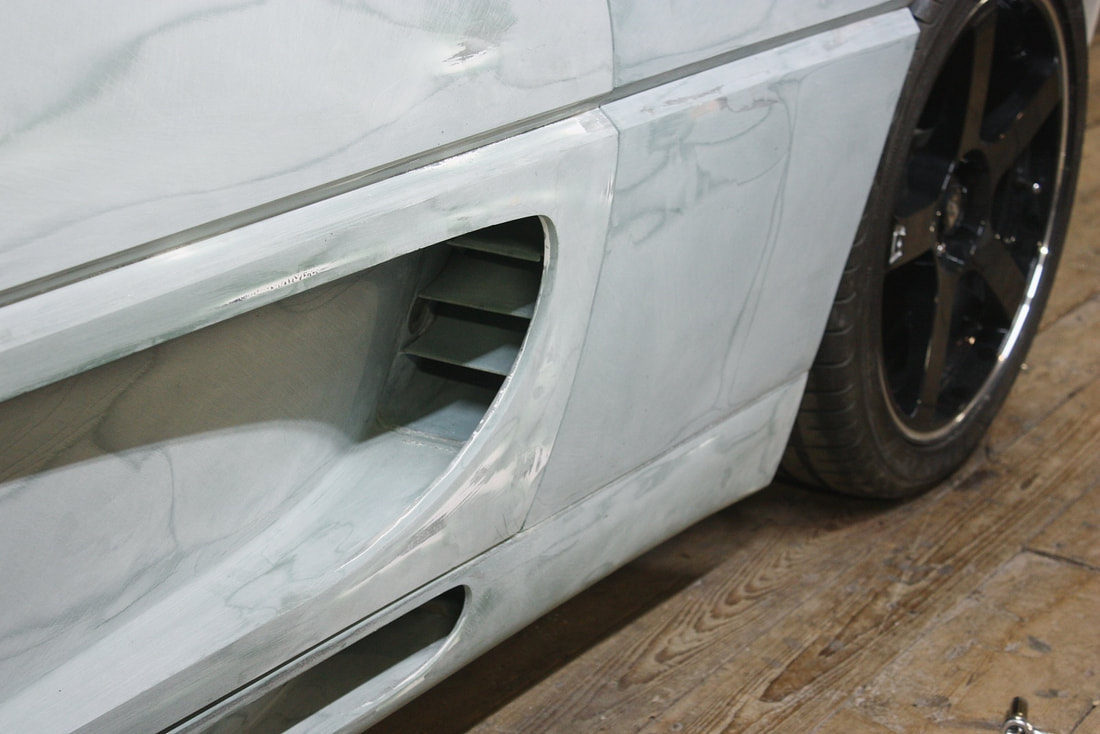
Here’s the current starting point for the passenger side fender. If you look quickly you’d be forgiven for thinking it was almost ready for priming. But pictures do, in fact, lie:
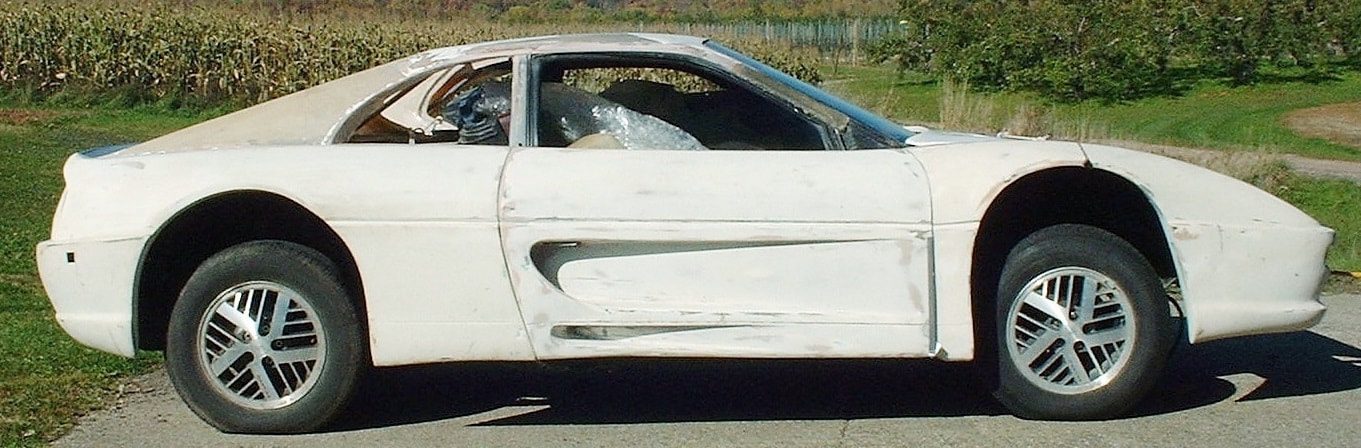
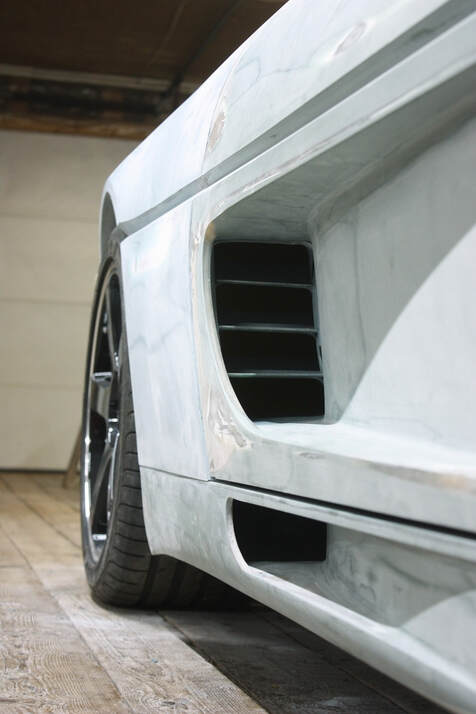
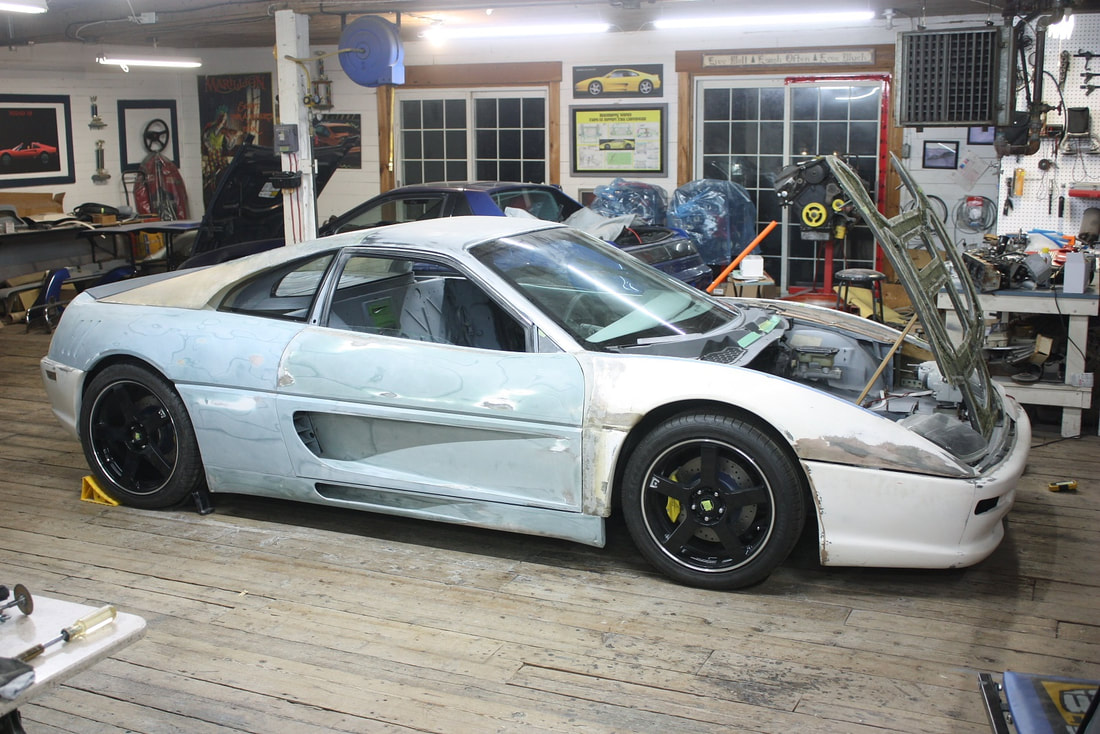
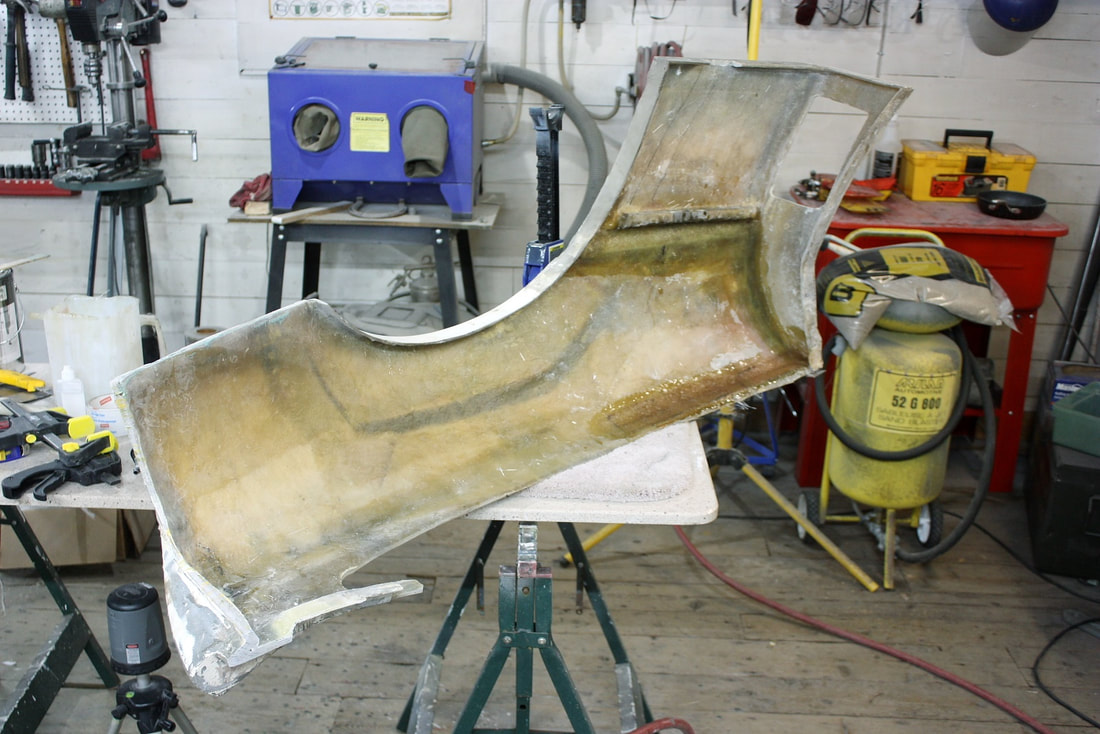
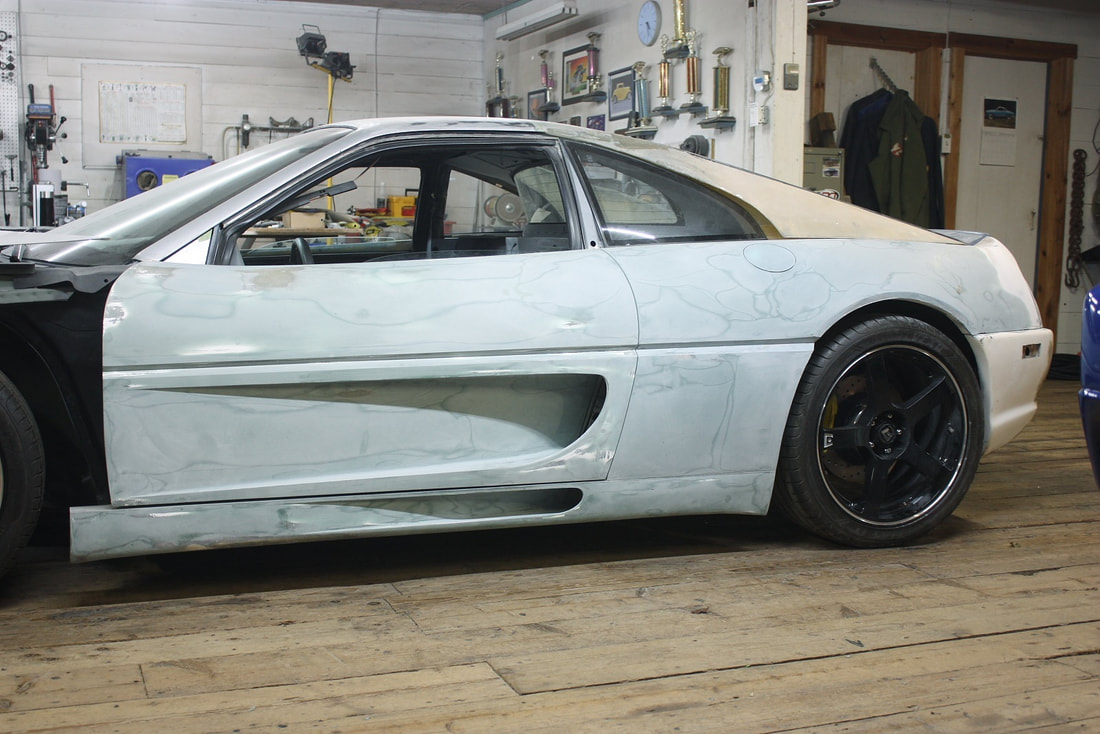
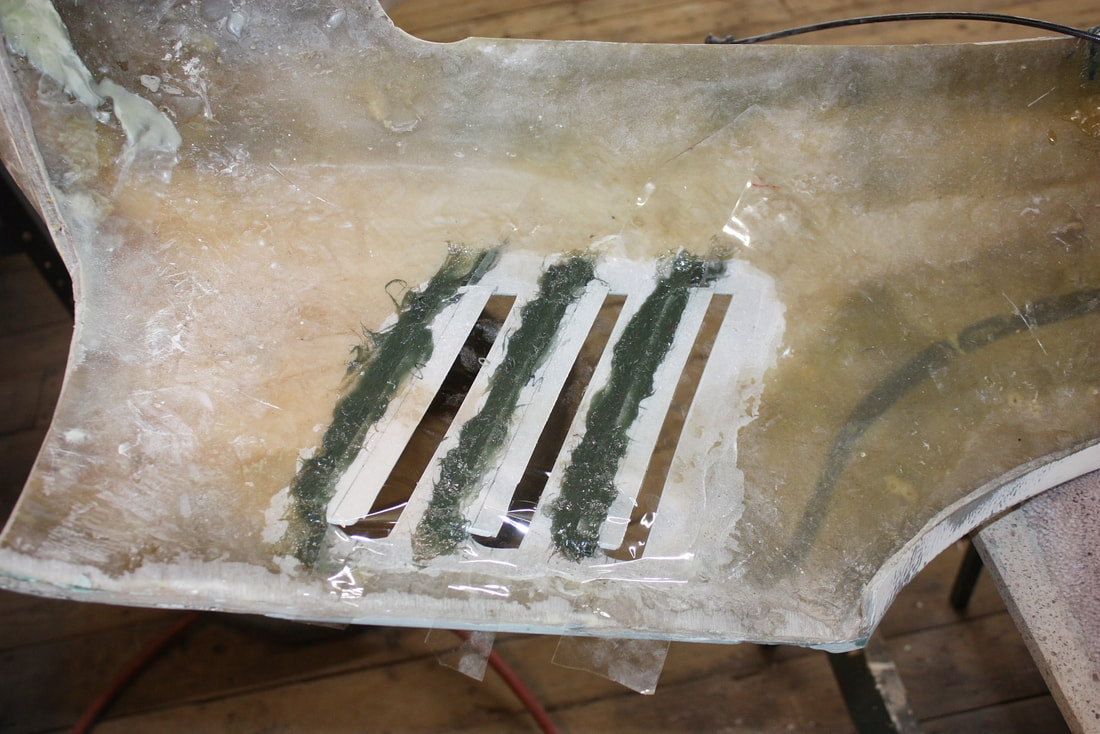
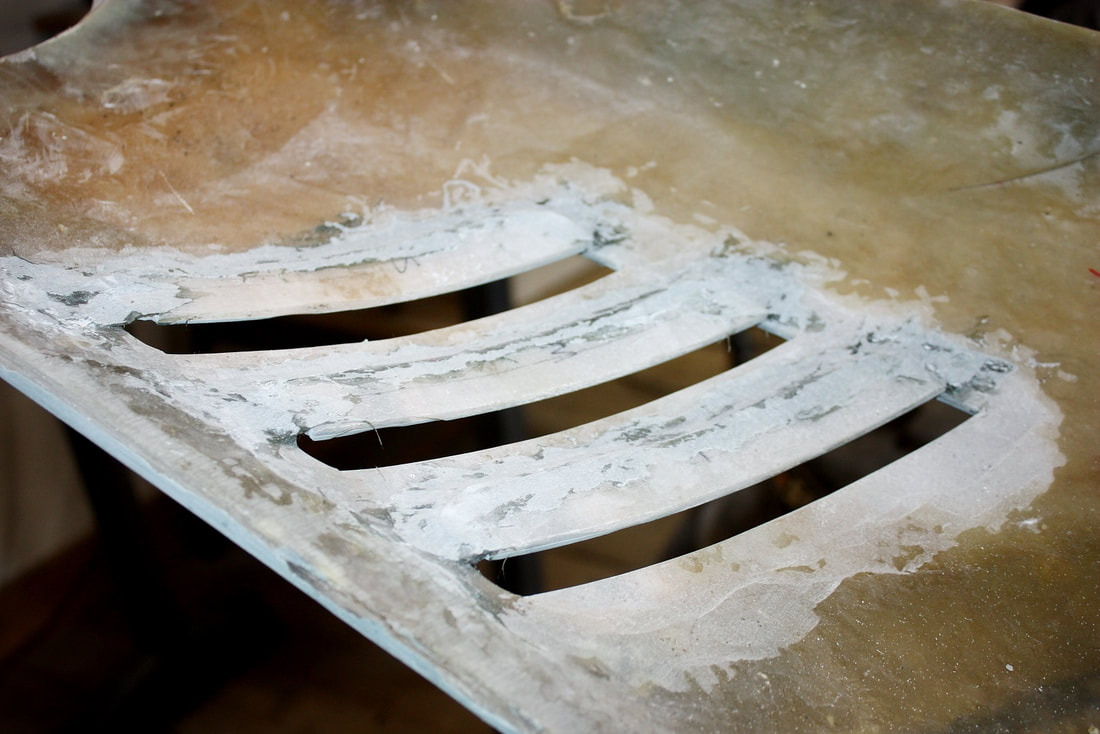
It’s certainly a long, long, looooong way from where it started:
It’s certainly a long, long, looooong way from where it started:
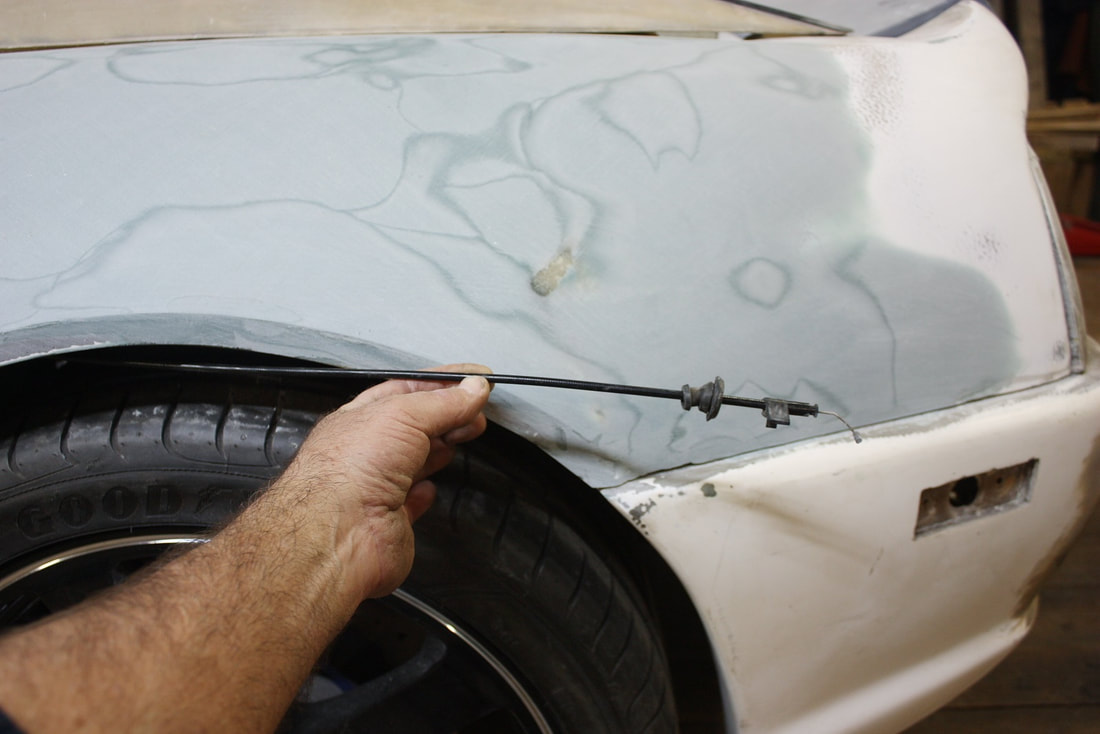
The journey from where it began to where it is now is a bit piecemeal throughout my blog, but the most important entries to date are in posts 119, 142 and 168. Those posts concerned themselves with getting an acceptable wheel gap, and creating a mounting system enabling their removal and re-installation with repeatable placement accuracy. This post is about pointing out more of the problems with the IFG design.
To get started, I scrounged the internet for photos of authentic Ferrari F355 front fenders from different views, and compared the IFG panels to them. The first thing I noted from long ago was the belt line difference. Here’s the real thing…
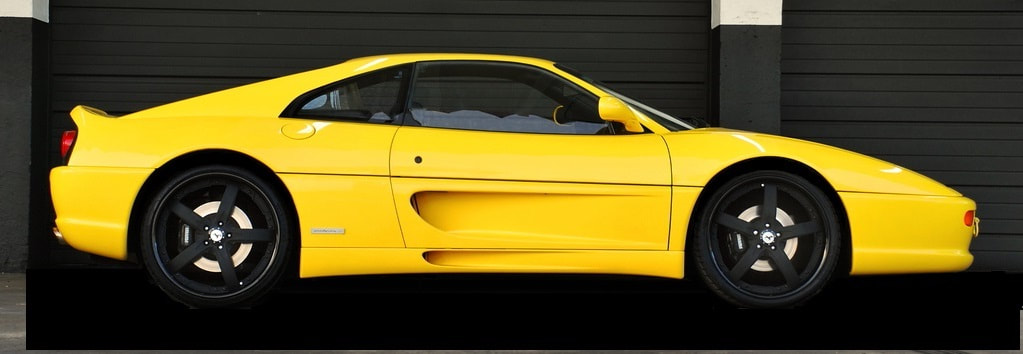
Notice the beltline on the authentic car is one continuous straight line from front to rear bumper. Here’s the belt line on the IFG kit:
Notice the beltline on the authentic car is one continuous straight line from front to rear bumper. Here’s the belt line on the IFG kit:
It droops. It was distracting and disappointing because it wasn’t obvious how I’d be able to fix it. I couldn’t simply slice and raise the line at the front because that would change the location of the line running across the front of the car too. That in turn would affect things like headlight and hood locations, requiring them to be pushed further aft, and a shortening of the front fascia to avoid the appearance of a severe under bite.
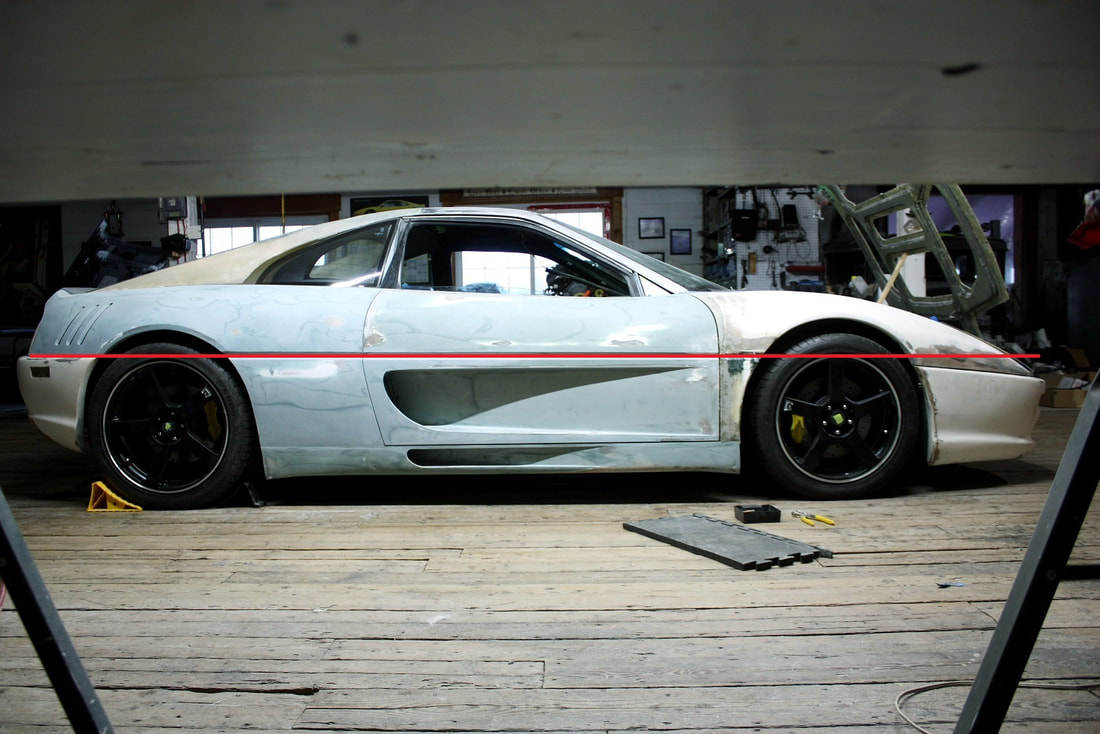
I’ll get into the nitty-gritty solution later, but the problem also wasn’t as dire as I make it seem, since the droop-nose effect was only really obvious from a view point two feet off the ground. This next photo was taken at five feet above ground and the problem seemed to disappear:
It droops. It was distracting and disappointing because it wasn’t obvious how I’d be able to fix it. I couldn’t simply slice and raise the line at the front because that would change the location of the line running across the front of the car too. That in turn would affect things like headlight and hood locations, requiring them to be pushed further aft, and a shortening of the front fascia to avoid the appearance of a severe under bite.
I’ll get into the nitty-gritty solution later, but the problem also wasn’t as dire as I make it seem, since the droop-nose effect was only really obvious from a view point two feet off the ground. This next photo was taken at five feet above ground and the problem seemed to disappear:
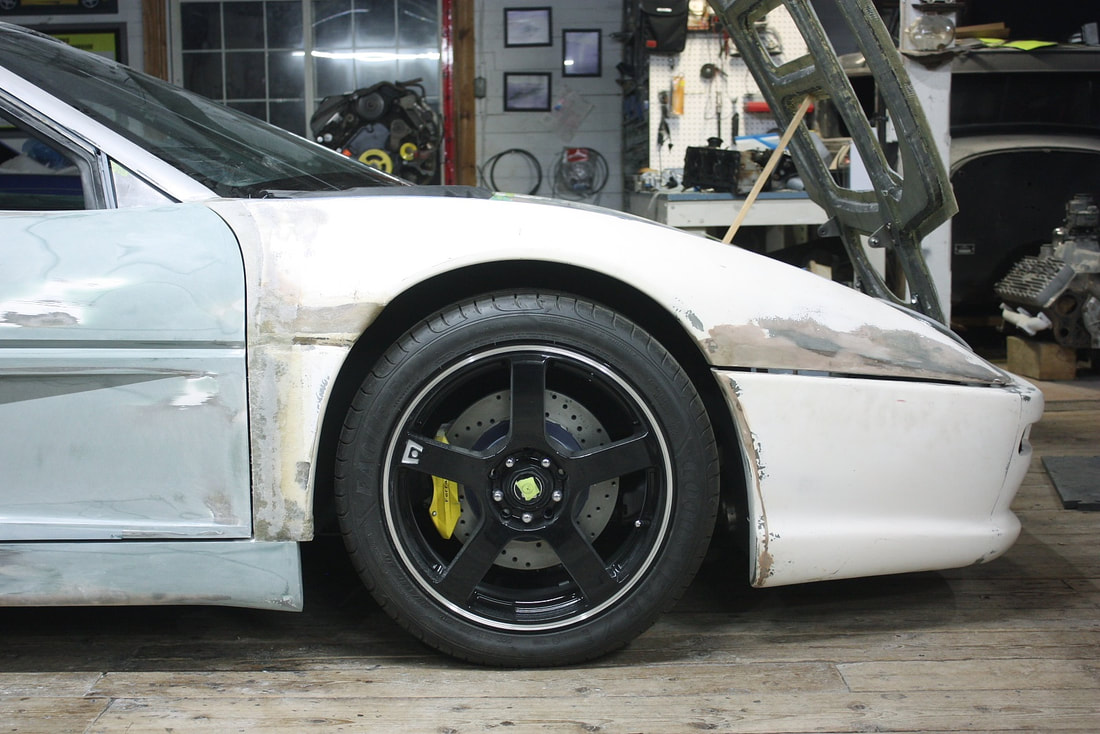
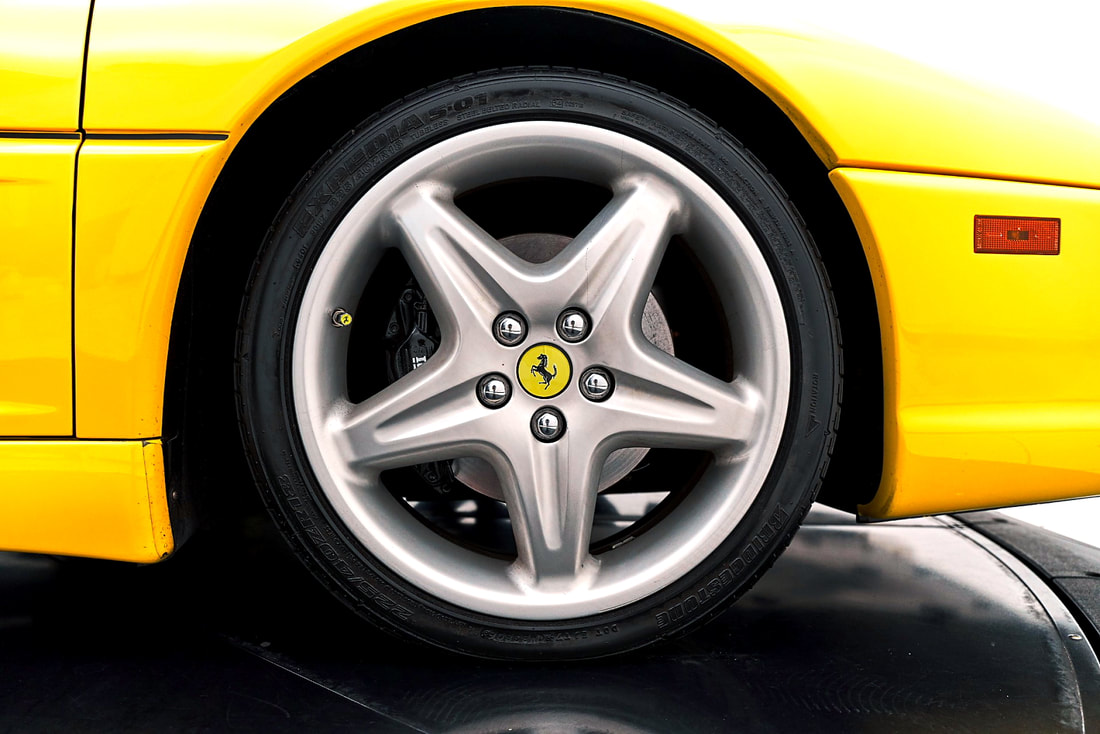
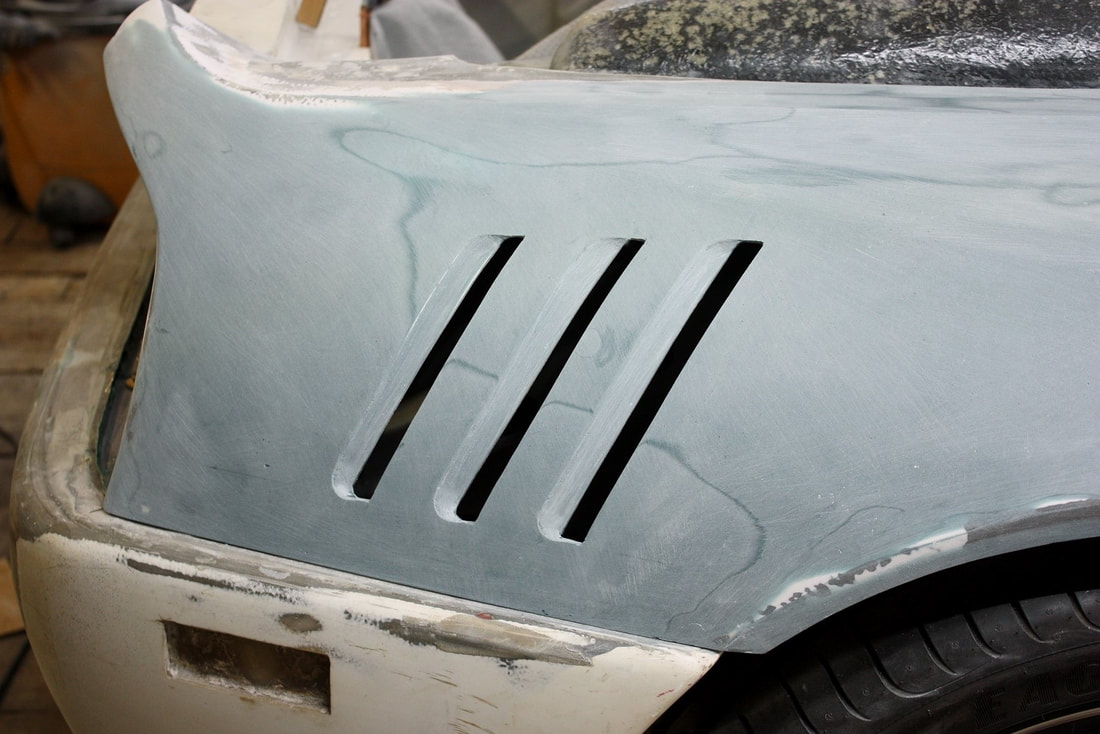
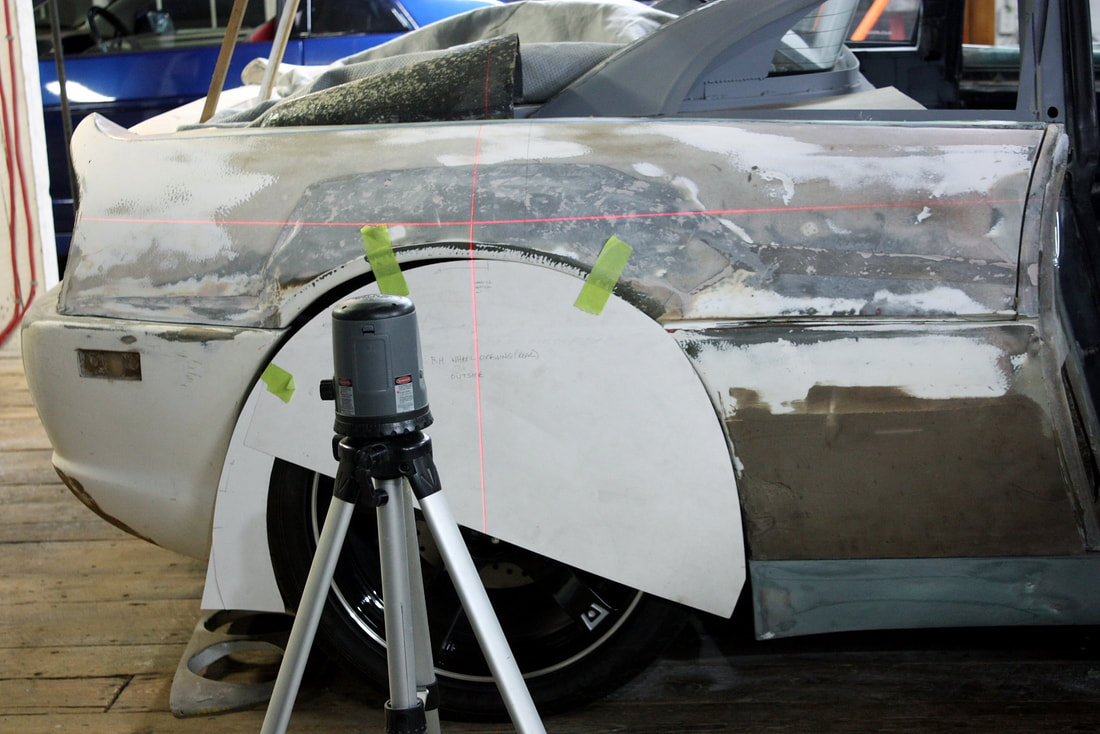
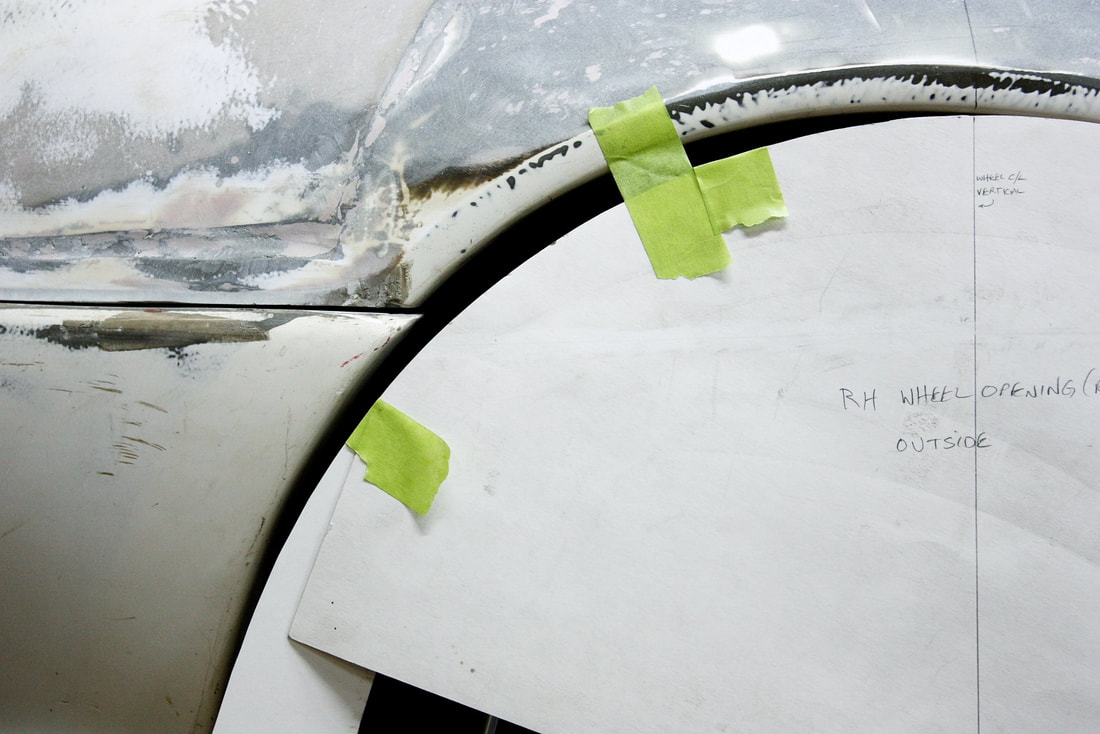
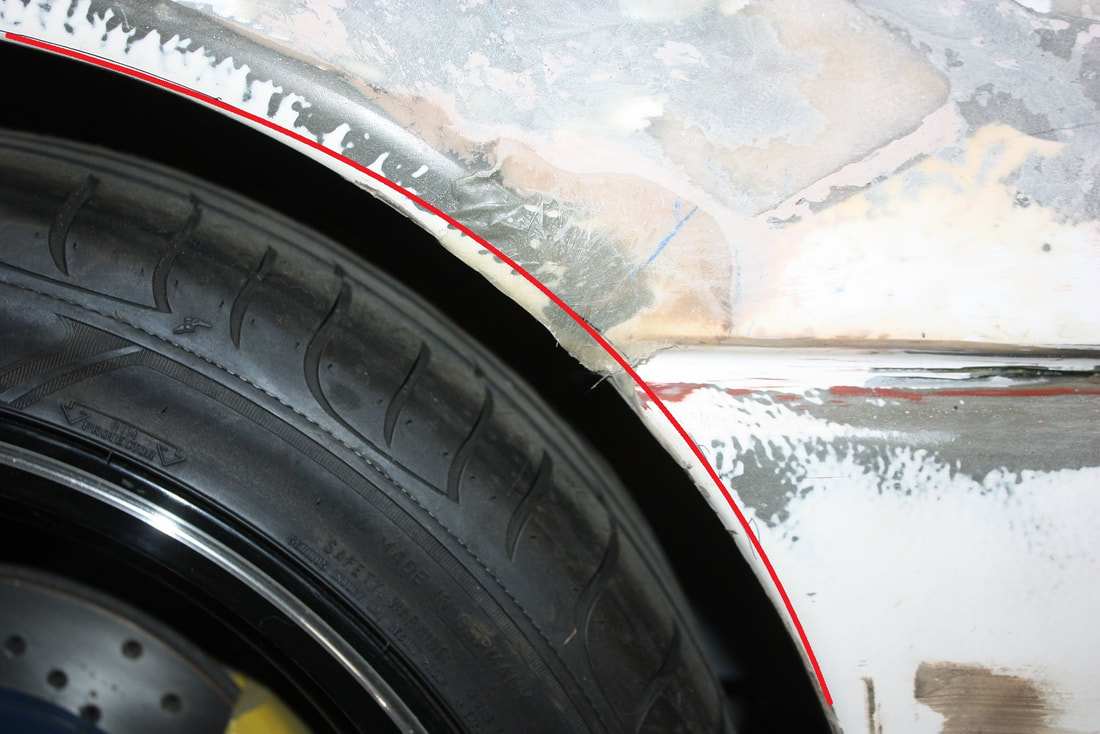
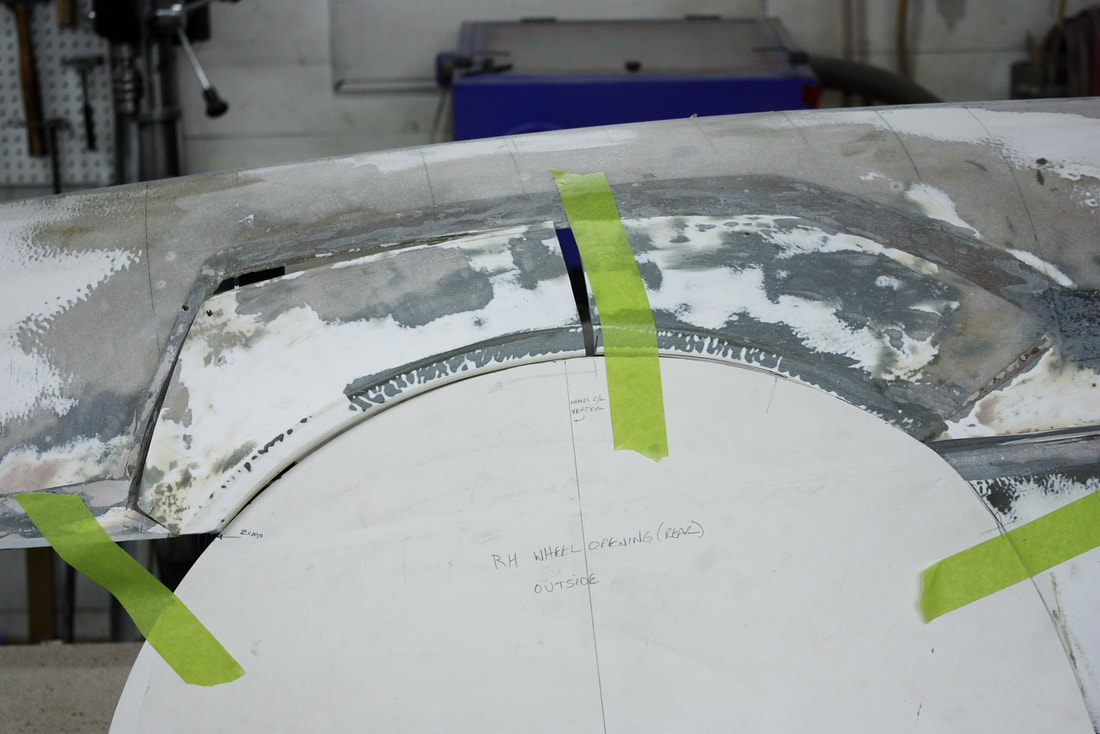
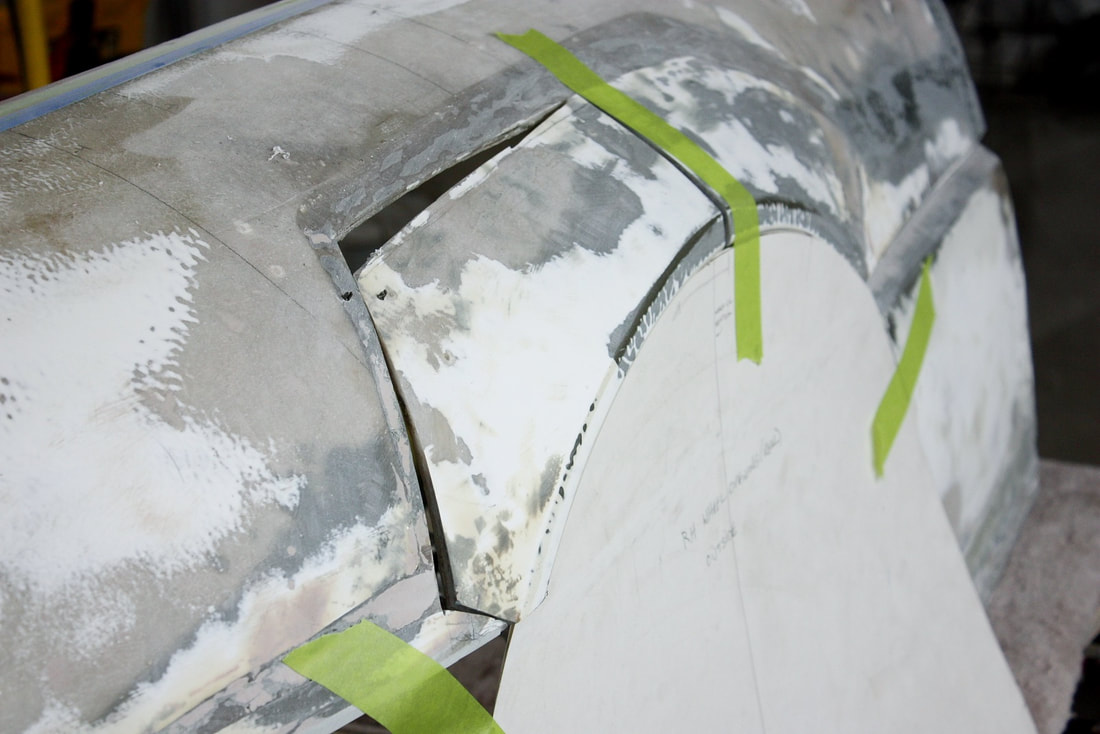
Next up, I had a close look at the wheel arch shape and gap on an authentic F355. The wheel arch is almost a pure circle, though it opens up somewhat as it reaches the lower aft portion of the arc. Surprisingly, the authentic car has a rather large front wheel gap which I estimate to be about 50 mms (2”):
Next up, I had a close look at the wheel arch shape and gap on an authentic F355. The wheel arch is almost a pure circle, though it opens up somewhat as it reaches the lower aft portion of the arc. Surprisingly, the authentic car has a rather large front wheel gap which I estimate to be about 50 mms (2”):
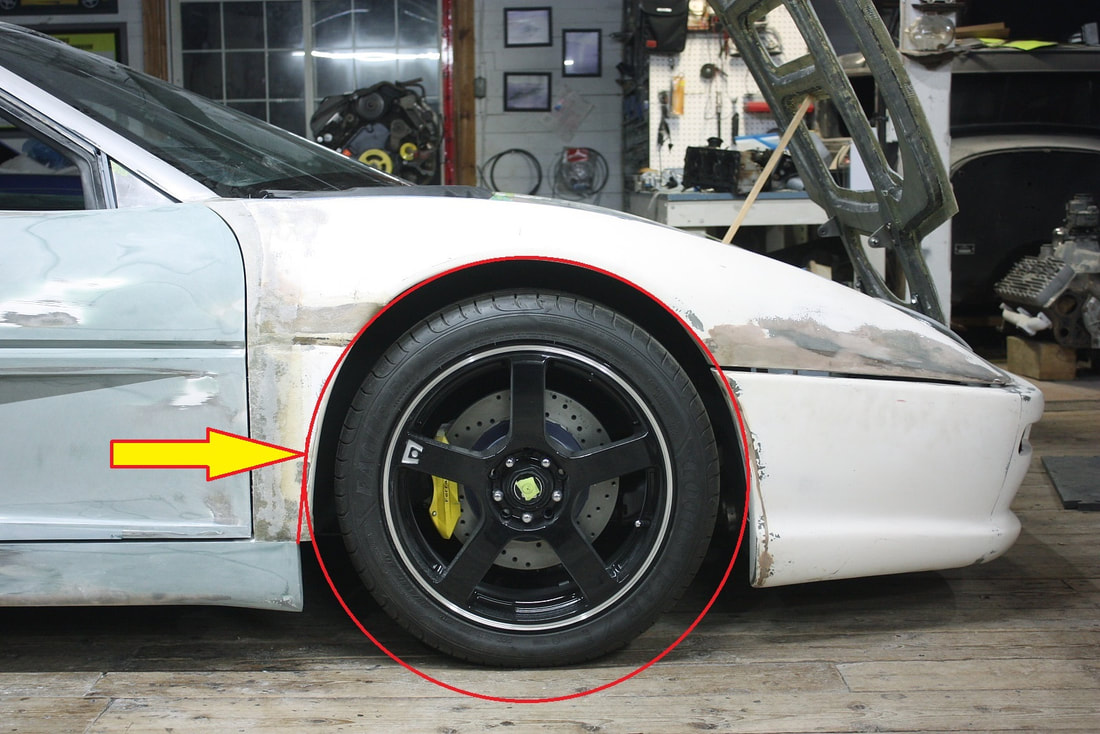
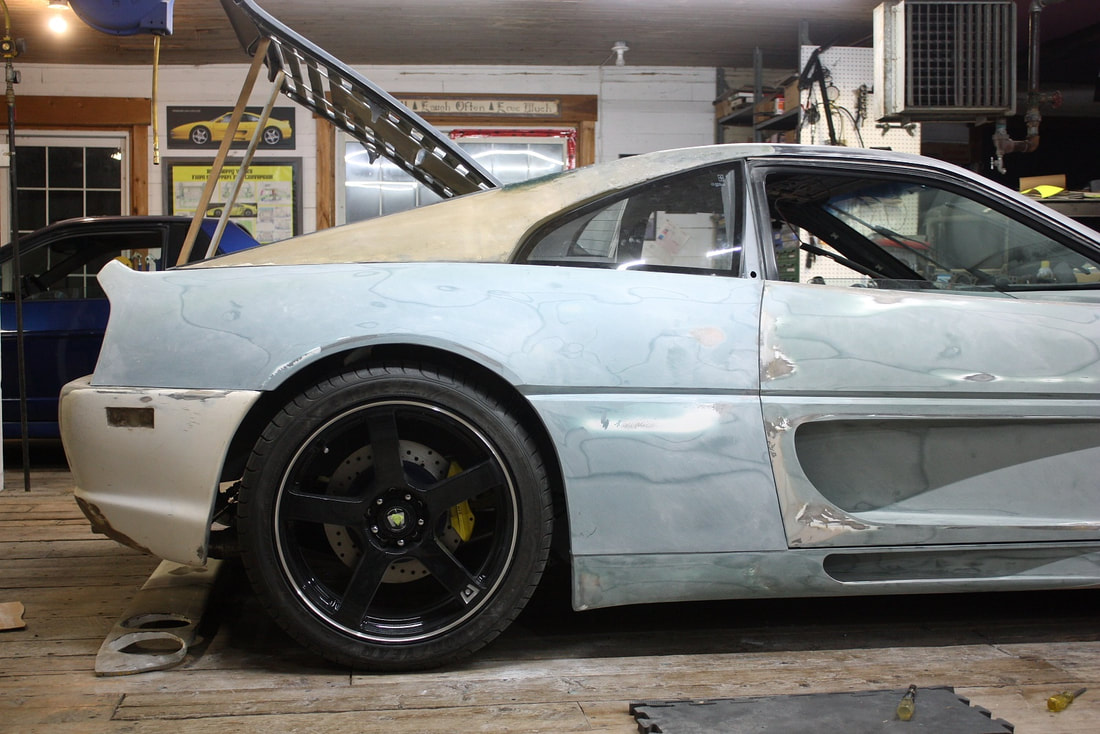
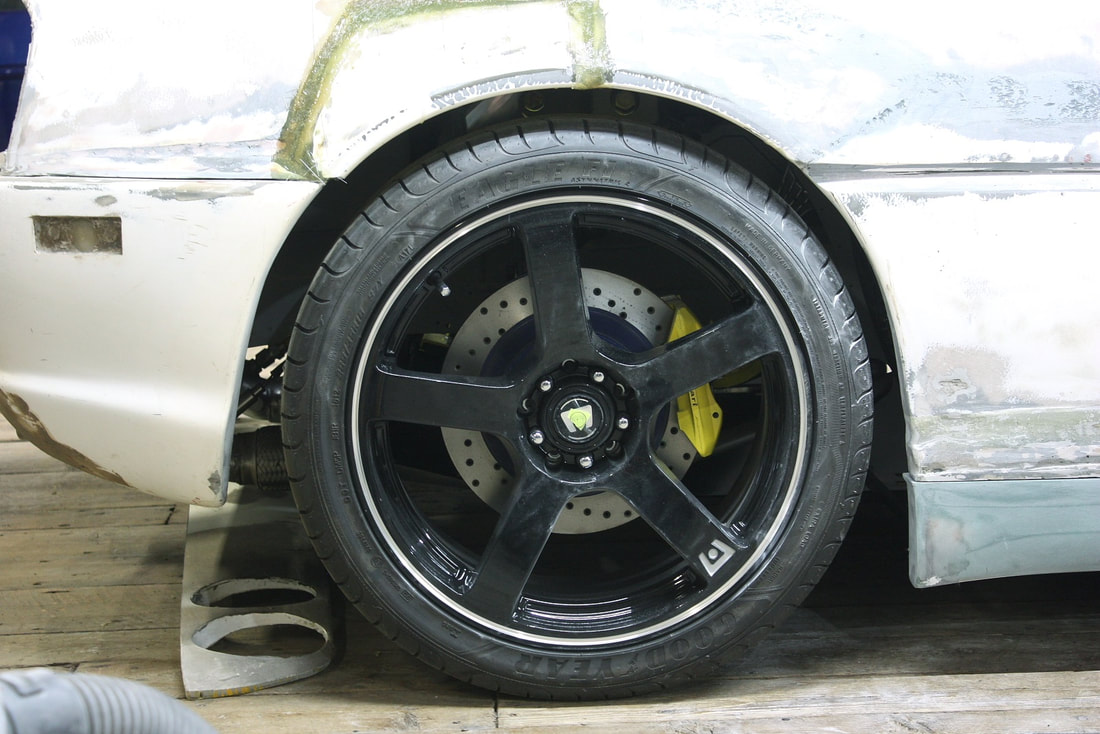
The large wheel gap played in my favour because it was a monumental struggle to get down to 2” wheel gaps on my car and still retain about 2.5” of jounce. The gap looks large face on, but once again, from five feet up it looks astonishingly “right”. I take solace in knowing the gaps are the correct size and will appear a bit smaller once the wheel well liners are installed. This next photo also shows how misshaped the wheel arch was on the passenger side, so that would need addressing:
The large wheel gap played in my favour because it was a monumental struggle to get down to 2” wheel gaps on my car and still retain about 2.5” of jounce. The gap looks large face on, but once again, from five feet up it looks astonishingly “right”. I take solace in knowing the gaps are the correct size and will appear a bit smaller once the wheel well liners are installed. This next photo also shows how misshaped the wheel arch was on the passenger side, so that would need addressing:
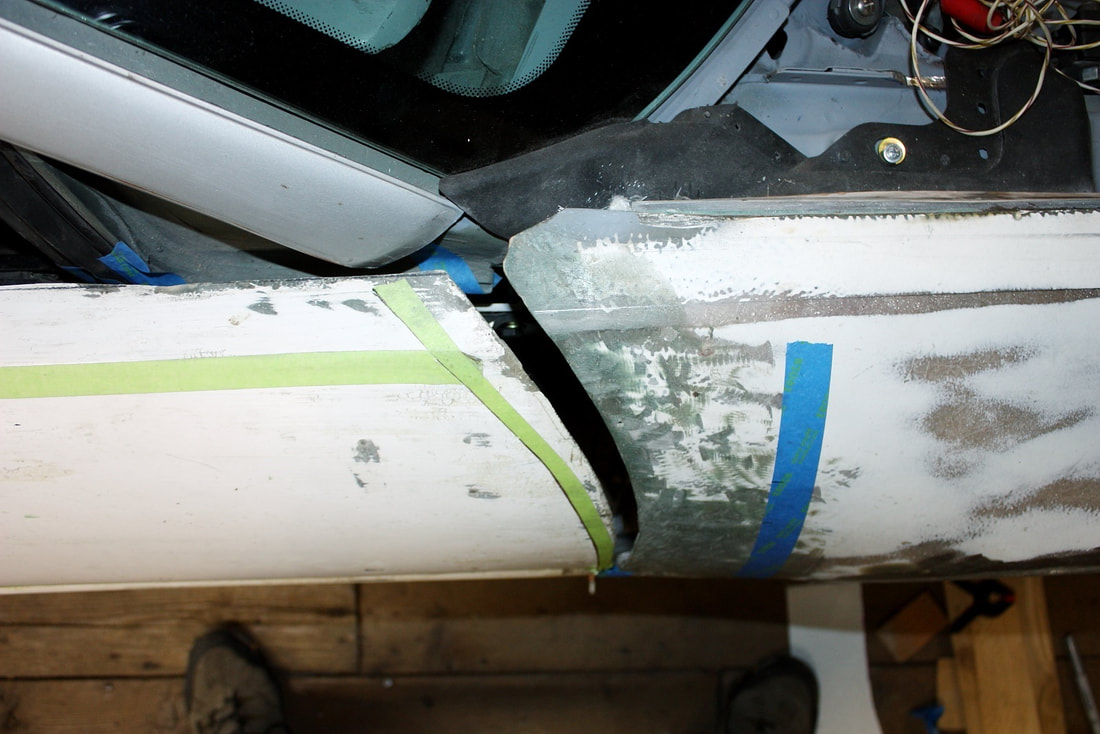
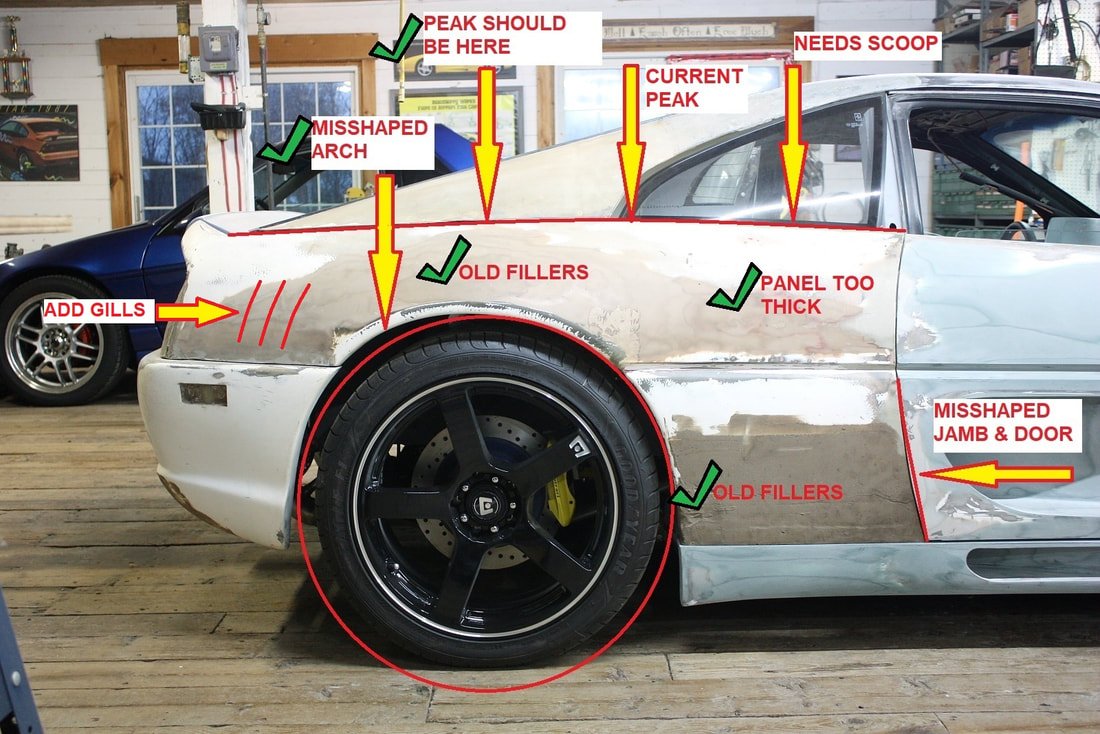
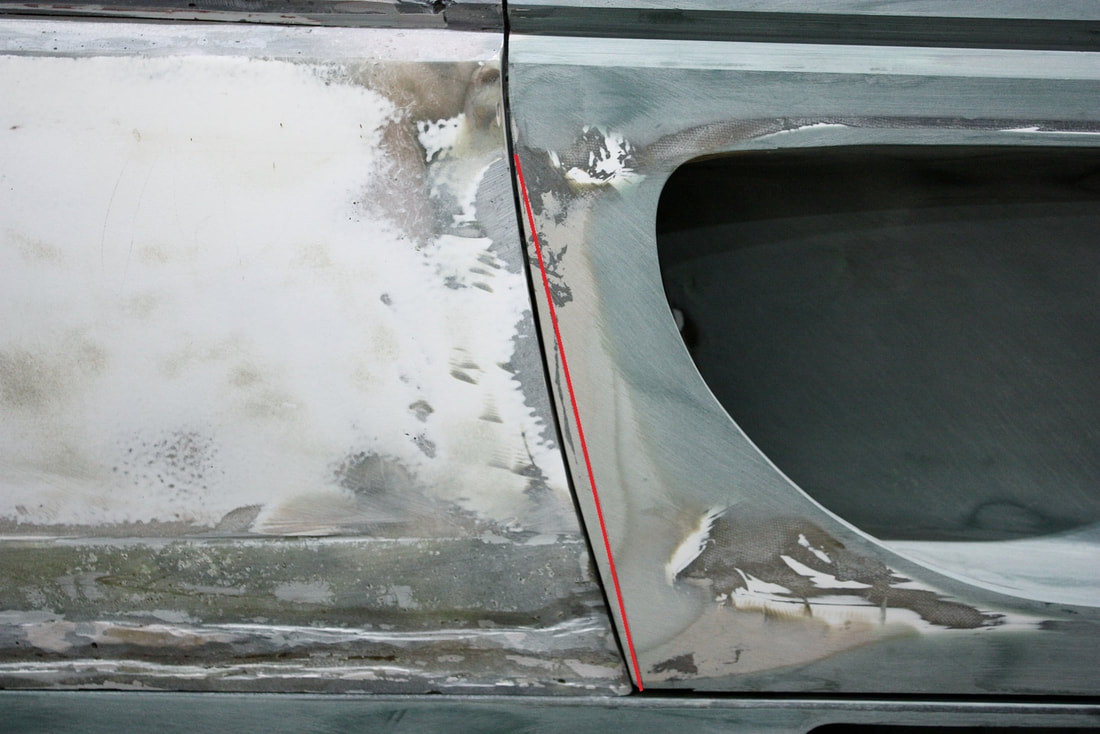
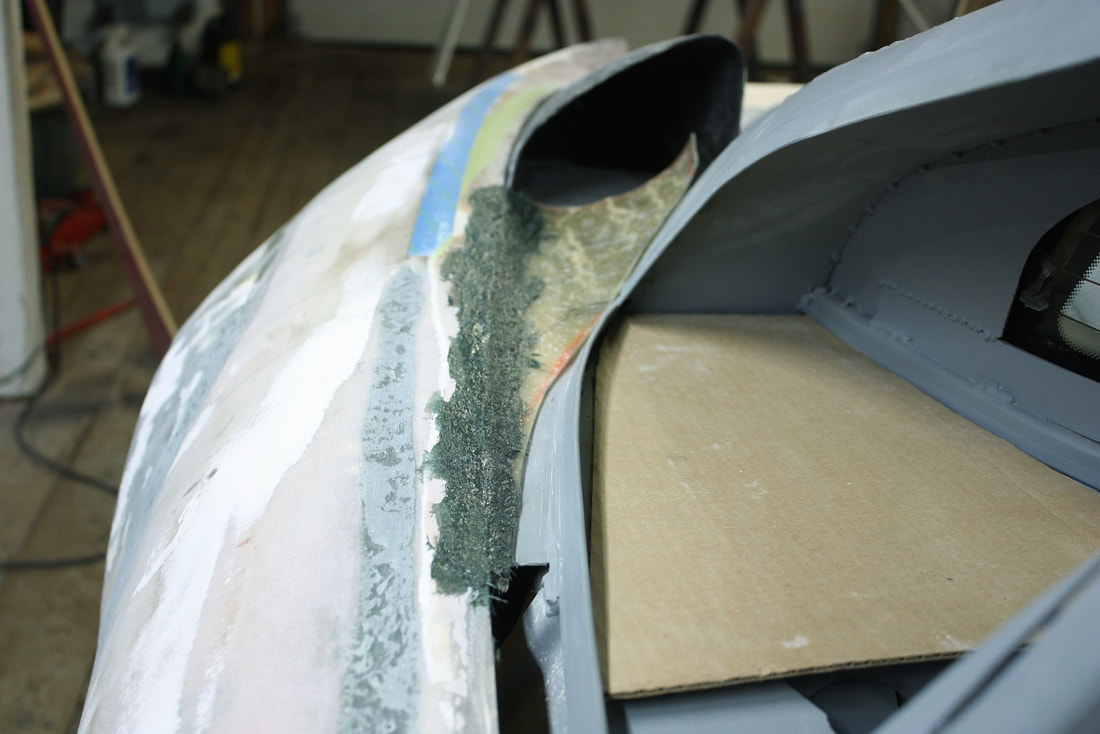
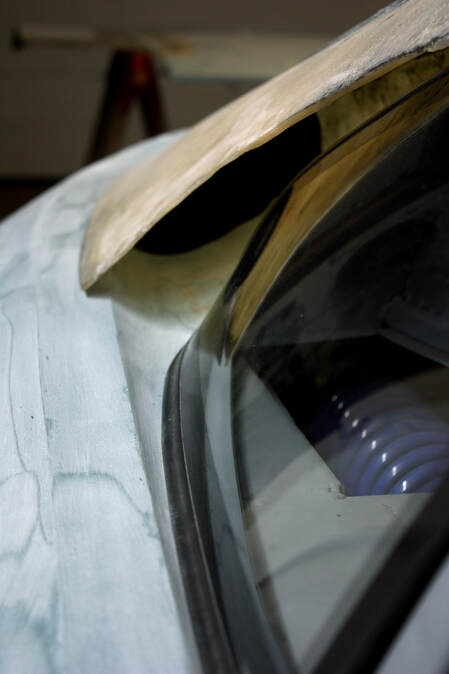
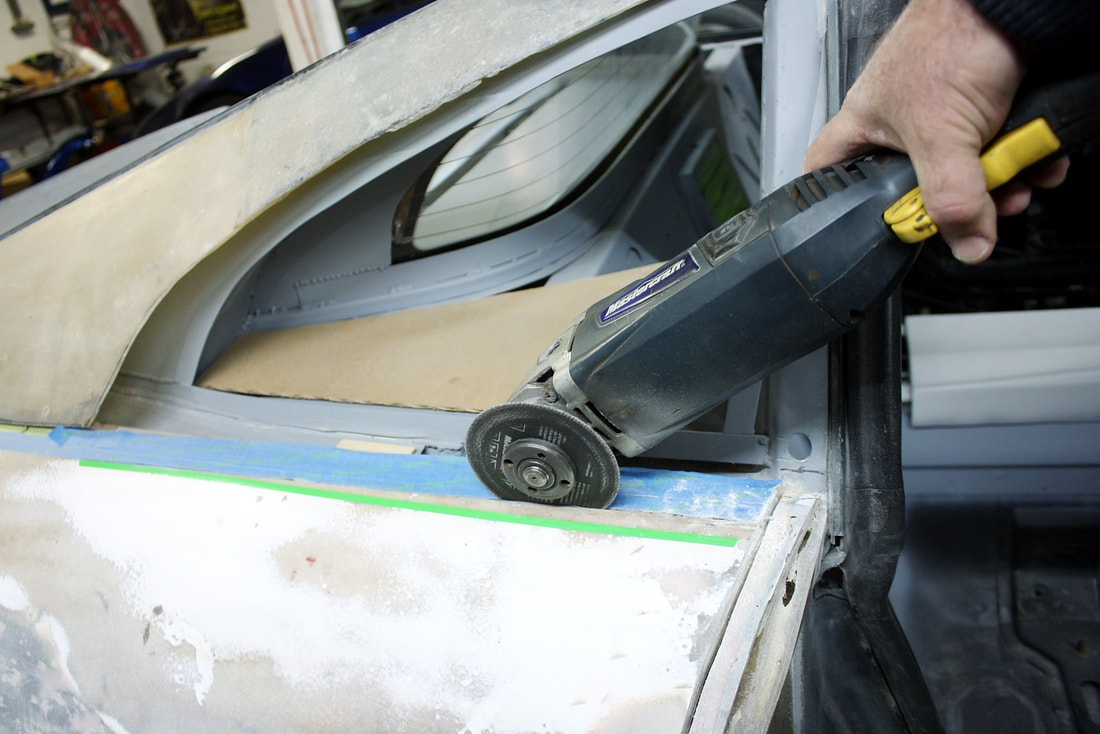
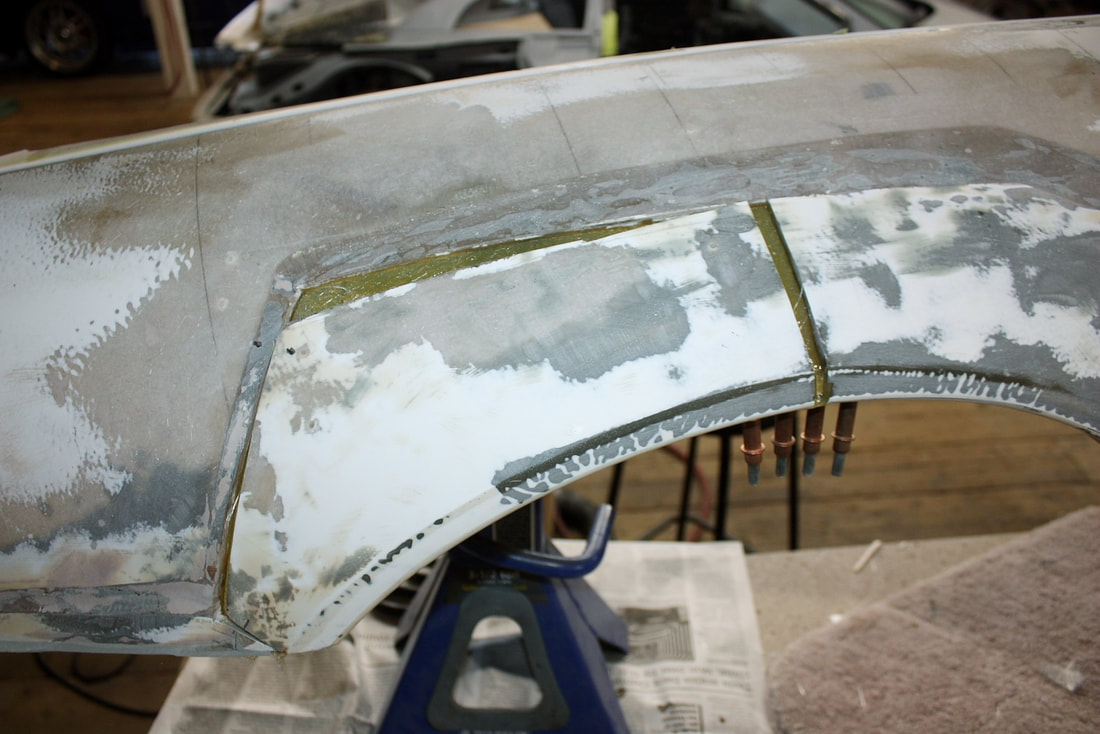
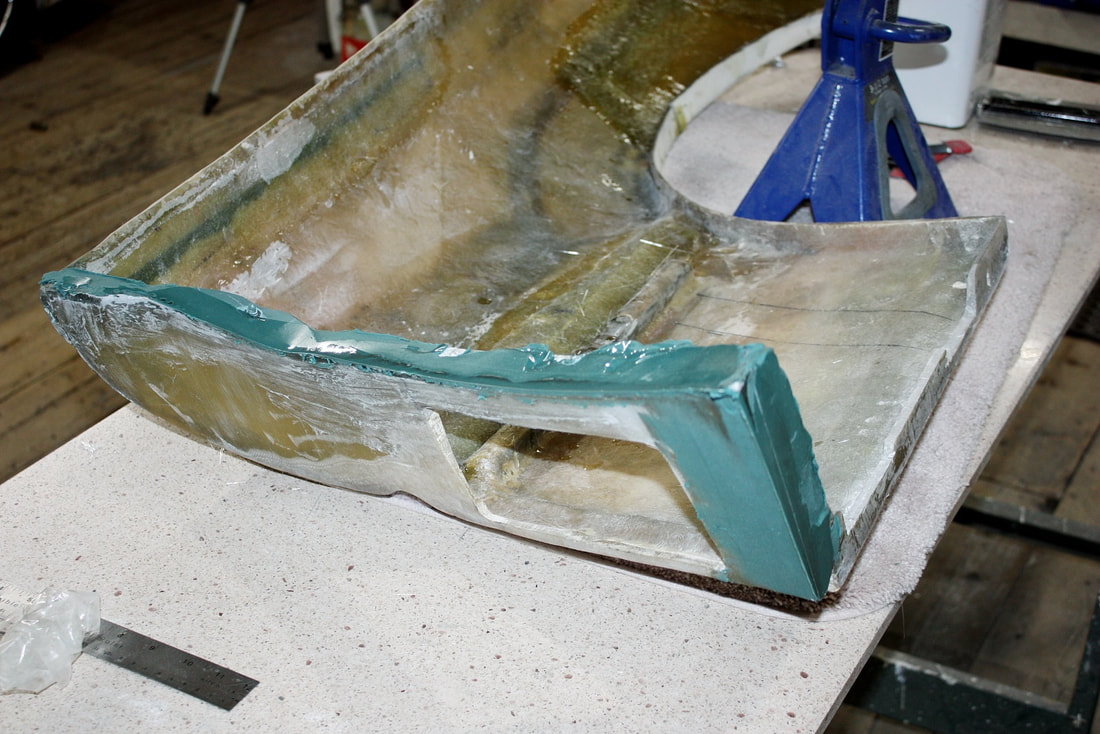
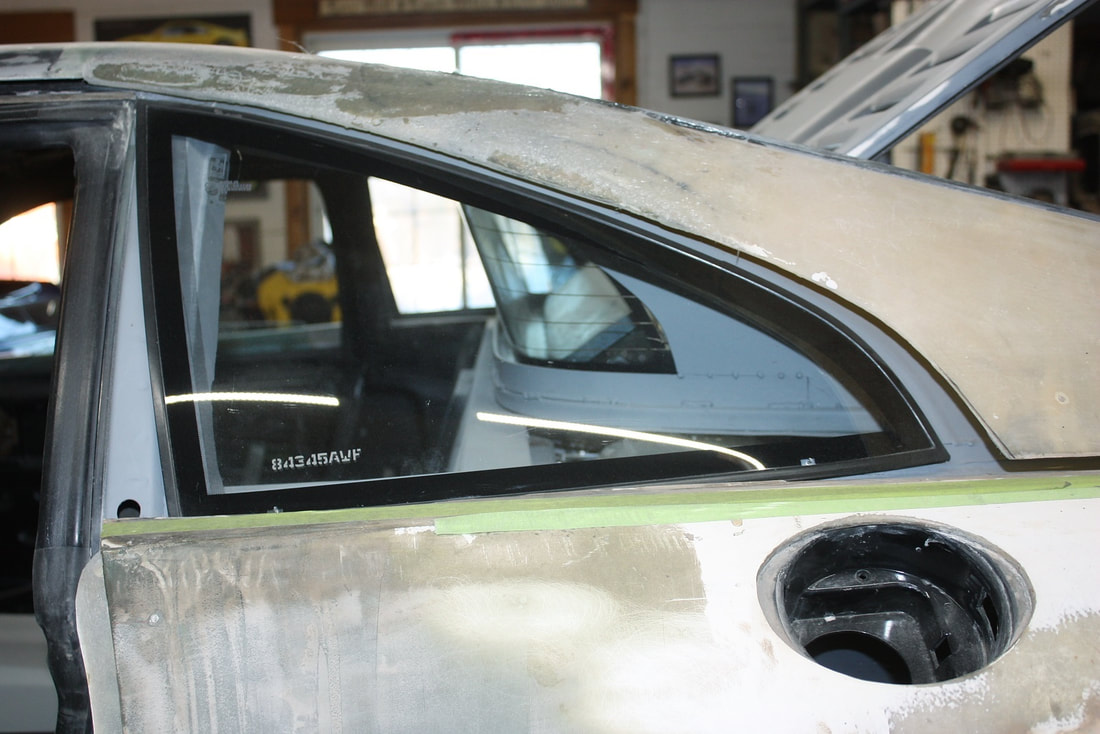
The busiest corner of the fender panel is at the base of the A-pillar. In particular, all the edges must flow smoothly from panel to panel in three continuous lines: down the A-pillar and continuing down the length of the hood; down the other side of the A-pillar and into the door gap; and finally the line along the door top, across the bottom of the A-pillar, and around the base of the windshield:
The busiest corner of the fender panel is at the base of the A-pillar. In particular, all the edges must flow smoothly from panel to panel in three continuous lines: down the A-pillar and continuing down the length of the hood; down the other side of the A-pillar and into the door gap; and finally the line along the door top, across the bottom of the A-pillar, and around the base of the windshield:
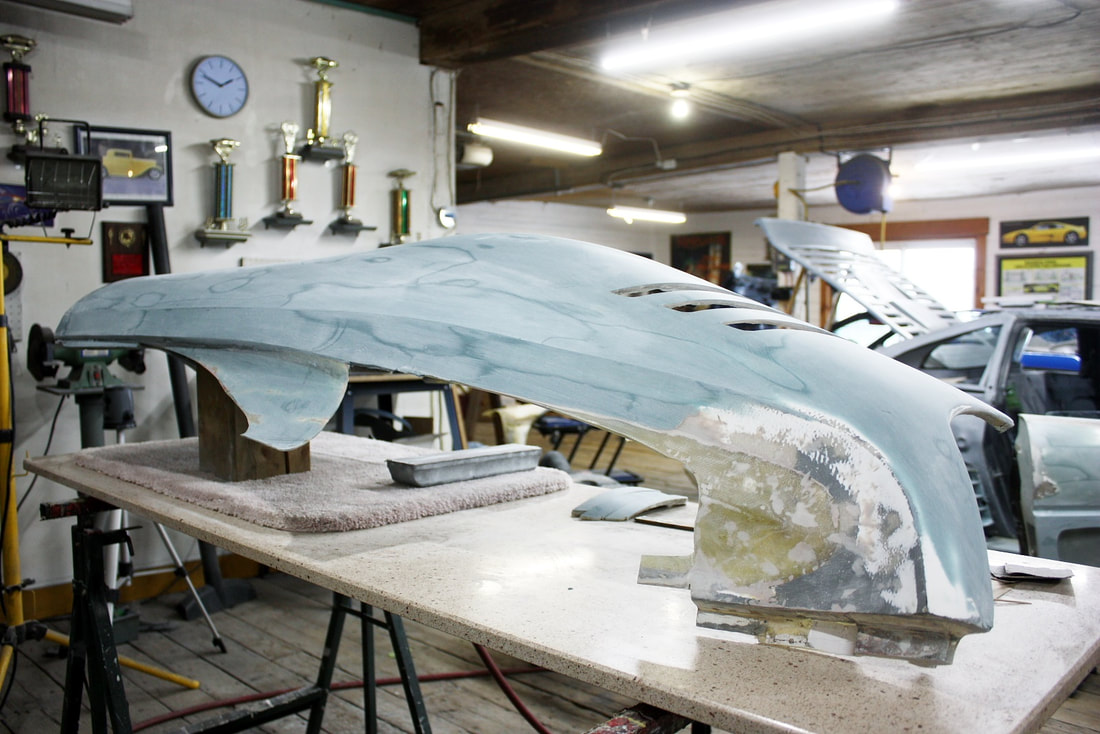
For those who’ve forgotten, this was the starting point for the IFG kit once the other panel locations had been optimized for the least amount of work elsewhere:
For those who’ve forgotten, this was the starting point for the IFG kit once the other panel locations had been optimized for the least amount of work elsewhere:
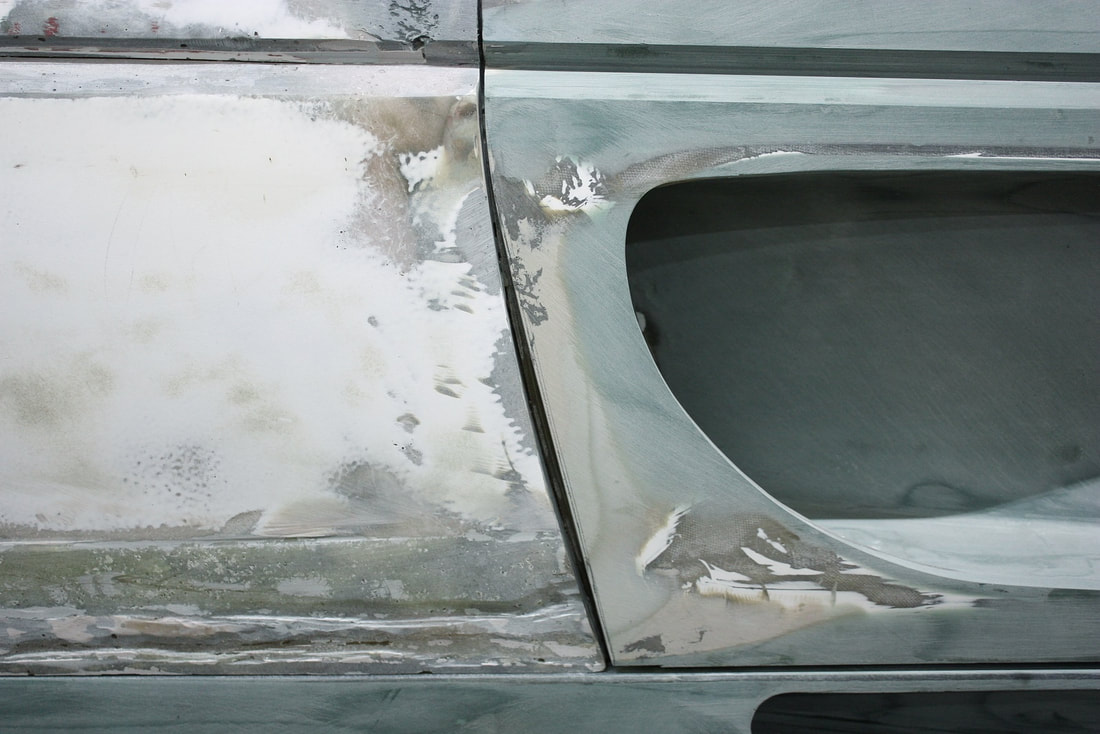
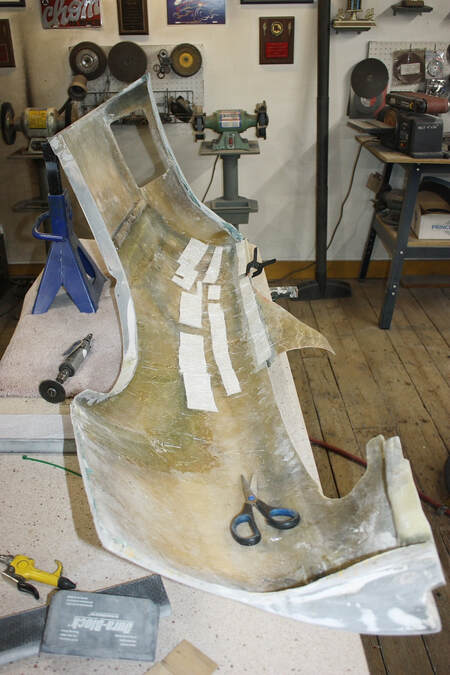
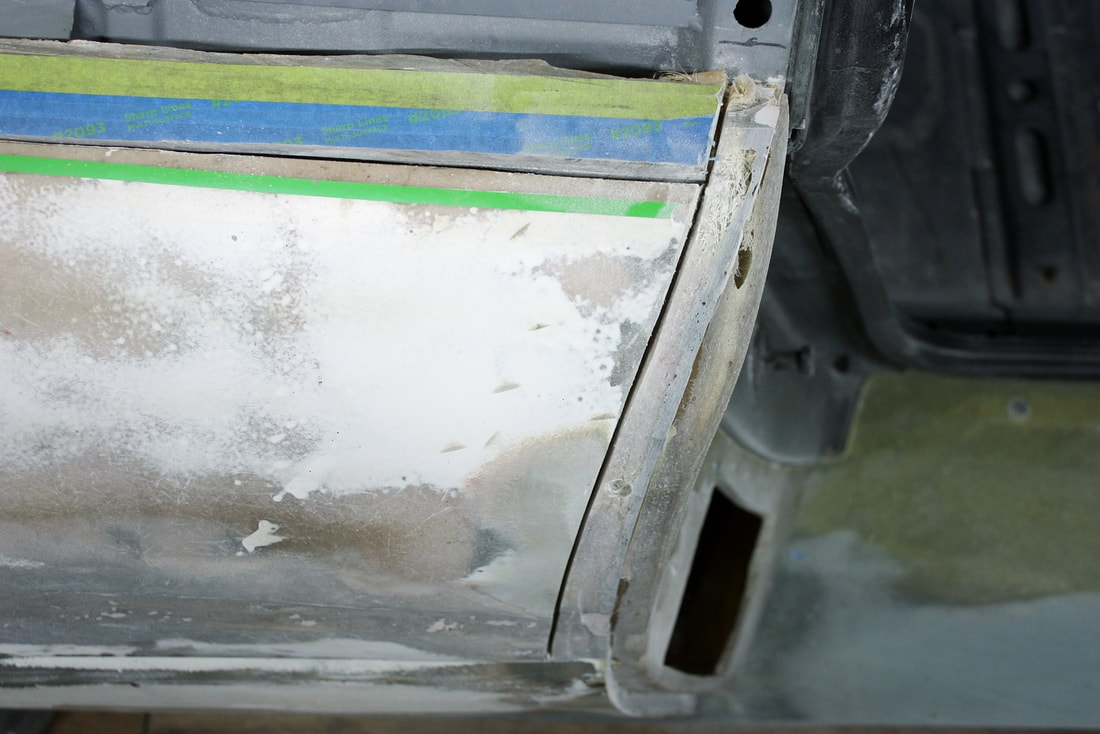
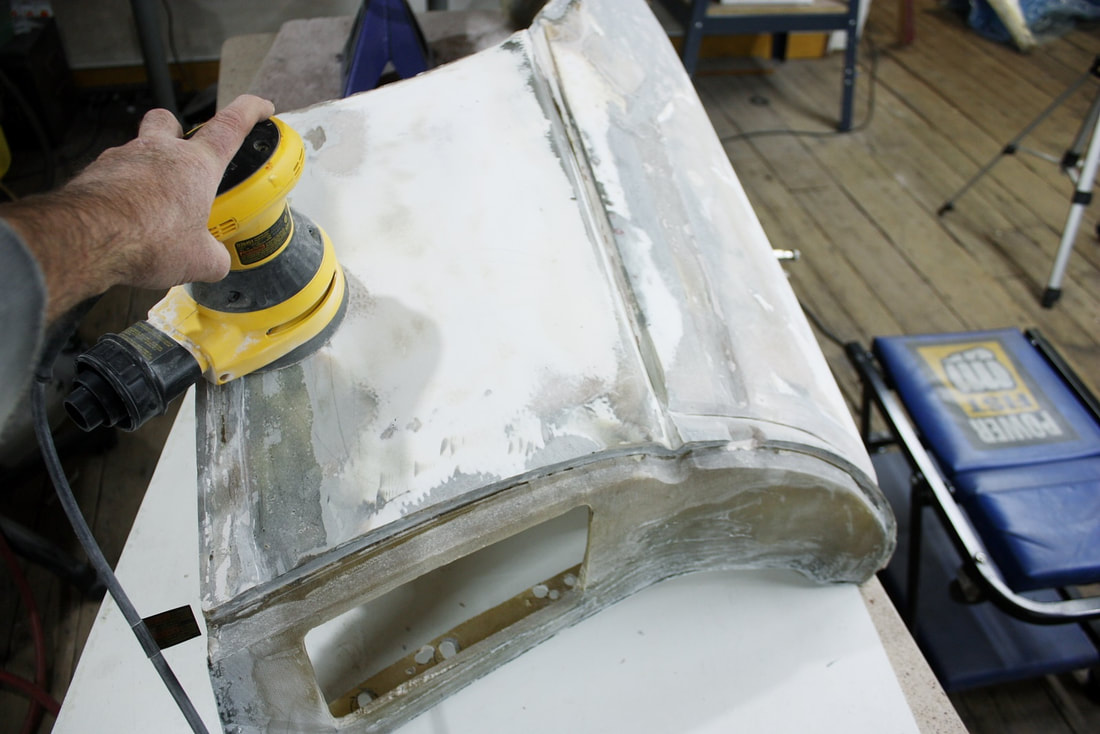
Luckily I was well beyond that starting point. In the previously mentioned posts, I had worked the area to this stage:
Luckily I was well beyond that starting point. In the previously mentioned posts, I had worked the area to this stage:
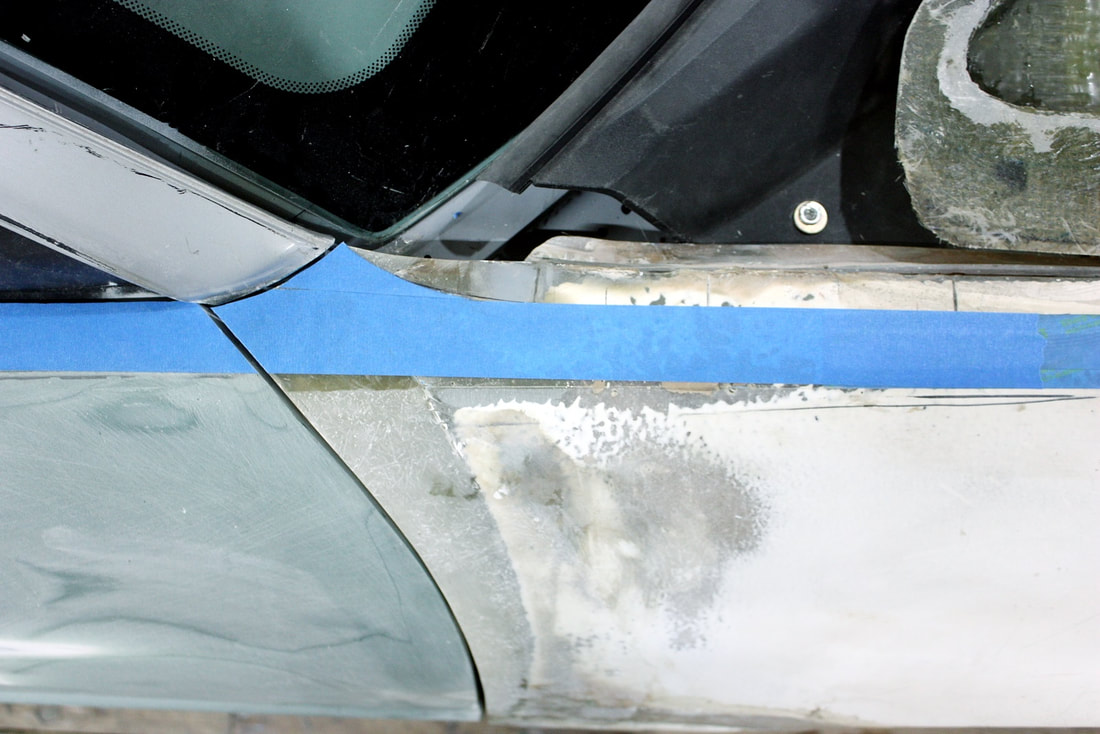
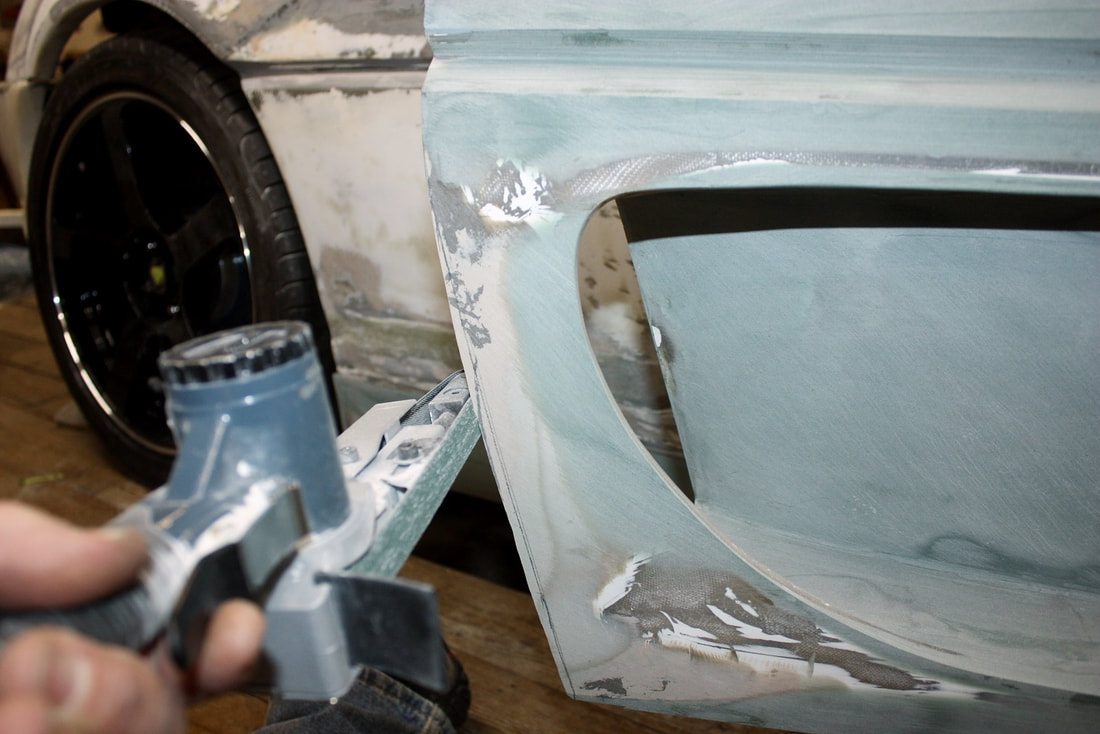
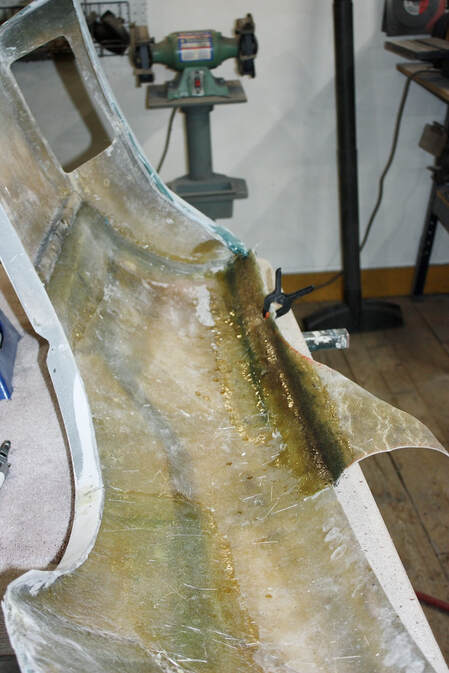
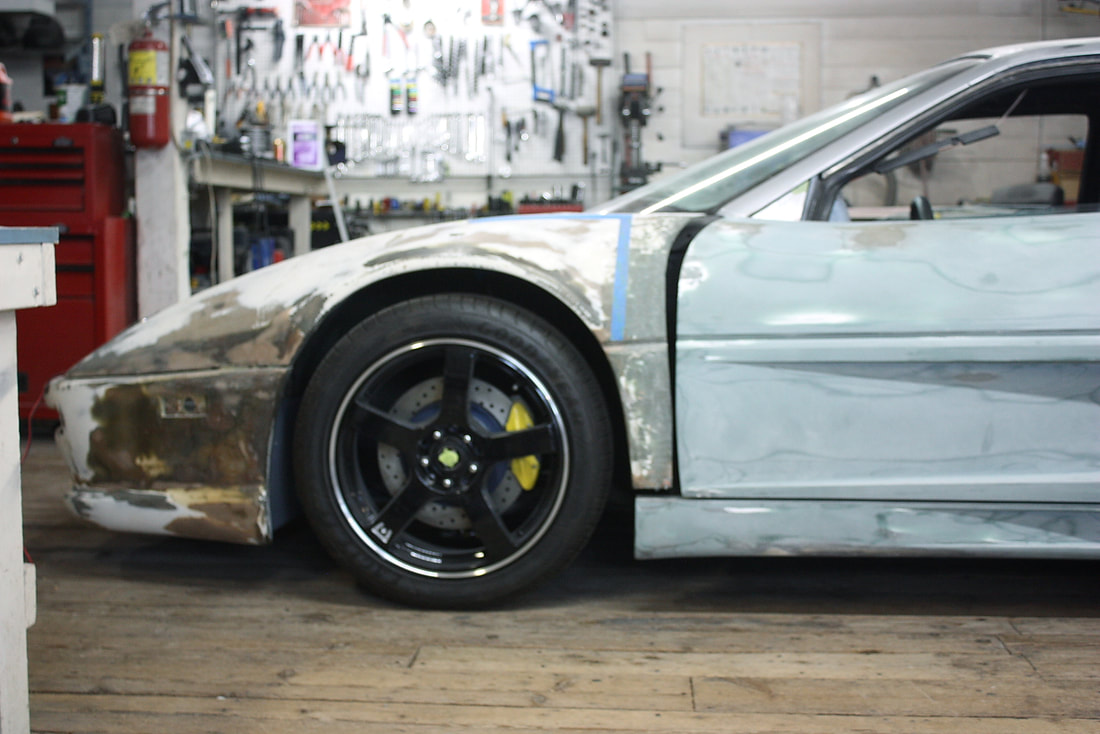
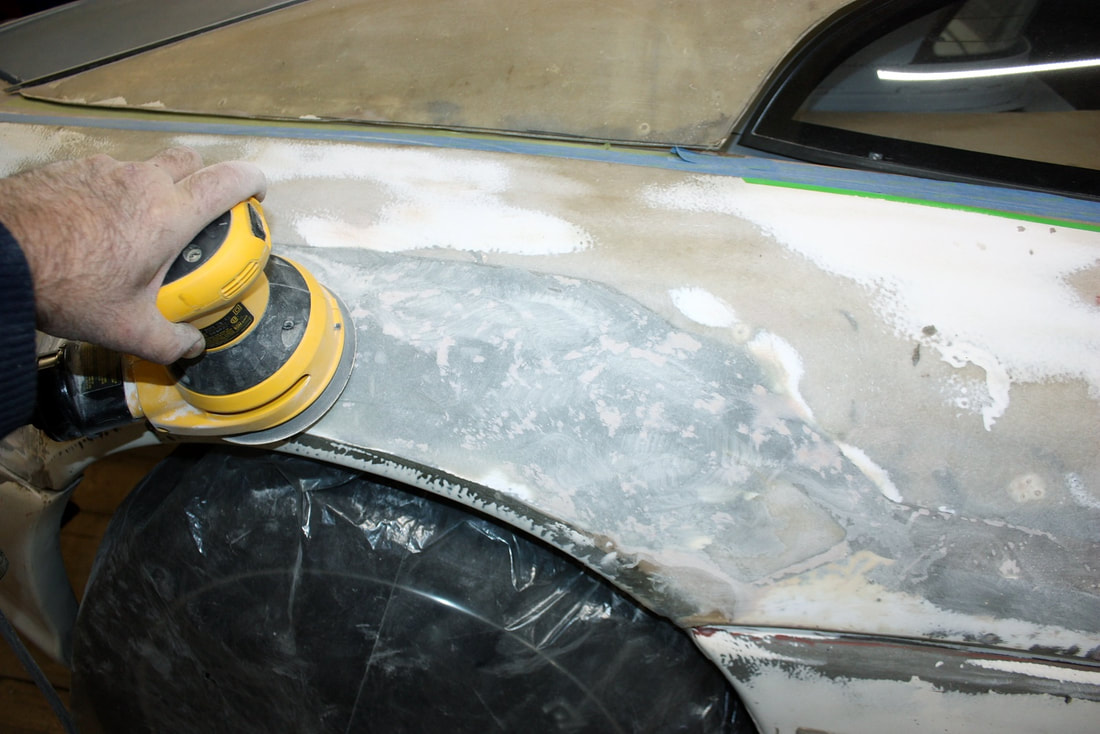
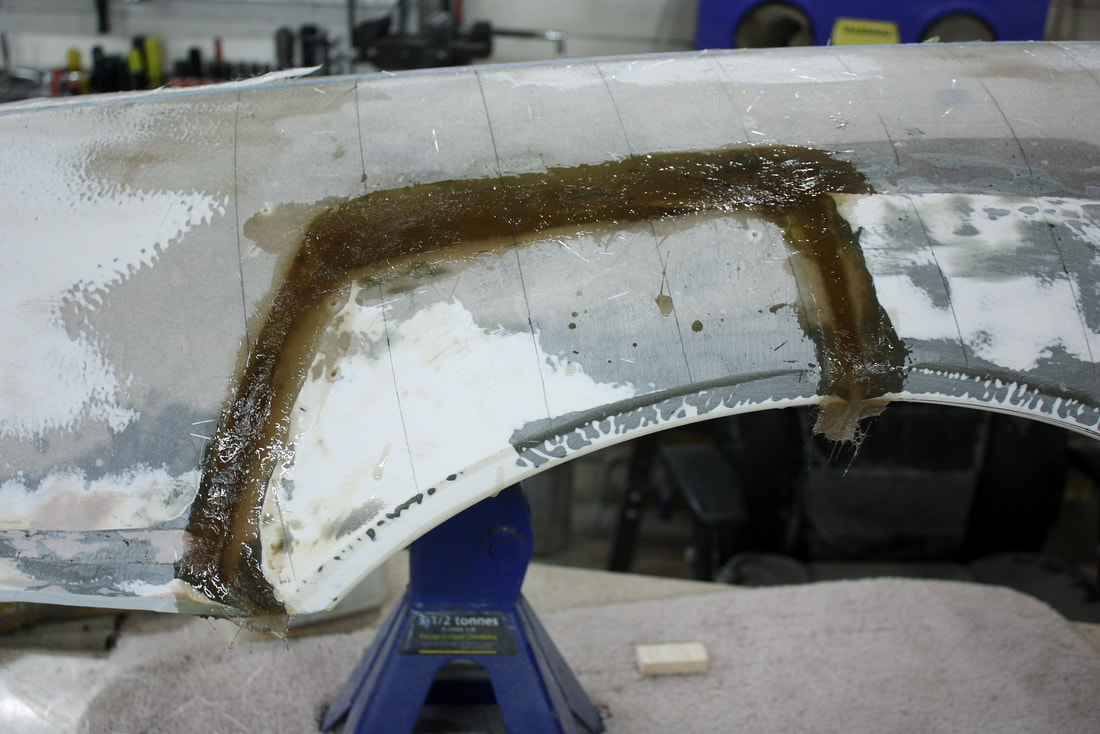
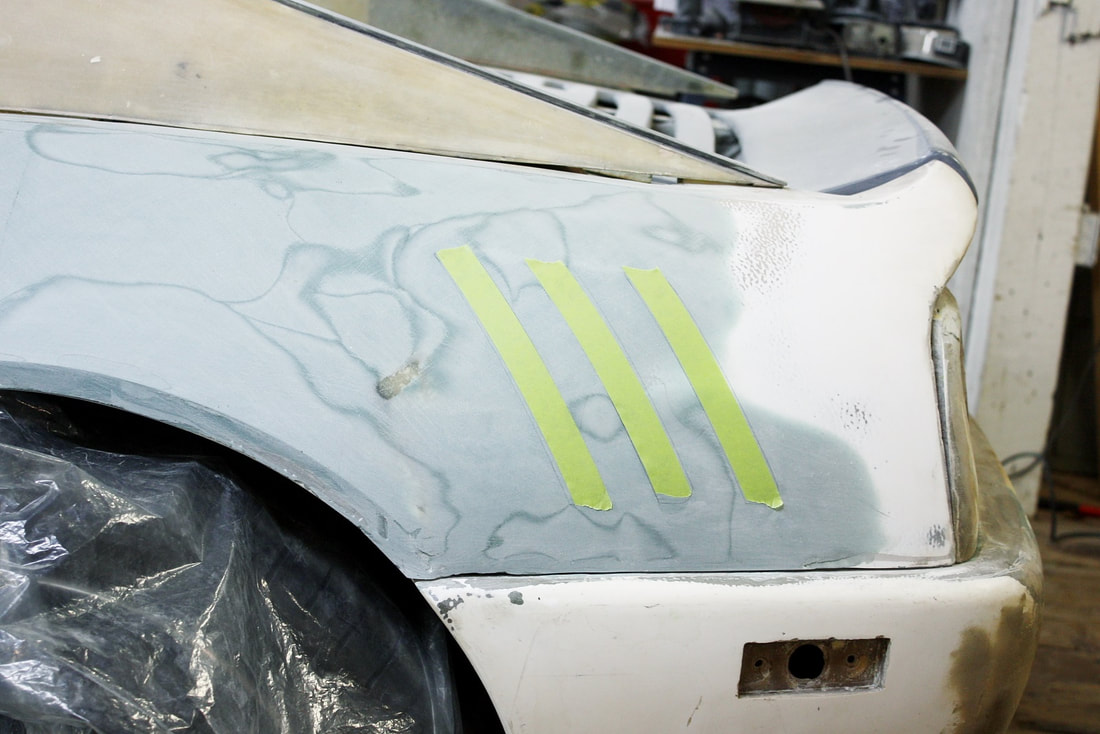
As good as it looked, there were still two problems. The blue masking tape outlines what the width of the top surface of the fender should have been. Notice how the tape is much narrower than the actual fender top:
As good as it looked, there were still two problems. The blue masking tape outlines what the width of the top surface of the fender should have been. Notice how the tape is much narrower than the actual fender top:
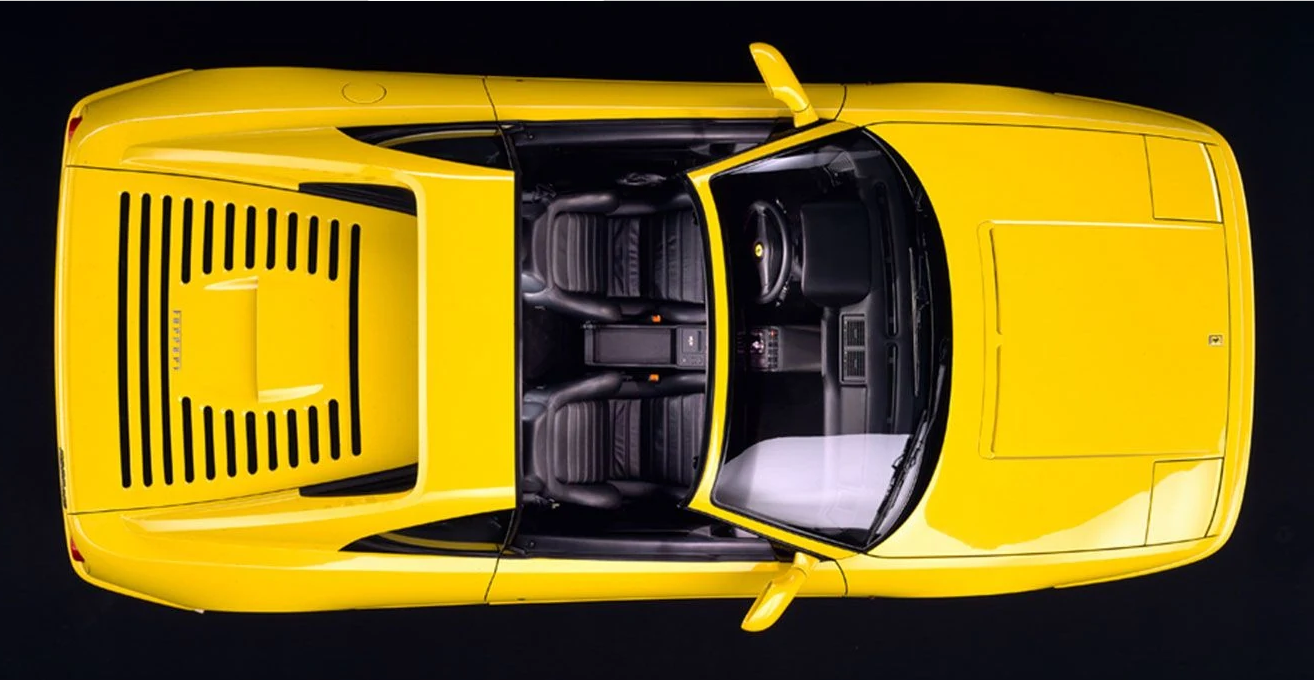
On the authentic car, that horizontal surface gracefully widens from front to rear along the entire length of the car as seen in this overhead photo:
On the authentic car, that horizontal surface gracefully widens from front to rear along the entire length of the car as seen in this overhead photo:
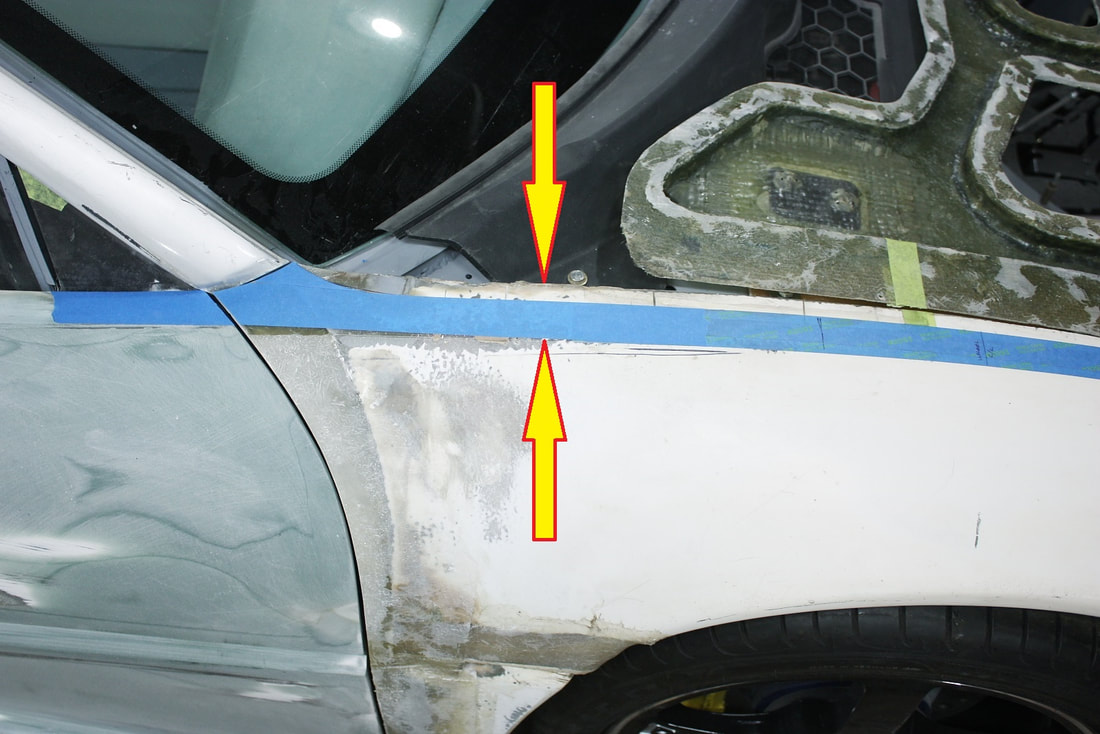
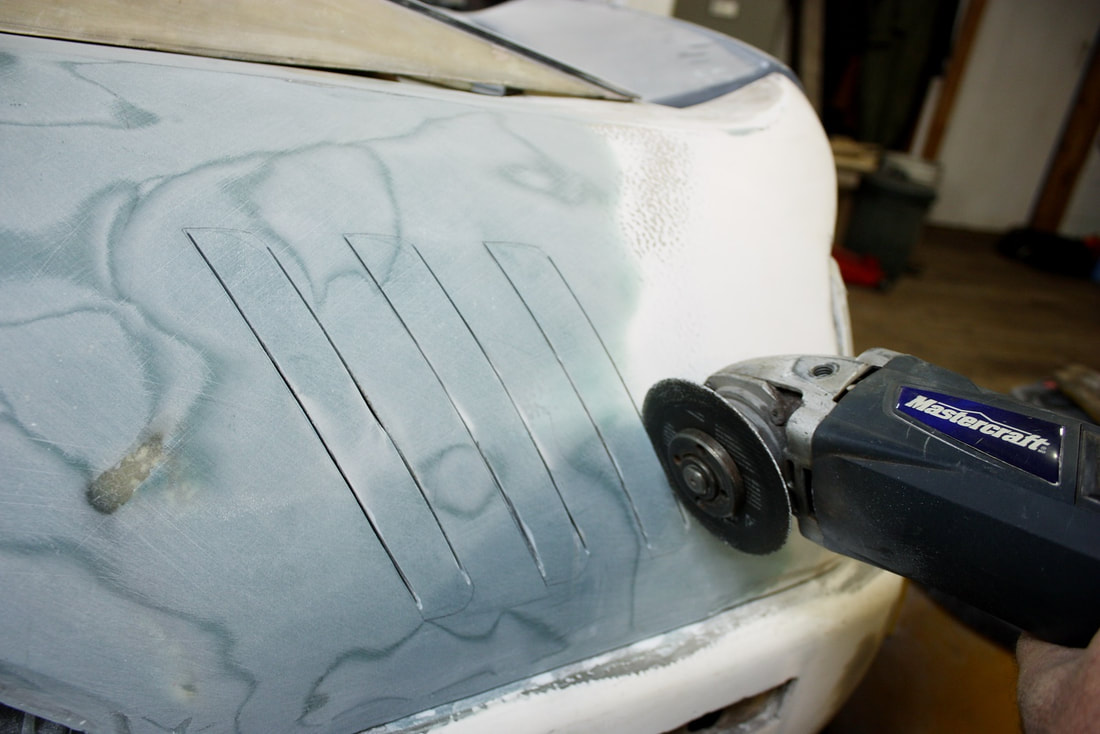
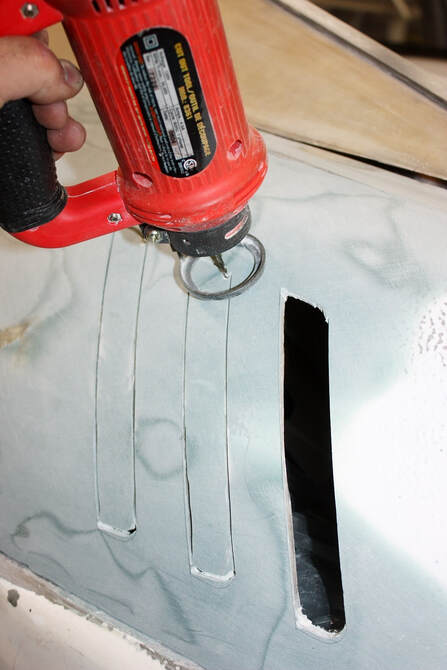
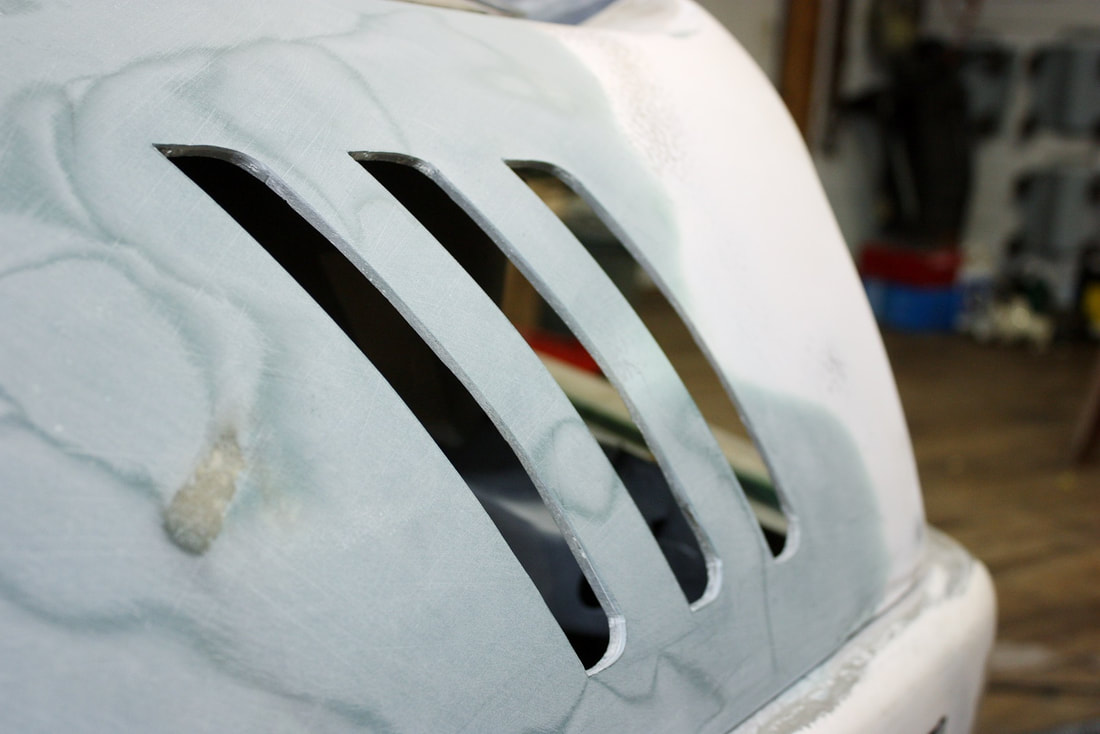
That wasn’t the case with the IFG fenders. It’s difficult to capture with the camera, but it was clear as day with the eye that something was amiss. I needed to narrow down that surface on the fender, and make the hood wider as a consequence:
That wasn’t the case with the IFG fenders. It’s difficult to capture with the camera, but it was clear as day with the eye that something was amiss. I needed to narrow down that surface on the fender, and make the hood wider as a consequence:

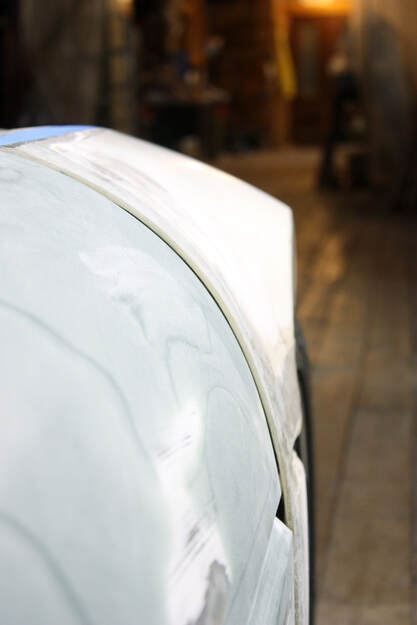
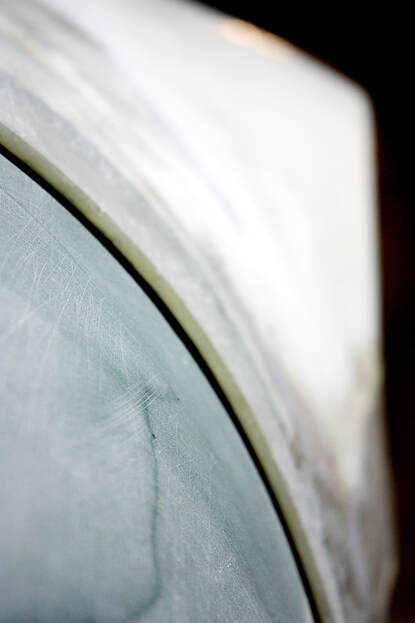
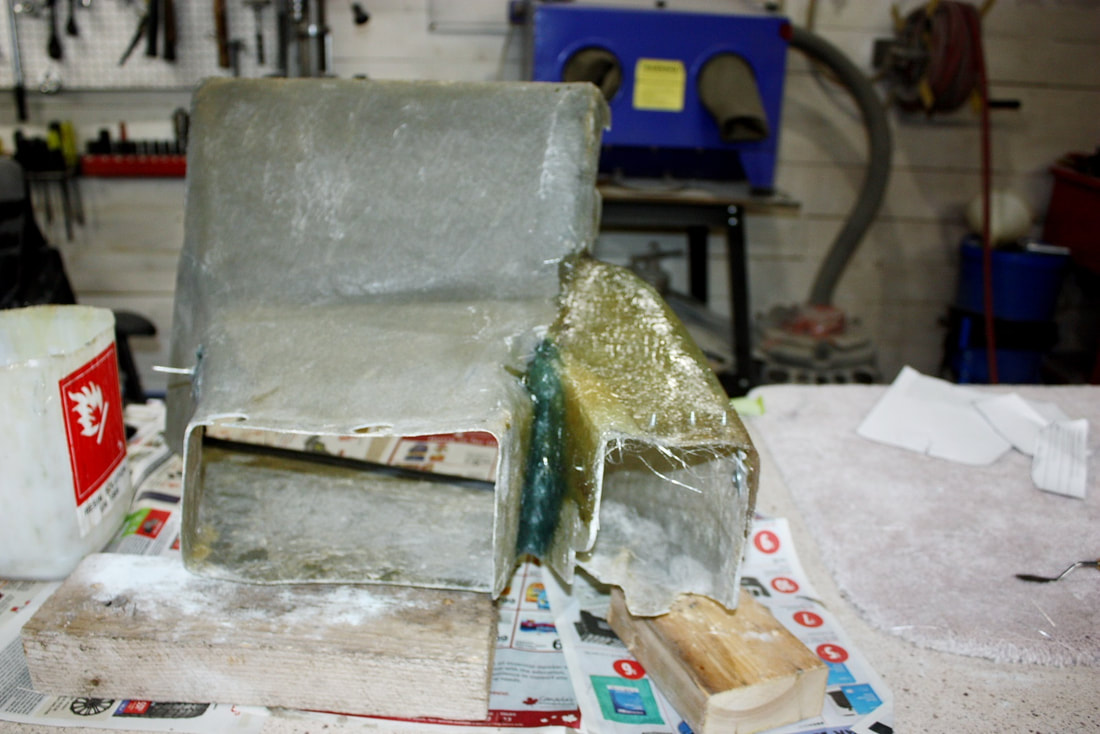
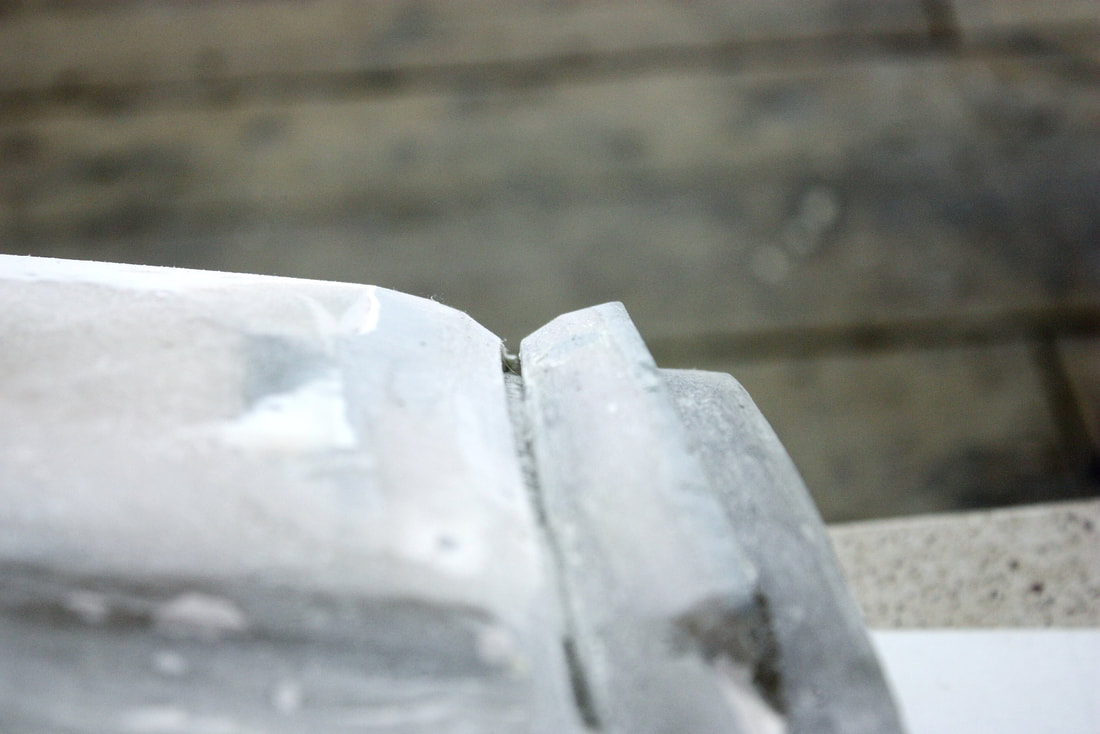
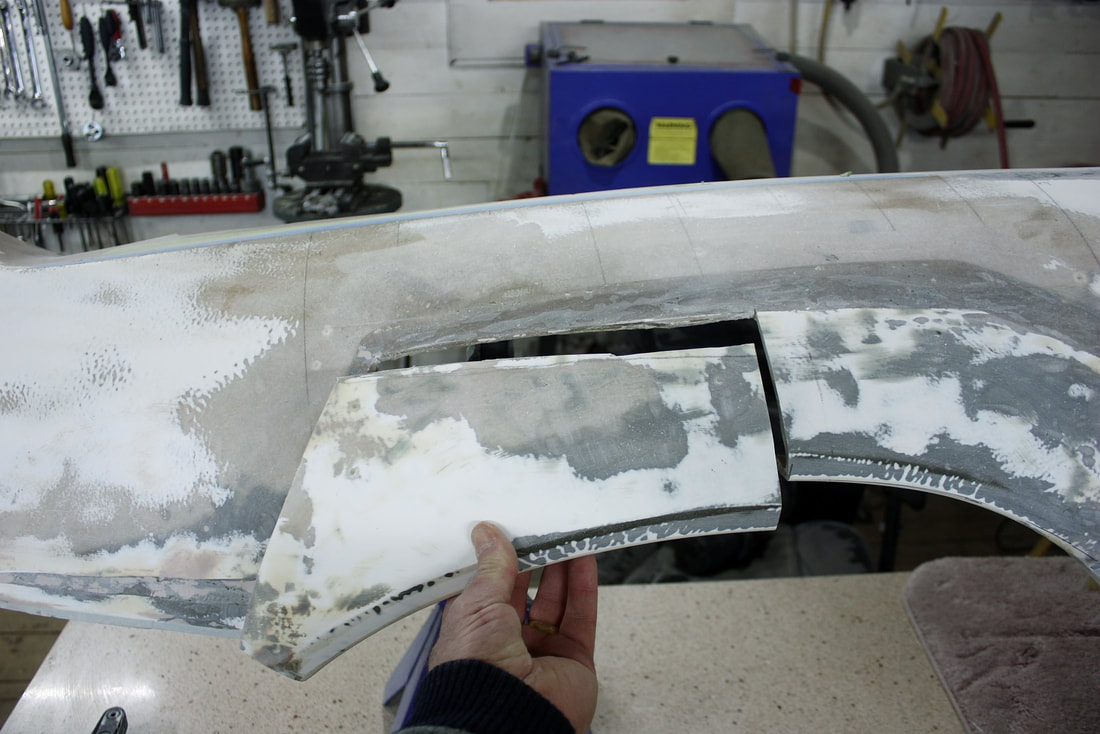
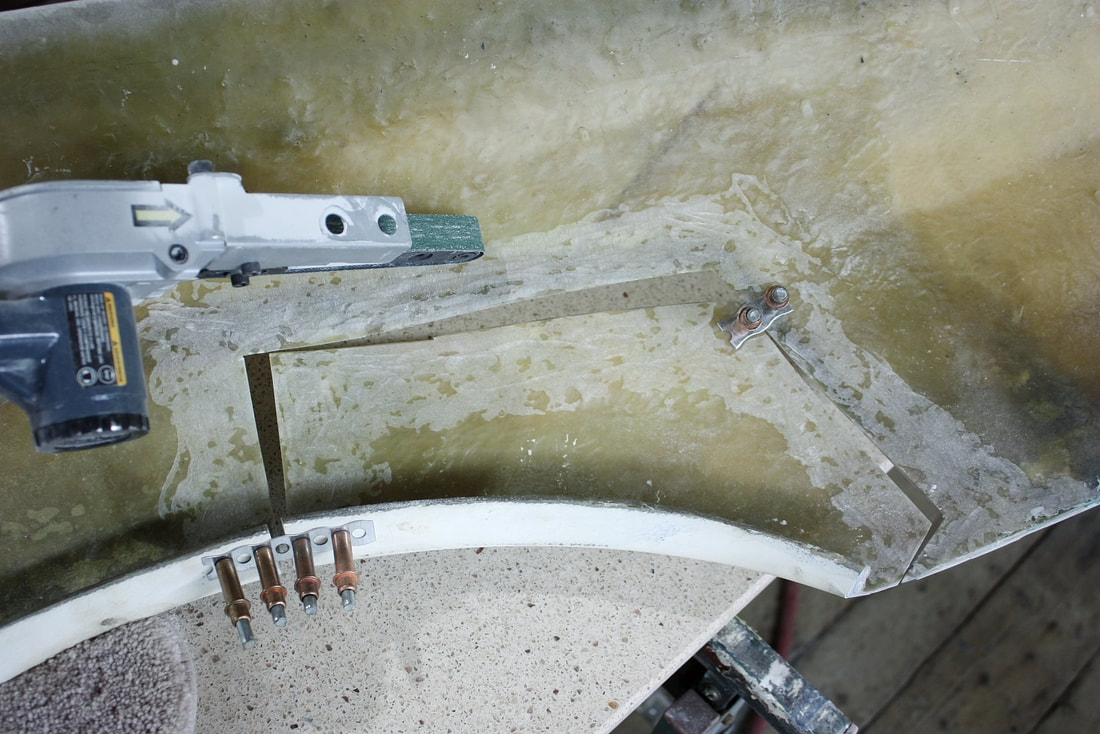
The second issue in this area was the side profile of the fender top surface. Far from having a nice smooth curvature from the door to the apex of the fender, this panel had all the graceful lines of a flat tire:

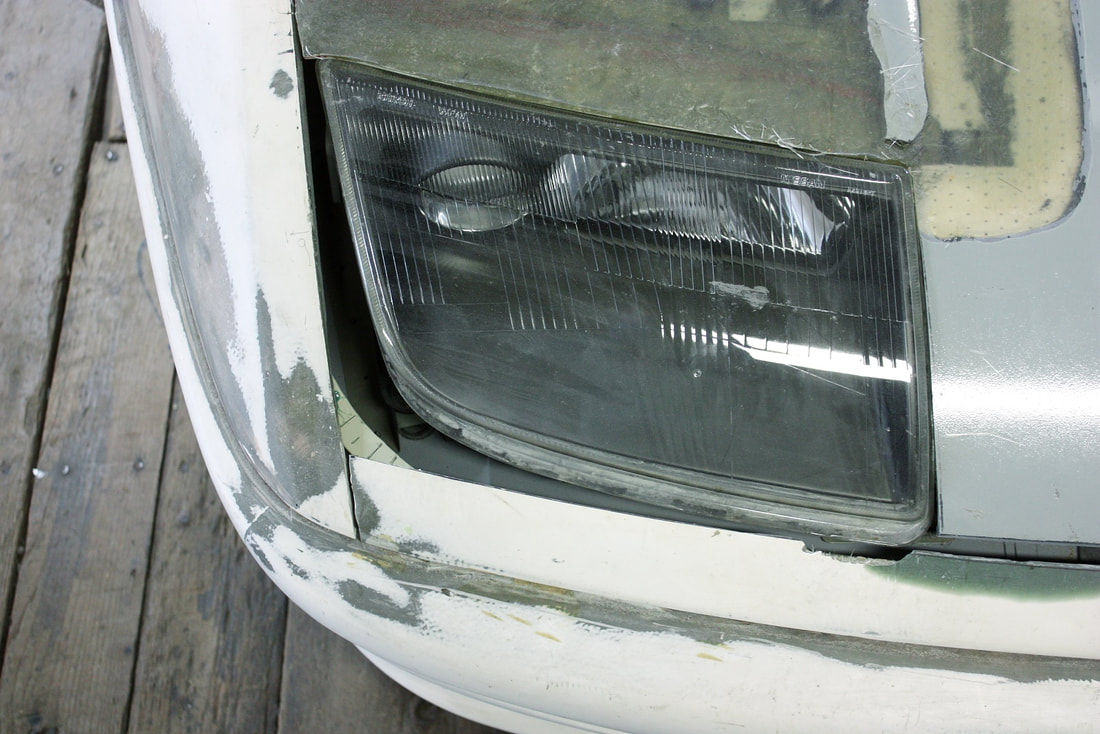
The last big problem area was headlight surround. Here’s what the OEM front end looks like in that area:
The last big problem area was headlight surround. Here’s what the OEM front end looks like in that area:

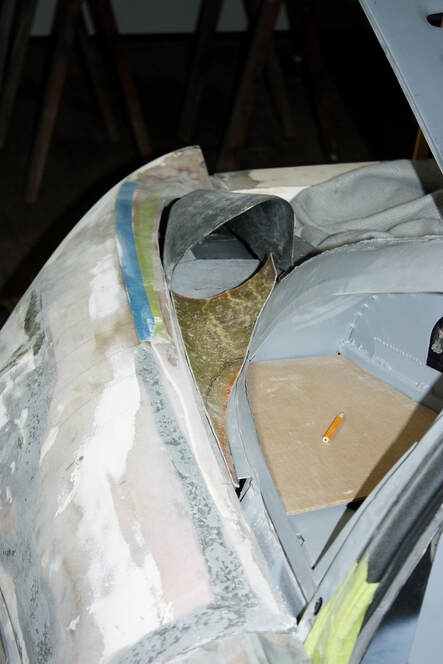
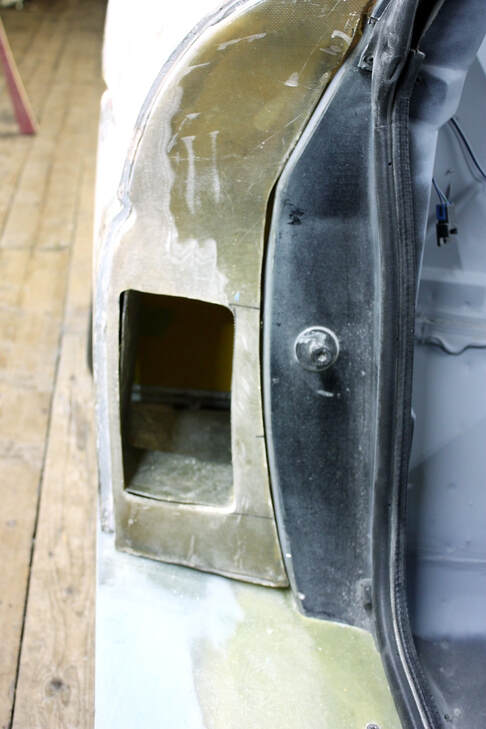
This problem was one of my own making. I decided in Post #125 to ditch the pop-up headlights and replace them with Nissan fixed lights instead. The 300ZX headlights have a different shape in the area next to the fender, so my fenders needed some mods to close the gaps:
This problem was one of my own making. I decided in Post #125 to ditch the pop-up headlights and replace them with Nissan fixed lights instead. The 300ZX headlights have a different shape in the area next to the fender, so my fenders needed some mods to close the gaps:
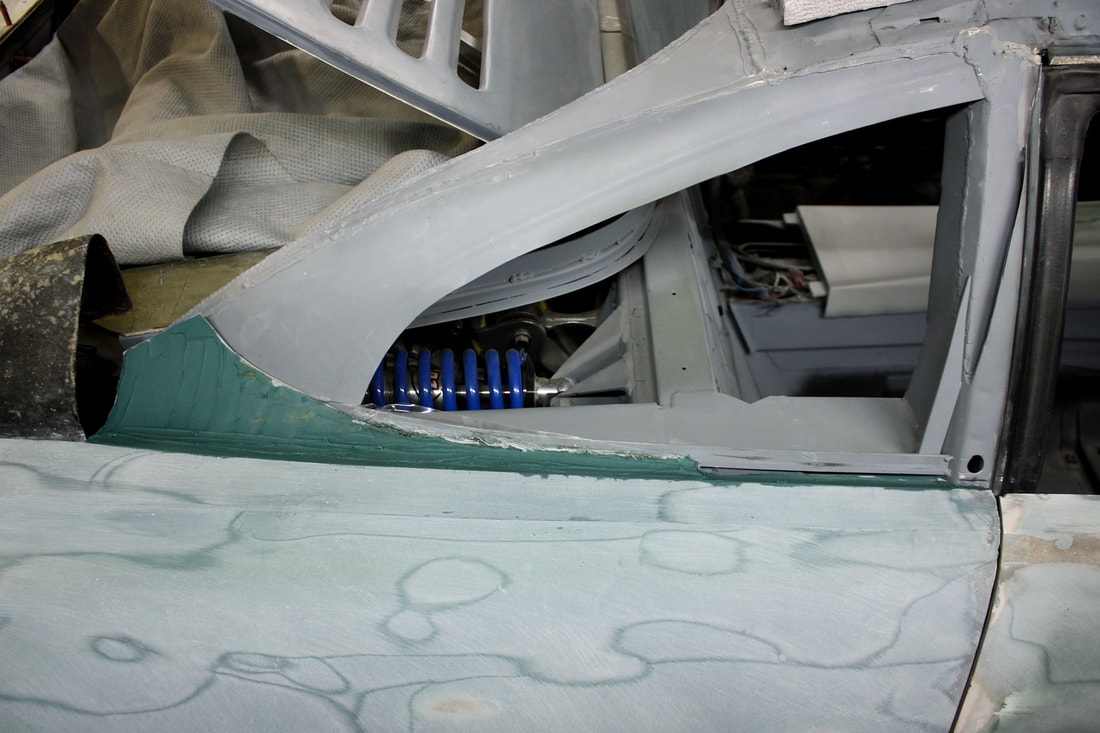
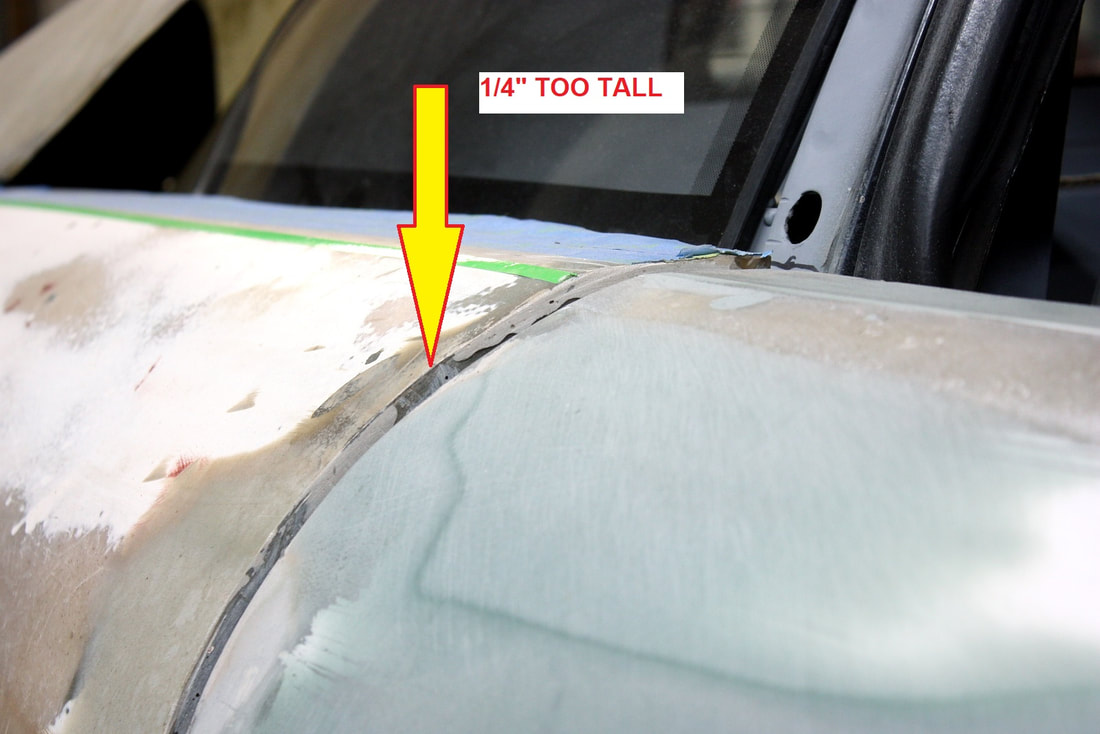
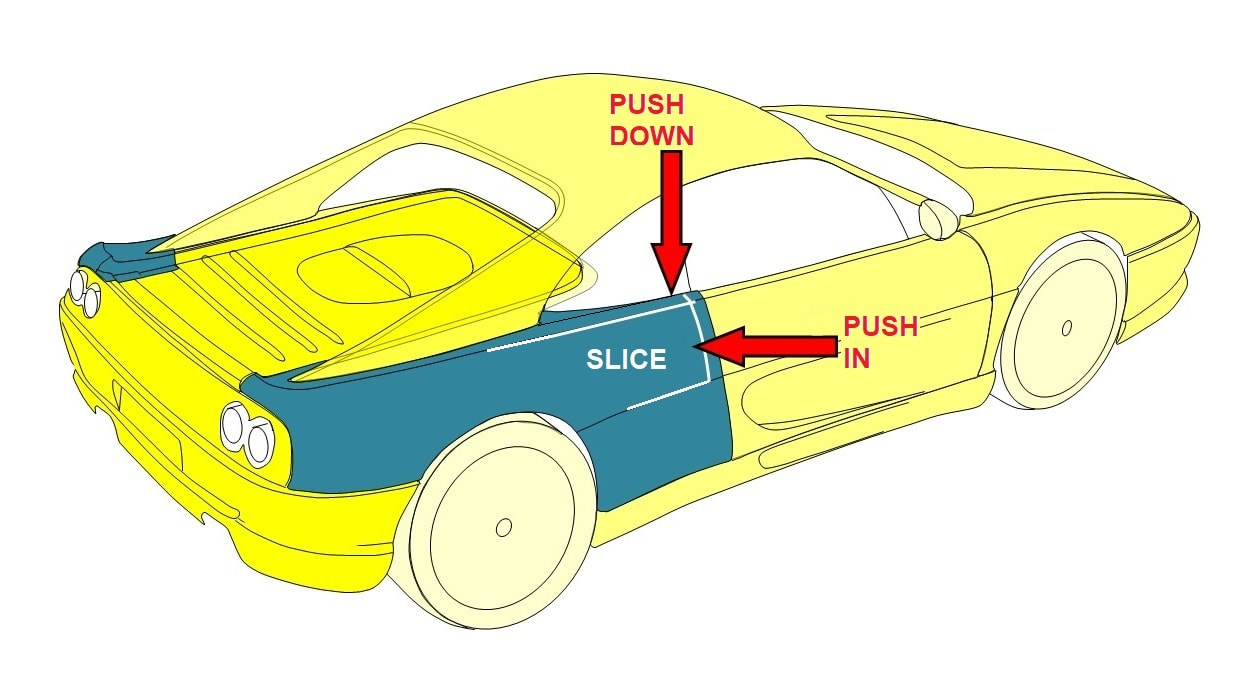
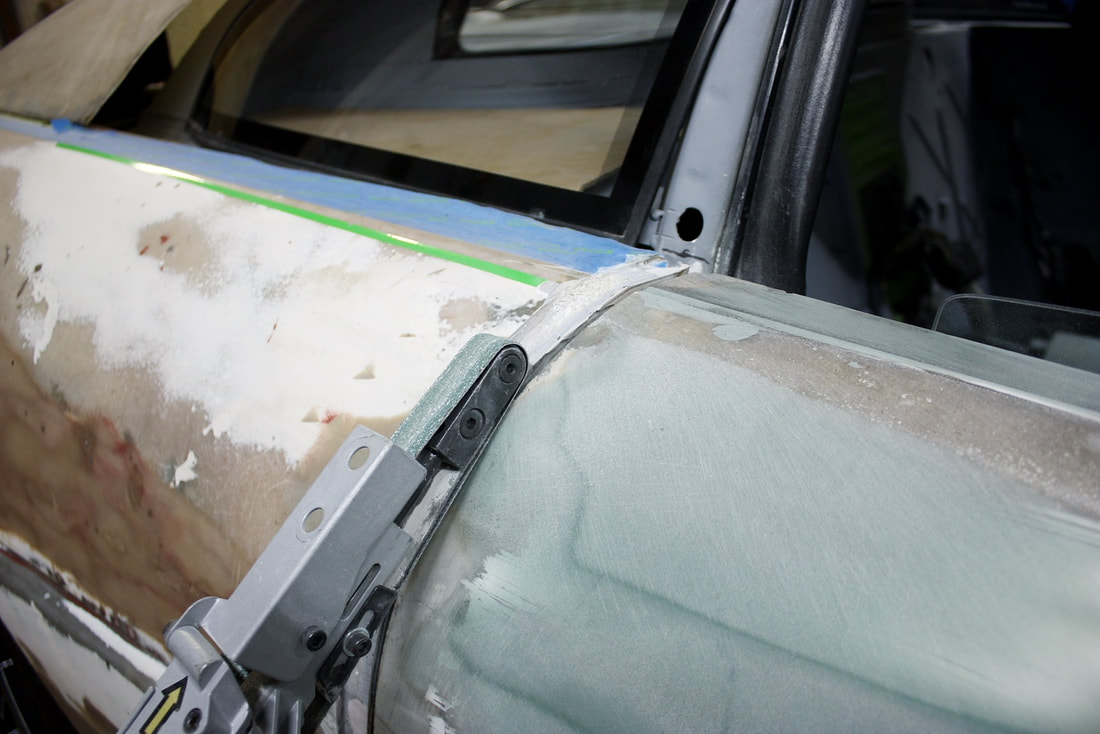
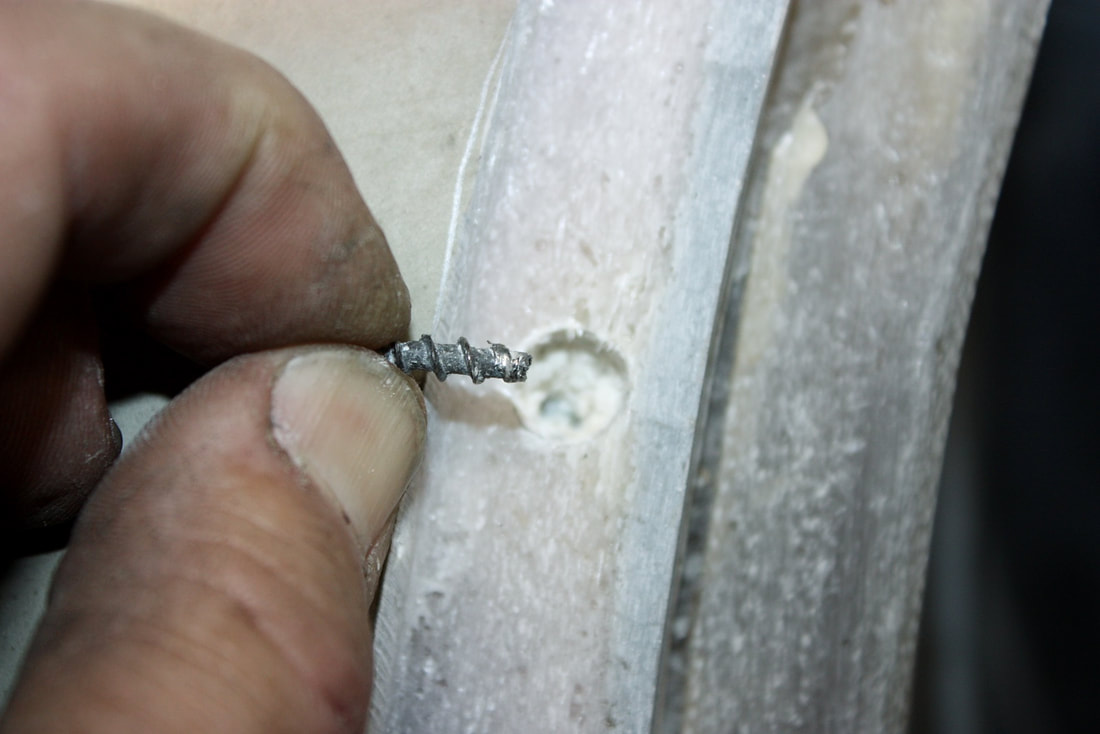
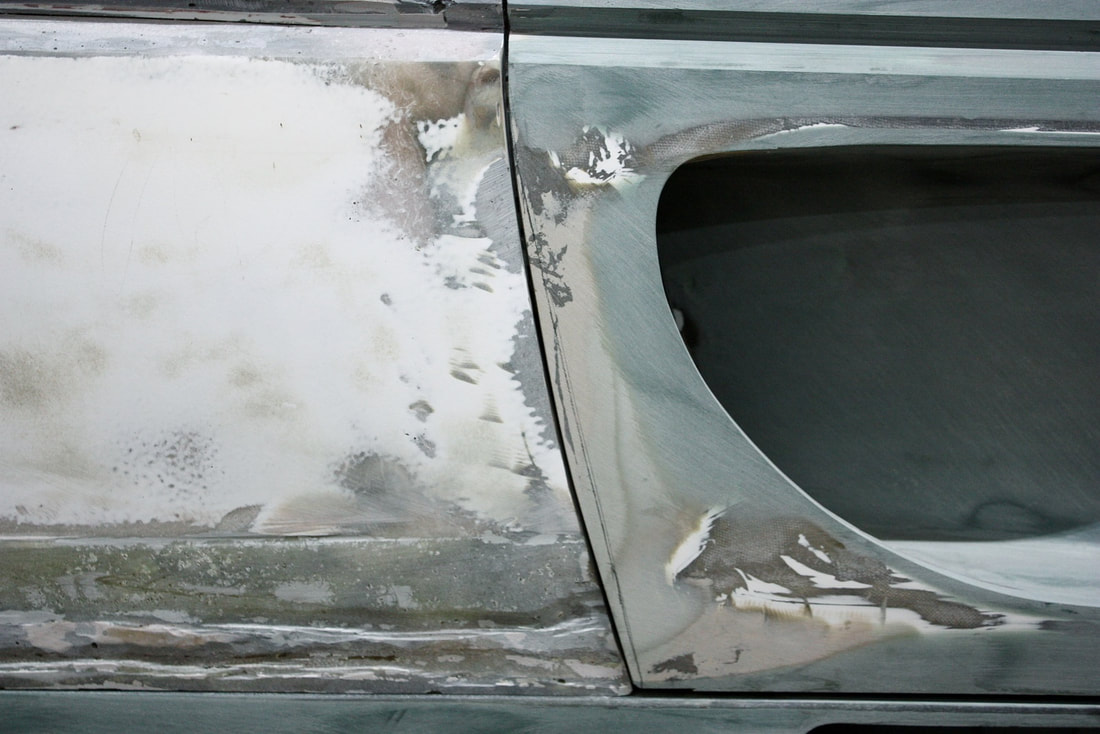
Finally, a minor misalignment existed in the height of the fender skin in relation to the door skin. The heavily curved upper half bowed an extra 1/8” further out than the door:
Finally, a minor misalignment existed in the height of the fender skin in relation to the door skin. The heavily curved upper half bowed an extra 1/8” further out than the door:
So there you have it… one small panel needing five major modifications and one minor adjustment. I’ll address these in my next post.
So there you have it… one small panel needing five major modifications and one minor adjustment. I’ll address these in my next post.


 RSS Feed
