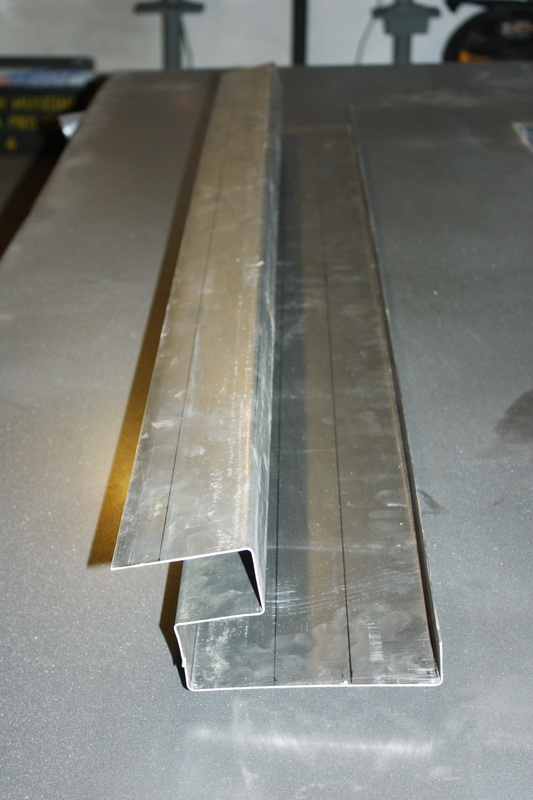
I booked some time at a friend's shop who happens to have an 8' metal box brake and a 40 ton hydraulic stamping machine among many other high powered metal shaping tools. It's good to have friends like Stan. I arrived after having cut and marked up a 17.5" x 58" rectangular piece of 16 gauge steel at home. We loaded the sheet metal into the metal brake and made 5 of the 8 necessary bends before literally boxing ourselves into a corner. No matter how we tried, the last three bends couldn't be made in the brake because of interference between areas we'd previously bent, and the tool. Here's what it looked like with three remaining bends to do:
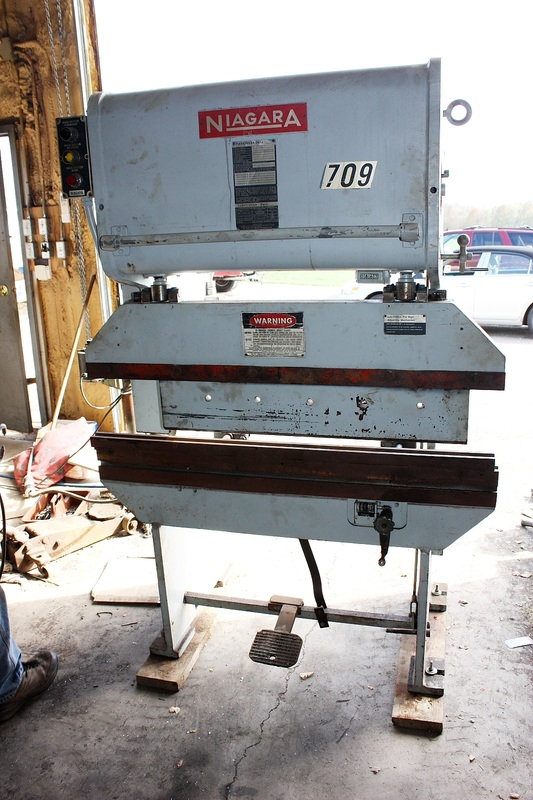
So, on to Plan B. Stan plugged in his metal stamping press, installed the dies for folding sheet metal, and told me to keep my fingers clear. Here's the press:
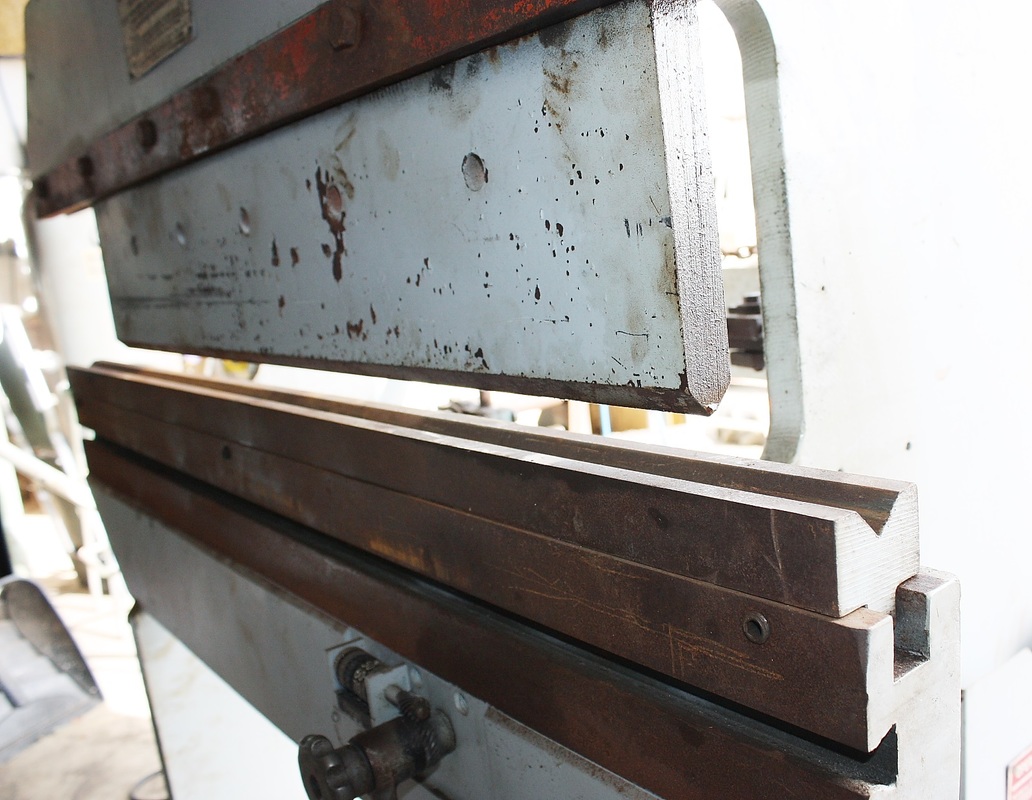
And here's a close up of the 90 degree stamping die:
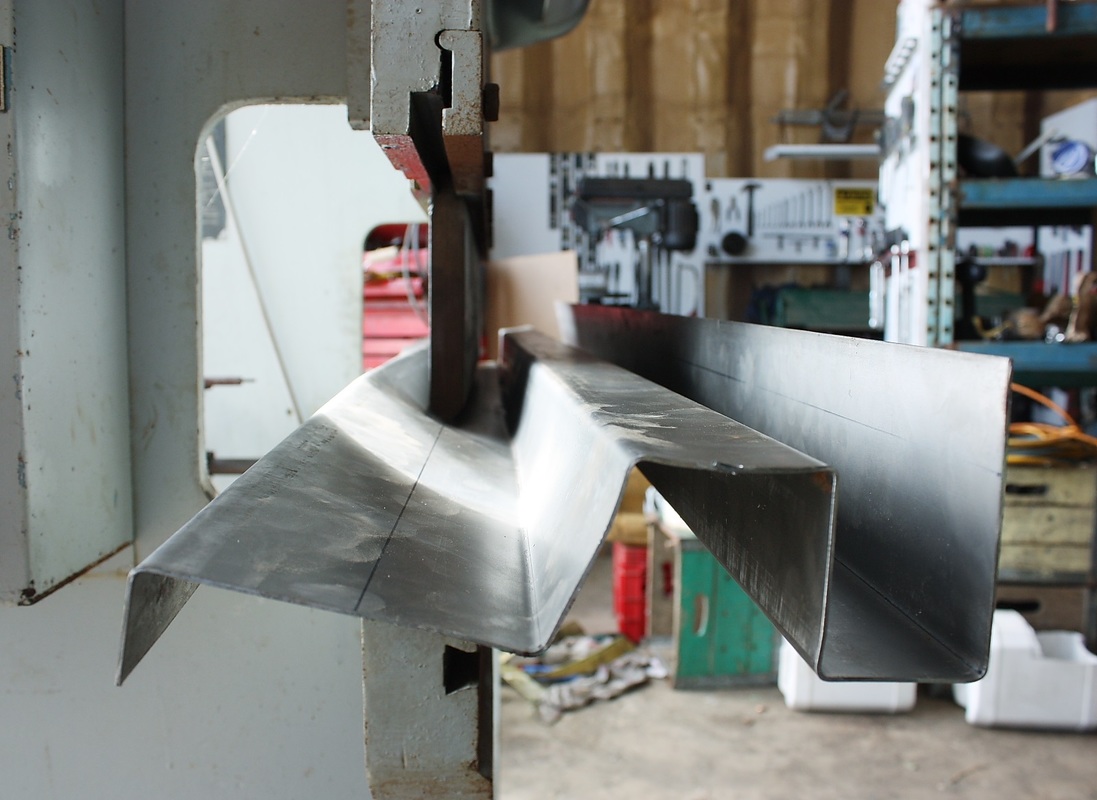
The bumper is 58" long but the stamping die was only 36" long, so I had to stamp each crease twice to get the full length. I thought that I'd be able to minimize the distortion caused by this two step process by creasing the metal to say, only 20 degrees initially, then repositioning to do the same to the remaining length. Then I'd repeat the process by bending to 40 degrees and so on until I reached 90.
It seems the machine had other ideas since the foot pedal was essentially an ON/OFF switch causing the anvil to complete an entire down/up motion bending the metal a full 90 degrees in one fell swoop. Here it is in action, twisting and contorting the metal until the second punch was done:
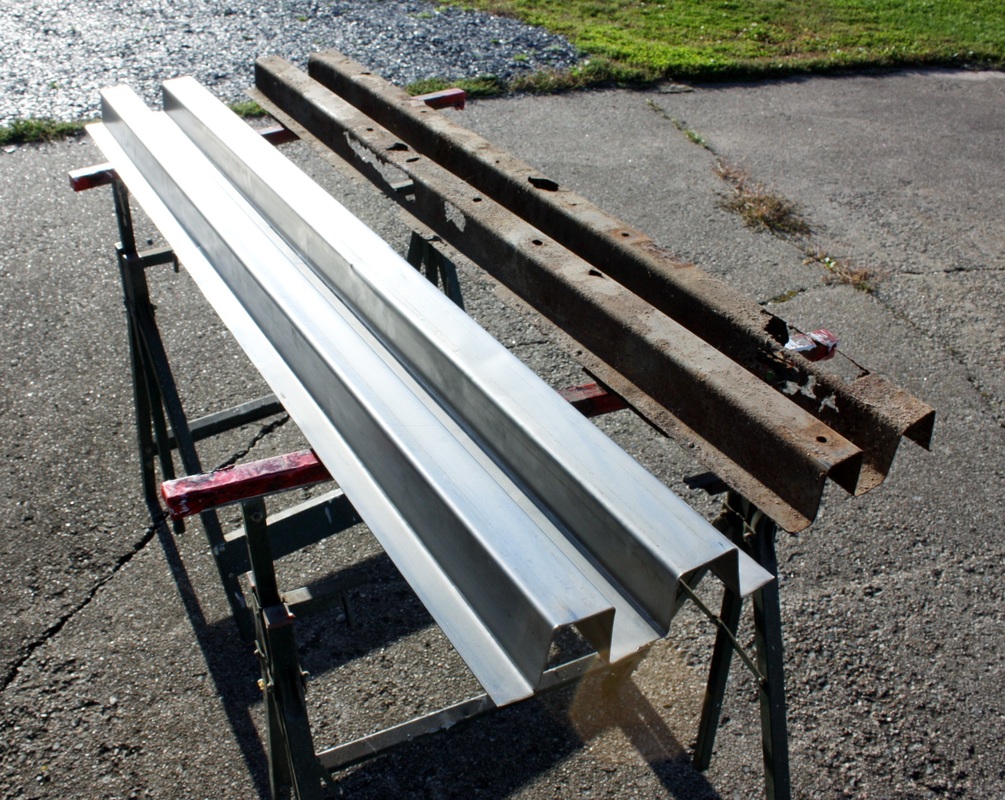
Luckily, after bending the last 22" of each crease there was virtually no distortion. Before the second half of each crease was pressed it looked like a disaster though! Having lines on both sides of the sheet metal helped tremendously in keeping the part aligned before hitting the "GO" pedal. Here's the end result compared to the rusted old bumper bar from my '85 parts car:
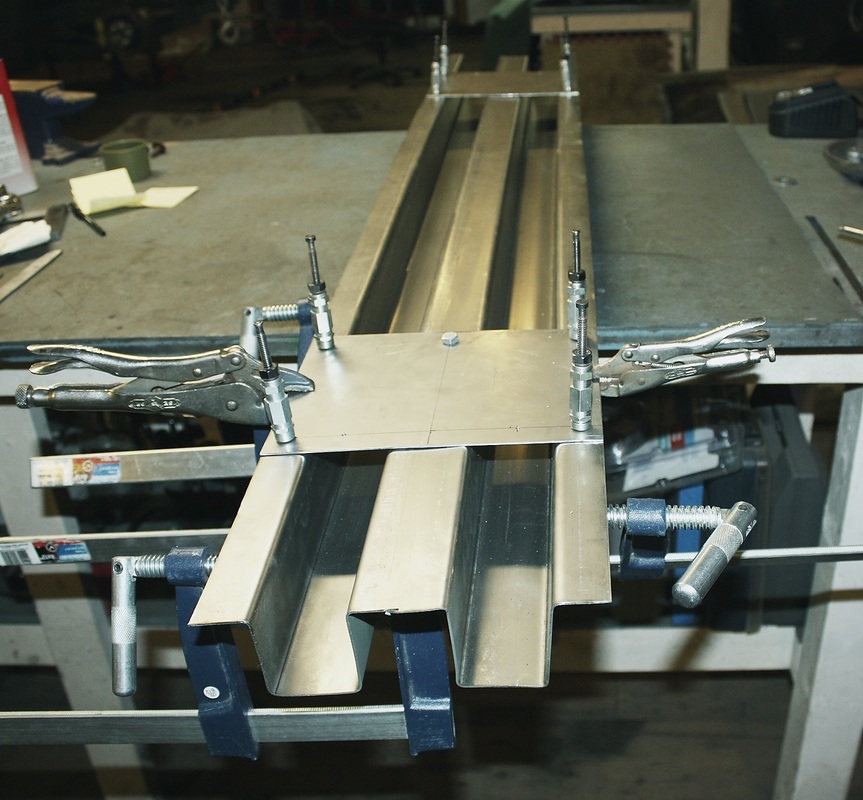
The next step was fabricating the mounting plates that get welded to the bumper bar. I used 16 gauge sheet steel for these as well and held them in place temporarily with Cleco fasteners, which are like temporary rivets:
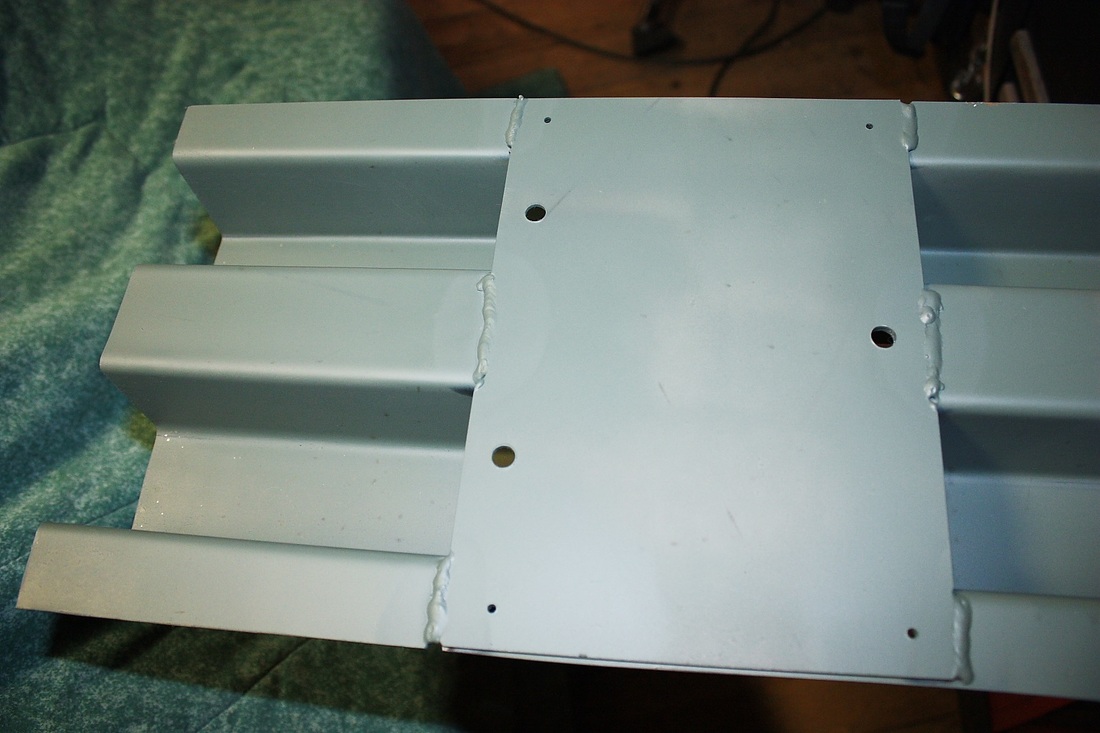
Once I was happy with the mounting plates, I welded them to the bumper bar, drilled the mounting holes, and primed the whole thing:
Then I Installed the bumper bar onto the newly recessed lower frame horns:
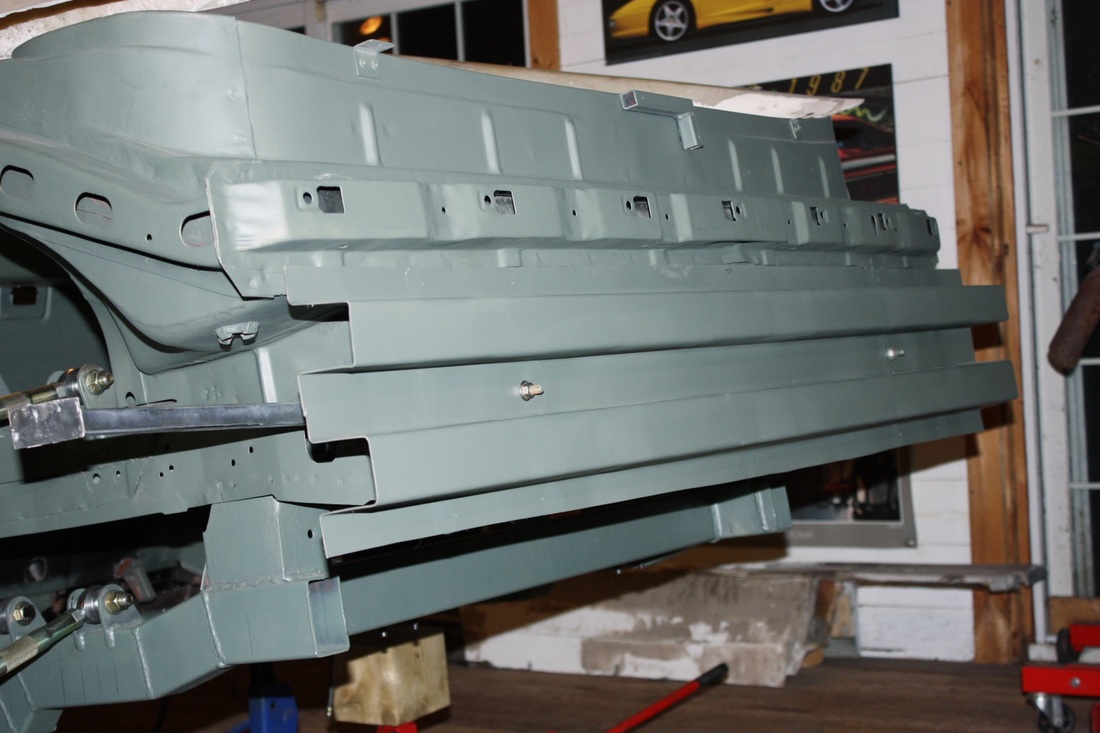
It looks stock except to the exceptionally well-trained eye:
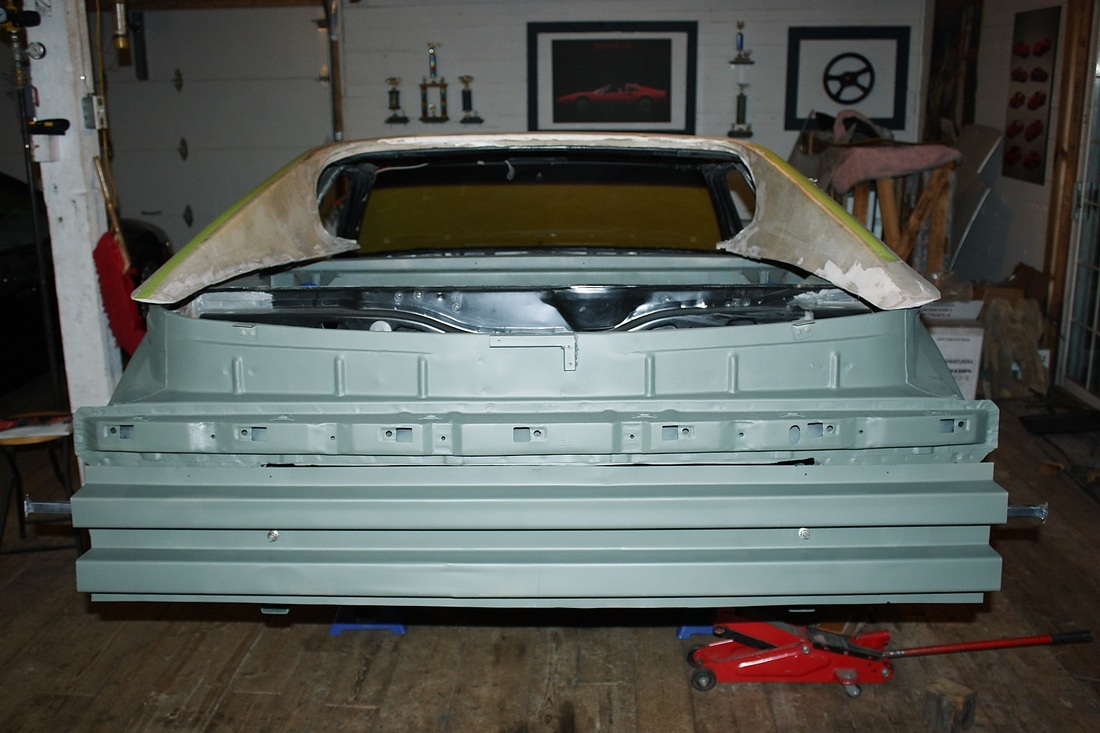
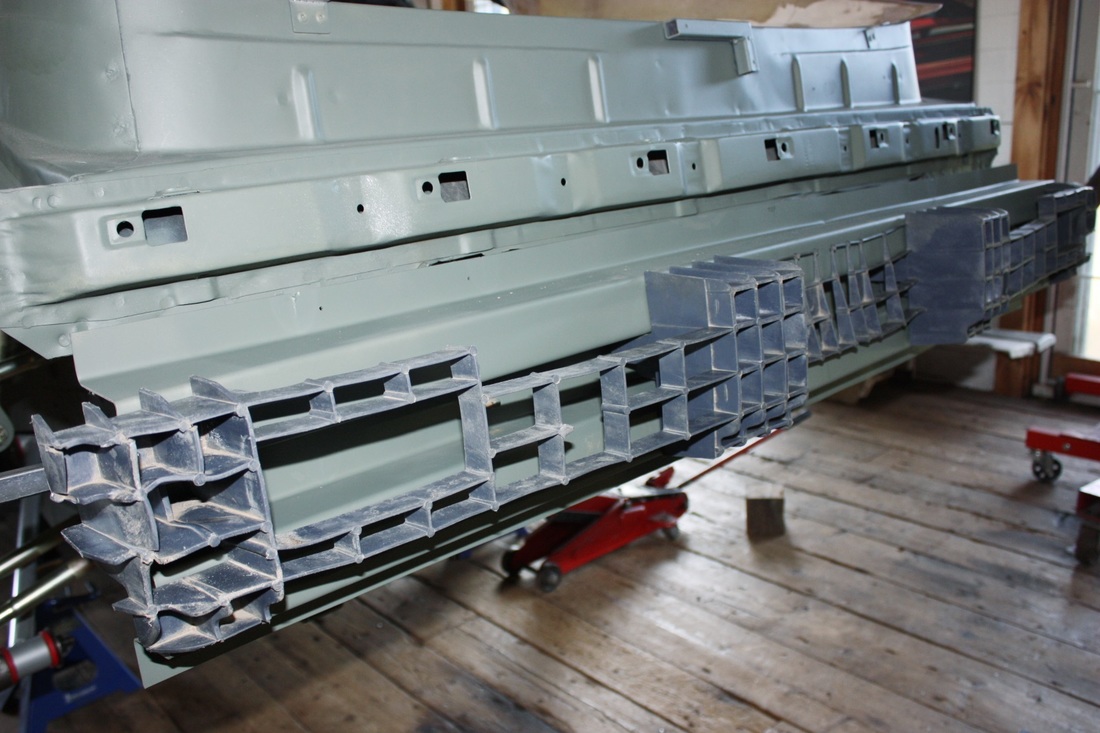
If you recall from Post #66, I needed not only to fabricate and recess the bumper bar, but also to trim back the stock honeycomb to fit properly under the F355 rear fascia. Here's what the stock material looked like:
I created a template for the amount needed to be trimmed by using my computer drawings and marked up the honeycomb. At first I was sure the easiest way to carve the honeycomb was going to be by using a carbide burr in my die grinder like so:
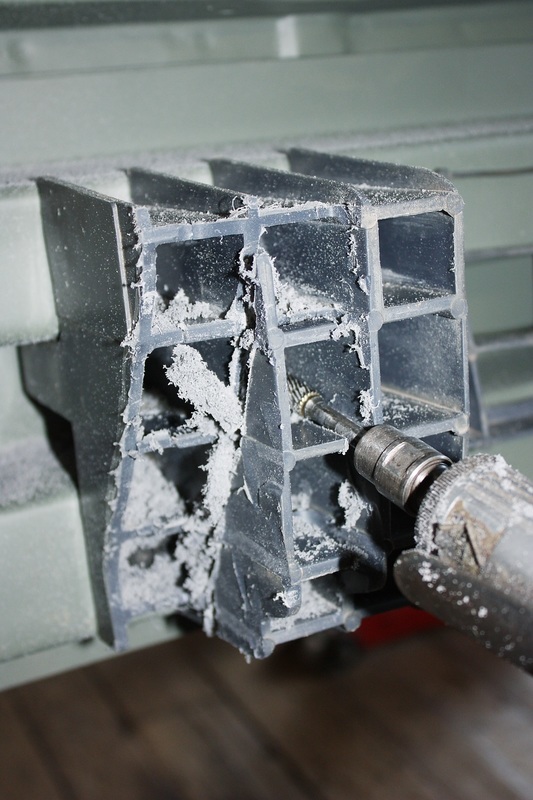
It was easy, and fun to do because I'm used to trying to carve aluminum with that bit, which is much harder! I found that I couldn't get a nice finish on the cut edge so I looked around for a better method. That's when I spotted the band saw.
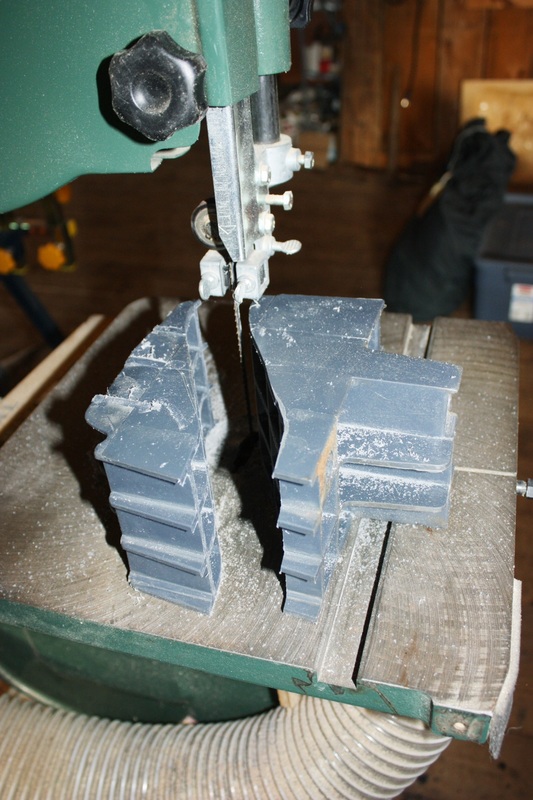
It was so much faster and cleaner, that I did all of the remaining cuts with it. Here's a close up of the centre honeycomb blocks after they'd been cut with the band saw:
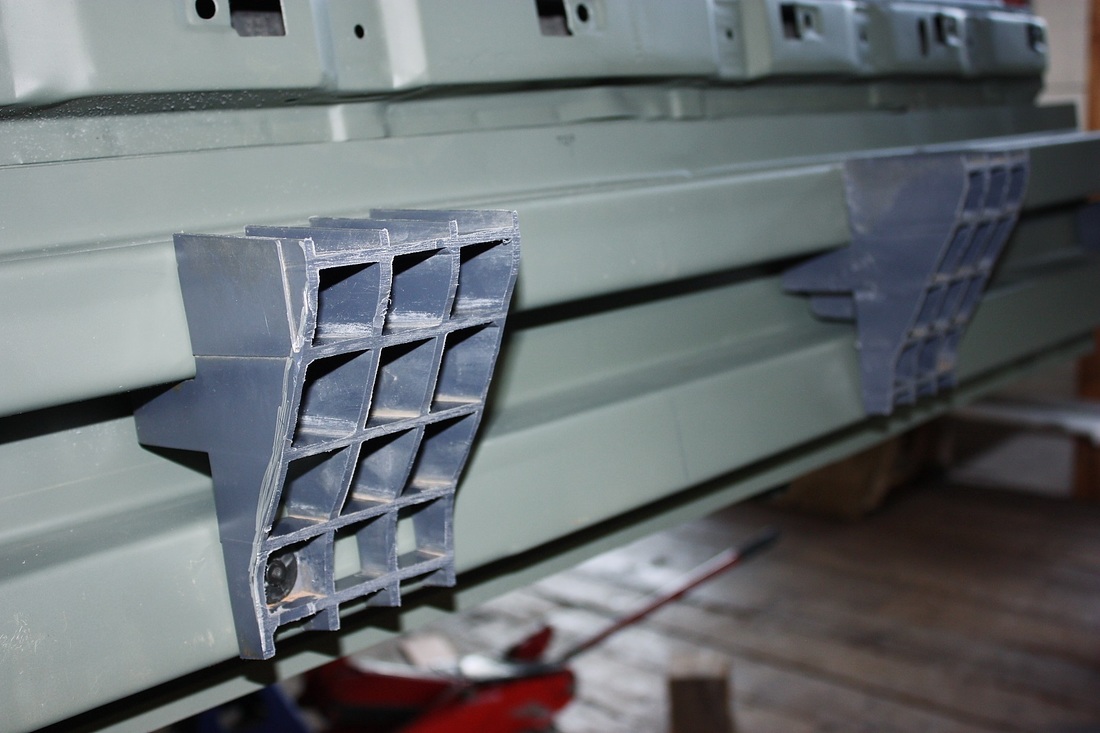
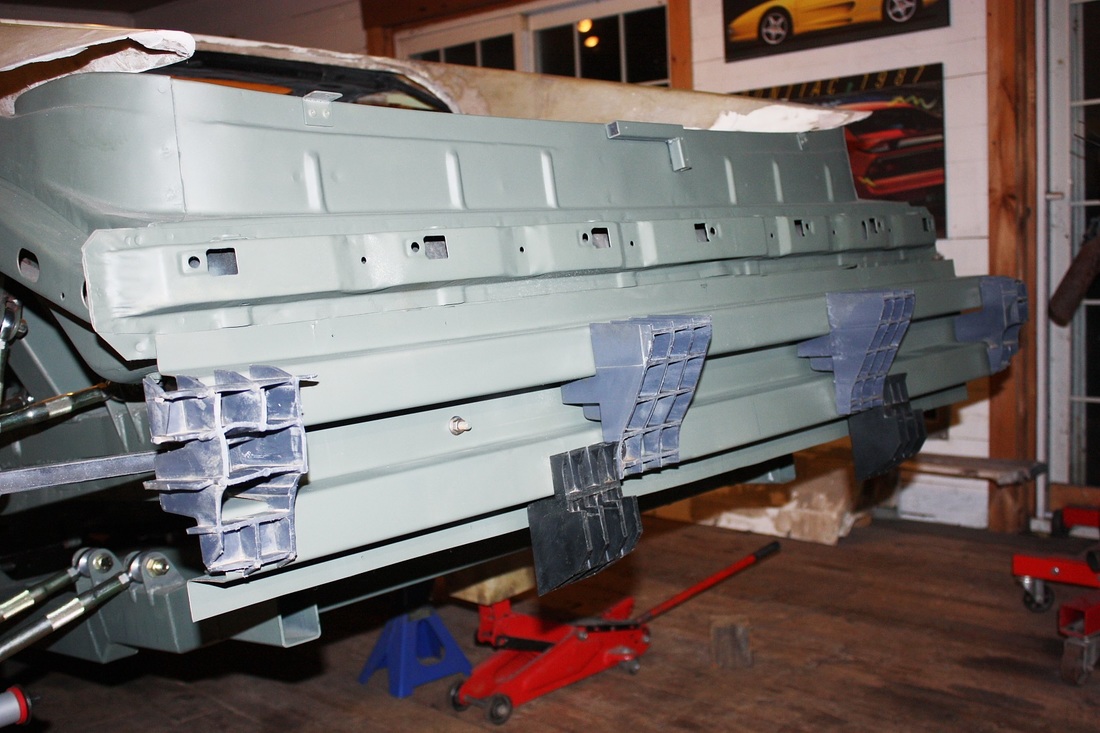
And here are the six finished blocks reinstalled on the bumper bar. I got rid of the webbing between the blocks since it doesn't contribute anything to the crashworthiness, and it got in the way. I believe the webbing was there only as a convenient way to hold all the pieces together on the original assembly line:

 RSS Feed
