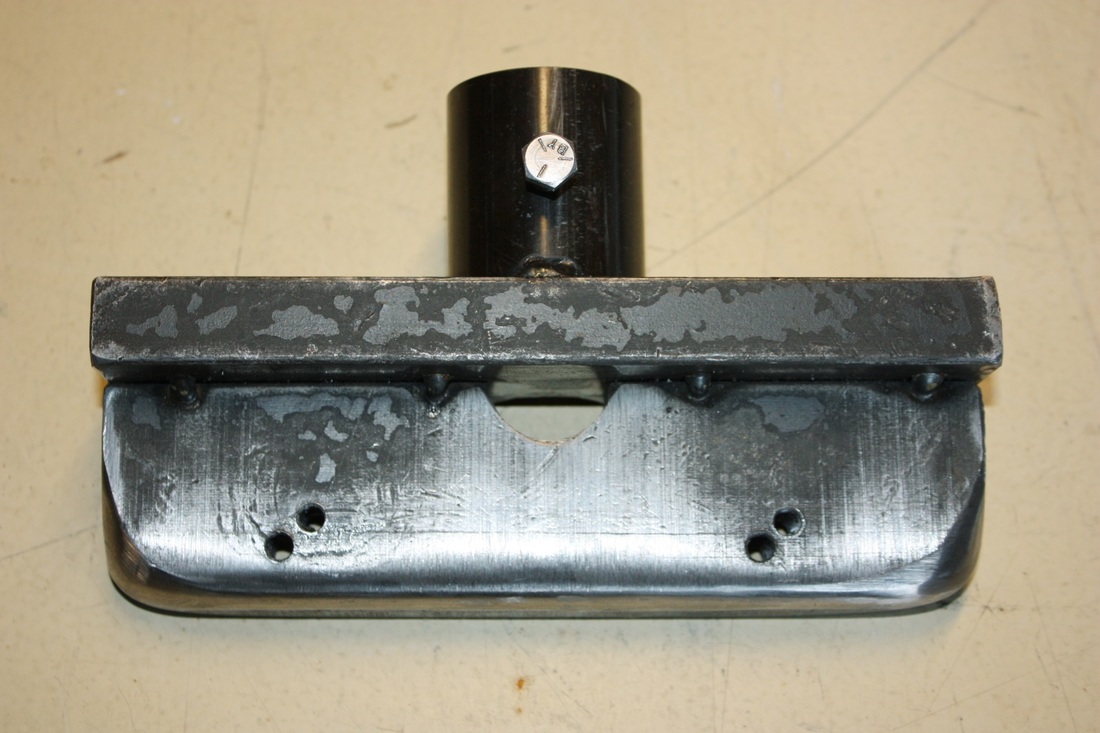
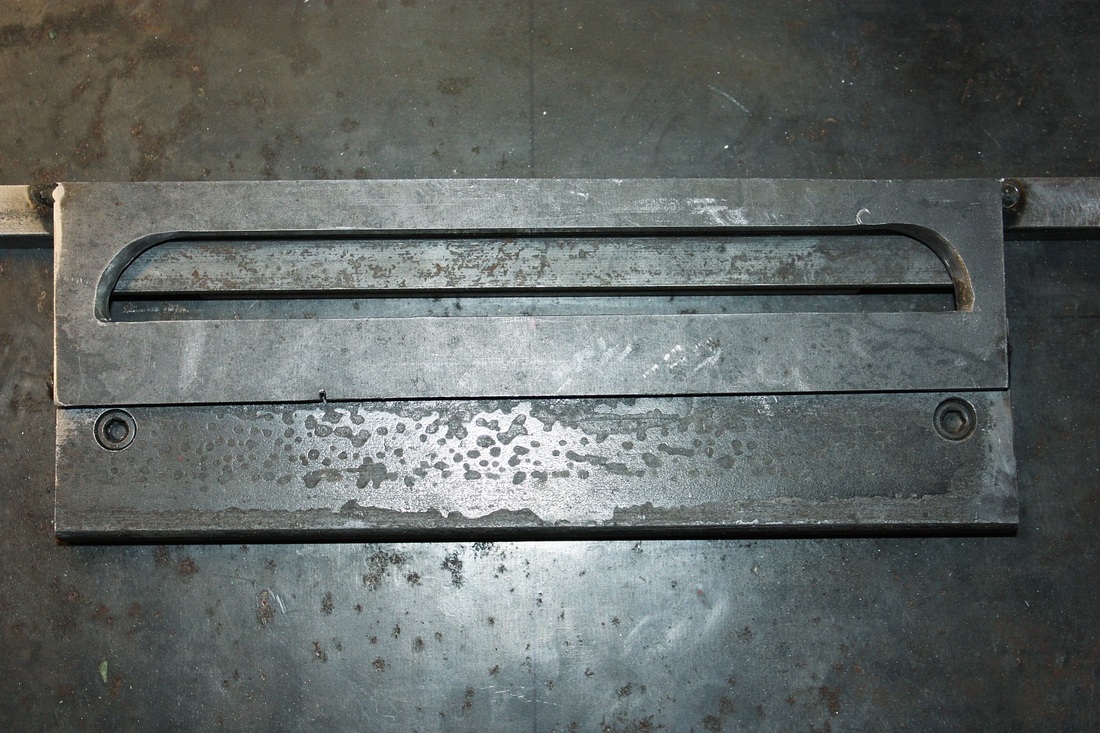
When I began fabricating the louver die set, I had a vague idea that my smallish 12 ton hydraulic press wasn't going to be wide enough to thread my wheel well liners between the uprights. The little voice in my head was right... there was no way to bend or otherwise cram the 22" wide liners through the 16" press bed.
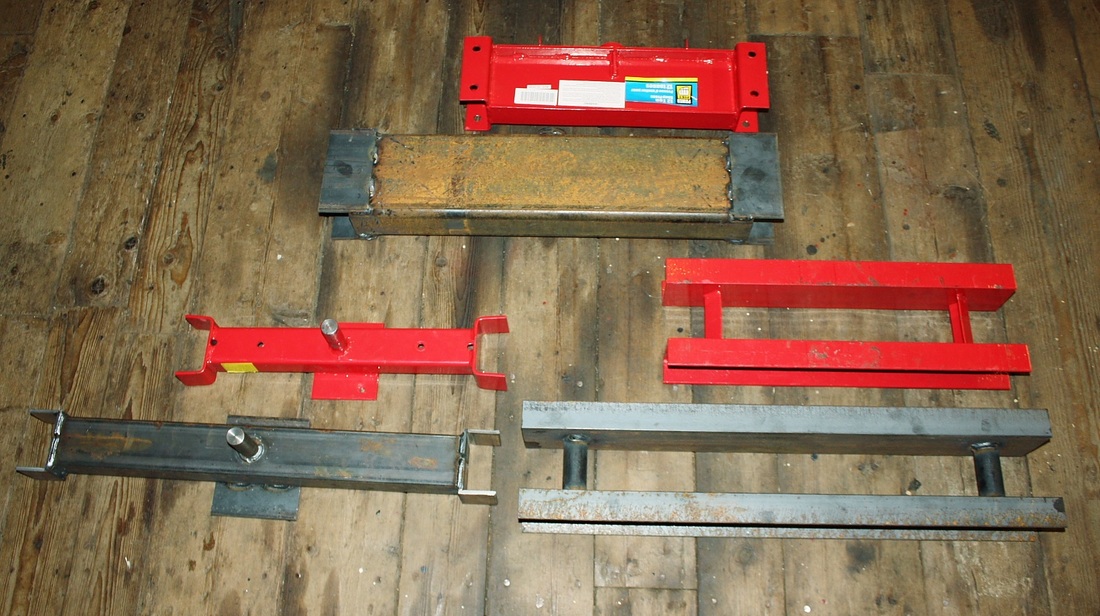
I scoured the local villages for a garage that would let me use their larger hydraulic presses but they were either monster 80+ ton presses that couldn't be finessed within a half inch of travel, or insurance issues prevented me from using them. So I modified my own. The red pieces are obviously the original parts and the bare steel parts are duplicates with 8" added to their lengths:
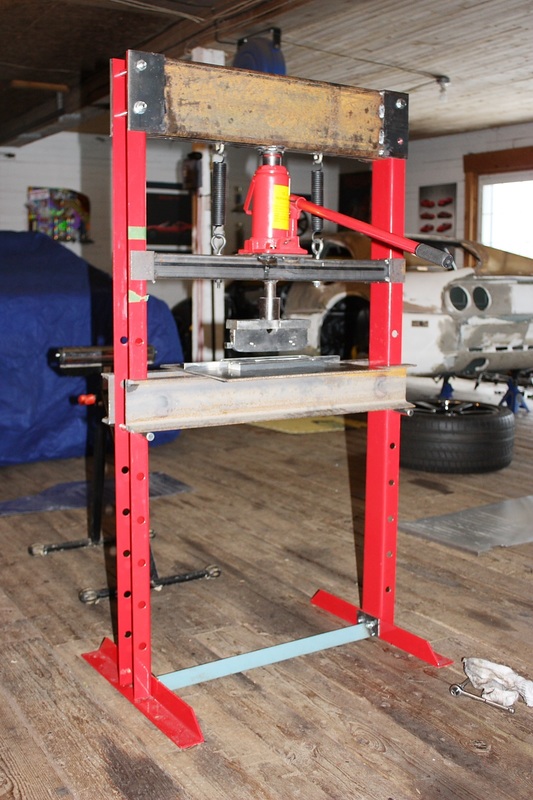
Here's Frankenstein assembled and ready for action:
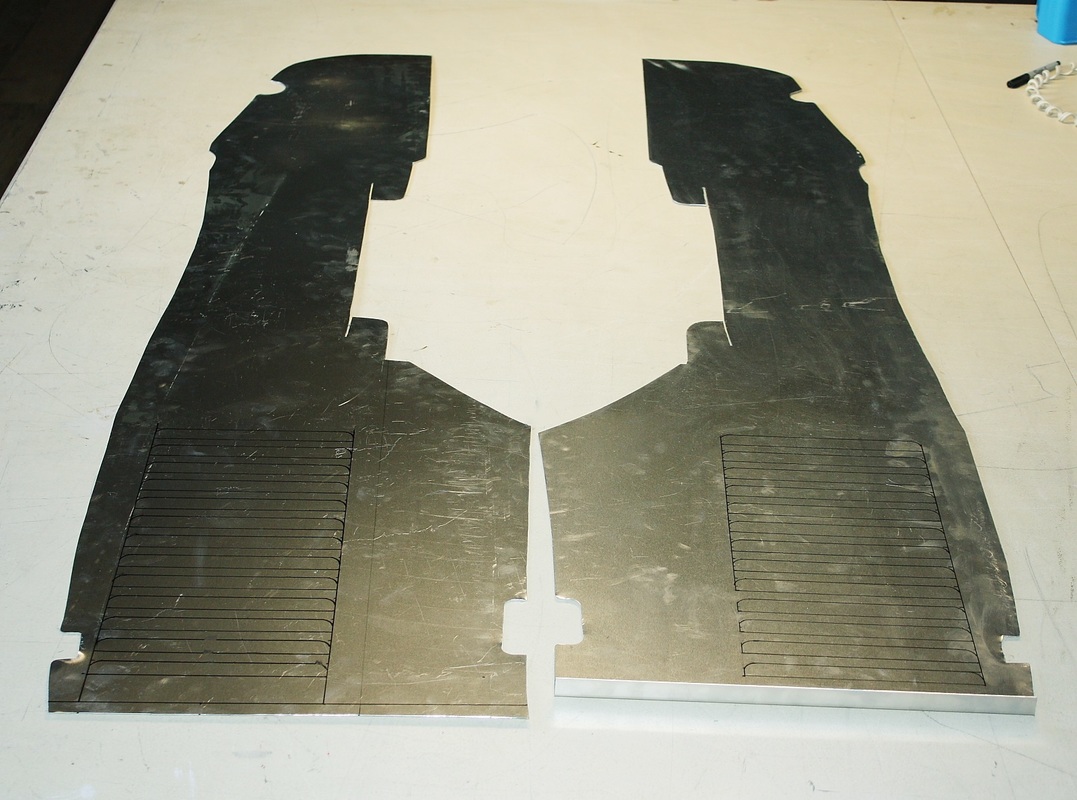
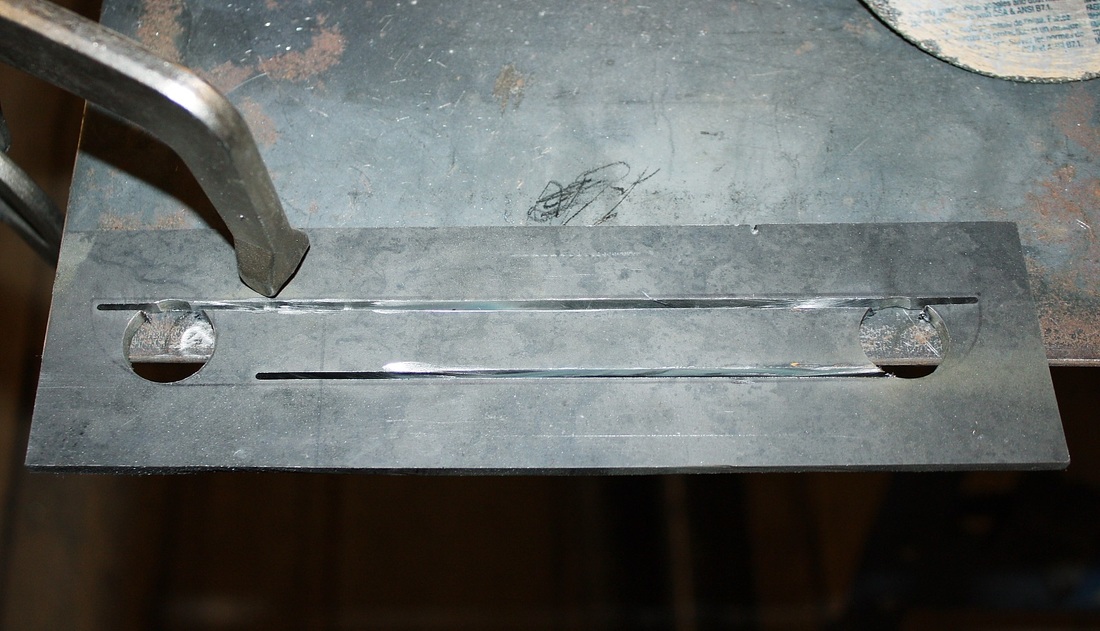
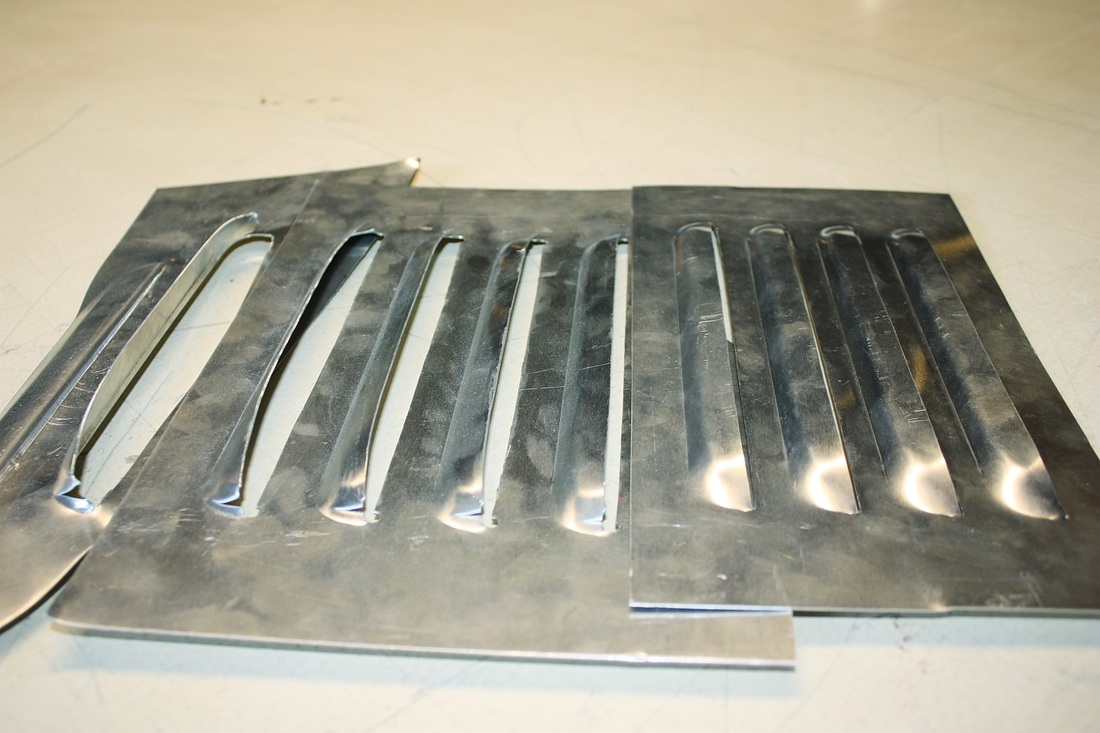
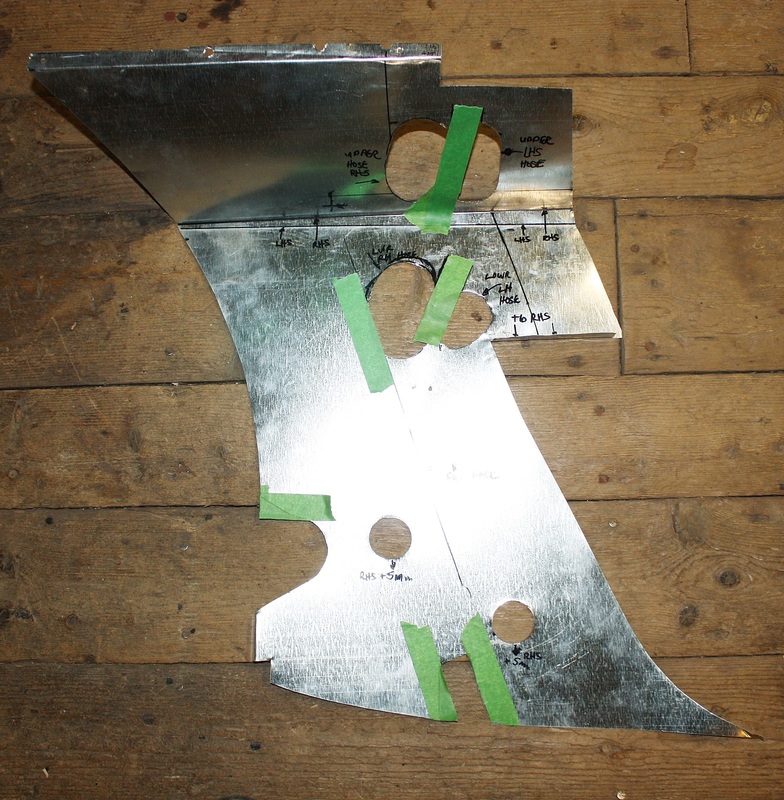
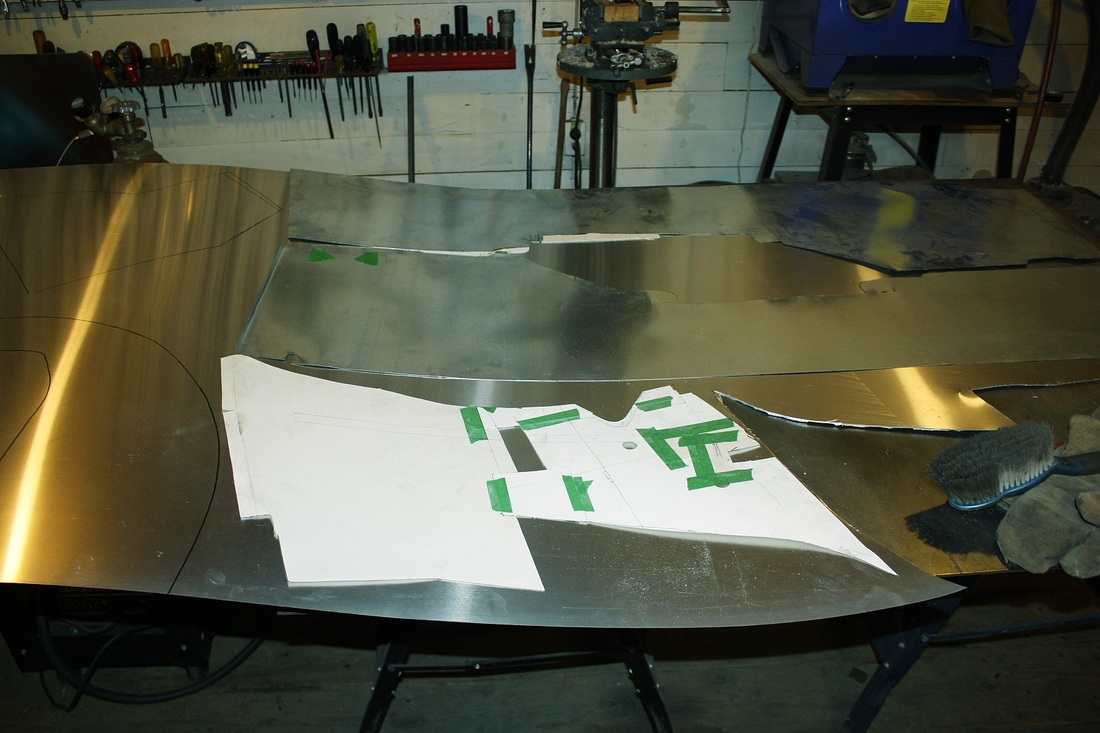
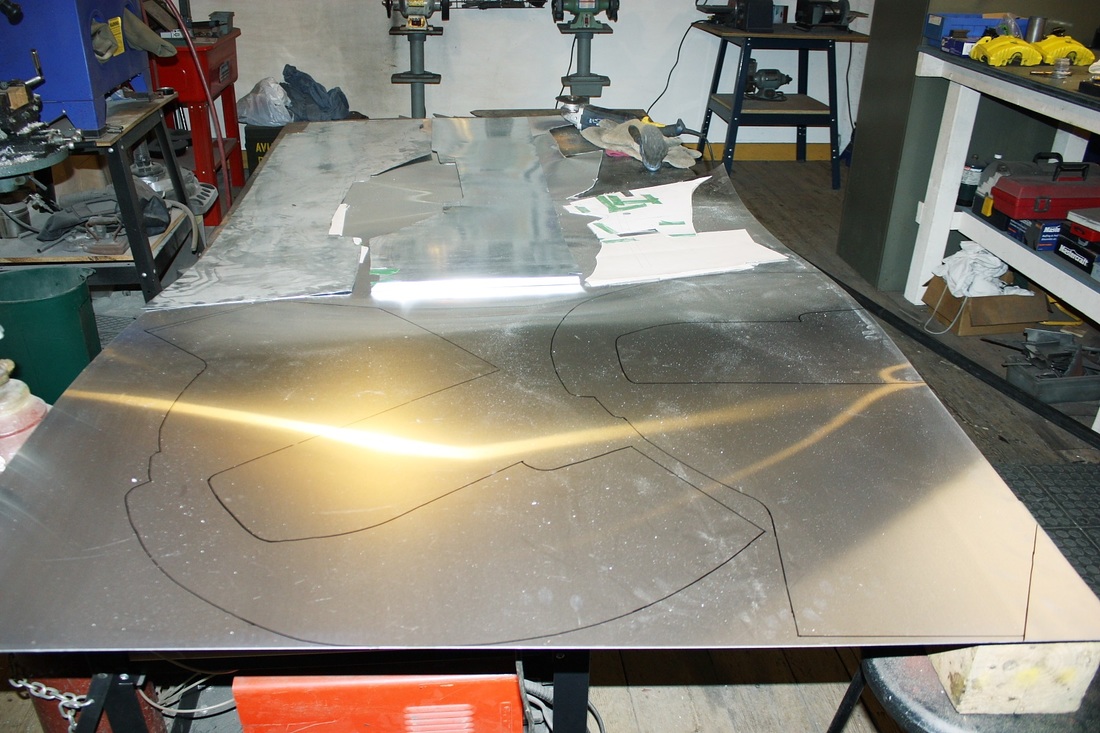
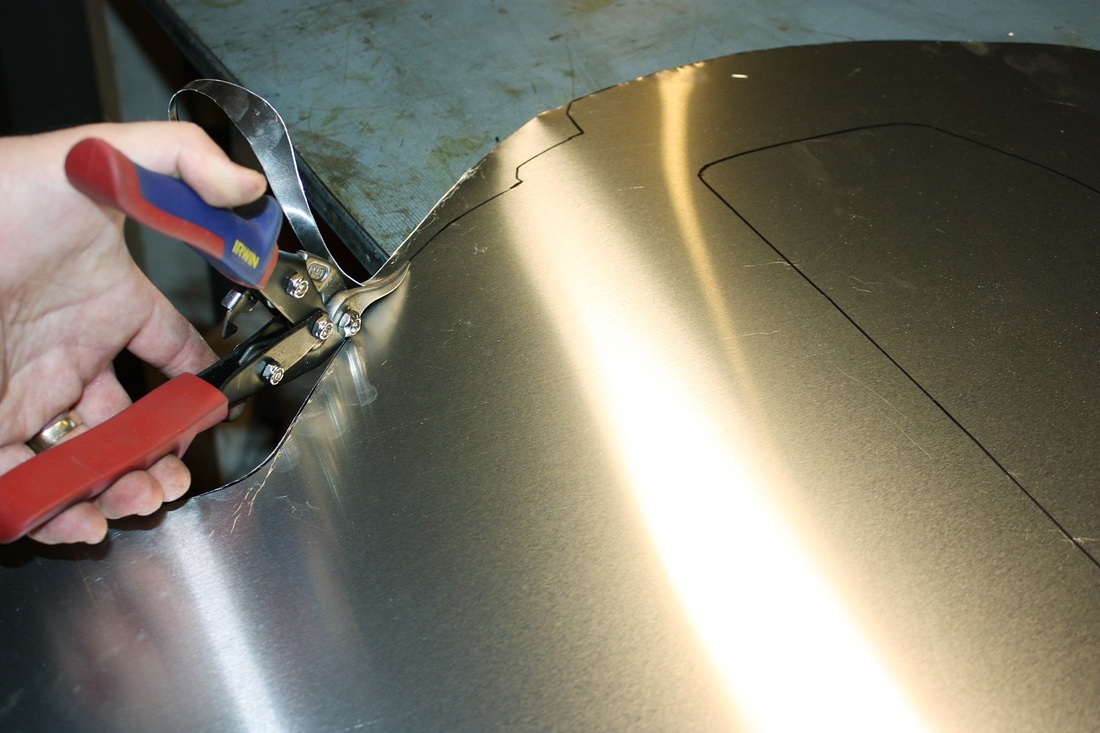
The next step was to pre-slit all 26 louvers along their bottom edges since my male die didn't have a great cutting edge. I used a composite cutting wheel in my Dremel rotary tool as mentioned before. It was just the sort of task that could ruin an entire liner by mistakenly slitting the wrong line so I coloured them red to be sure:
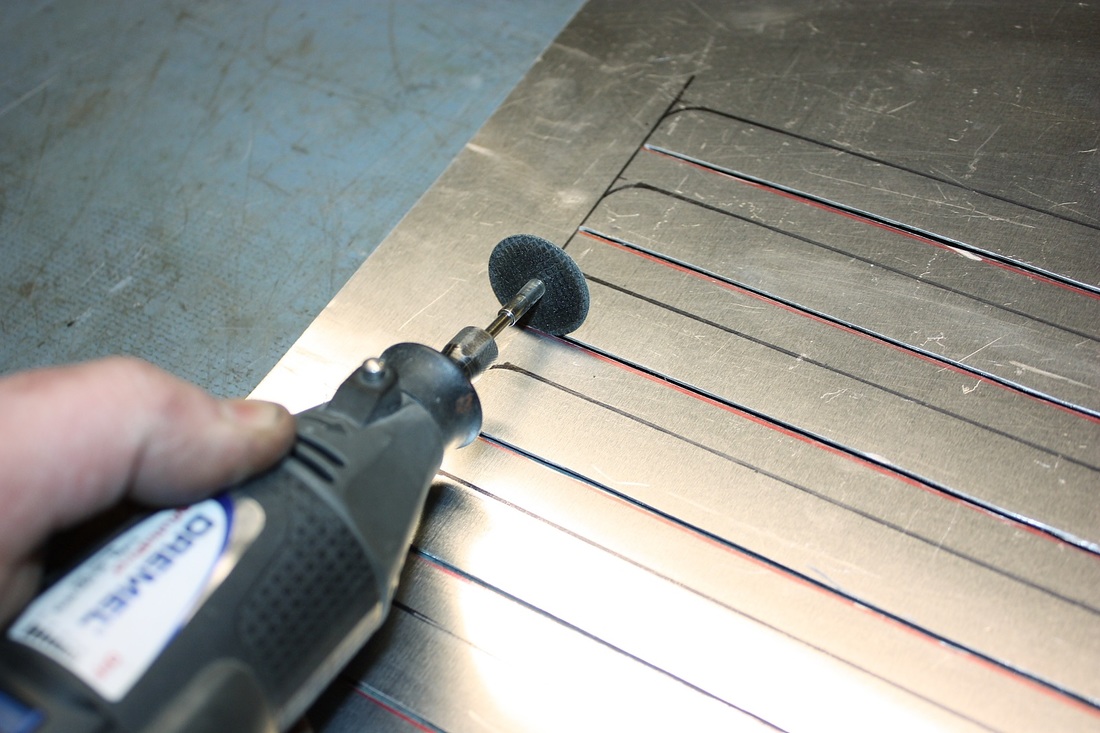
It took an hour per liner to make all the slits... there has to be a better way!

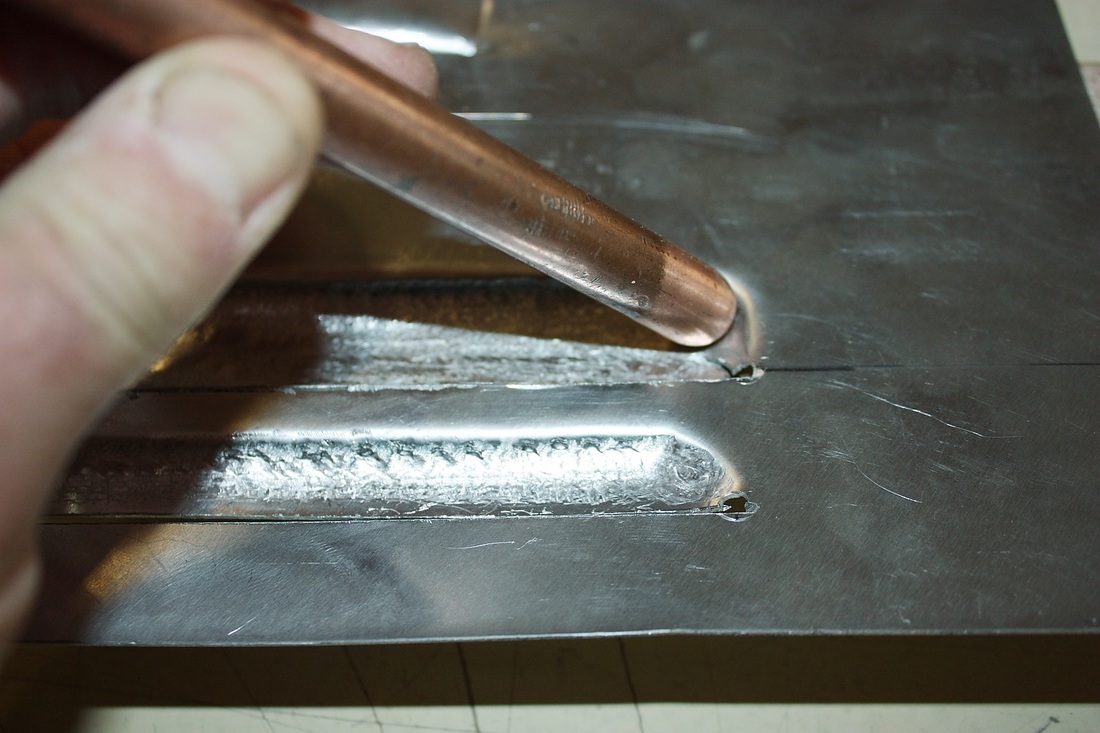
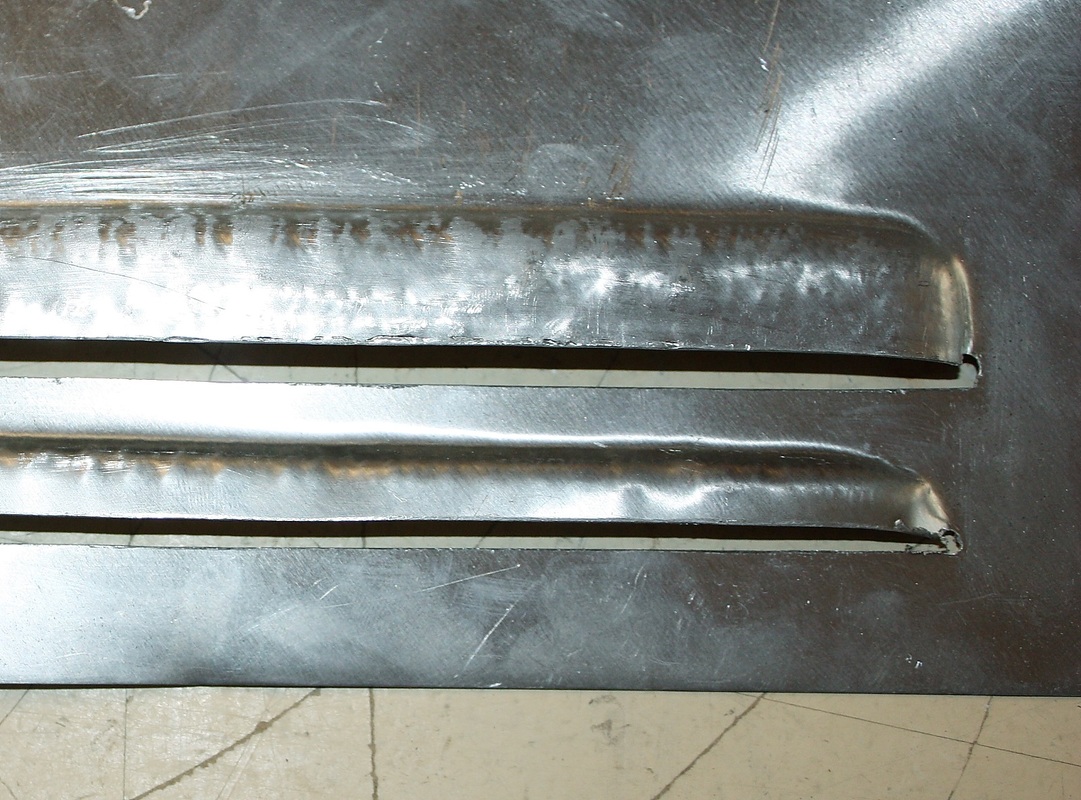
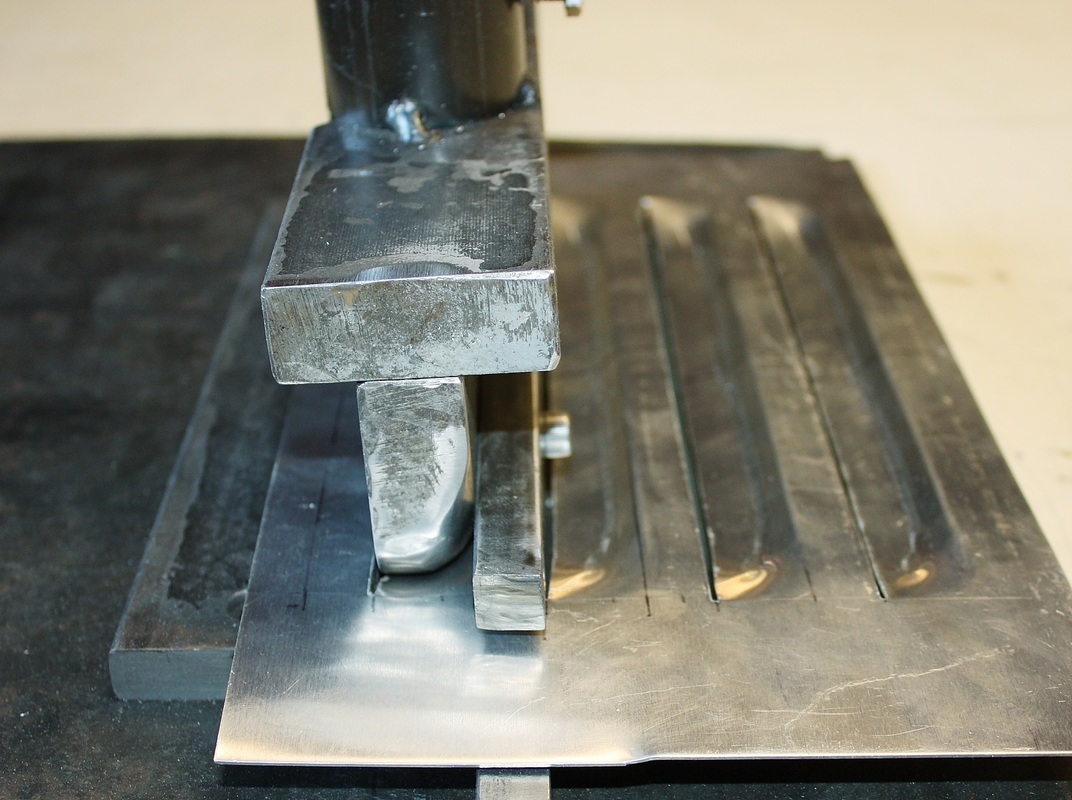
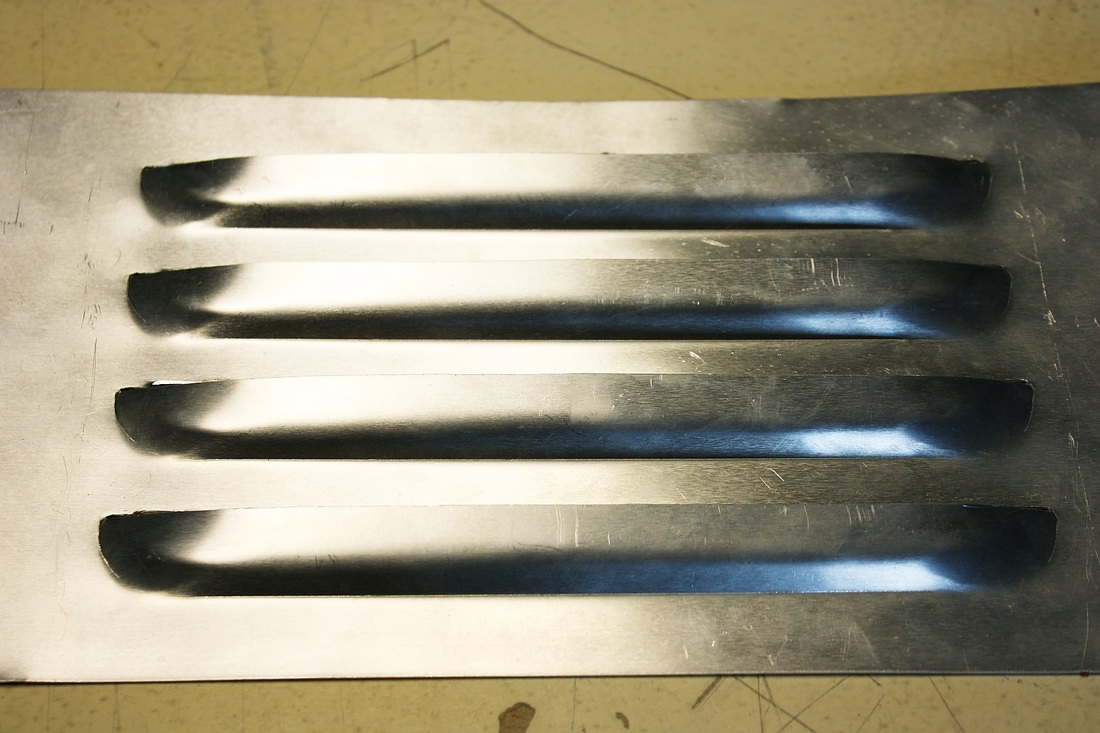
Then, after countless hours of being side-tracked, the moment finally arrived when I pressed my first (non-prototype) louver!
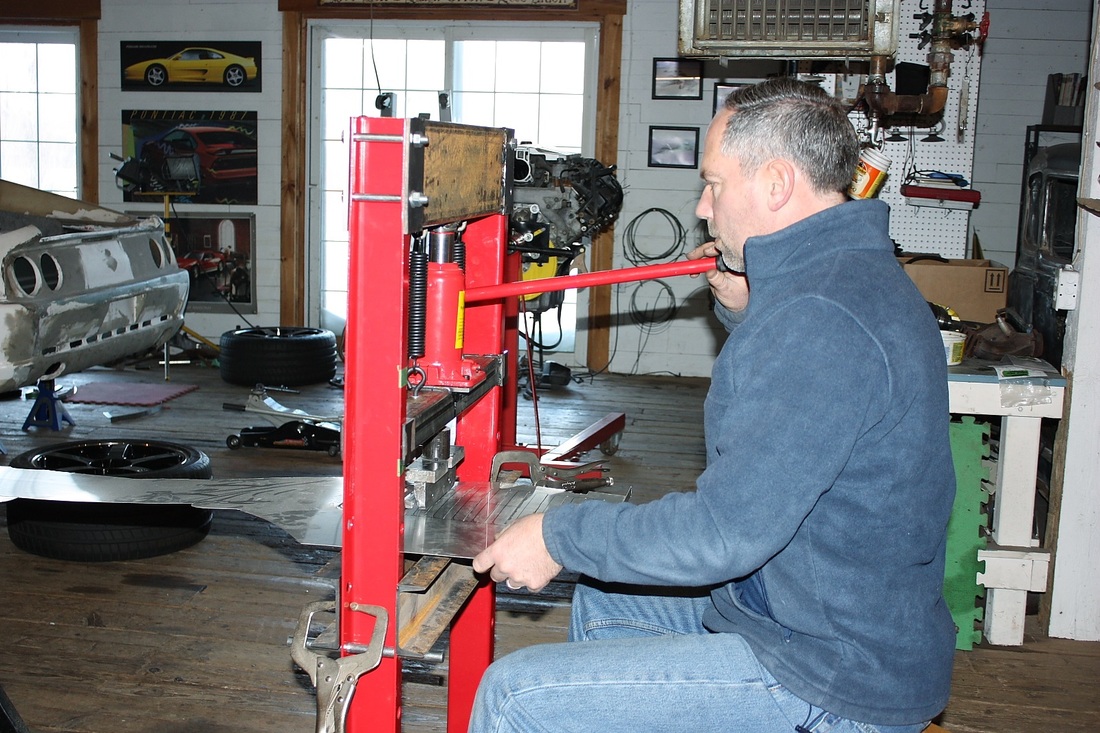
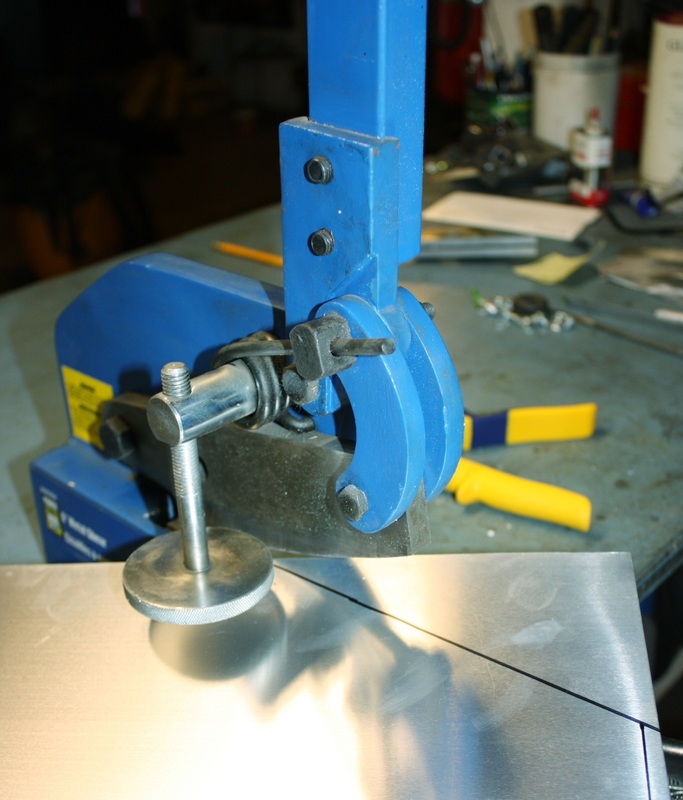
It was really slick... although I had to constantly keep an eye out for any misalignment between the two dies:
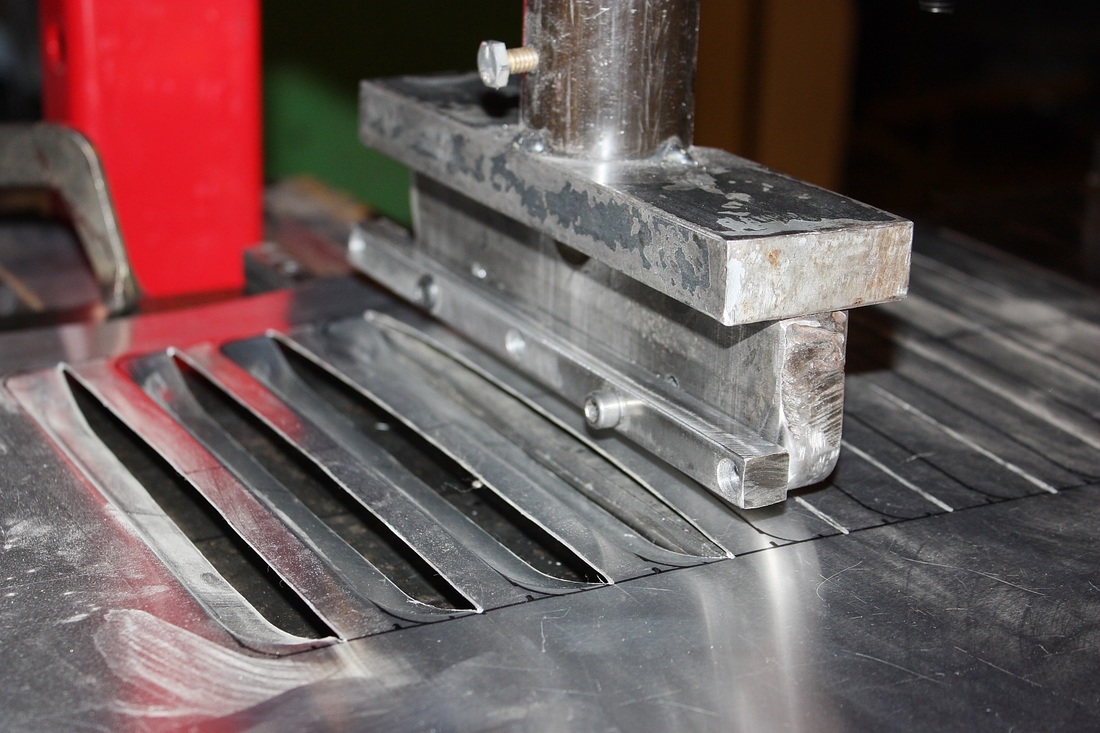
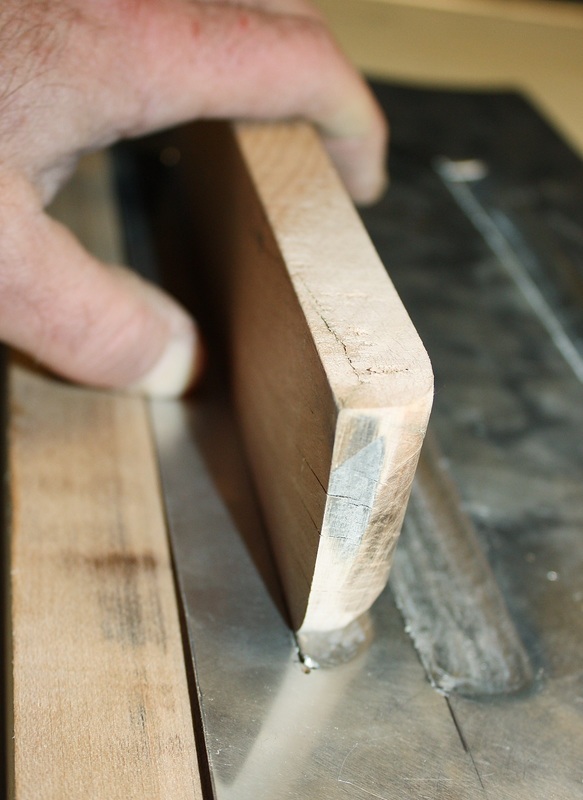
There's only two pairs of clamping pliers visible in this next photo, but I had half a dozen pinching all the various parts of the stand and the die together to take up any slack and remove any error:

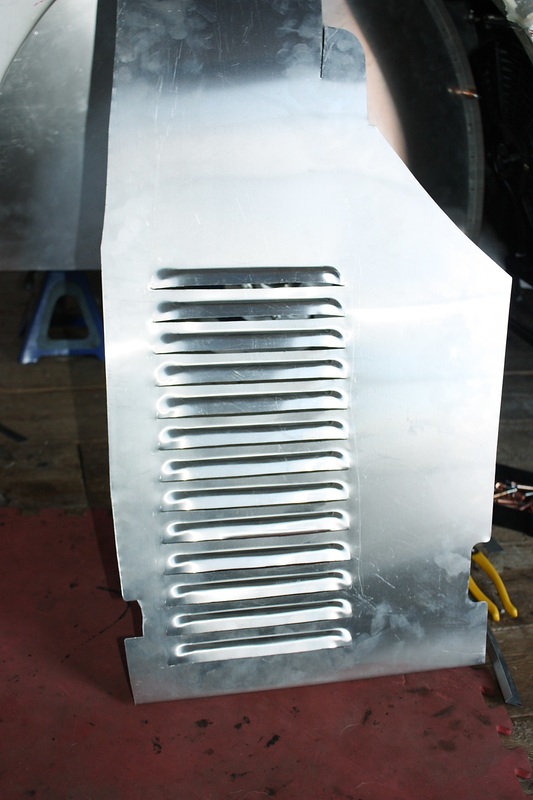
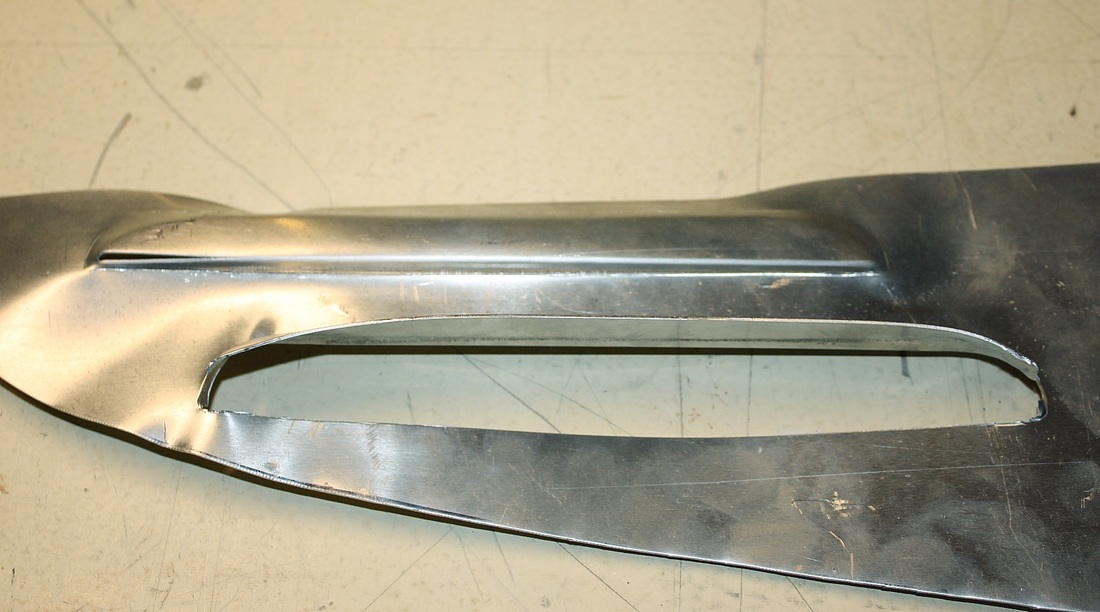
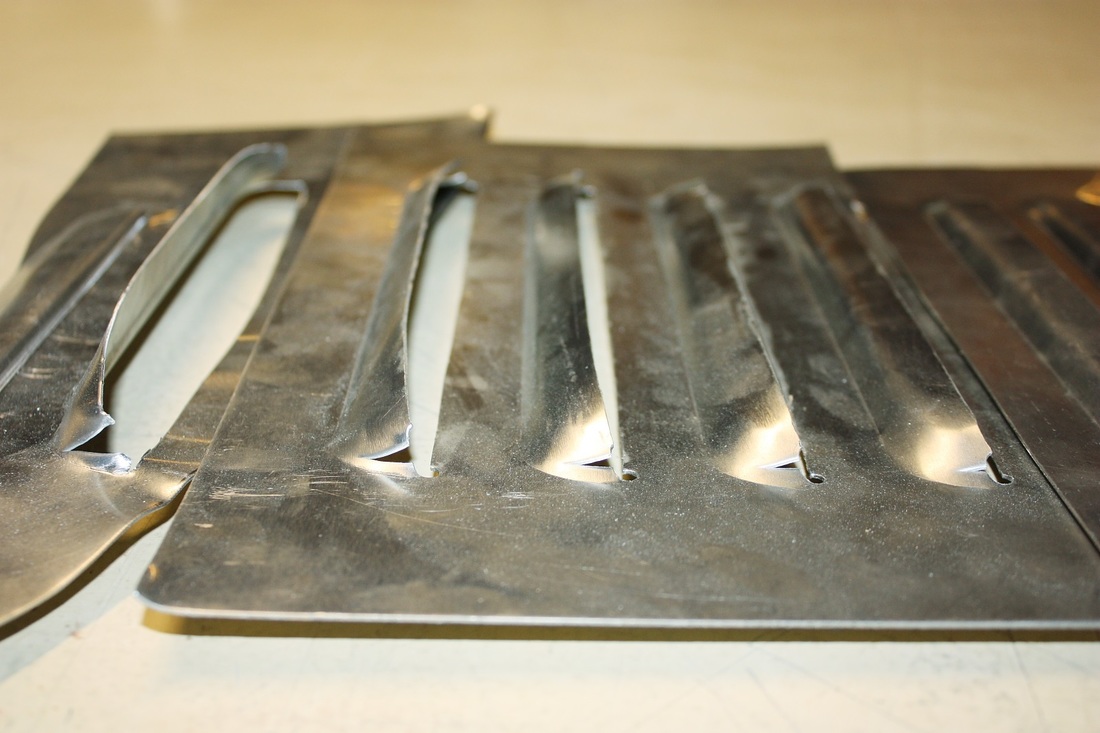
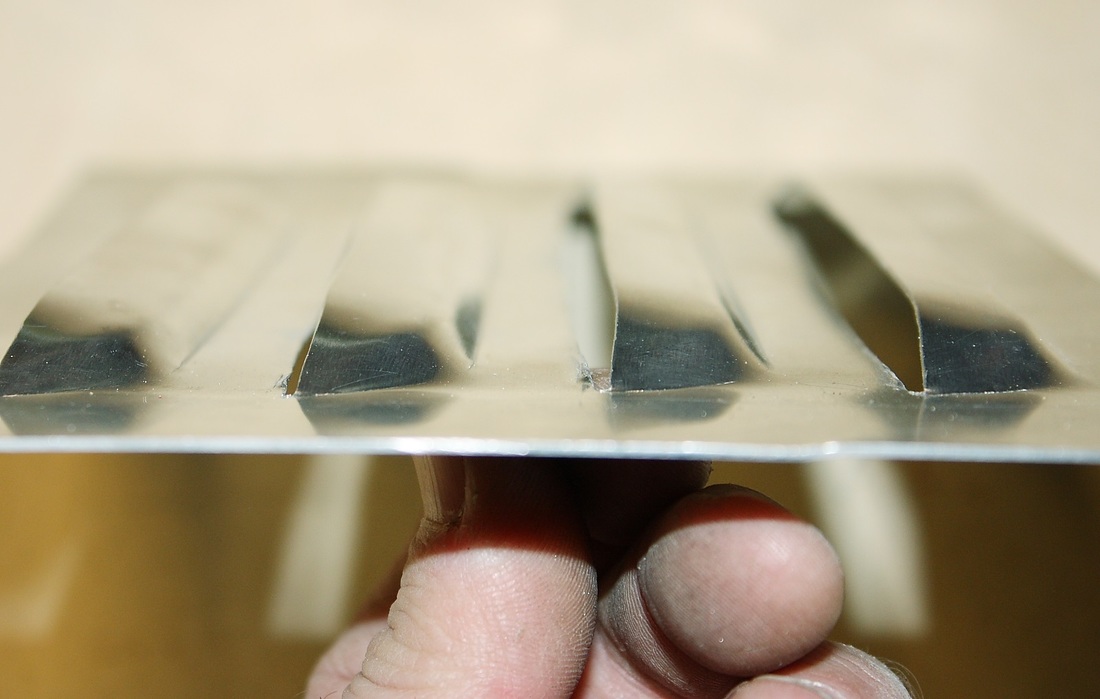
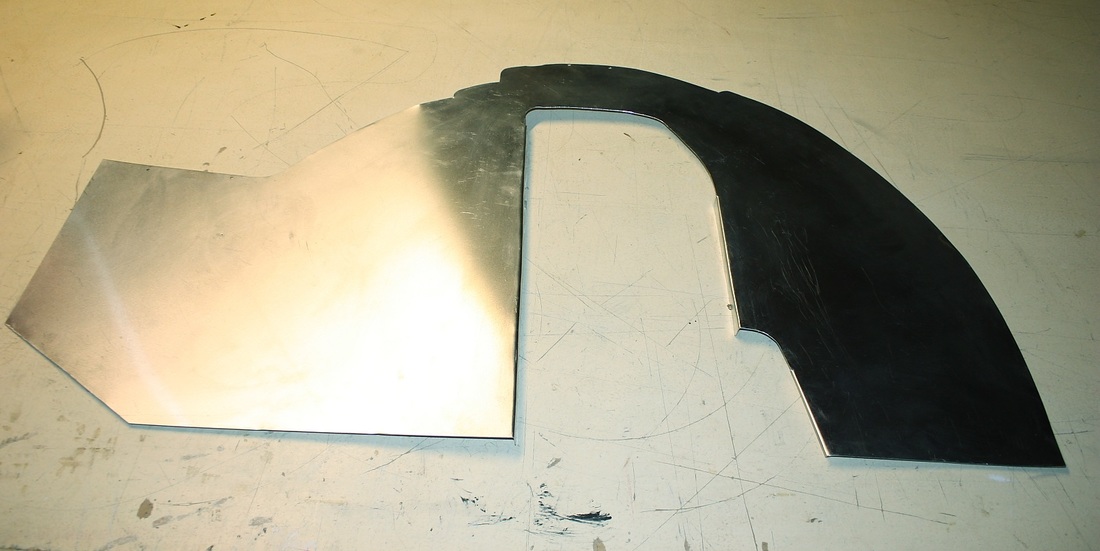
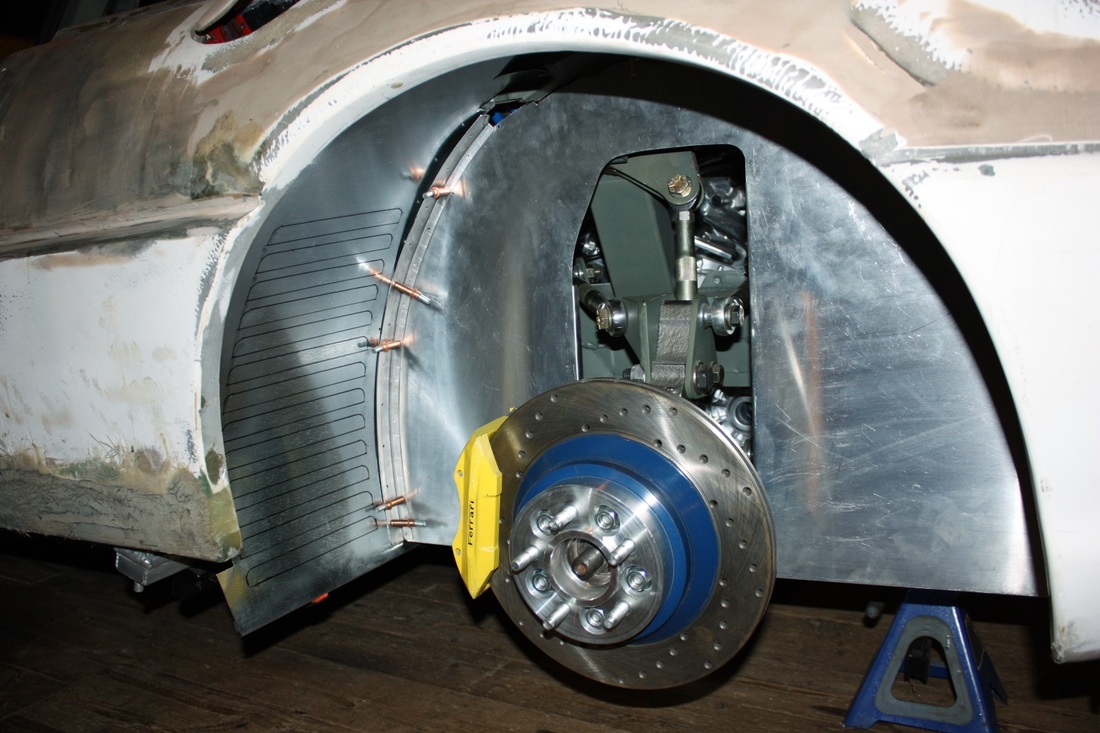
It only took about three weeks to make the 13 louvers in the first wheel liner, and about ten minutes for the second one. Here's the finished result... not bad eh?
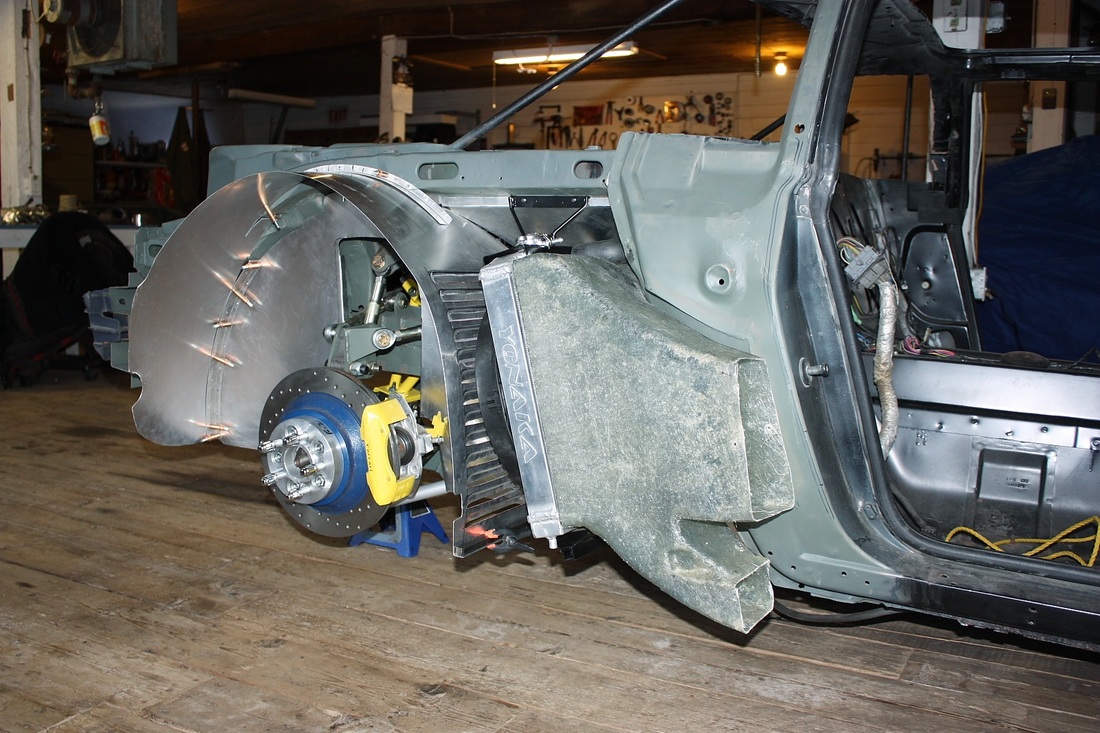
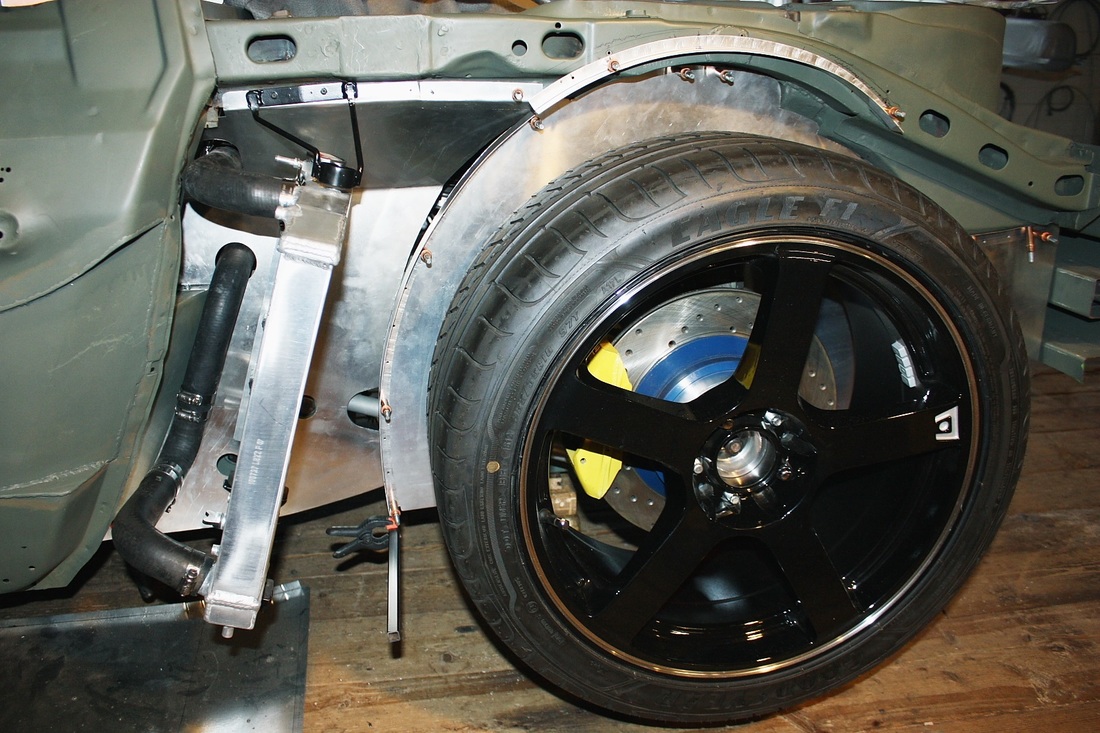
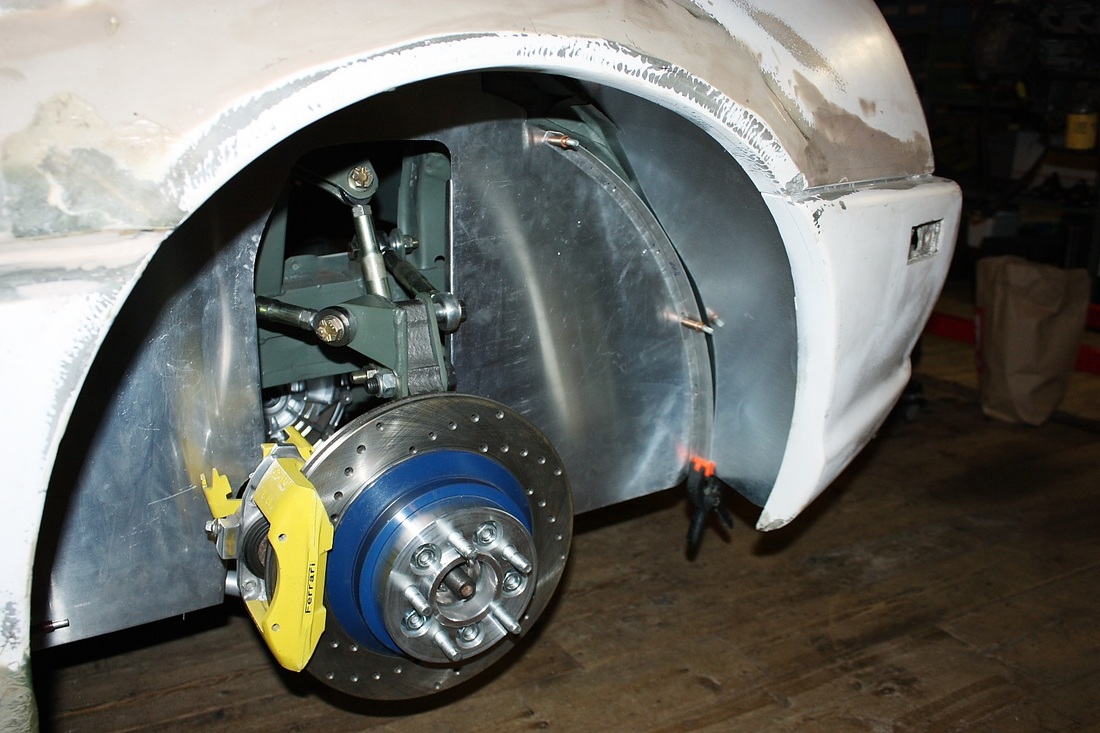
The next step was to remove the rear quarters again and mock up the newly punched wheel well liners to see if the punching operation changed their flexibility or some other aspect of fitting them:

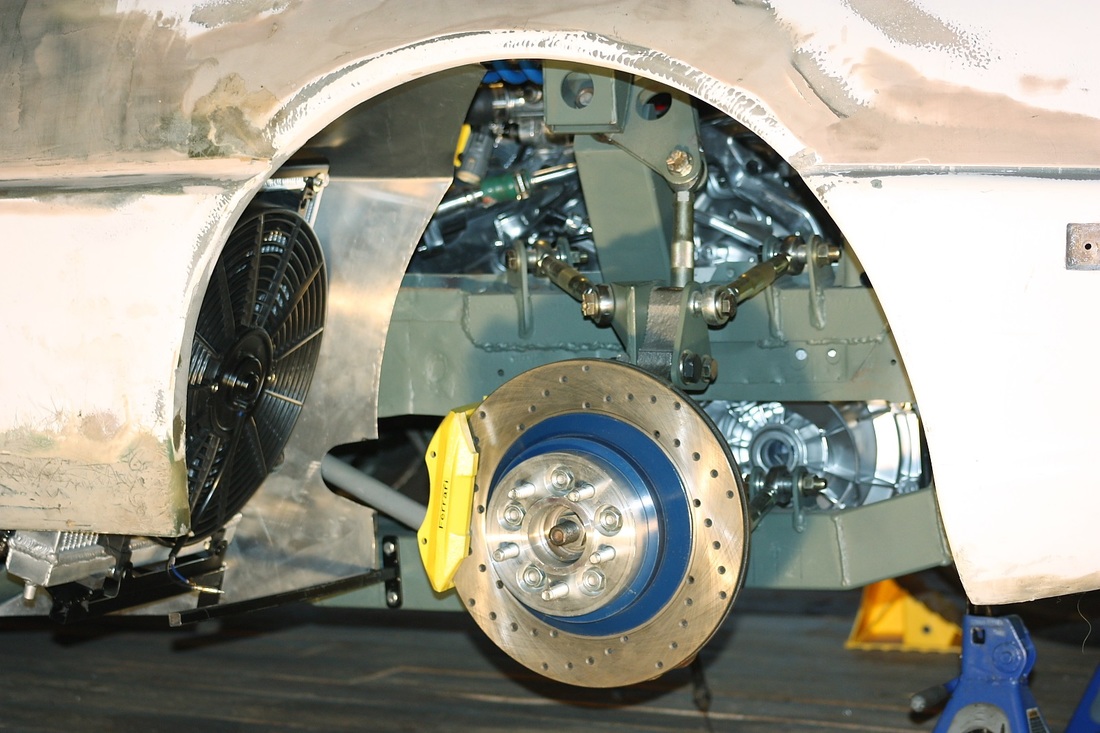
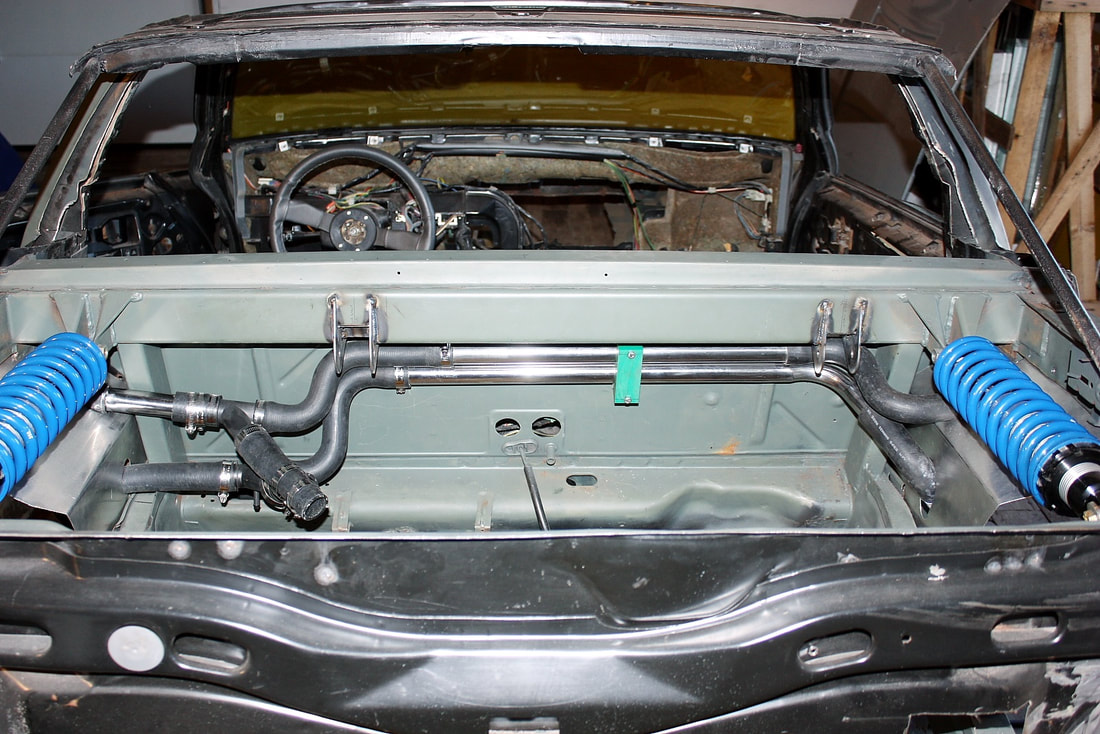
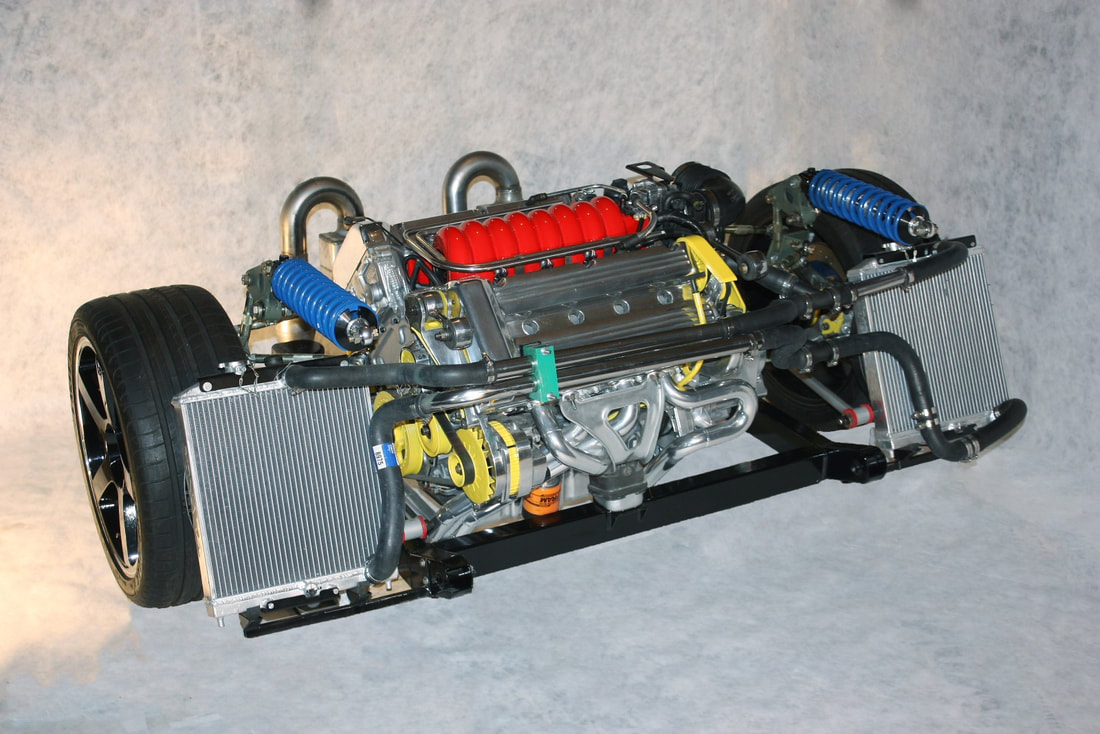
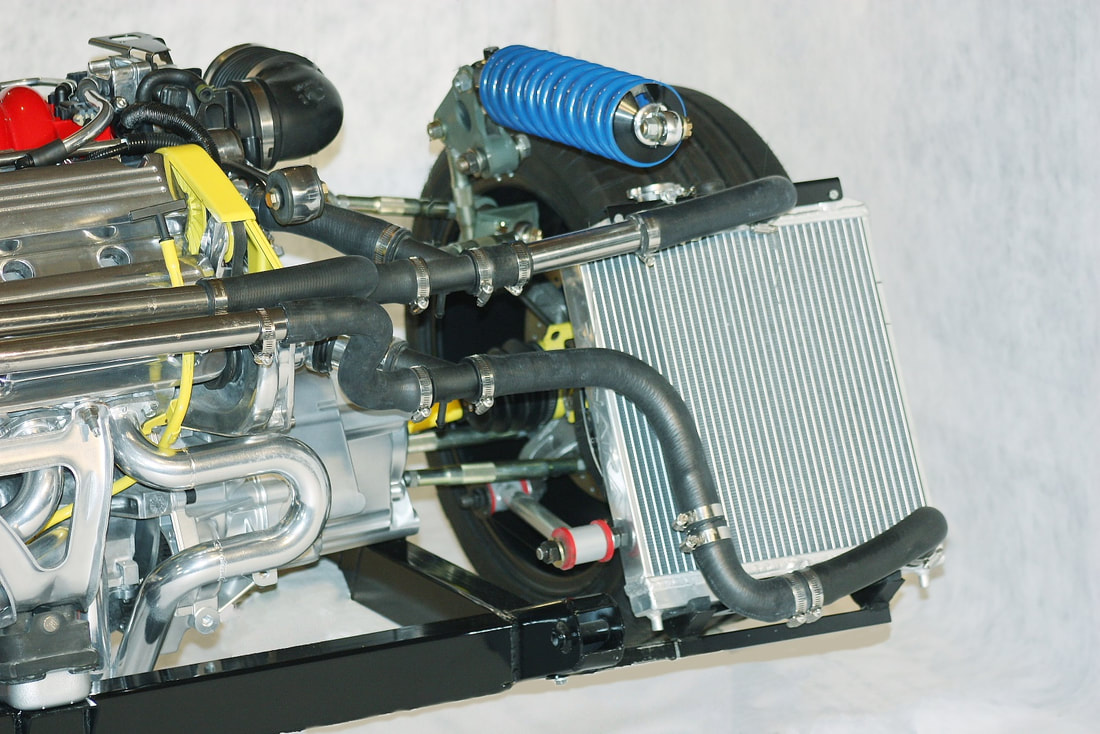
Remarkably, the louvers stiffened up the panel somewhat, but not enough make much difference. Here's the final configuration of the shrouds, rads, fans, and louvered liners... less the rear quarter panels. Too bad all of this will be hidden!
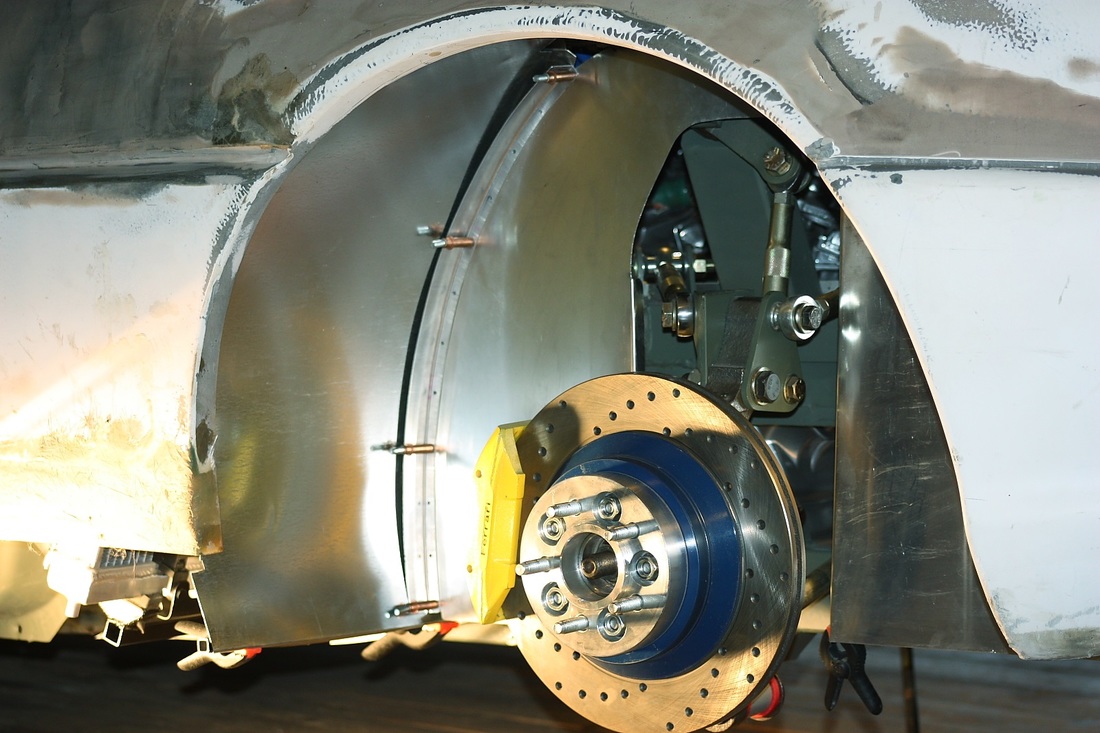
I couldn't resist the temptation to reinstall the rear quarters to see how all of this would look:
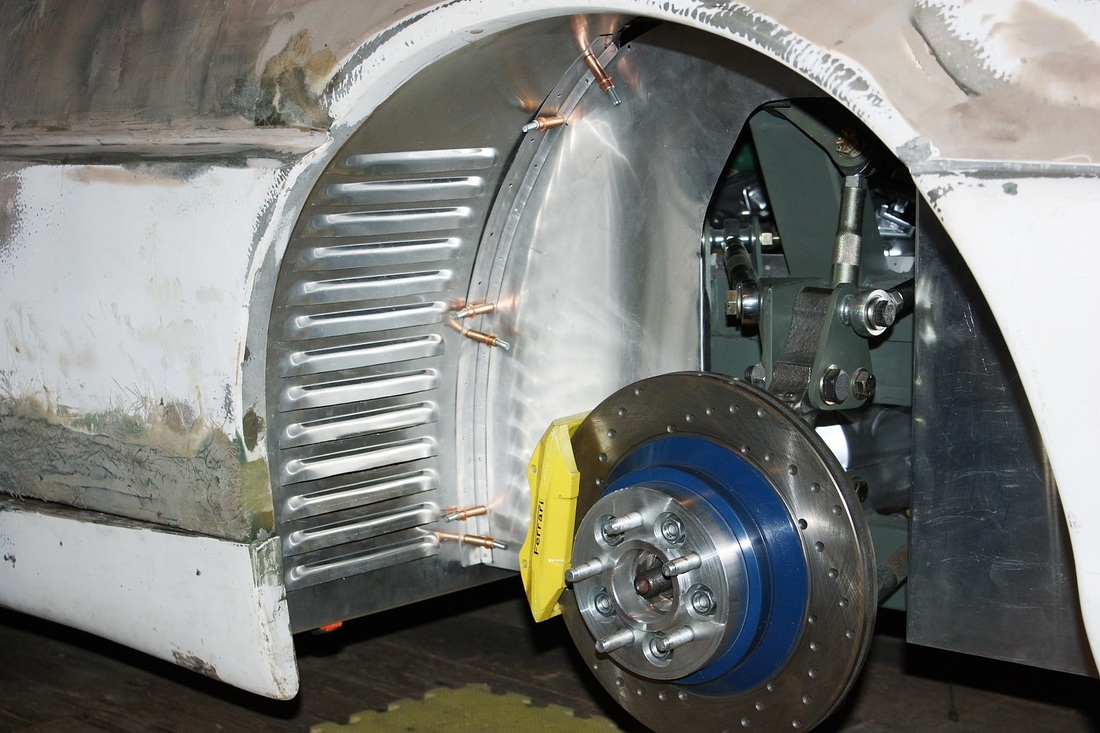
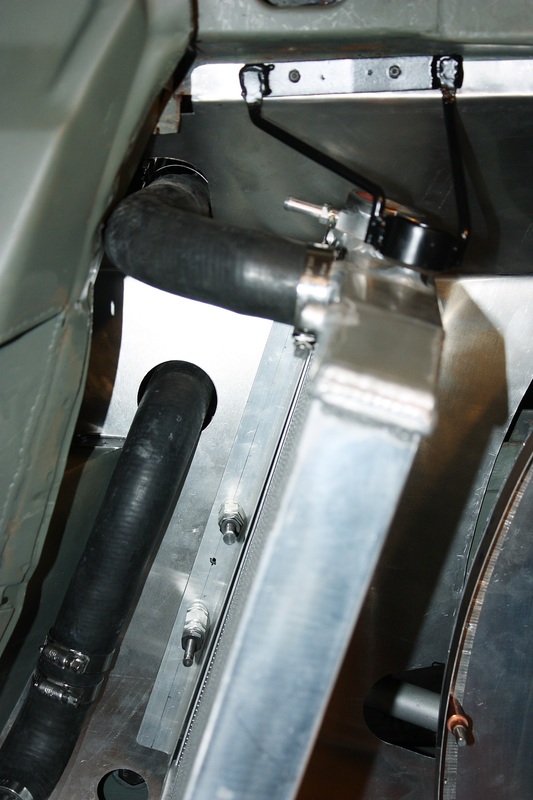
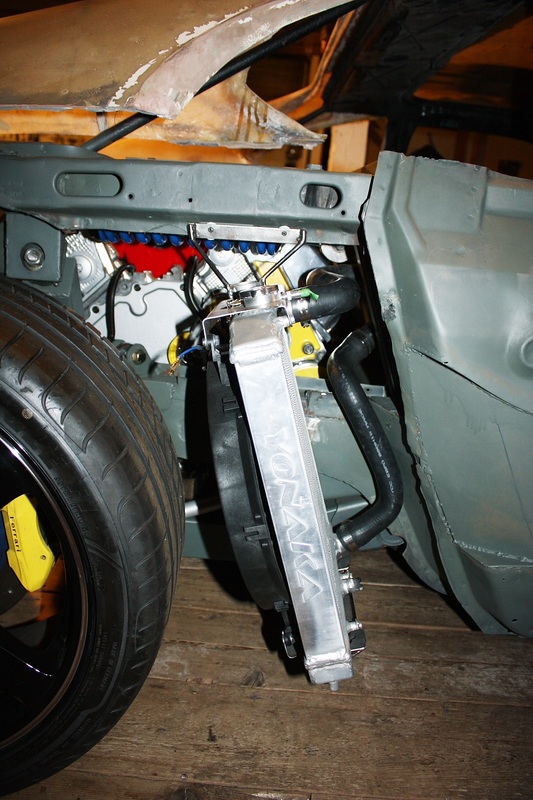
I also took a photo of the air tunnel that's formed over-top of the wheel liner. This shot is taken looking through one of the tail light holes and shows how some hot air will be able to flow over the wheel and through the tail light panel, which will be a formed grill:

While there are still a few details to finish up, most of them will have to wait until the body is permanently installed, which won't be for a while yet.
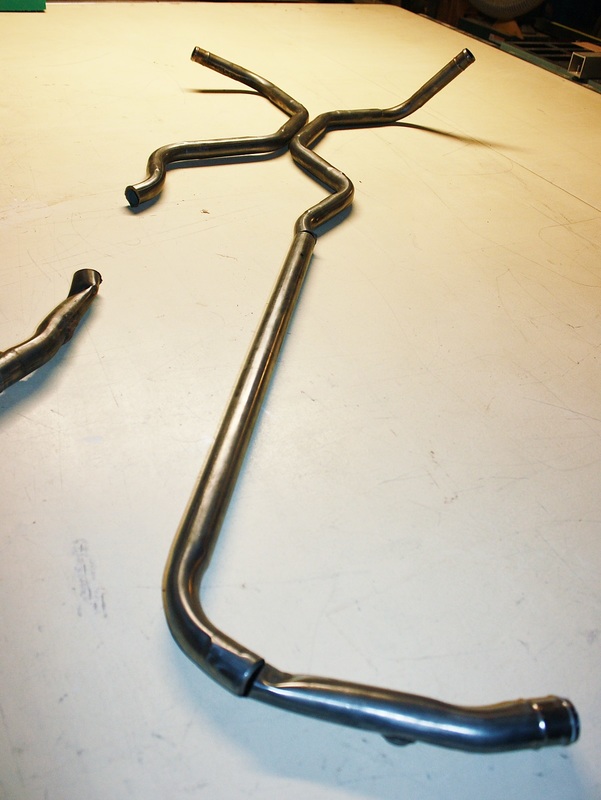
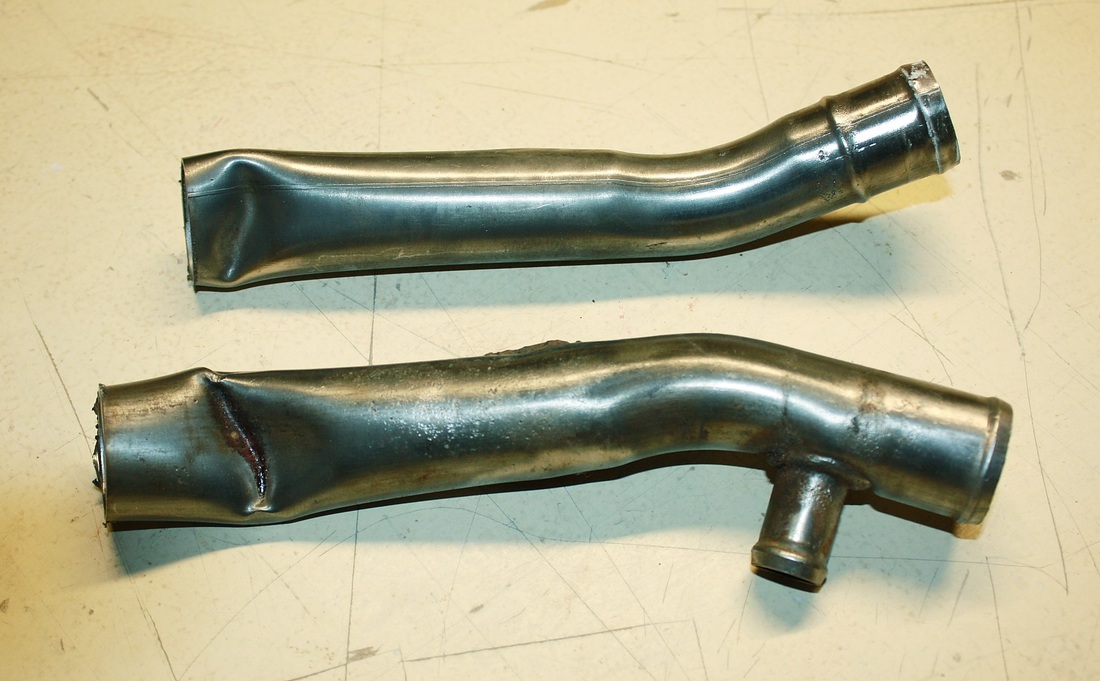
Next up? More exhausting work.


 RSS Feed
