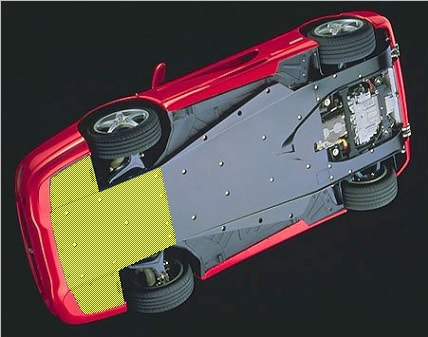
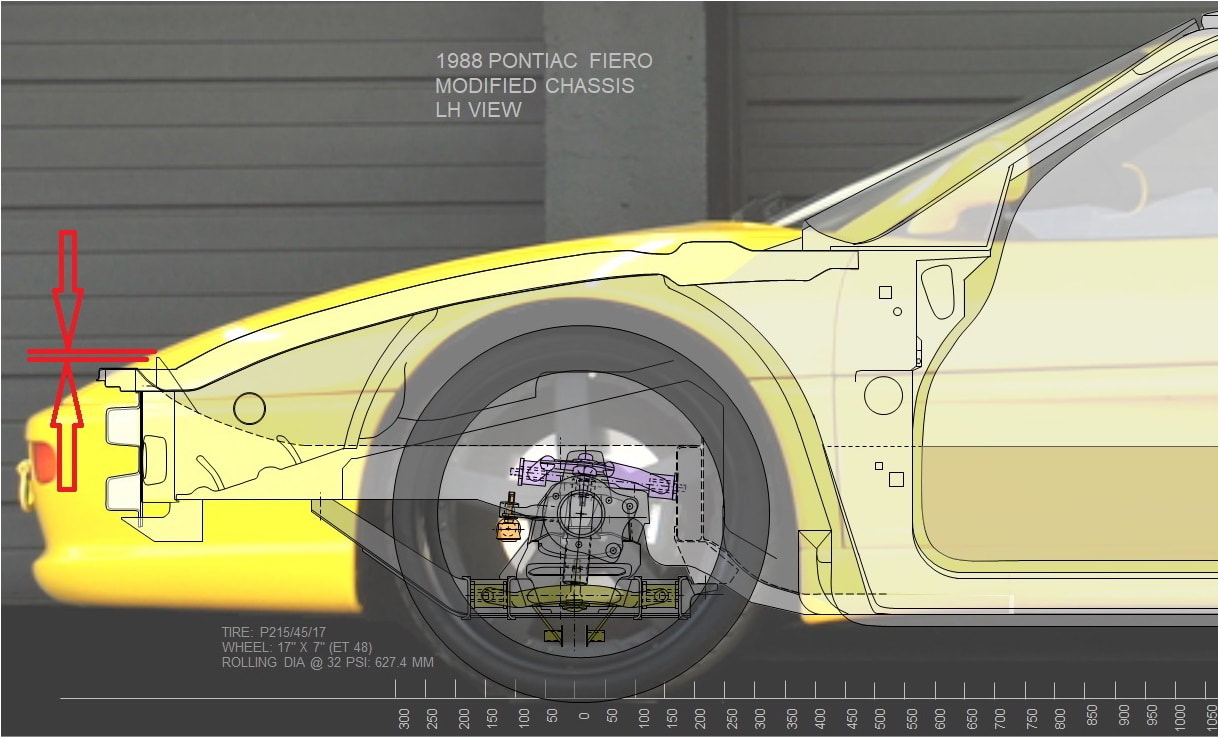
As I researched how Ferrari stored the spare tire in F355’s, I discovered much to my surprise that they simply didn’t have one! Instead, the $140,000 Ferrari was generously equipped with a can of tire sealant. That simply wasn’t going to be good enough for me... besides, I thought the extra weight of a spare tire wouldn't be a bad thing in the front.
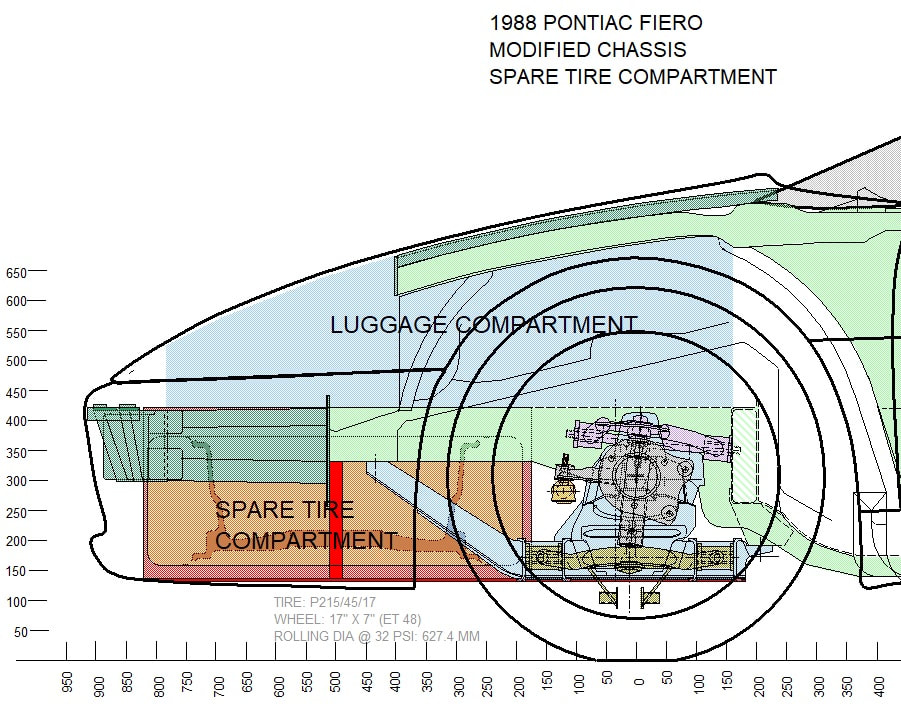
It didn’t take much measuring to figure out where and how to mount the spare. Rather than store the tire semi-upright as in the Fiero, I decided to lay it flat and low since there was enough room for a full size front wheel and tire without the radiator to crowd things. The rears were a different story though. I figured that even if a full size rear tire wouldn't fit, a flat one would.
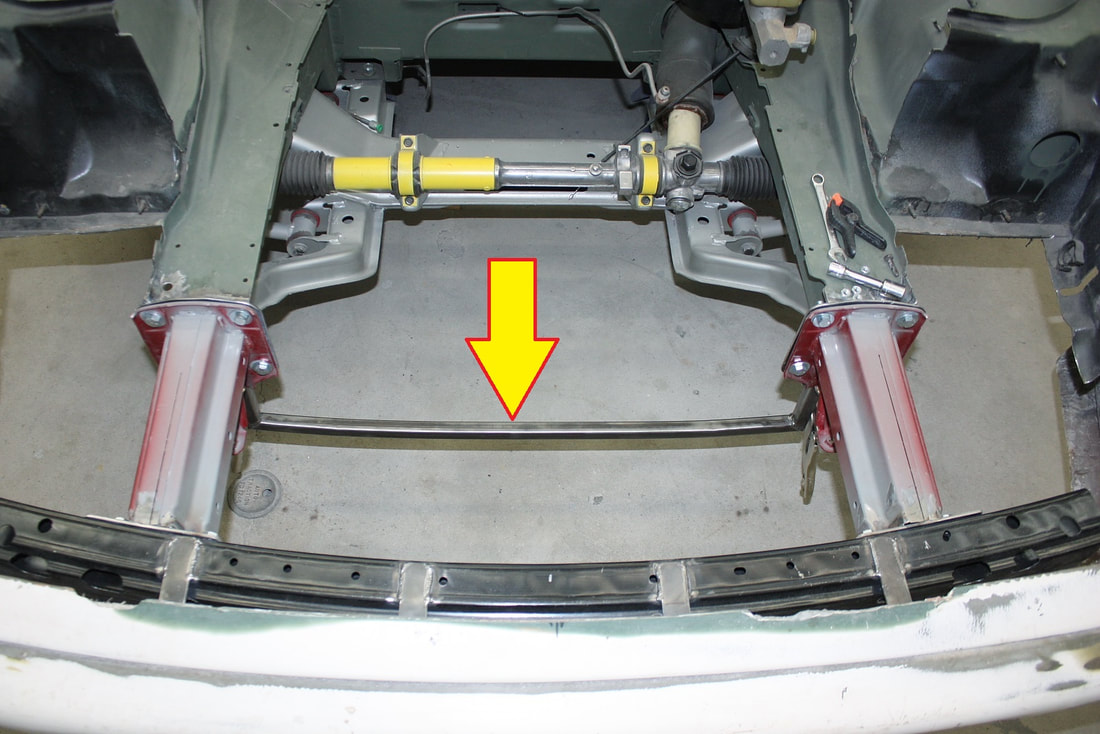
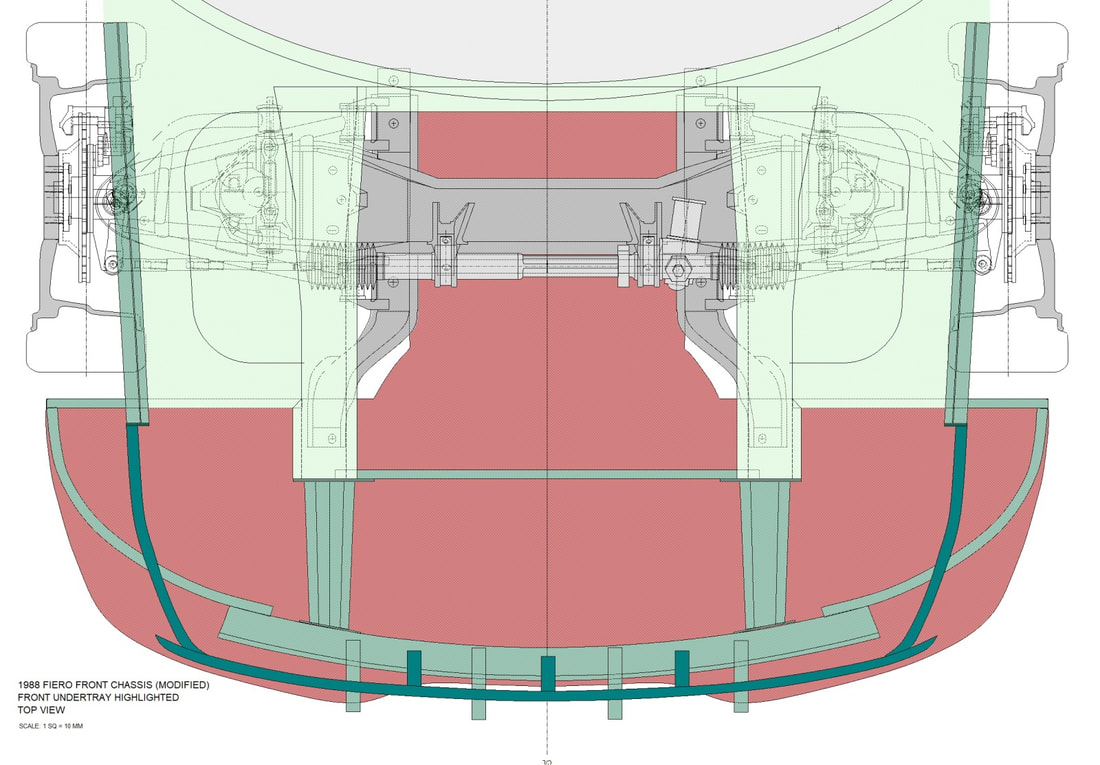
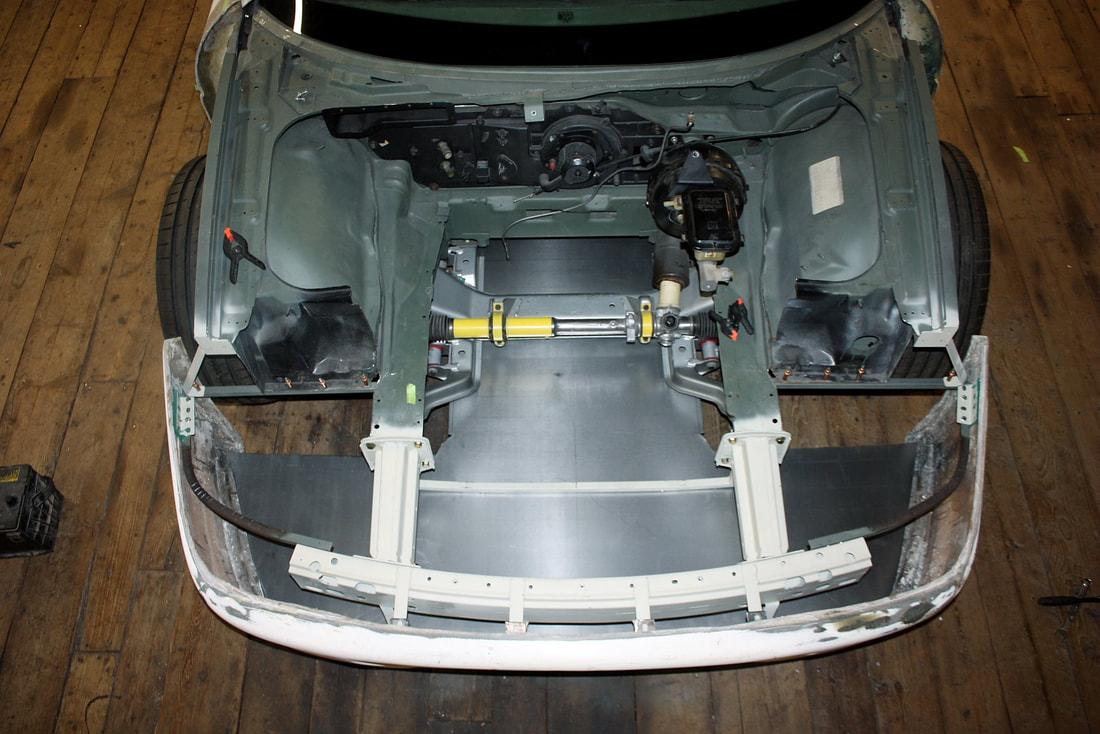
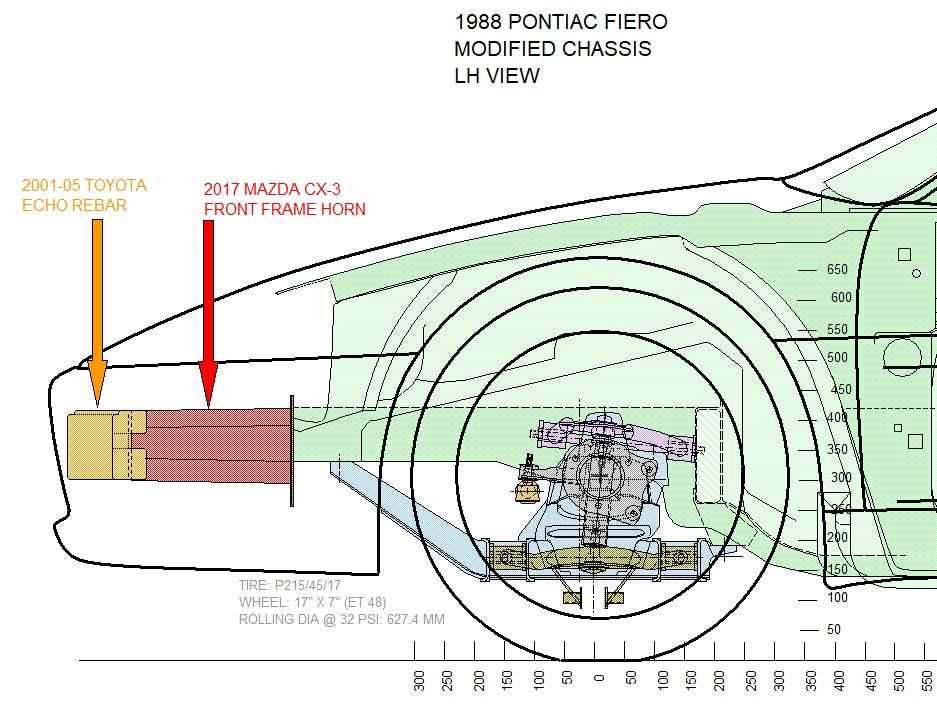
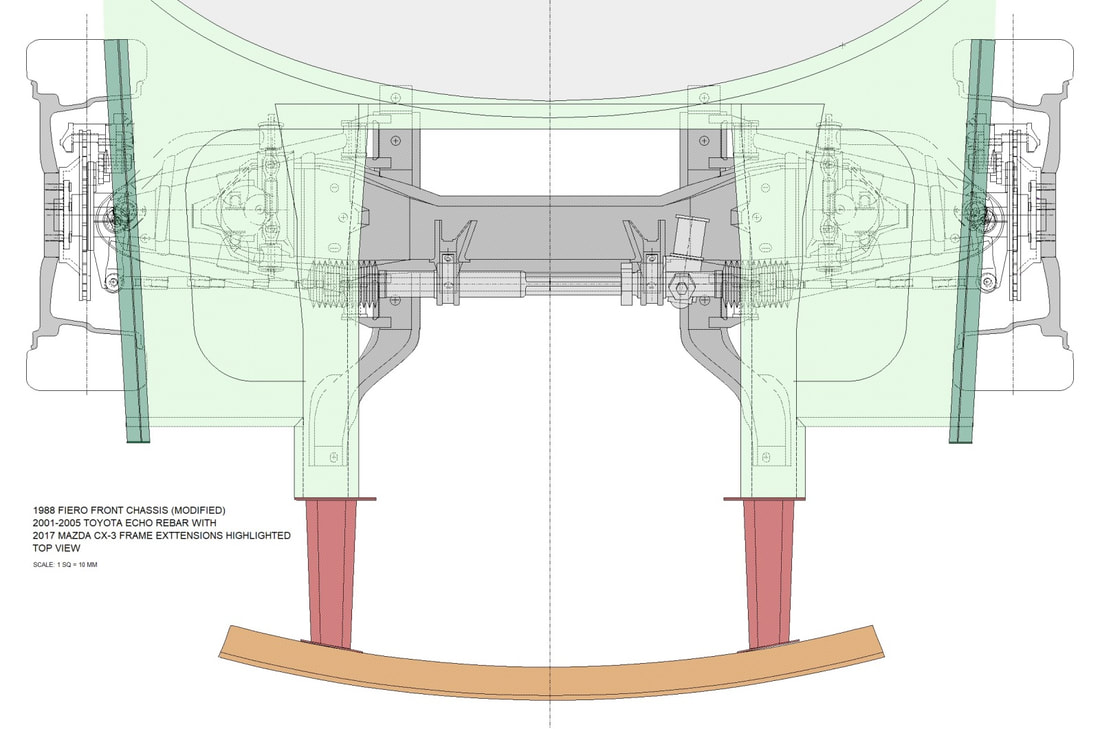
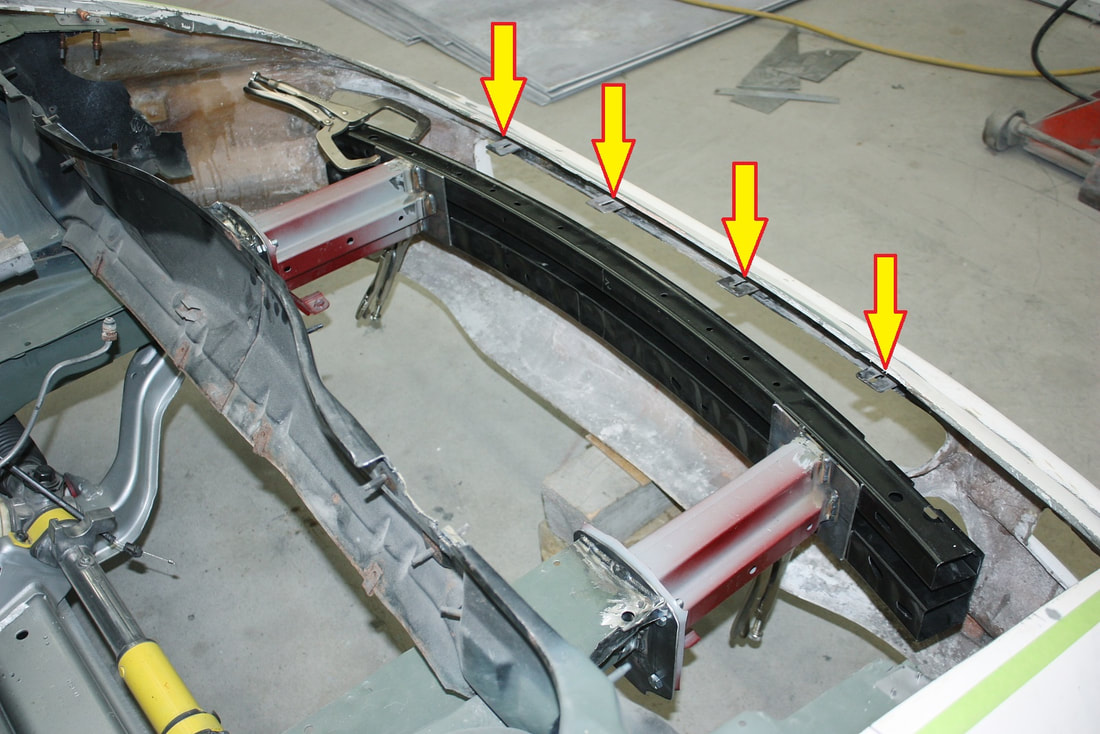
The bright red vertical line in the drawing below represents a pair of ¾” square tubes dropped down from the two lower frame rails with another square tube (hidden) bridging them across the bottom. Luckily, with the lower tube placed at the same ground clearance as the rest of the underbody, even a rear 265 width tire should fit in the tire well (pink area) and still be deep enough to leave the future luggage compartment (blue area) above it untouched:
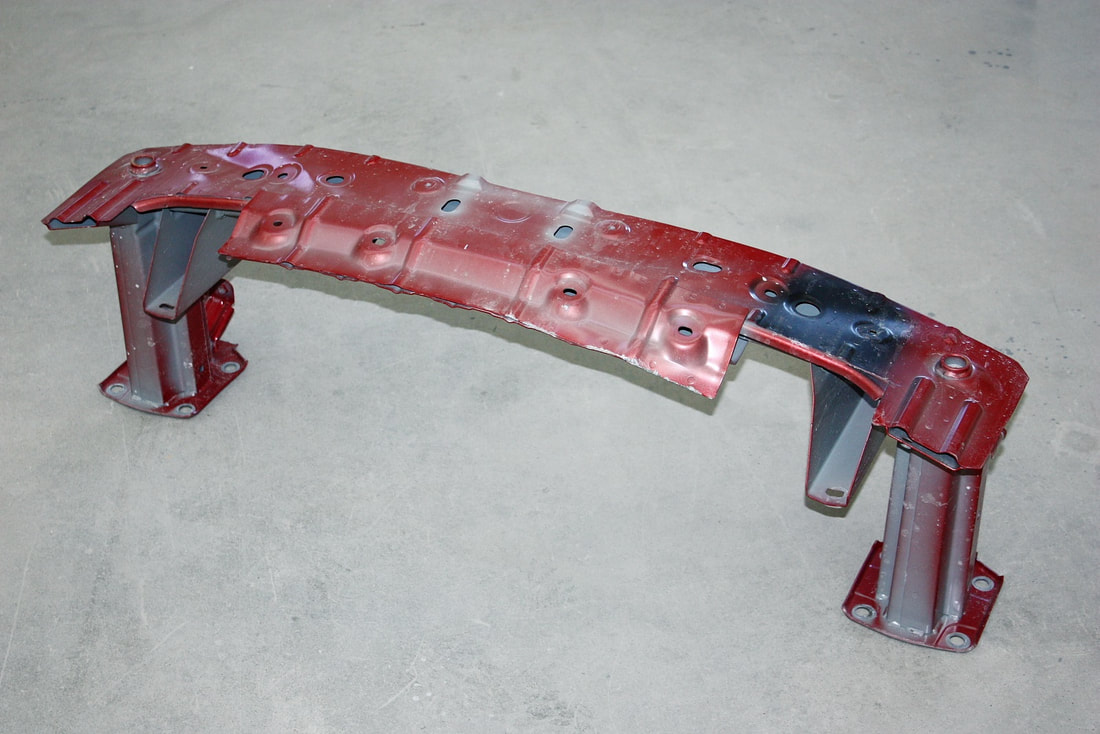
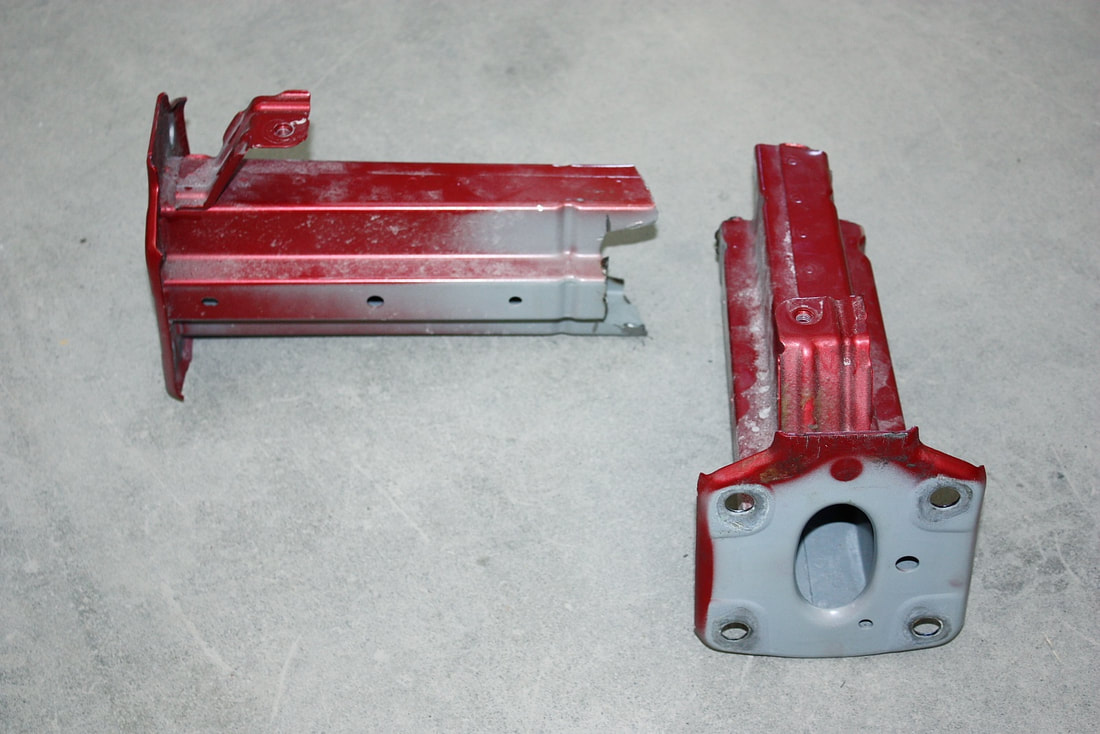
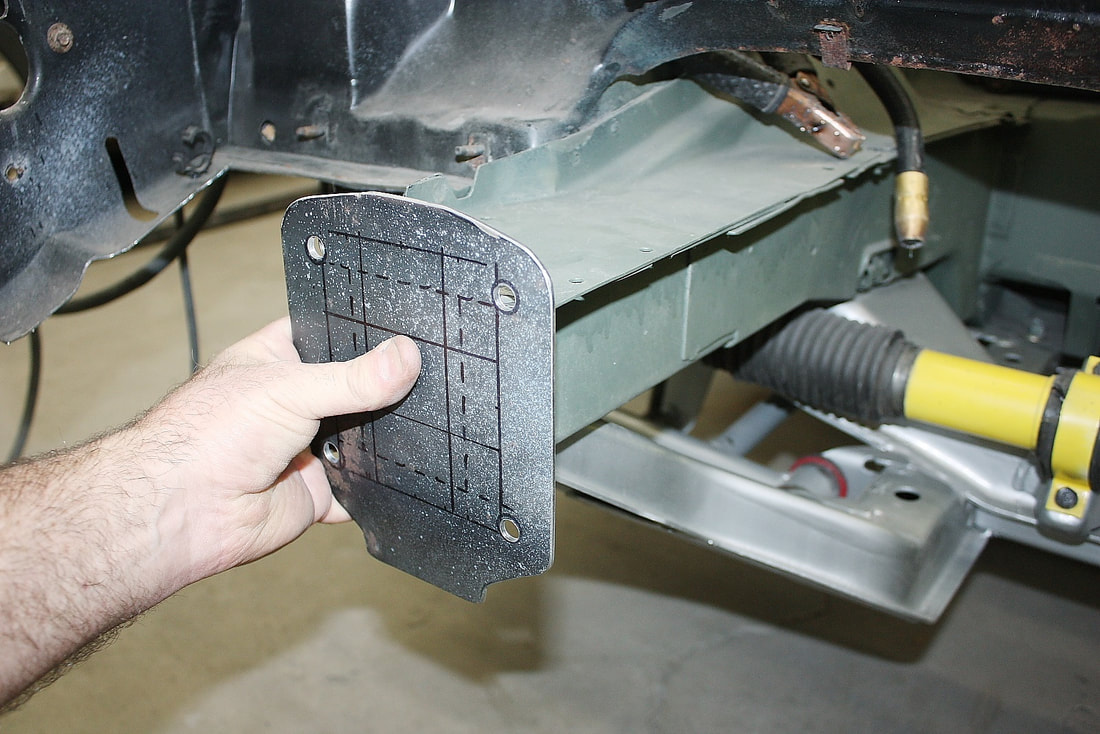
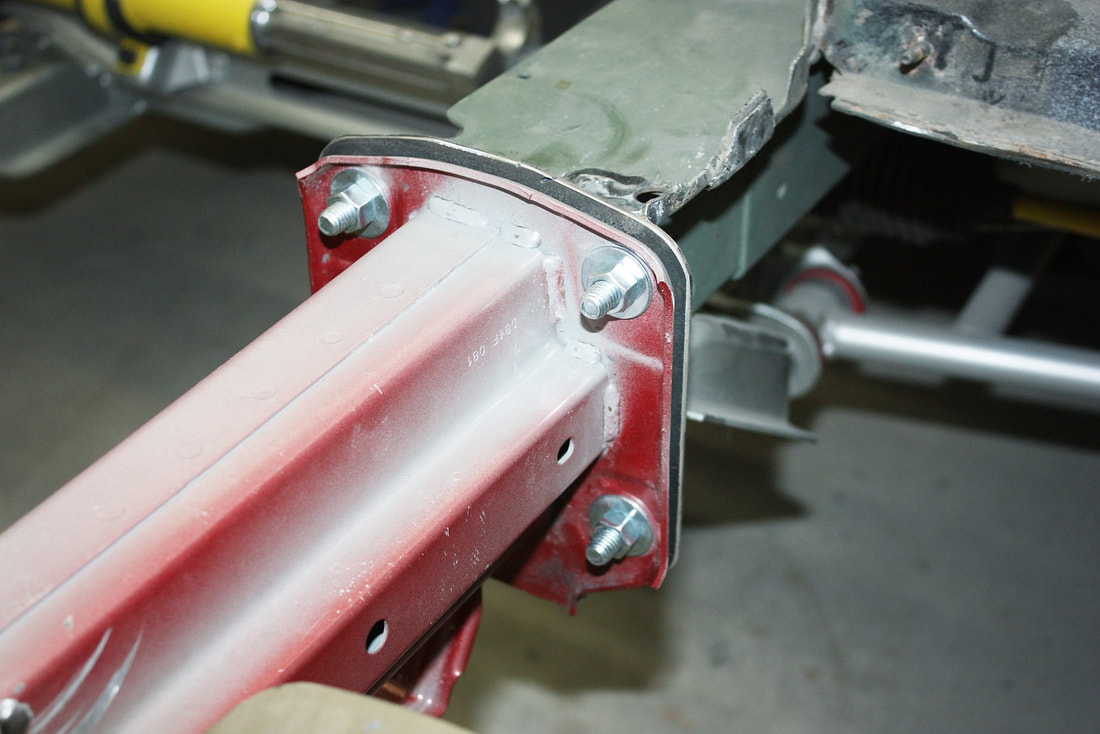
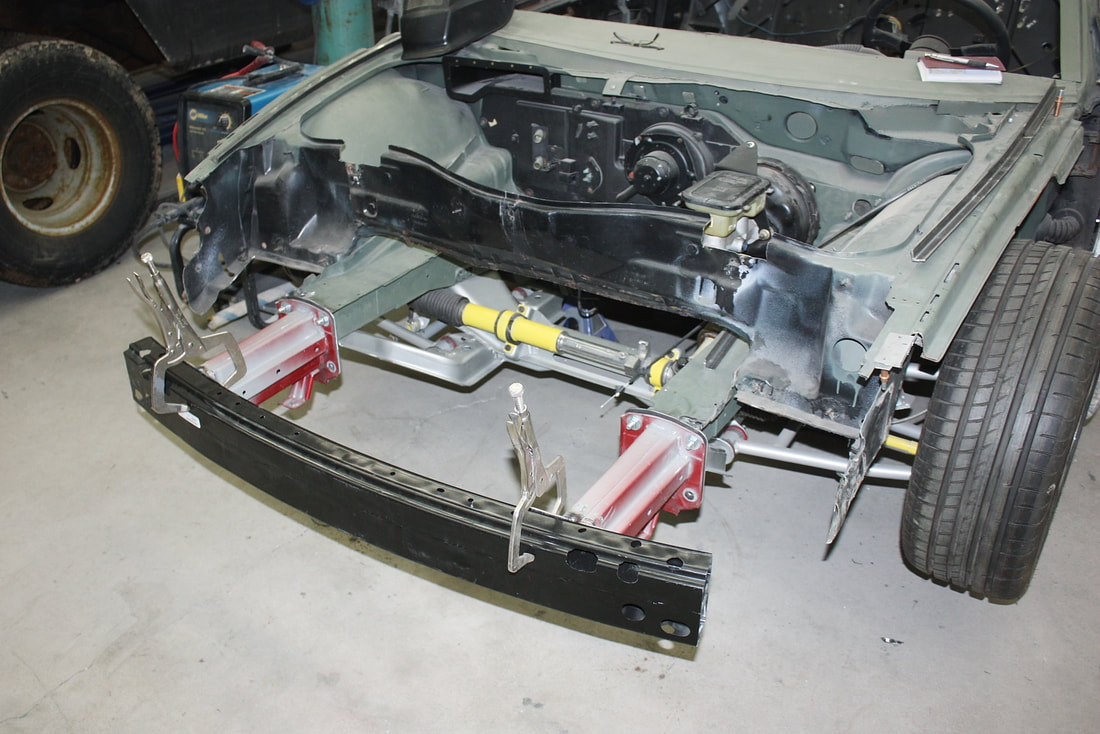
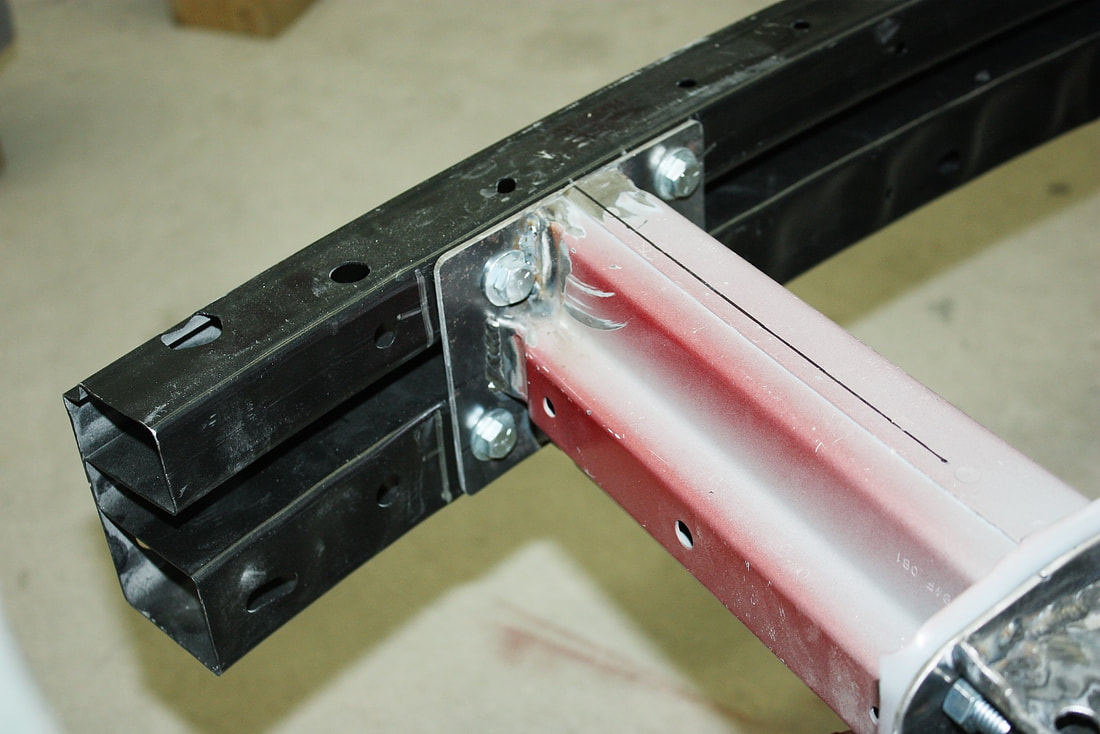
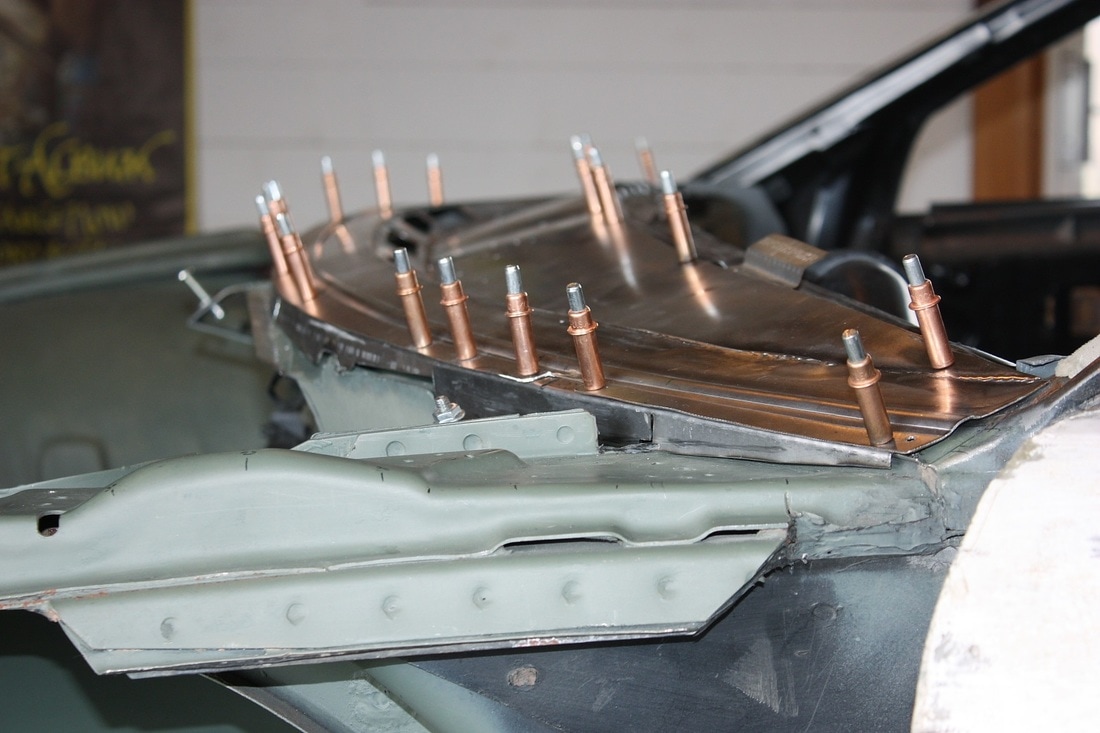
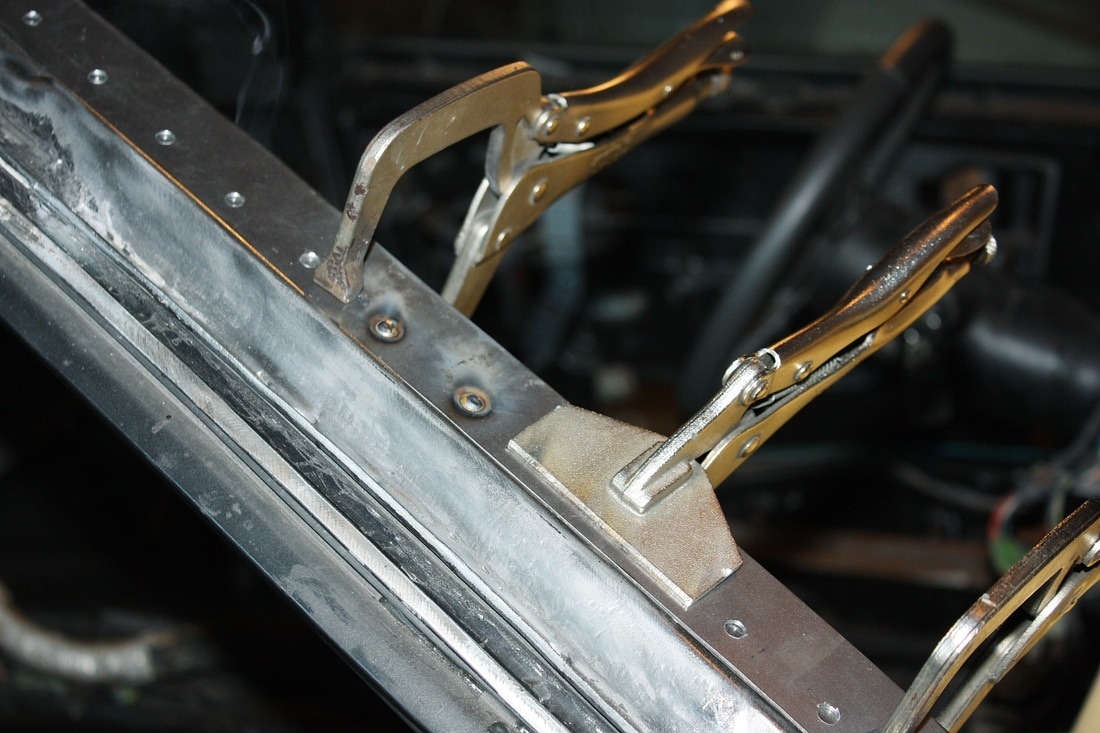
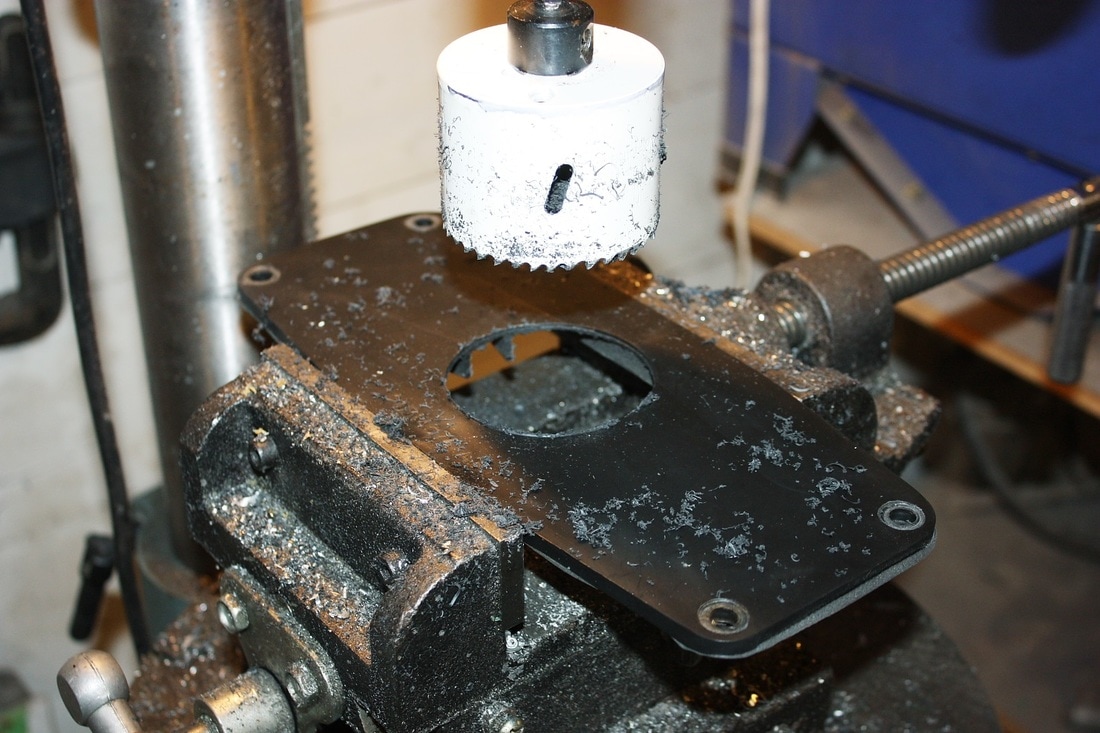
To get the ball rolling, I fabricated the 3/4" square tube tire support and welded it to the backside the mounting plates I had made earlier for the frame rail extensions:
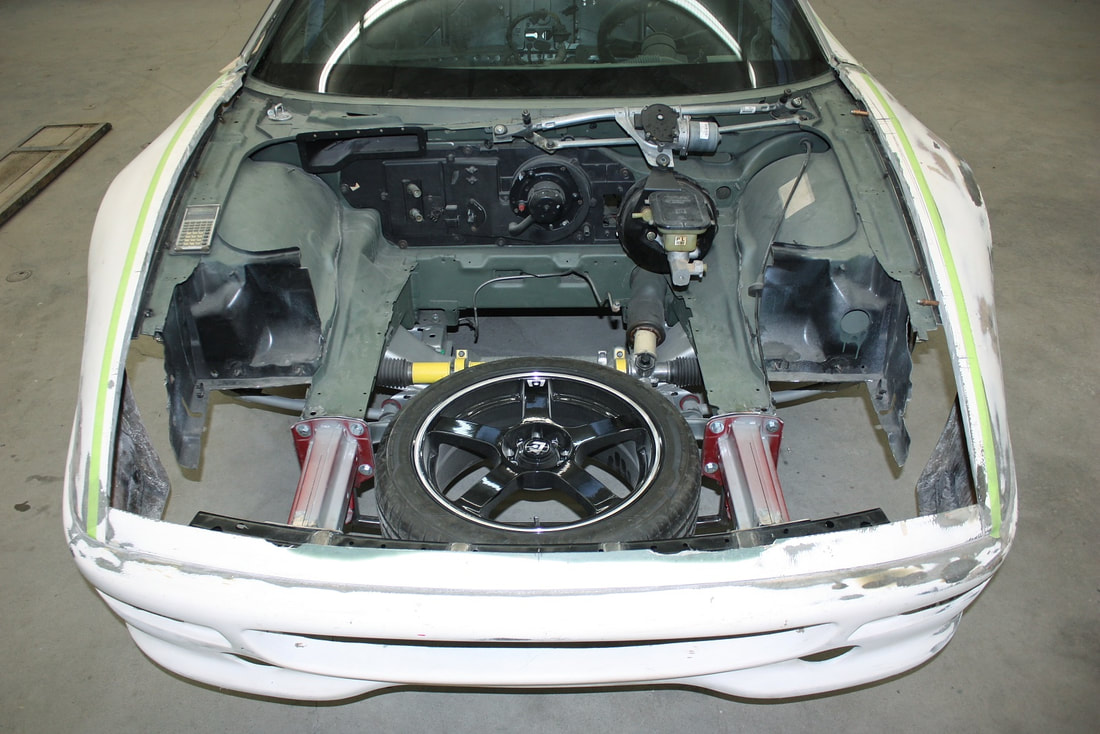
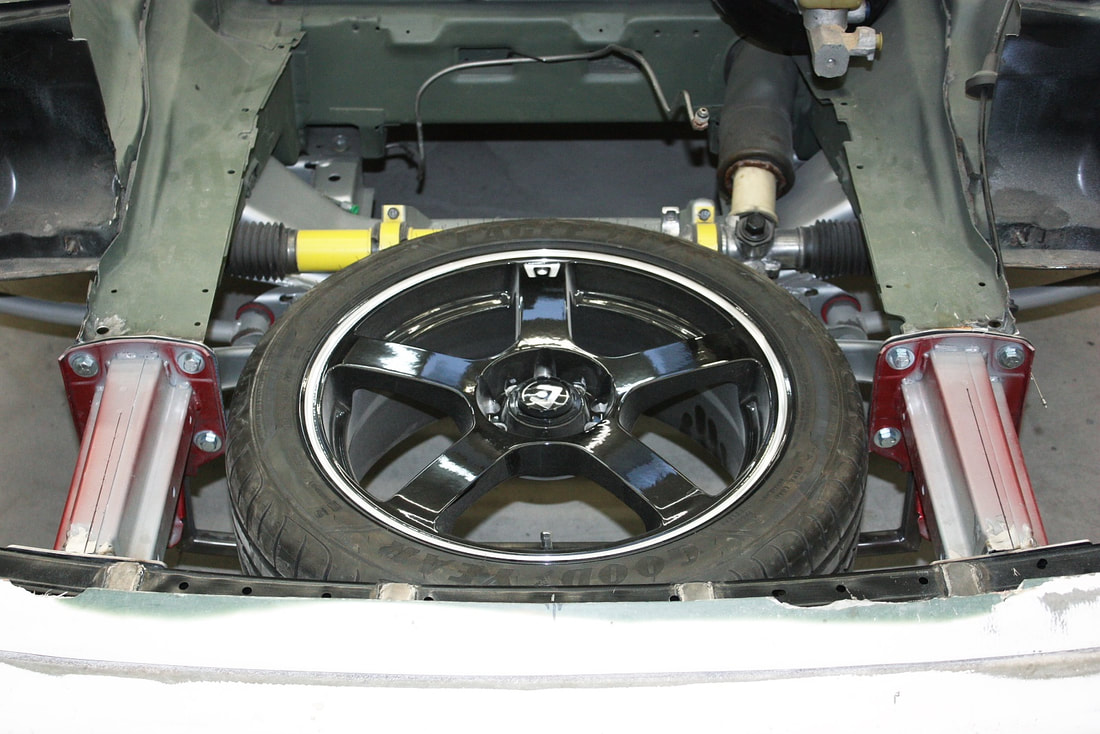
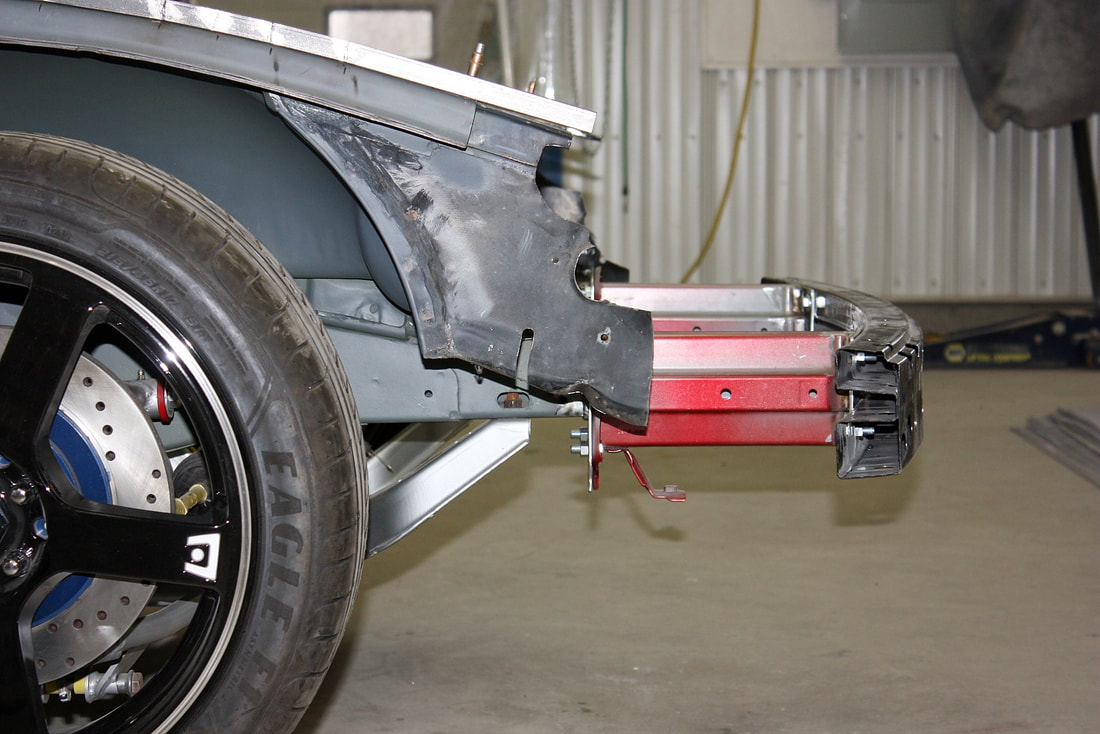
Then I mocked up a front wheel and tire in the hole and balanced it on the support for a photo:
For the final version, I’ll turn the spare wheel upside down to leave room for the jack and to get the wheel hub down low, closer to a mounting plate that I’ll weld to the new support.
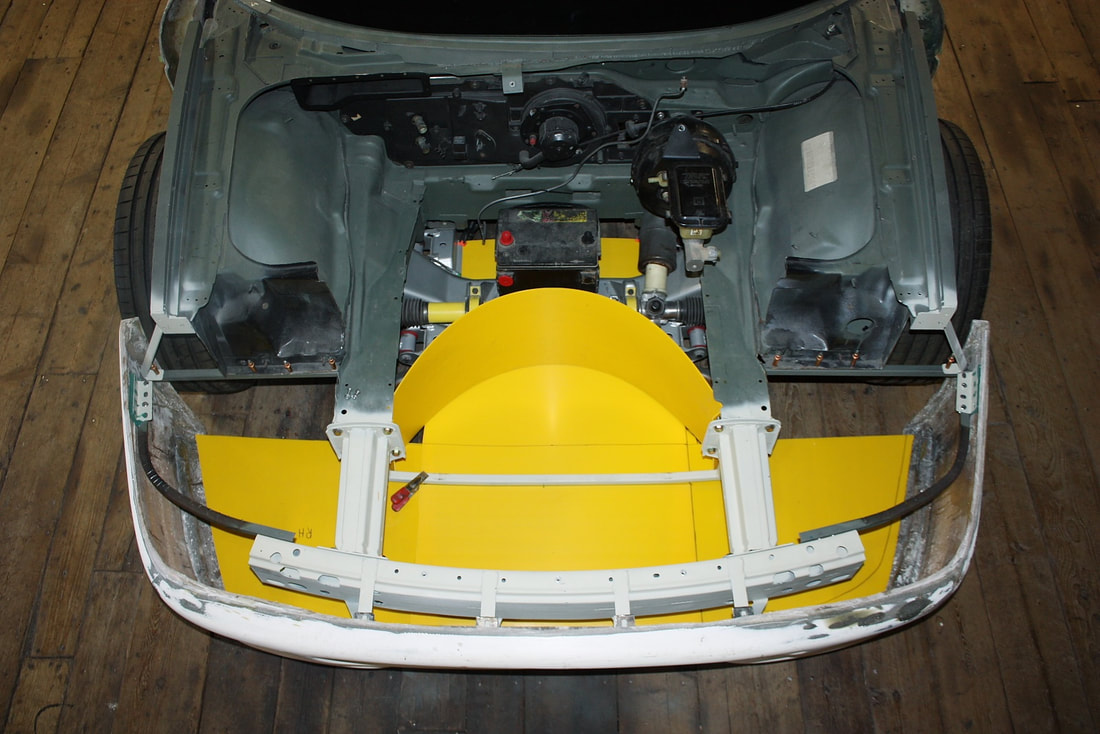
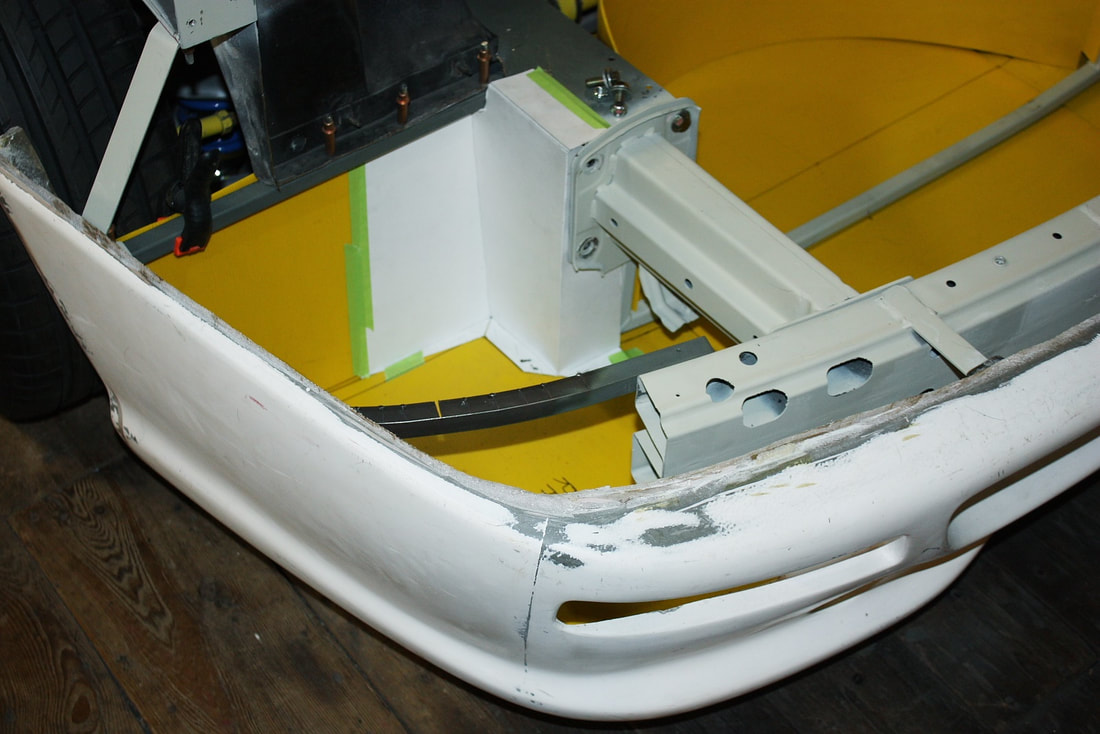
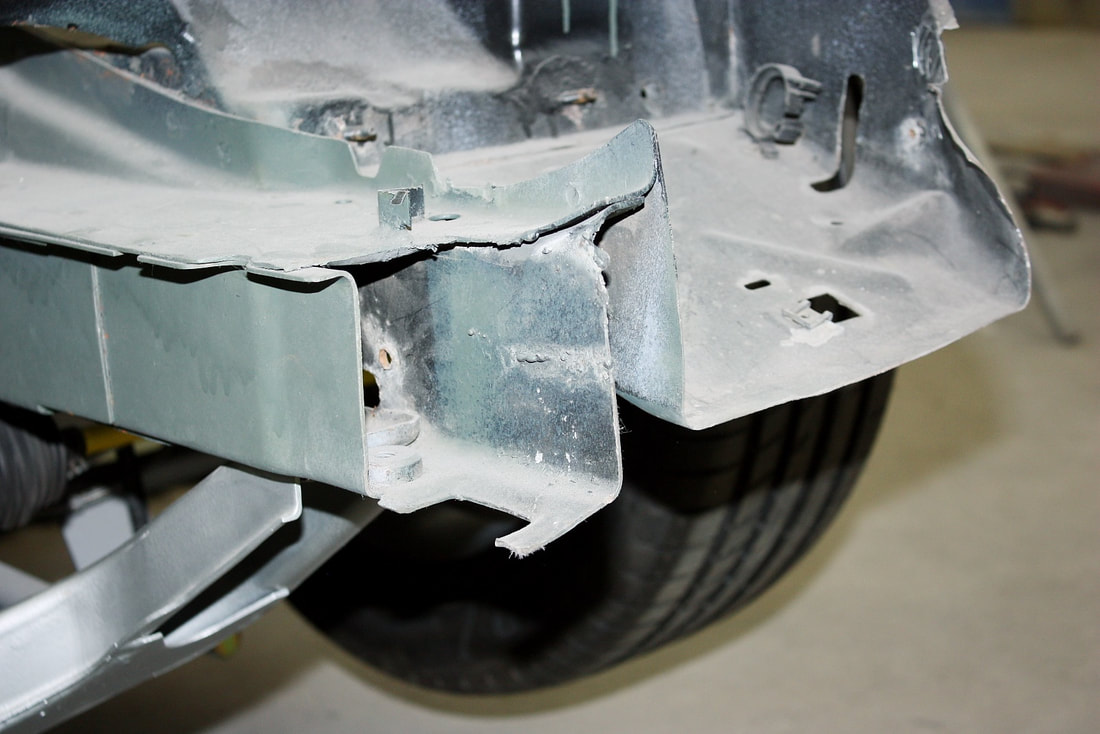
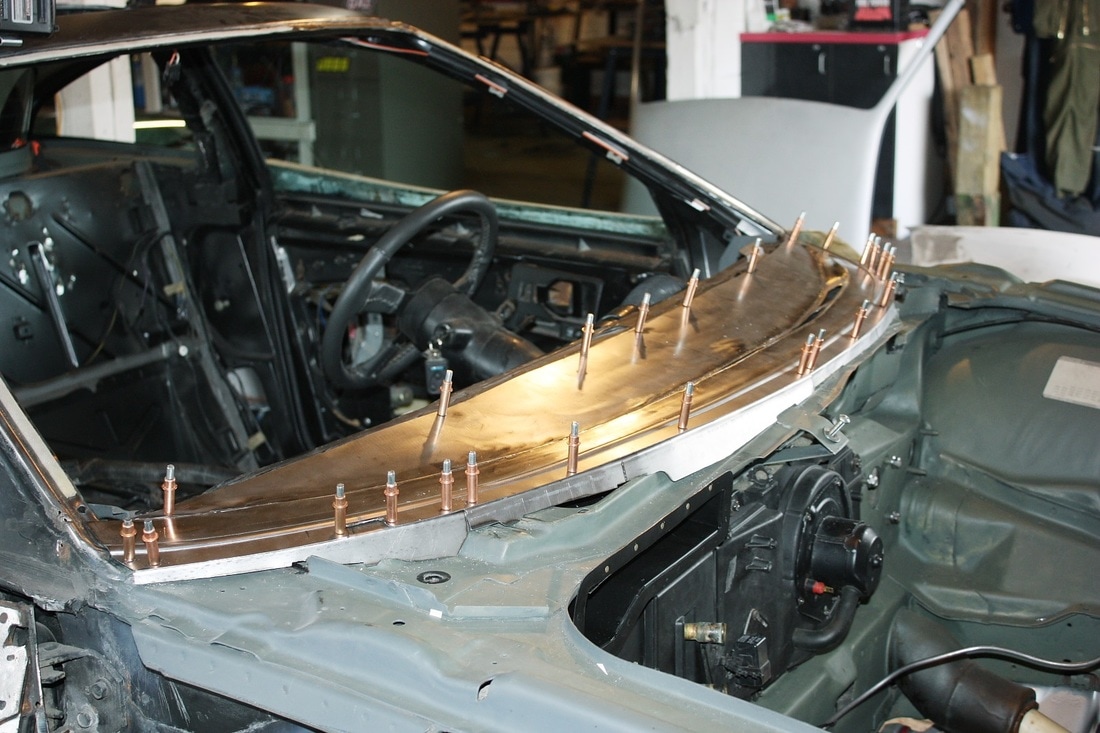
Before completing the tire mounting bracket, I decided it would be a good idea to make a floor for the spare tire compartment and seal it off from road debris. It would keep things clean and serve as the front portion of the undertray, similar to the authentic F355:
I added the front undertray to my chassis drawings to keep them current. Besides, the drawings provide a cerebral outlet for when I don't feel like turning wrenches.
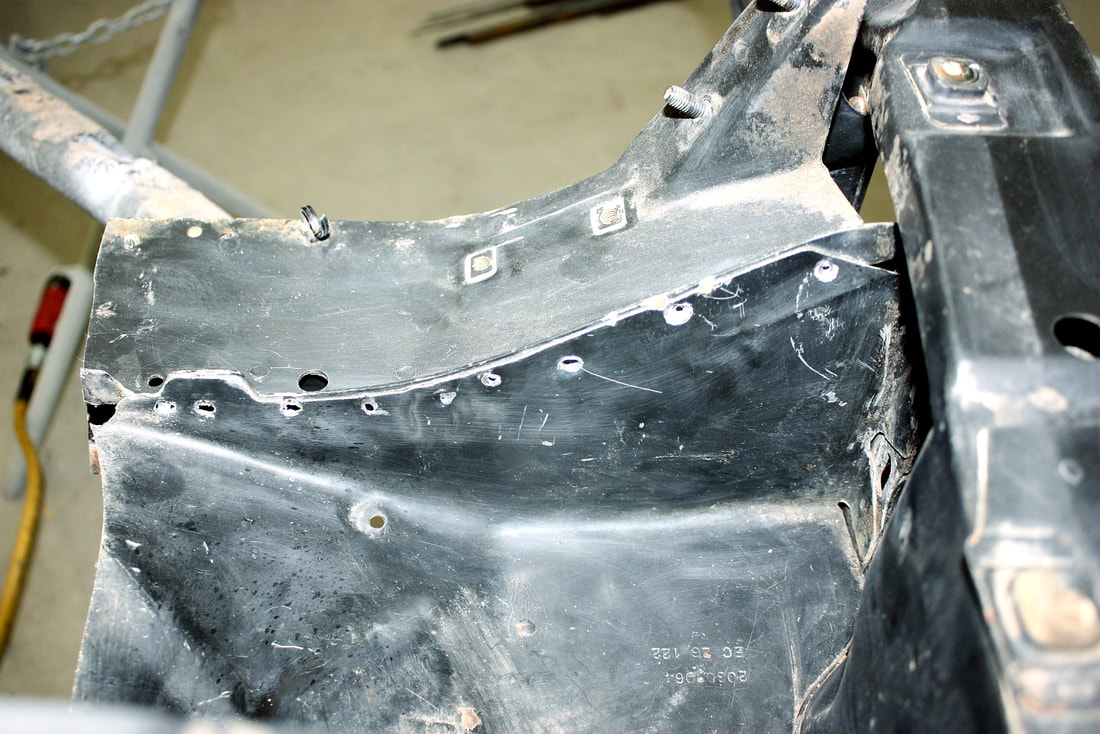
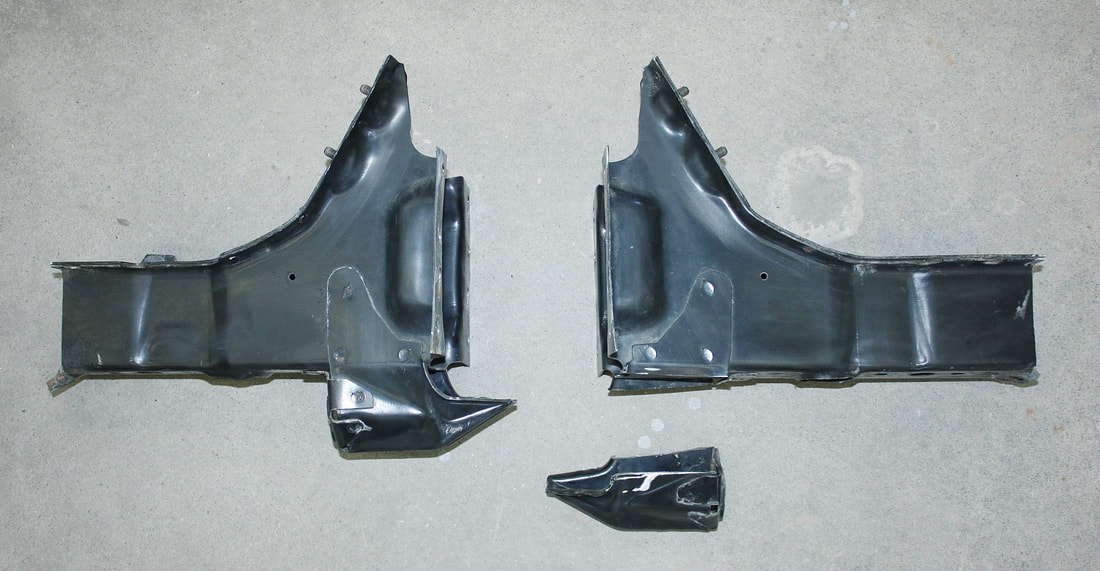
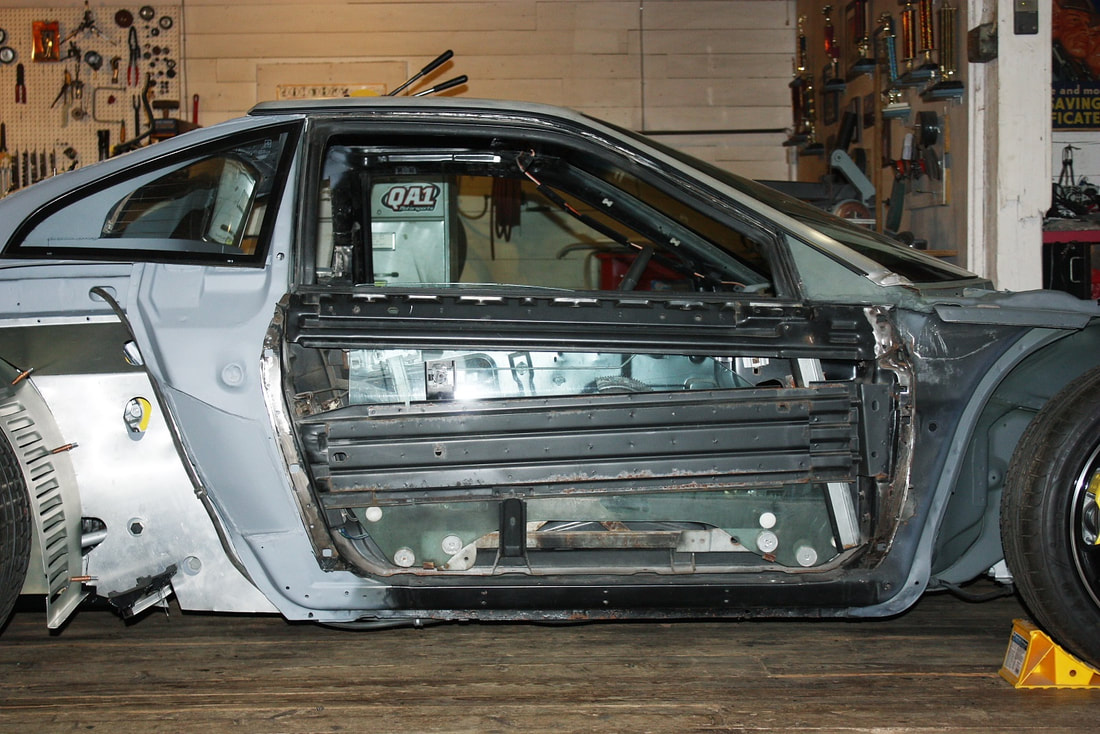
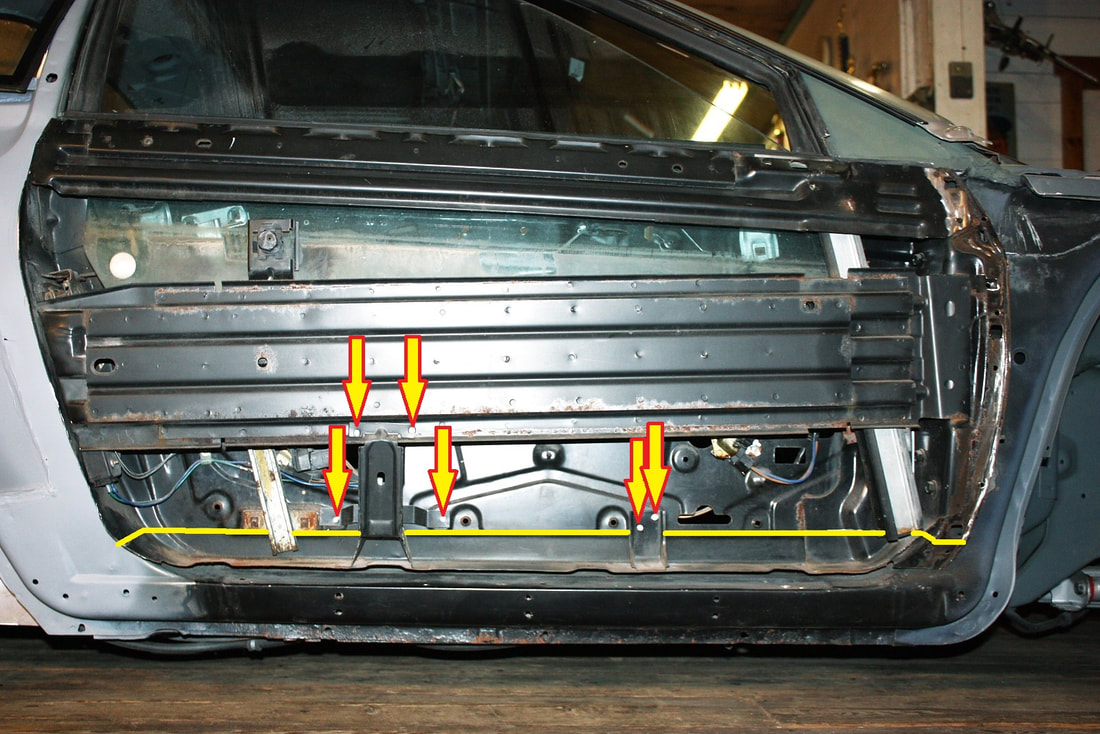
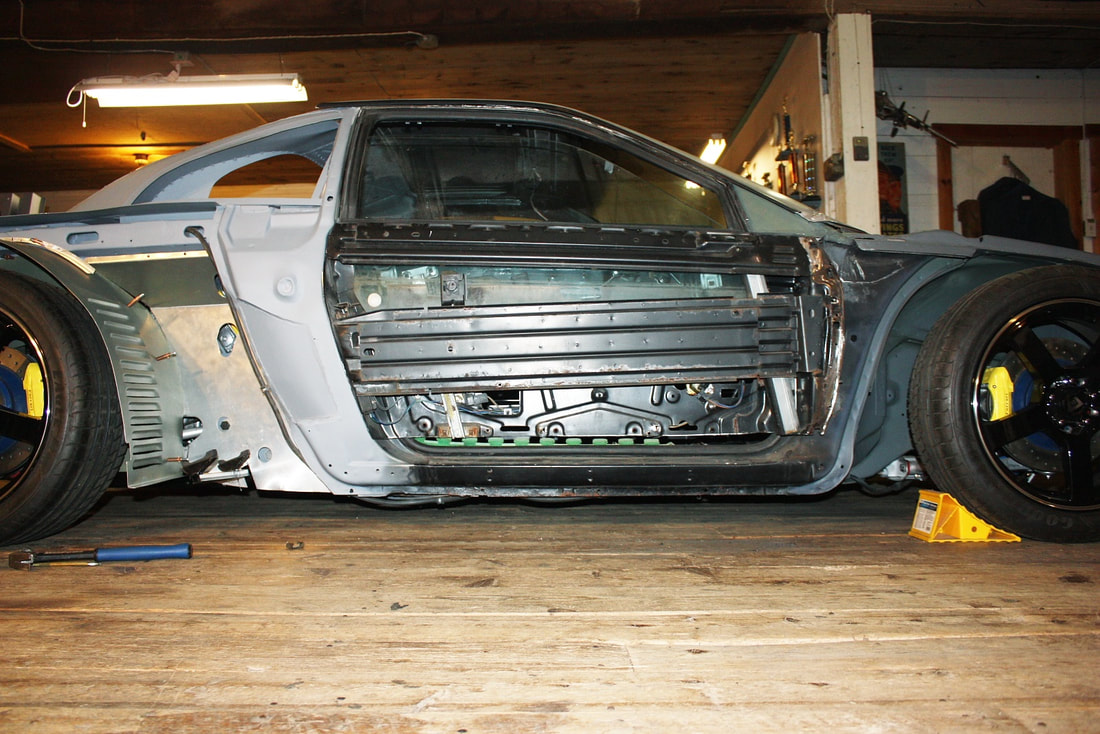
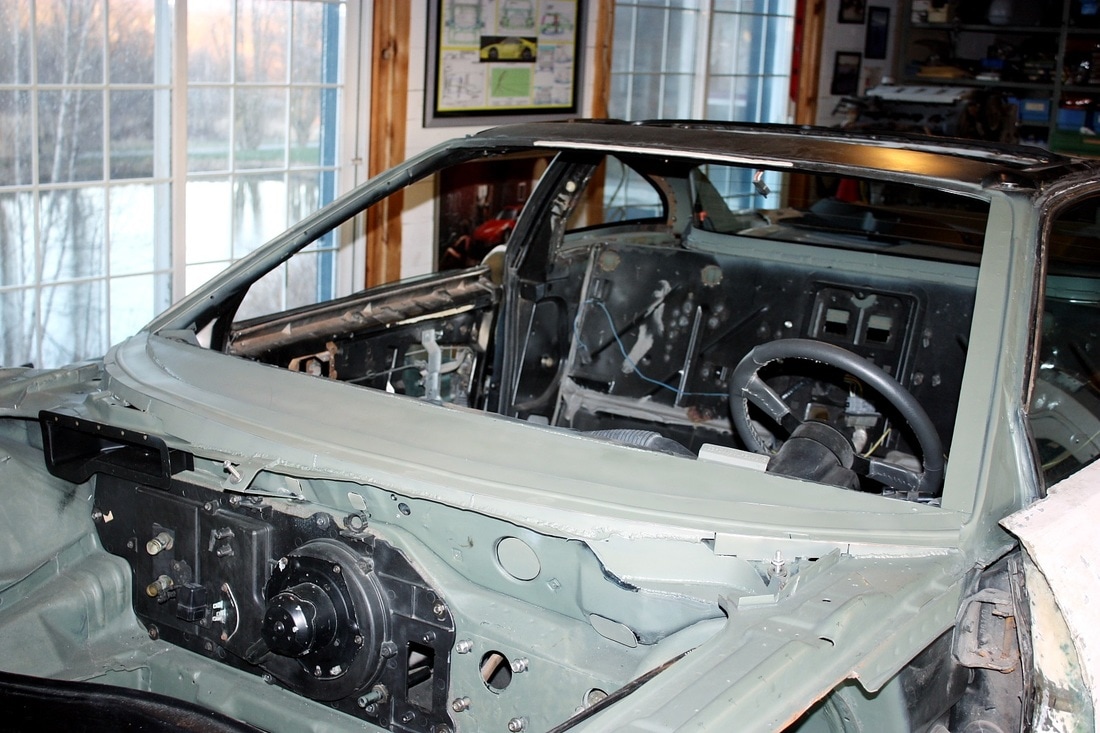
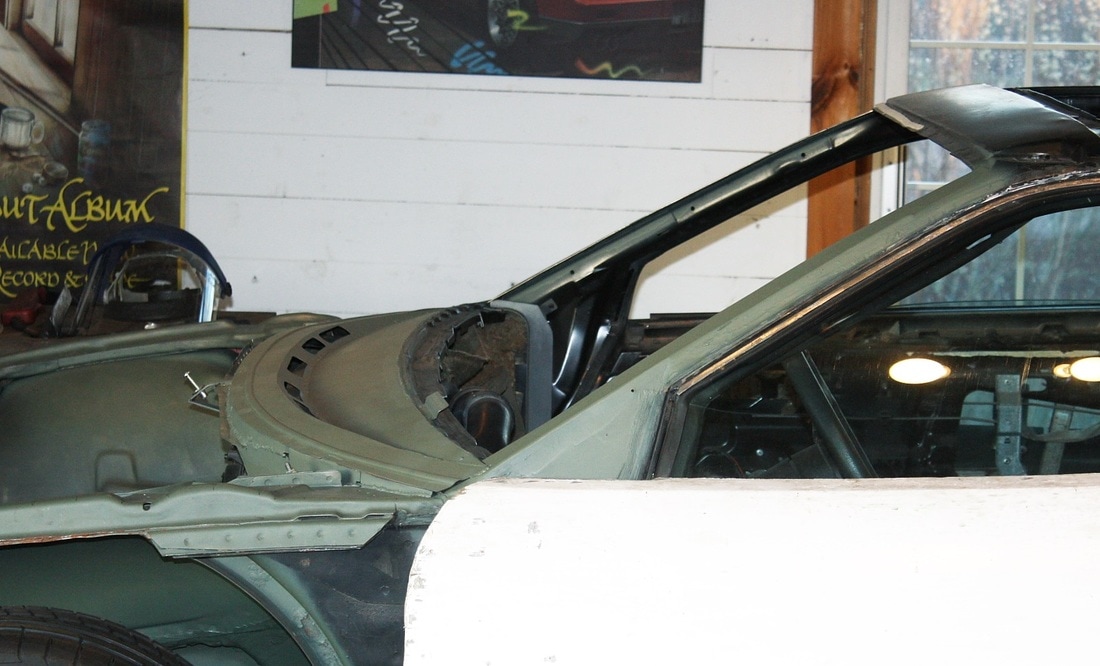
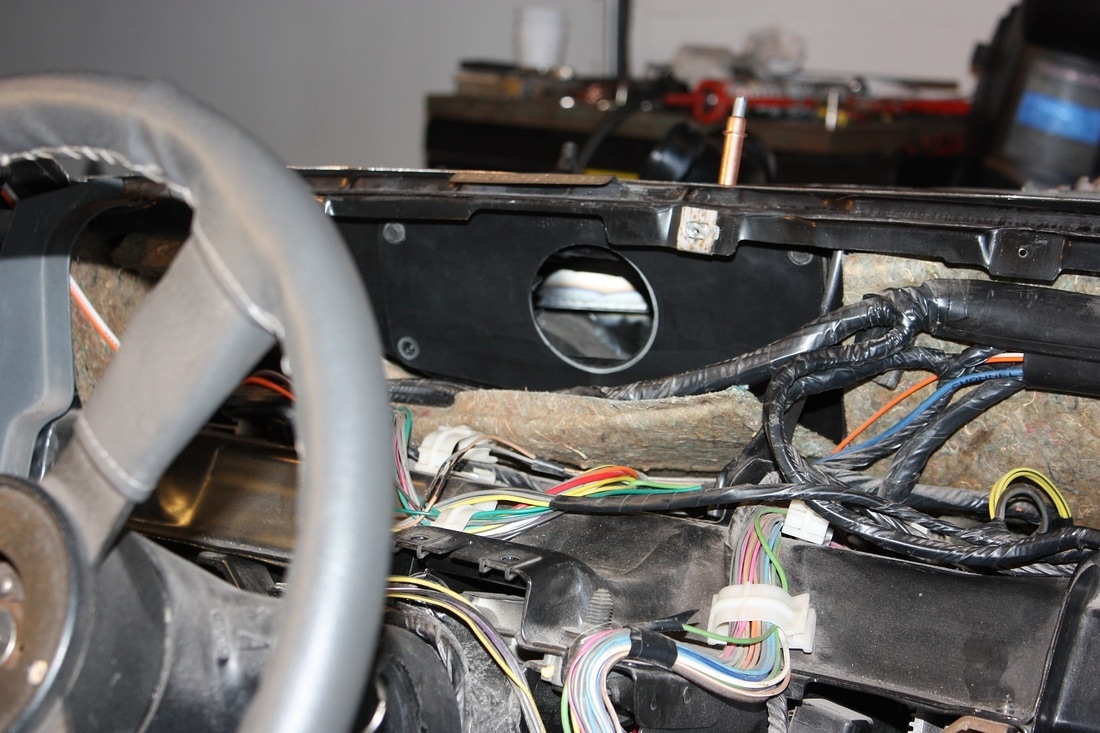
(This next series of photos jumps ahead a bit showing some modifications to the body that are covered in the next section of my blog, so if you see something you'd like more info about, go there since not everything was done in the order of these blog posts.)
To make the front undertray, I played around with some yellow corrugated plastic sheets so the templates would be stiff enough to keep their shapes. I roughly traced out the large Tee in three sections, then trimmed and fitted them individually in their respective places, and finally marked their positions relative to each other.
Then I measured half the circumference of a rear tire, added a couple inches more, and made the semi-circular rear wall of the spare tire tub:
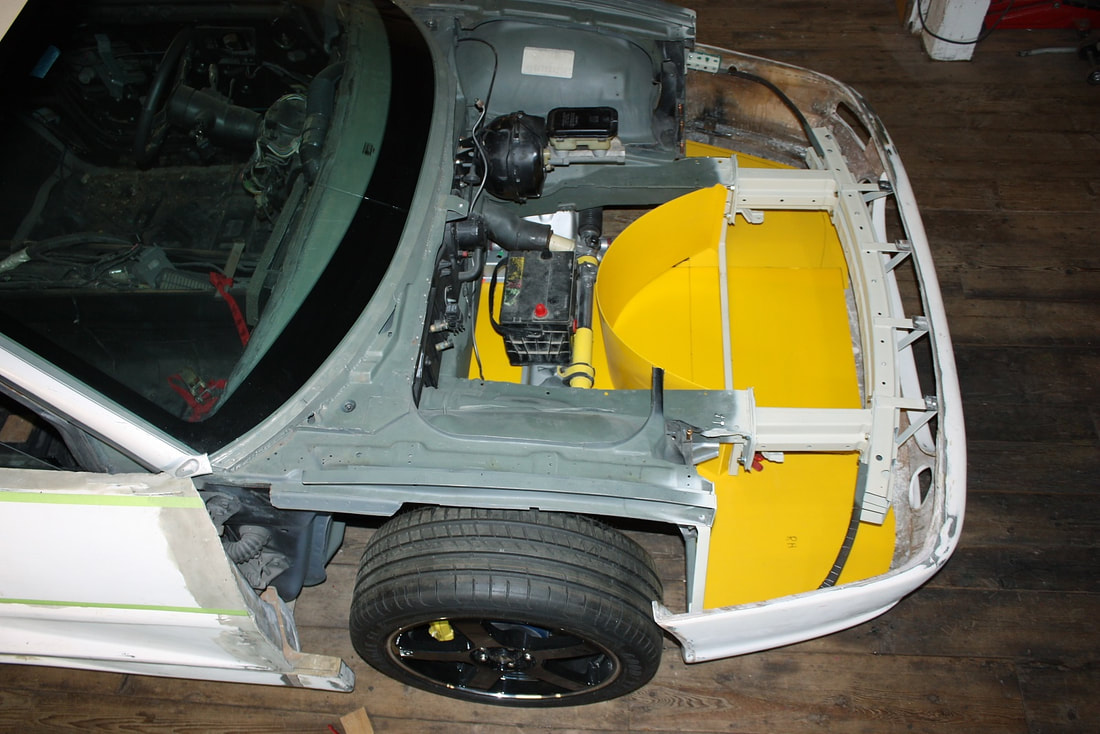
Next I worked at making some templates to close off the front compartment from the wheel wells:

I couldn’t simply run a wall from the wheel opening across to the curved spare tire tub because the front suspension cradle was in the way… and I needed to keep the cradle removable. Instead, I boxed around the cradle with the white cardboard template like so:
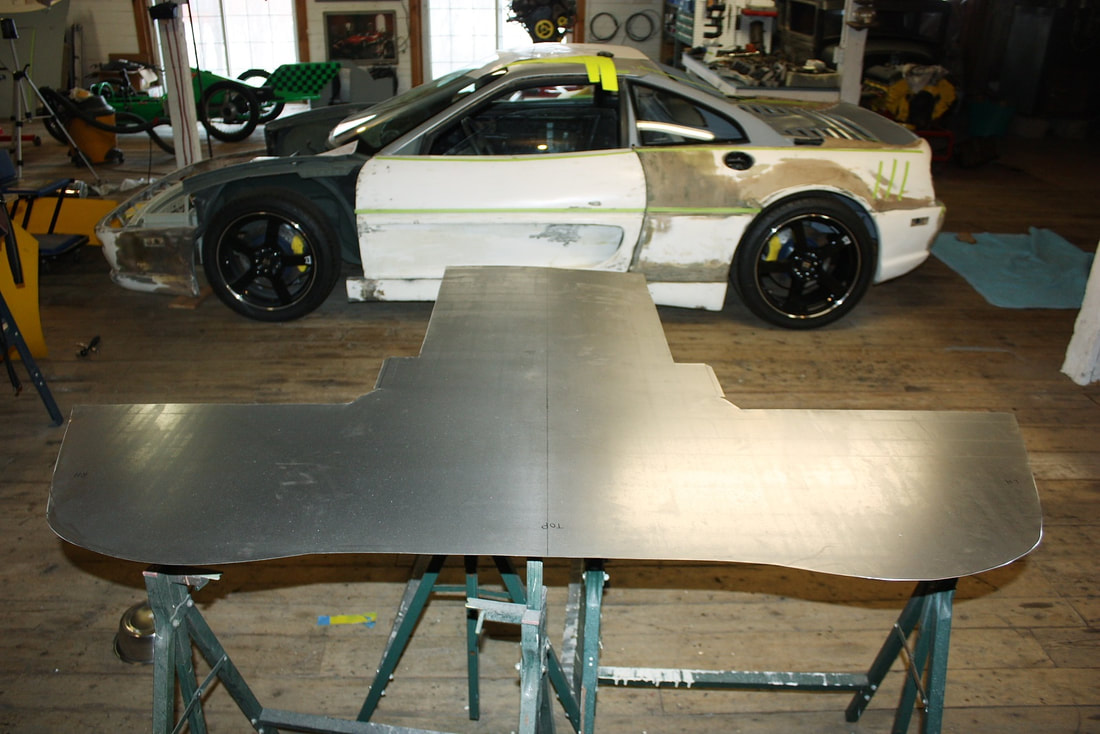
Once I was happy, I removed all the templates, and, having properly marked all of their respective positions, was able to recreate the large undertray onto a sheet of 22 gauge steel sheet:

Cutting it out and deburring all the edges was next...:
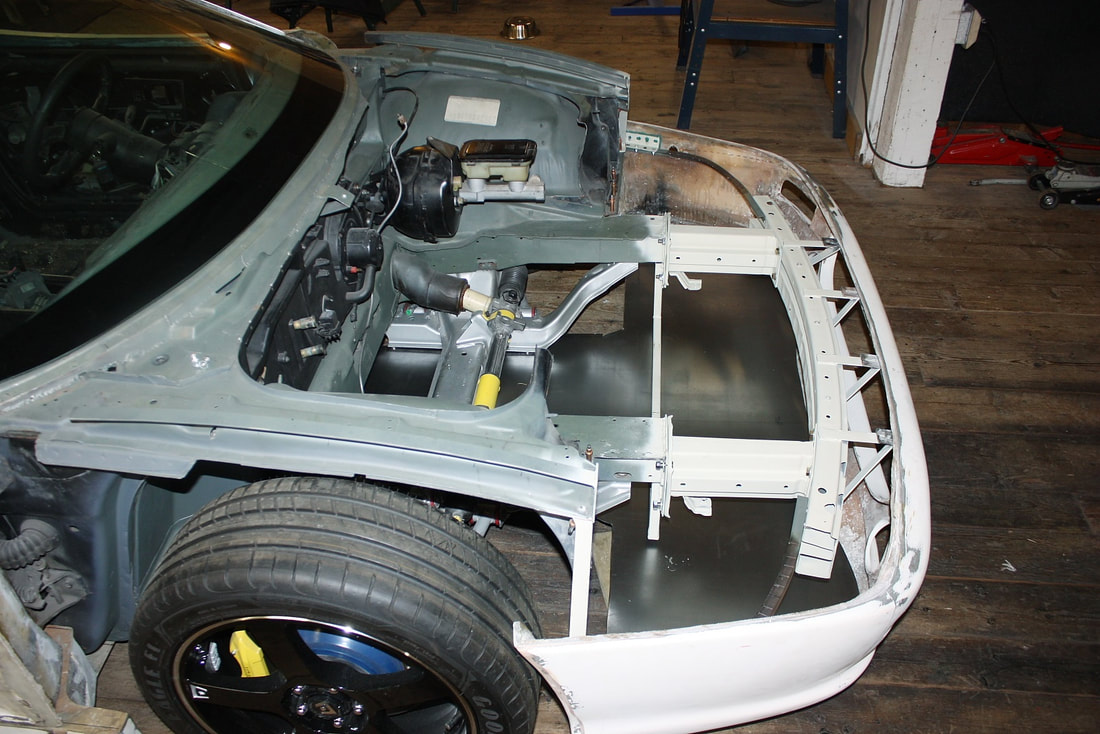
…Followed by mocking it up into place and planning how to fasten it:
Next up: some more front compartment work.


 RSS Feed
