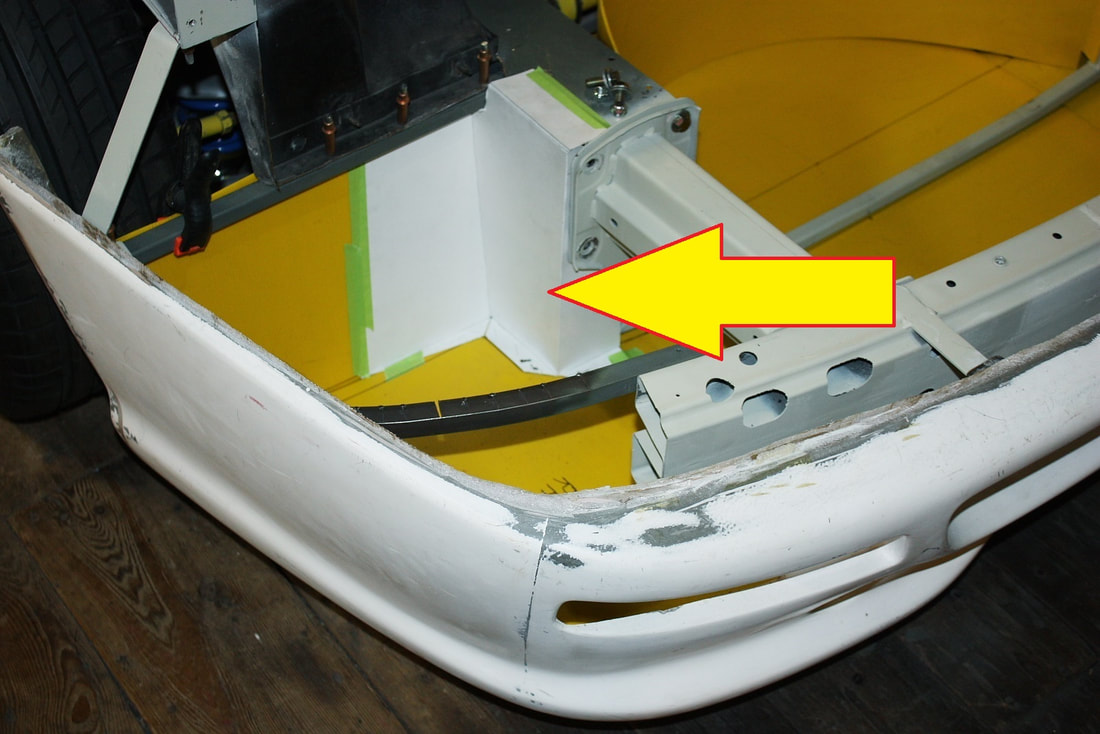
With the undertray prototyped in my last post, the next step to seal off the front compartment was to build the walls leading into the front wheel wells. From the last post:
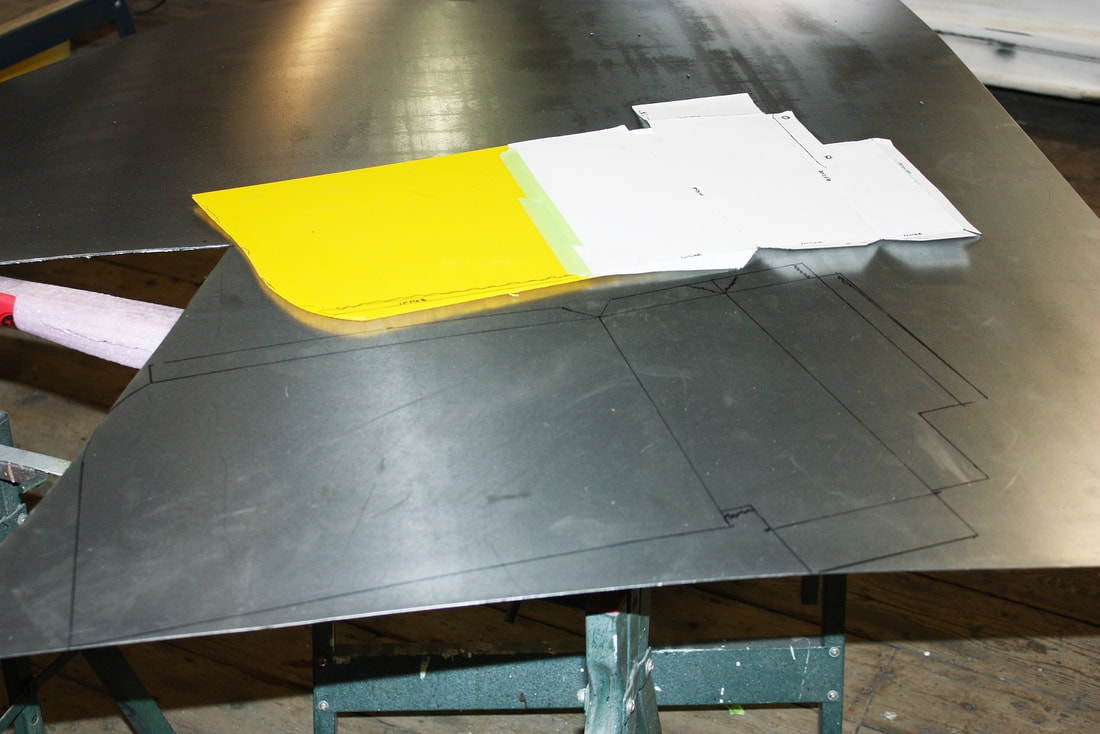
Luckily the left and right hand areas were symmetrical enough that I was able to use the same template for both sides. Once unfolded, I traced the template onto some more 22 gauge steel, and cut out the forms with a thin cut-off wheel:
Next I needed to bend them into shape. I have a small, bench-top metal brake that comes in handy for light weight sheet bending:
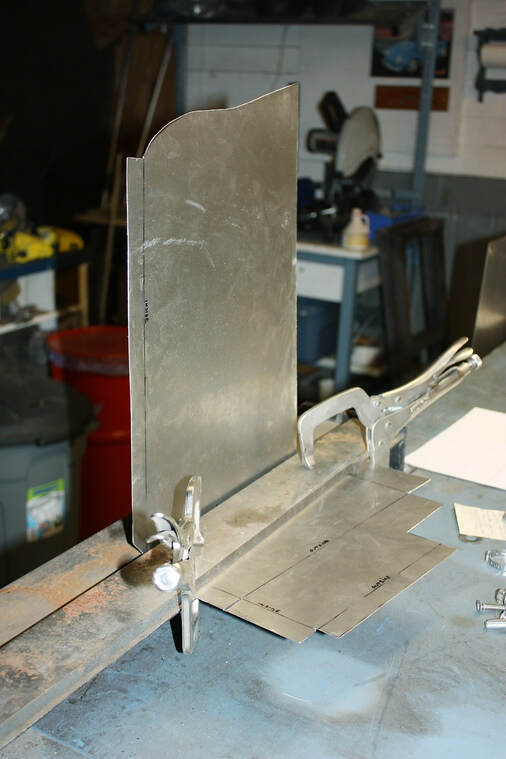
With careful planning, I was able to make all of the longer bends using the brake, and the shorter ones using some duck-billed Vise-grips, without boxing myself into a corner (pun intended!):
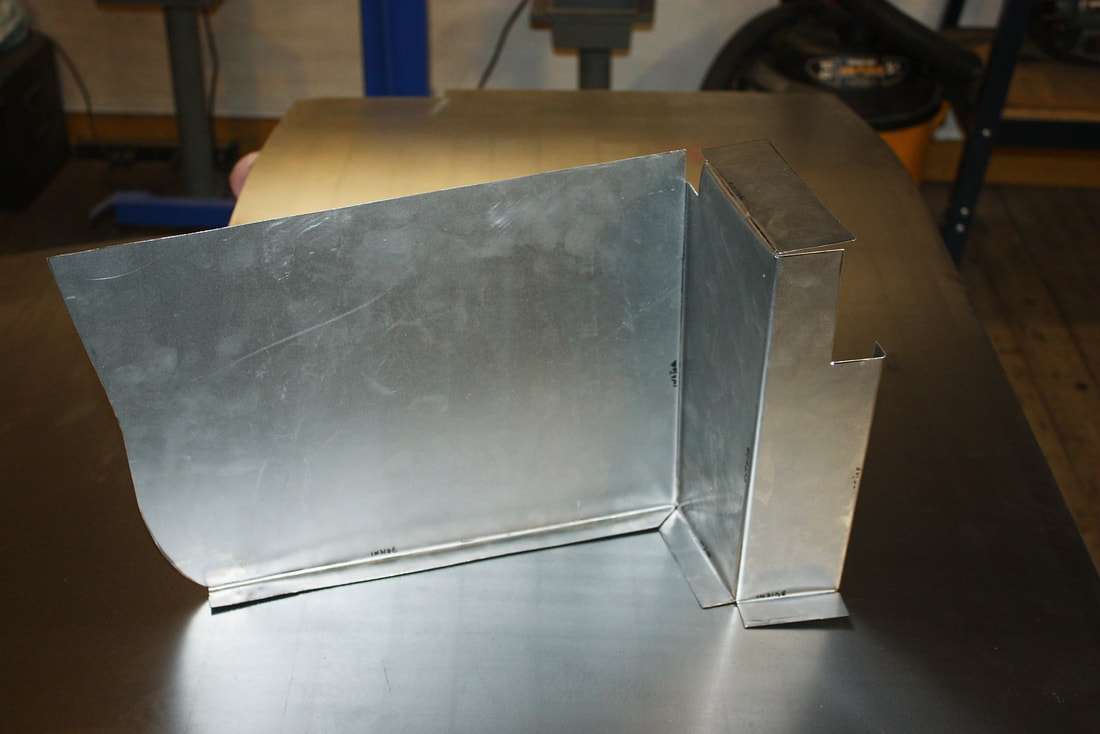
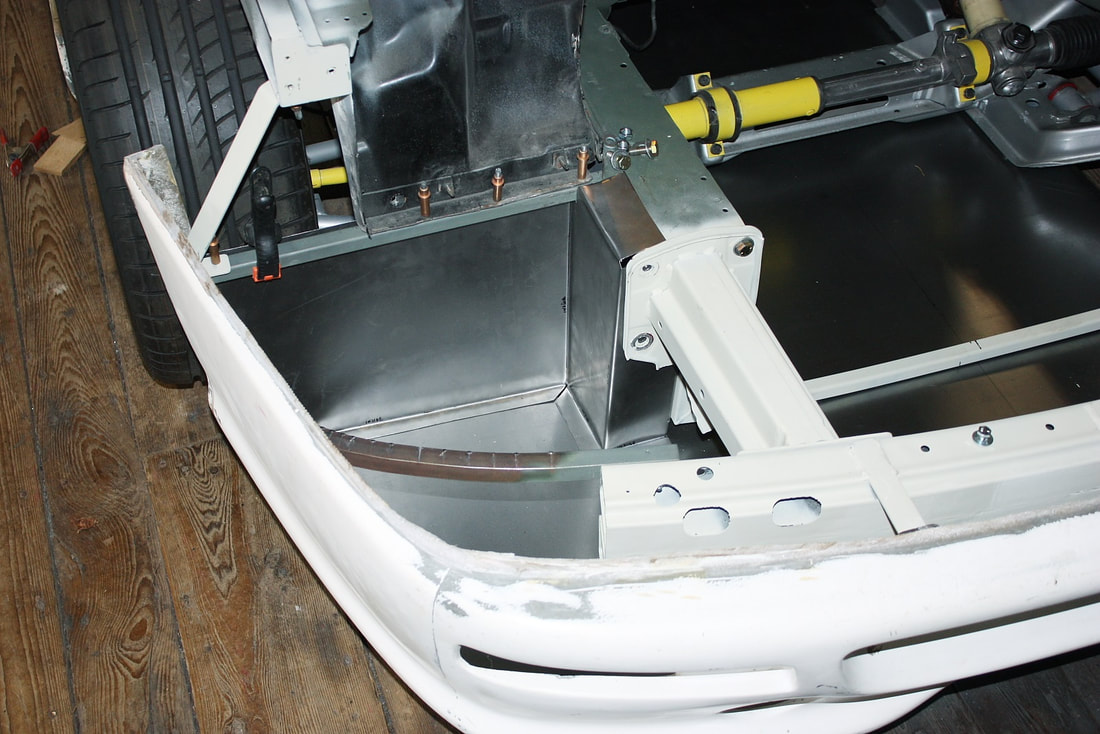
With a little fidgeting, I sealed off the front compartment from the wheel wells with my new forms. I was careful to make integral flanges to tie the pieces into the undertray, and the rest of the chassis:
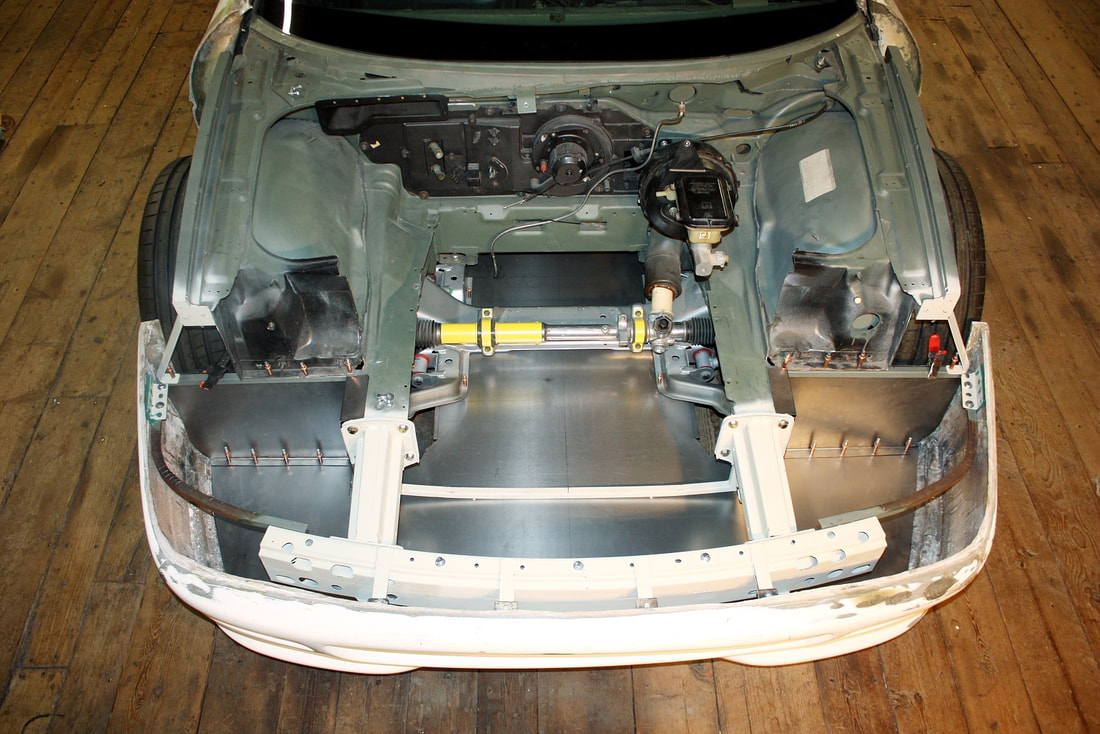
Here’s an overhead photo of both sides mocked up:
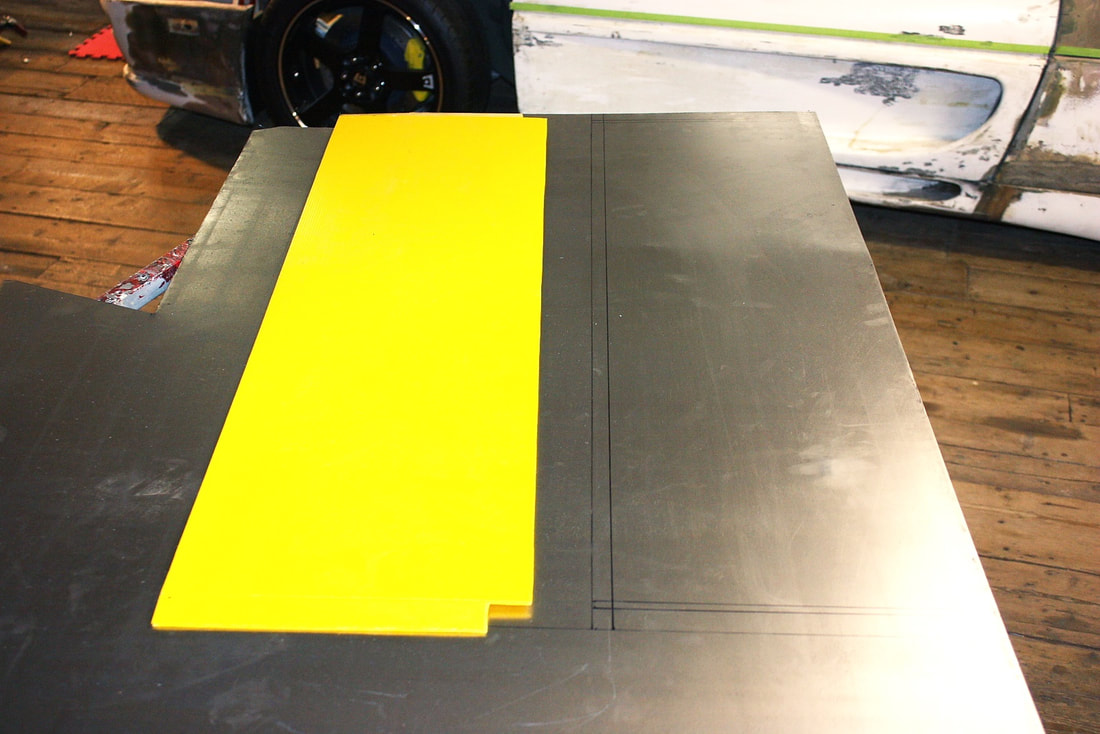
The spare tire well was considerably easier to make. I mocked up the template and took note of any minor changes needed:
Then I unrolled it and traced it out on some more 22 gauge steel. I wanted the compartment to be made of steel for a couple reasons. The main one was to provide an extra measure of wheel containment in the event of a front end collision, but the wall will also serve as a stiffener for the lower undertray, and will help support the floor of the luggage compartment above it:
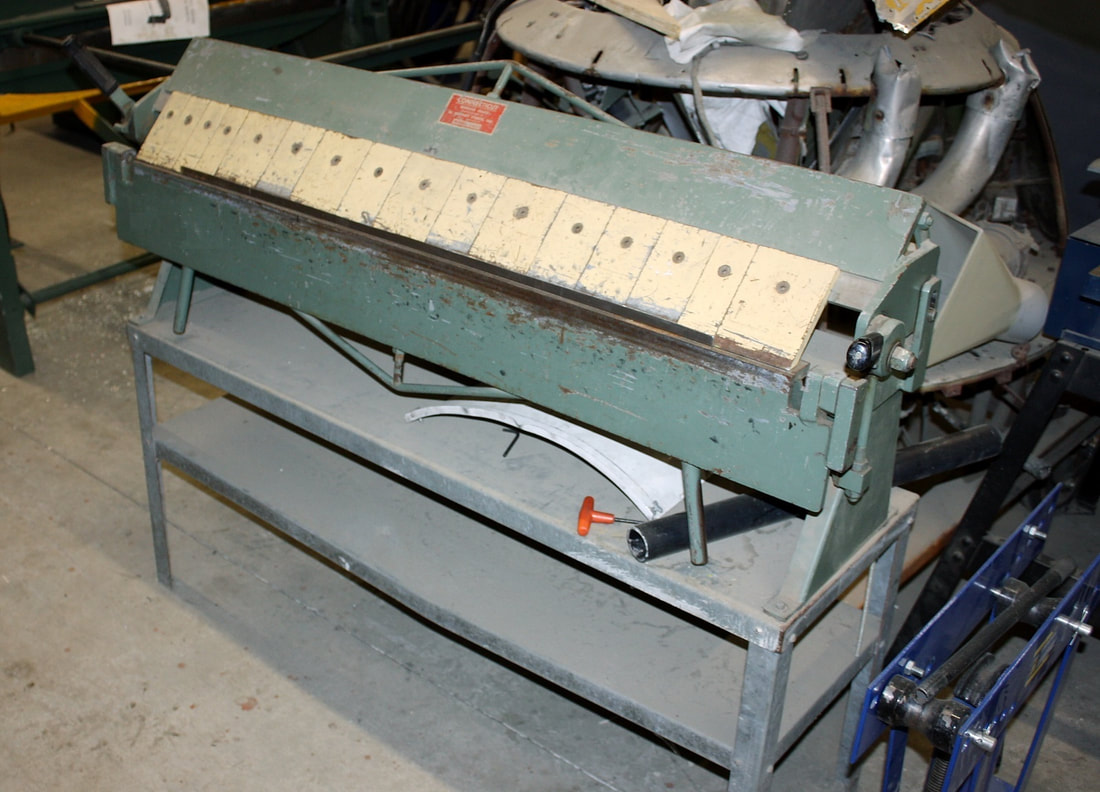
As with the wheel well separators, I planned extra material along the bottom to form a flange that could be fastened to the undertray. My 36” metal brake wasn't long enough to bend the flange so I popped over to the aviation museum where I’m the Avro Lancaster restoration team leader. There, I was able to bend the flange on the 48” finger brake. Volunteering over 1500 hours has its privileges!
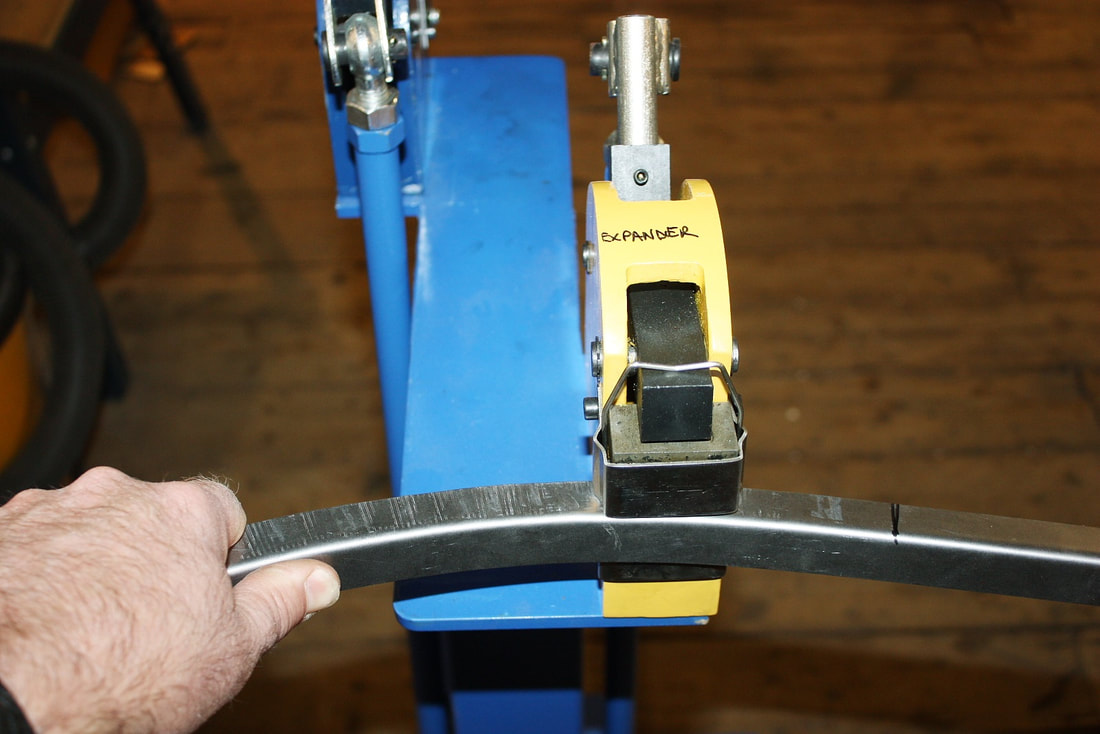
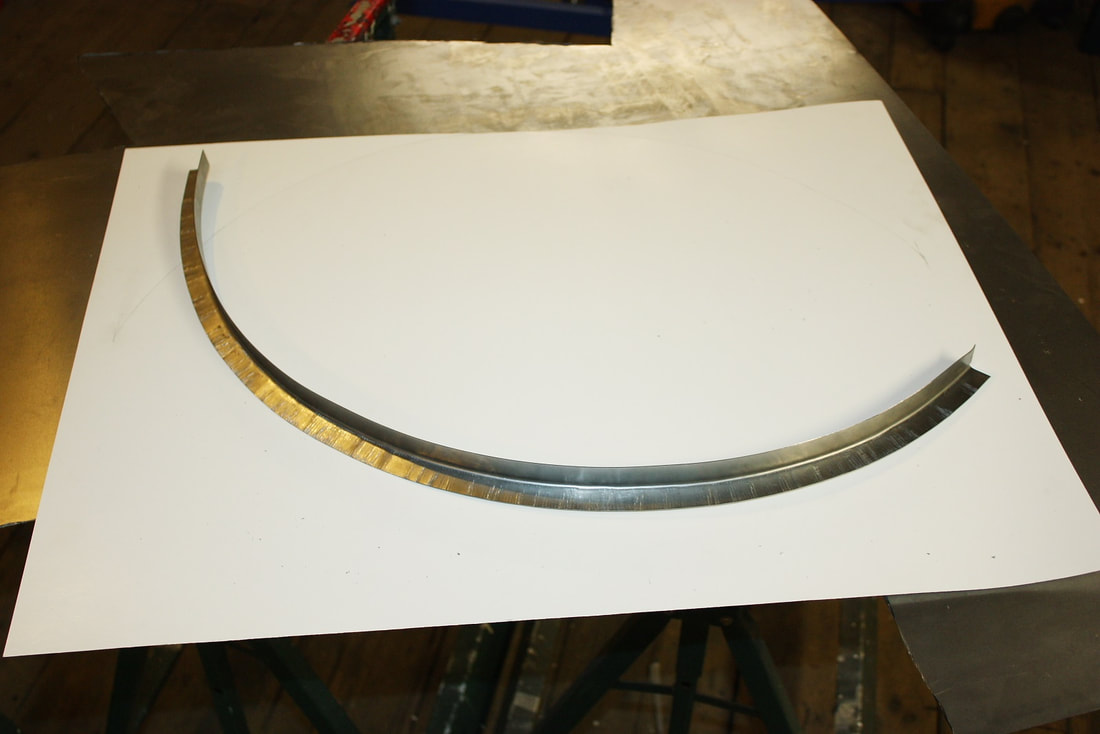
Once back at home, I used my shrinker to put a gentle curve into the flange. The shrinker has jaws that grab and bunch up a small amount of metal at a time allowing an easy way to make simple curved surfaces:
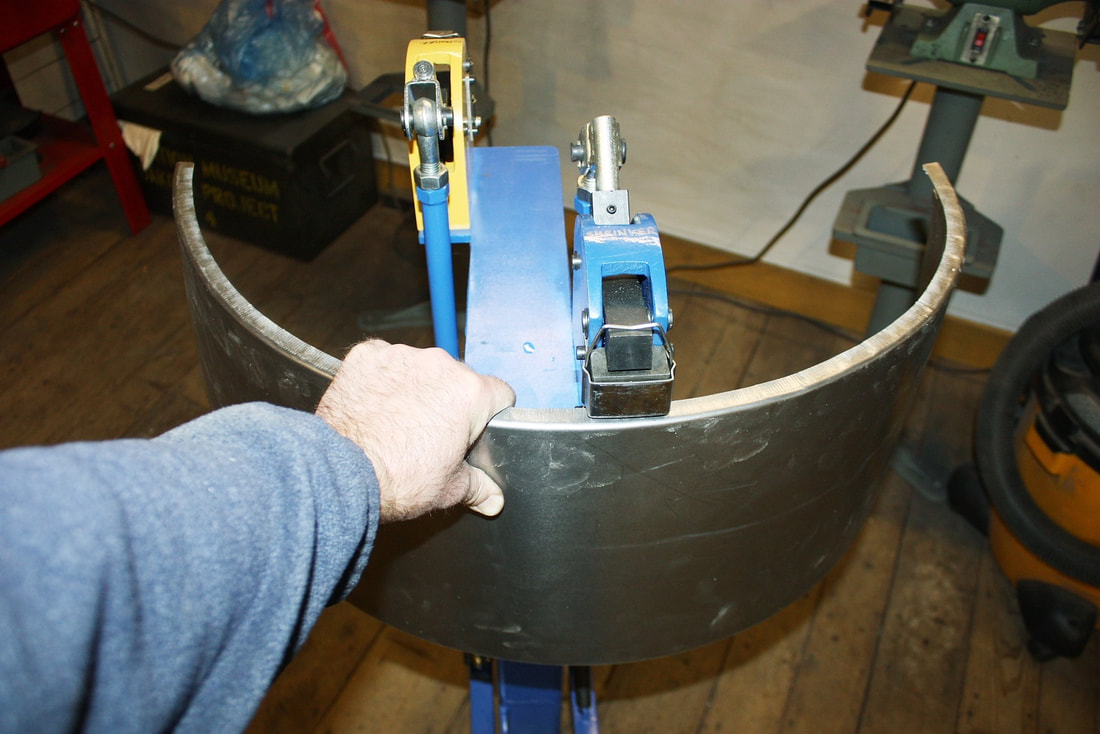
I had traced the curvature I wanted onto a large sheet of paper and kept comparing the actual piece to the desired shape until it was just right:
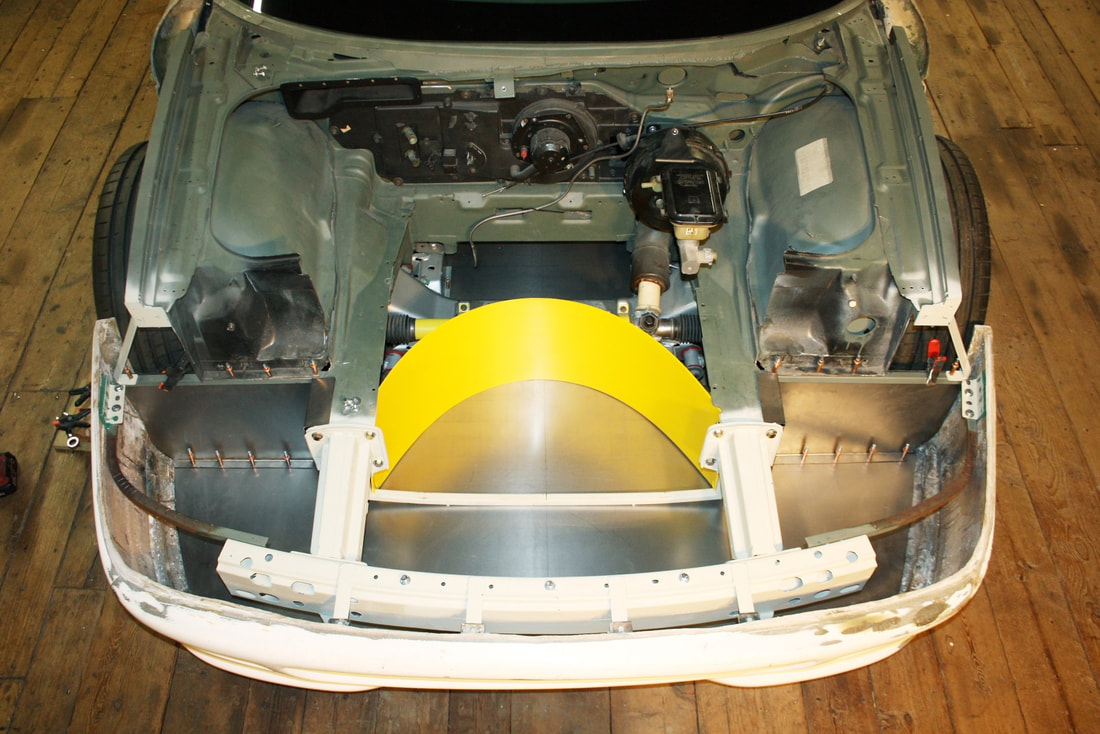
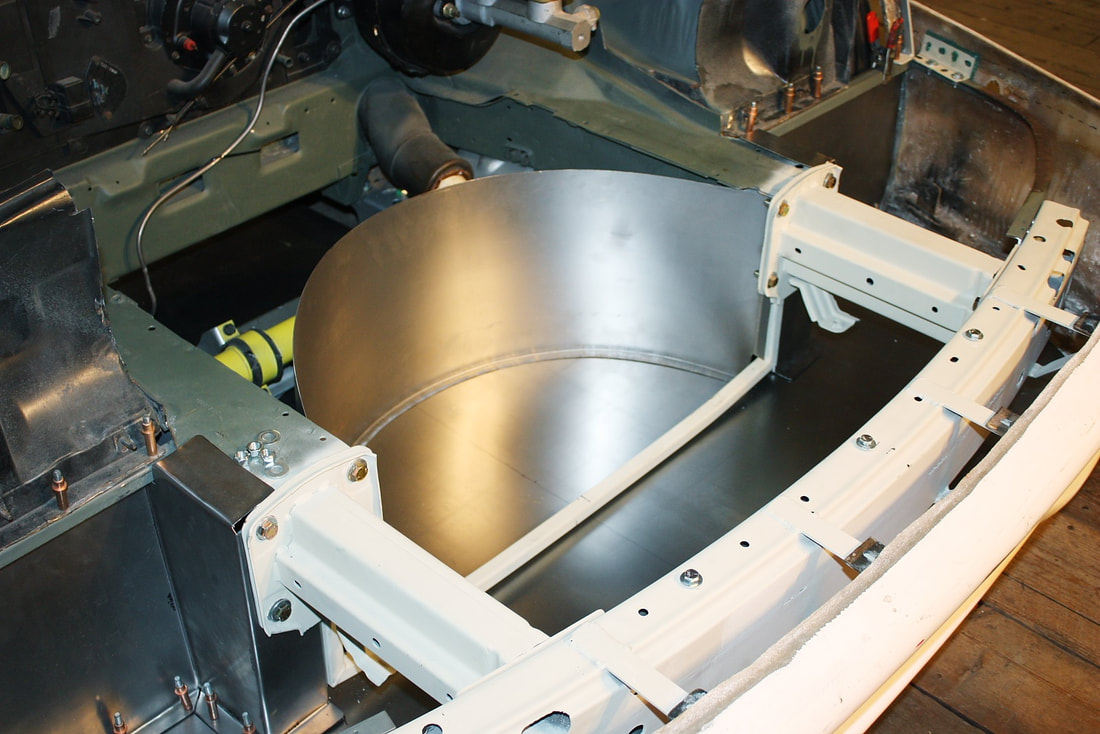
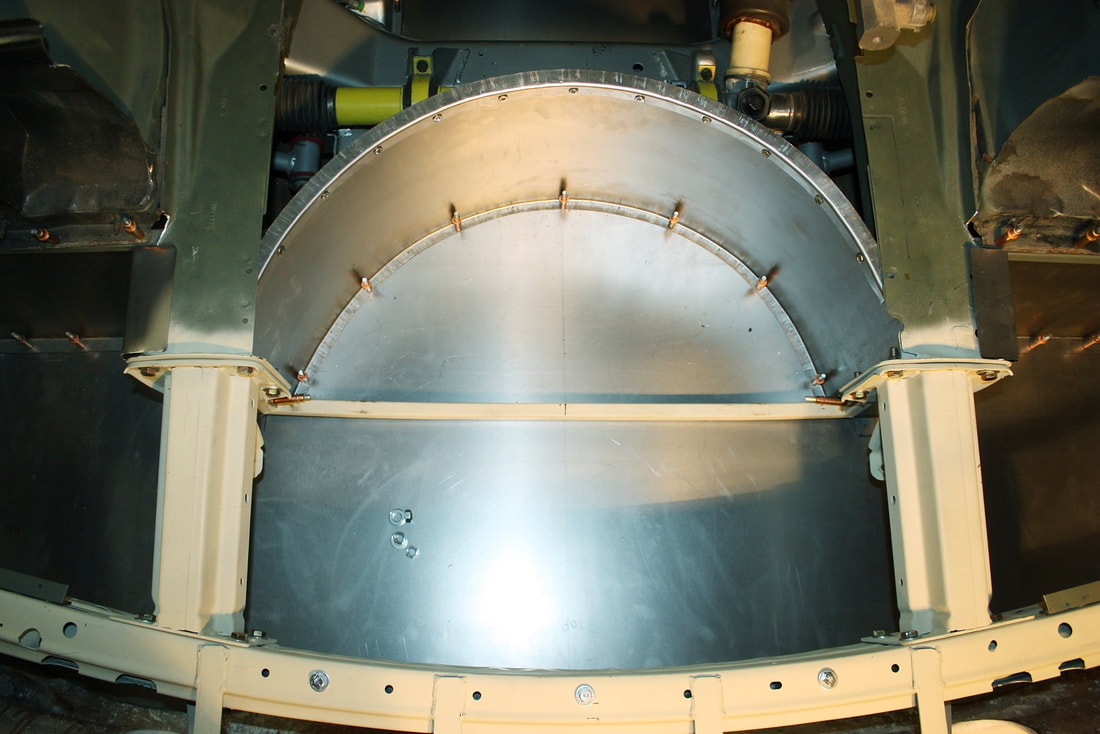
After a few tweaks, it fit like a glove between the two lower frame rails:
The last step was to form an upper flange. I wanted to kill two birds with one stone: force the proper shape along the top of the curved wall; and provide an upper attachment surface for wall to the luggage compartment floor that will sit above it later on.
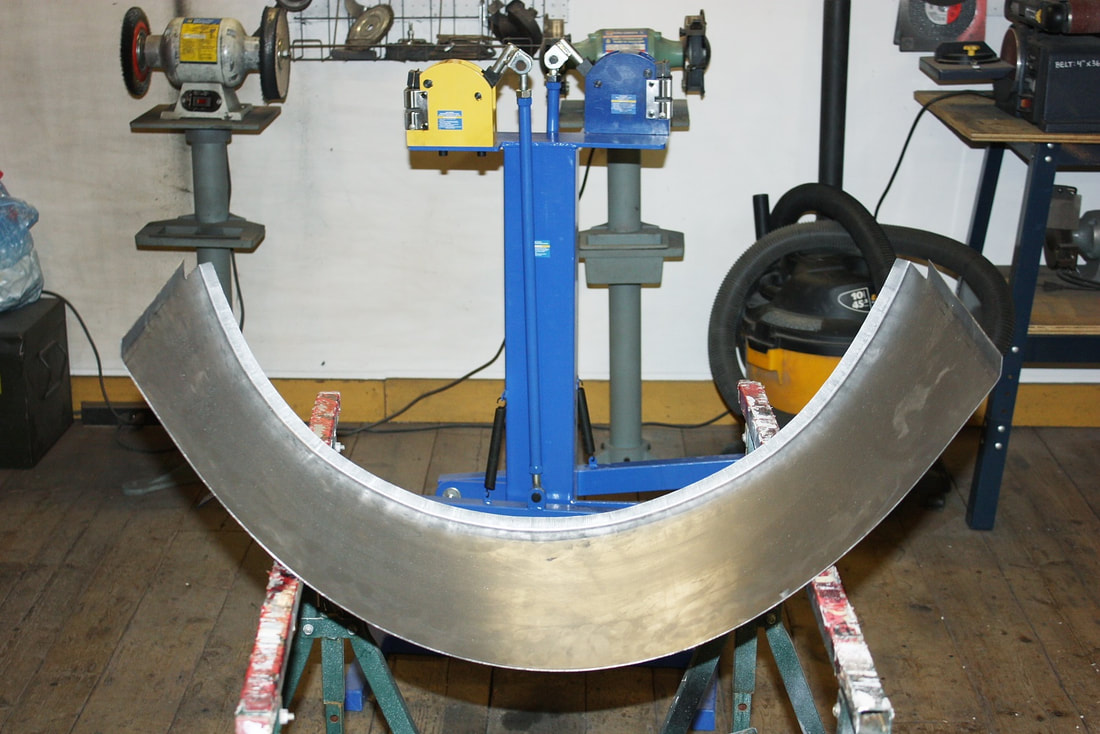
To make the flange I cut a 42” long x 1-1/2” wide strip of 22 gauge steel, then folded it in half, width-wise using the museum’s finger brake, and finally formed it using the “stretcher” half of my shrinker/stretcher:
Using the same curvature template I made earlier, here’s what the upper flange looked like when I was done:
Installing it was a cinch.
I'll deal with the rest of the spare tire well details when I buy an appropriate spare wheel and tire assembly. I’m currently scouring area salvage yards for a space-saver wheel with at least a 16” rim diameter, 5 x 100mm bolt hole circle, and a large enough offset to clear my 12” brakes. The ideal tire would also have an overall tire diameter of 25 inches. Subarus, late model VW Beetles, and Chrysler PT Cruiser’s are potential candidates.
Stick around for more front compartment work in my next post.

 RSS Feed
