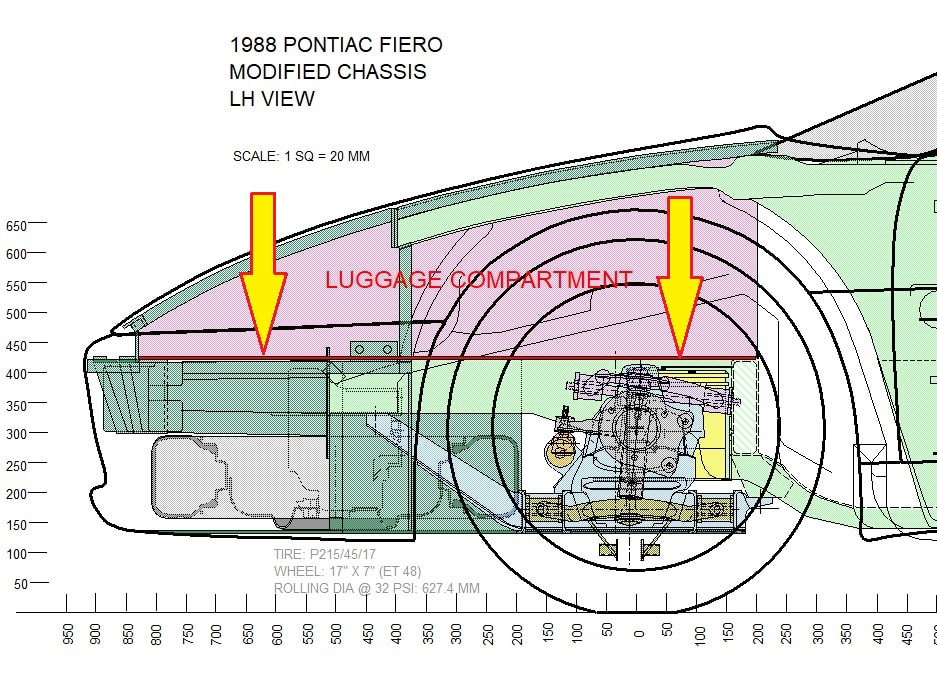
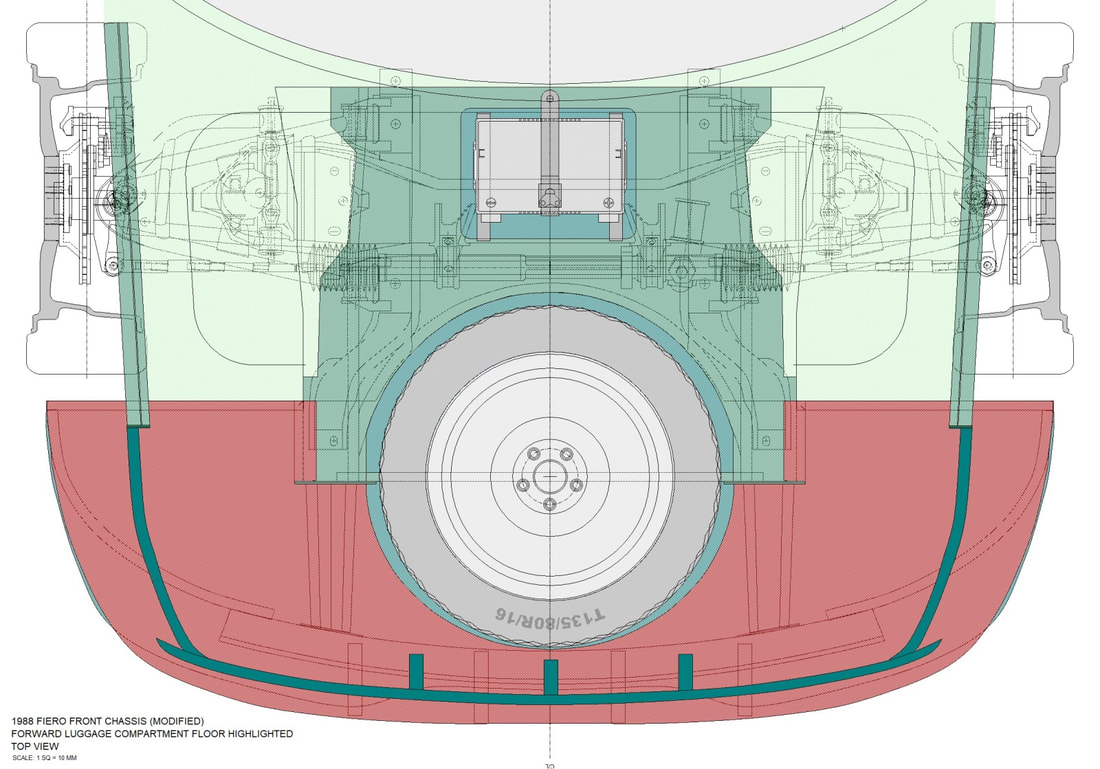
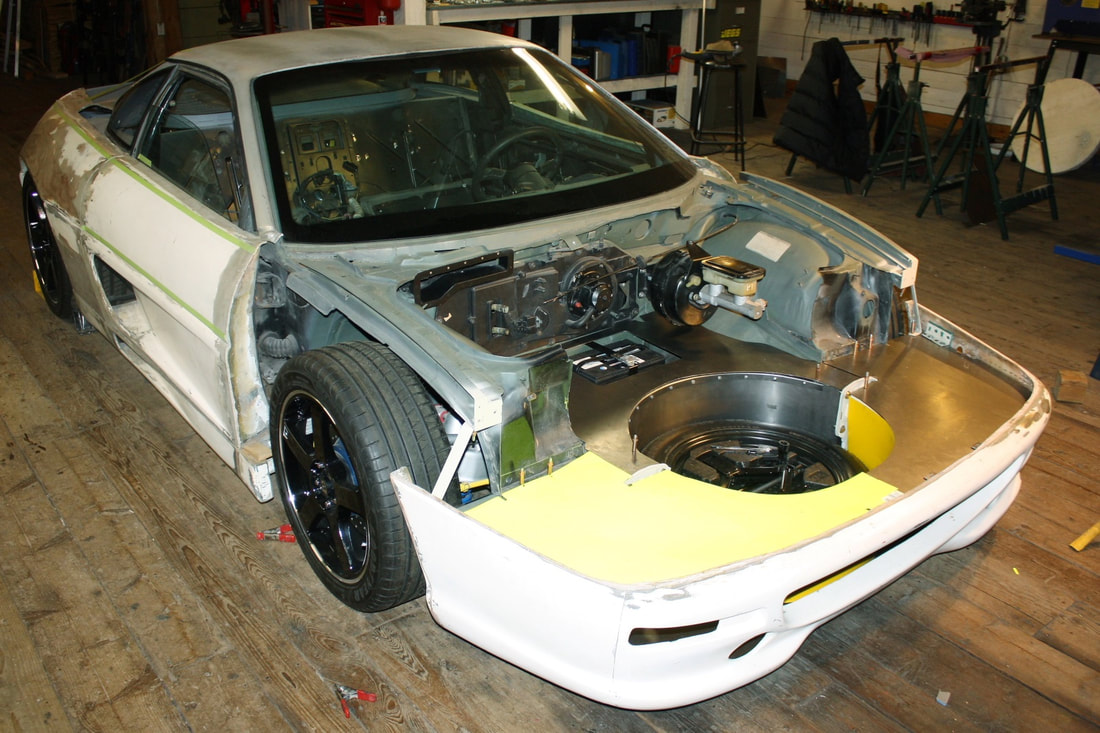
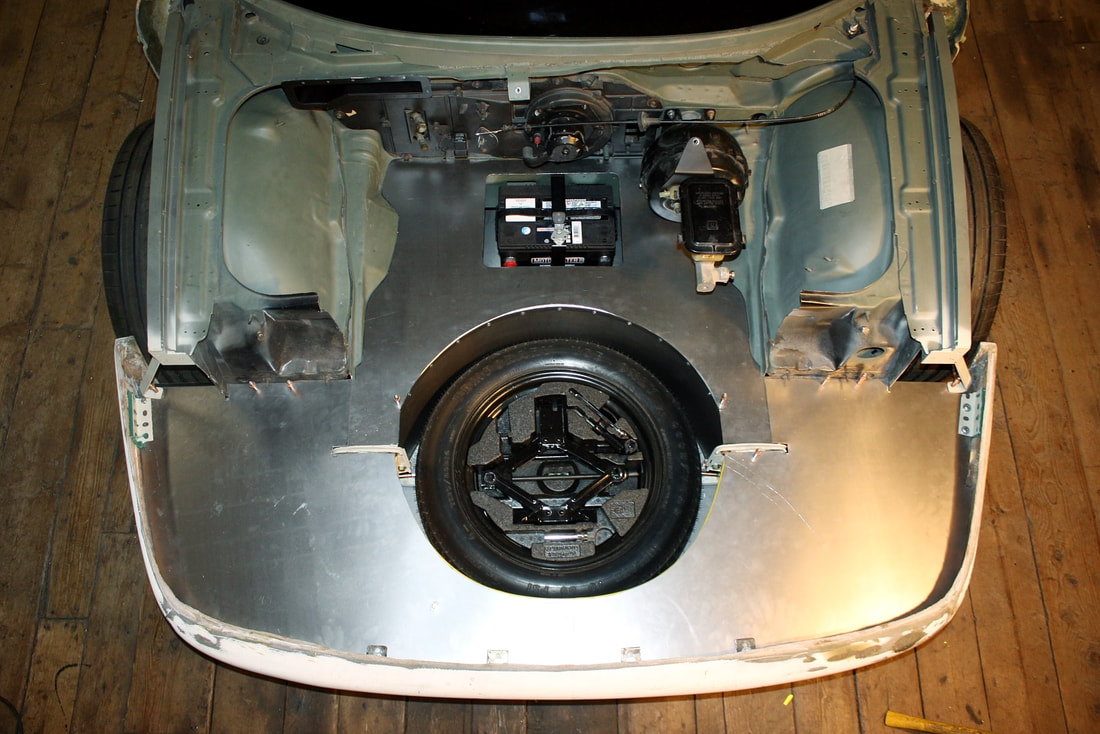
With the spare tire and battery locations sorted out, I was finally ready to seal the lower portion of the front compartment from the upper half, which would become the luggage compartment. Since the area where the battery is located is open to the elements via the wheel houses, a large tailor cut sheet (yellow arrows) would serve to divide the wet and dry compartments.
It would have to be done in several pieces if I wanted it to fit tightly, so I started by planning a piece to seal off the battery compartment, like so:
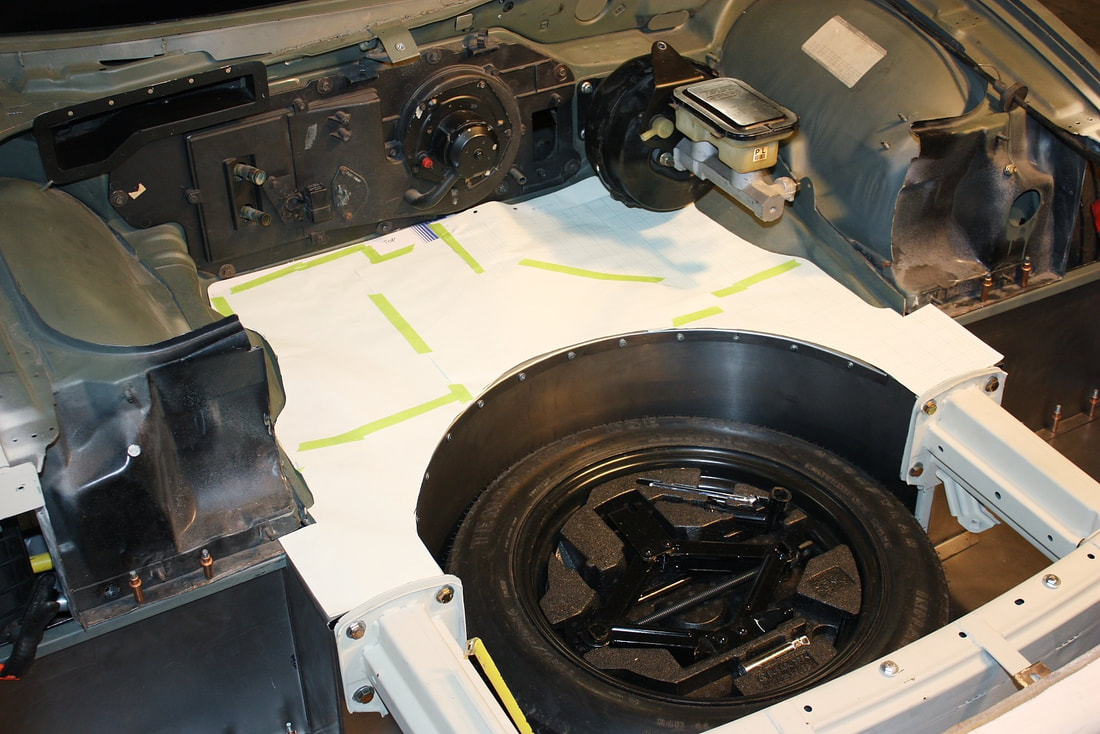
I made a paper template (as always), then trimmed and modified it numerous times until it fit just right side-to-side between the lower frame rails, and front-to-back between the curved flange of the spare tire well and the main cabin cross member:
Then, I traced the template onto some 22 gauge steel, and cut it out with a thin cut-off wheel on the angle grinder. After de-burring the edges, it slipped right into place like a factory part:
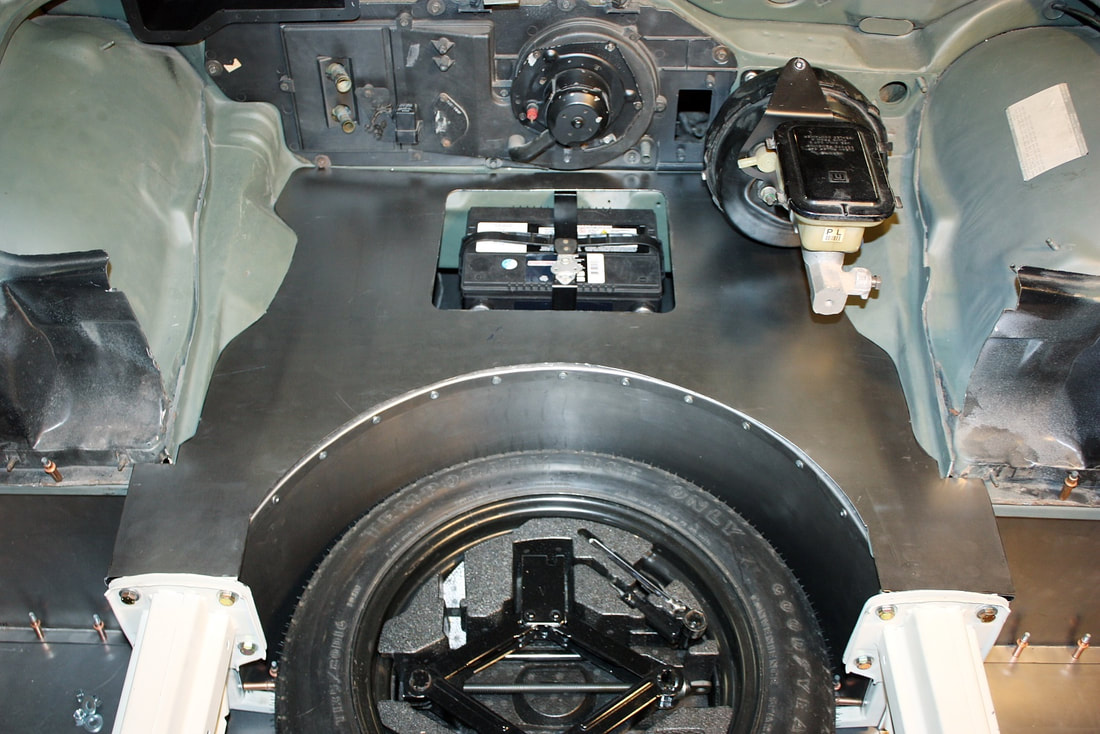
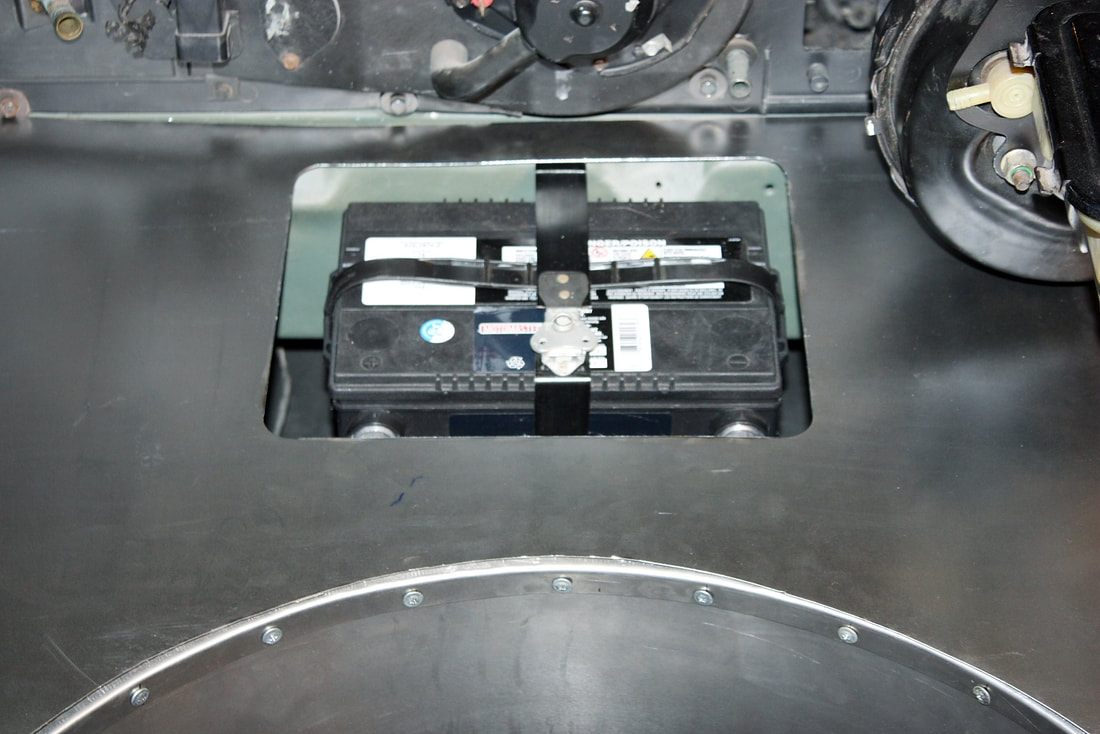
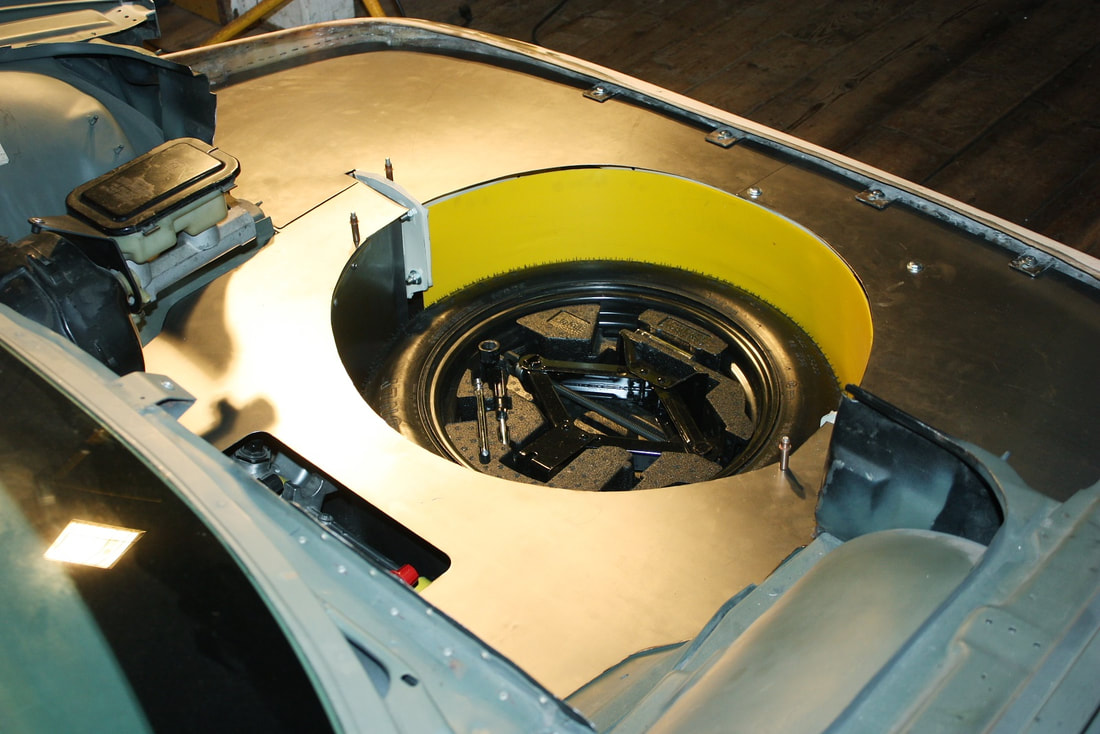
I wanted to be sure I’d have unrestricted access to the battery from above, in case I ever needed to change it, so I carefully measured the location of the battery and cut a hole in the floor panel. I’ll eventually create an access door to cover the hole:
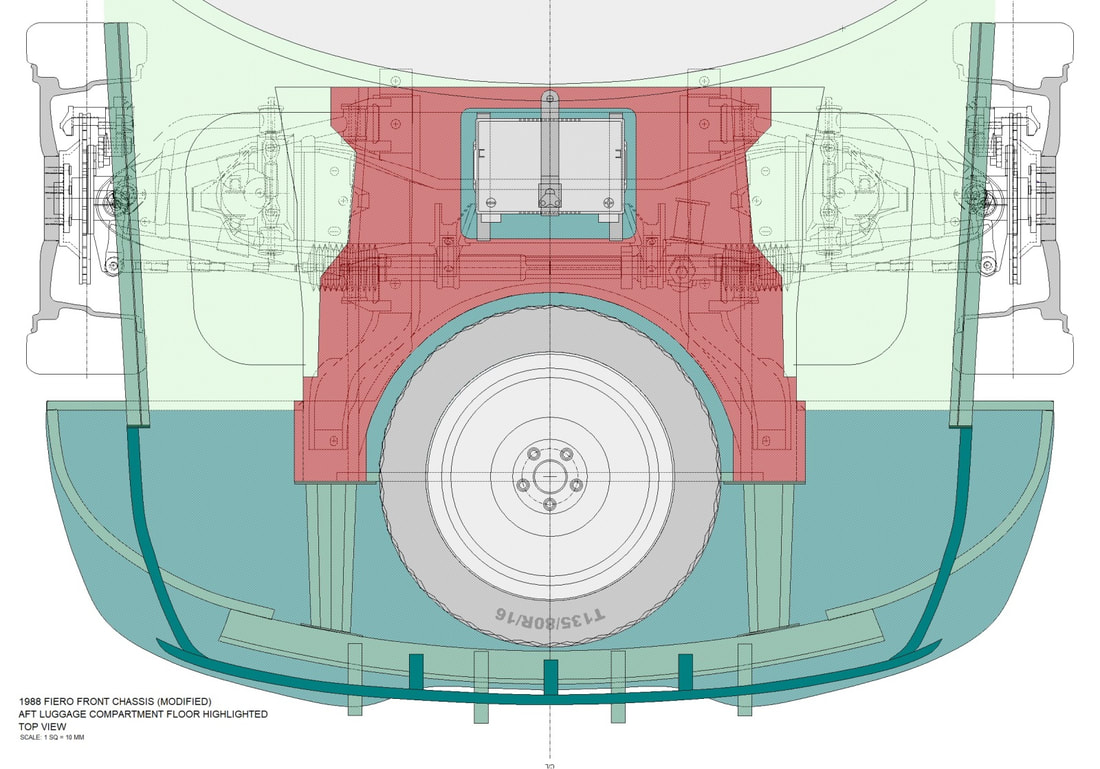
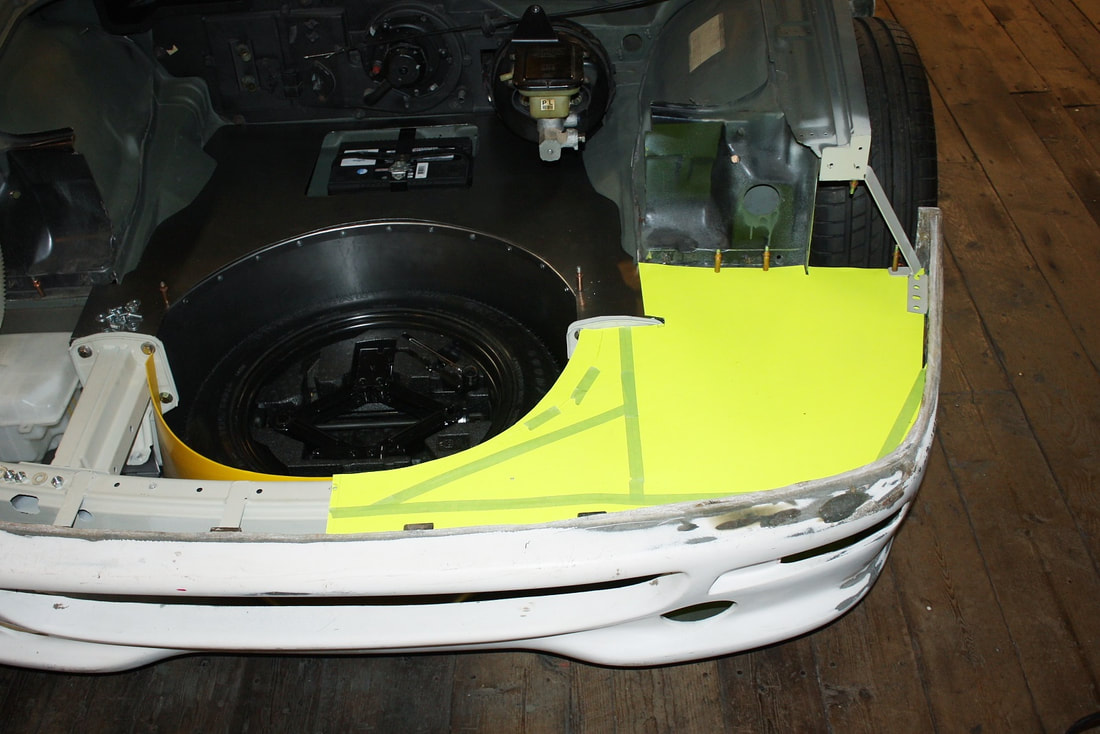
Next, I needed to seal off the upper luggage compartment from the dirty air coming through the front grill. This forward section of the luggage compartment floor will also serve as a mounting surface for the headlights and hood hinges later on:
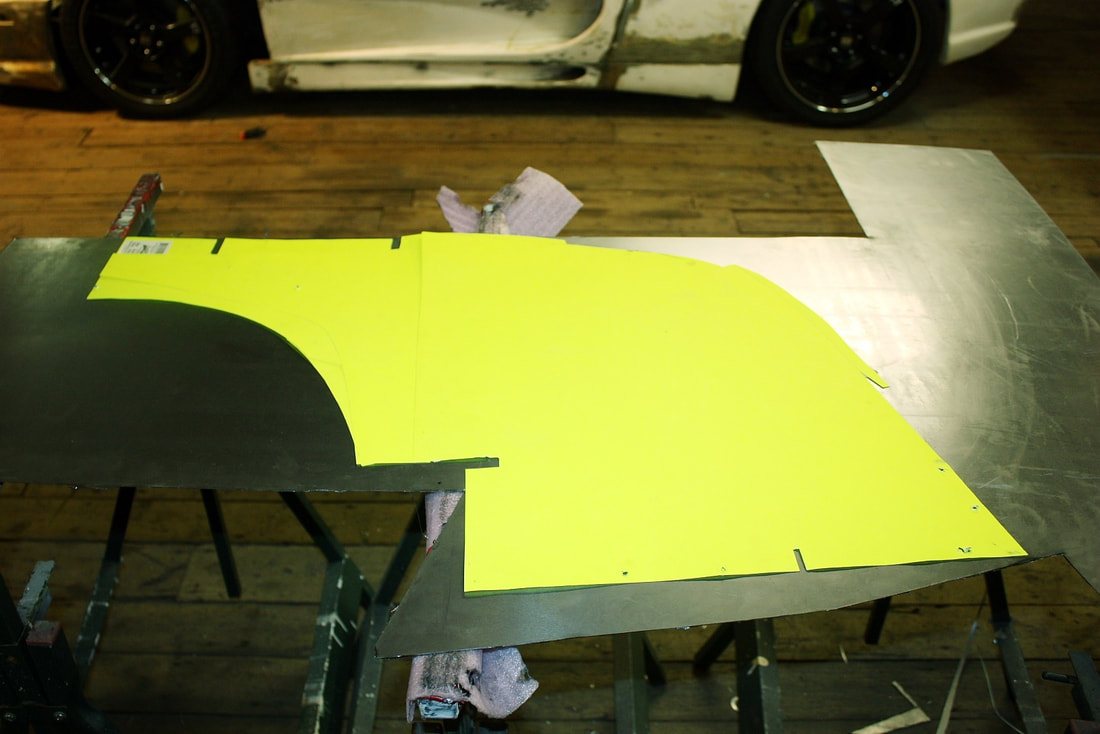
Once again I resorted to my bristle board stocks to make a pattern for the floor panel. Rather than try to make one “go” of it, I made the half-template in several pieces to fit tight areas perfectly, then taped them together:
Then I traced out the template on some more 22 gauge steel and cut it out:
It took a bit of flexing and some final tweaking but the driver’s side floor panel fit like a glove. Then I simply turned the template upside down, fit it to the passenger side, made some minor changes to it since both sides aren’t perfectly symmetrical, and I was ready for the second half:
After a bit more fitting and jostling, the passenger side luggage compartment floor fit into place and was also ready for duty:
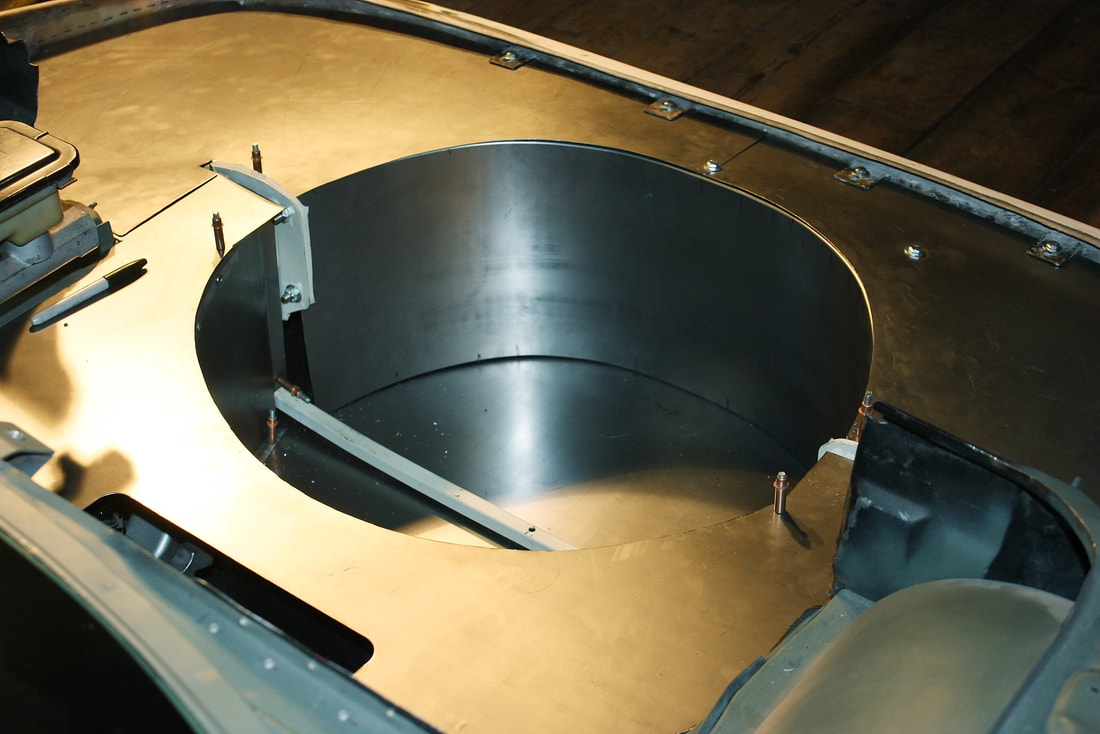
As it stood, these two forward pieces were supported with flanges and structures lying beneath them everywhere except along the curved edge of the spare tire well. Since I also needed a way to seal off the front of the well from the dirty air coming in through the front grill, I had one more piece to make:
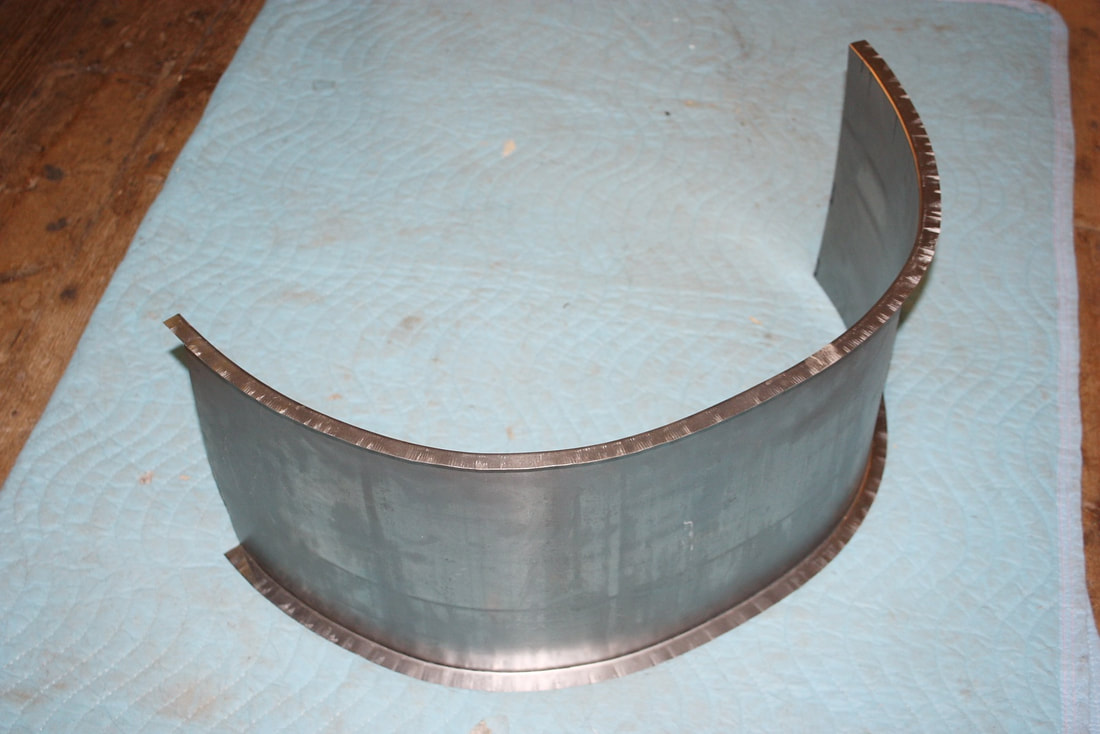
Using cardboard is tricky for a curved template since it doesn’t hold its form very well so I opted to make it out of Coroplast. Provided it’s flexed the right way in relation to its internal ribbing, the Coroplast springs nicely into a continuous curve:
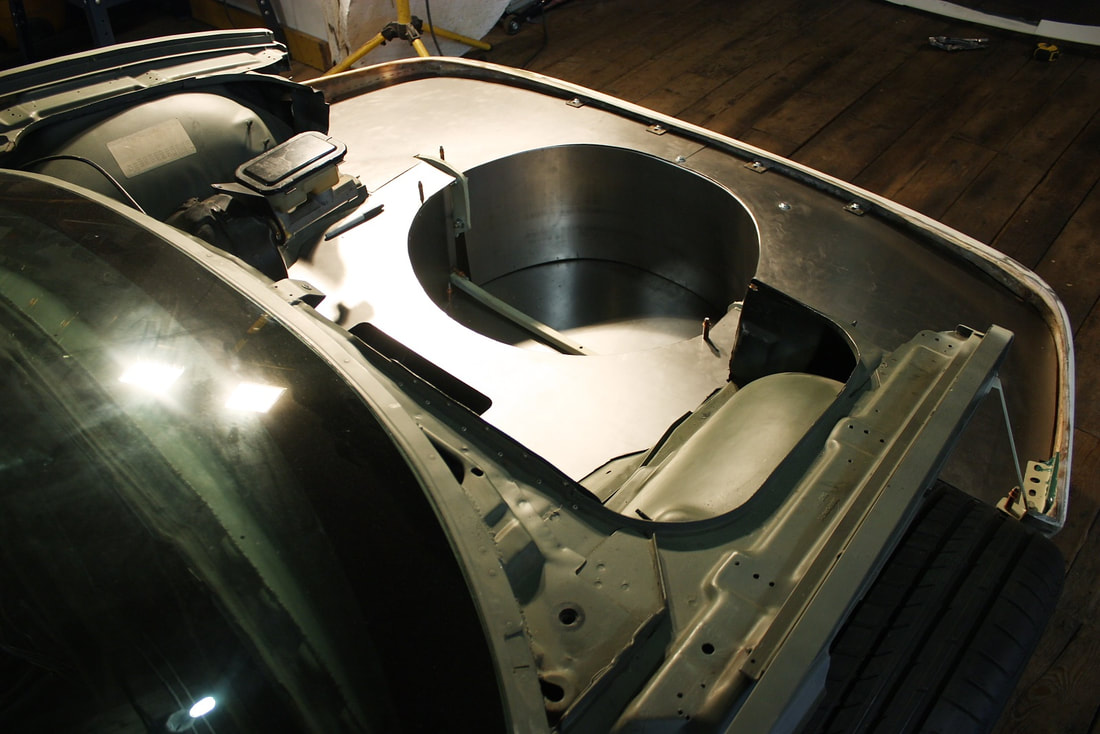
Here’s a better view through the front grill of why it’s needed:

I cut some 22 gauge steel according to the template, bent some 90 degree flanges along the two longest edges, then curved the flanges on the stretcher, and ended up with the forward spare tire well wall:
Once mocked up into place, it sealed off the tire well, and gave me the flanges I needed to secure the undertray and the luggage compartment floor to it:
With everything mocked up at this point, I was ready to disassemble the whole front end sheet metalwork, finalize all of the attachment points, prime and paint it, and plan my next move:


 RSS Feed
