Back in Post #68 I had formed a number of tin templates to start closing off the radiator compartments and the wheel wells from the engine bay. I couldn't finish their design at that stage because the radiator plumbing, which would have to pass through the templates, wasn't yet laid out. With the plumbing completed, I returned to finish off that job.
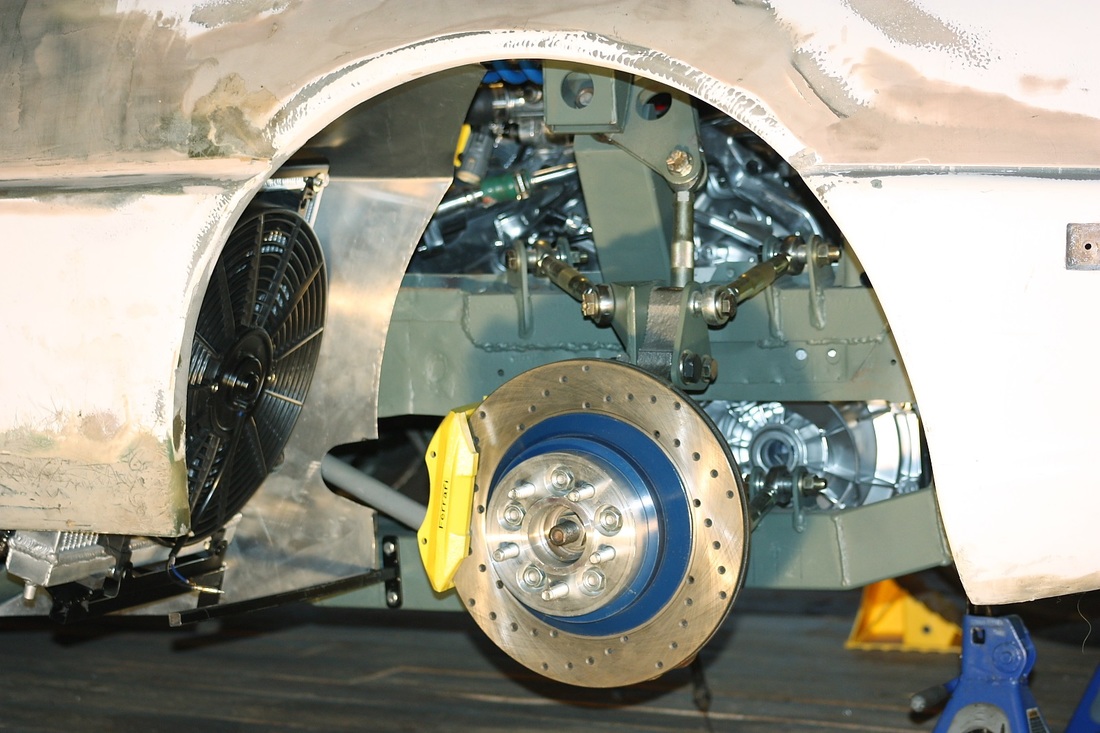
Once again, here's the bare LH radiator sitting out in the open. It would do a really poor job of exchanging heat without shrouds to force the air through it.

The fibreglass shrouds I made earlier would do the job of directing air into the radiators, but equal attention was needed to provide a path for the air to exhaust out the backside.
The first piece of the puzzle was to close off the radiator compartment from the gaping hole into the engine bay. Luckily both the LH and RH sides were mirror images of each other so that allowed me to fold the tin template back and forth and mark and cut the holes for the coolant hoses for both sides on the one template:
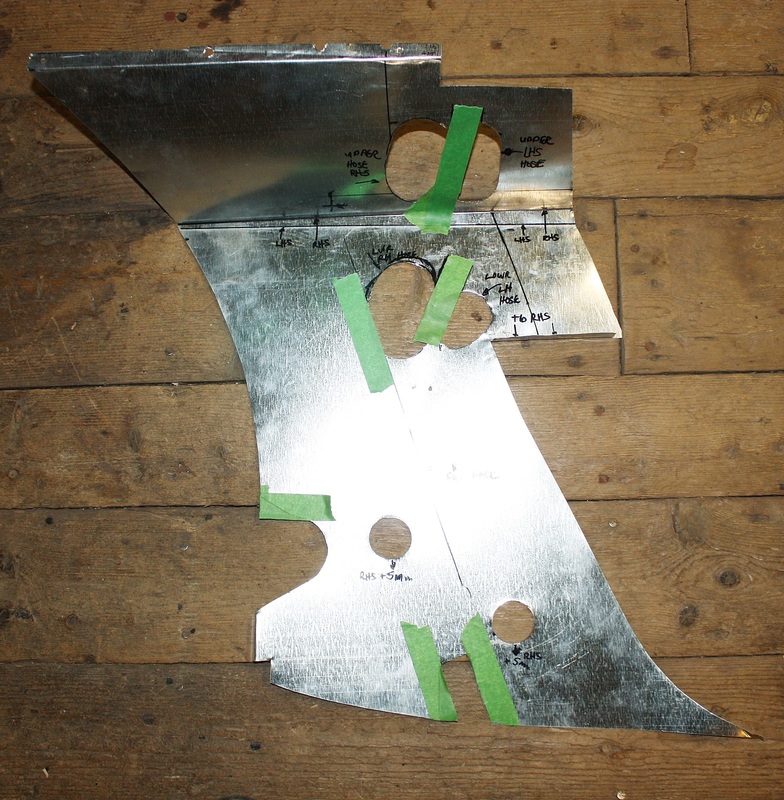
Of the two smaller holes near the bottom, one was made for access the front cradle bolt and the other for the forward trailing link bolt. They'll be plugged with removable rubber bungs.
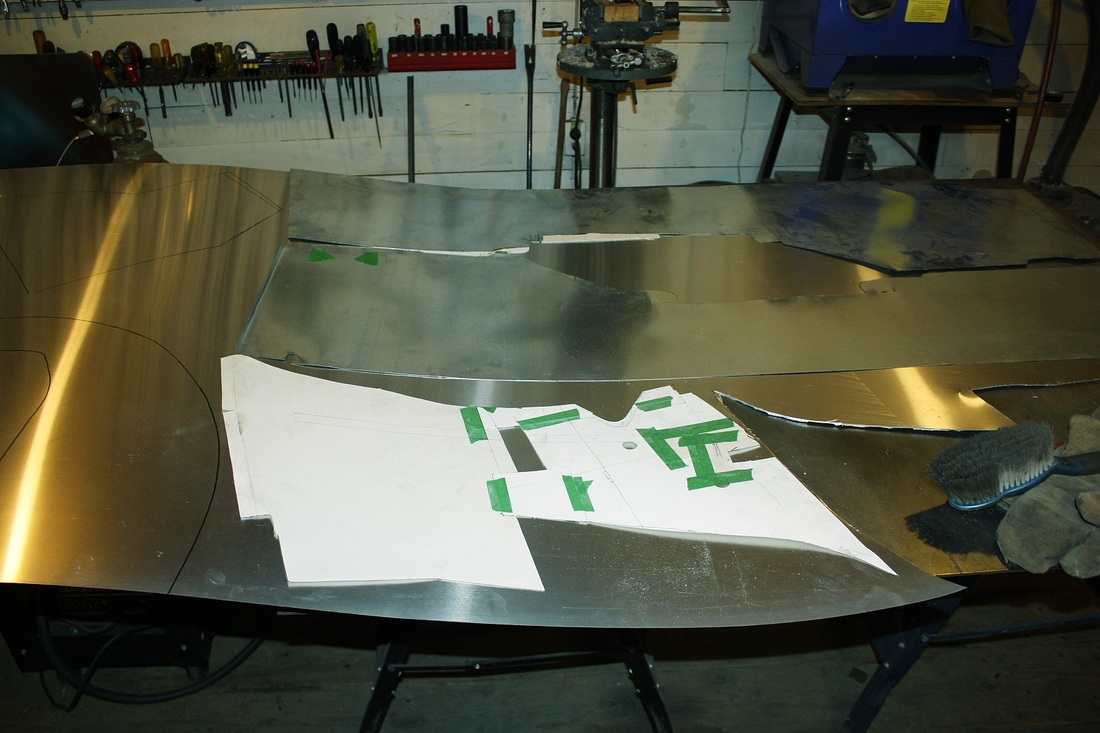
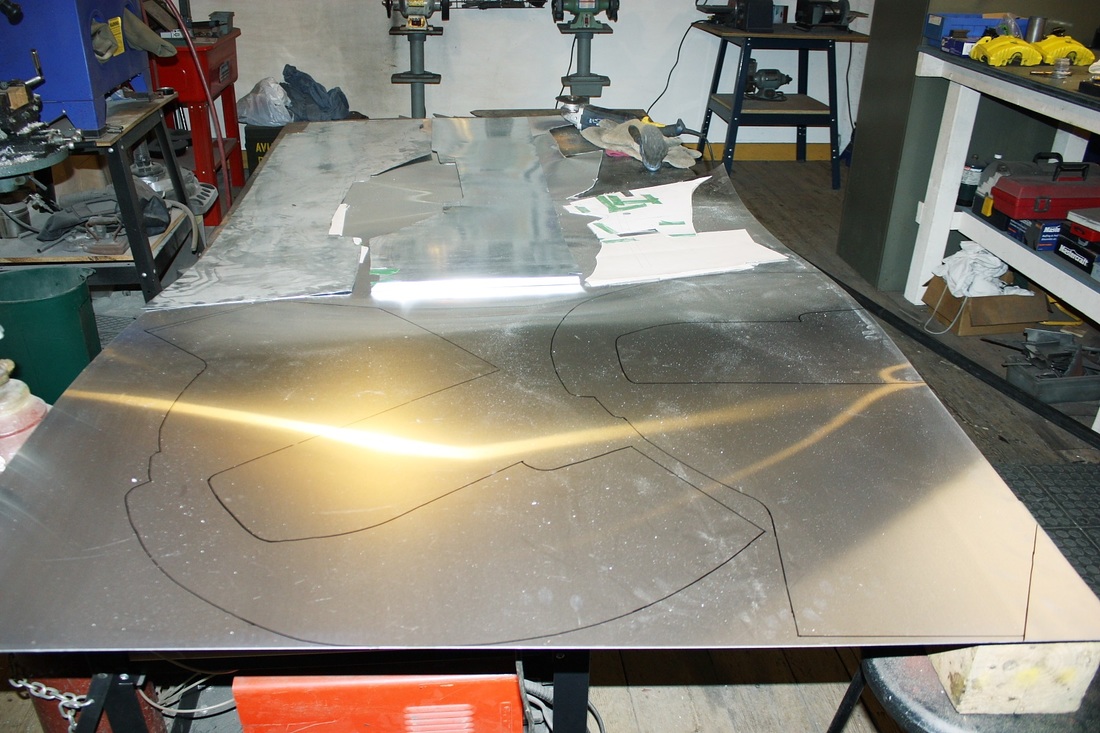
I then bought a 4' X 8' x 0.025" sheet of 6061-T6 aluminium to make the final parts. Here, I laid out all 6 pieces of the wheel well liners to be sure I wouldn't end up wasting any material:
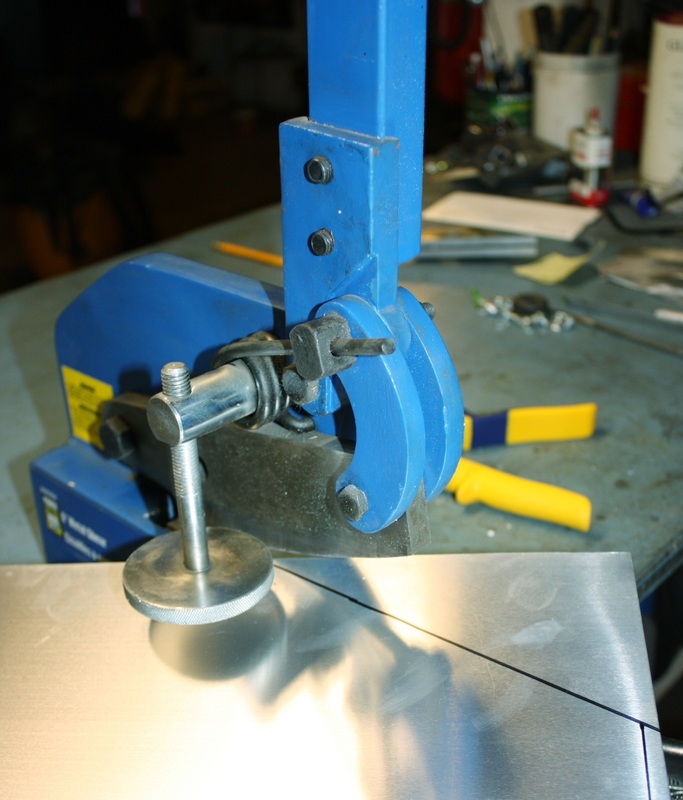
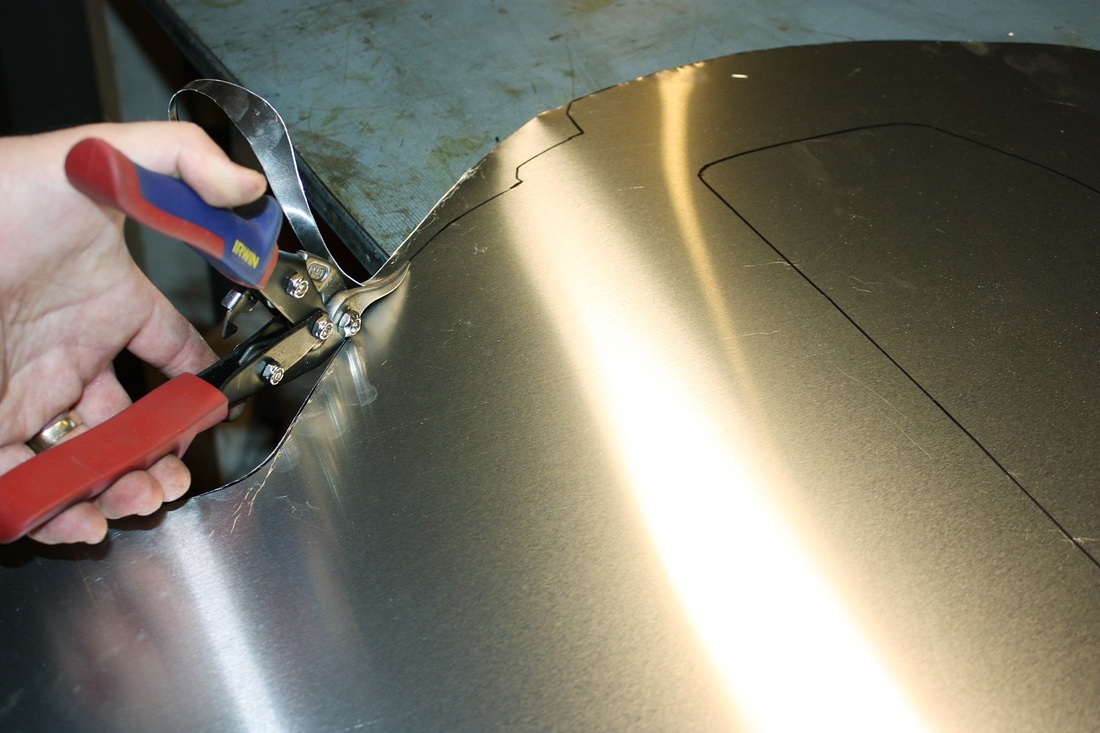
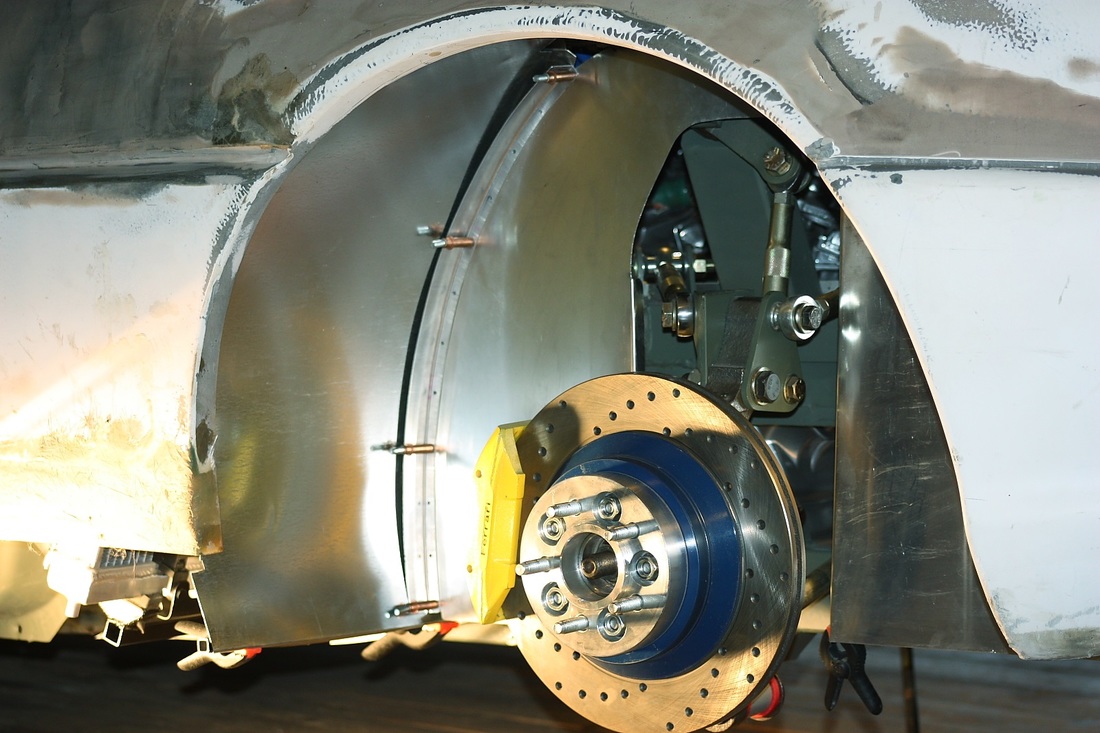
Once I had cut the rough shape of the radiator compartment wall out, I used a combination of snips and a bench-top shear to trim down to the final shape:
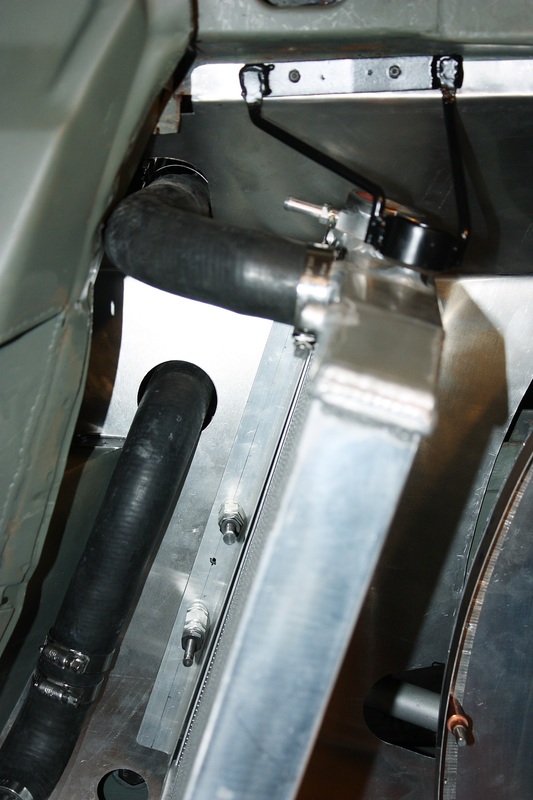
The work with the template paid off because the radiator compartment walls fit like a pair of gloves. I still needed to protect the rubber hoses from the sharp edges of the aluminium... but I'll figure something out:
Next up were the large inner walls for each wheel well. I simply used my tin templates to trace out the shapes on the sheet aluminium:
Then used the snips to carefully trim them:
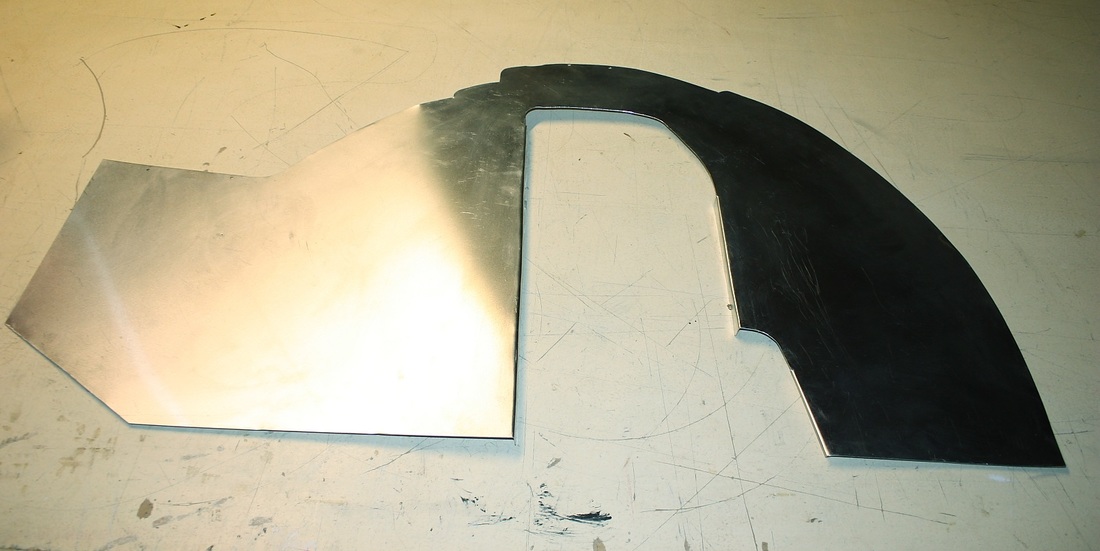
Here's the passenger side wall all trimmed up with a couple of return flanges bent into it for added stiffness:
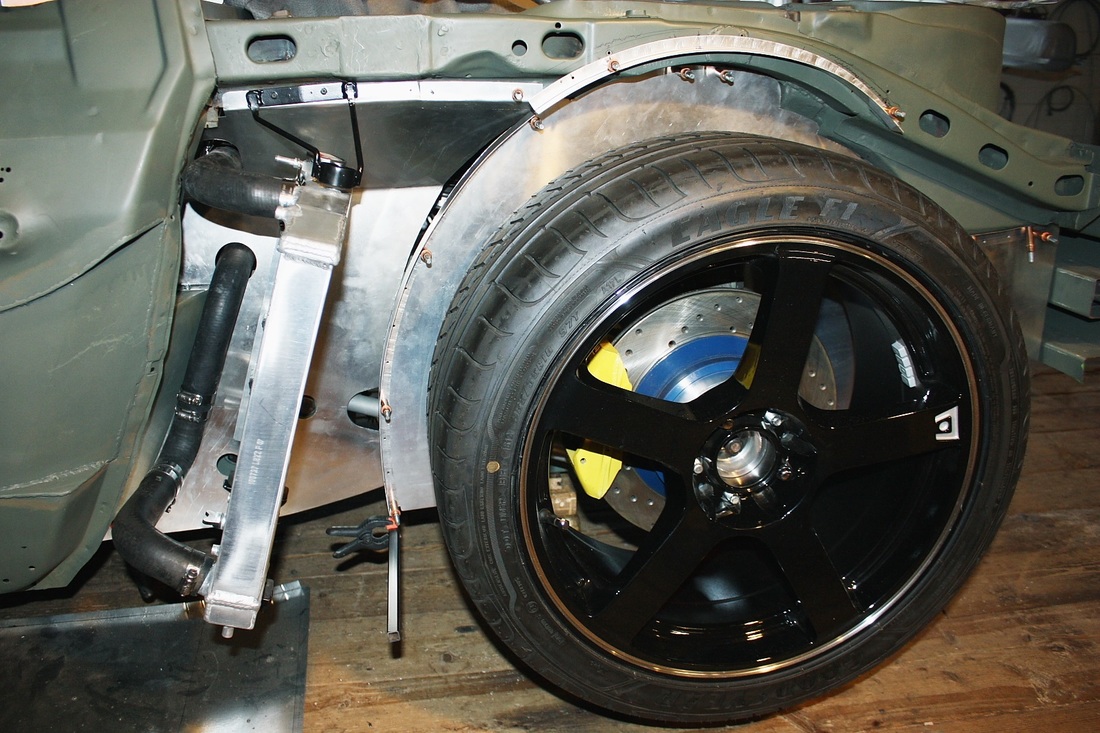
This next photo shows both the inner radiator compartment wall and the wheel well wall temporarily held in place with Cleco fasteners. Although it's hard to see from this angle, the wheel well wall is 6" further outboard than the radiator compartment wall:
The next piece was the wheel well liner itself. You can see the templates for them laid out on the sheet aluminium in one of the photos above. It was quite challenging to design them since the inboard edge needed to follow a pretty convoluted path, bridging the gap between the lower and upper frame rails which sit at different depths as well as mating up with the new radiator compartment wall.
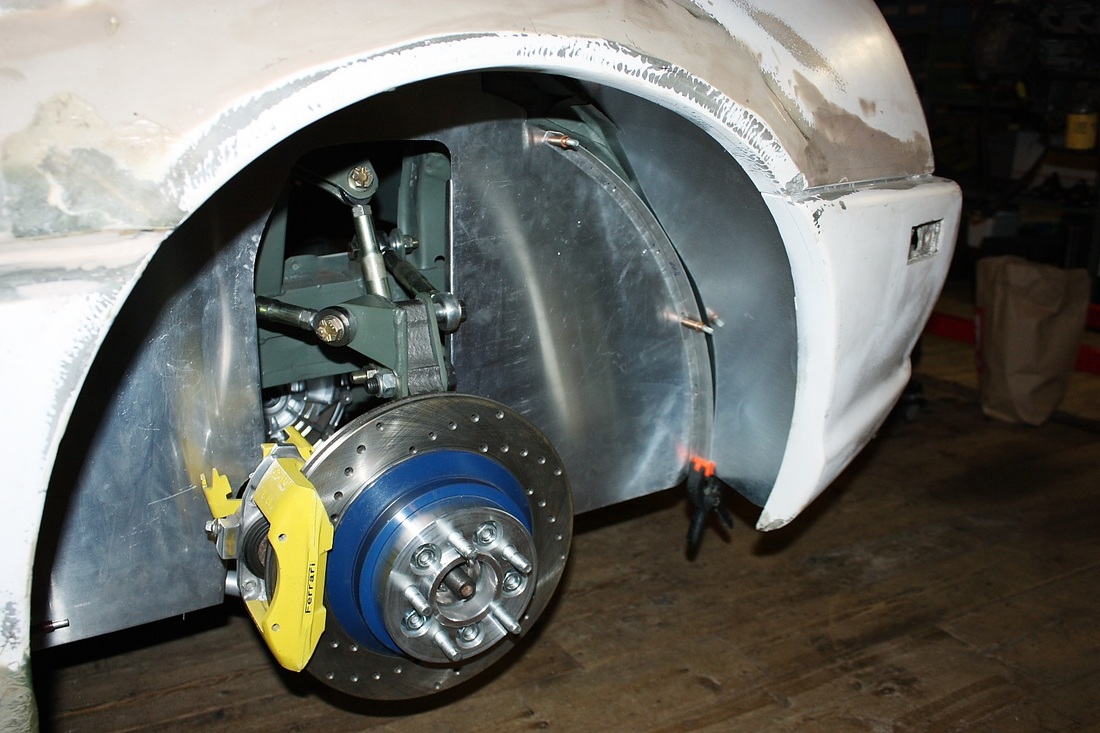
Then I had to deal with the outboard edge. It meets up with the inside of the fibreglass fender so to get the right shape I needed to install the rear quarters. Here's a shot showing the quarters in place along with the inner radiator compartment wall (note that the rocker panels aren't installed):
Next came the inner wall of the wheel well:

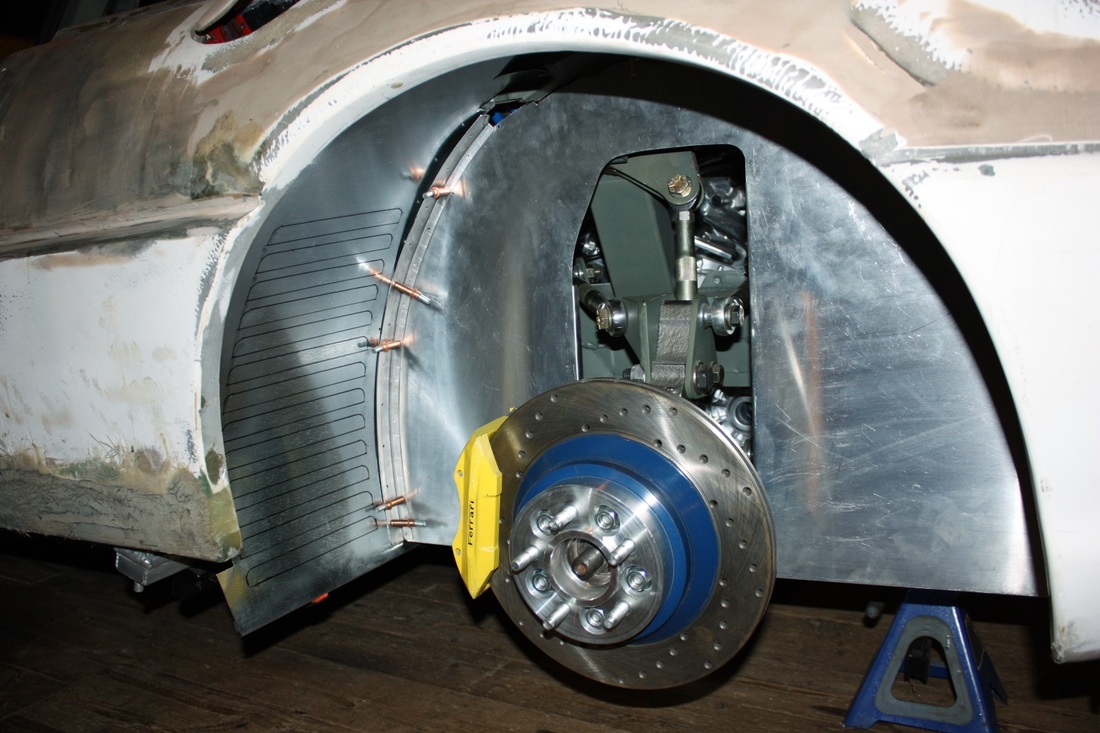
And finally I was ready to start the tedious process of finalizing the tin template's outer edge. I installed the LH one as best I could, but had purposely left it too wide in order to trim it to shape. After seven or eight iterations of awkwardly holding it partially in place, eyeballing how much needed to be trimmed off, trimming it, and attempting to reinstall it, it finally fit quite closely to the shape of the fender arch:
The curved angle brackets needed to be shortened and adjusted a bit, but I was otherwise quite happy with the fit. Here's the view looking aft:
The last thing I did before removing the tin template was to sketch out where the louvers would go in the final aluminium panel:
One piece not shown is the floor of the radiator compartment. That piece seals off the "hot-air" chamber behind the radiator which will force the radiator exhaust to exit either through the louvers directly into the wheel well, and/or upwards in the tunnel above the wheel well liner. That air will be channelled through the "Challenge-style" rear grill.
Next up: fabricating the aluminium liners and punching the louvers.

 RSS Feed
