With the tin wheel well liner templates fitted and finalized, I removed both, traced them on some 6061-T6 aluminium, and cut them out using a combination of a cut off wheel in my angle grinder, a couple hole saws, some snips and a bunch of metal files:
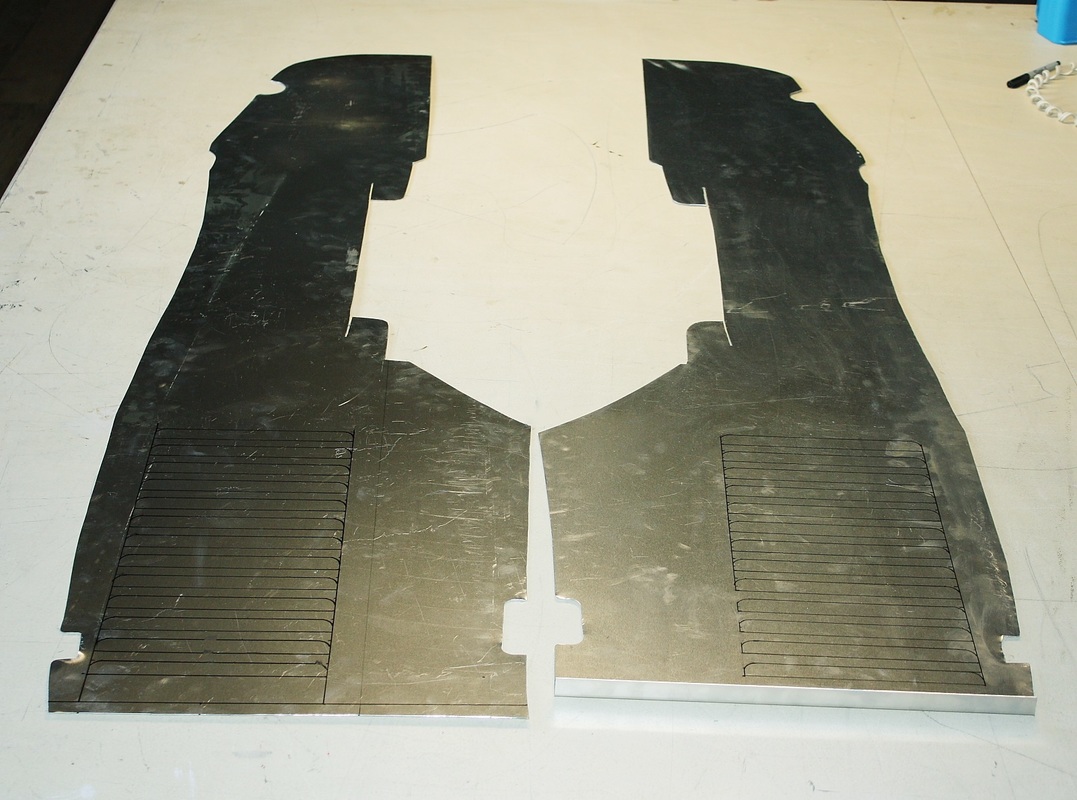
I was ready to start punching some louvers and knew just where to go... a local hot rod shop that apparently had the only louver dies within a two hour driving distance. When I arrived, I was disappointed that his dies were of the fixed length type, and that they were only 3" long. Considering they weren't the shape I really wanted, and that the owner wanted $250 to do a one hour job, I passed.
I wasn't a whole lot happier when I started researching the cost to buy my own dies, which start around $500 delivered to Canada. Surely I could make a set of dies for much less than that! So off to YouTube I went with an open mind and a readiness to learn. The first video I came across was from a guy in the UK who simply used a pair of mating router bits to cut a set of dies from hardwood for the hood of his Caterham 7. I was pretty sure I could manage that:
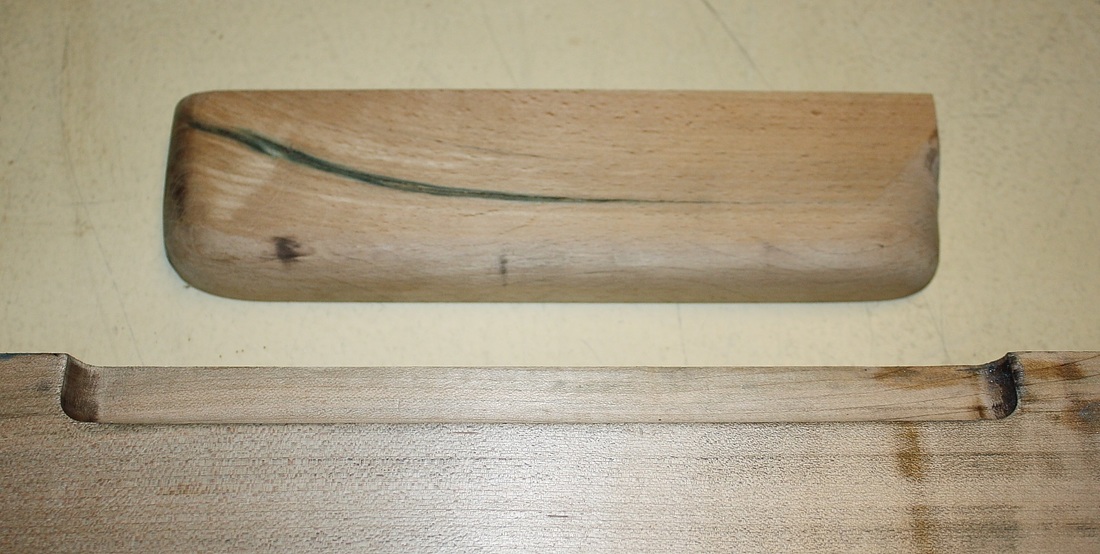
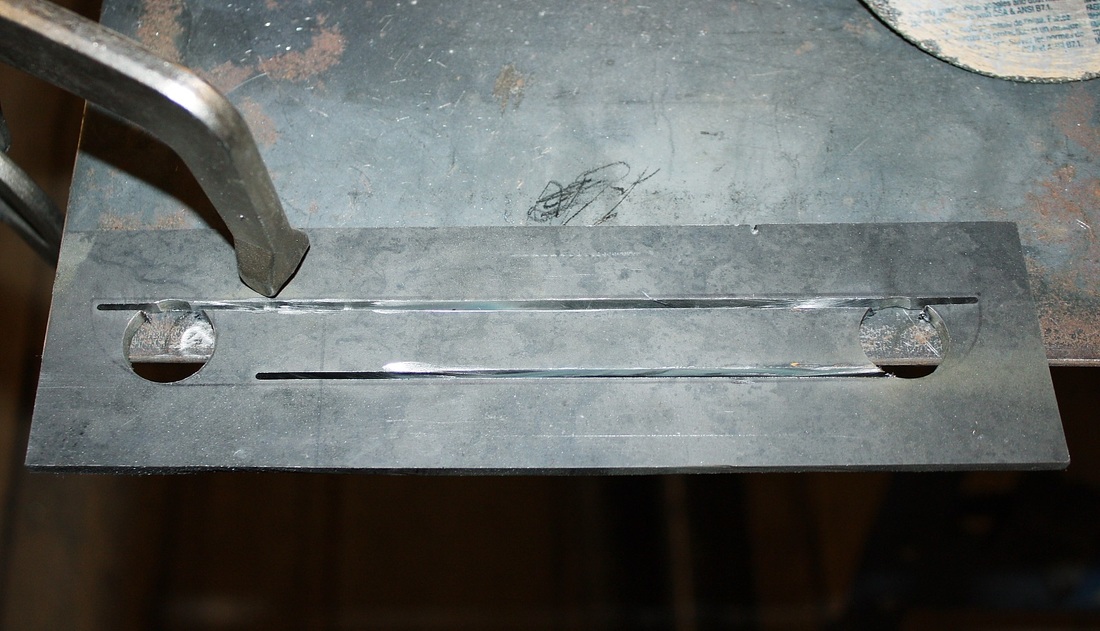
The name of the game was to slit the aluminium and hammer-form it into the female die with a rounded "podger" (or punch for us North Americans!) like so:
Then, using the male die, a good hard whack with a hammer was supposed to smooth out any ripples:
Which gave an altogether unsatisfying result... most likely because of my choice of hard, T6 aluminium.
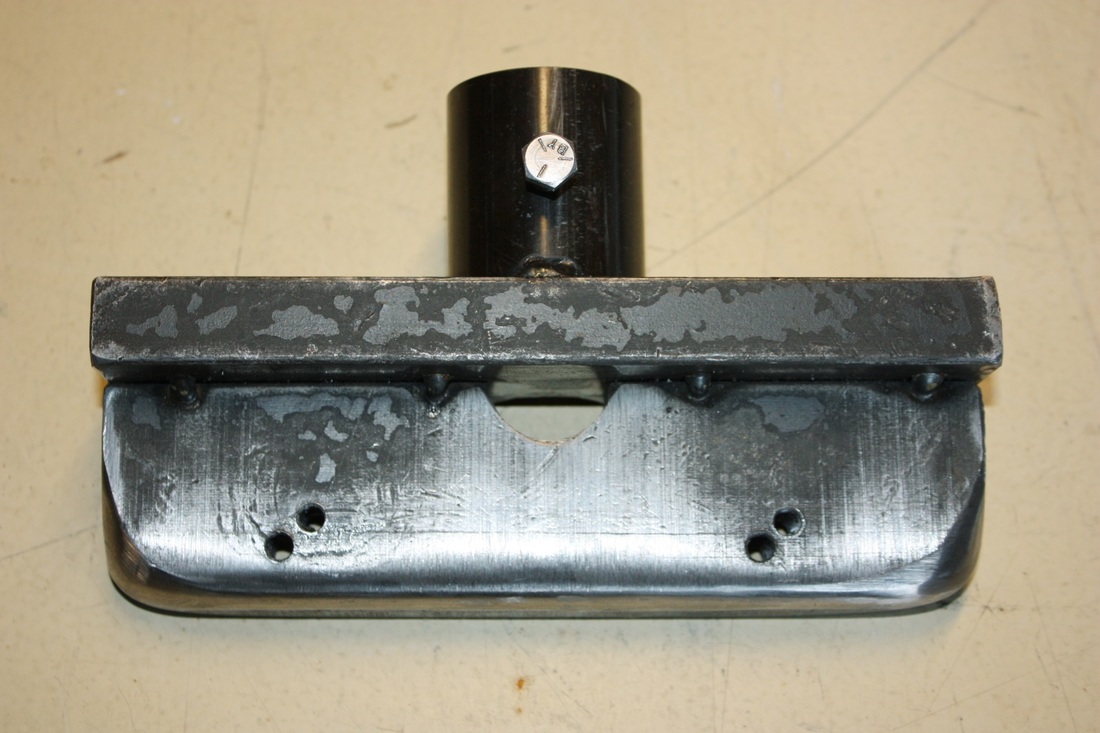
I wasn't about to give up though, nor change my material choice, so back to YouTube I went! This time, I followed the advice of a Ukrainian and carved my own male die from 1/2" steel bar, to be used with a hydraulic press:
Sure, it was supposed to have a tool-steel cutting edge but I figured I would only use it to cut a couple dozen louvers so mild steel would surely last long enough for that. Oddly, another video showed that it wasn't even necessary to have a female die. Provided the male die could pass between a pair of close fitting steel bars, the louver could be perfectly formed without any other backing:
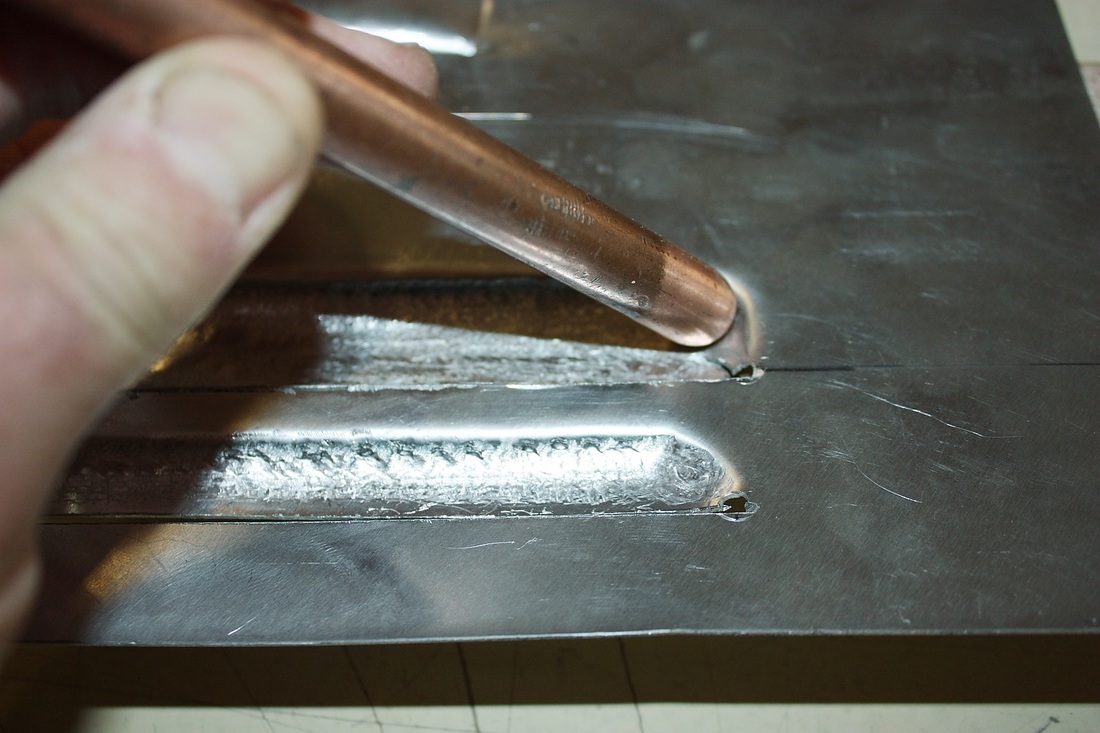
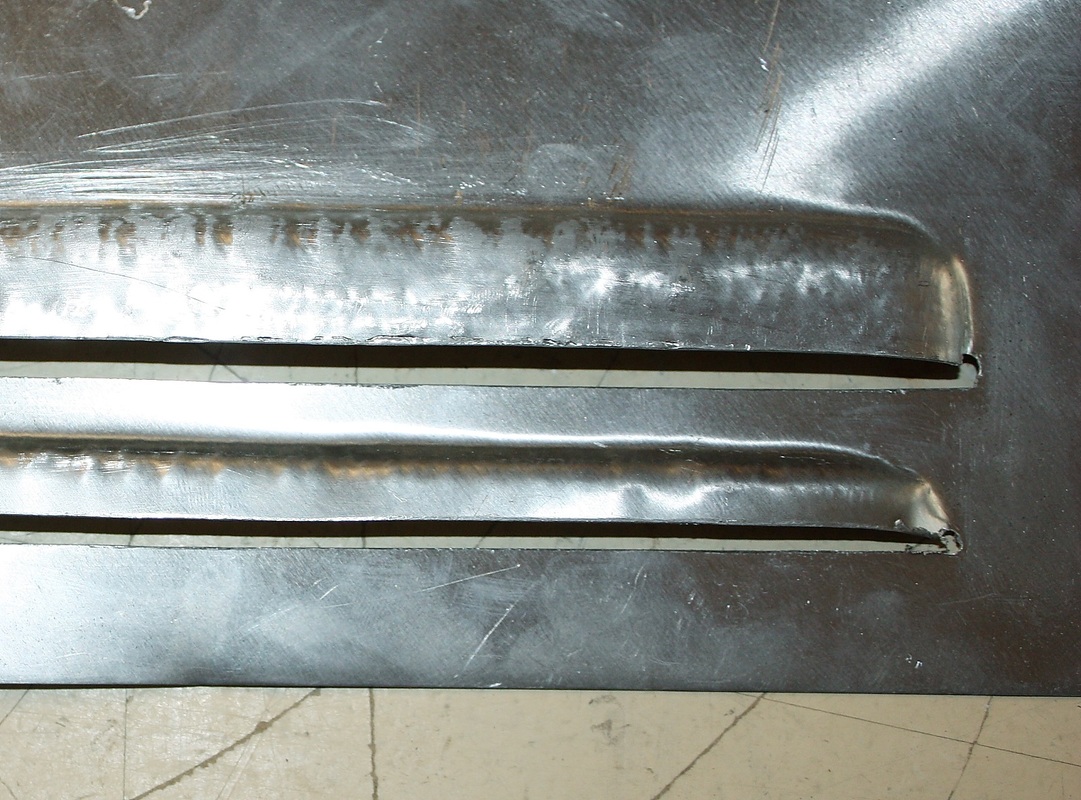
So much for that idea! Without the sharp tool-steel cutting edge, the male die rather violently exploded through the aluminium when sufficient shearing force was reached rather than nicely slicing it. Without a lower female die to contain the sudden release, the aluminium over-stretched and tore at the corners. The lower of the two "louvers" shown in the photo above illustrate how well that worked. The louver above it was my second attempt but I chickened out and released the pressure before things went flying again. I decided it would be a good idea to make a female die to harness the energy:
Once the "keyhole" plate was made, I tack-welded it to my base plate, and I also limited the depth that the male die could penetrate by adding the shim you see in the top portion of the hole in this next photo:
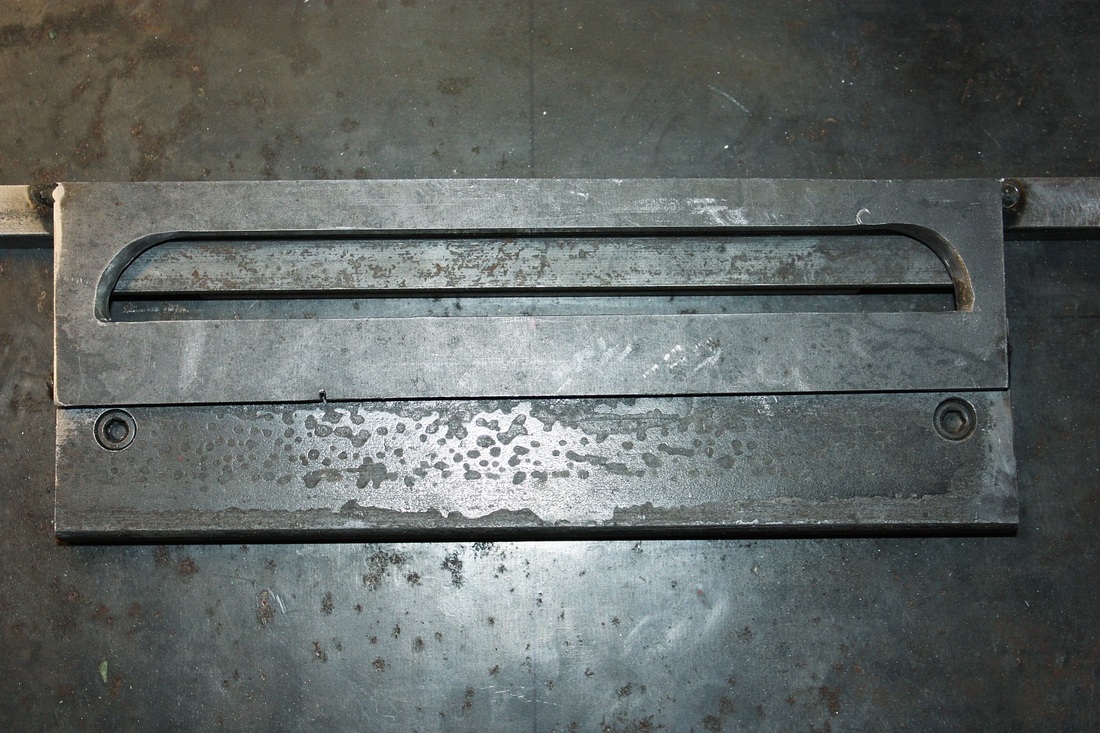
Then came a series of test punches where I continually refined the two dies after each pull:
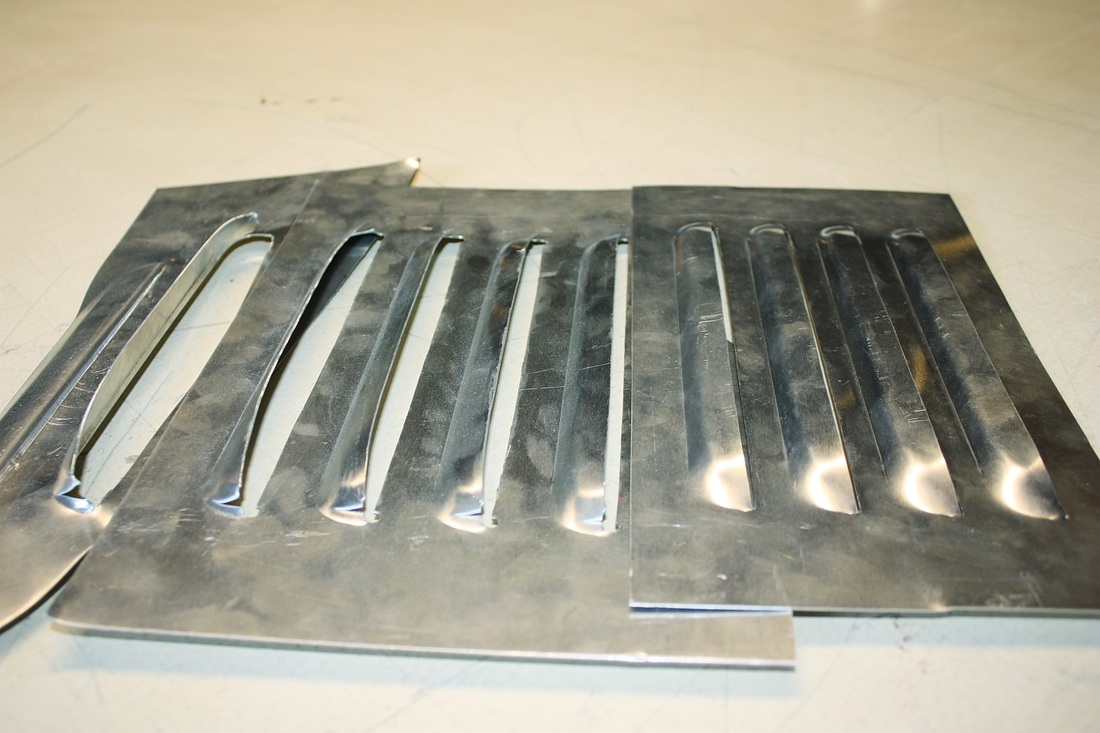
The left-most louver is the one from my first attempt... notice how the corners are badly torn and the louver is wide open. To prevent tearing, I gradually softened the male die's corner radii, which lessened the tearing after each successive attempt. Then, for the last louver at the right, I made the female die even more shallow which flattened the louver somewhat and gave it the profile I was looking for. One last tweak would get rid of the tearing and I added an alignment bar to the male die to make alignment and spacing with the previous louver a bit easier:
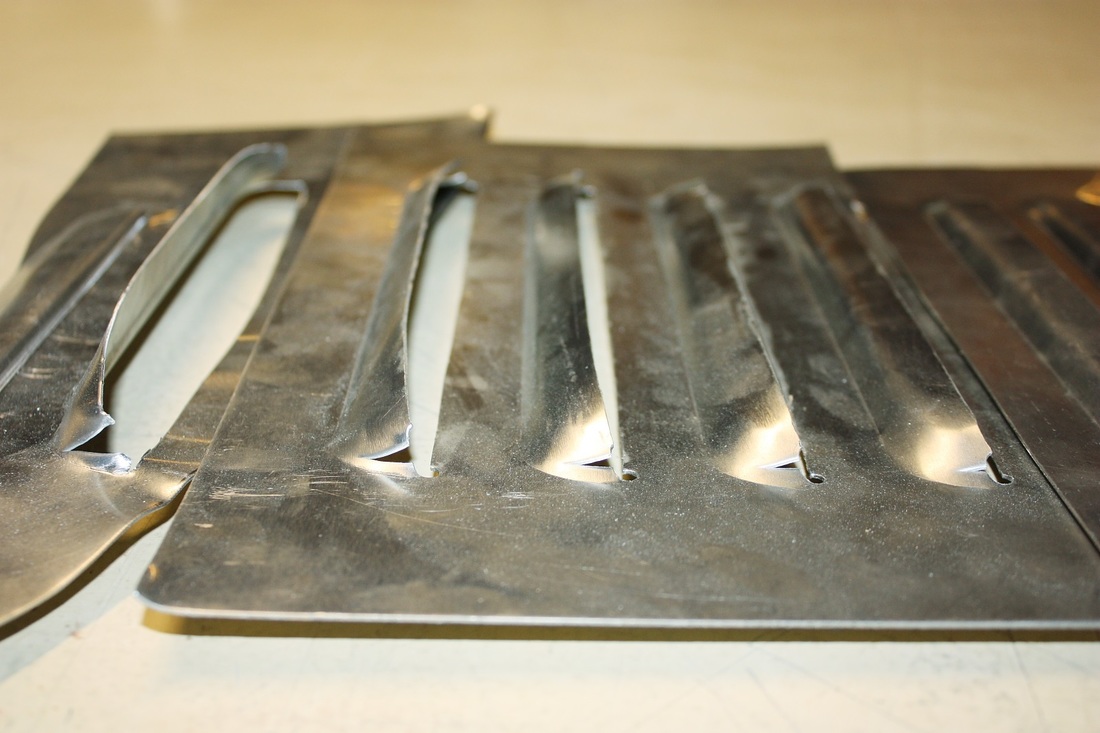
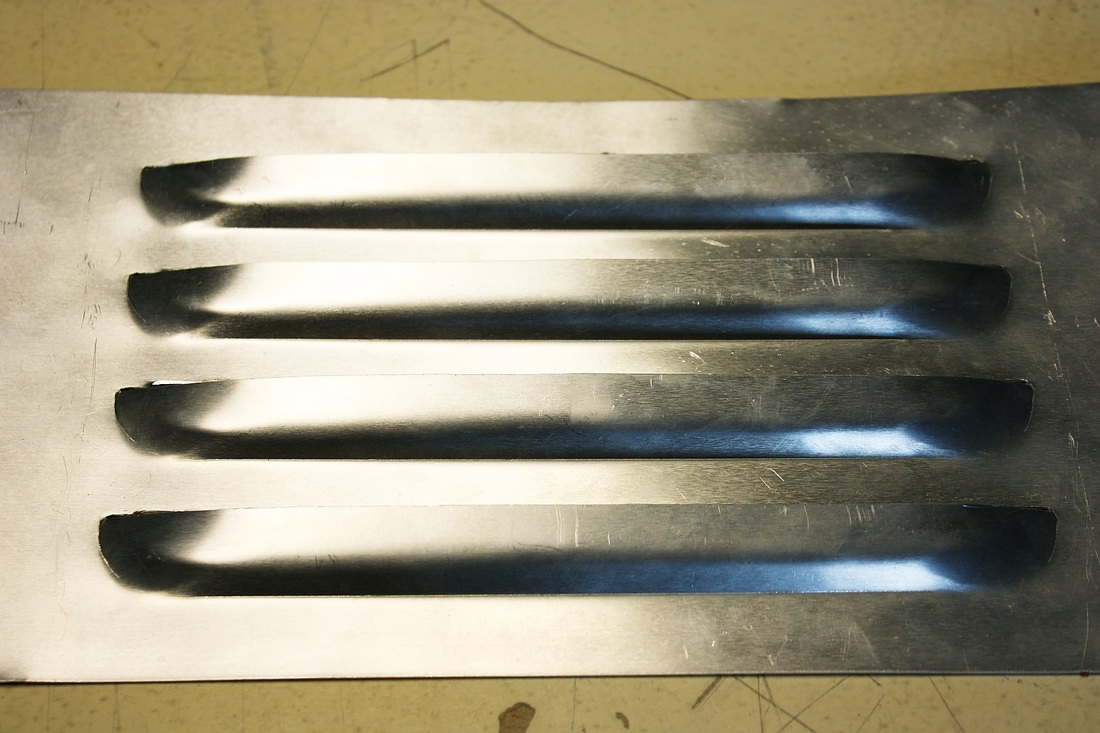
The last four louvers to the right of the photo below marked success... repeatable, accurate, nicely shaped louvers:
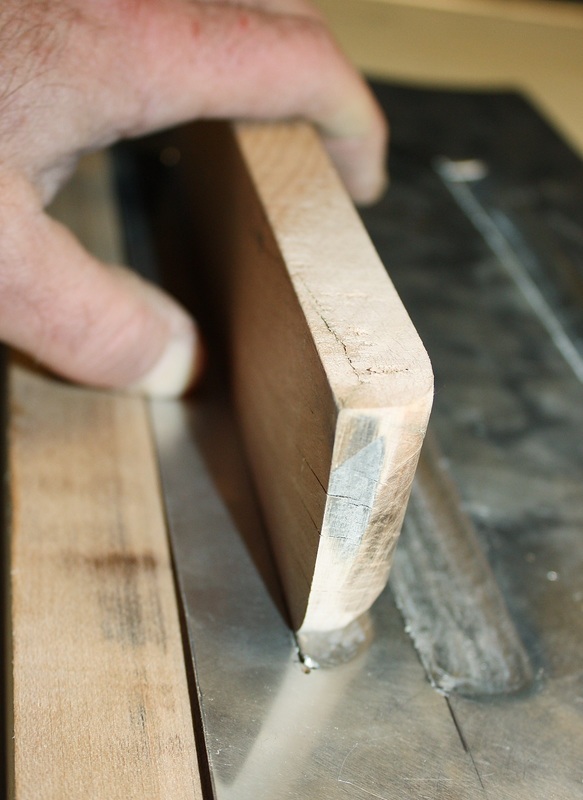
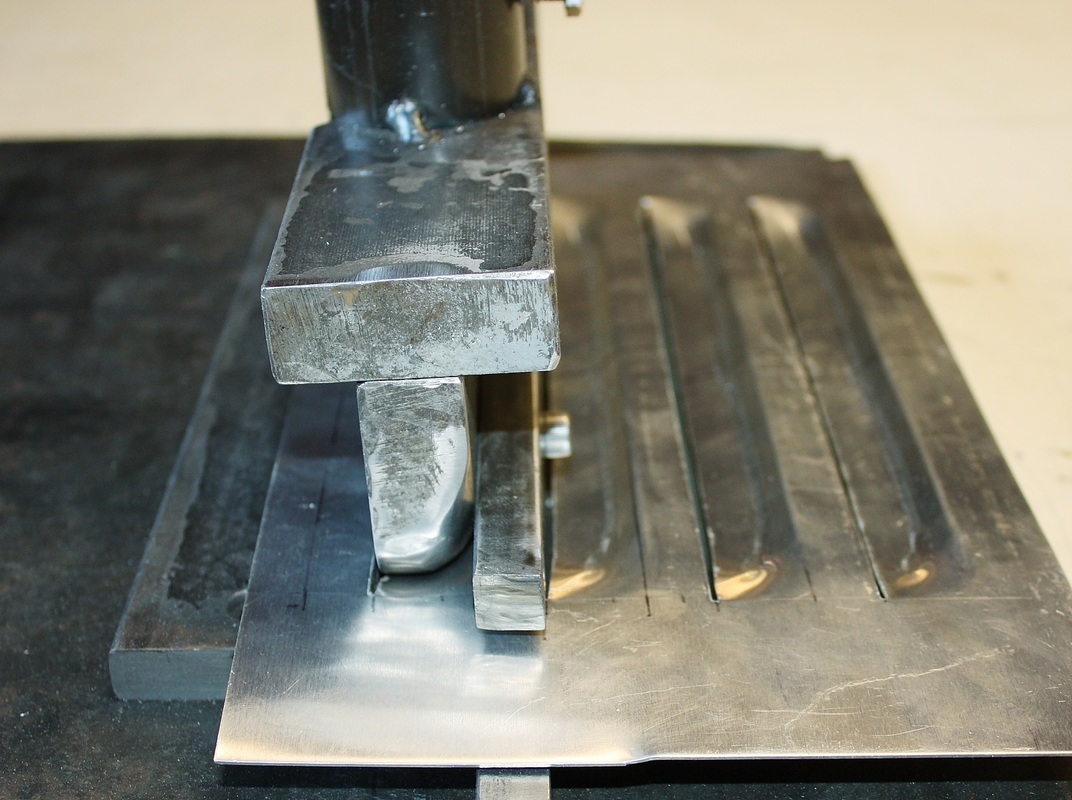
To make them, I decided not to force the male die to cut the slit... I preferred to do that part of the operation with a Dremel rotary tool and a thin cut-off wheel. The male die simply cold forms the aluminium:
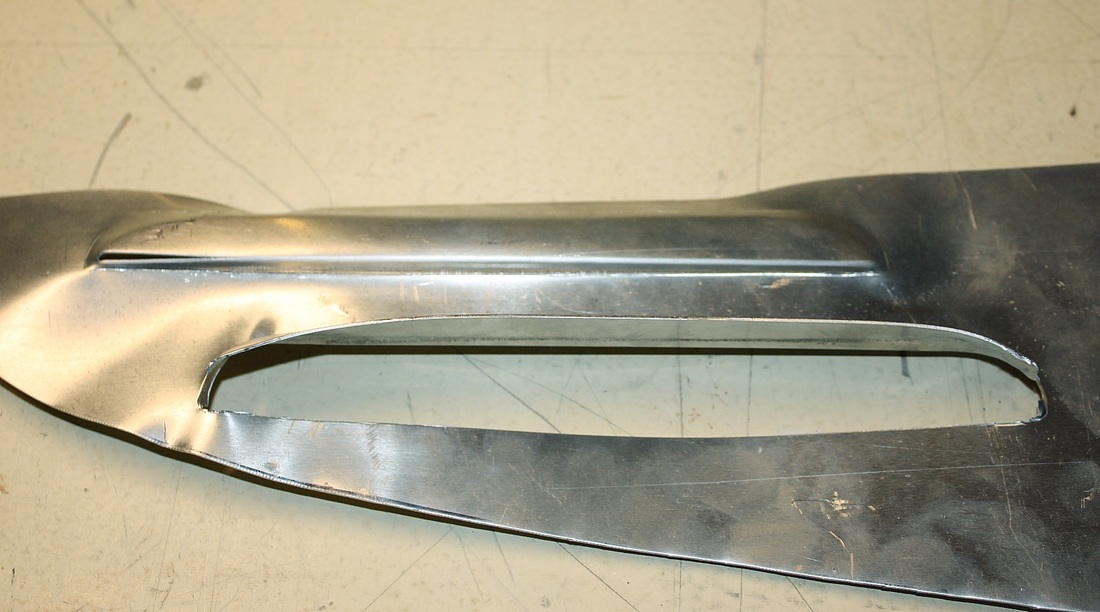
Here's a side shot showing the depth of the final prototype louvers:
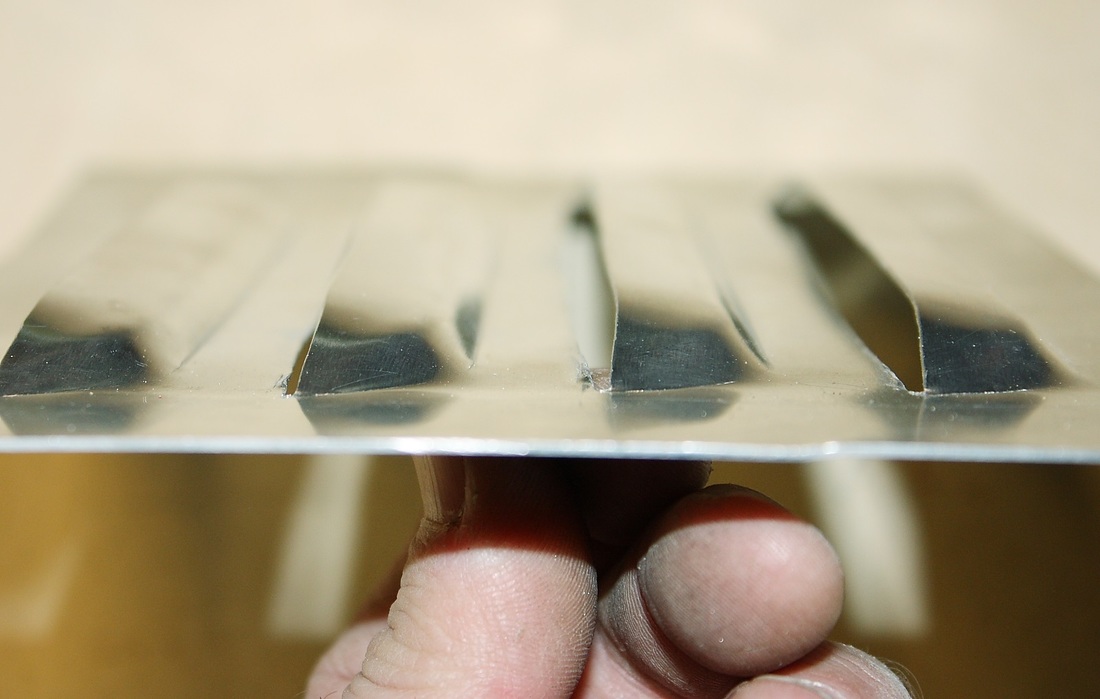
I was finally ready to start punching the wheel well liners. Or not.

 RSS Feed
