In Post #94, I removed the rear half of the inner metal roof skin from the rest of the chassis for two reasons: to be able to offset it closer to the front of the car, and to be able to bend the rear roof edge downward more easily.
I needed to offset it towards the front of the car because the top of the Toyota MR2 rear window I'm using is canted at 73 degrees vs the stock Fiero rear window which sits nearly vertical at 82 degrees. This drawing shows a stock Fiero chassis with the MR2 glass located where I intend to install it on mine:
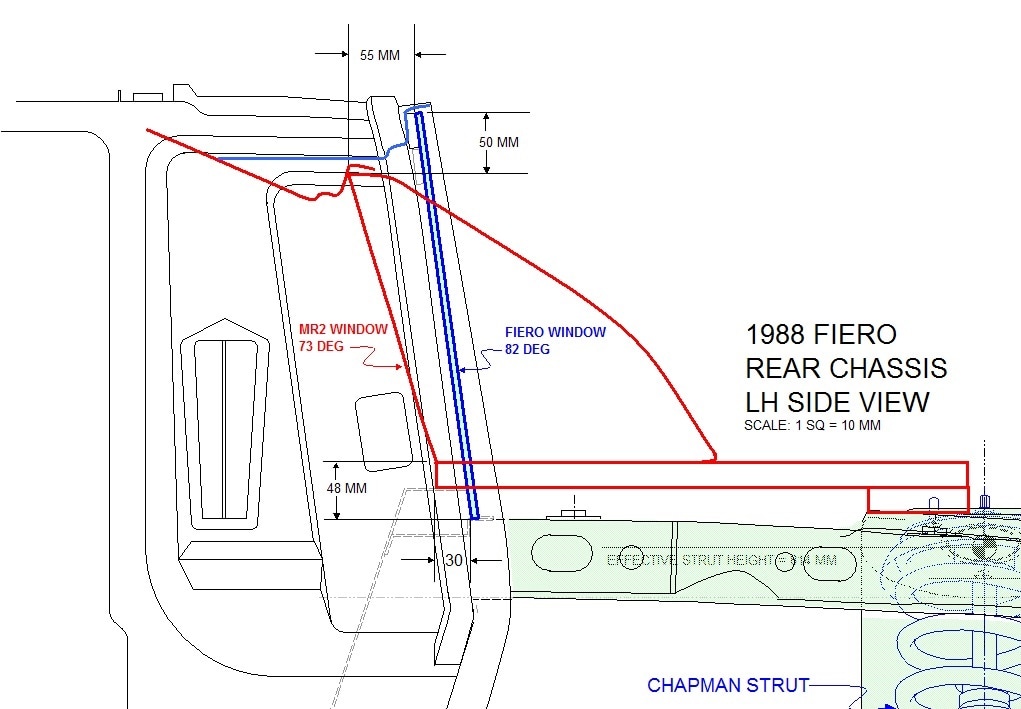
Note that the Toyota glass (red) is much shorter, and much more tilted than the Fiero glass (blue). The authentic F355 rear glass is vertical at 90 degrees, so the choice here is either to use the flat, near vertical Fiero window without the winglets, or use the curved, canted MR2 glass with the winglets. Most would agree that the Toyota window makes a better option, though it results in more work to install correctly.
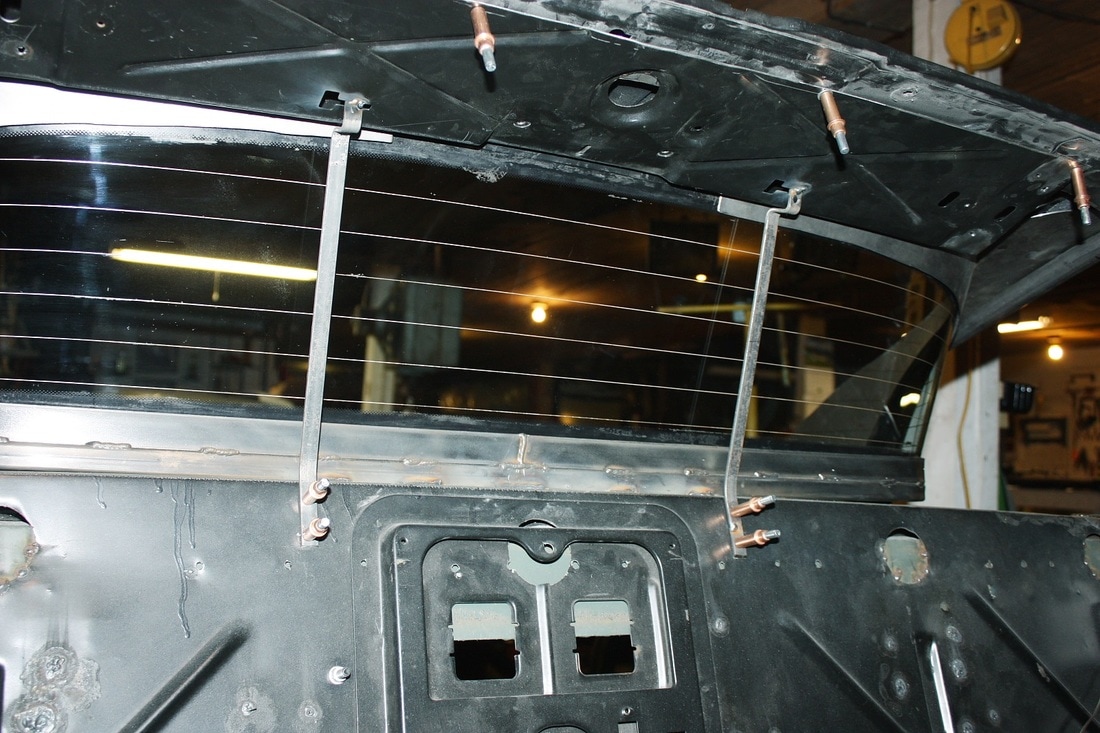
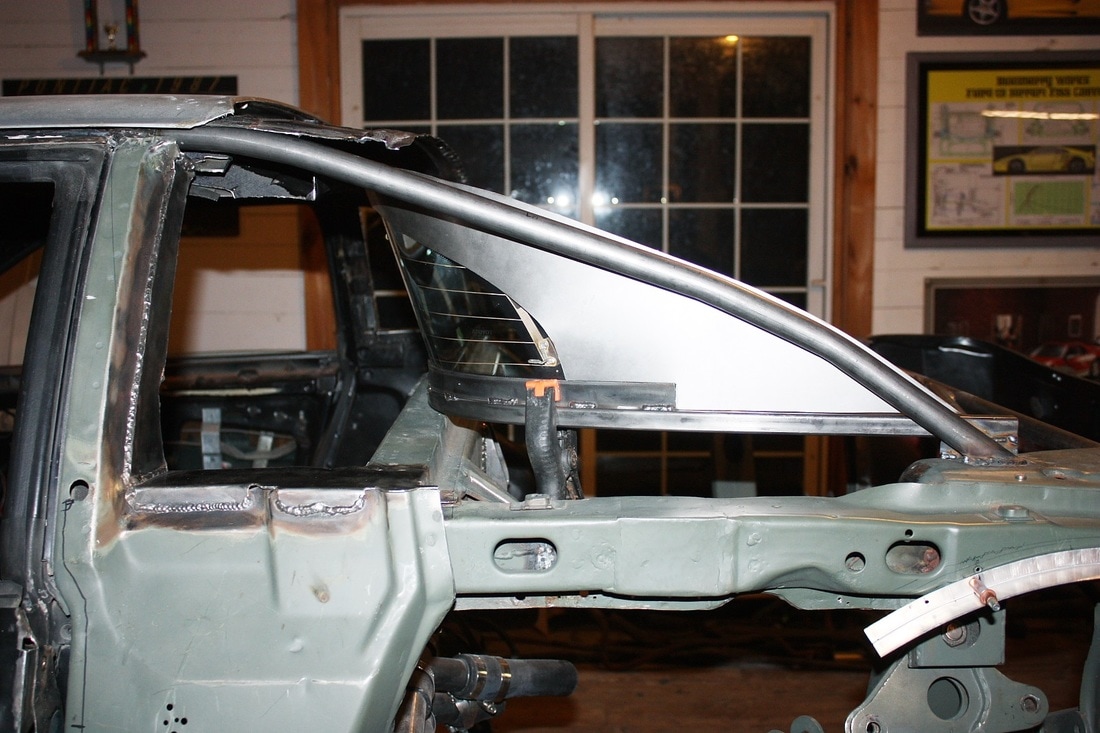
Once the bottom of the Toyota glass is raised 48 mm higher and inset 30 mm more than the stock Fiero glass, the top of the MR2 glass ends up 55 mm further forward, and 50 mm lower down than the Fiero. That's where I needed to reinstall the inner skin I cut out earlier. Here's a photo of the inner skin held in place with Cleco fasteners along the forward edge, and propped up with some temporary braces along the trailing edge:
I could have welded both edges at this time, but I wanted to remain open to other ideas while I debated how to close off the rest of the area. For example in Post #95, Julian commented that welding a structural tube inside the trailing edge of the roof joining the two C-pillars would make it much stronger. I spent several hours seriously considering this option but I opted not to because of the complexity. My alternative should provide increased rigidity over the stock Fiero roof configuration nevertheless.
With the inner skin located properly, I started forming the wraparound side frames for the MR2 glass. Credit must be given to Archie Archambault of V8 Archie for the basic idea I used to create my side frames. Several years ago he and his team created a stunning replica of a Ferrari Dino 246 using an MR2 rear windshield (Google it for more details). He's been creating wild Fiero modifications for decades.
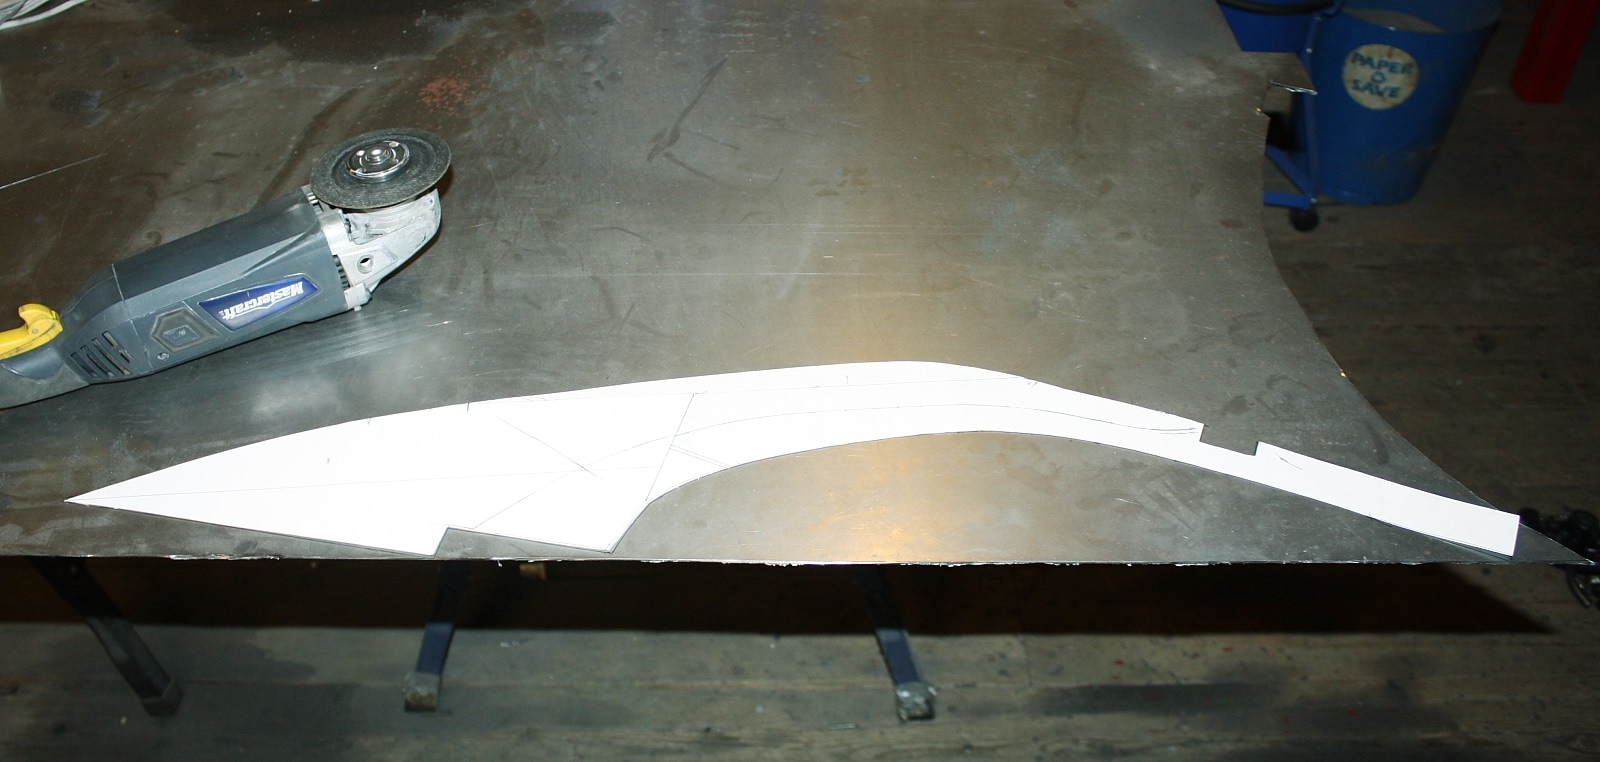
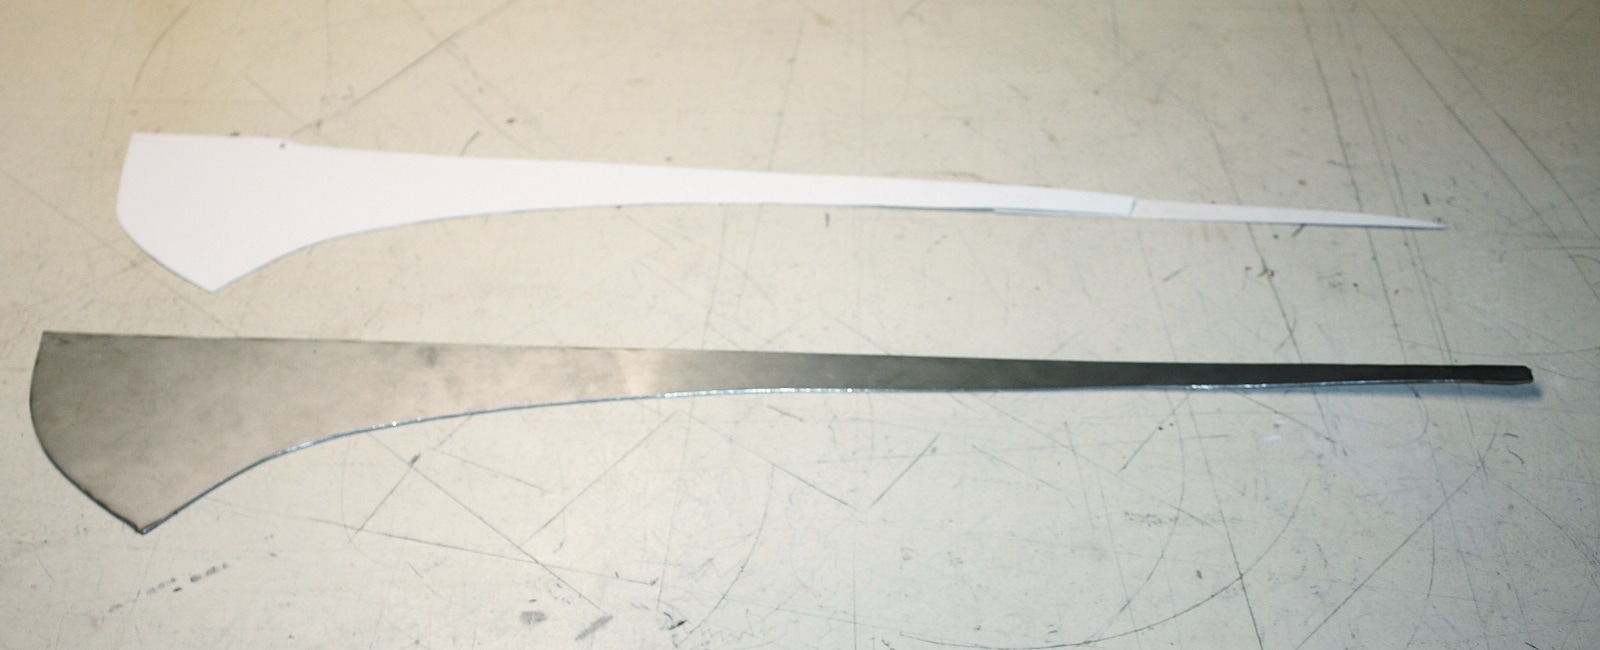
I copied the gist of his rear window frame but had more elements to consider as I also needed to integrate quarter windows and C-pillars. I played around with some cardboard templates for several hours before deciding on a strategy and getting the first template fitting just right:
I traced both templates out on some 18 gauge steel:
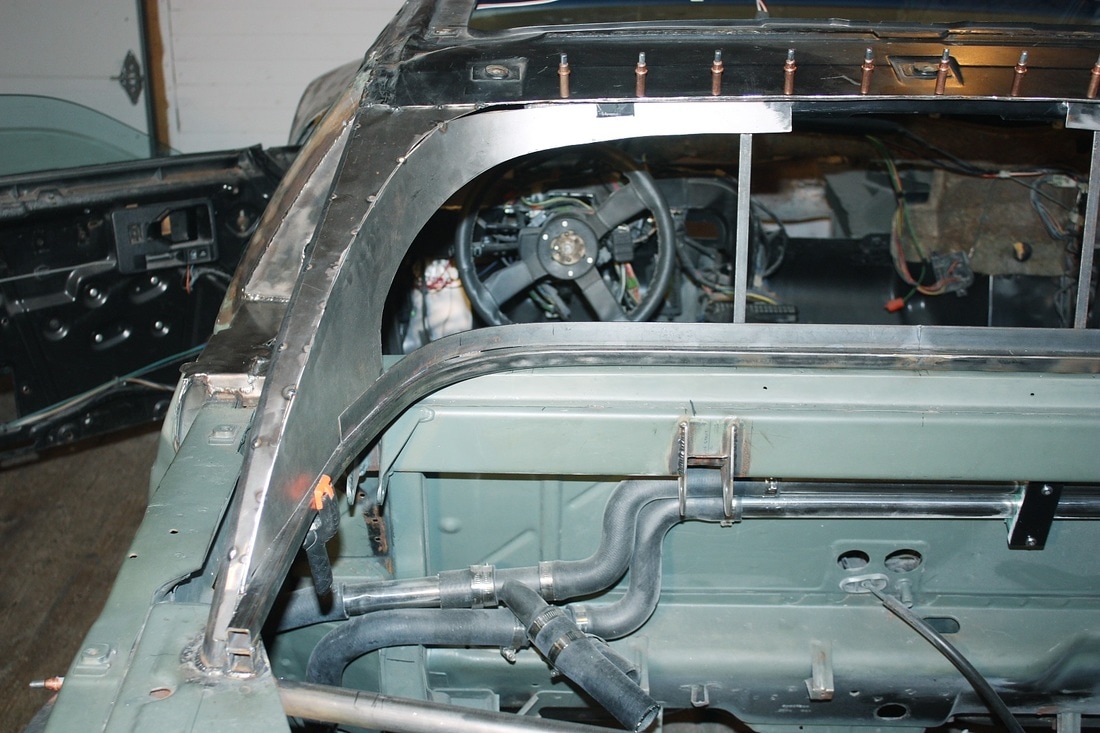
Then I let the sparks fly with my angle grinder, and began forming the sheet metal to the curvature of the window, the C-pillar, and inner roof skin. It took about 1.5 hours to get each one bent just right. Every time I'd tweak them a bit in one direction, they would fall out of alignment or bulge out in another... I could've used an English wheel:
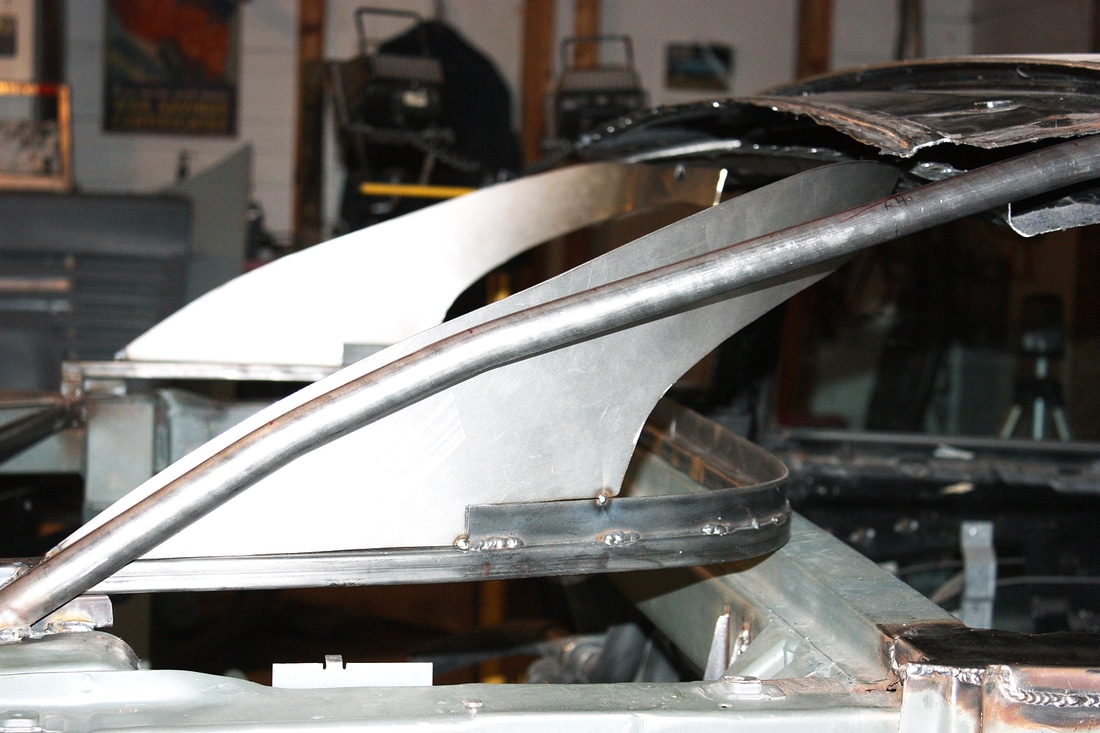
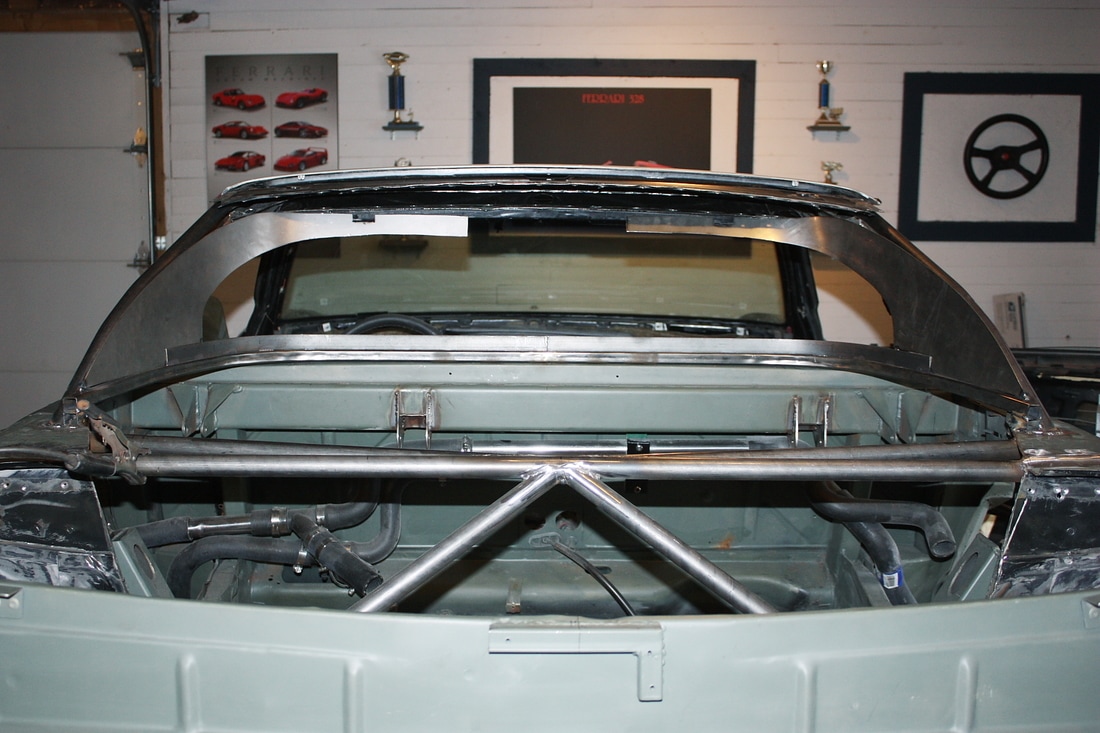
Here's the rear view: (These were just mocked up, so when I took out the window, they drooped down, but you get the idea.)
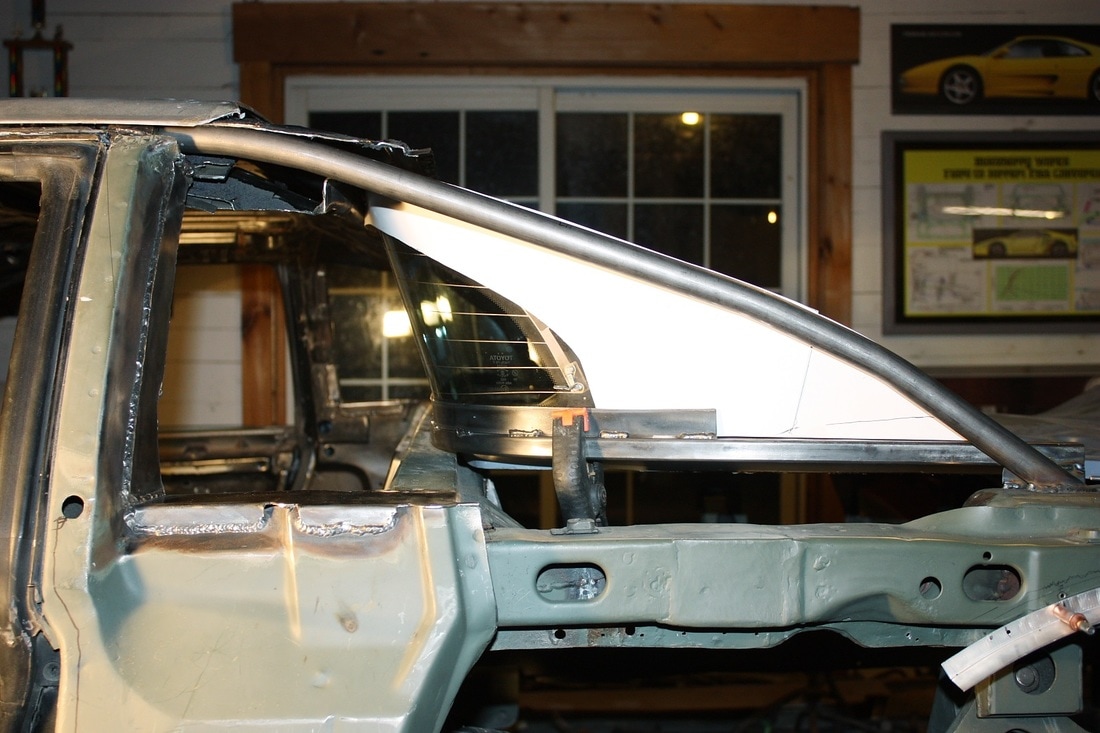
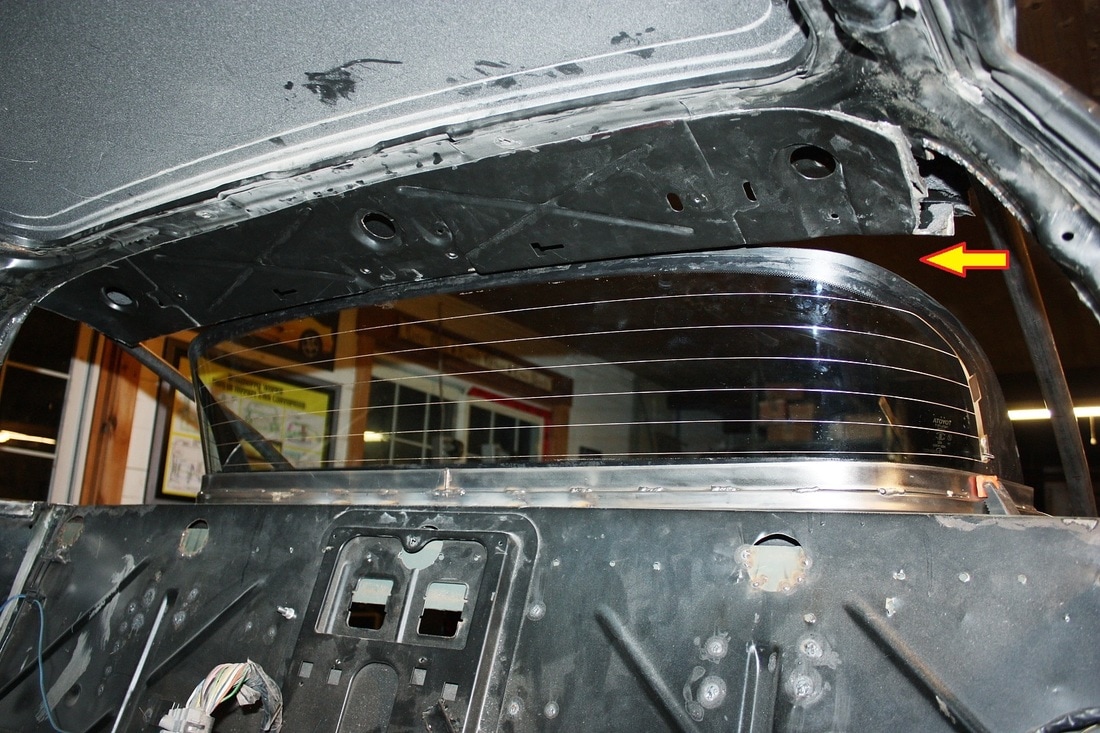
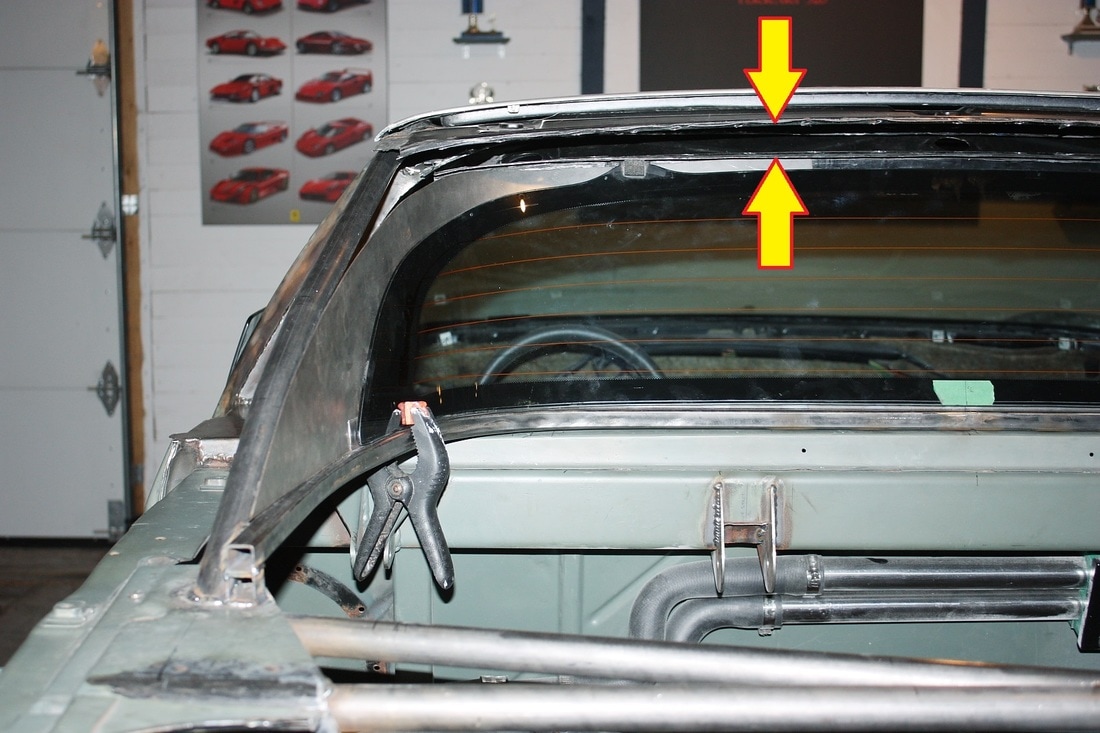
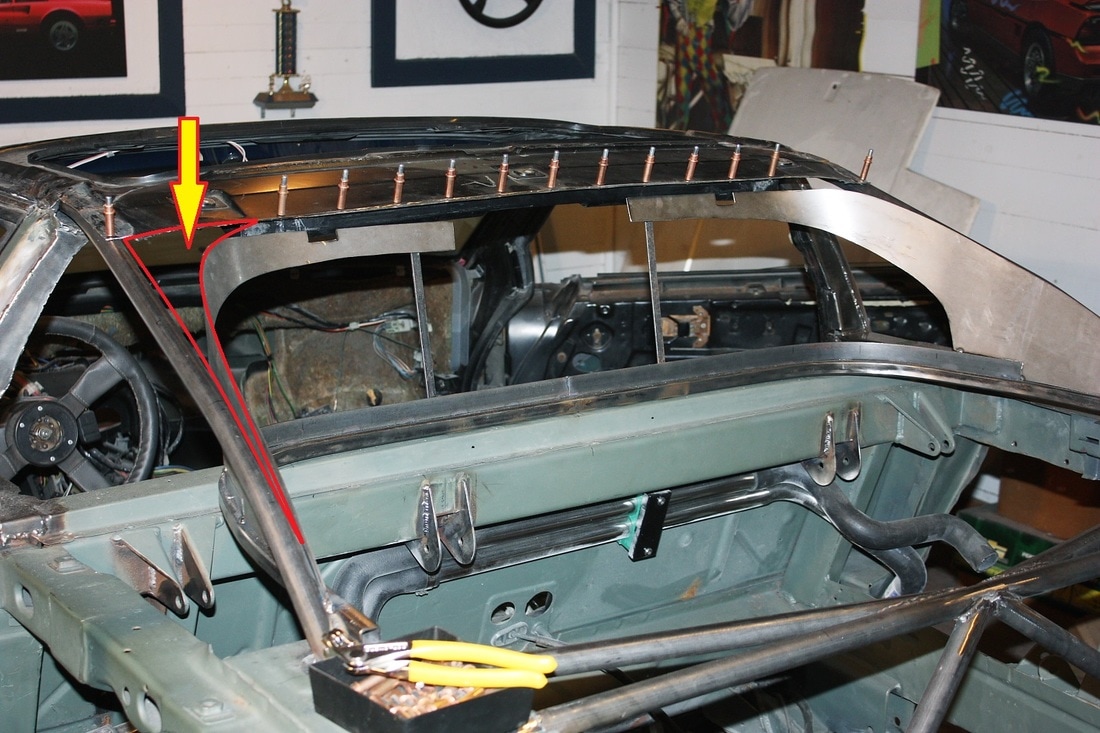
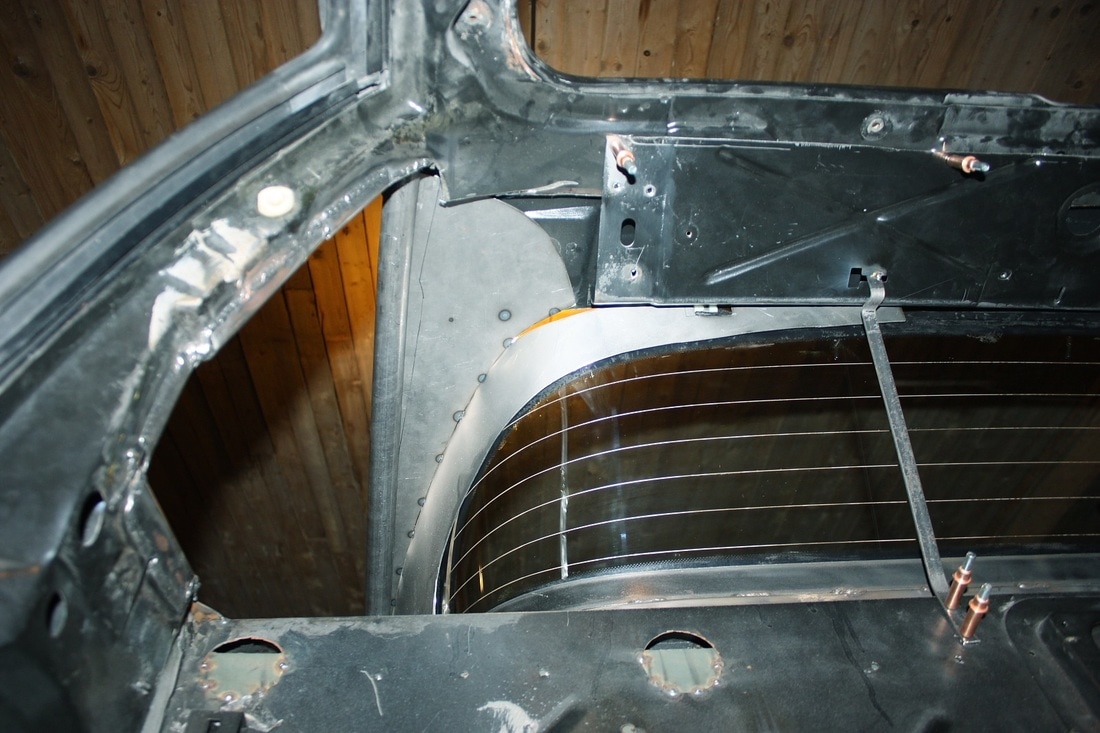
These alone weren't going to be able to hold the inner roof skin in place, but they're part of the solution. The problem is they only contact the inner roof skin along a five to six inch stretch before they diverge away from the roof skin and sweep towards the back. The arrow below shows the area I'm referring to:
Conveniently, the inner roof skin has spot welded seams in the perfect locations to make it easy to remove the improperly shaped interior roof sections:
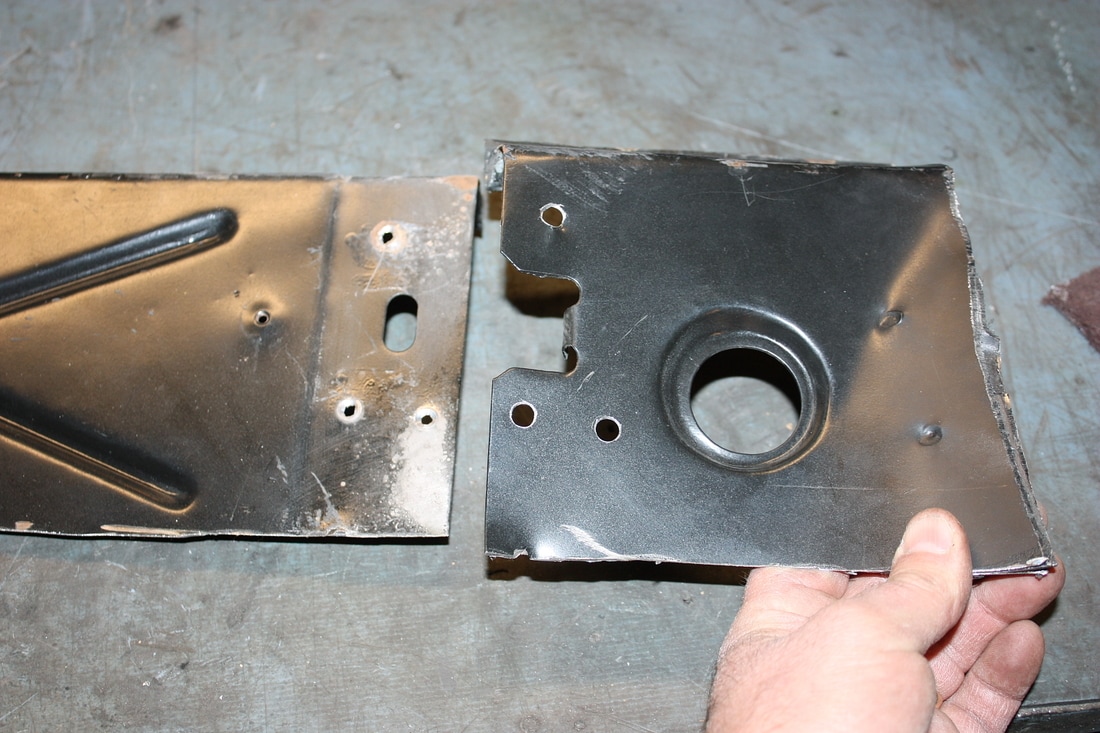
I'll replace these ends with custom formed pieces that follow the MR2 window, but for now they were added to the growing list of parts that have to wait until I figure out other areas first.
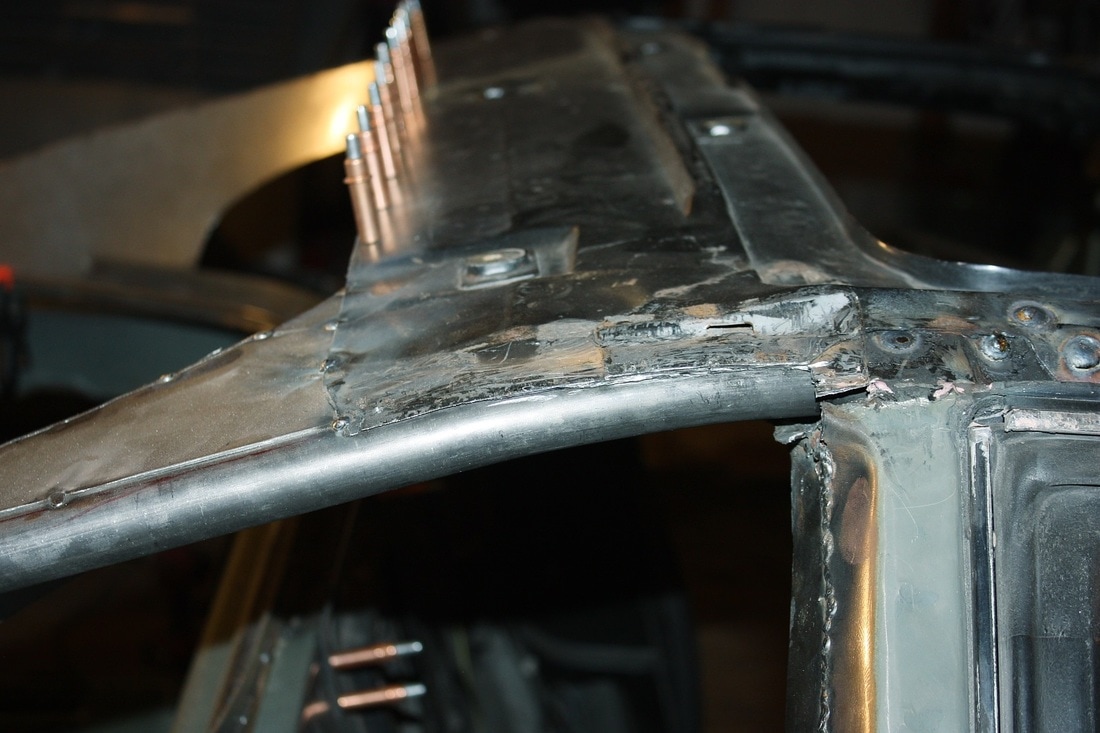
Next up I tackled the trailing edge of the outer roof skin. Here's the gap I needed to bridge between the inner and outer:
Despite having separated the weld flange, the outer roof skin is convex and has a formed bead stiffening it and making it resistant to bending. I used a 5 lb mall to gently form the left and right edges, but that wasn't enough:
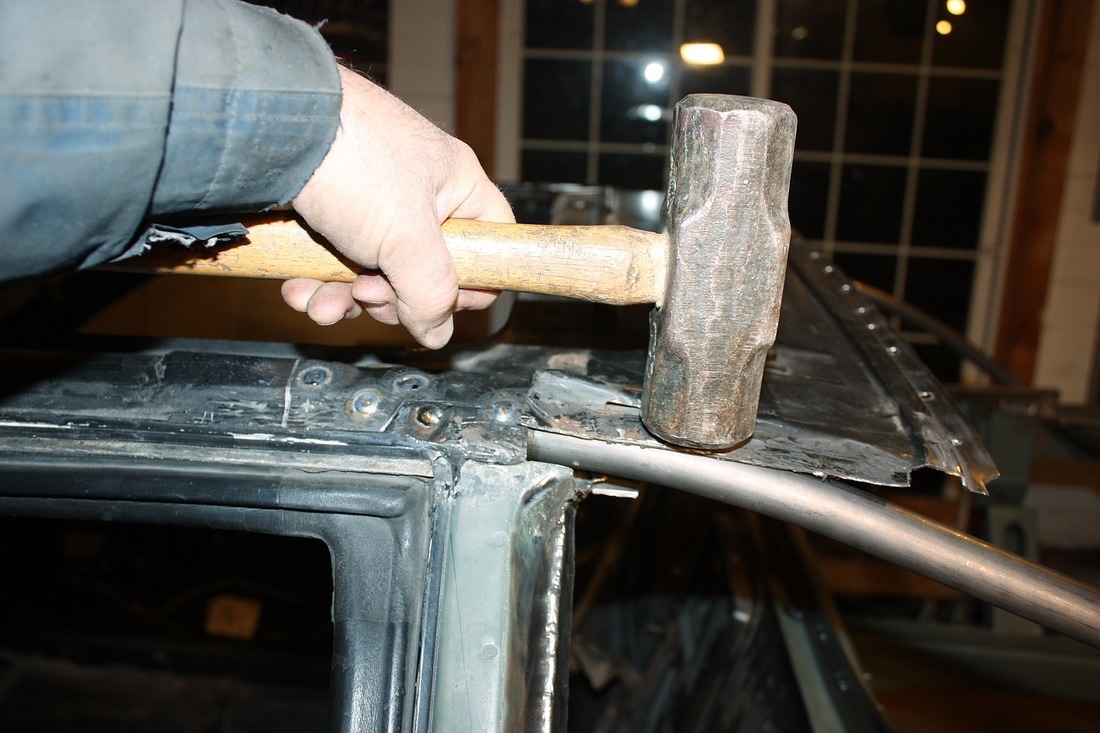
Then I got smart and removed the portion with the factory bead. Having offset the inner skin earlier, this portion needed to be trimmed anyway:
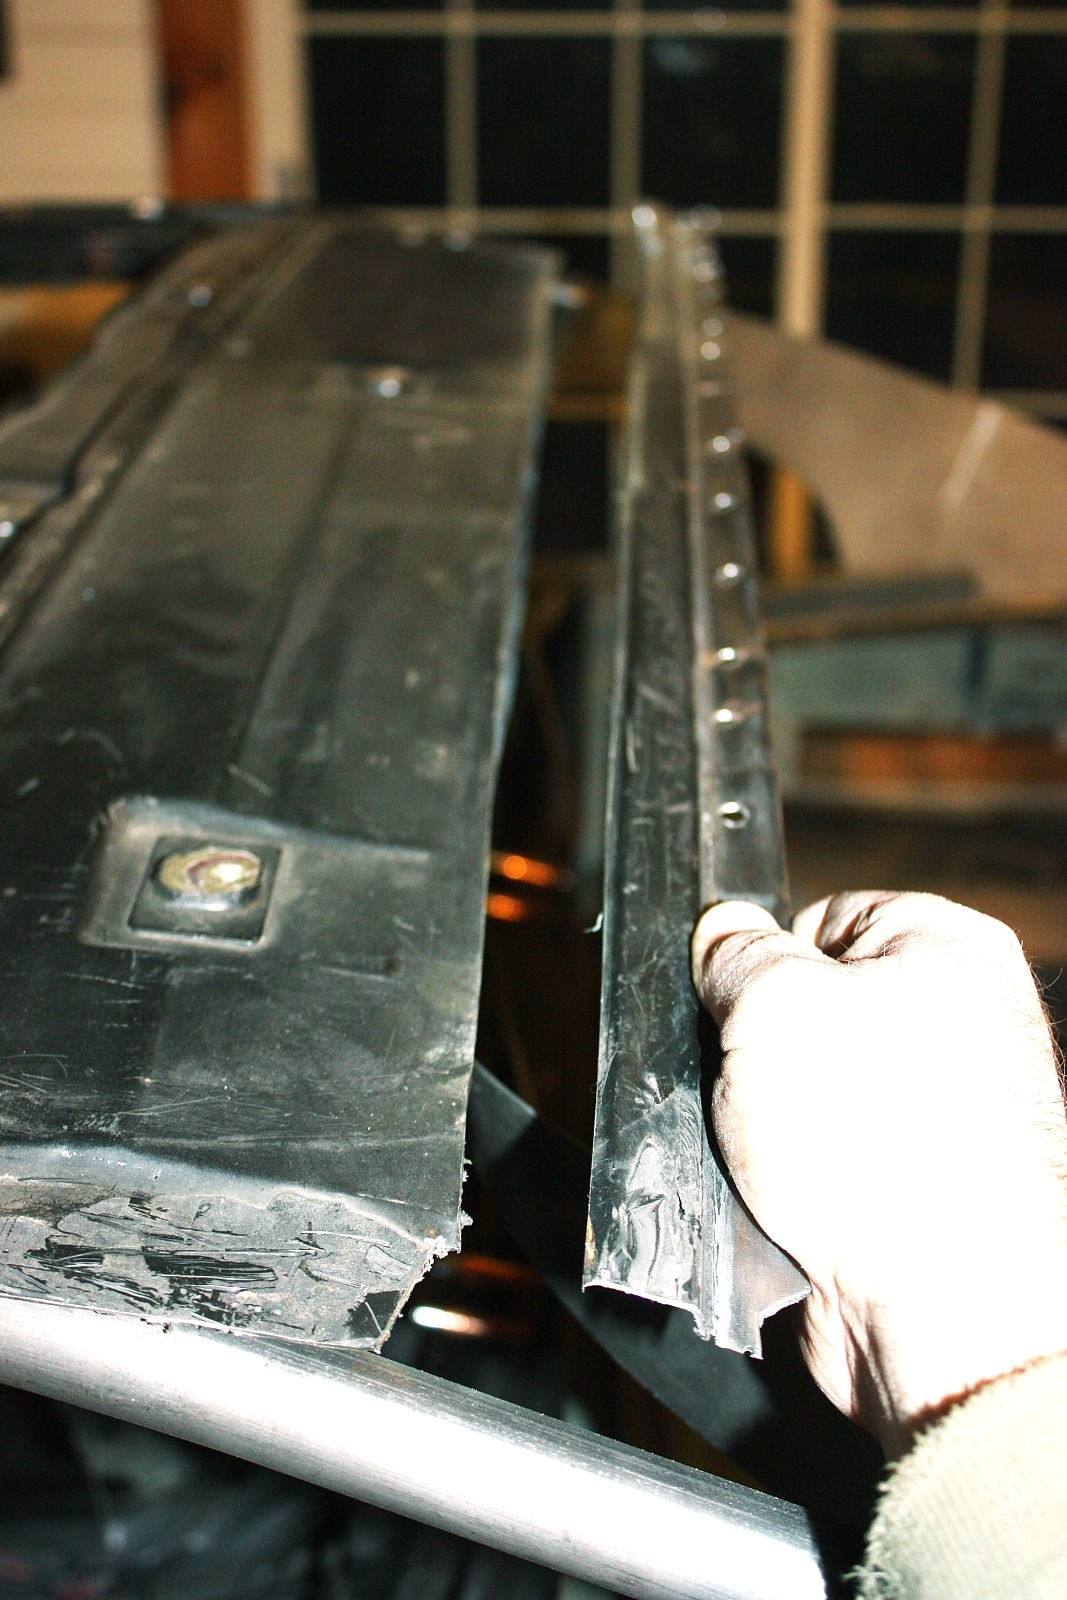
The outer roof skin became much easier to form. Resistance is futile! I drilled a dozen 1/8" holes through both layers and clamped the inner and outer skins with more Cleco fasteners:

The next piece of the puzzle was to stiffen the rear window side frames so they'd keep their shape, and would in turn hold the roof more solidly without distorting:
Once again I fiddled with cardboard templates, sheet metal, and my angle grinder and came up with this:
The templates assured that the parts would fit without too much massaging:

Here's the driver's side cap tack-welded in place:
With both caps in their final resting places, I completed forming the outer roof skin to the contour of the C-pillar:
... and welded the skins to the pillars once and for all. I had a bear of a time welding this area because the residual factory foam on the inside surface off-gassed creating lots of spackle and spitting. I can see the stitch to the right wasn't hot enough and will need redoing:
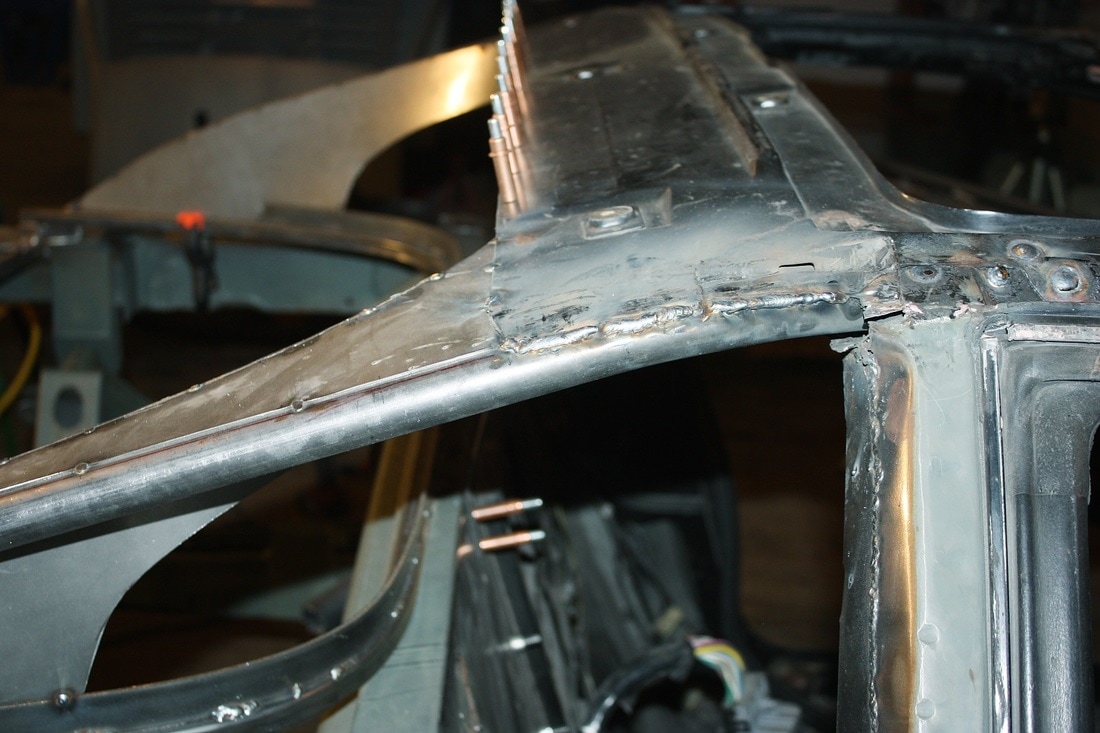
This is what the outer filler panel looks like from inside the cabin, looking up. I left a large crescent shape at the end to act as a gusset:
Stepping back, here's the result with the glass mocked up in the frame again:
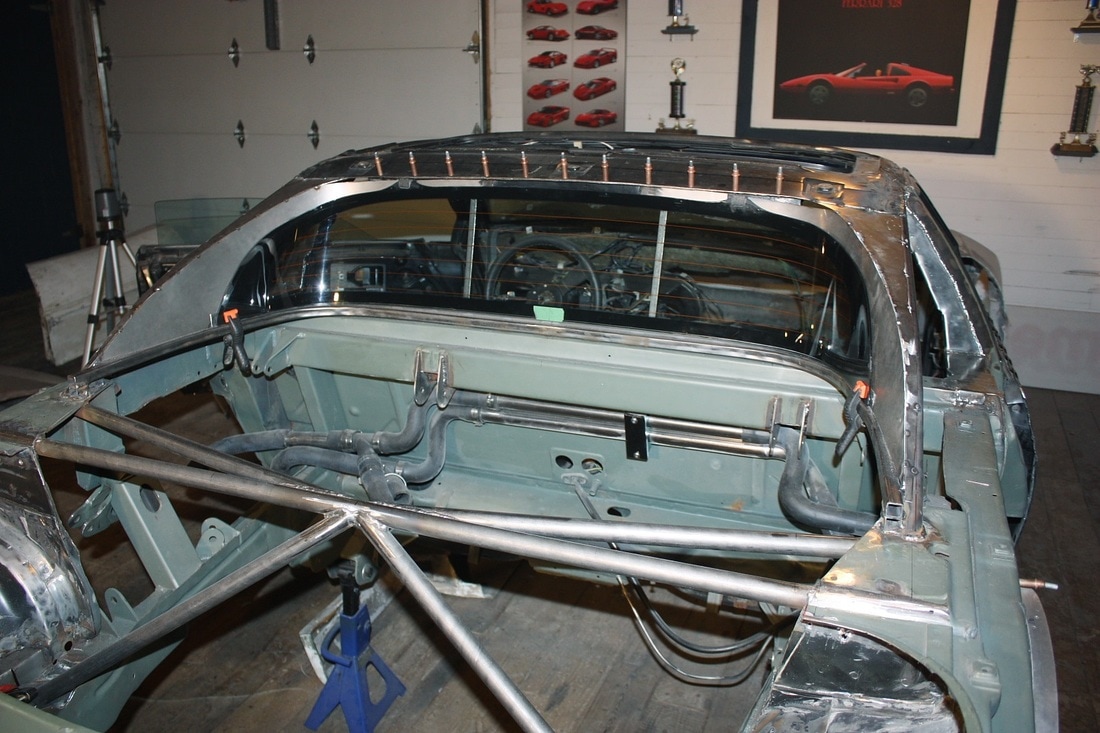
And again, from the rear view:

Next up: the Quarter windows.

 RSS Feed
