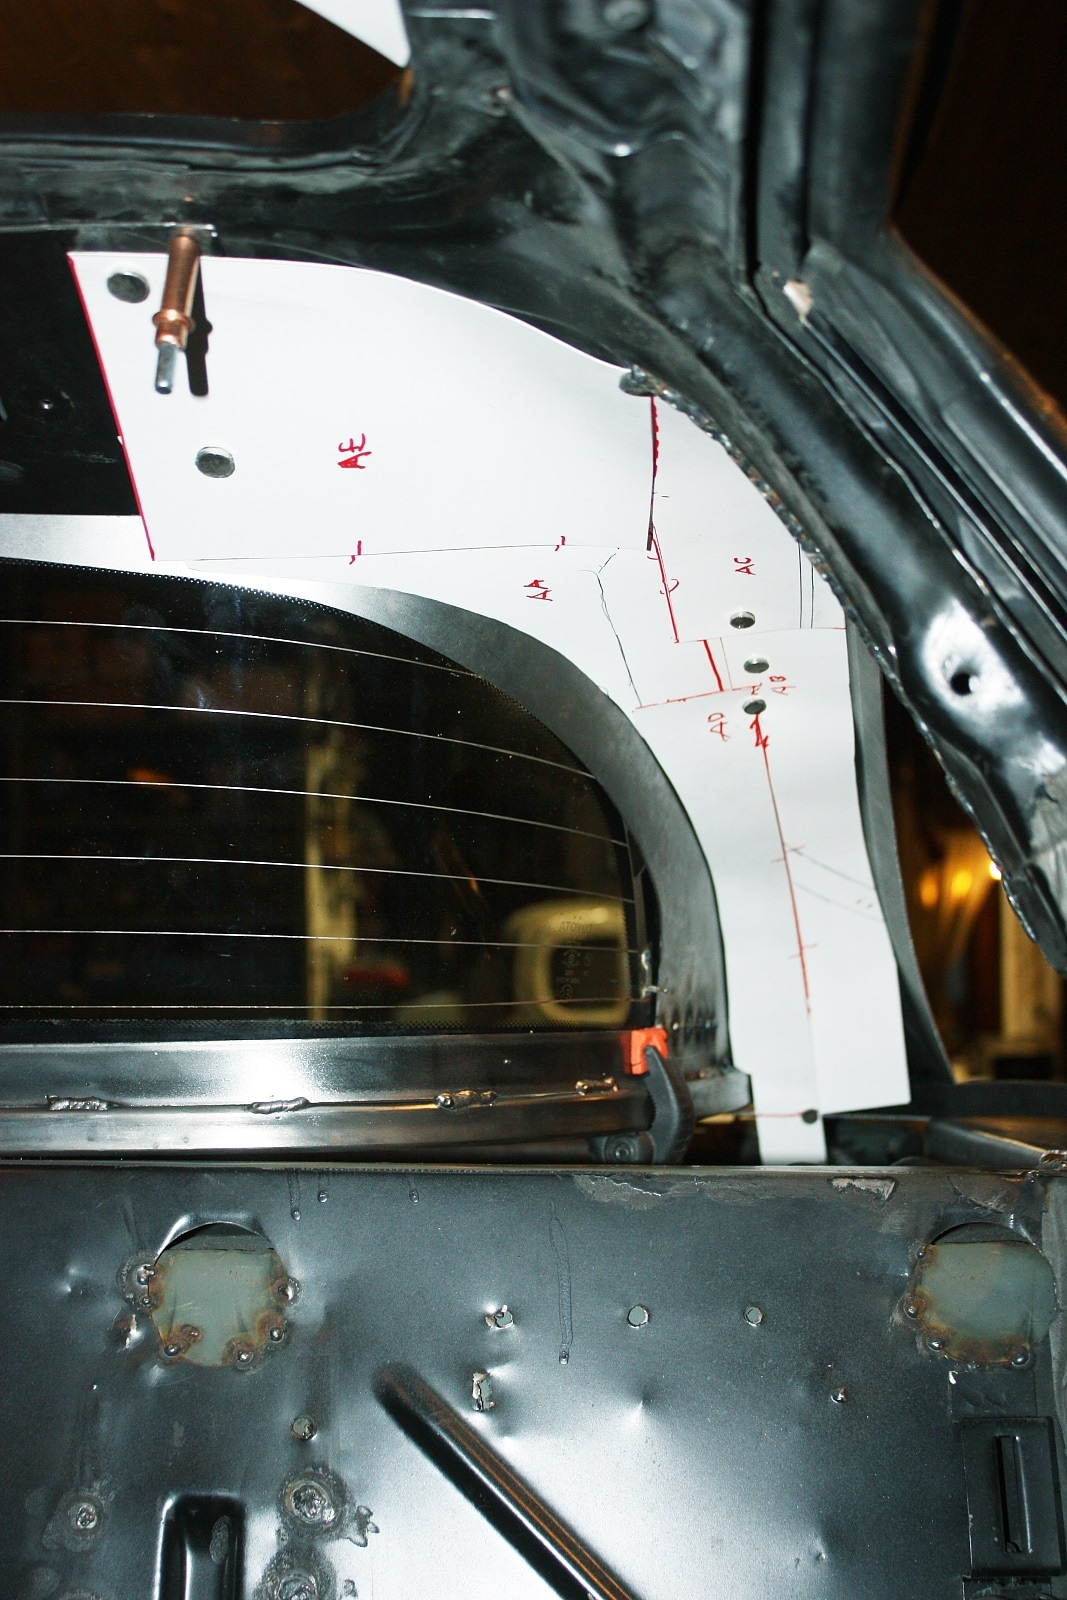
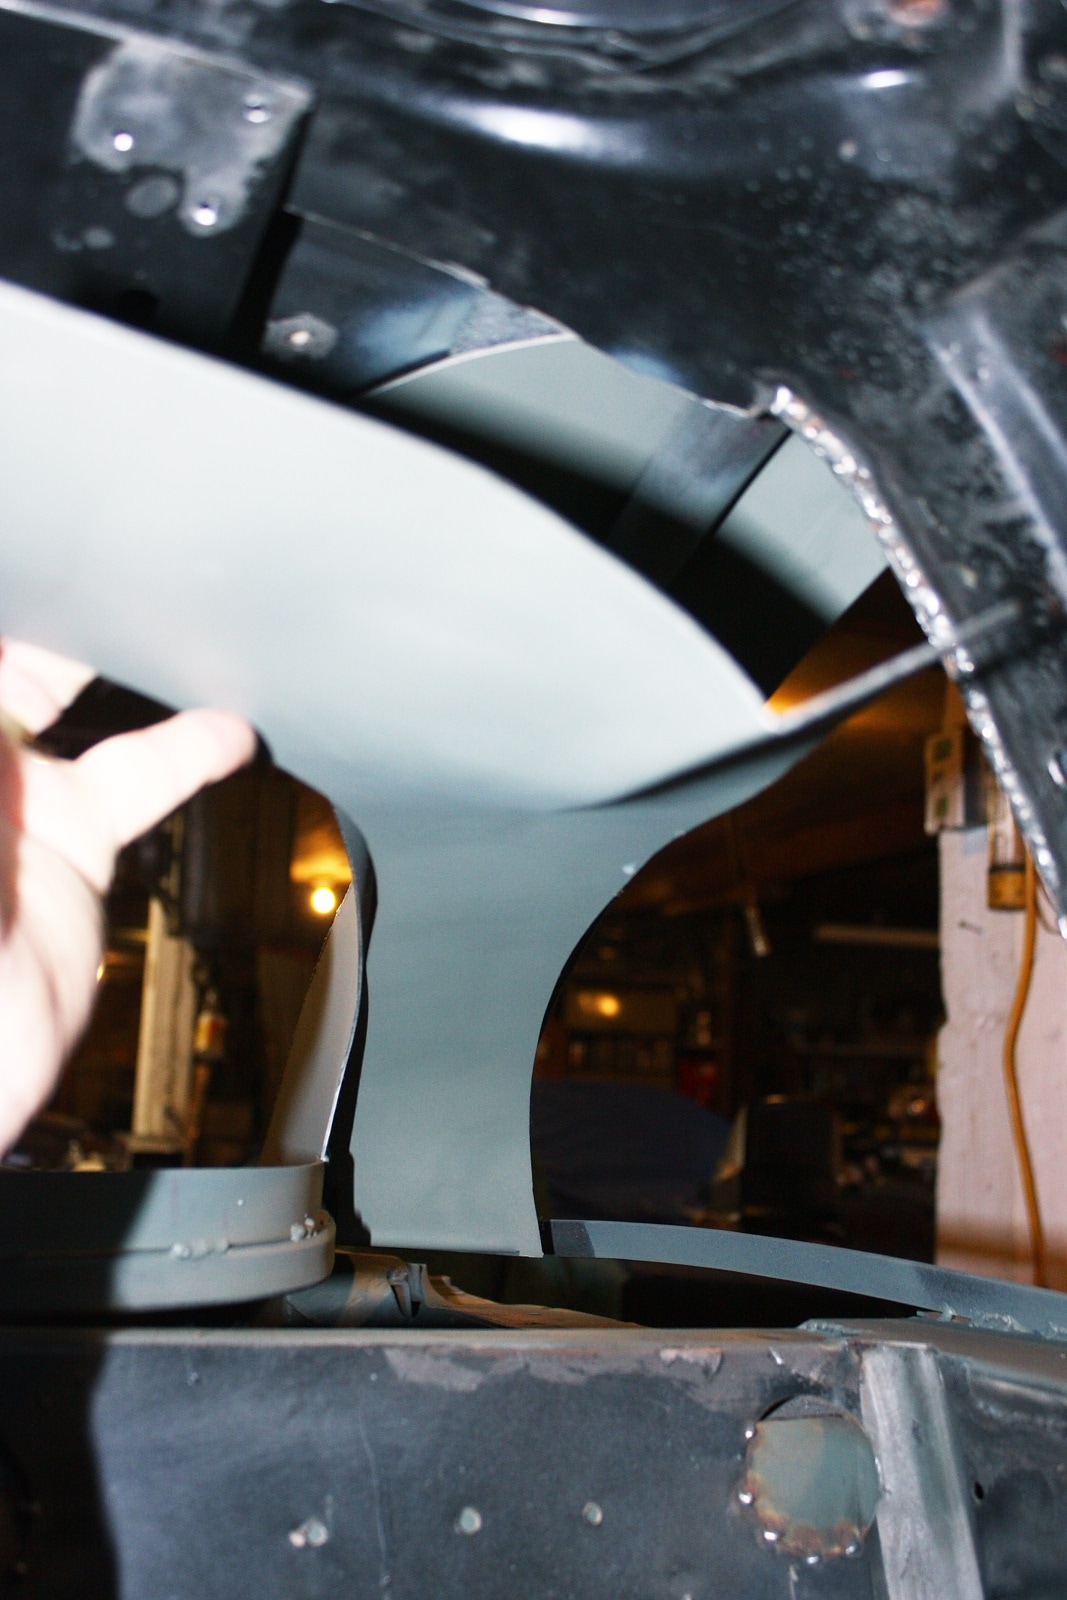
I left the last post off with the interior view of the newly fabricated C-pillar outer sheet metal. Completing the inner metal work is the subject of this post, so here's a refresher of the "before" look:

I decided to try fabricating a single panel (per side) that simultaneously sealed off the inside of the C-pillar, and wrapped around to the stock inner roof panel that I shortened in Post #96. I had to make the template in many pieces in order to get all the various contours just right. To help hold them in place I used a bunch of small permanent magnets:
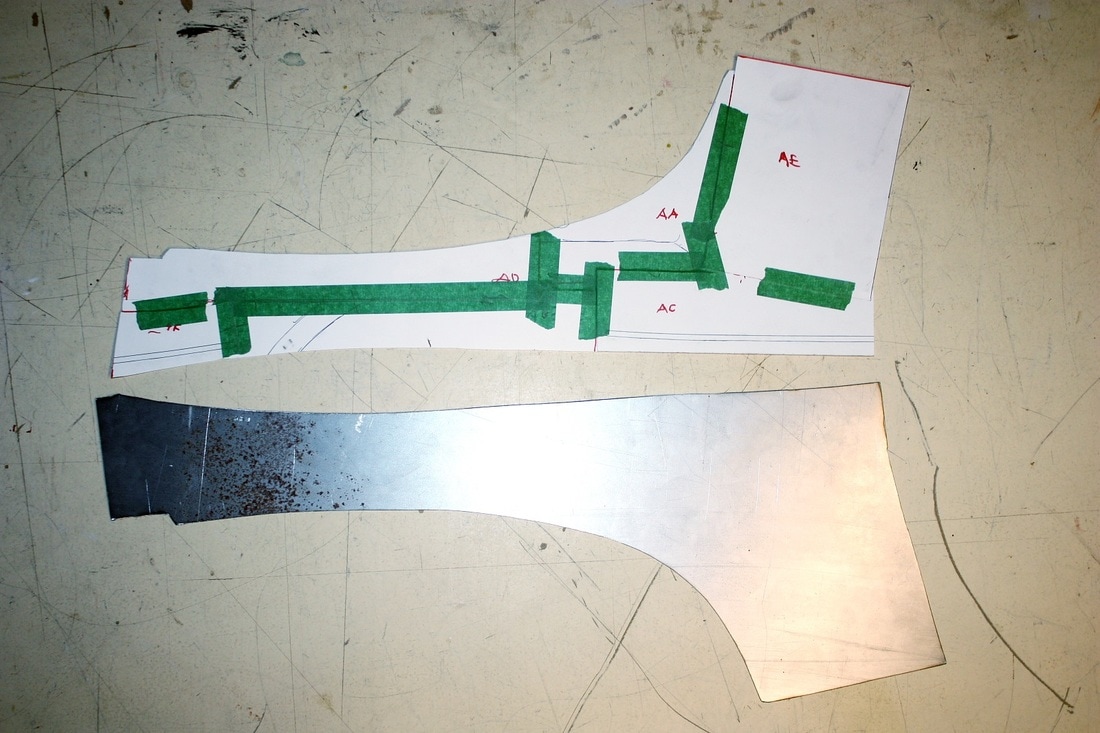
I marked the relationship between the pieces with a marker so that I could tape them back together properly and trace it out on some sheet metal:
I marked the relationship between the pieces with a marker so that I could tape them back together properly and trace it out on some sheet metal:
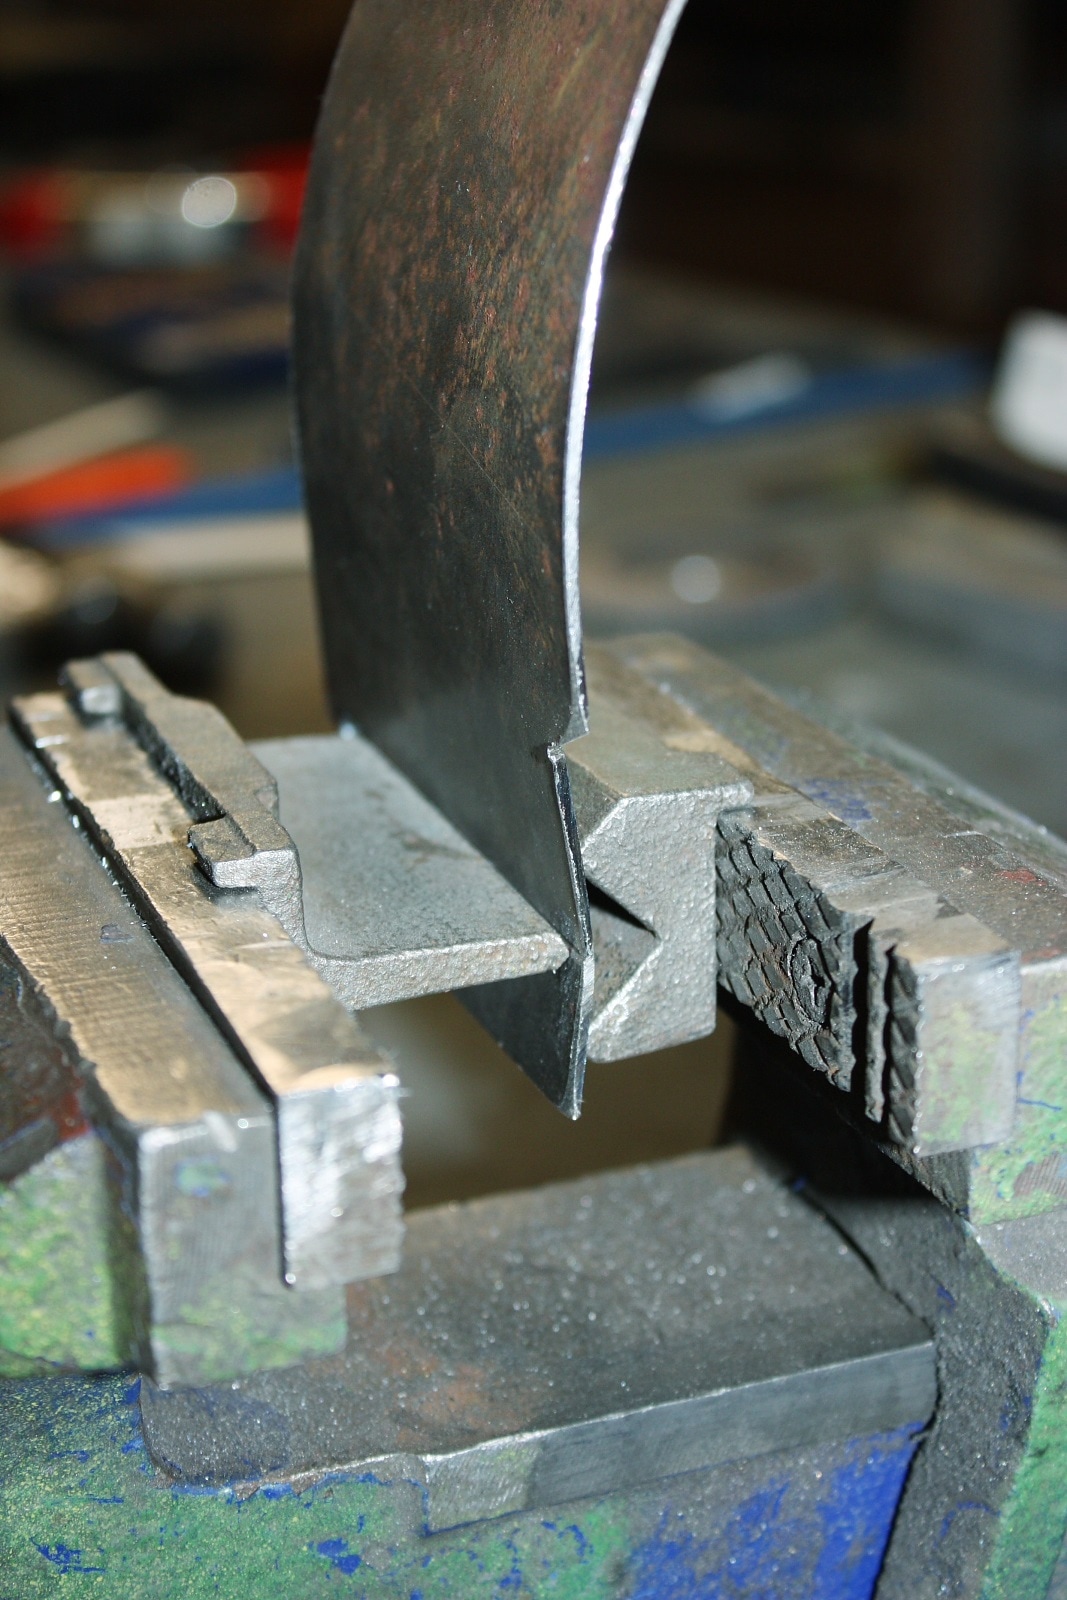
To form a small right angle bend at one end, I have a vice-mounted die that works perfectly for this sort of stuff:
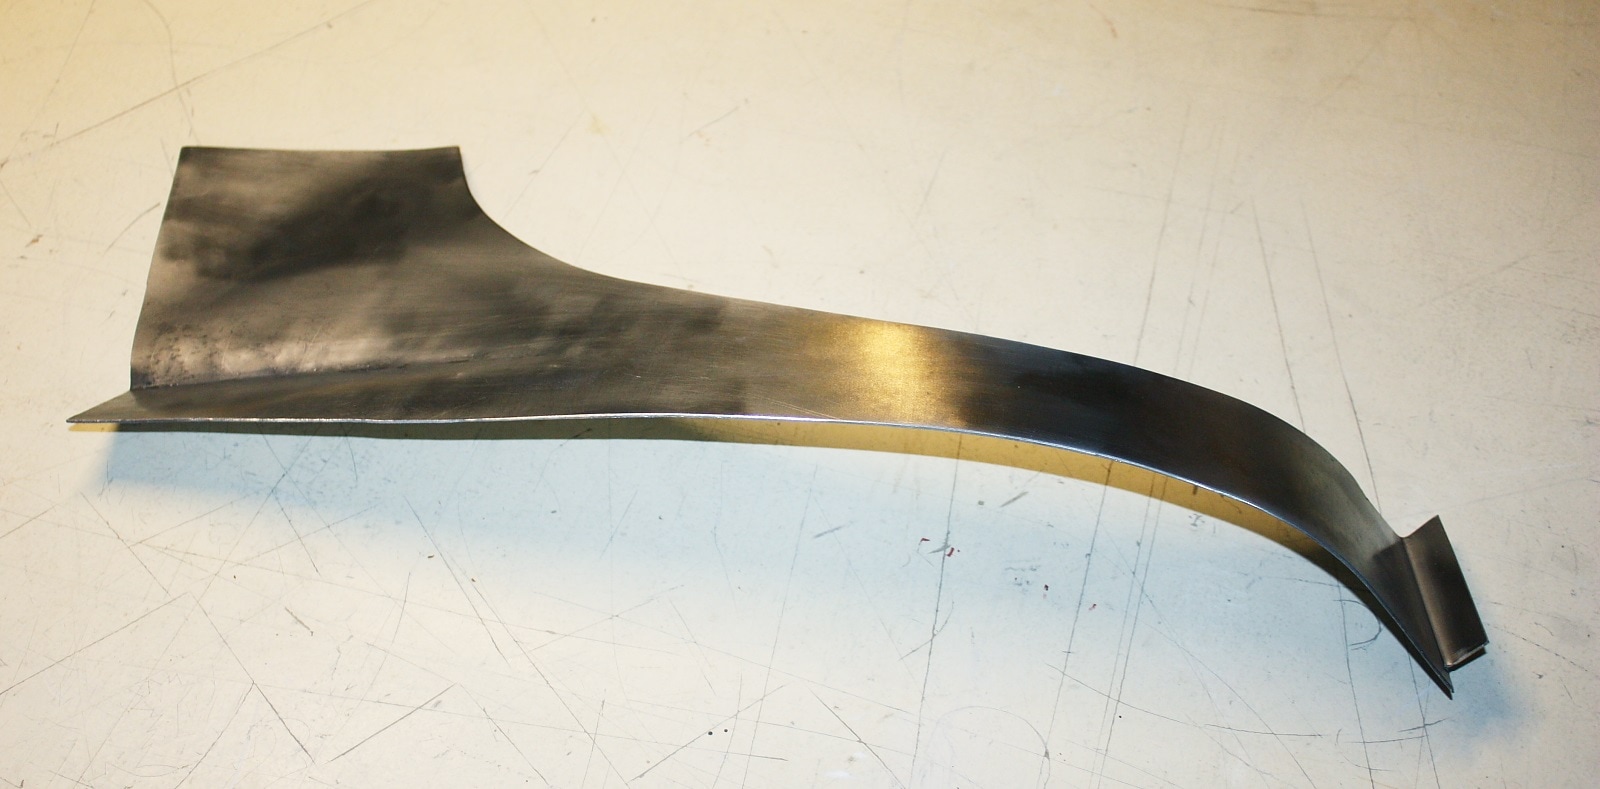
To form the simple curves like the one at the right hand side of this next image, I simply work the sheet metal around one of the steel jack poles holding the ceiling up in my shop. For the odd shaped left-hand end, I used a series of shaped anvils and stretched the steel with a hammer. It's not perfectly smooth, but then the headliner will hide any imperfections:
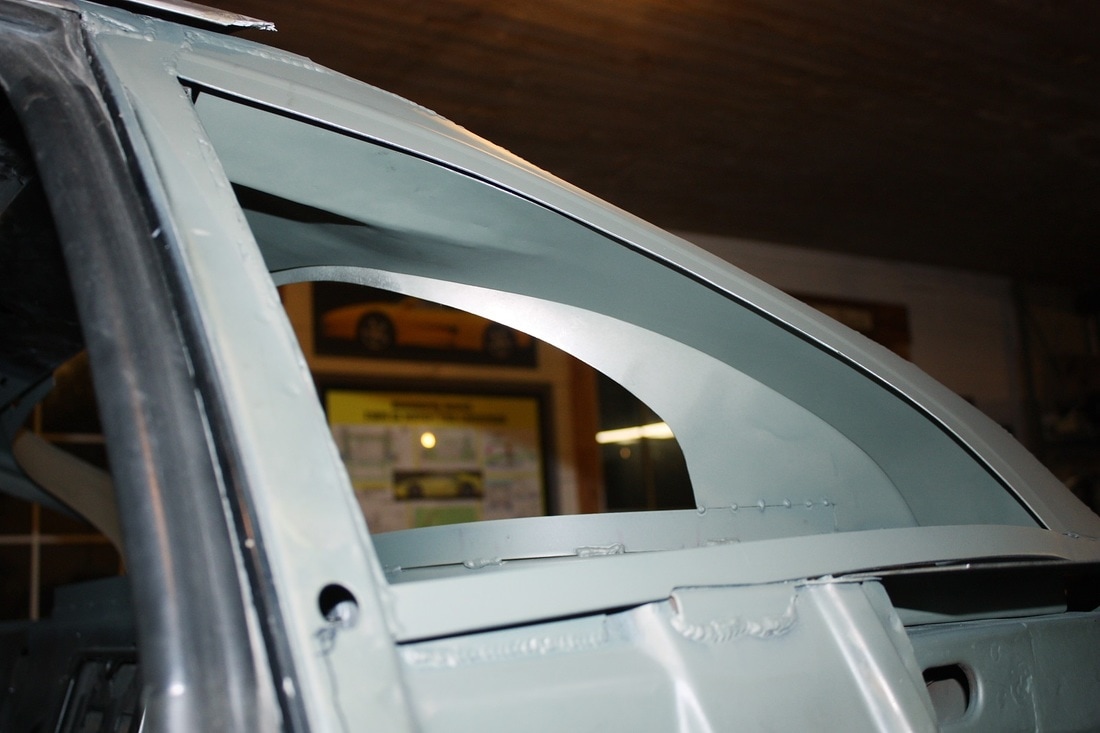
Once it was primed, it was ready for a final test fit:
I've said it before, but the beauty of making templates is that the final pieces tend to fit really well without wasting costly sheet metal on trial and error. Here's the interior C-pillar panel mocked up:
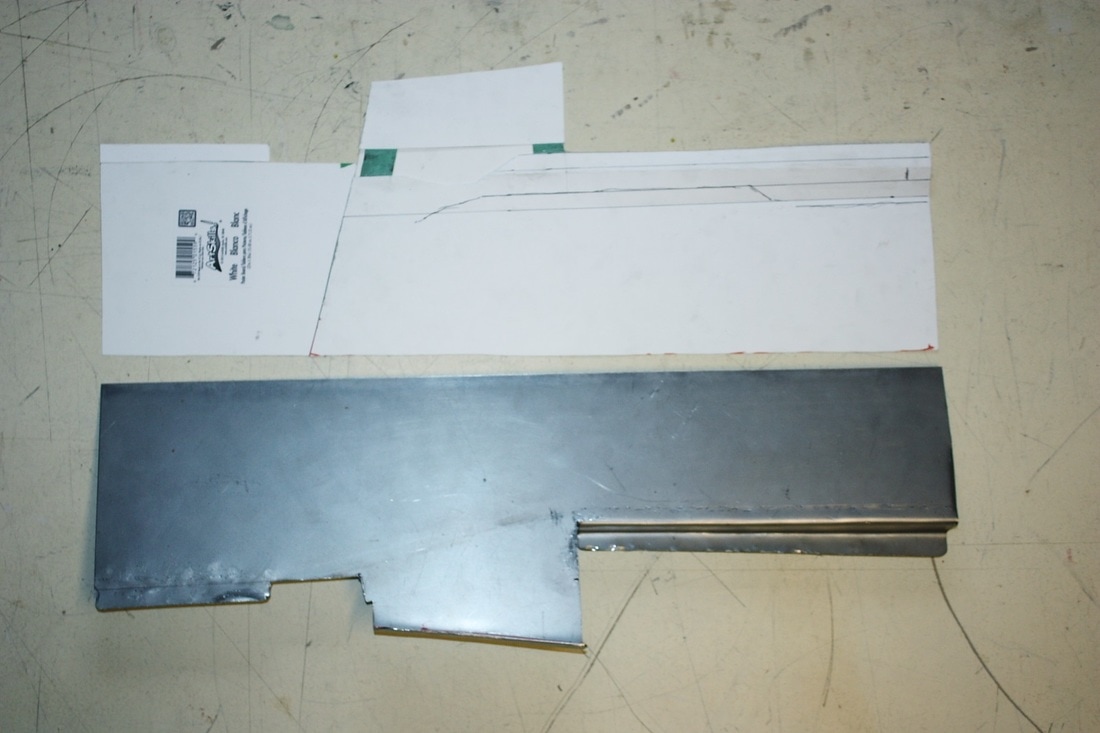
The last major piece I fabricated in this area was designed to kill two birds with one stone. First, I needed to create a mounting flange outside of the quarter windows to support the fibreglass fenders. Second, I needed to make a level mounting surface inside the quarter windows to attach the future package tray:
Here's what I came up with after fiddling with some more cardboard:
I put a few simple bends in it to mate up with existing structures in the area:
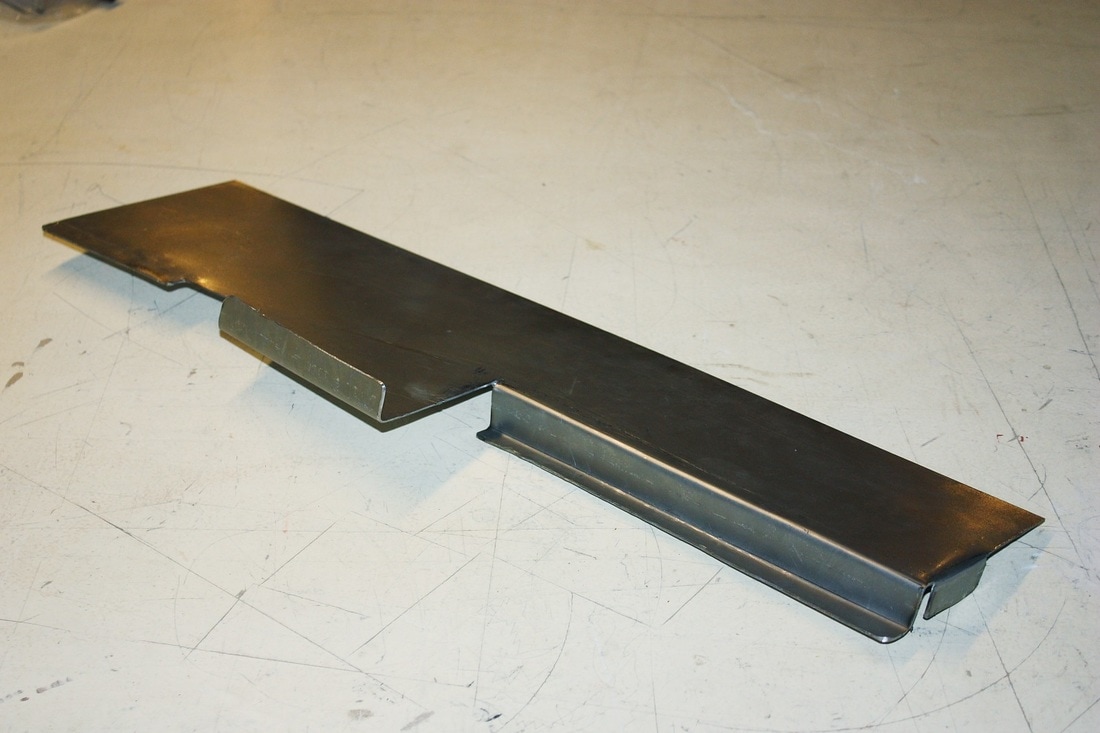
Then primed it and set about wriggling it into place:
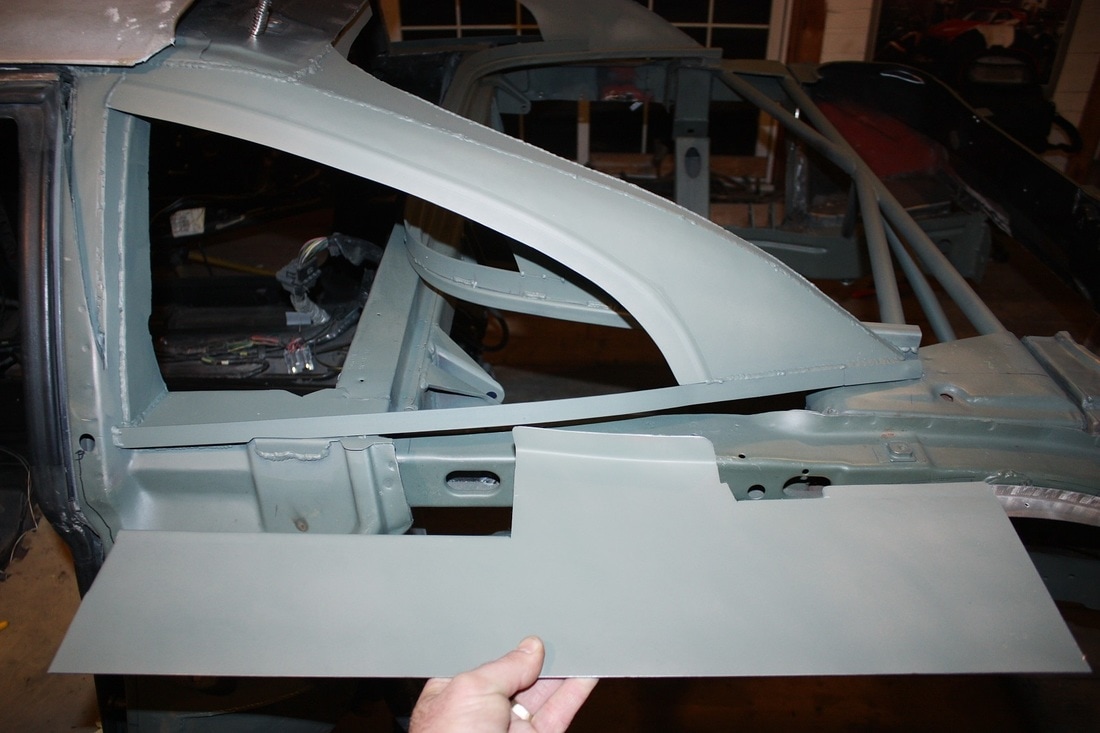
I left the metal flange on the outside extra wide to be able to trim it to the right contour when it comes time to mount the fibreglass rear quarters:
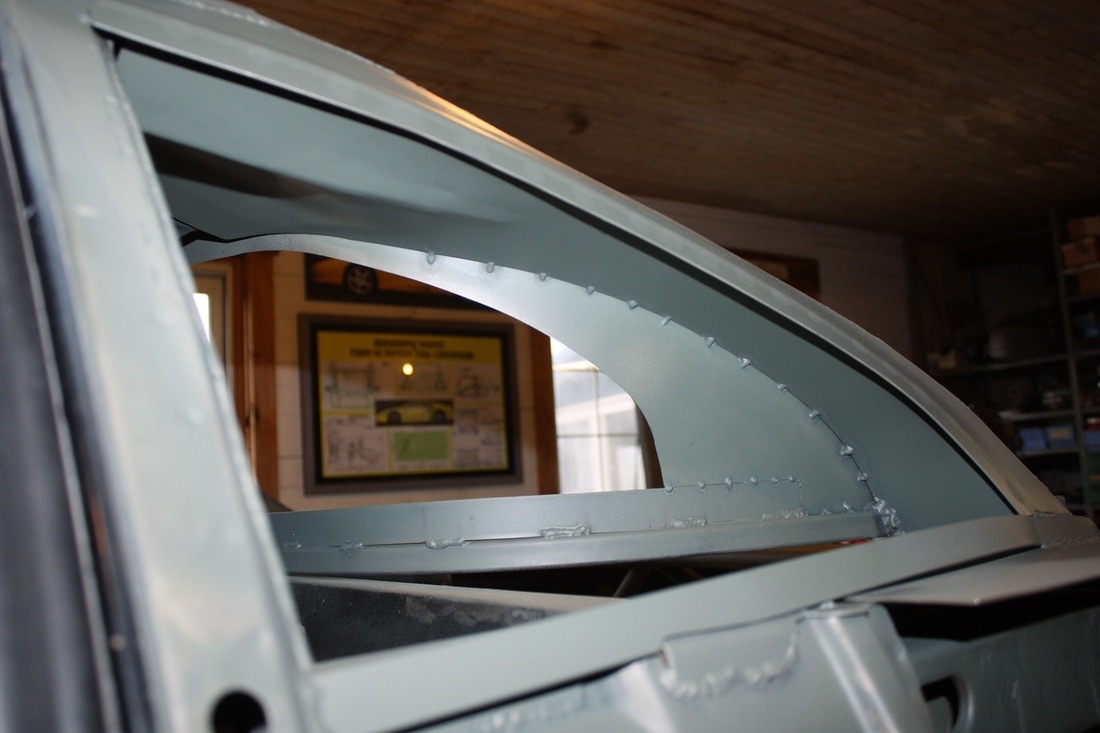
When I was happy all the parts were fitting as well as they could, I tack-welded the new C-pillar panel along the rear window frame on one side, and down the quarter window frame on the other. I didn't want to stitch weld to avoid warping the panels:
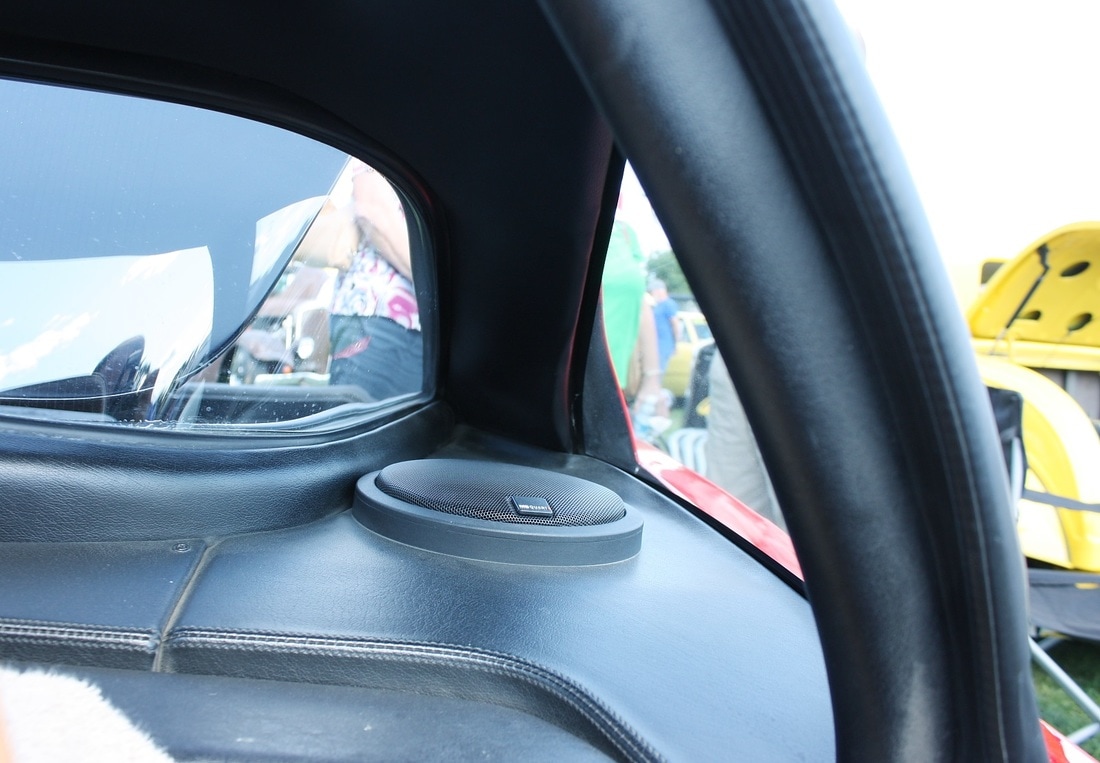
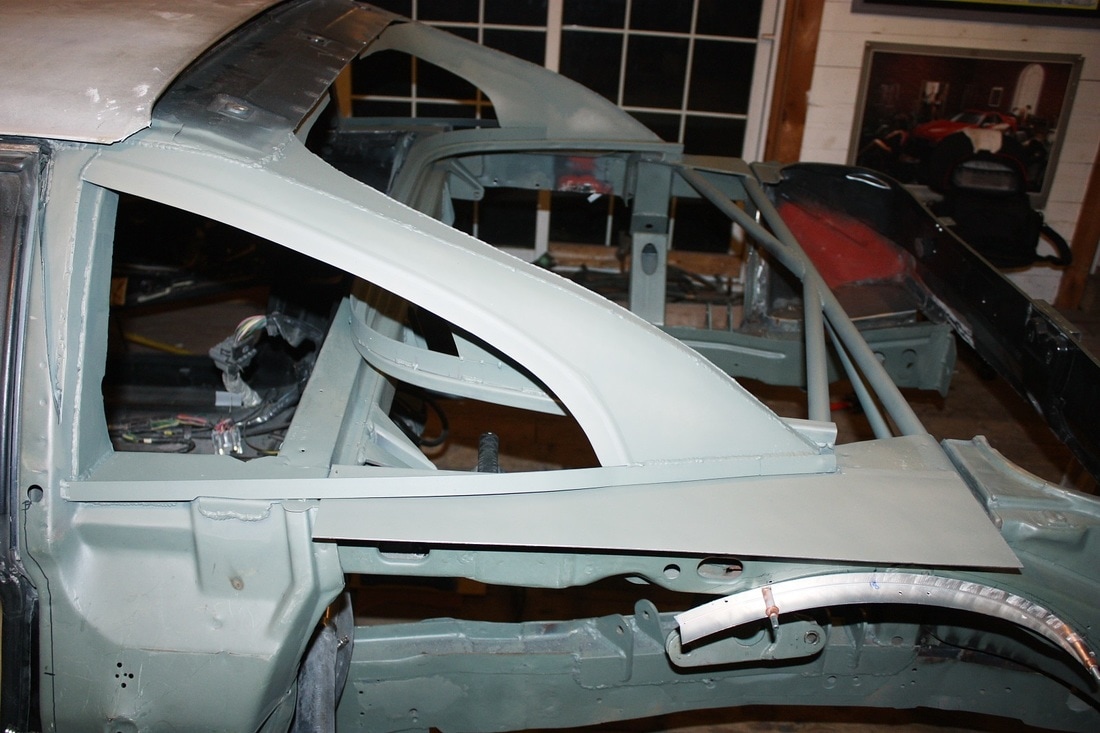
The eagle-eyed will have noticed that my package tray fell short of filling the triangular hole leading into the engine bay. There's a reason for it. I had originally made my template to fill in the entire area, but then realized by doing so I would miss out showcasing a unique feature of my car. Any guesses?
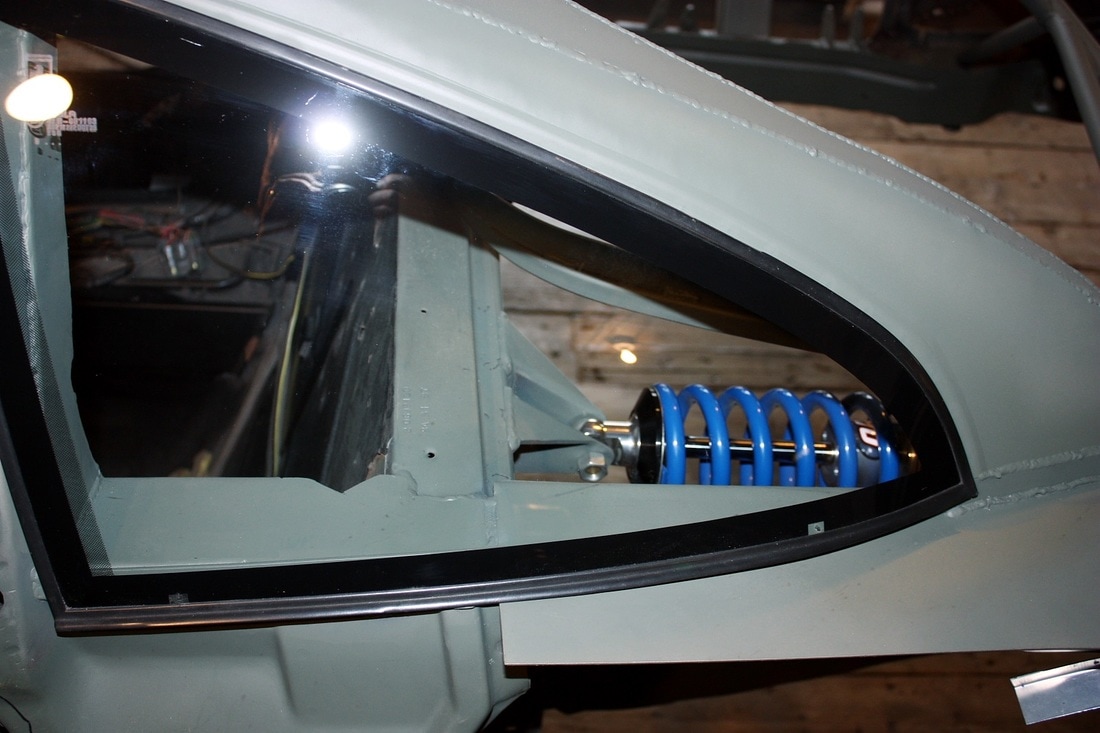
It shouldn't take too much skill to figure out a way to create a nicely upholstered package tray incorporating a polycarbonate window to give a peek at the mechanicals below.

 RSS Feed
